This post may contain affiliate links. For more information, please see our disclosure policy.
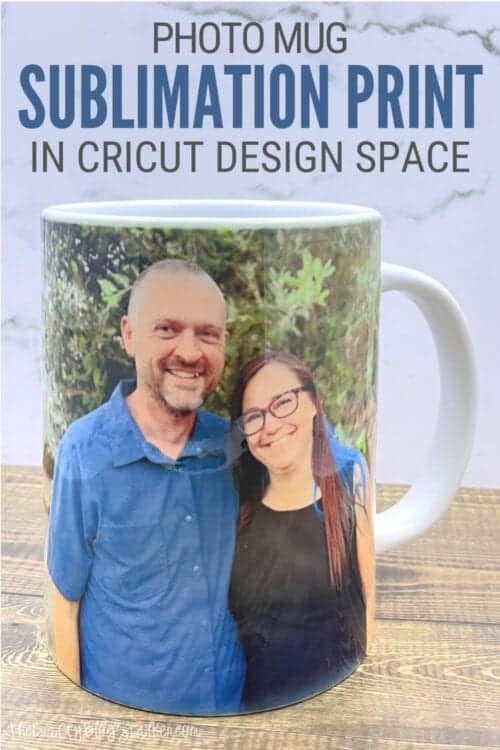
Learn how to make a Photo Mug with a Sublimation Print and Cricut Design Space. Below is the step-by-step tutorial and video!
Sublimation is my new favorite craft! I have been sublimating all of the things!
My latest project is photo mugs. They make great gifts and are quick and easy to make!
Today, we will be designing in Canva and inserting our image into the Mug Design Setup in Cricut Design Space and printing on our sublimation printer.
Video Tutorial:
Like videos? I have a video tutorial for you! Please subscribe to my YouTube Channel so you don't miss out on any future video tutorials!
More Crafting Tutorials:
Since we love to craft, we have lots of crafting tutorials we want to share with you. Like this Shaker Bookmark, these Disney Autograph Books with Kid Activities, and these Animal Shaped Sponges.
Be sure to look around the blog for more fun craft tutorials!
Supplies You'll Need to Create this Project:
This post contains affiliate links.
- Cricut Design Space
- Cricut 15oz Mug Blank
- Sublimation Paper
- Sublimation Printer
- Paper Trimmer
- Heat Tape
- Cricut Mug Press
Use code BLOGSTALKER to save 12% on A-Sub Paper at www.koalagp.com
Cricut Design Space:
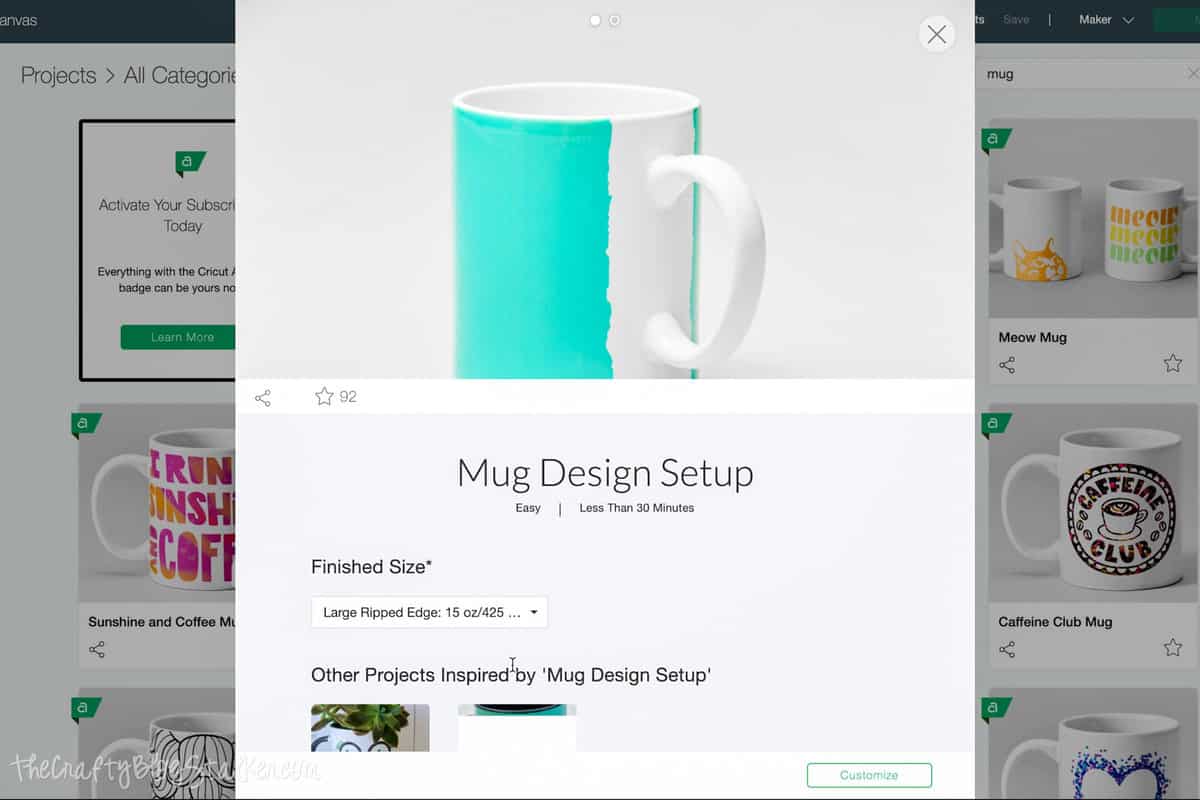
Begin in Cricut Design Space. Open a new project, and then select the projects icon. Type "mug" in the search bar, and find the Mug Design Setup.
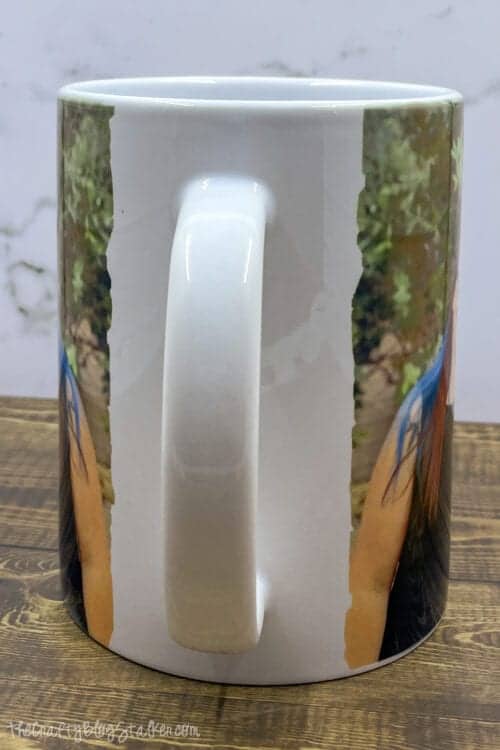
Inside this project, you can select a 12 or 15 oz mug and different templates for each. I selected the Large Ripped Edges for a 15 oz mug.
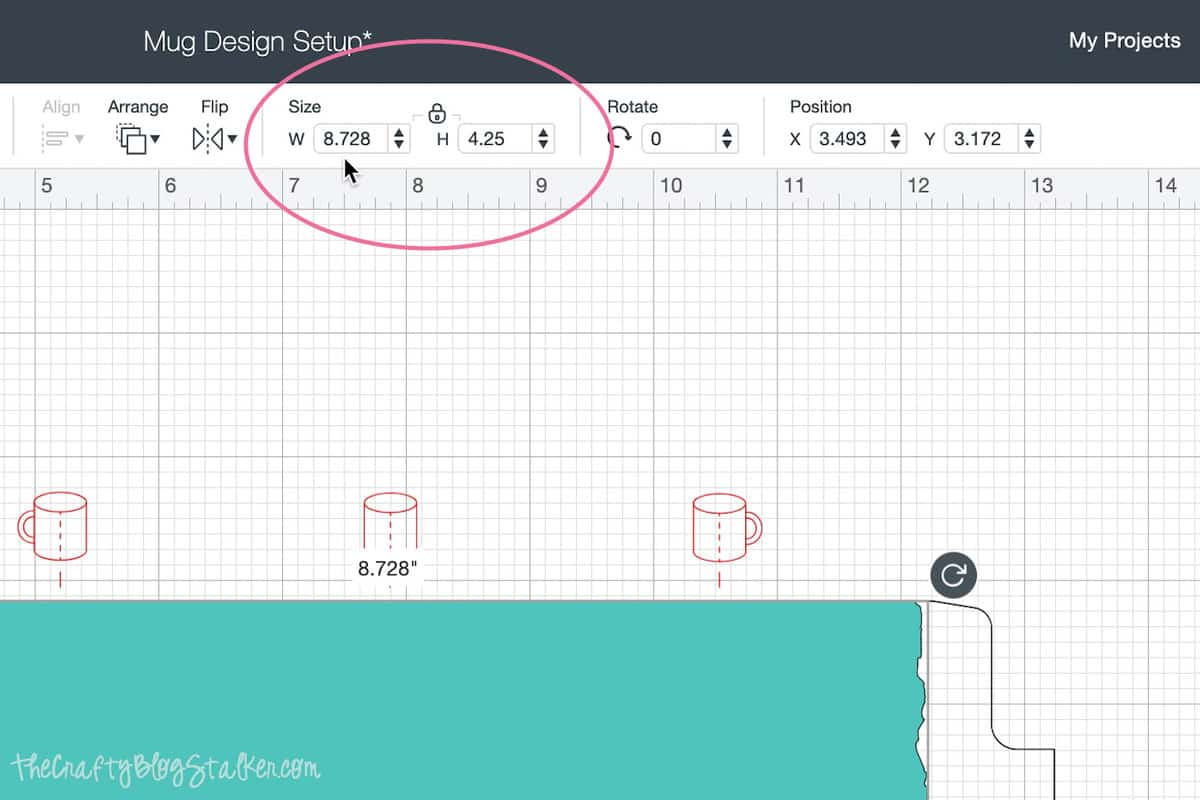
Highlight the turquoise rectangle and note the size. It shows 8.728 x 4.25 inches.
Designing in Canva:
Now we are going to go into Canva. Select "Custom Size" and enter the same dimensions as above. This will open a blank design space of that size.
Select "Elements" and scroll down to the grids. Find the double, side-by-side grid and Select Add it to Your Design. Select "Spacing" and move the slider bar to 0, so there is no white space between the two images.
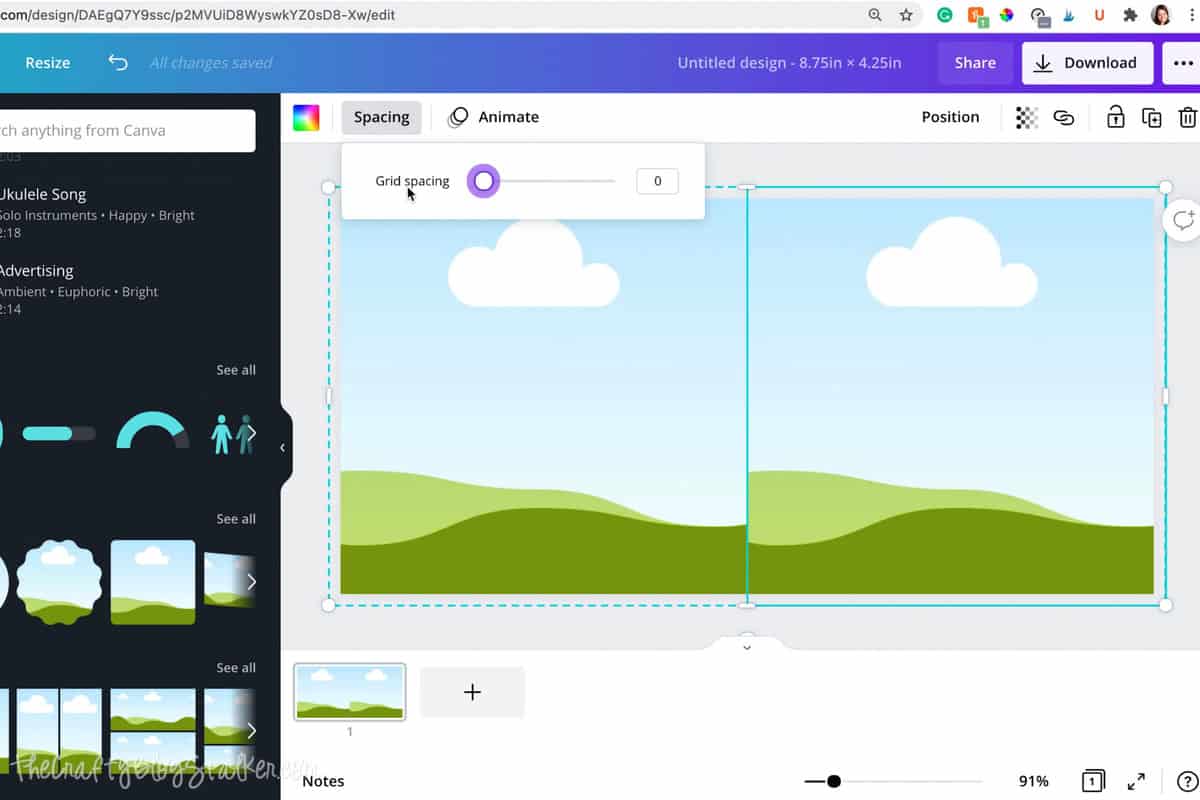
Upload your image into Canva and then drag it into one of the image panels. Position as needed to fit the space correctly.
Drag the same image into the next image panel, but this time flip the image. This will create a seamless design.
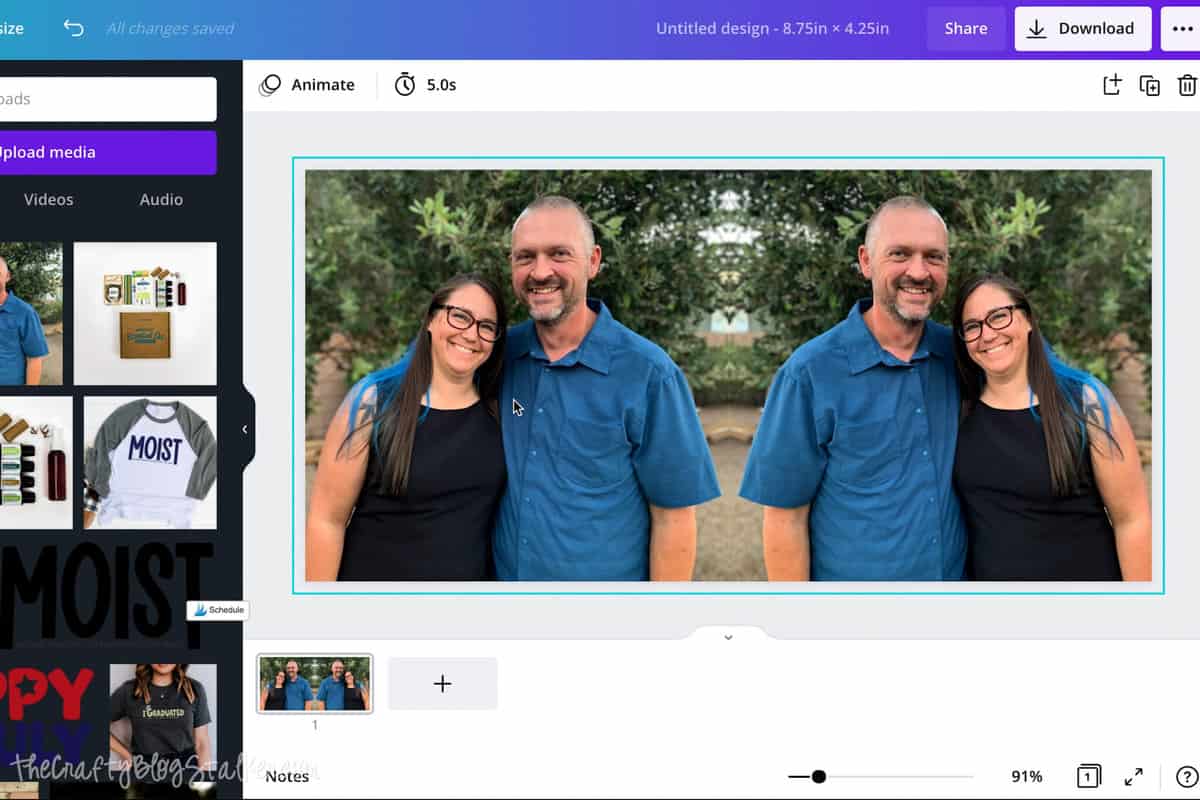
Grab the image as a .jpeg with high quality.
Uploading Image into Cricut Design Space:
Now we are going to go back into Cricut Design Space.
Hide the Pen Layer and Wrap the Layer of the mug design by selecting the eye next to each in the layers panel. We don't need to see these layers for our project.
While in your project, select the "Upload" icon. Now, I know this sounds backward but we are going to upload a pattern fill, not an image.
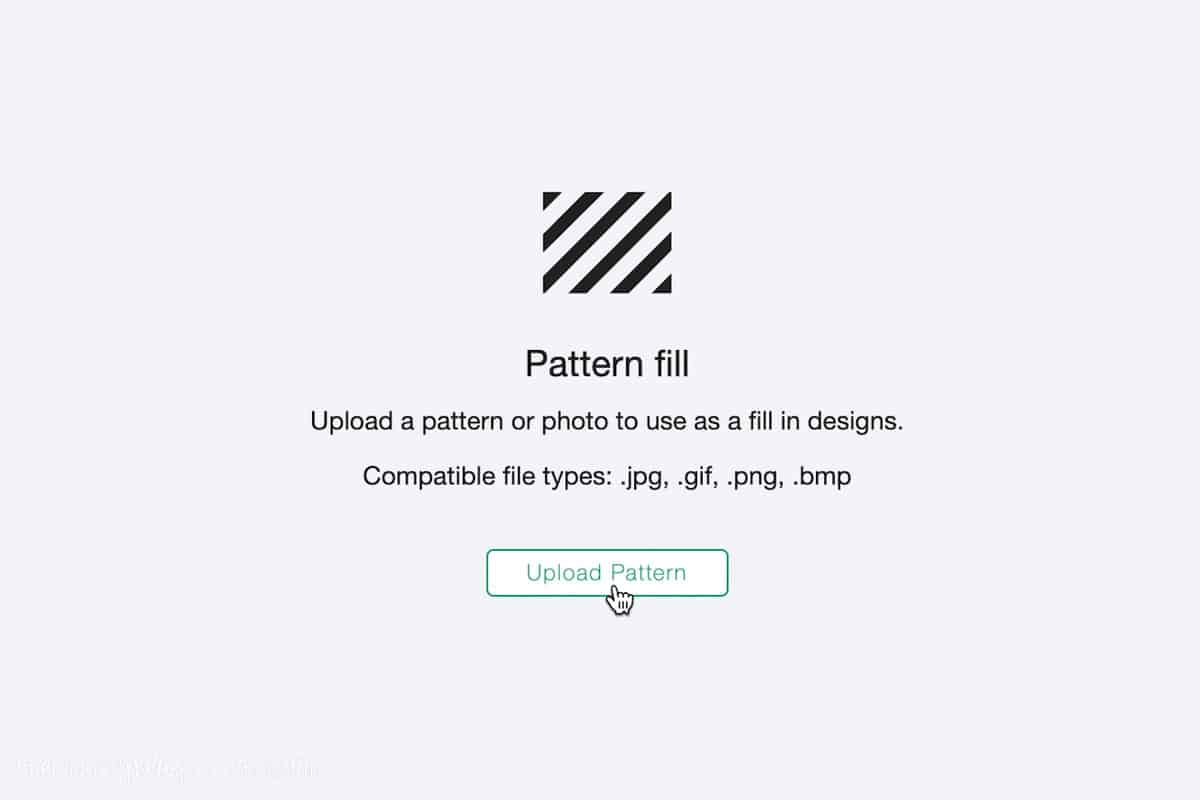
After you have saved your pattern, you are taken back to the mug project. Highlight that turquoise rectangle, and under Operation select the scroll-down menu and change to Print Then Cut.
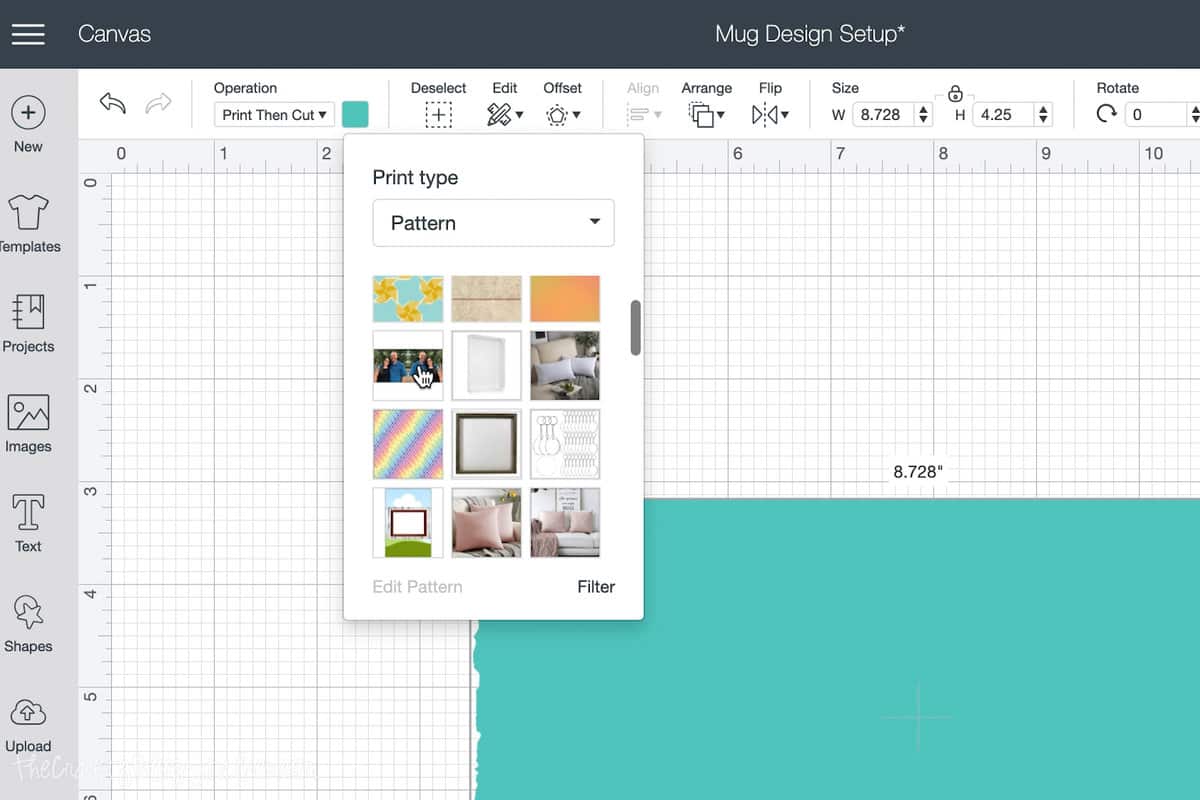
Underneath patterns, you will find the image that you uploaded. Select the image and it will be inserted into the mug template.
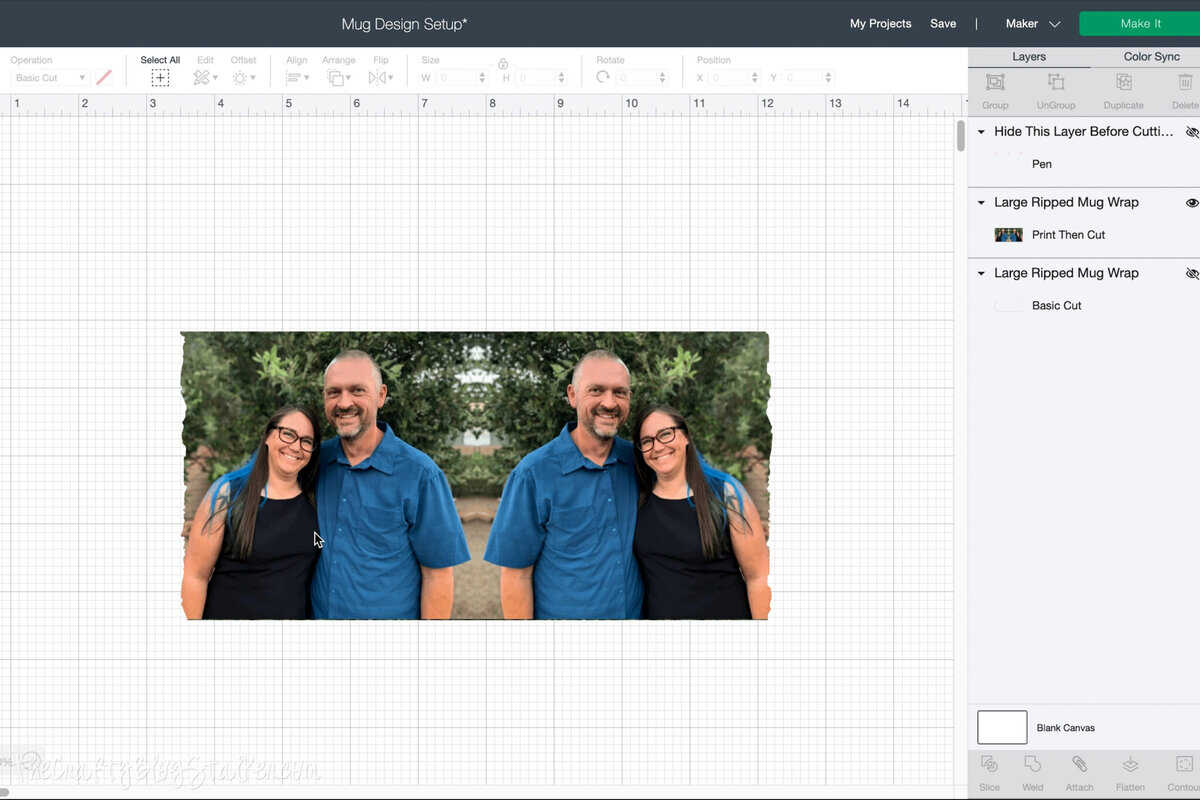
Select the "Make It" button and you will be taken to a mat preview. This is your design with a black rectangle around it. The black rectangle are the registration marks for your Cricut.
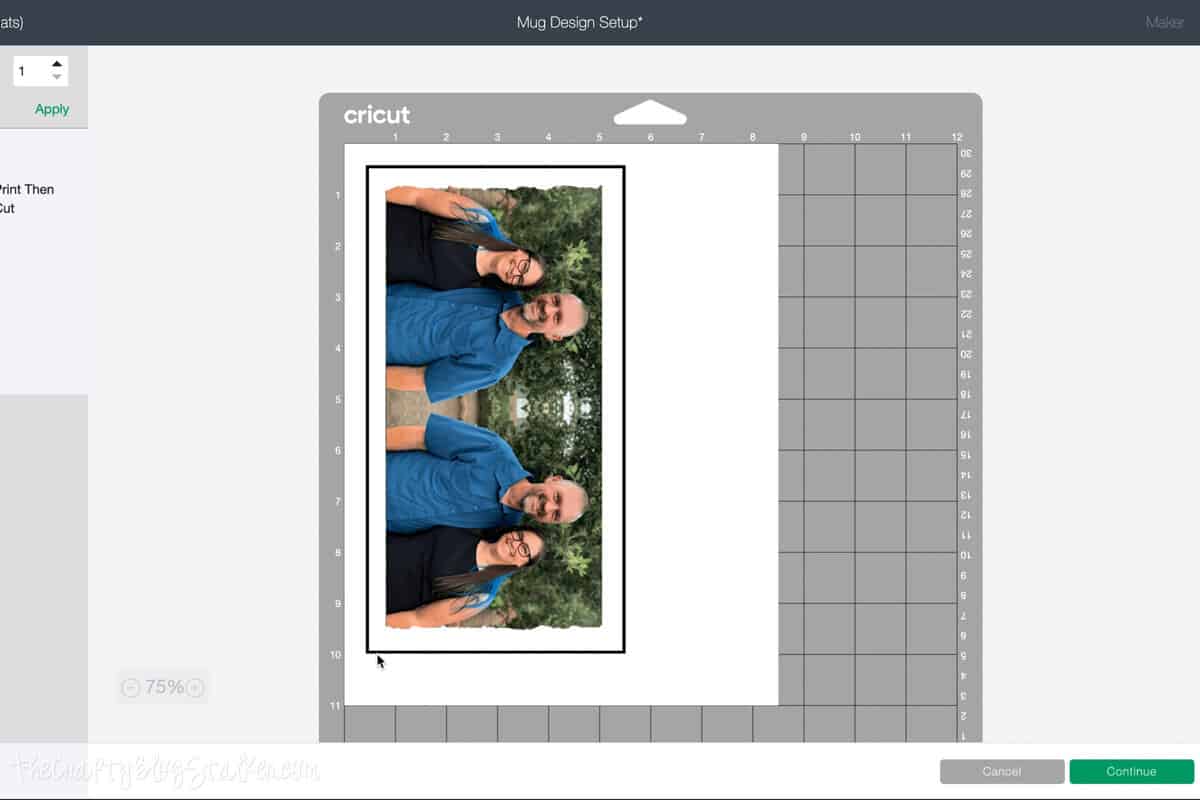
If there are no words you can send the design as is to the printer. If you have added text make sure to "Mirror" your design, otherwise the wording will be backward on your final product.
*This does not work with a laser or ink-jet printer. It must be with a sublimation printer, printed on sublimation paper, using a sublimation blank mug.
Applying the Sublimation Print to the Mug:
Using a paper trimmer, trim around the design cutting off the black registration marks.
Wrap the design around the mug keeping it centered around the handle of the mug. Tightly secure with heat tape.
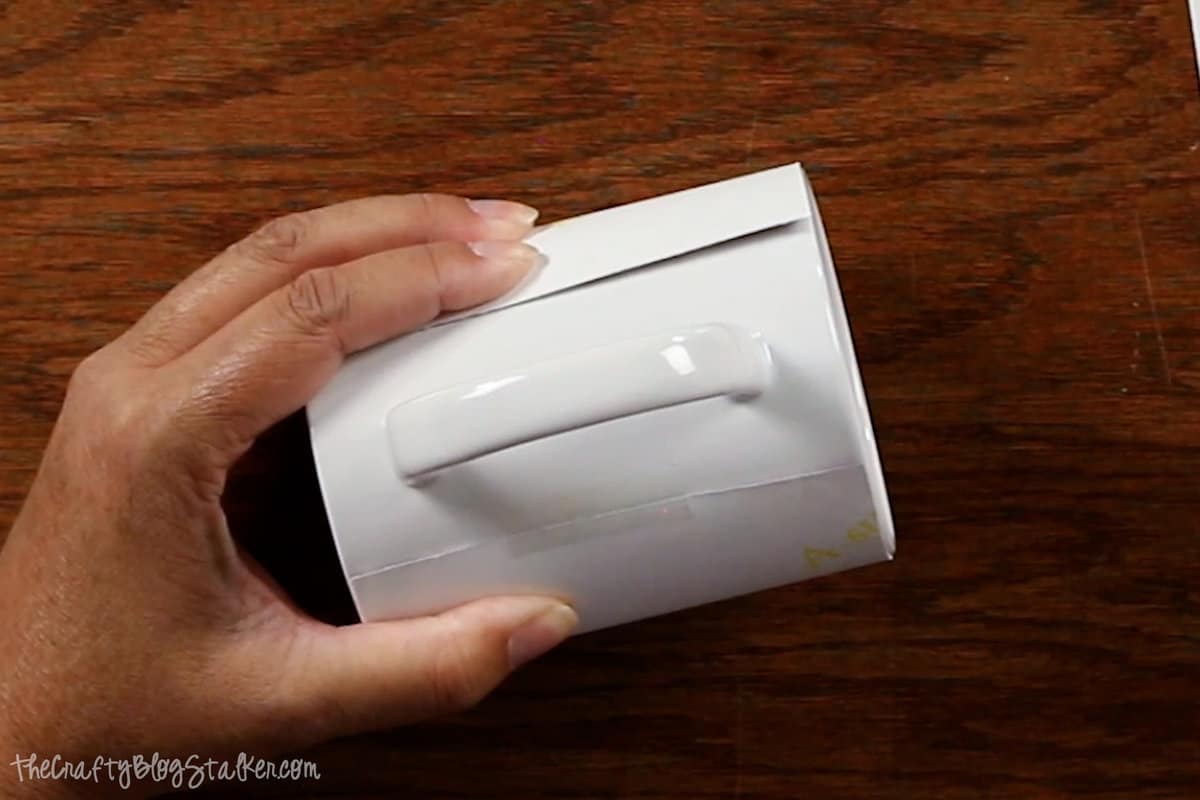
Wrap with another piece of butcher paper or copy paper in the same manner. This extra layer will against ink bleeding onto your mug press.
Place the mug into the Cricut Mug Press at a slight angle. This will stop you from getting snagged on the paper.
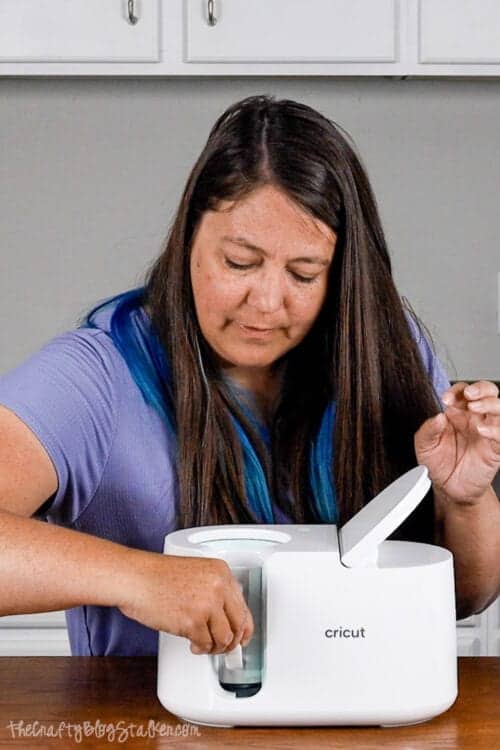
Press the top down and the timer on the mug press will begin automatically.
After you hear a beep, lift the lever of the mug press and carefully remove the mug, only touching the handle. Let the mug cool completely before removing the layers of paper.
And there you have it! A beautiful photo mug! Aw, aren't we cute?
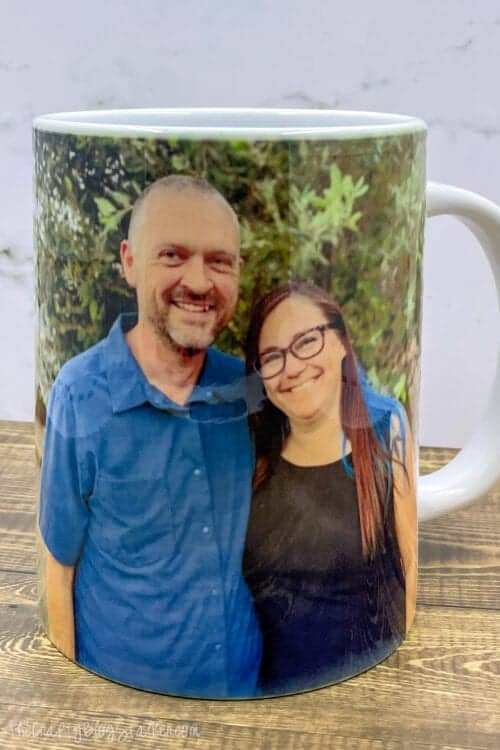
I love the edges of the design too by the handle.
Our Crafting Essentials:
- The Cricut Cutting Machine is easily our favorite crafting tool. We use it in so many of our tutorials!
- These MakerX Crafting Tools are perfect for keeping in the craft room and are always ready when needed!
- This Fiskars Paper Trimmer is easy to use and cuts nicely without frayed edges.
- These Scotch Precision Scissors cut like a dream, and you get multiple pairs in a pack!









Leave a Reply