This post may contain affiliate links. For more information, please see our disclosure policy.
AD: Make a shaker bookmark to keep your place in any book! A step-by-step tutorial using the Fuse Tool by WRMK. I received a free We R Memory Keepers Fuse Kit in exchange for this post. All opinions expressed are 100% my own.
Have you seen the Fuse tool from We R Memory Keepers?
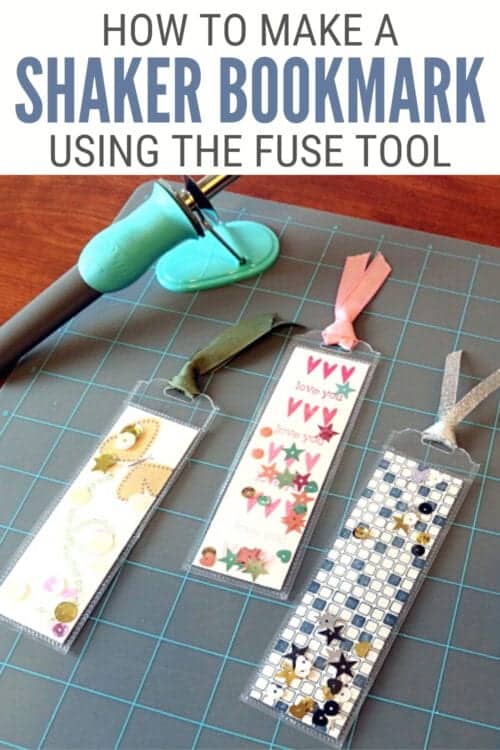
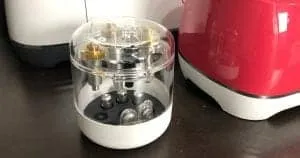
This tool is absolutely awesome and is my new favorite crafting toy. Fuse is a heat tool that allows you to easily create custom pockets and sleeves for use in sealing keepsakes, memorabilia, crafts, and party decor.
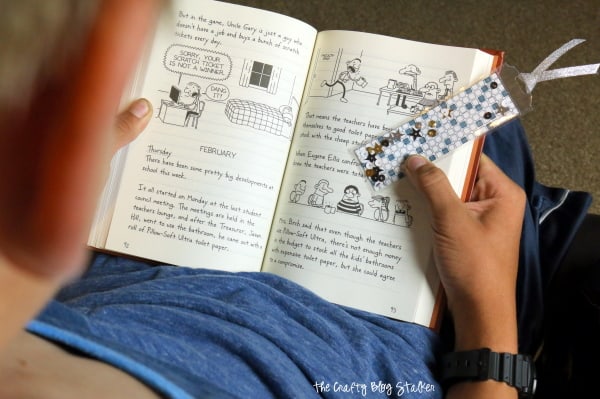
The other day I was playing in my craft room and had the perfect idea that my Fuse was perfect for, bookmarks! My kids are all big readers so this was something that I could make for them that they would use and joy.
Supplies You'll Need to Create this Project:
Some supplies were provided at no cost. Links may lead to similar products if the exact ones are unavailable.
Craft Tutorial:
Cut strips of cardstock that measure 1 ⅜ by 4 ⅜ inches.
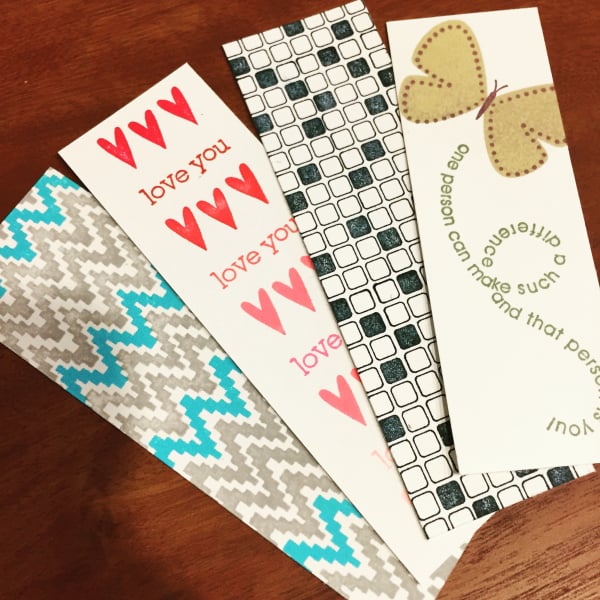
Using rubber stamps and ink pads, decorate the strips of cardstock.
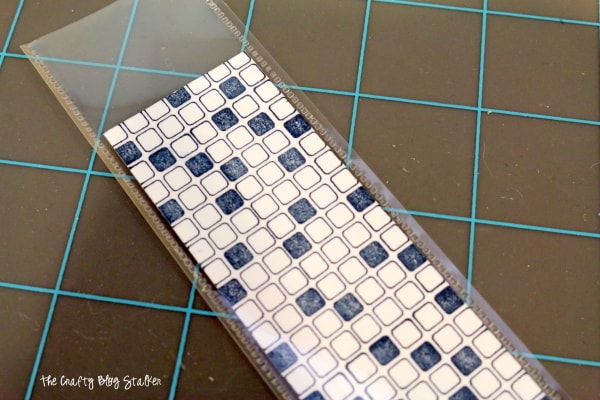
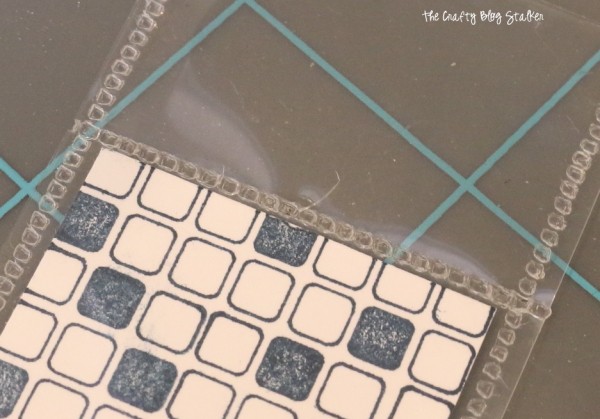
Open a page protect and slide a cardstock strip inside. Using the Fuse Tool, go around the two sides and the base and trim the edges next to the fused edges with a paper trimmer.
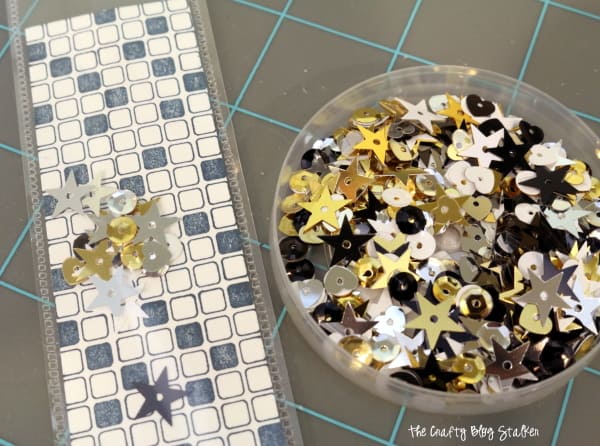
Next, add several pinches of loose sequins into the bookmark. Add as much or as little as you want. Make sure there is a bit on each side of the paper.
With the welding tip on the Fuse Tool, seal the top of the sheet protector just above the cardstock strip so none of the sequins will fall out.
For the next step, switch out the tip of the Fuse Tool to the cutting tip. The tips simply screw on but you will need to unplug the tool and let it cool before you change the tips out.
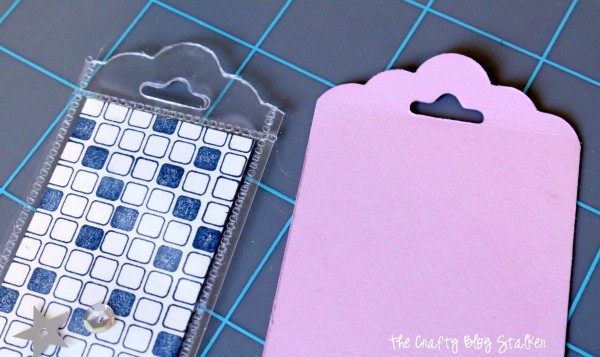
While you are waiting for the Fuse Tool to cool, cut a strip of cardstock the same width as the shaker bookmark. Place one end in the tag paper punch. This will give you a template for the shaker bookmark.
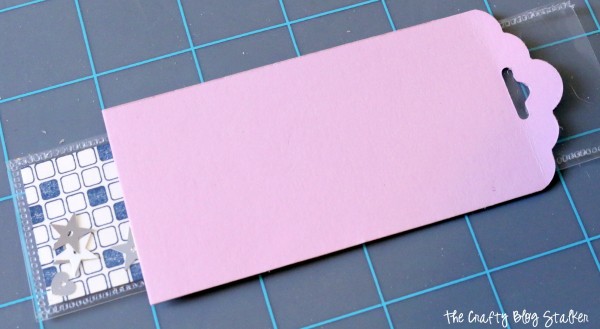
Place the paper template on top of the shaker bookmark and go around the curvy edges and the hole with the cutting tip on the Fuse tool.
The last step is to add a cute piece of ribbon through the hole on the top.
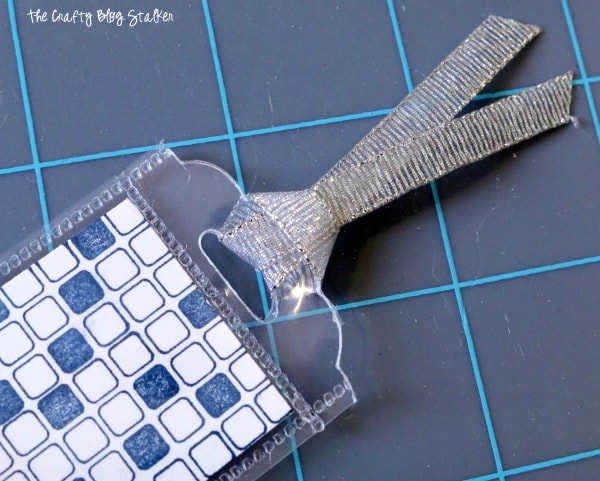
The bookmark is now finished and ready to be used! -
I was right, my kids love them and I just love to see my kids reading!
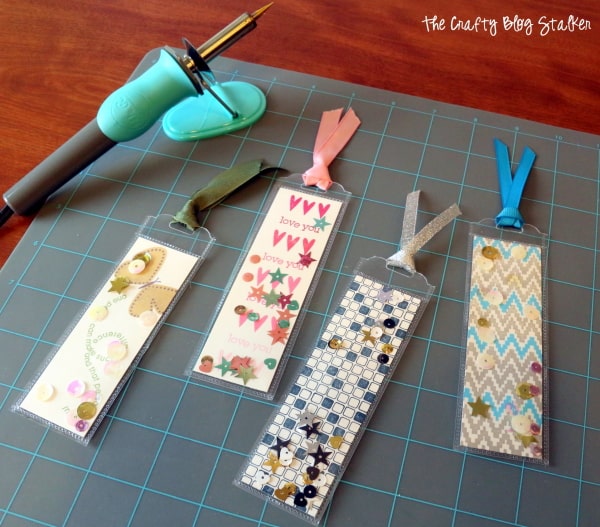
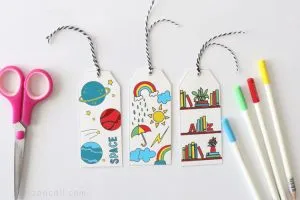
Here are all four of my finished bookmarks. They all turned out so cute.
If you love this tutorial, please give it a five-star review and help me share it on Facebook and Pinterest!
Our Crafting Essentials:
- The Cricut Cutting Machine is easily our favorite crafting tool. We use it in so many of our tutorials!
- These MakerX Crafting Tools are perfect for keeping in the craft room and are always ready when needed!
- This Fiskars Paper Trimmer is easy to use and cuts nicely without frayed edges.
- These Scotch Precision Scissors cut like a dream, and you get multiple pairs in a pack!


Jennifer
These bookmarks are so cute. What a great tool!
Jennifer
Amanda
What a great idea! I just have to use napkins, pony tail holders...really whatever's close by and will fit in a book. This fuser sounds like a nifty tool. Thanks for linking up with the #homemattersparty this week! We're glad to have you.
Kimberly
So cute! This looks so good. Pinned and tweeted. Thank you for bringing this to our party and we hope to see you on Monday at 7 pm. Lou Lou Girls -
Sherry
These are awesome! bookmarks! Thanks for linking up and sharing with us at Funtastic Friday. Please join us again this week:-)
Sherry
P.S. Your post is featured at this week's Funtastic Friday!
Diana Rambles
Super cute! My daughter love it!
Katie
Great! Thank you Diana. It is such a fun and useful craft.
Edye
I love reading and collecting bookmarks! Thanks for sharing 🙂
Blessings,
Edye
Kendall Patton
Very nice bookmarks! I've never even heard of a fuse tool, but this looks like something fun to play with! 🙂
Katie
Thank you Kendall! Isn't the Fuse Tool neat?! It really is a fun little tool.
Emma
I would be making bookmarks all over the place with this tool - very cool!
Katie
Isn't it fun, Emma? I've also made banners and cards. It's really so versatile.
LiZ parsoNs
I have the tool ,great idea thanks,I will use it mor now.school holiday idea,for our rainy day
Katie
Thank you Liz, I'm so glad that you found the tutorial helpful. Thanks for stopping by!
Amy C.
Awesome idea! I think I will make these for my son's high school teachers!
Katie
Great idea! Thanks Amy!