This post may contain affiliate links. For more information, please see our disclosure policy.
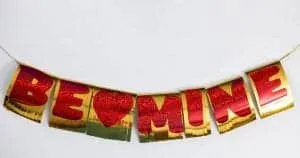
Learn how to make a Valentine's Day Banner with the Banner Punch Board and Fuse Tool. A step-by-step shaker banner tutorial.
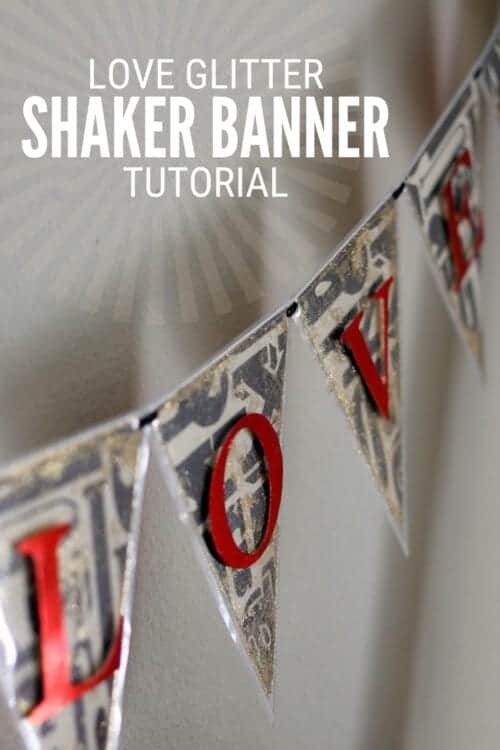
Banners are a fun item to make to help celebrate any event. They look beautiful whether they are announcing a sale at a store, wishing someone a happy birthday, or when used as beautiful home decor.
A banner shouts that there is something to celebrate, making me want to party.
This Love Banner is no different. It could be used as a seasonal decoration for Valentine's Day, or party decor for a wedding or shower. Change the word and the possibilities are endless.
What is different about this banner is that it is also a shaker. If you have never heard that term before it basically means it has something inside that moves around when shaken.
Banner Punch Board Video Tutorial:
Supplies You'll Need to Create this Project:
Some links may be to similar items when exact items couldn't be found online.
- Double-Sided Pattern Paper
- Red Foil Cardstock
- Sheet Protectors
- Gold Glitter
- Foam Mount Pop Dots
- Black Ribbon
- Banner Punch Board
- Fuse Tool
- Big Shot - Serif Essentials Alphabet Dies
- Crop-A-Dile
How to Make a Love Banner
My double-sided pattern paper came from the paper stash I have at home. I love the different prints. Large random letters on one side and newspaper print on the other.
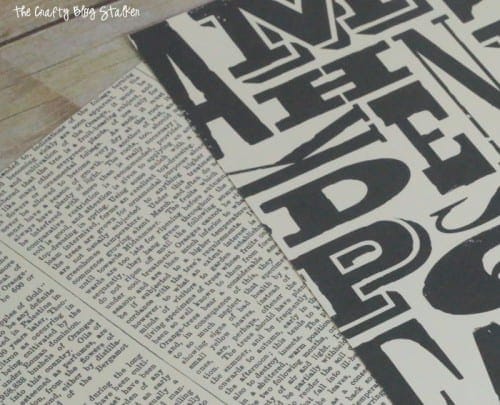
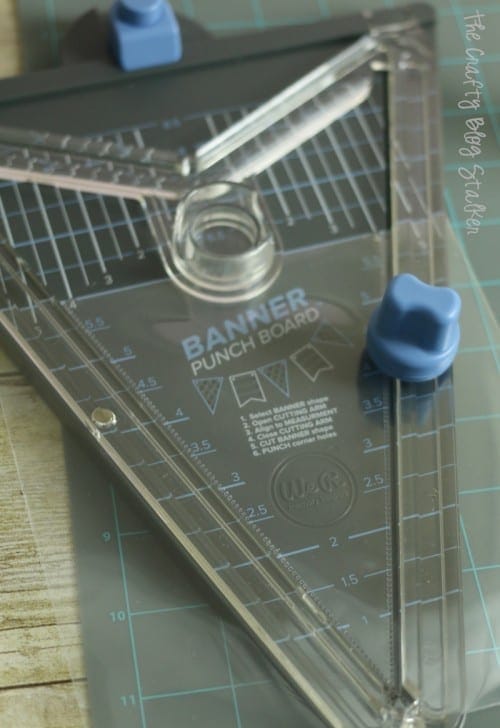
First, cut your banner pieces from the triangle end of the Banner Punch Board. Make as many as you need for your word. For my banner, I needed 6. Line the paper at the 5.5-inch line and cut your banner.
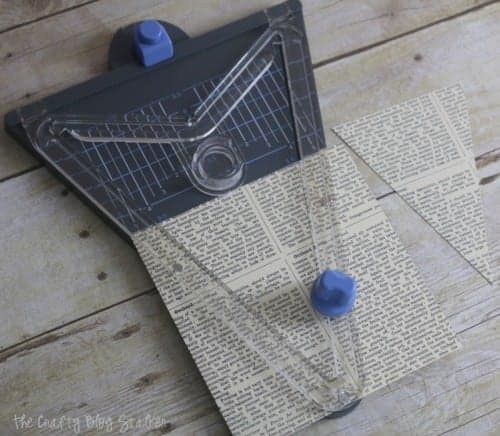
Cut your sheet protector into 6x6-inch squares and keep them the front and back together so you have two layers of the sheet protector. Use one of the banner pieces as a pattern and place it under both layers.
Using the Fuse ruler as a guide create a seam around the two edges of the plastic banner piece, leaving the top open.
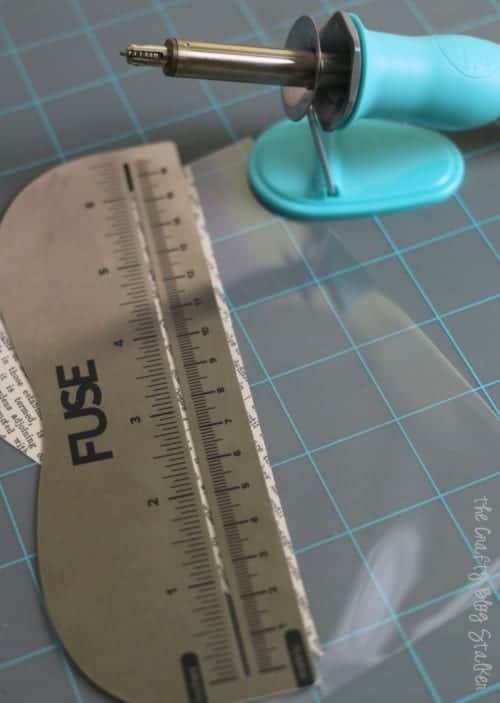
You can see in the picture below the seams that were created with the Fuse tool. Line up the seams inside the Banner Punch Board so that the seams are inside the cutting track.
This should put your protector sheets at about the 6-inch line in the Banner Punch Board and cut.
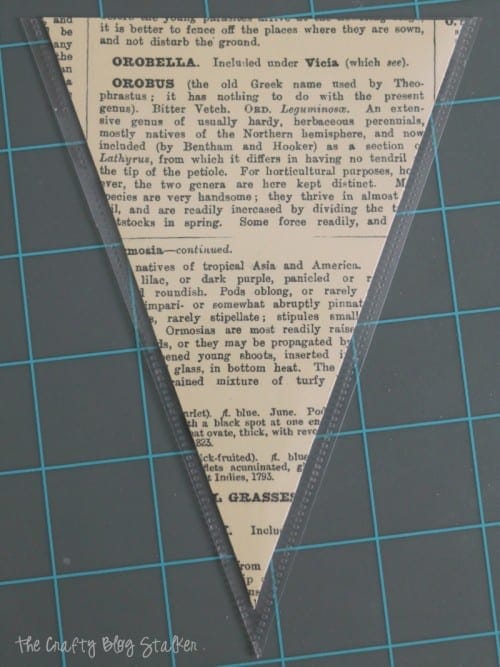
When the plastic banner is cut out slide one of the paper banners inside. Some of the paper banners may need to be trimmed to give you room to seal the top of the plastic banner. I had to trim the banner in the picture below because it was too long and didn't give me that space.
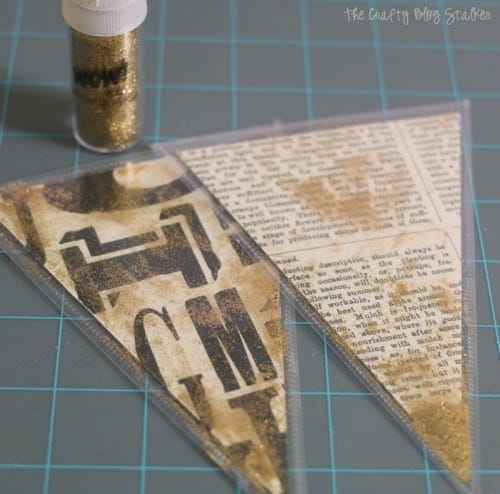
Add a couple dashes of glitter to the inside of the plastic banner pieces, making sure to get it on both sides of the paper if the banner is going to be double-sided. Then seal the top with the Fuse and ruler.
Using my Big shot and alphabet dies, I cut two sets of letters so that my banner could be double-sided.

Here you can see what both sides of the banner look like. I love how all of that loose glitter inside the sleeves sparkles and shines when the light catches it.
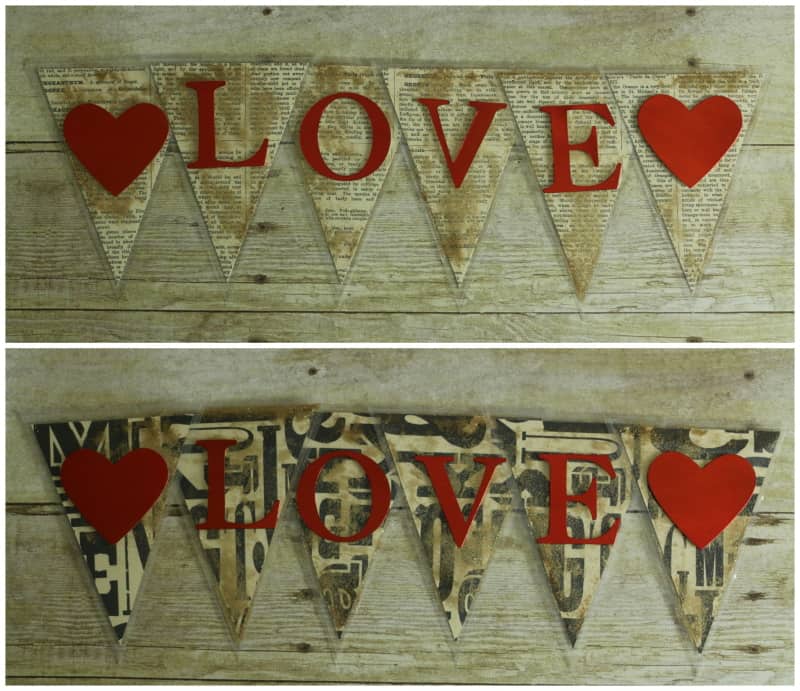
Use a Crop-A-Dile to punch small holes in the upper corners of the banner pieces and string with some thin black ribbon.
I hung mine on my door. Since my paper is protected with plastic sheet protectors I am not as worried about the outside elements.
The Fuse doesn't seal the paper inside 100% but it does give it some added protection. Plus the plastic sleeves allow me to turn each banner piece into a shaker with the glitter.
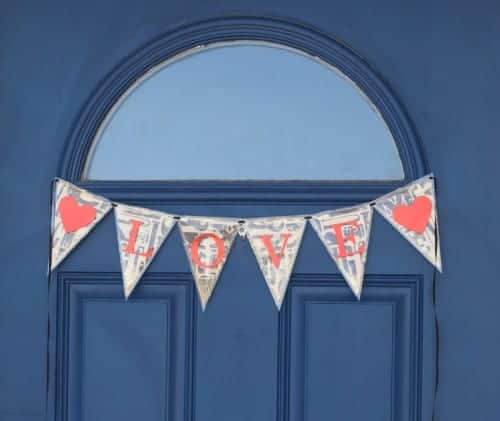
I love how all of that loose glitter looks inside the sleeves and it sparkles and shines when the light catches it.
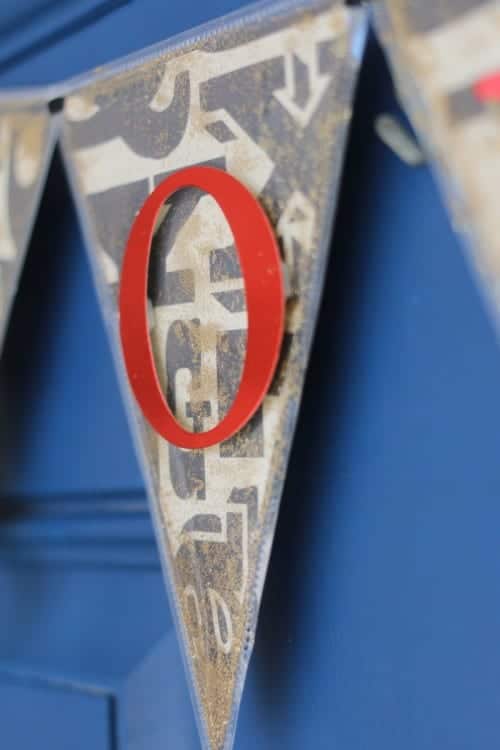
Where will you hang your banner? Please share a photo! We'd love to see it.
Our Crafting Essentials:
- The Cricut Cutting Machine is easily our favorite crafting tool. We use it in so many of our tutorials!
- These MakerX Crafting Tools are perfect for keeping in the craft room and are always ready when needed!
- This Fiskars Paper Trimmer is easy to use and cuts nicely without frayed edges.
- These Scotch Precision Scissors cut like a dream, and you get multiple pairs in a pack!





Bren Fey (BrenDid)
So cool! I didn't even know you could make a plastic sleeve!
Michelle Marttila - Happy Heart Made
I love everything about it…those plastic sleeves are so cool!!!
Suzy
Wow, this is very cool. A lot of this is new to me - never knew you could make your own plastic sleeve, the fuse ruler, etc. Thanks for the great info.
Katie
You are welcome Suzy! The Fuse tool is one of my favorites!
Marie, The Interior Frugalista
Wow, I had no idea you could make a plastic sleeve nor have I ever seen the banner cutter (which is now on my Must Buy List).
Katrin
How clever Katie! I love banners too, for decorating and anything really! But you've taken this one to the next level, how professional and how great to be able to have it outside! You are one equipped girl, I love that banner punch board, so cool!
Laurie
This is adorable! Such a cute look for the door too. Thank you for sharing with us at Brag About It. Pinned and tweeted to share!
Laurie
Wanted to pop back over to let you know that your project will be featured at next week's Brag About It Link Party! Hope you can join us. Party starts Monday at midnight.
~Laurie
Katie
Awesome! Thank you so much Laurie!
monica
I love your creative mind! I have never thought of doing this, I want to make some banners now! I really like your idea of using newspaper print. Something about it just speaks to me! Thanks for sharing this awesome craft!
Katie
Thank you Monica, sometimes my ideas work and I just love it when that happens. 🙂
Marilyn
Love your banner, very creative! Great tutorial!
Katie
Thank you Marilyn! I am so glad that you found it useful.
Lynn Streifert
Hi Katie, I absolutely love your banner video and I'm so inspired by all your creations! I sure hope Stampin' Up! will offer us the punchboard because I would love to add that to my collection. Happy Valentine's Day thanks for all your awesome crafting !
Katie
Thank you so much Lynn. It is a really fun punch board!
Life Loving
What a great decoration. It's really creative and effective. I love it. No pun intended!
Sally @ Life Loving
#LifeLovingLinkie
Lisa B.
Good Morning!! I'm stopping by to let you know your post has been selected as a Feature for the Welcome Home Wednesdays Link Party!! Stop by this morning to see your post linked up and don't forget to grab your "Featured Button" too! Thanks for linking up with us!! 🙂
denise/DIY Crush
This is suuuuuper cute! Love the glitter! Thank you for sharing at my craft party!! Be sure to link up again every Thursday at 7pm EST. I'll pin every instructional post!
Chloe Crabtree
So cute and so fun! I have been thinking about making a banner that says SPRING for on my mantel. I didn't even know about these tools you used! I will be checking this out. I am pinning this to my party decor board! Thank you so much for coming by Celebrate Your Story. I hope we see you again this week. The party opens at 8:00 PM on Saturday night!
Charlene Asay
This is so so cute. I hope that you will join us at Family Joy Blog Link Up Party this week.
Deborah
Very cute. Now I want to make a banner! Thanks for linking to the #homemattersparty
Katie
I am so glad that you like the banner, Deborah! It is a fun one to make!