

Add a personal touch to summer glassware with Etchall etching cream and Cricut. Learn how to etch designs onto glasses with this easy tutorial!
Hey! Guess what? I am now a member of the Etchall Design Team!
I'm so excited about this partnership, which means you can expect lots more fun glass etching projects.
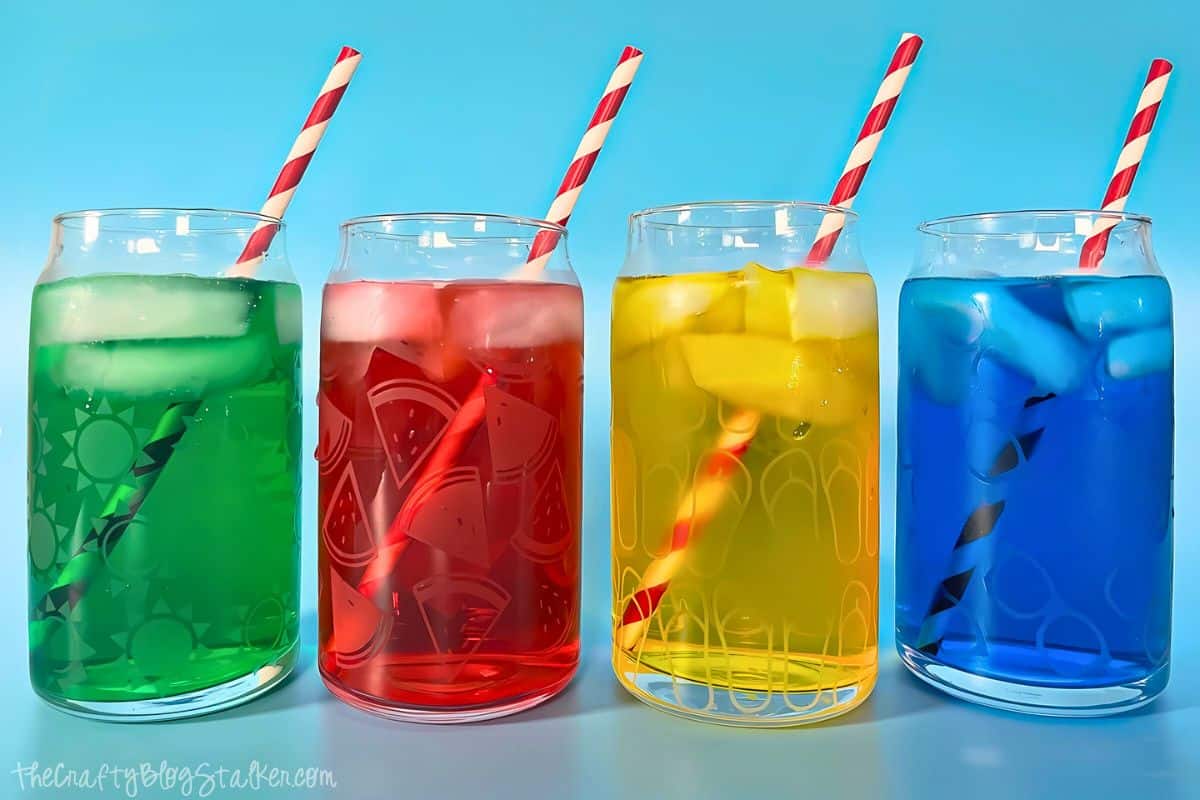
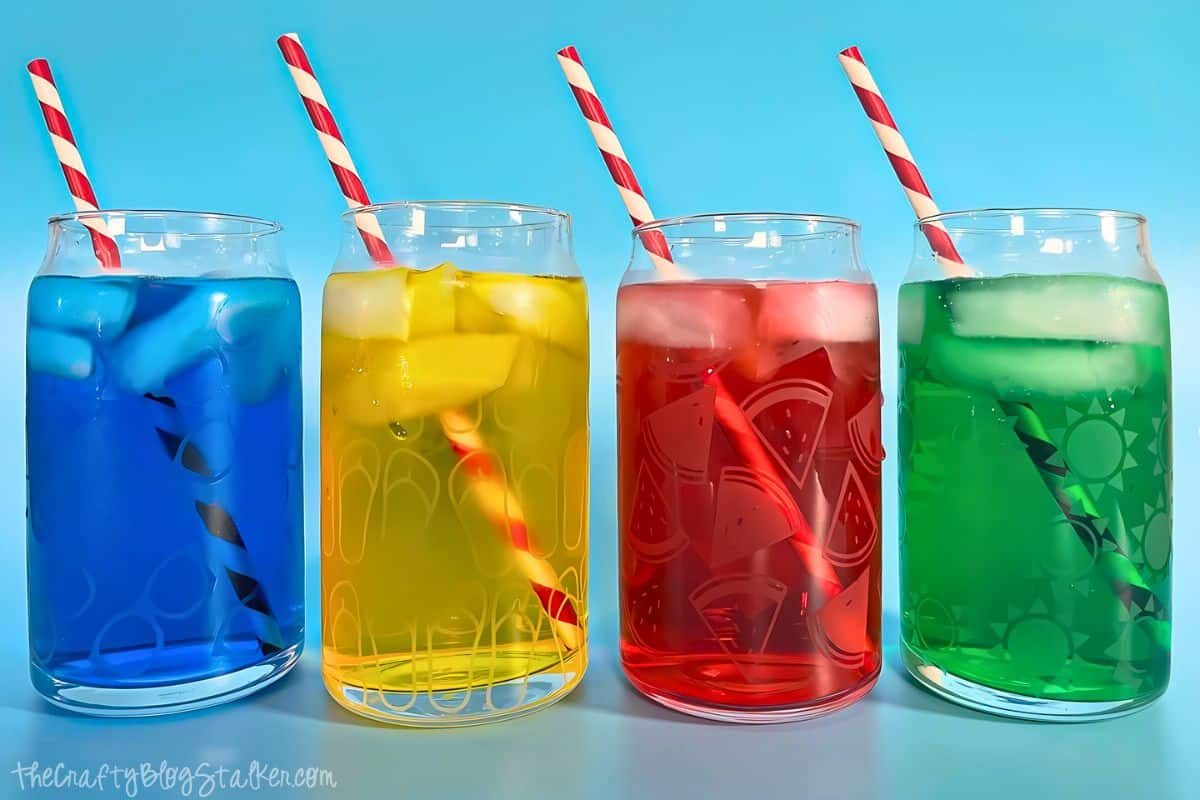
For starters, check out these adorable summer-themed drinking glasses-perfect for a party or just because they're cute.
These drinking glasses are such a fun way to get crafty!
Jump to:
Craft Tutorial Video
If videos are your thing, you're in luck-I've got a full tutorial ready for you!
Subscribe to my YouTube channel and stay inspired with every new project.
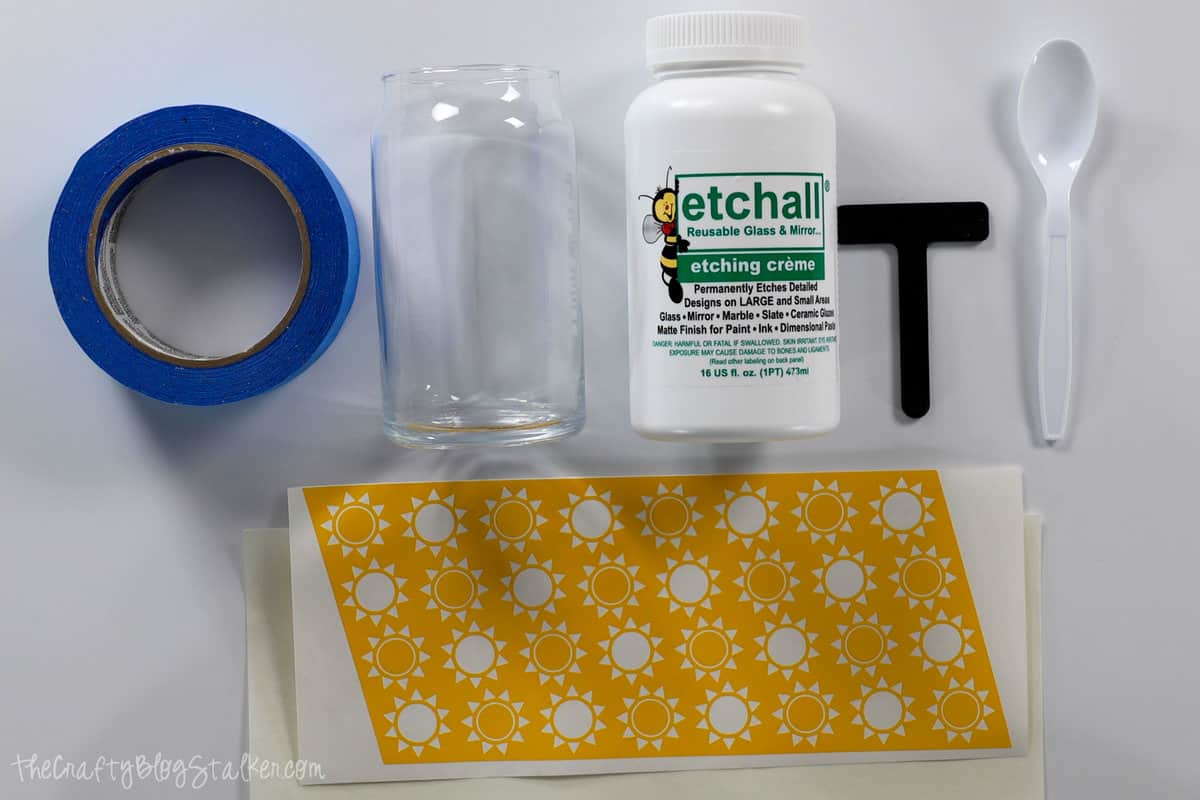
Supply List:
Some supplies were gifted at no cost. When exact item are unavailable online, links may point to comparable products.
- Etchall Etching Creme
- Can Shape Drinking Glasses
- 4 Summer Patterned Stencil SVG
- Cricut Cutting Machine
- Weeding Tools
- Adhesive Vinyl
- Etchmask Transfer Sheets
- Squeegee
- Masking Tape
- Paper Trimmer or Scissors
Grab the Free SVG:
This digital media is for Personal Use Only - You do not have permission to redistribute.

Disclaimer:
The stencils for this project were created around the drinking glasses I used. If using other can-shaped glasses or any other drinking glass, I cannot promise that these stencils will fit other drinking glasses.
The glass etching stencil is measured to fit a glass with a circumference of 9.5 inches, and the stencil design is 4.25 inches.
Cut the File in Cricut Design Space:
Upload the design into Cricut Design Space. Do not resize the stencils unless using different-sized drinking glasses.
When ready to cut, lay the Etchmask on the cut mat and load it into a Cricut machine to cut on the Vinyl setting.
These vinyl stencils are not reusable, each cut has a one-time use.
The four different patterned designs are suns, flip-flops, watermelons, and sunglasses.
Weed the stencils by removing the positive parts of the design so the negative, or the stencil, is left.
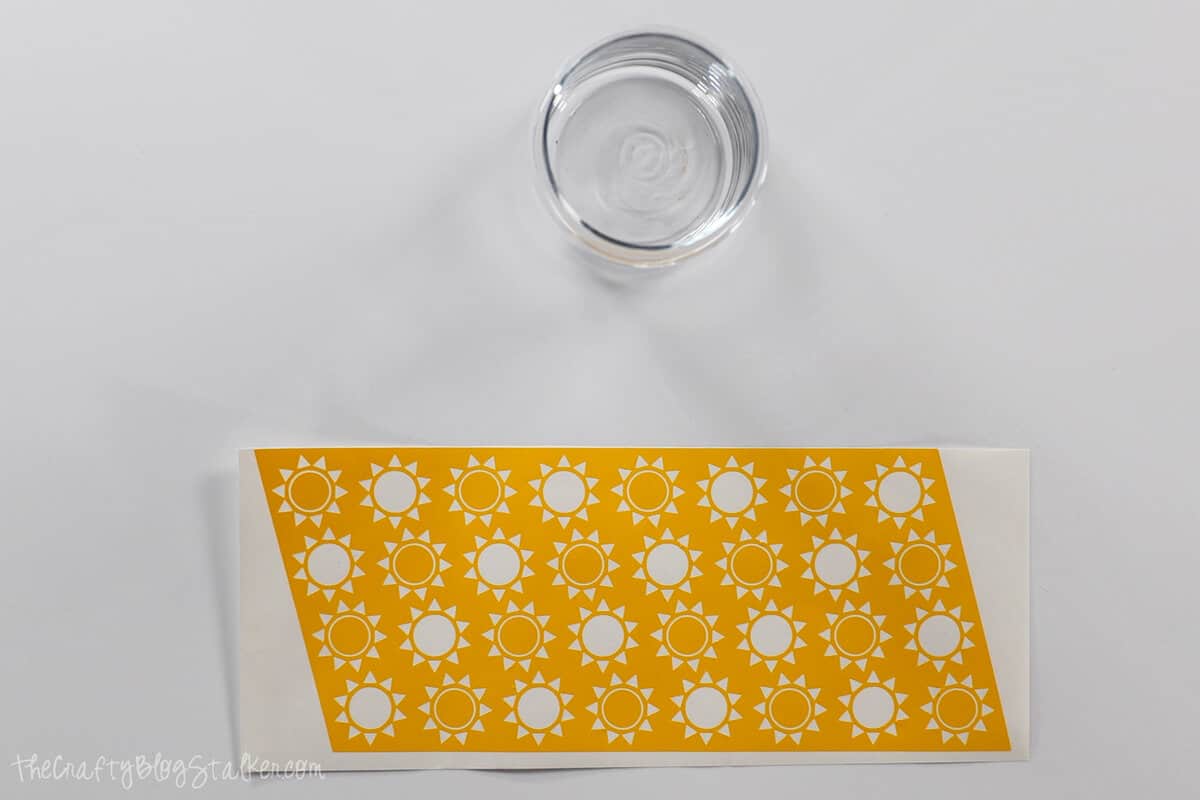
Prepare the Etchmask Stencil:
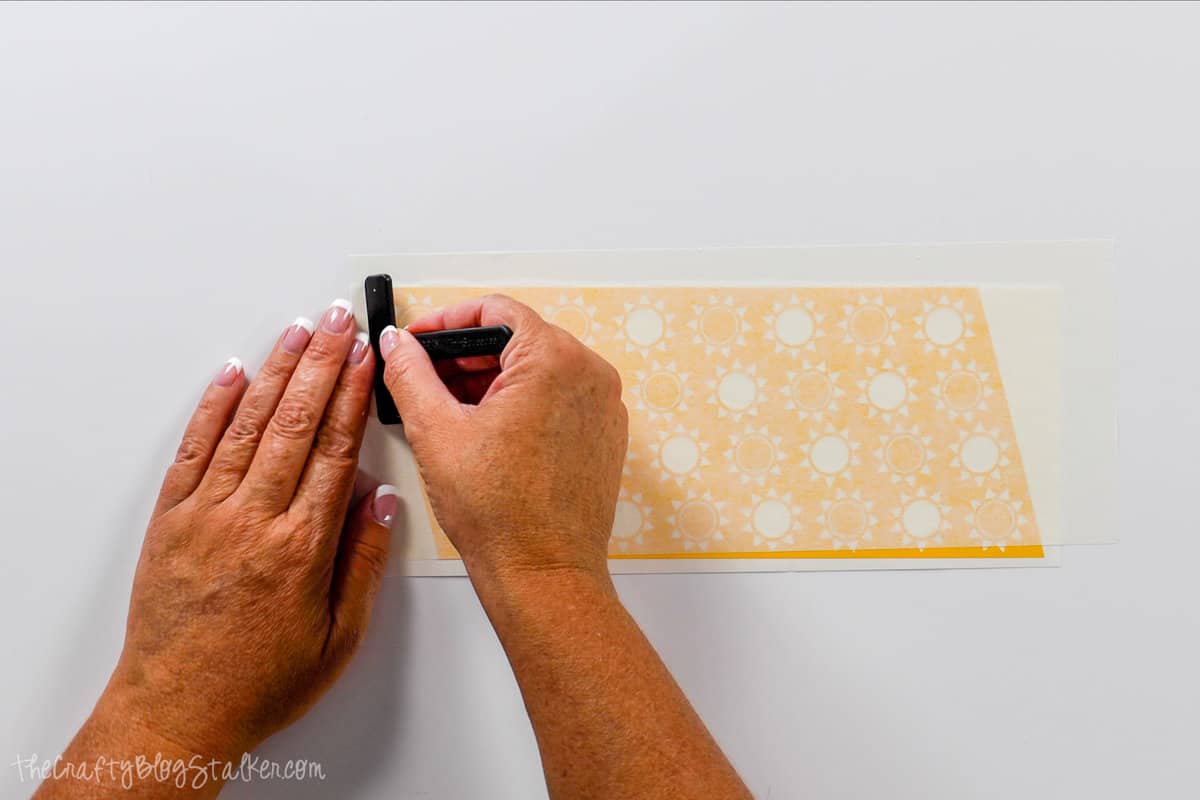
Lay a piece of Etchmask Transfer paper over the top of the stencil.
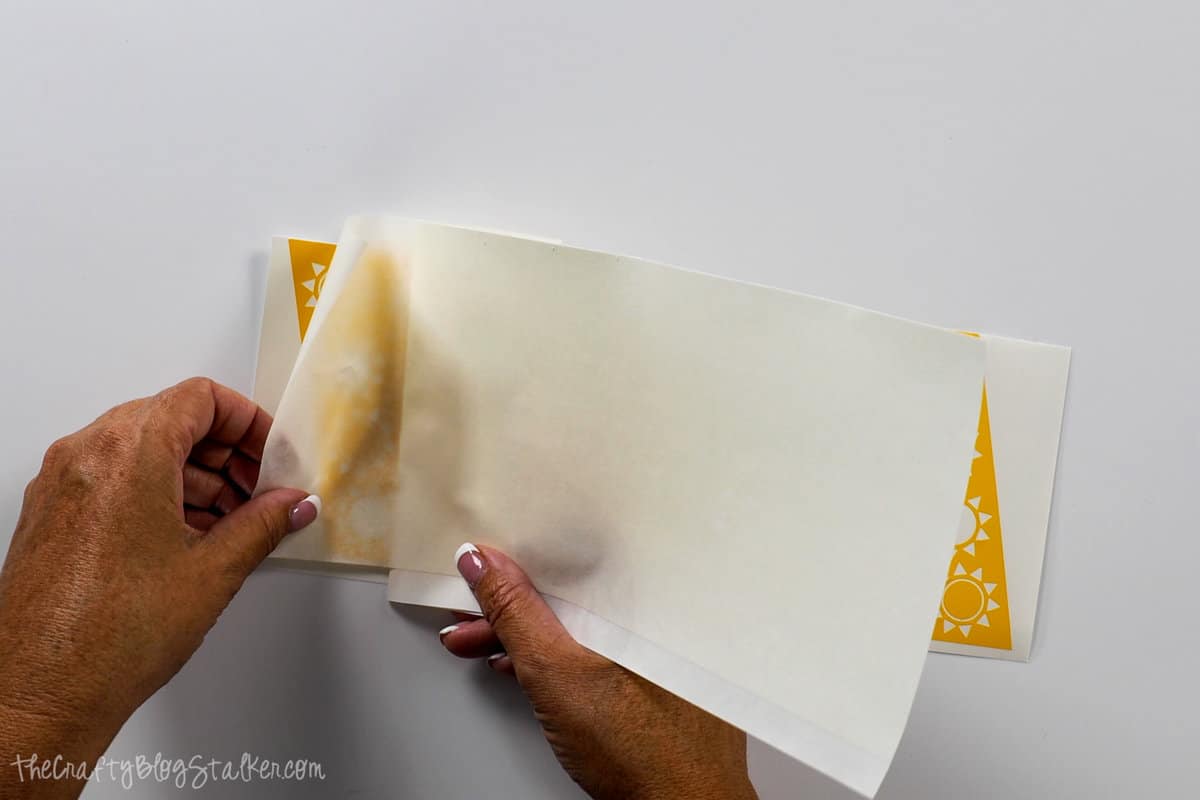
Go over the top of the transfer sheet with the squeegee tool, pressing the transfer sheet into the stencil.
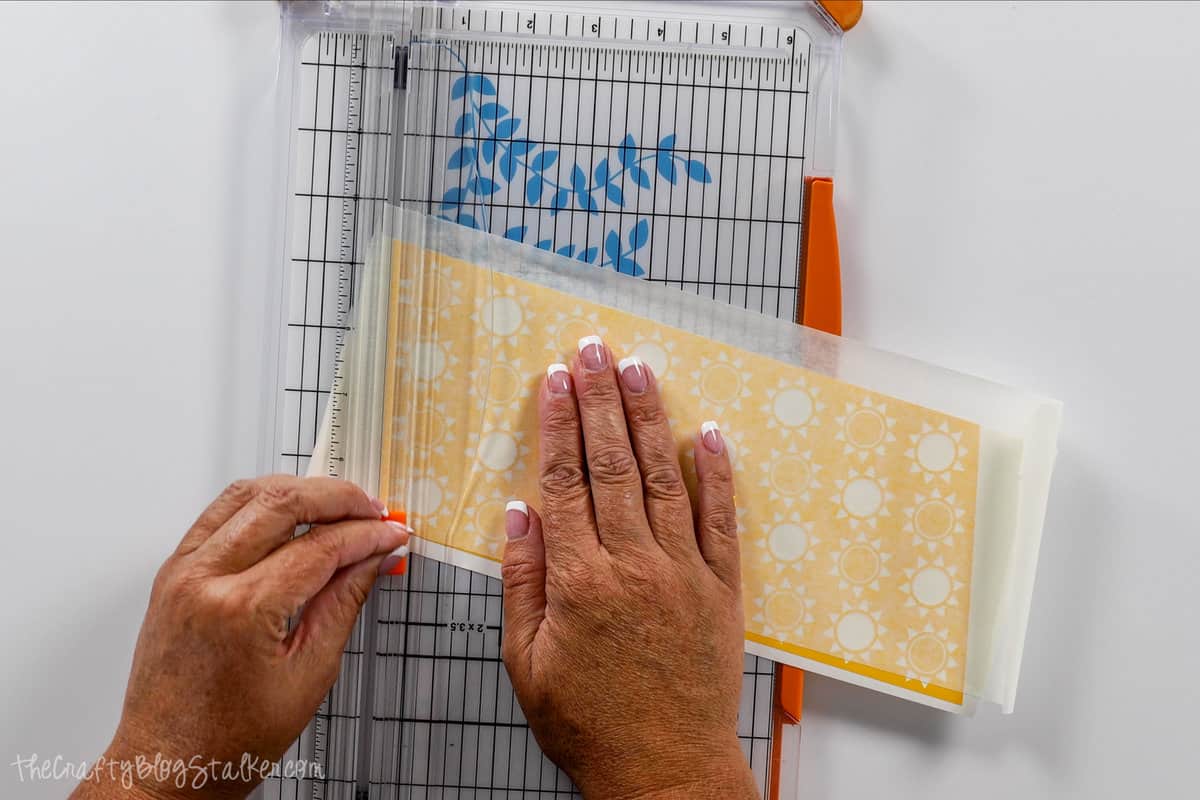
Trim the left side of the stencil along the slanted line of the stencil. This will make wrapping the stencil around the glass a bit easier.
Apply the Stencil to the Glass:
This step can be a little confusing. If needed, the video above shows the entire process.
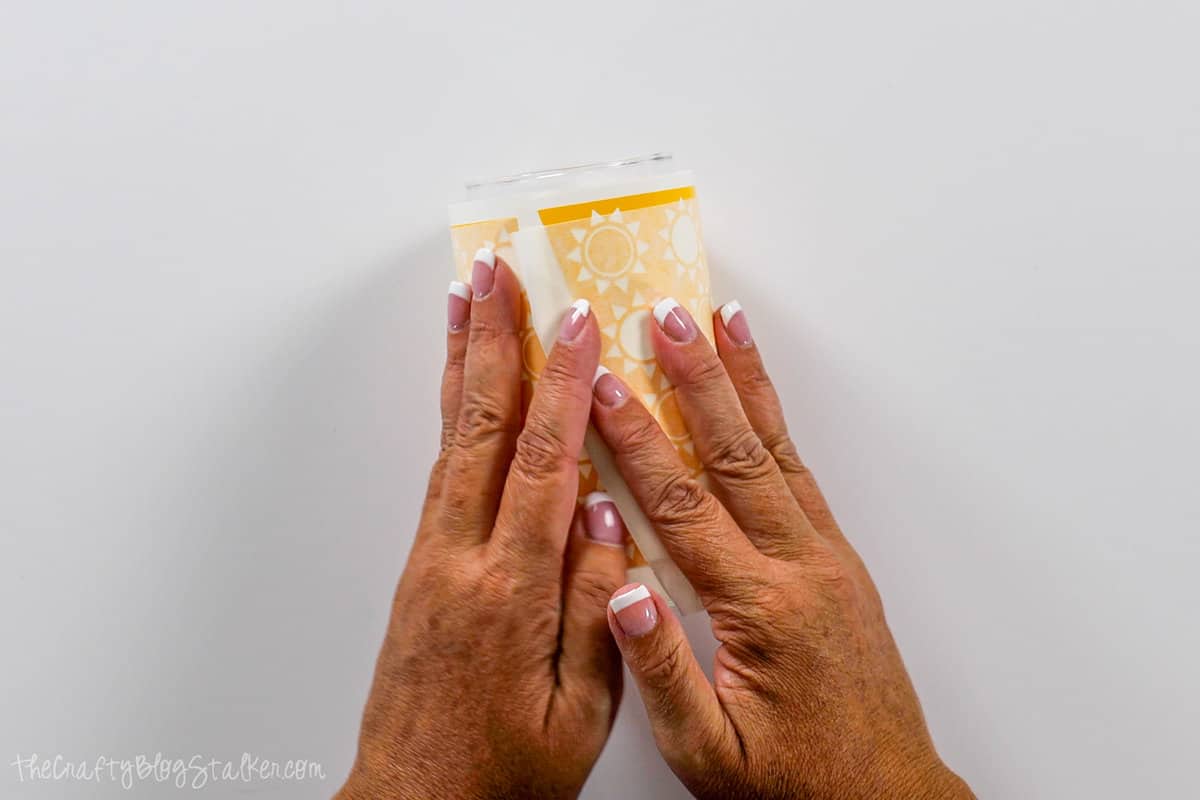
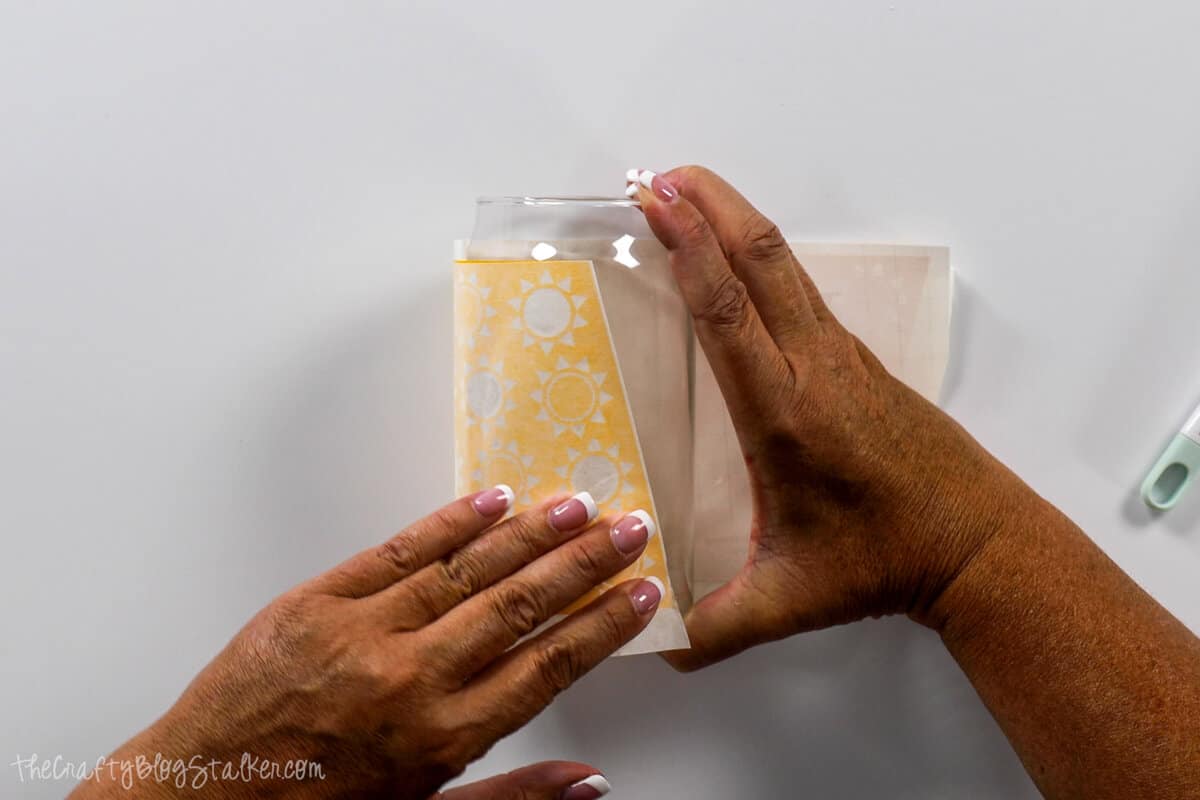
Before removing the backing to the Etchmask, wrap the stencil around the glass.
The goal is to get the ends of the stencil to line up evenly along the top and bottom of the stencil and the ends to slightly overlap.
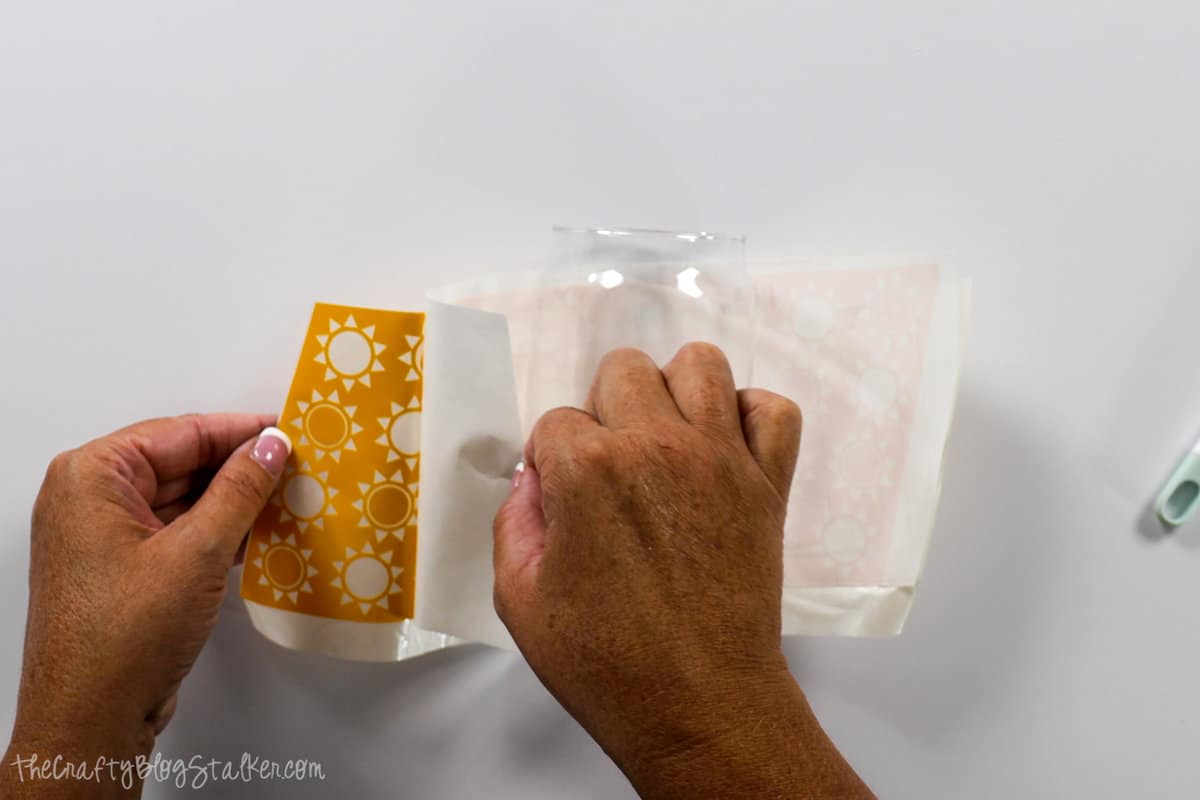
Carefully peel the backing sheet from the etch mask only about an inch or two, and fold the backing down against itself.
Hold the glass in one hand and without pressing the Etchmask into place. Double-check the placement by wrapping the right around the glass so the ends will come together.
Once in place, press the left side of the stencil into place.
Reach underneath the glass to grab that folded backing sheet, and slowly peel back while rolling the glass onto the stencil.
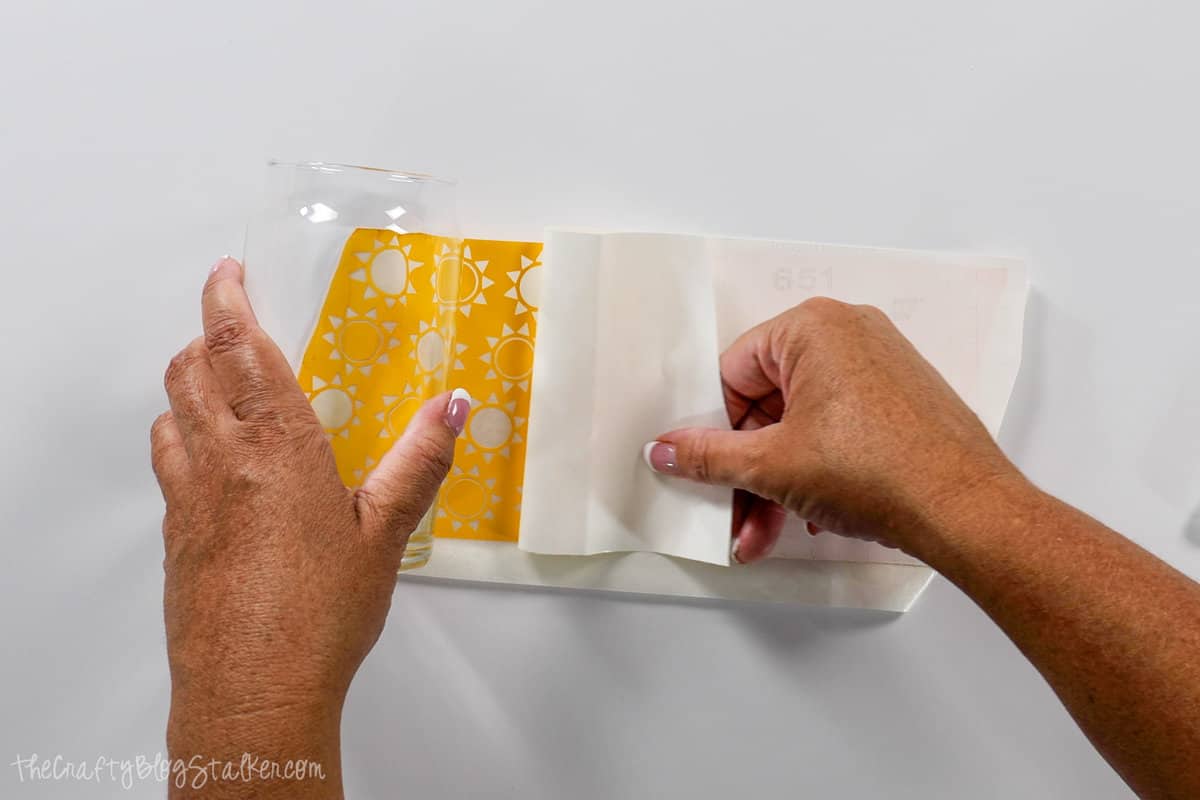
If a piece of Etchmask sticks to the backing and not the transfer sheet, roll the transfer sheet back over the pieces and rub it with a finger.
Then try again, if it continues to stick, keep going back and rubbing with a finger until it finally grabs the glass.
Before the two ends come together, peel back a portion of the transfer tape on the left side. Then wrap the stencil the rest of the way.
Once the stencil is completely adhered around the glass, peel back the transfer sheet.
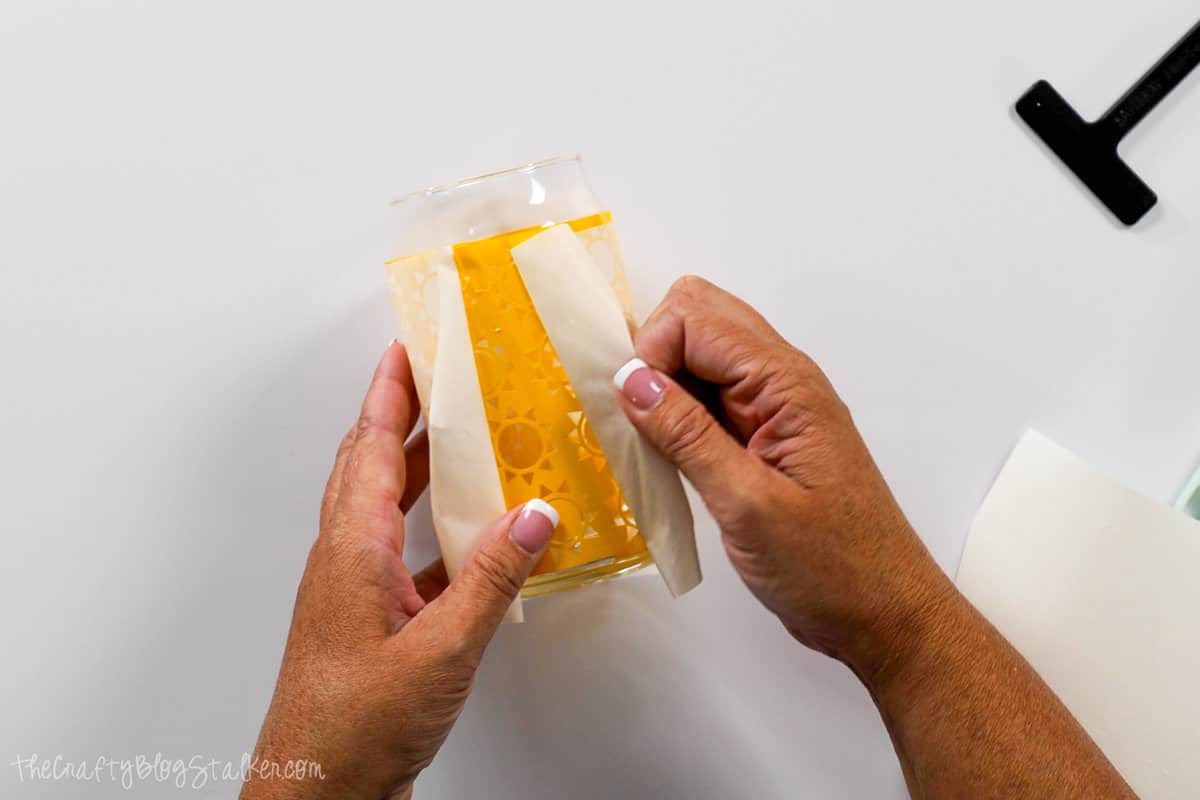
Go around the entire glass, pressing the Etchmask onto the glass with a thumb or finger.
If there are any air bubbles or creases the Etchall can sneak in and etch unwanted areas.
Along the top, I had a couple of creases, so I used the squeegee tool to really push those down onto the glass so no cream could sneak in.
Along the top of the stencil apply some painter's tape. Wrap it up and over the edge of the glass.
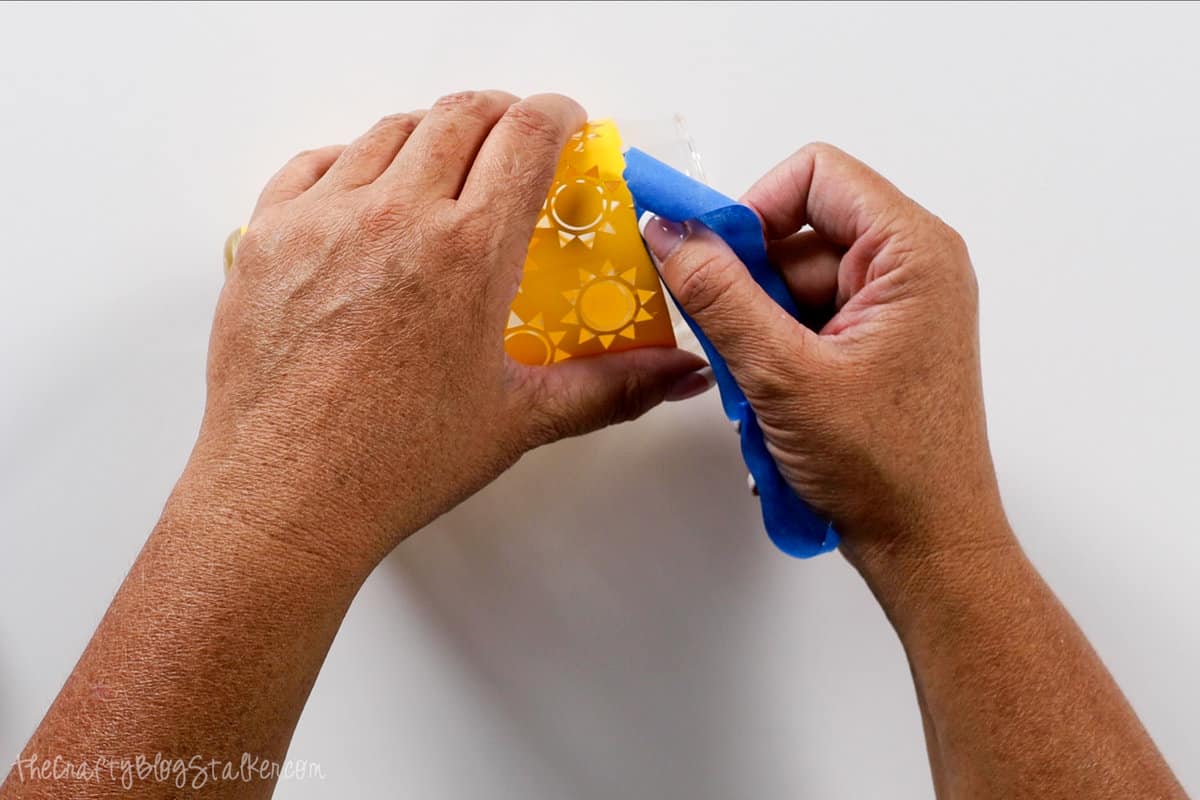
Also, wrap the painter's tape around the bottom of the stencil onto the bottom of the glass.
Etching cream could accidentally be dropped on any exposed area of the glass, etching it.
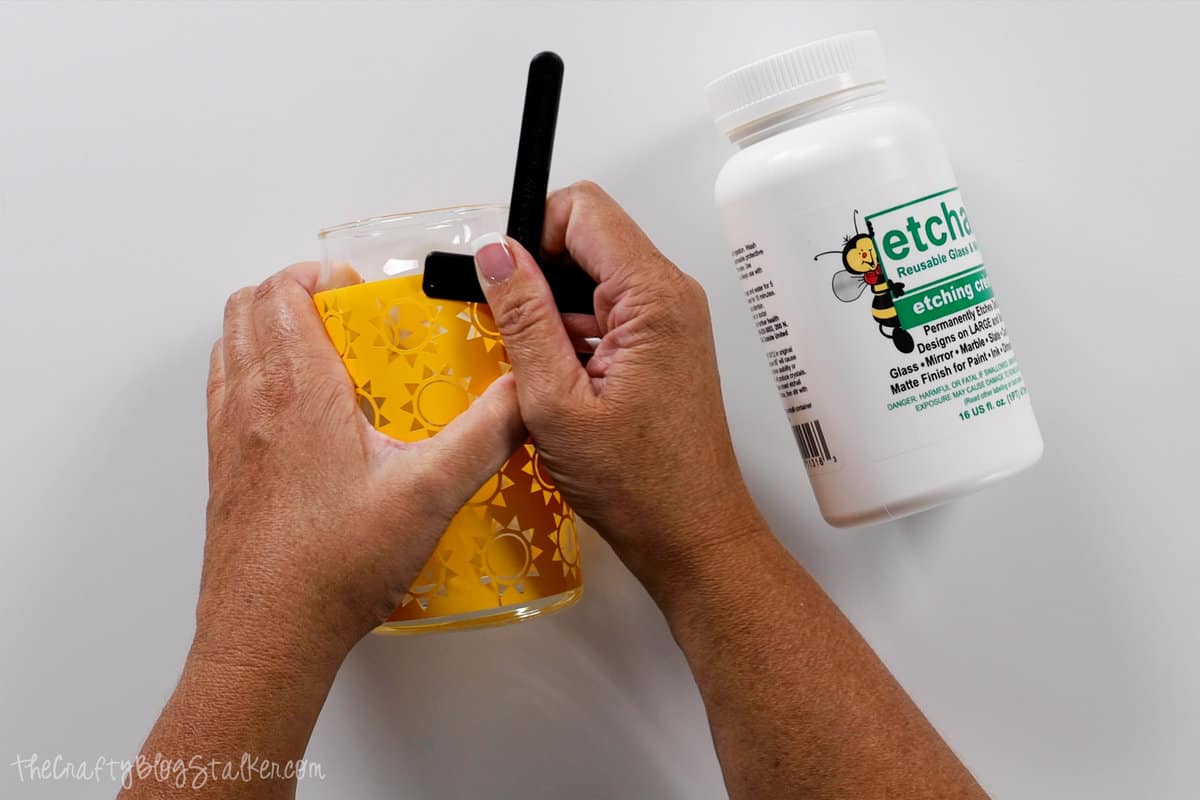
Apply the Etchall:
Dip a plastic spoon into the jar of Etchall and scoop out about half of a spoonful.
Tap it onto the side of the stenciled glass.
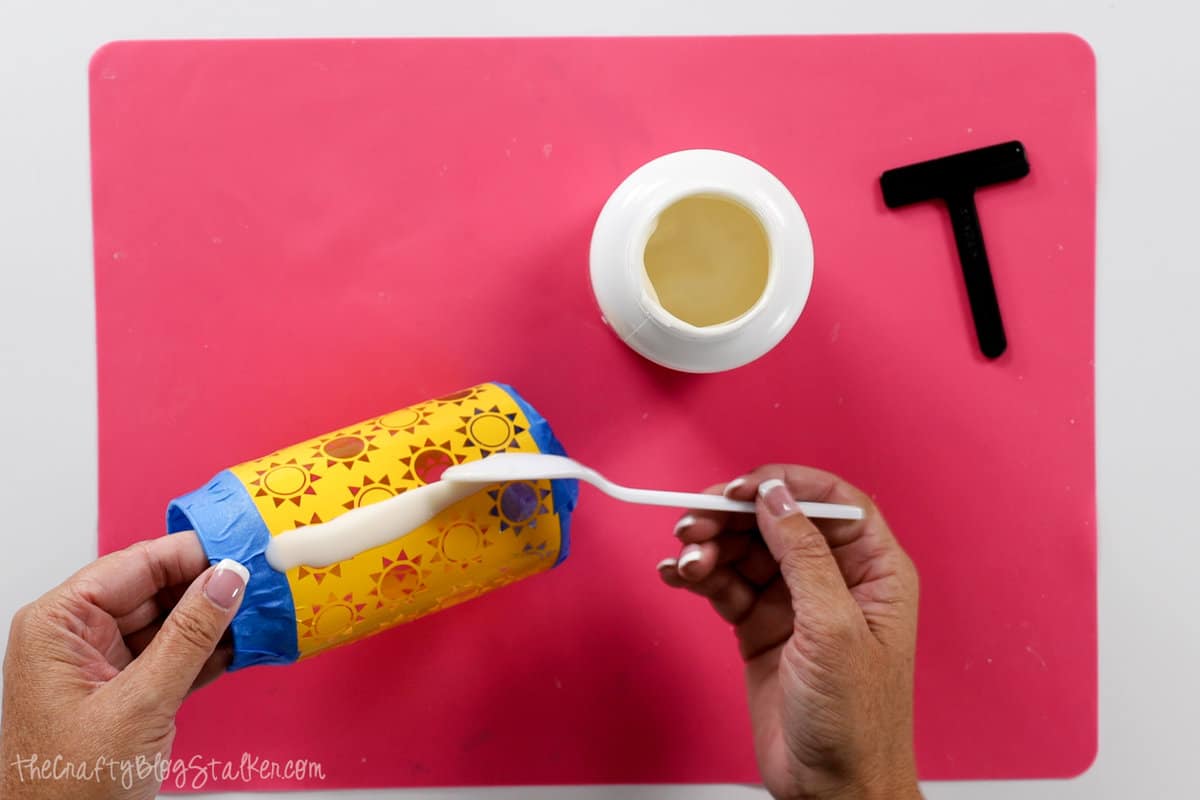
Use the squeegee tool to move the cream around the glass. It should evenly cover all of the crevices of the stencil.
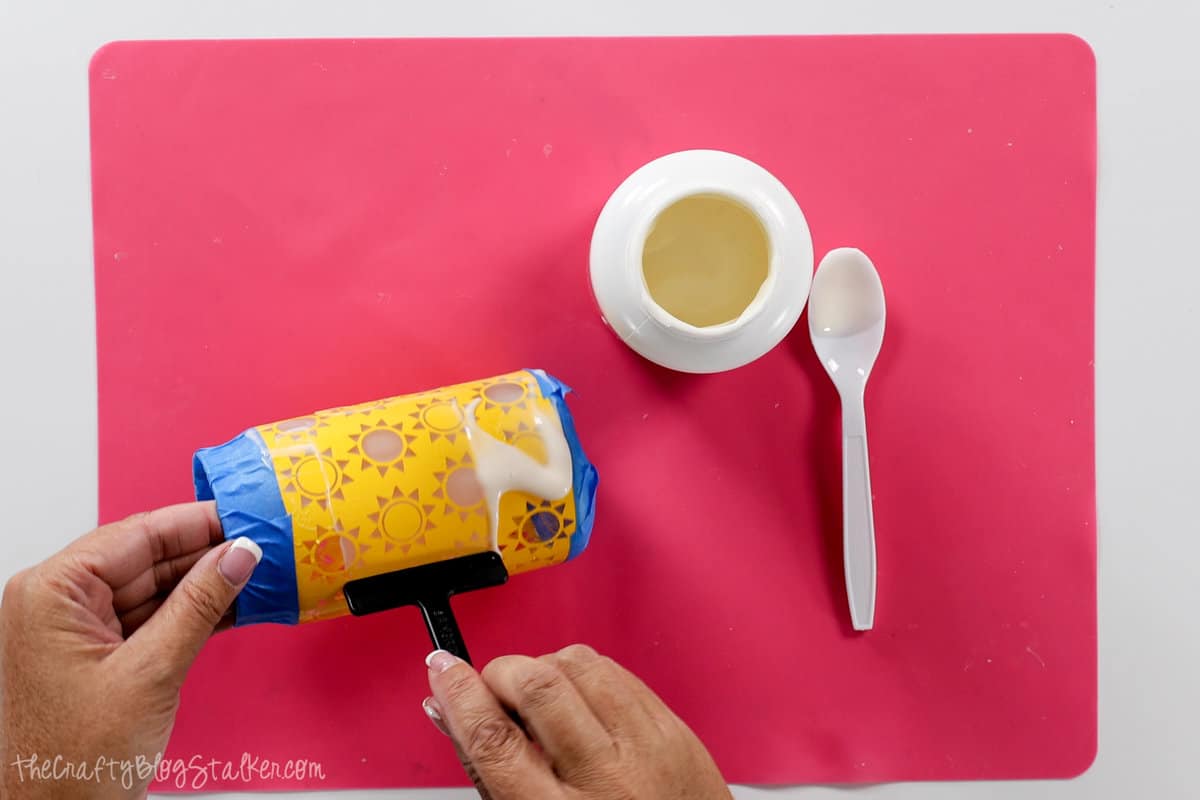
Add more Etchall as needed.
Scrape off any excess cream into the jar to be reused another time.
Let the glass etching cream sit for at least 15 minutes.
Rinse and Remove Etchmask Stencil:
When rinsing, it is not recommended to rinse in a porcelain sink because the etching cream may etch it. Gloves should also be worn.
Run the glass underwater and use a finger to wipe the Etchall off of the glass surface.
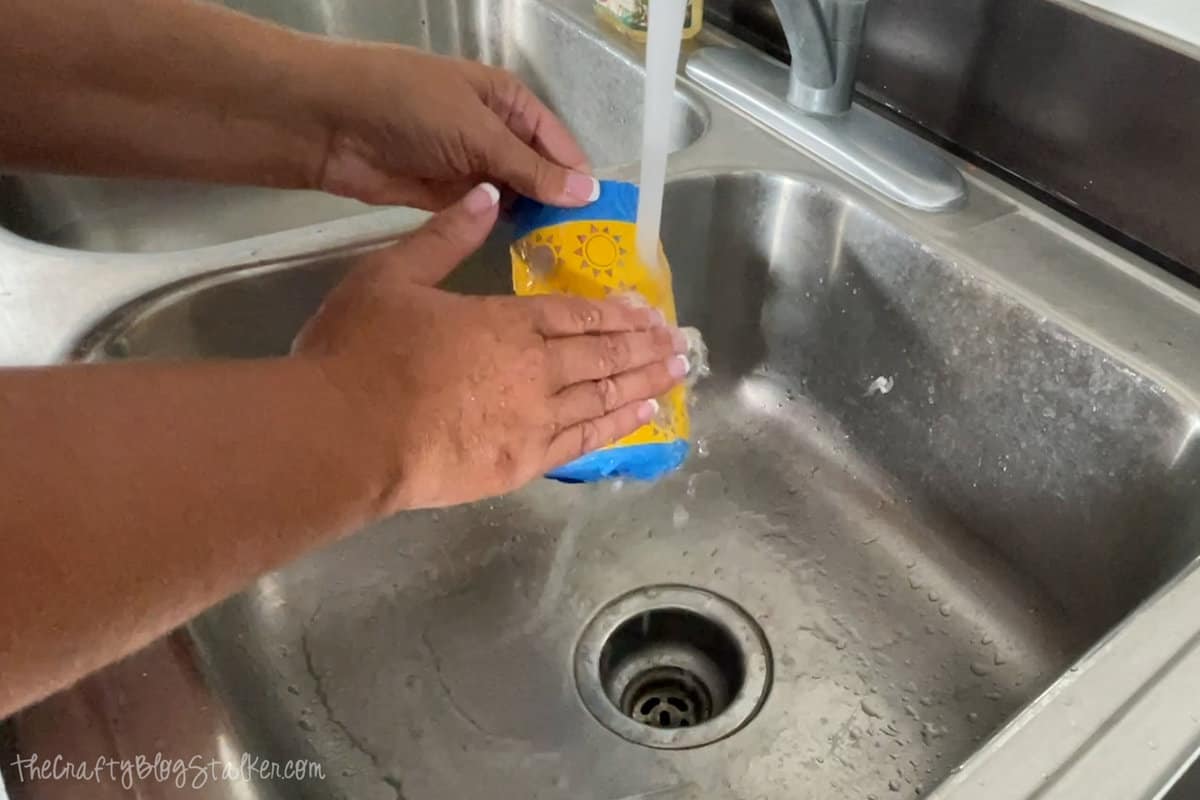
Do not remove any part of the tape or stencil until all the etching cream has been rinsed off.
Once the Etchall is completely removed, peel off the tape and the Etchmask stencil.
Rinse the glass again to remove any sticky residue, and the glass is finished!
They each turned out so cute, and I love my new drinking glasses. Now I just need to make some cute summer drinks to put in them!
These glasses are completely food-safe and dishwasher-safe. The etching cannot be washed off as the etching is permanent.
Crafting Essentials
- The Cricut Cutting Machine is easily my favorite crafting tool. We use it in so many of our tutorials!
- These MakerX Crafting Tools are perfect for keeping in the craft room and are always ready when needed!
- This Fiskars Paper Trimmer is easy to use and cuts nicely without frayed edges.
- These Scotch Precision Scissors cut like a dream, and you get multiple pairs in a pack!
Janet Trieschman
What a great project with very nice designs!
Katie Adams
Thank you so much Janet!