This post may contain affiliate links. For more information, please see our disclosure policy.
Etch wine glasses like the pros! Follow this step-by-step tutorial with Etchall and our free winter scene SVG to make beautiful gifts or keep them for yourself. If you make a purchase using the affiliate links included, we may earn a commission.
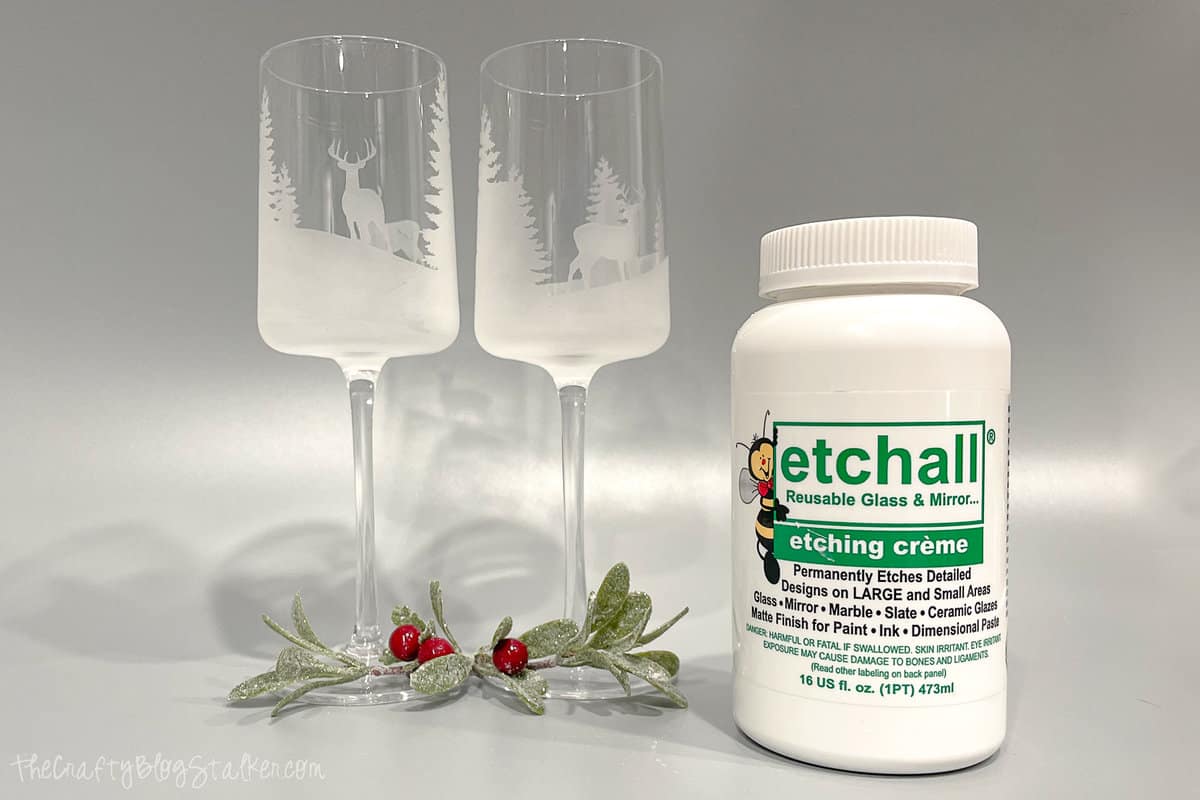
This project has been on my mind for quite some time. I had the idea but wasn't quite sure if it would work, or even look good when it was completed.
But this is one of those craft ideas that looks even better than I ever could have imagined!
I absolutely love them and have made a few more sets since this original as gifts.
Craft Video Tutorial:
Like videos? I have a video tutorial for you! Subscribe to my YouTube Channel so you don't miss any future videos!
More Glass Etching Tutorials:
Crafting and DIY are what we are all about here at The Crafty Blog Stalker, and we have several tutorials to show you how! Like a Fall Candle Centerpiece, Summer Patterned Glassware, and a Personalized Etched Wine Bottle.
Be sure to look around the blog for more fun Fall Craft Tutorials!
Instructions:
Cut the Stencils:
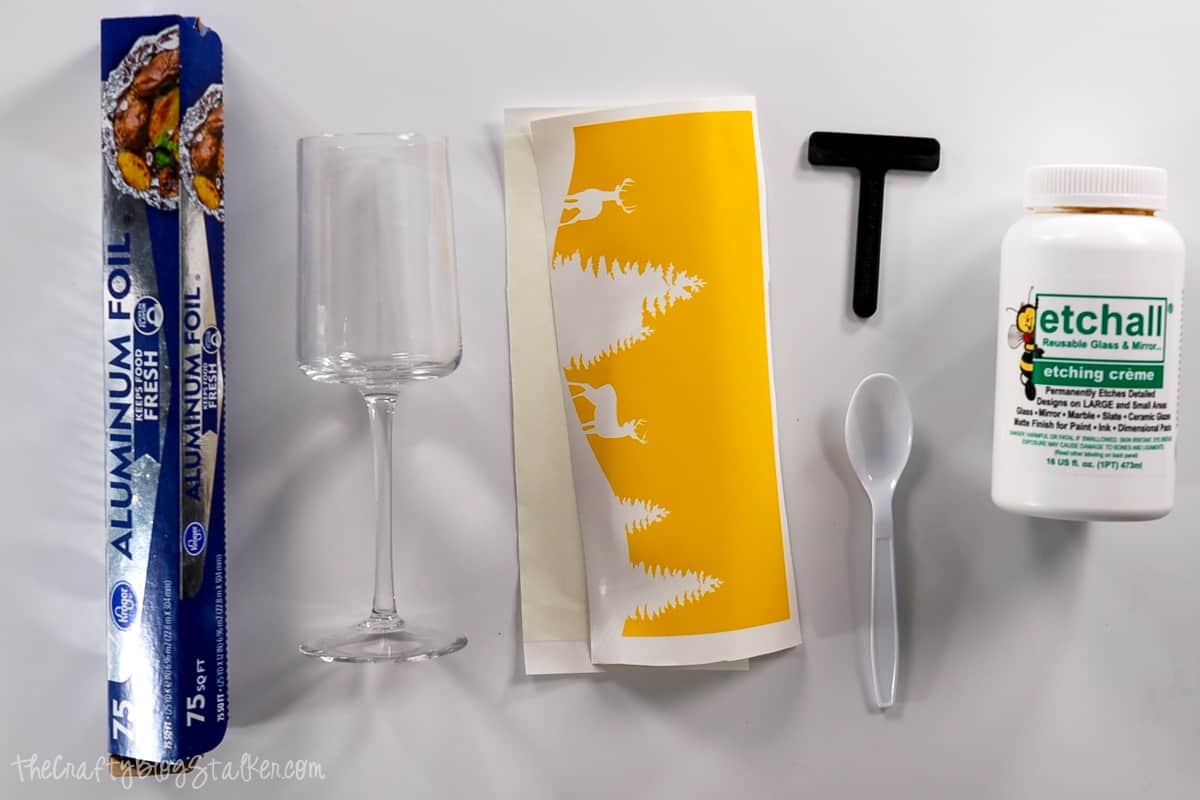
The first step is to grab the free cut files created for this project.

This is a pretty basic design but looks fabulous once etched in the glass. If you would like, you can also create your own stencil to personalize your wine glasses.
Measure:
Measure the circumference of your wine glass, this will be how long you need to size the stencil vinyl.
My wine glass looks flat-sided but it actually has a bit of a curved surface. I used the longest measurement to cut the length of the stencil.
Cricut Design Space:
Size the stencil design to fit your glass, and select "Make It".
Cut the stencil out using your Cricut machine and Etchmask Vinyl and then weed the design using your weeding tool.
Apply the Adhesive Stencil:
The next step can get a little tricky, so be patient with yourself. It is ok if you need to scrap one vinyl stencil and cut another.
Trim the right and left edges. You don't want the backing paper extending past the adhesive vinyl, they should be the same length.
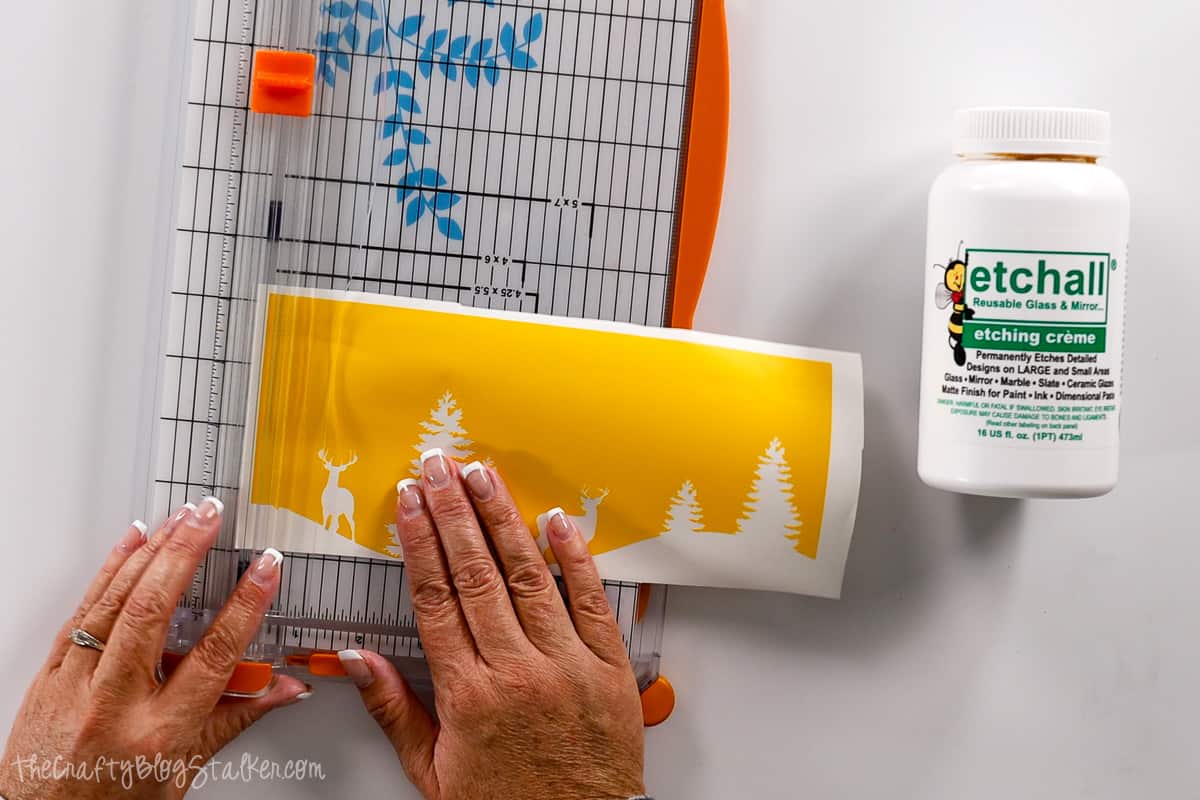
Apply a strip of Etchmask Transfer Paper to cover the stencil. Make the strip just slightly larger than the design.
Fold back just a little bit of the vinyl backing sheet, about ⅓ inch.
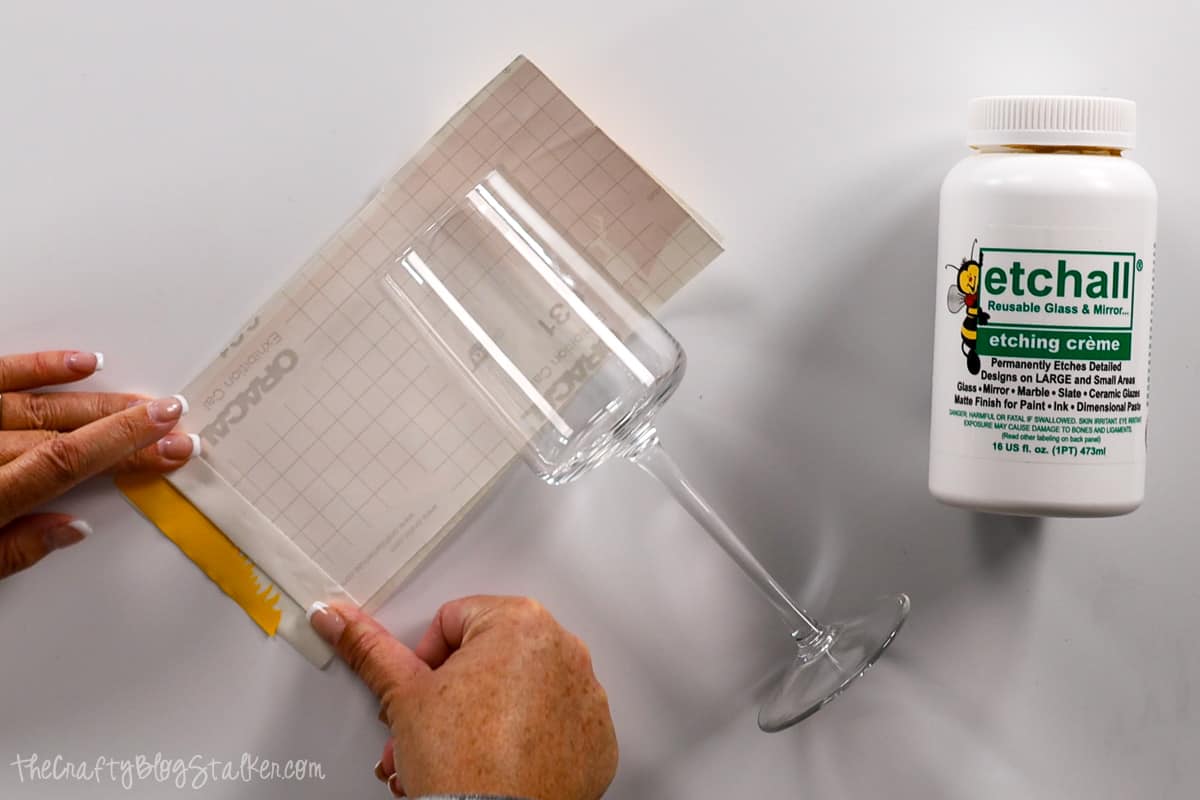
Wrap the design around the glass and keep readjusting until the two ends of the stencil meet.
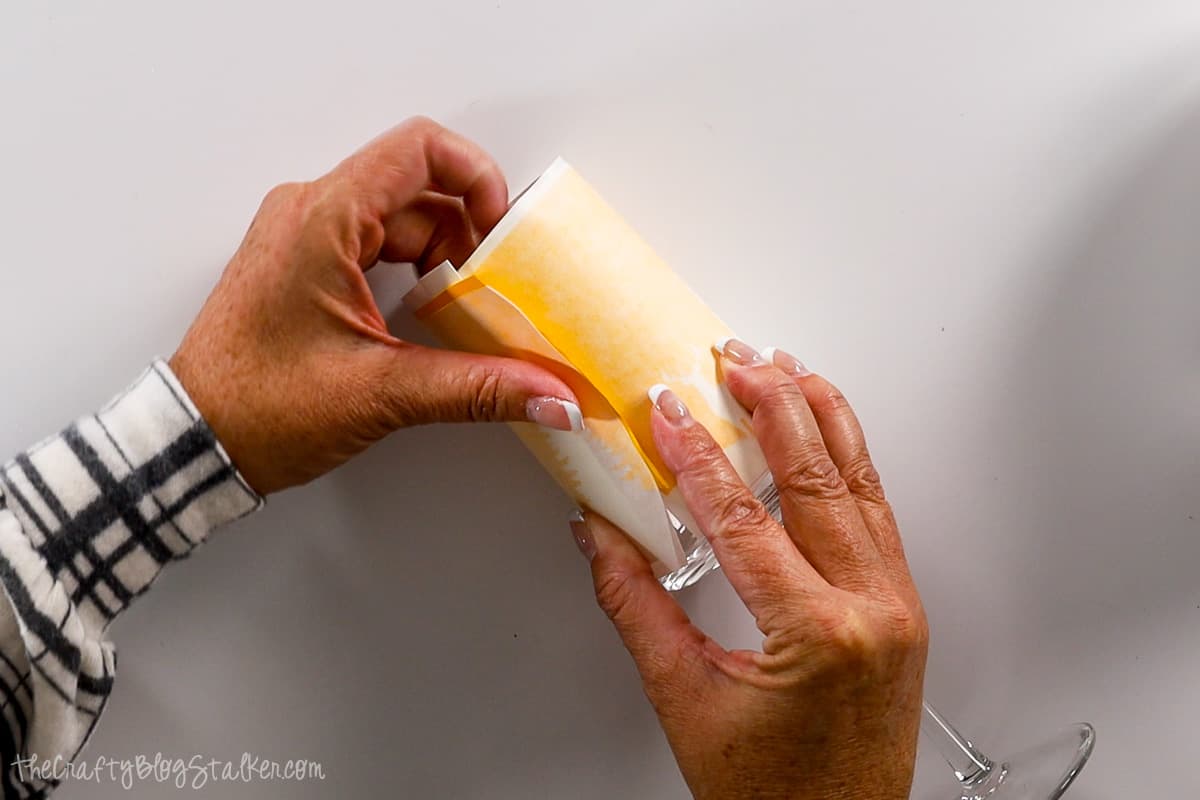
Once you have the design where you want it, press the exposed edge of the stencil onto the glass.
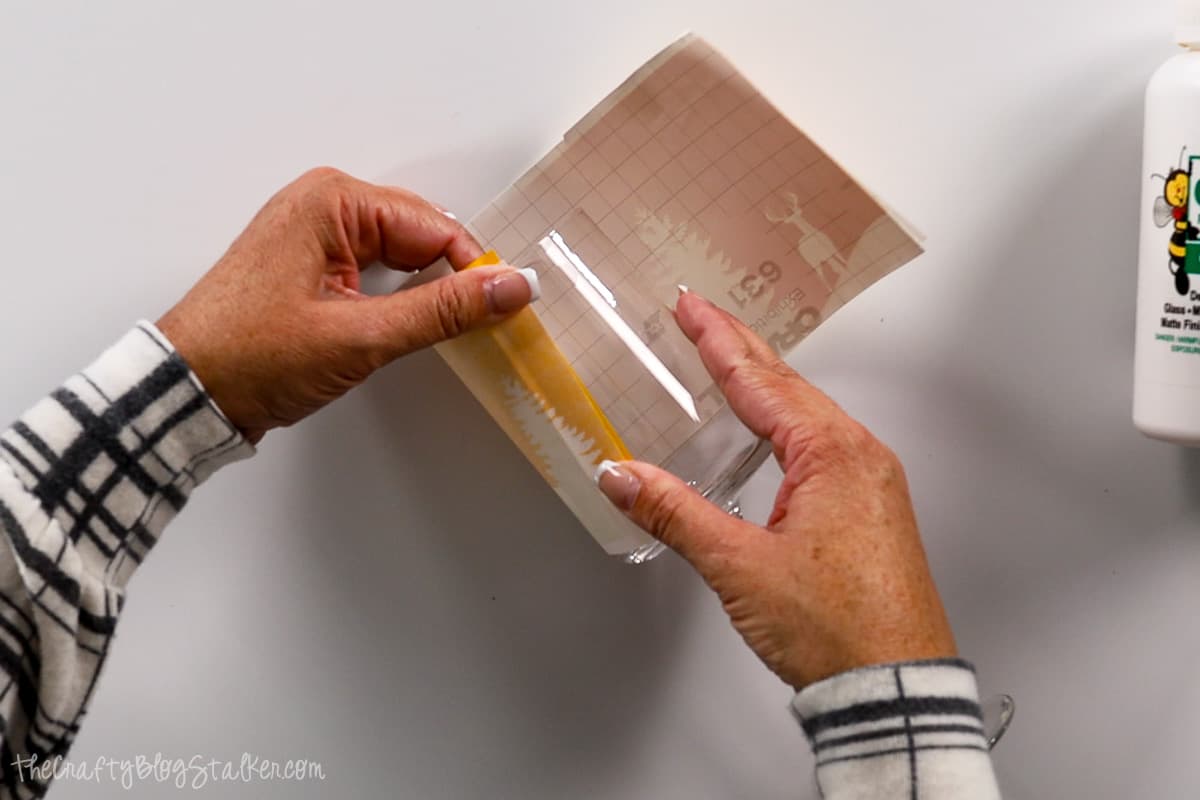
This is a little tricky to explain, so if you find yourself confused I strongly recommend watching the video above.
Unroll the design from the glass, keeping that edge stuck to the glass.
Grab the folded-back backing paper and pull back as you roll the glass onto the exposed vinyl. Make sure to keep that vinyl tight against the glass.
Before the two ends come together, you will need to peel back some of the piece of transfer tape from the first edge so you don't cover it.
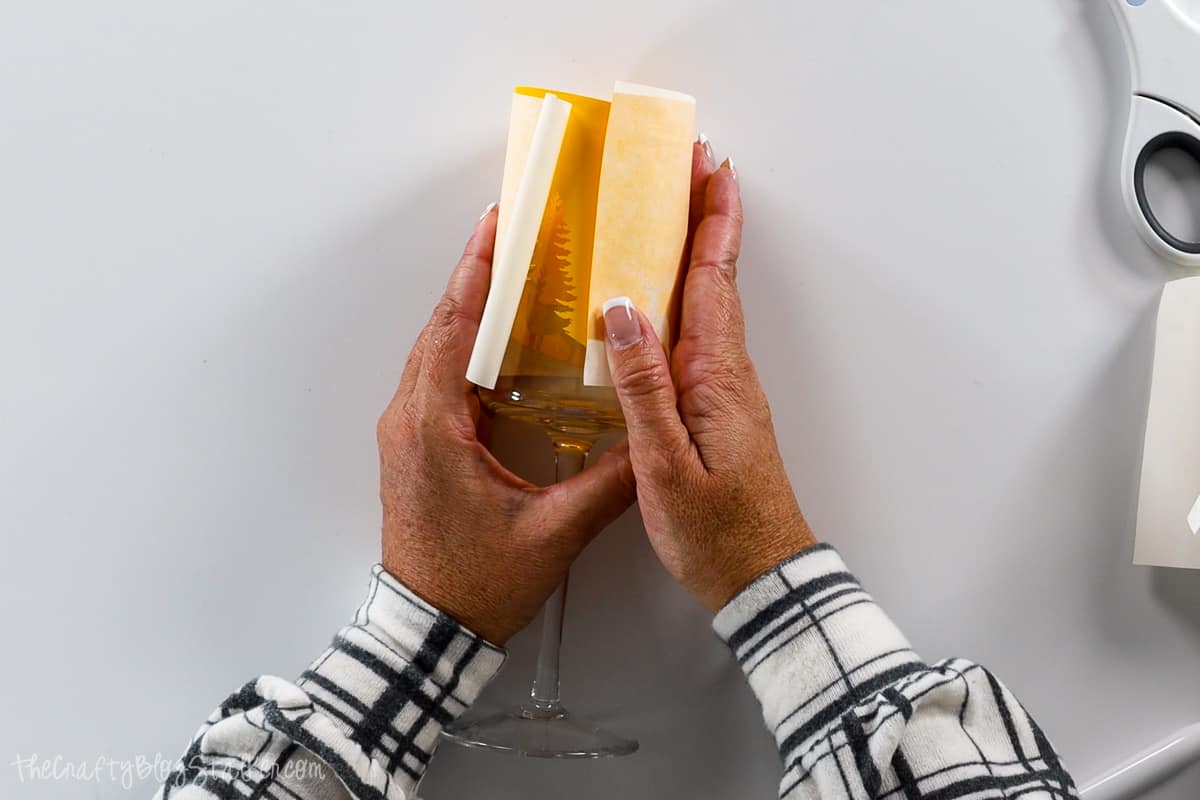
I also had to trim a bit off of my stencil here to make sure my end of the stencil didn't cover any of the trees on the other side.
Once everything is in place you can remove the transfer tape.
It is ok if you see some air bubbles and wrinkles, we're going to deal with those next.
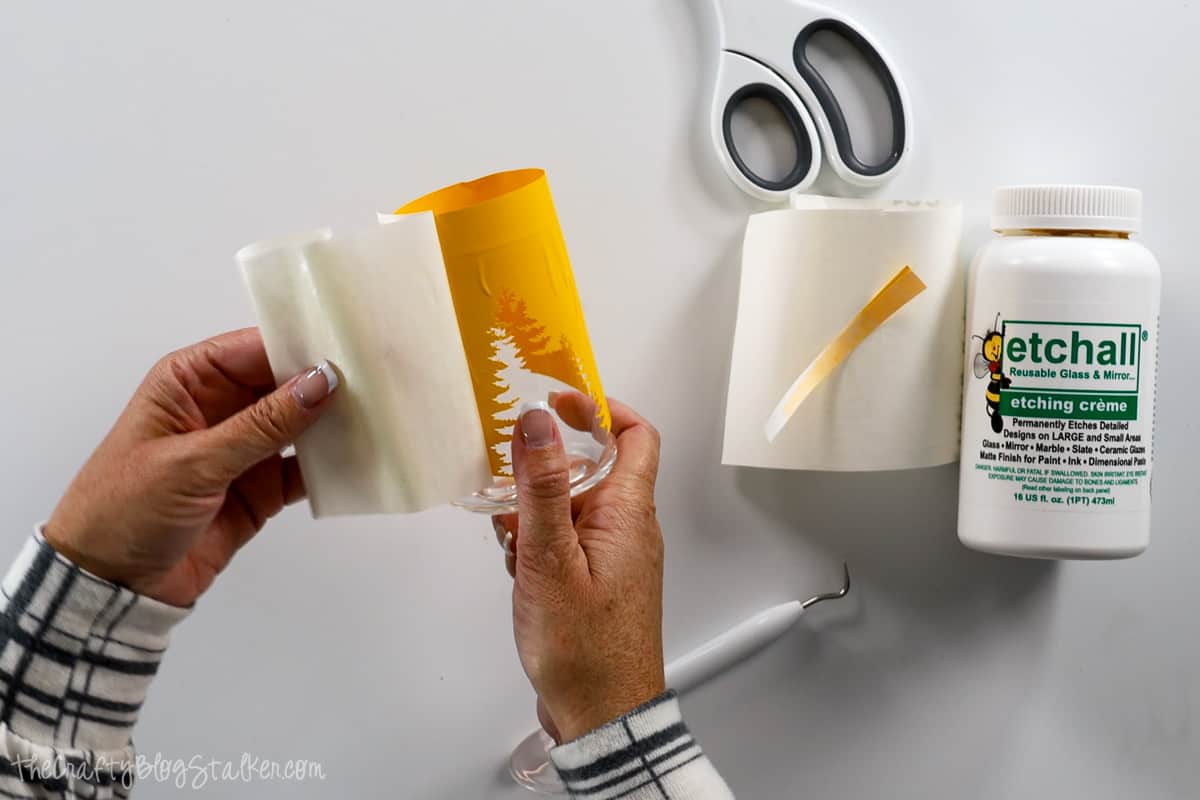
Use your thumb or squeegee tool to press down all of the edges of the Etchmask stencil. We don't want any etching cream sneaking under the stencil. Bubbles that aren't next to an edge are totally fine and won't affect anything.
Taping Off:
We want to make sure and tape off any areas we don't want to be etched.
The easy way to wrap the stem of the glass is with tinfoil. I took a square of tinfoil and wrapped it around, and secured it with masking tape. I thought that was easier than trying to wrap the entire stem with tape.
We will be applying etching cream to the base of the cup part, so make your line nice around the top of the stem.
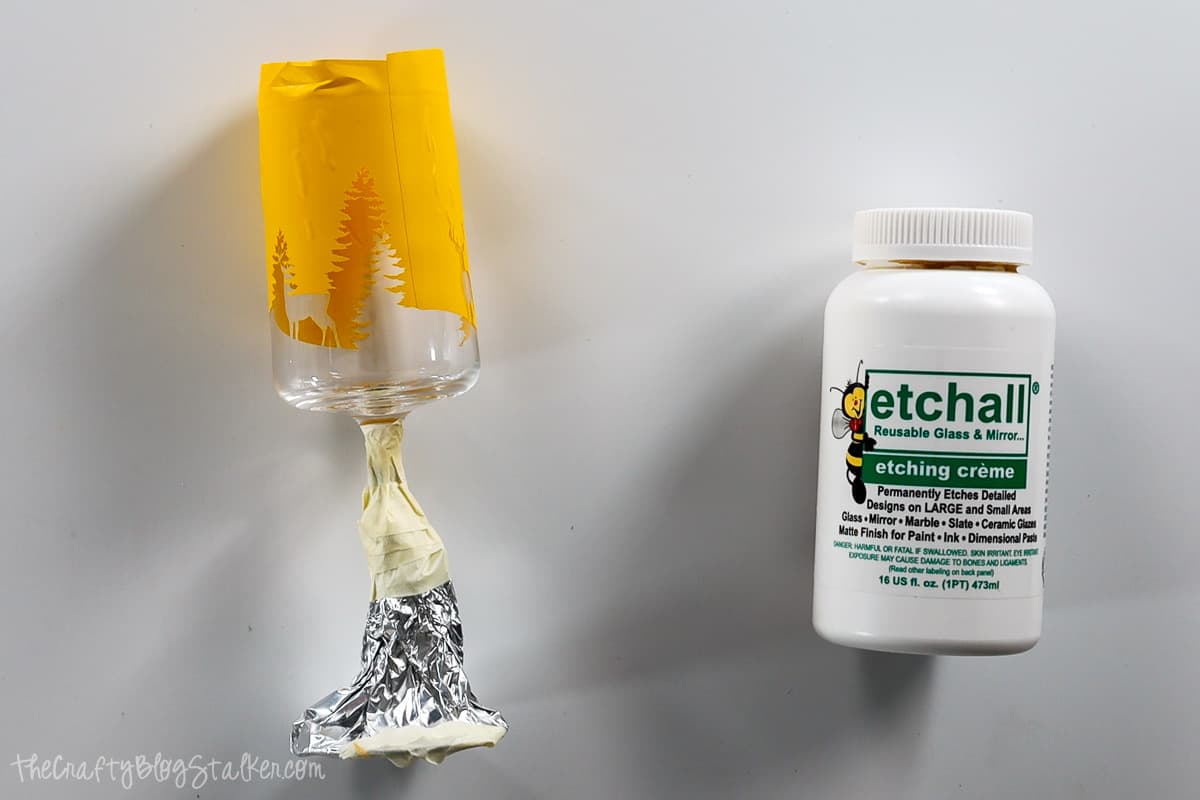
For best results, lightly go over the exposed area with rubbing alcohol and a lint-free cloth. This will remove any dirt, dust, and fingerprints you left while applying the stencil.
Etching Glass:
Dip a plastic spoon into the container and scoop out a generous amount of etching cream.
Tap it onto the surface of the glass.
Use the squeegee to push the glass etching cream around the stencil, to burnish those edges into the glass. Be careful not to lift any edges of the stencil in the process.
Apply a thick layer of etching cream all around the rest of the glass surface in a nice even coat.
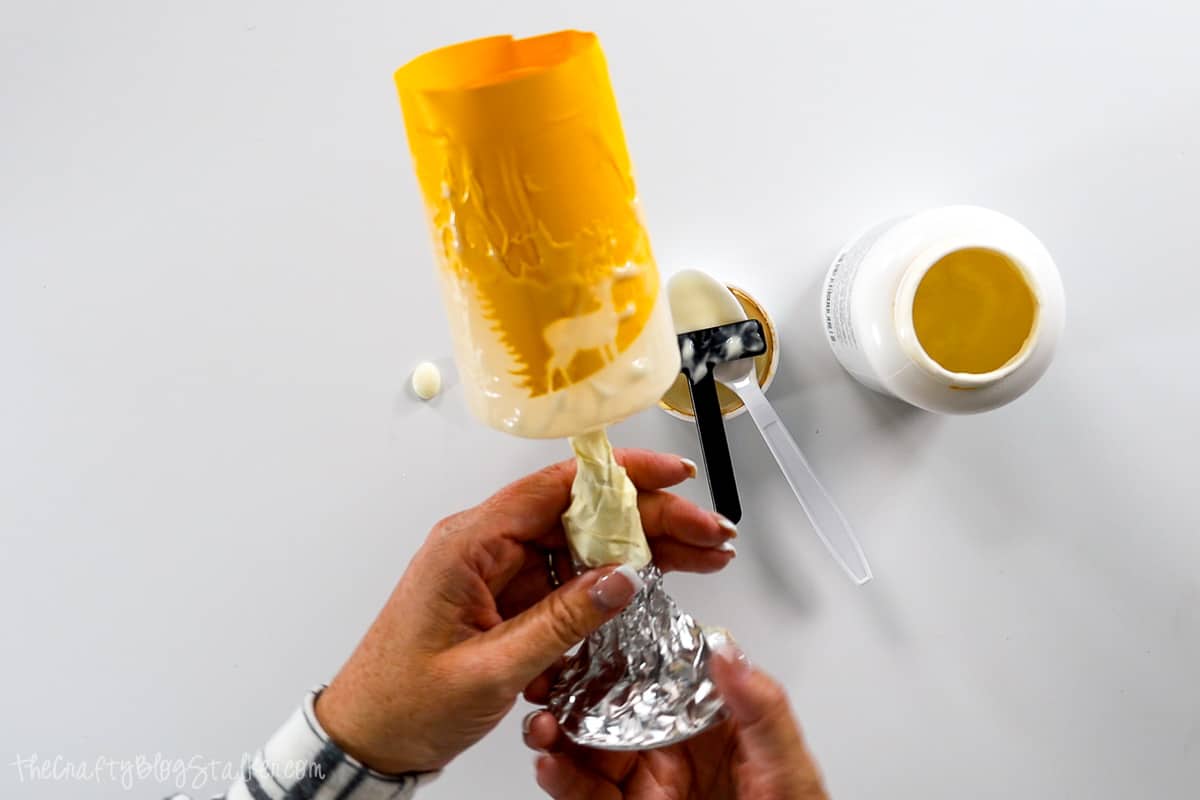
Let the etching cream sit for at least 15 minutes.
Clean off the Etching Cream:
Scrape off as much etching cream off of the entire surface as you can. It is reusable, so you can put it right back into the original container.
Run some warm water in one of your stainless steel sinks.
Hold the glass upside down and use your finger to wipe any excess cream off of the stencil and ornament.
Once you are certain that all of the cream has been removed, you can peel back and remove the aluminum foil, tape, and Etchmask stencil. This is the fun part!
Pro Tip: I use my bare hands to remove the cream, but if you have sensitive skin, you may want to wear gloves during this step.
The Finished Project:
They are just so pretty, and I love that etched design!
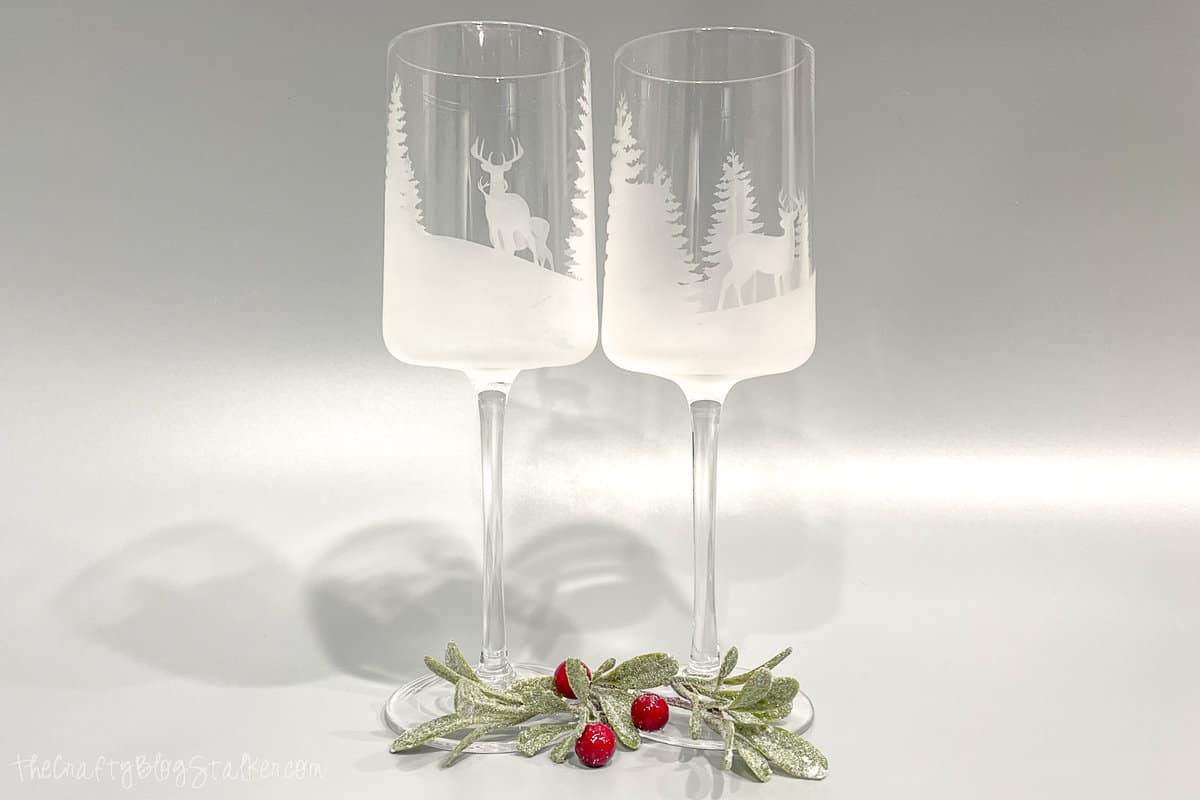
These have been my go-to wine glasses ever since I made them, and every time I use them I still marvel at how great they came out!
What do you think? I think they make great gifts for any special occasion.
Our Crafting Essentials:
- The Cricut Cutting Machine is easily our favorite crafting tool. We use it in so many of our tutorials!
- These MakerX Crafting Tools are perfect for keeping in the craft room and are always ready when needed!
- This Fiskars Paper Trimmer is easy to use and cuts nicely without frayed edges.
- These Scotch Precision Scissors cut like a dream, and you get multiple pairs in a pack!



Leave a Reply