This post may contain affiliate links. For more information, please see our disclosure policy.
Learn how to easily etch glass using Etchall Etching Creme. Learn how to make an inspirational glass paperweight for your home office with this free SVG Design. If you make a purchase using the affiliate links included, we may earn a commission.
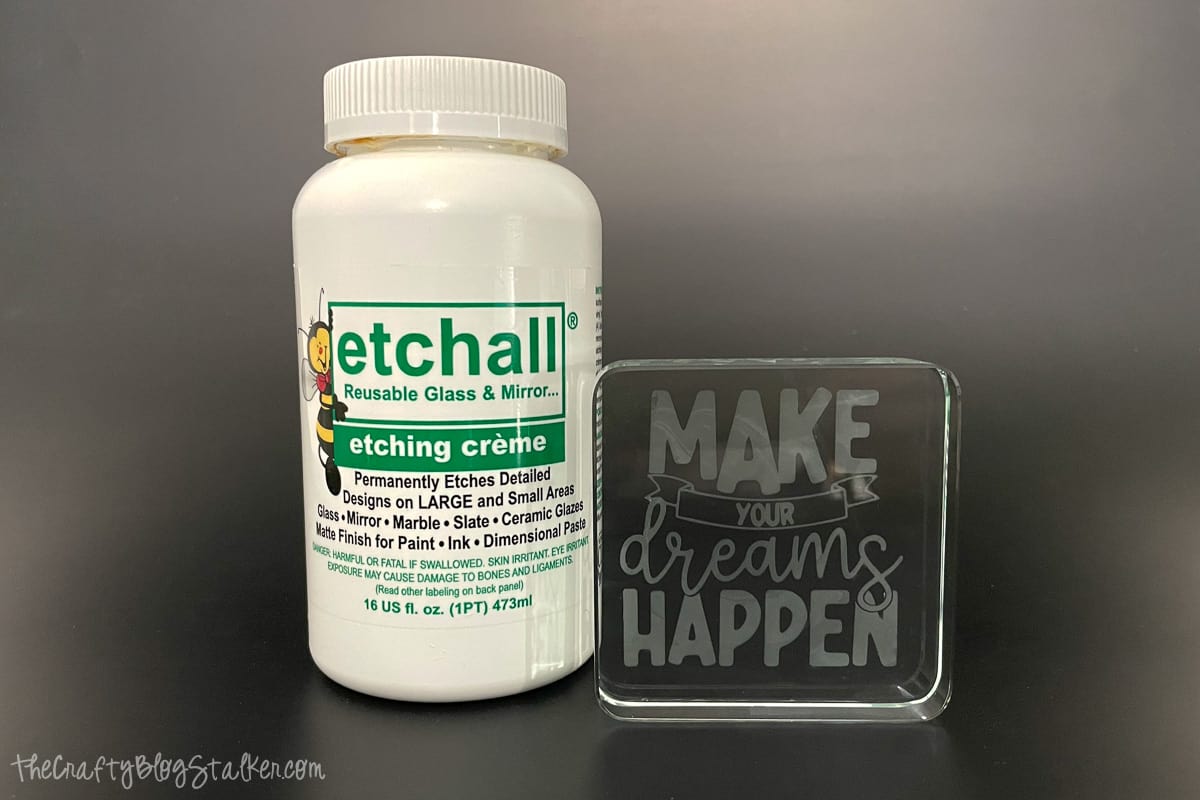
Sometimes you just need a little bit of inspiration.
Whether it is at your desk, a bedside table, or your bathroom counter, it is nice to have something there to remind you to keep going, you're doing great.
That is why I designed this glass-etched paperweight, and I keep it on my desk.
I have even made the SVG available for free so you can make one too!
Craft Tutorial Video:
Like videos? I have a video tutorial for you! Subscribe to my YouTube Channel so you don't miss out on any future video tutorials.
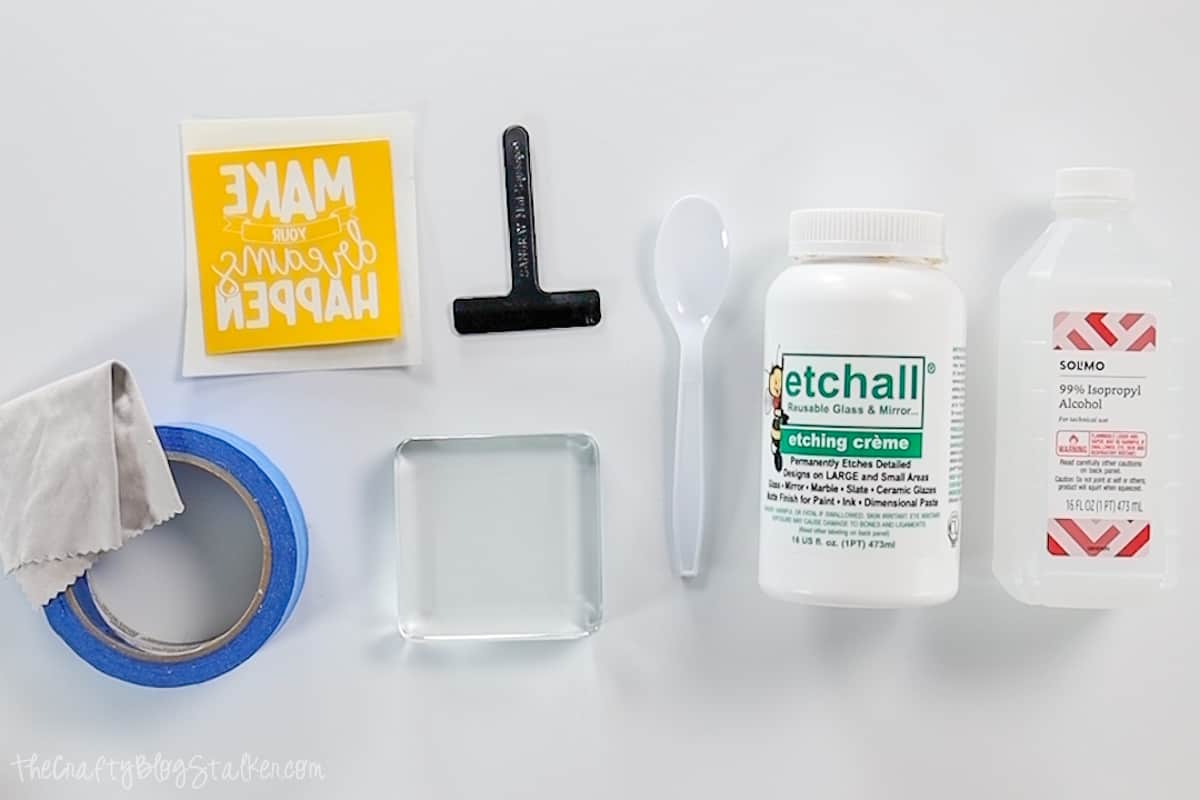
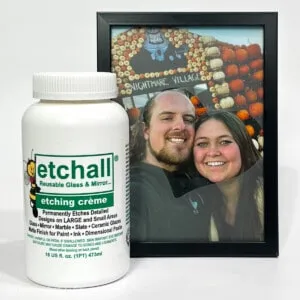
In my opinion, Etchall is the best glass etching cream. There are other brands out ther but Etchall is my favorite.
Etchall Etching Creme cannot etch on crystal, that type of glass is too hard. Make sure that your glass block is indeed glass and not crystal before purchasing to etch.
If you are unsure, you can etch a small inconspicuous place before attempting an all-over design.
Instructions:
Grab the Free SVG:
The first thing to do is to grab the design.

Create the Stencil In Cricut Design Space:
The next step is to measure your glass block. This will determine the size of your stencil.
My glass block measures 3 ⅛ x 3 ⅛.
In Cricut Design Space I added a square the same size as my block.
Upload the SVG and size it to a width of 2 ½ inches.
Highlight both the design and the square and center to align the pieces.
Highlight both layers again and slice, and delete both positive layers so you are left with a negative or stencil.
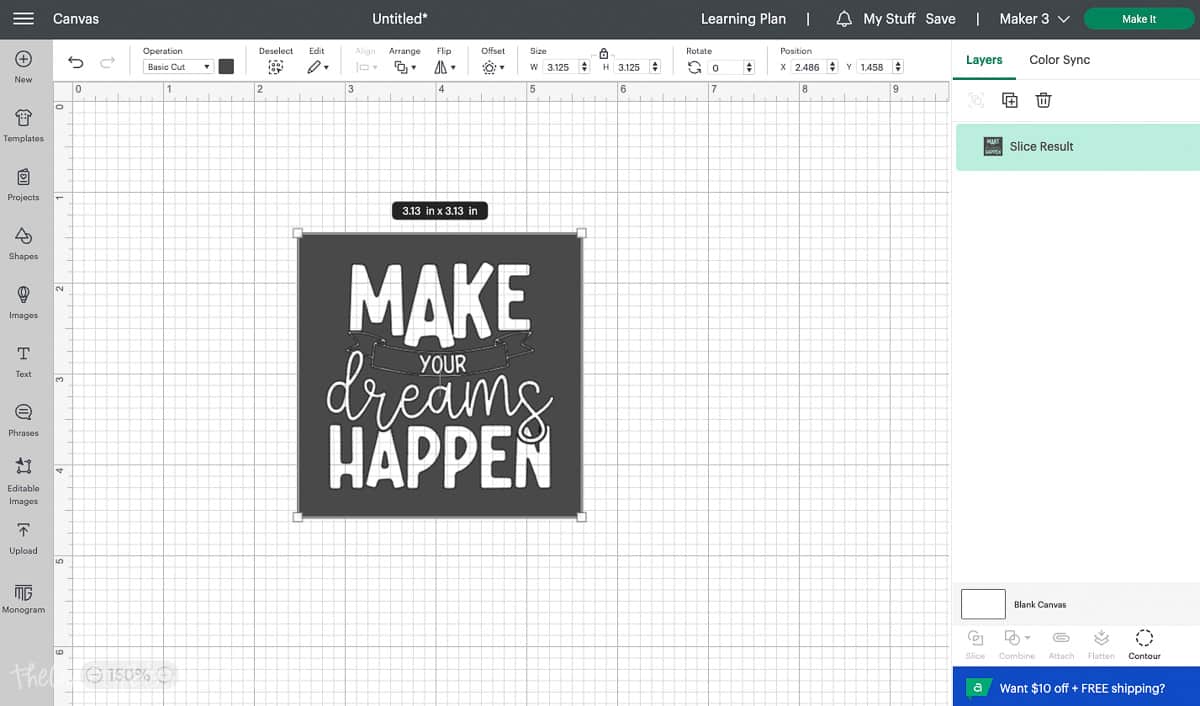
Select "Make It" and make sure to mirror the design before cutting.
Prep the Materials:
Use painter's tape to cover the back and sides of the glass block.
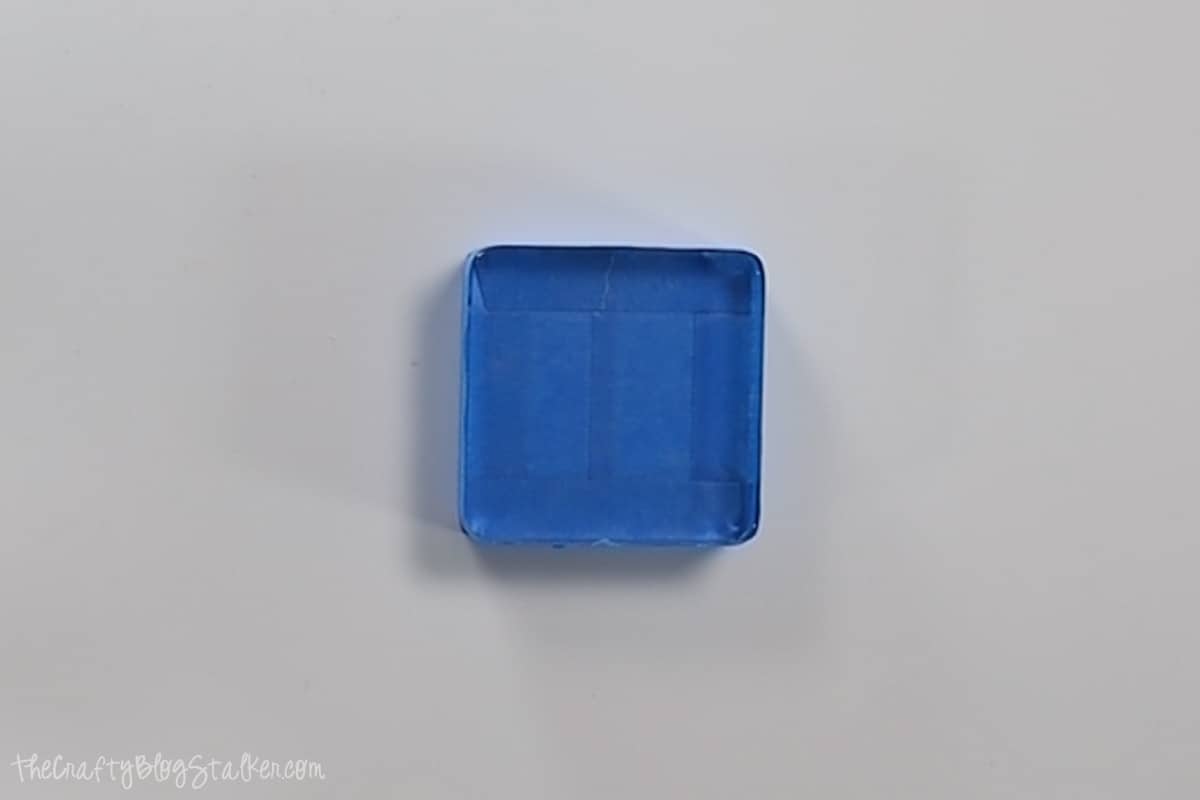
We do this to protect other areas of the block from getting etched.
Apply the Stencil:
Weed your adhesive stencil so you are left with the negative design.
Cut a rectangle of Etchmask Transfer Tape that is slightly larger than the stencil.
Remove the backing paper from the transfer tape and roll it on top of the cut stencil.
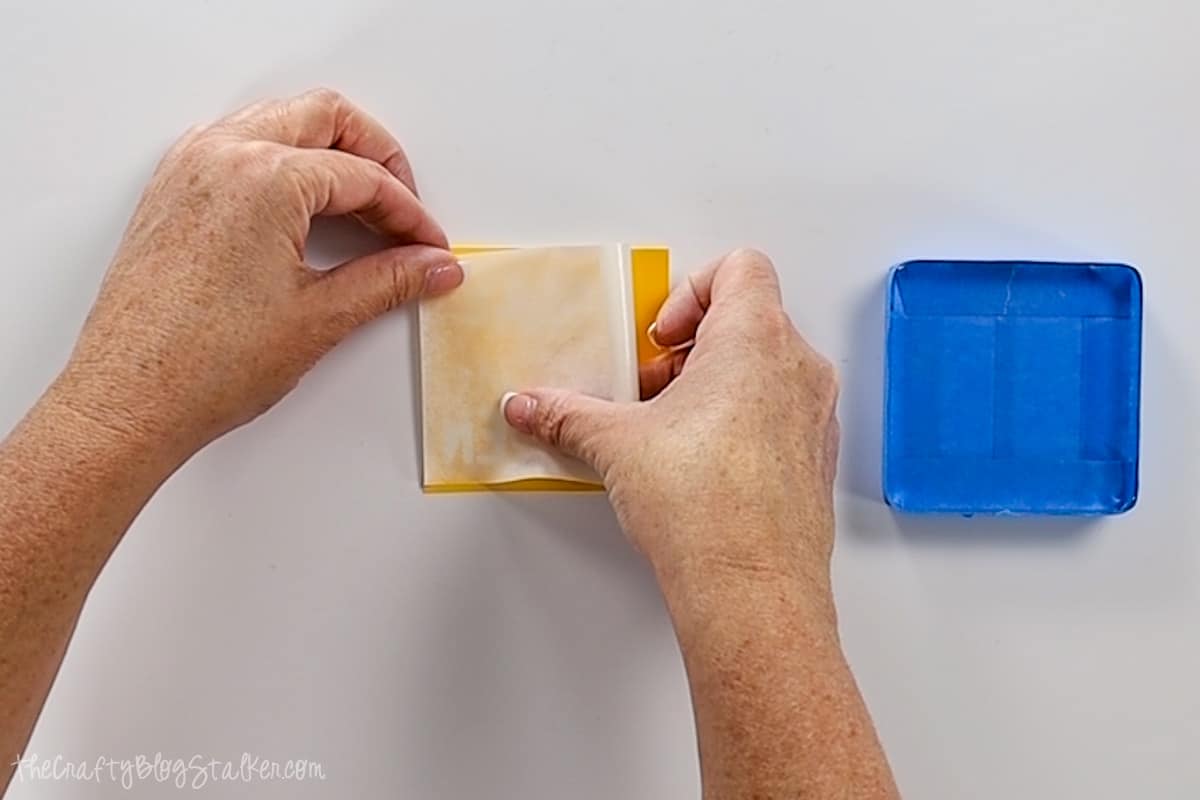
Use the squeegee tool to really press the transfer tape into the Etchmask.
Remove the backing to the Etchmask.
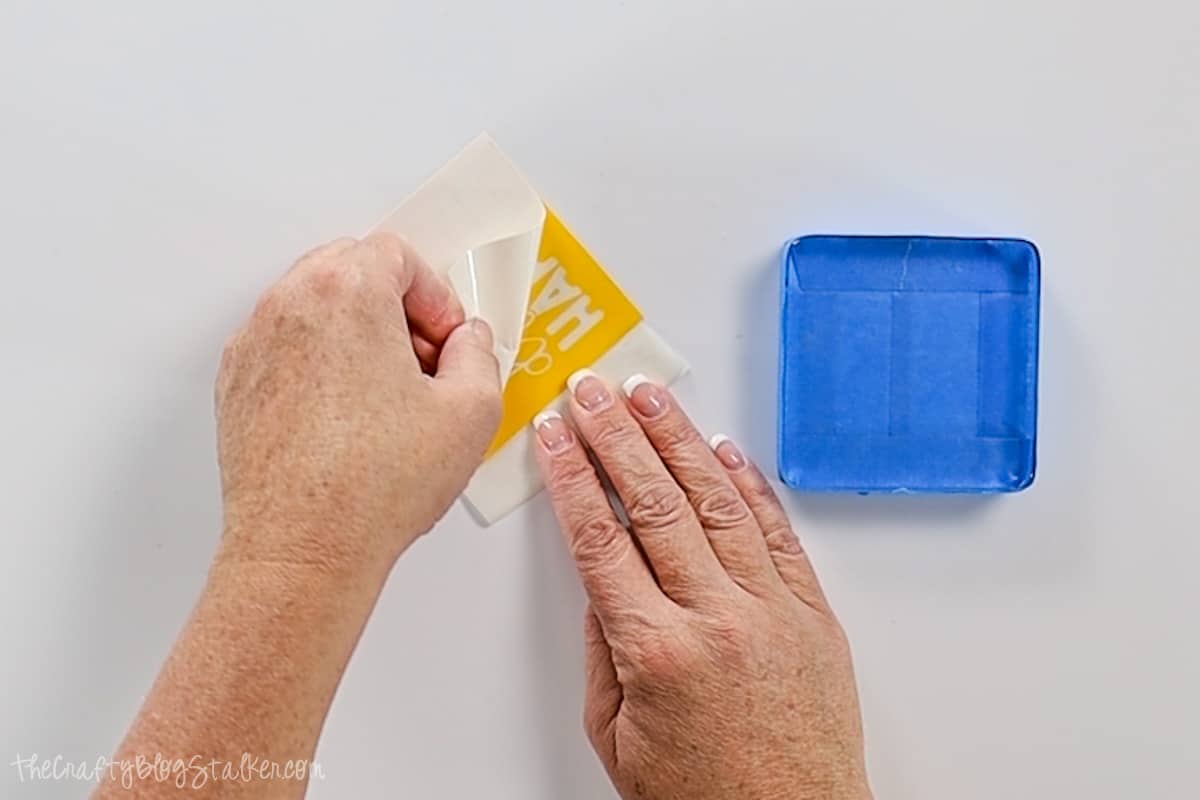
Center the stencil over the top of the glass block and press it into place.
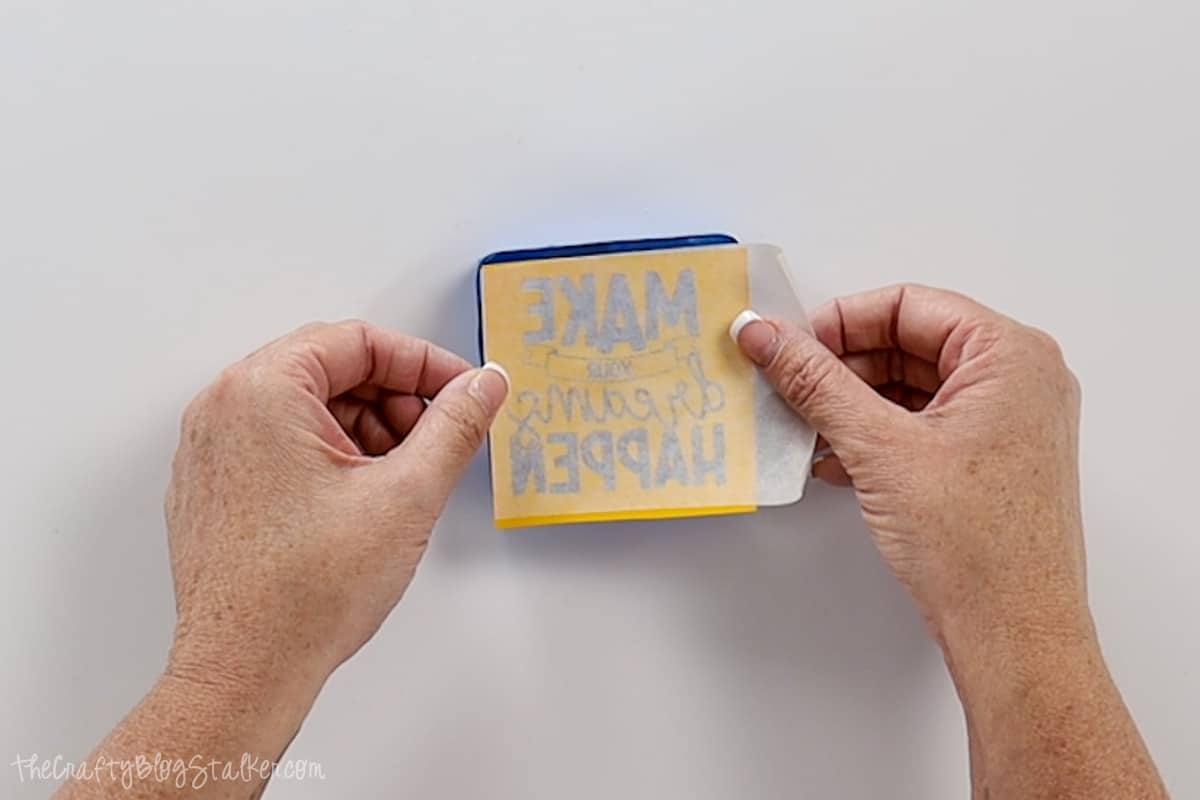
Use the squeegee as you would a scraper tool and press over the top again making sure that Etchmask is stuck to the glass block.
Slowly, peel back and remove the transfer tape. You want to make sure that all parts of the stencil are sticking to the glass block, not the transfer tape.
If it's not sticking correctly, lay it back down and rub over it again with the squeegee tool and repeat.
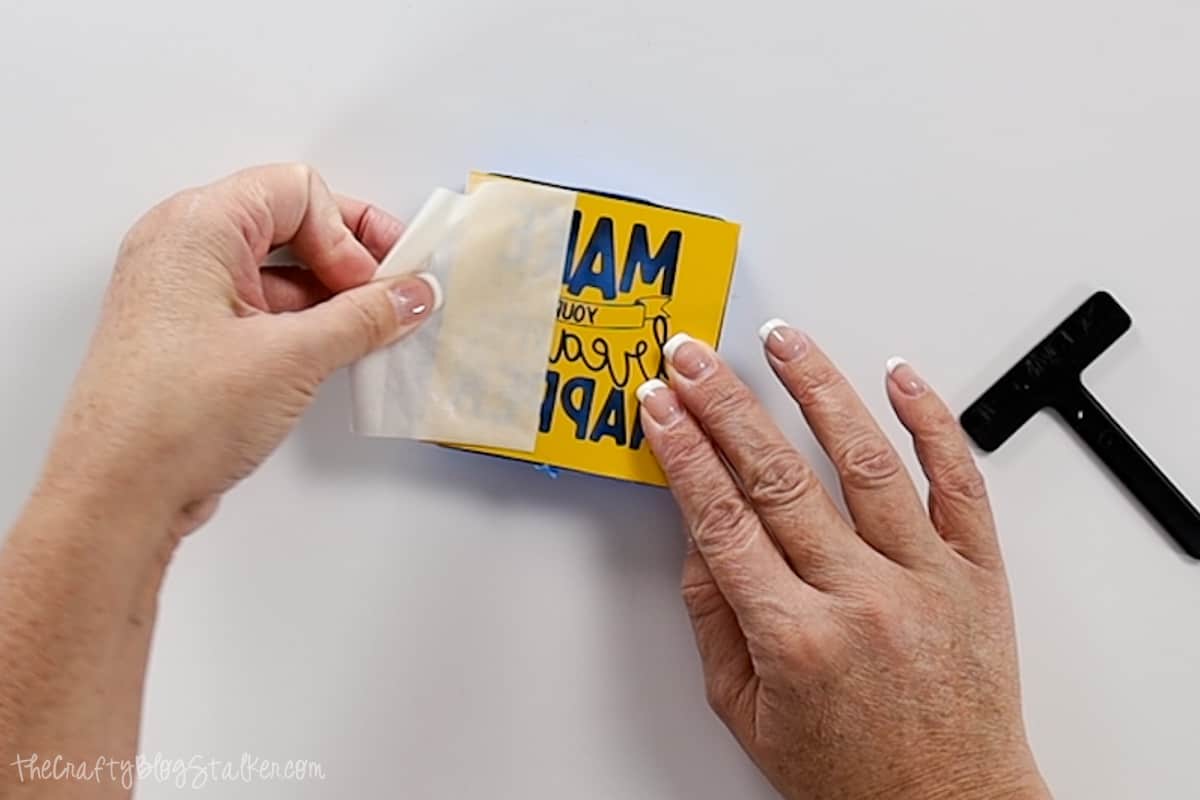
Press around the stencil to secure all of the edges of the design to the glass. Air bubbles are okay as long as they aren't along an edge of the design, but you do not want any wrinkles.
Go around the edges of the stencil with more masking tape to protect the edges of the glass block.

Clean the Glass Block:
For best results when etching glass, clean the surface of the glass with isopropyl alcohol before etching.
To do this, pour a little bit of Isopropyl Alcohol onto a lint-free cloth and lightly wipe over the exposed areas of the stencil.
This will remove any fingerprints, dirt or dust, and debris that will interfere with the etching.
Be careful not to push the little pieces, like the centers of letters, out of place.
Apply Etching Cream:
Scoop out a spoonful of etching cream and place it on the glass.
Use the squeegee tool to push the cream around the glass block until it is well coated.
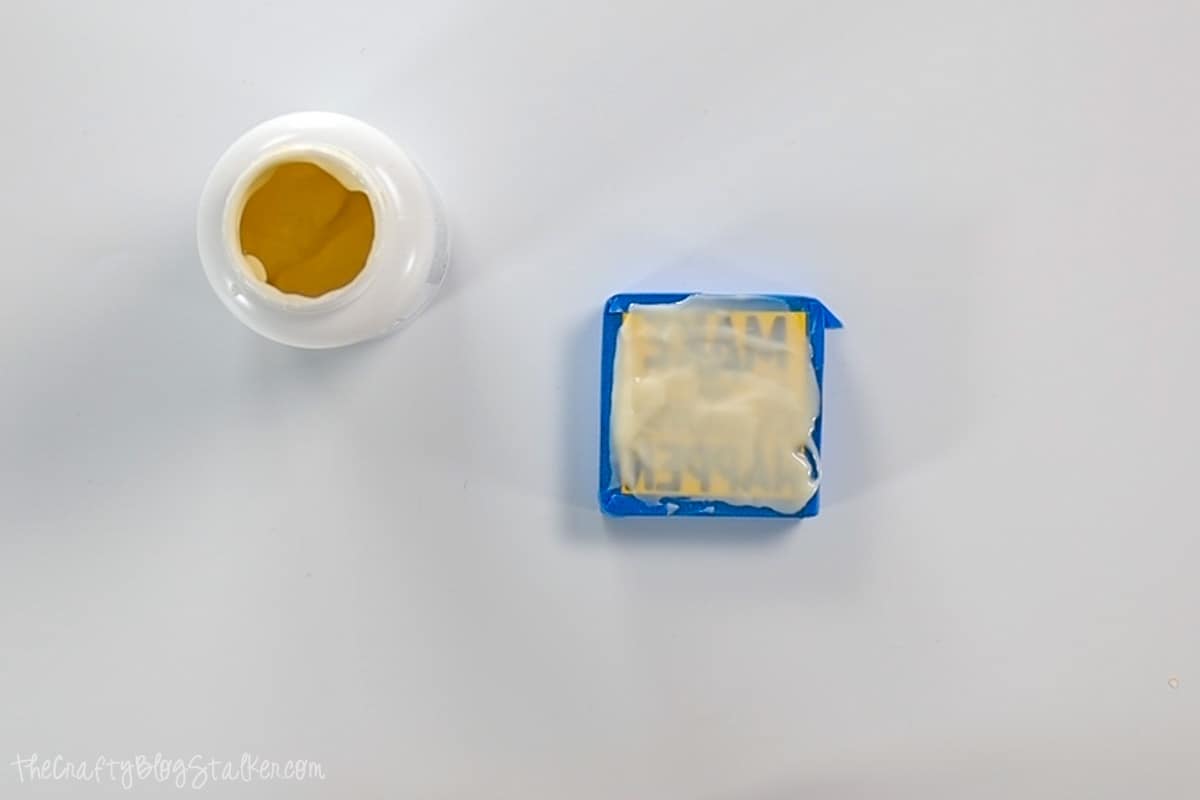
The glass etching compound should be applied as a thick coat.
Let the thick layer of etching cream sit on top of the glass for 15 minutes.
Wash Off the Etching Cream:
Use the squeegee tool to scrape off as much of the cream as you can.
The cream can be reused and put right back into the bottle.
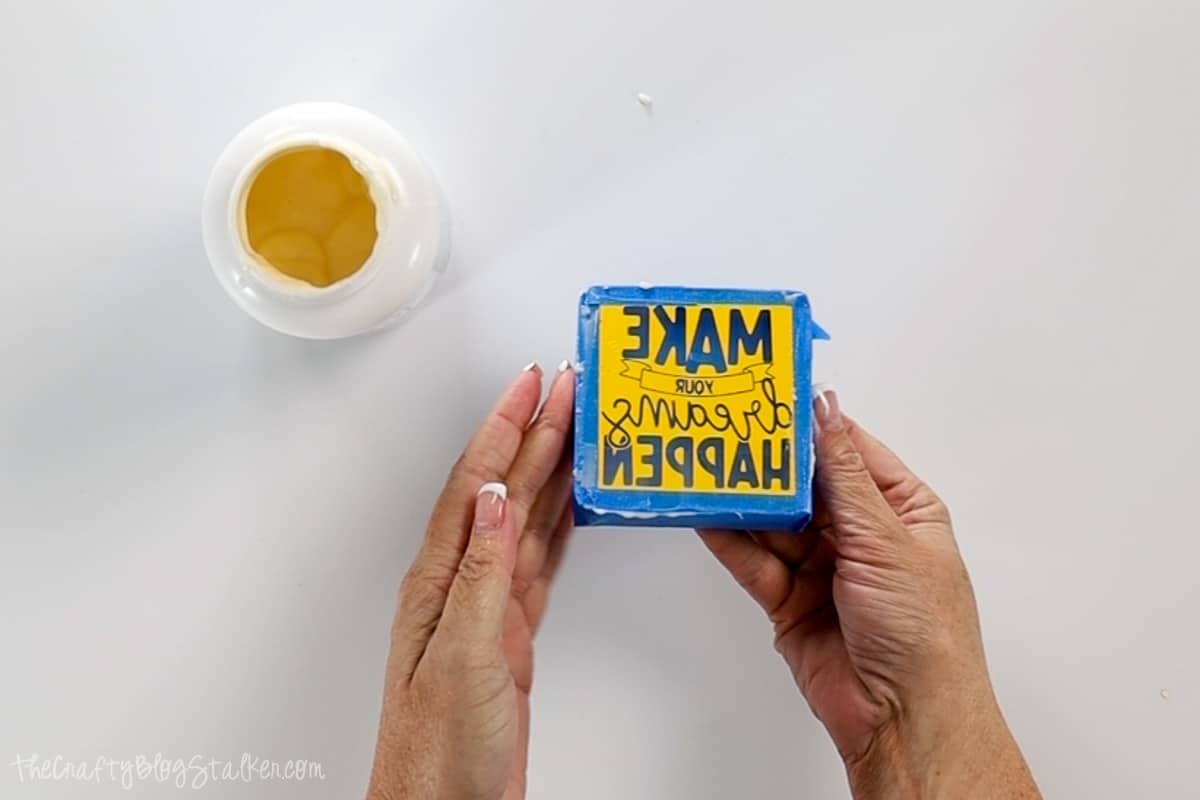
In a sink, rinse the glass under warm water and use your fingers to wash off any remaining glass etching cream.
If you have sensitive skin, you may want to wear latex gloves while washing the glass.
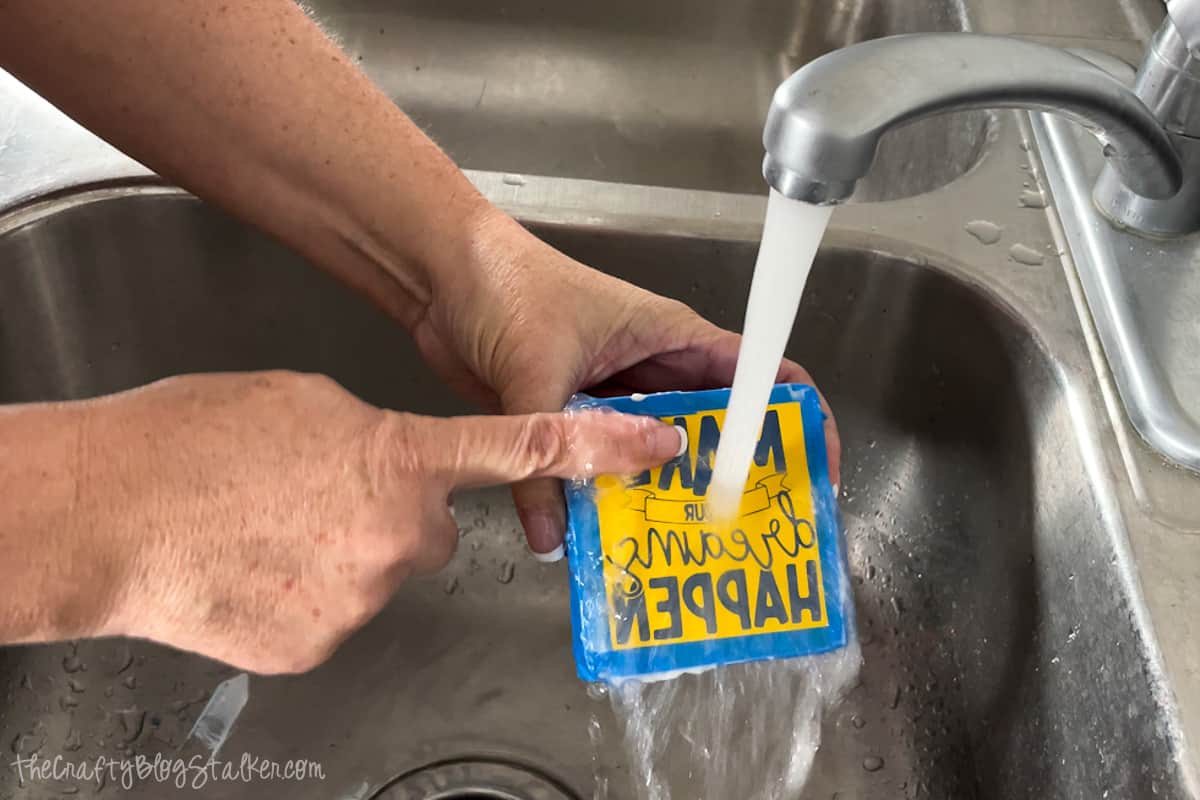
Once you are certain all of the etching cream has been washed away, you can peel back the Etchmask stencil and painter's tape.
Dry with a paper towel or hand towel and your glass block is finished!
Isn't that etched design so pretty?
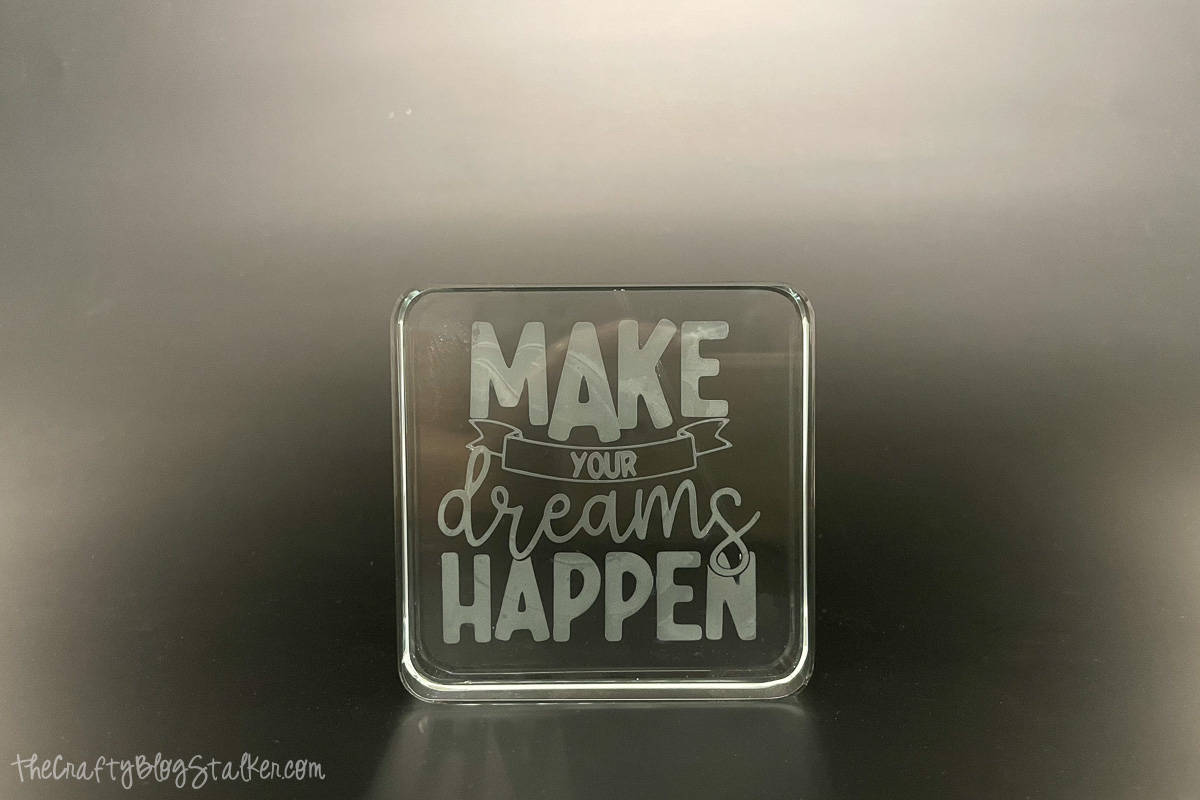
Glass etched projects make great gifts that are easy to personalize. Who do you know that would love a handmade gift like this glass paperweight?
Frequently Asked Questions:
Do you use permanent vinyl for etching?
Yes, permanent vinyl is considered the best type of adhesive vinyl to use when creating glass etching stencils.
Don't worry about the term "permanent", it will still come off. A permanent vinyl stencil is more sticky making it a better material for stencils, so nothing can sneak underneath.
I have used removable vinyl in stencils as well, and while it still works, it is not as sticky as permanent vinyl.
You can also purchase Cricut Stencil Vinyl and that works great too.
Can you etch glass without a stencil?
Yes, you can etch without a stencil. You can draw the design freehand onto glass the same way you would use an icing tube to decorate a cake. All you need is a squeeze bottle with a precision tip.
How do you clean acid-etched glass?
Once all of the etching cream has been washed away the glass item is completely safe and can be washed with any household glass cleaner.
Glass-etched items can also safely be washed in a dishwasher as long as all of the etching cream has already been washed off of the item.
I find the best way to clean glass is with Isopropyl alcohol. It removes smudges and dries quickly.
How do I etch glass with etching cream?
If you want the glass etched look without using an acidic cream, you can create a similar effect using Etched Glass Vinyl. It is a cloudy clear vinyl that can still be cut with a Cricut and applied to a glass surface to give it an etched look.
Can you etch glass in color?
Etched glass will always be a matte or less shiny version of the original color of the glass. That is why when you etch clear glassware it becomes a dull white.
You can color that etched area with chalk or cream-based colorants, although that coloring will not be permanent.
Can I apply etching cream with a paintbrush?
Yes, you can apply etching cream with a paint brush, but I think you get a better result by spreading the cream with the squeegee tool. If you don't have a squeegee you could also use a popsicle stick or craft stick.
The squeegee tool helps you move the thick layer of cream around and a brush may accidentally push the cream underneath the stencil.
Can you glass etch Pyrex glass?
There are different types of glass and it all depends on how the glass is created. Some Pyrex is manufactured by a heat process that fortifies the glass for use in the oven. This makes the glass harder and more difficult to etch.
It is a good idea to test the glass casserole dishes (or whatever you want to etch) in an inconspicuous place, before attempting it on a larger scale.
Can I create my own stencil to use with etching cream?
Yes, you can! Permanent vinyl is a great way to go when creating adhesive stencils especially if you have a vinyl cutter like the Cricut or Silhouette.
You can also hand-cut your own stencils out of contact paper.
Our Crafting Essentials:
- The Cricut Cutting Machine is easily our favorite crafting tool. We use it in so many of our tutorials!
- These MakerX Crafting Tools are perfect for keeping in the craft room and are always ready when needed!
- This Fiskars Paper Trimmer is easy to use and cuts nicely without frayed edges.
- These Scotch Precision Scissors cut like a dream, and you get multiple pairs in a pack!



Leave a Reply