This post may contain affiliate links. For more information, please see our disclosure policy.
Want a cool new drinking glass? We show you how to modify store-bought drinking glasses with Etchall Etching Crème so they’ll say “Drink me”. If you make a purchase using the links included, we may earn a commission.
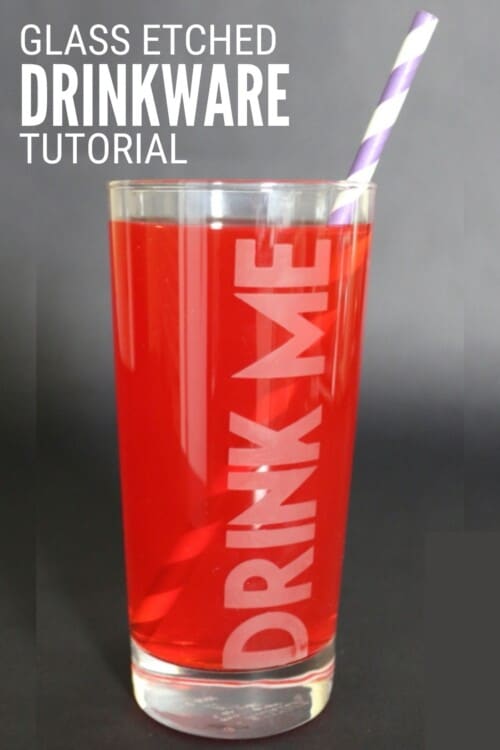
Have you ever used glass etching cream before? It is so much fun to add a little bit of style or personalization to something glass.
Today I am going to share just how easy etching cream is to use and etch some drinkware to say DRINK ME.
Frequently Asked Questions:
Can you engrave glassware?
Yes, you can!
Although, there are some glassware items that cannot be etched due to high lead content.
So it is always a good idea to test with a small dot of etching cream on the base of the item. After 15 minutes, wash off the cream, and if it leaves a small etched dot then you are good to go!
Does etching cream work on crystal?
Crystal is one of those glasses that can be difficult to etch because crystal has lead and is harder than glass.
Often the etching effect looks more cloudy than the solid etched looked.
But you could always do a test on the bottom of the crystal item, before committing to an all-over design.
Are etched wine glasses dishwasher safe?
Yes, they are! As long as they are dishwasher safe originally, they will still be dishwasher safe after they have been etched and cleaned.
Is etched glass food safe?
Yes! As long as the item is food-safe originally, it will still be food-safe after they have been etched and properly cleaned.
And you don't have to worry about staining either, since glass is non-porous it cannot hold food stains.
Supplies You'll Need to Create this Project:
- Cricut Cutting Machine
- DRINK ME in Cricut Design Space
- Removable Vinyl
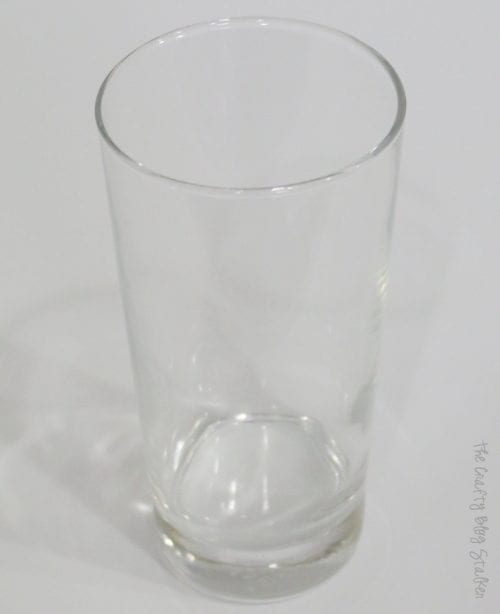
- Glass Drinkware
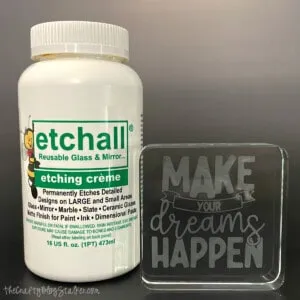
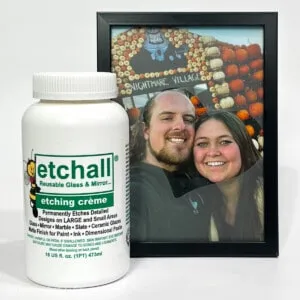
- Etchall Etching Creme
- Masking Tape
- Popsicle Sticks
Cut the File in Cricut Design Space:
Measure the glass you will be adding to the design. My glasses are 6 inches tall so I made my stencil about 5.5 inches tall.
If you would like, you can use the Drink Me stencil I created in Cricut Design Space.
You cannot reuse this stencil, so make sure to cut one stencil for each glass you are planning on etching.
Prepare the Vinyl Stencil:
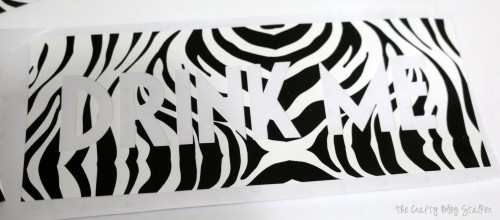
Weed the stencil, and remove the letters from the design, making sure to leave the center of the R and D.
Lay a piece of transfer tape over each stencil and give a good rub so the transfer tape sticks well to the top of the vinyl.
Apply Stencil to the Glass:
Carefully peel back the backing paper from the vinyl stencil, making sure all of the pieces are sticking to the transfer tape.
Align the stencil on the glass right where you want it. Rub the stencil all over, so it will stick completely to the glass.
Make sure all of the edges around the stencil are stuck down well because you don't want the etching cream to sneak under the stencil.
Remove the clear transfer tape, leaving the vinyl stencil on the glass.
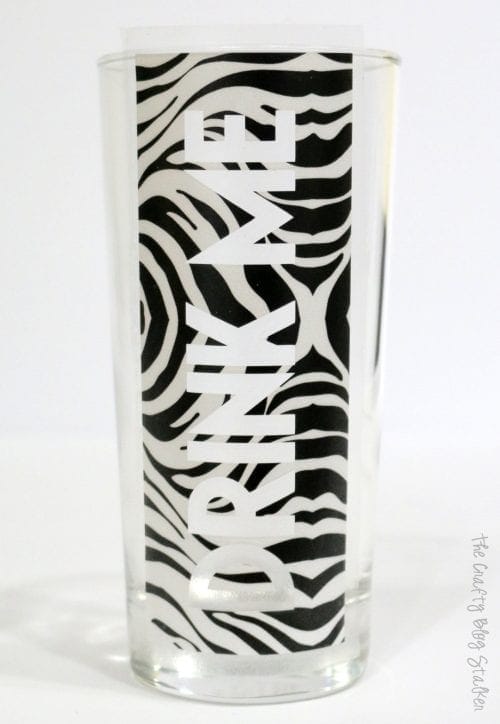
Etching cream will etch any glass surface that it touches. So to give yourself a little extra room, add some strips of masking tape around the stencil.
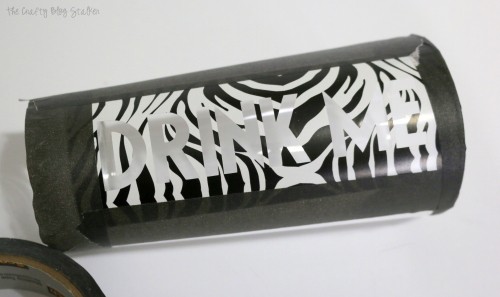
Etchall Etching Crème:
Use a popsicle stick to apply a big heap of etching cream to the stencil. Spread the etching cream out making sure to cover all areas of the stencil.
The etching cream is really thick and should stay right where you put it. You can't use too much so really lay it on thick.
Let the etching cream sit on the glass for a minimum of 15 minutes.
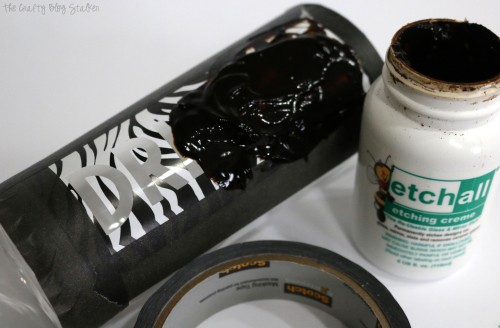
*Most etching creams are white. I honestly have no clue why mine is dark brown, but it still works so I haven't replaced it.
After the time is up, scrape the etching cream off and put it back into the jar. You can use etching cream over and over again!
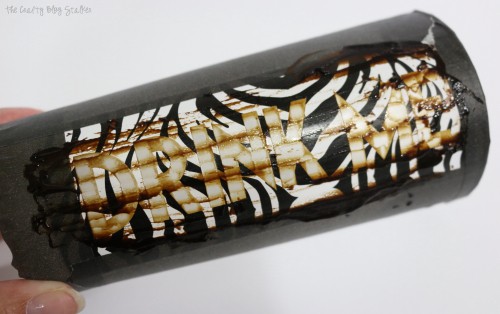
Get as much of the cream off as you can with the popsicle stick.
Take the glass to the sink and run under water to remove the rest. Be careful with this step, because the etching cream will etch any exposed areas of the glass.
Peel off the tape and stencil and again run the glass underwater to make sure all of the etching cream has been removed.
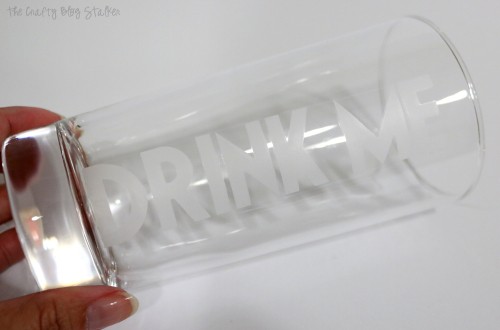
It's so fun to see your design etched on the glass!
Etched glass is completely dishwasher safe, and safe to touch food, just make sure the glass is washed well before its first use.
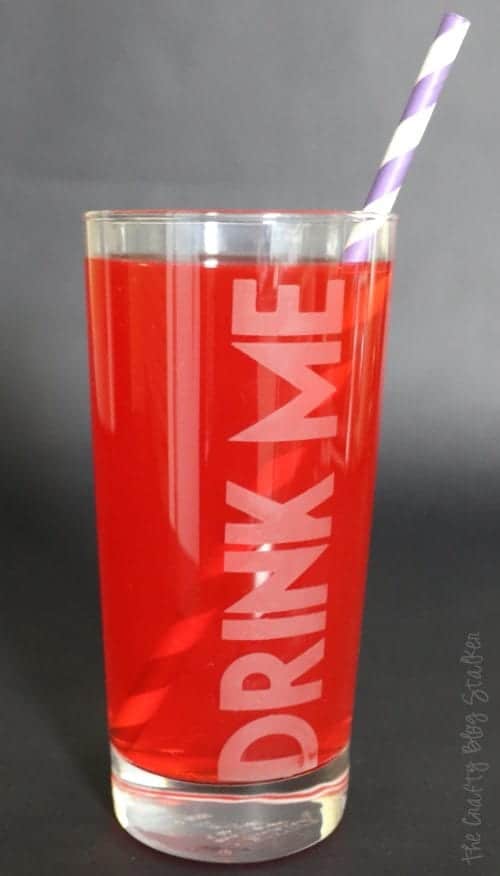
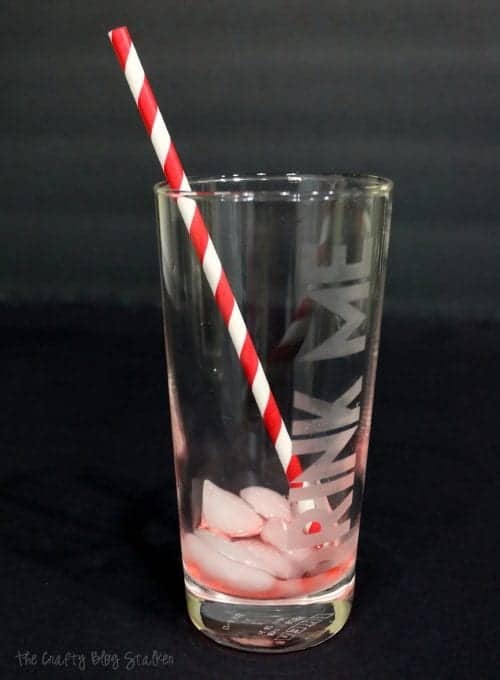
The possibilities are endless with etched glass AND it makes easy personalized gifts for a special occasion! What will you etch into the glass?
Our Crafting Essentials:
- The Cricut Cutting Machine is easily our favorite crafting tool. We use it in so many of our tutorials!
- These MakerX Crafting Tools are perfect for keeping in the craft room and are always ready when needed!
- This Fiskars Paper Trimmer is easy to use and cuts nicely without frayed edges.
- These Scotch Precision Scissors cut like a dream, and you get multiple pairs in a pack!


Megin
What a fun project! Thanks for the step by step. I have a glass that has a "V" on it and it's coming off. Now I can re-do it!
Thank you for sharing this week at Brag About It link party on VMG206 (Mondays at Midnight). I plan to feature you next week!
~ Megin of VMG206
Seana turner
I can think of many applications for this technique! Very fun, and you made it seem less intimidating than I would have thought. Glad you stated up front that you need to cut one stencil for each application. Get all that cutting done at once! Beautiful result:) (visiting from Brag About It)
Katie
Thank you Seana! I'm so glad you like my tutorial! It really is a fun technique!