

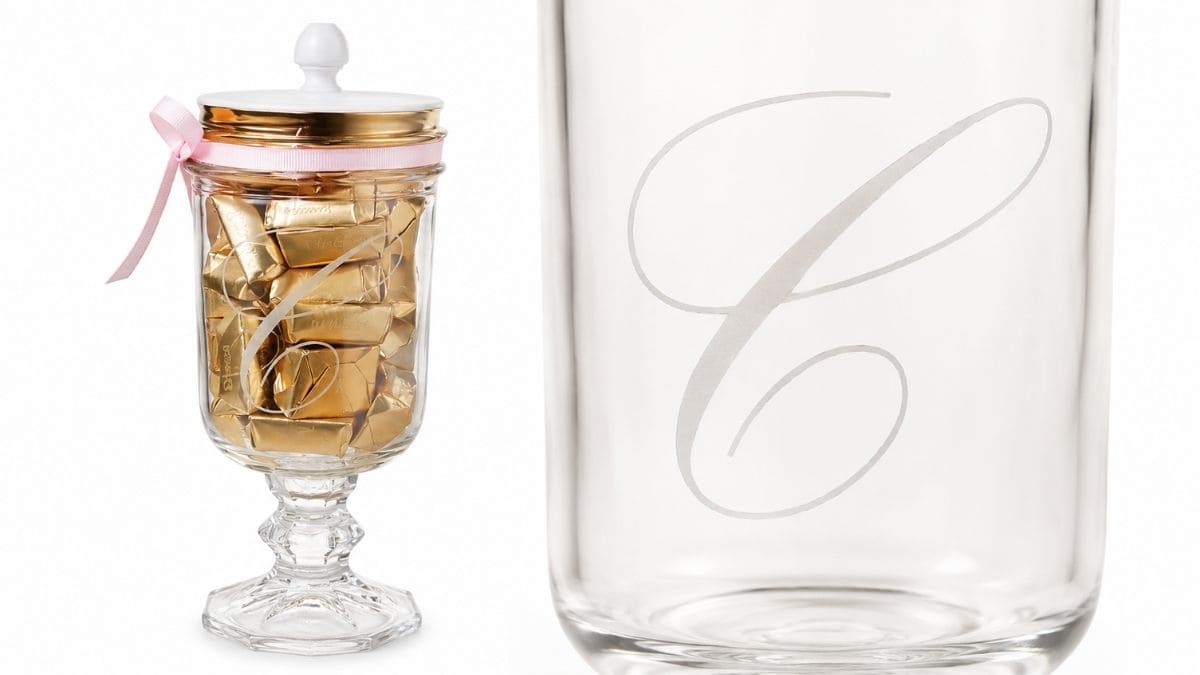
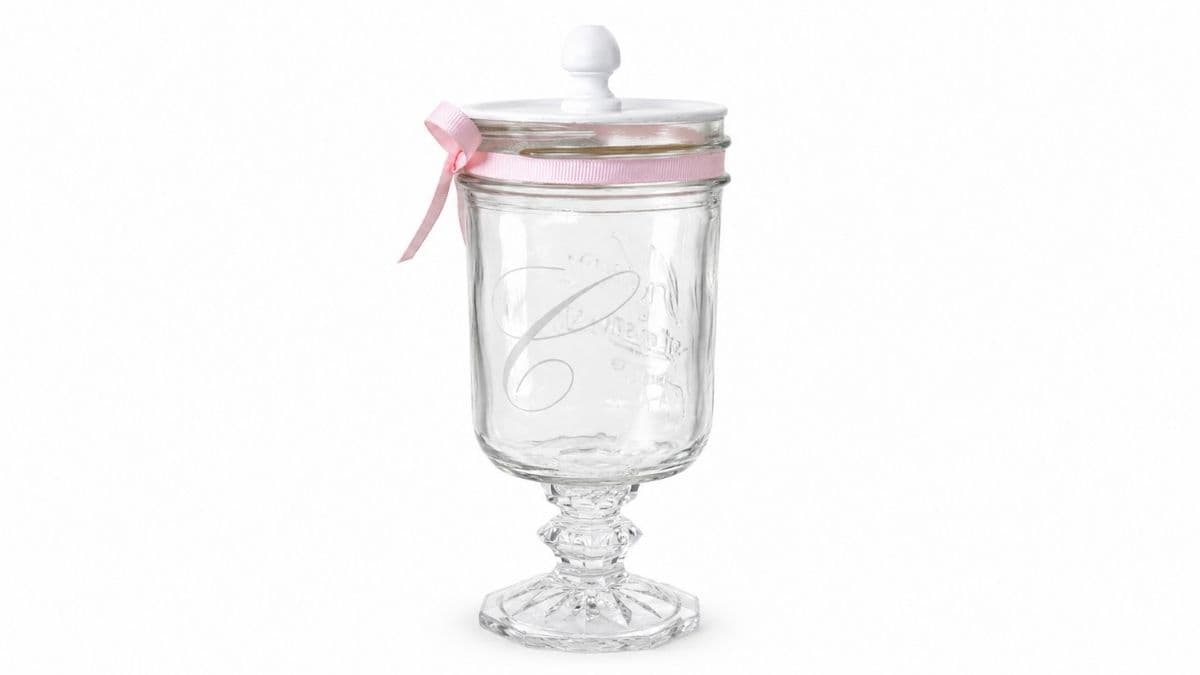
Create a beautiful glass etched monogram mason jar that's perfect for candy, treats, gifts, or adding a personalized touch to your home decor.
I originally made this monogram mason jar as a gift for my secret friend at work, and it quickly became one of my favorite handmade gifts to give.
It's amazing how a simple mason jar can be transformed into something that looks elegant and completely custom with just a little glass etching.
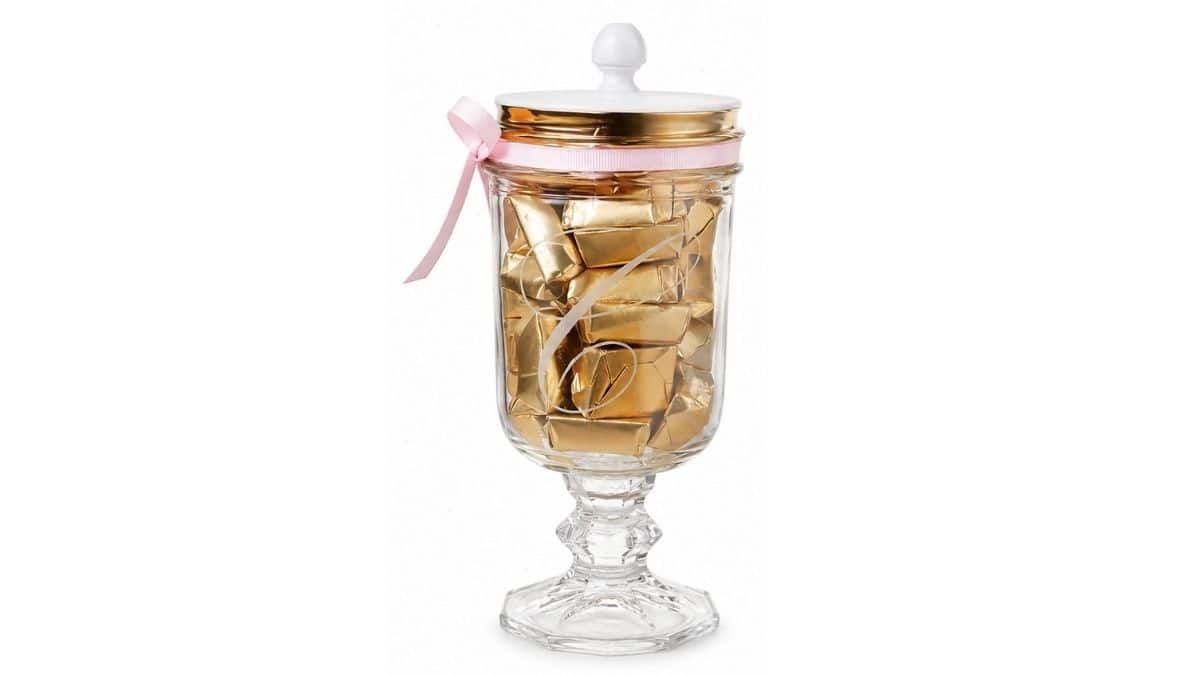
Fill it with candy, cookies, bath salts, or other small treats to create a thoughtful gift for almost any occasion.
Once you learn this technique, you'll start looking around the house for more glass items to personalize.
Skill Level: Beginner
Estimated Cost: $15-20
Total Time: 1 hour + 24 hours drying

Why You'll Love This Project
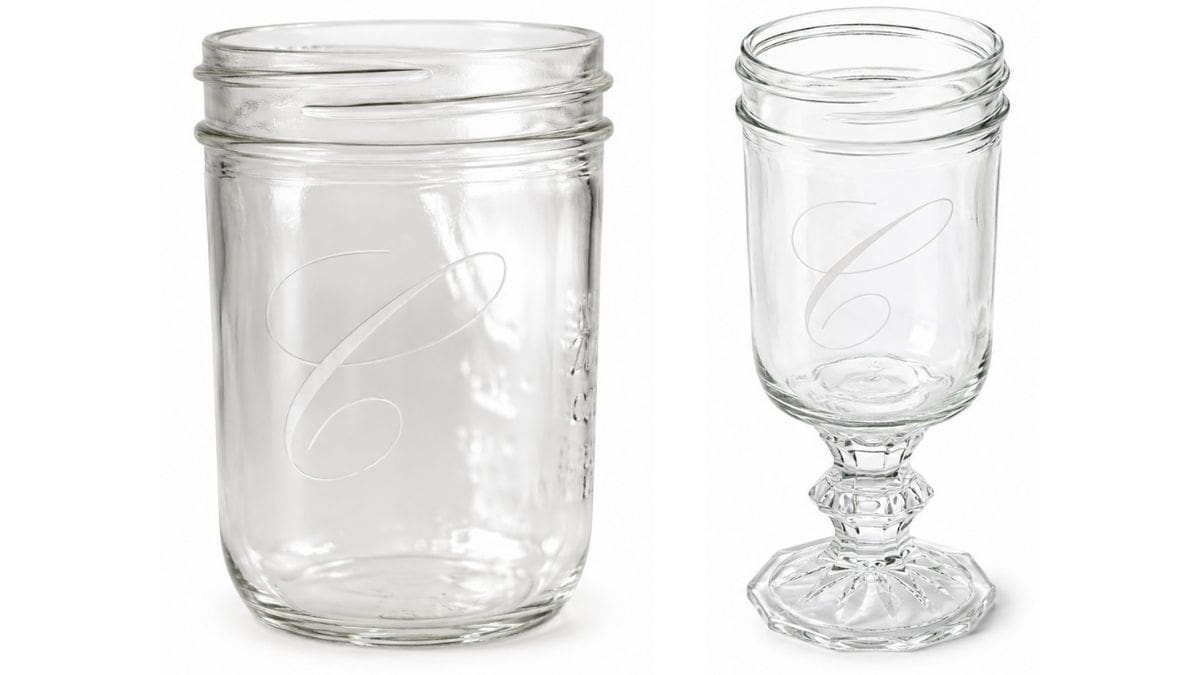
This project combines two simple DIY techniques-glass etching and assembling a pedestal candy jar-to create a gift that looks much more expensive than it actually is. The etched monogram gives each jar a timeless look, while the pedestal base adds a little extra elegance.
They're wonderful for birthdays, teacher appreciation, hostess gifts, weddings, holiday gifts, or even as decorative storage around your home. You can also personalize each jar with a family name, logo, or custom design instead of a single monogram.
Prepare the Monogram
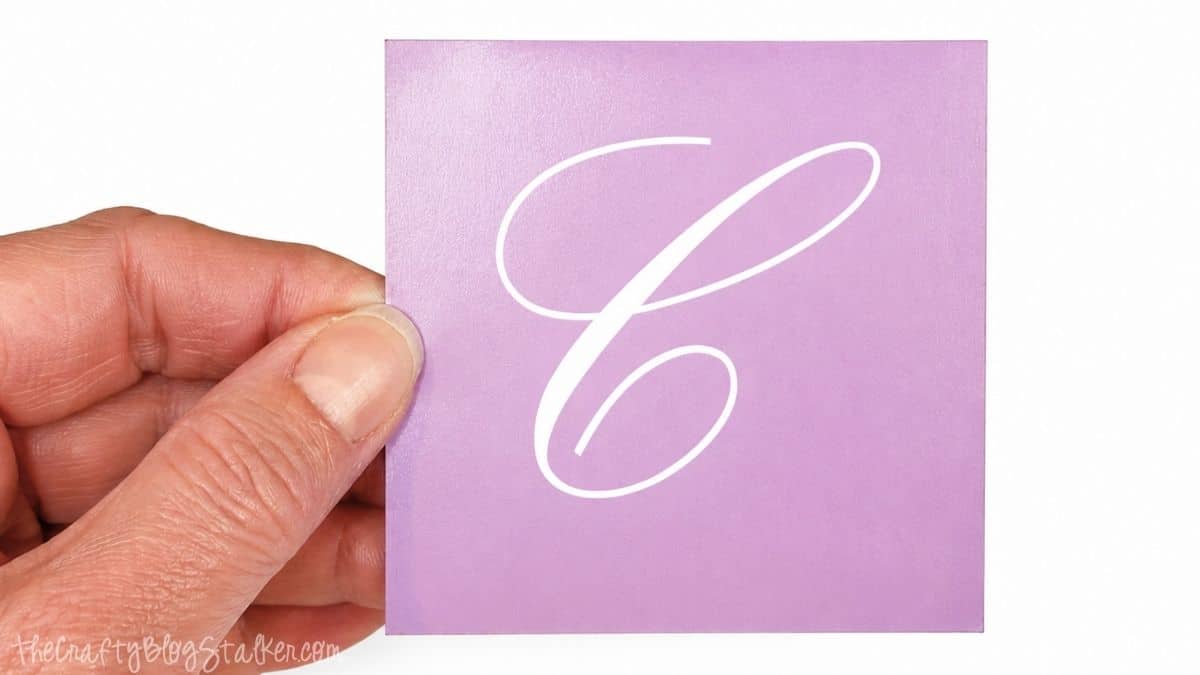
Begin by cutting your monogram or custom design from permanent vinyl using your Cricut cutting machine.
A single letter creates a classic look, but names, simple graphics, or small logos work beautifully too. Weed away the excess vinyl and apply transfer tape to the front of the design.
Before applying the stencil, make sure the outside of the mason jar is clean and dry. Any fingerprints or oils can affect how well the vinyl adheres to the glass.
Carefully position the stencil on the jar and burnish it well so the edges are completely sealed. Taking a little extra time here helps create crisp, etched lines.
Etch the Glass
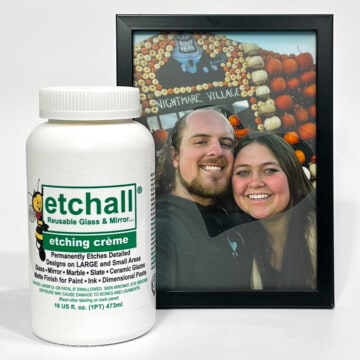
Apply a generous layer of Etchall Etching Cream over the exposed glass, making sure the entire design is covered.
Allow the cream to sit according to the manufacturer's instructions. While it works, avoid letting it drip onto any exposed glass outside the stencil.
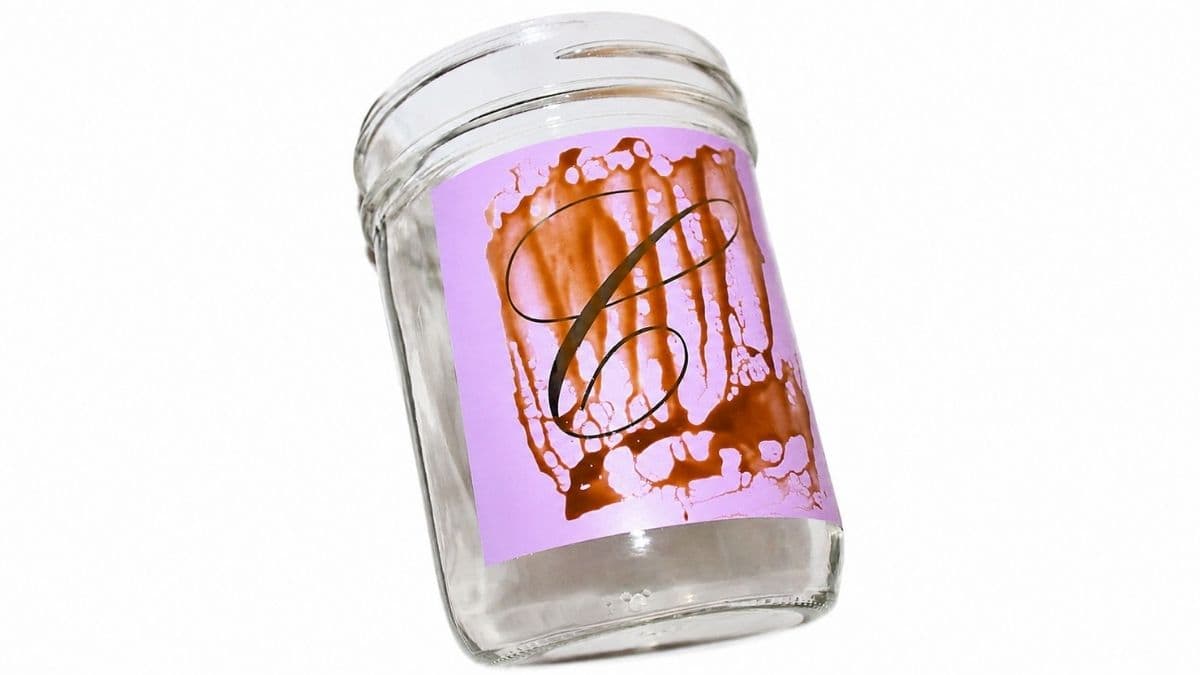
I am not sure why my etching cream has turned brown, but it still worked, so I wasn't too worried.
When the time is up, rinse the cream away with water and carefully remove the vinyl stencil. The etched monogram will have a soft, frosted appearance that's permanent and won't peel or fade.
Assemble the Candy Jar
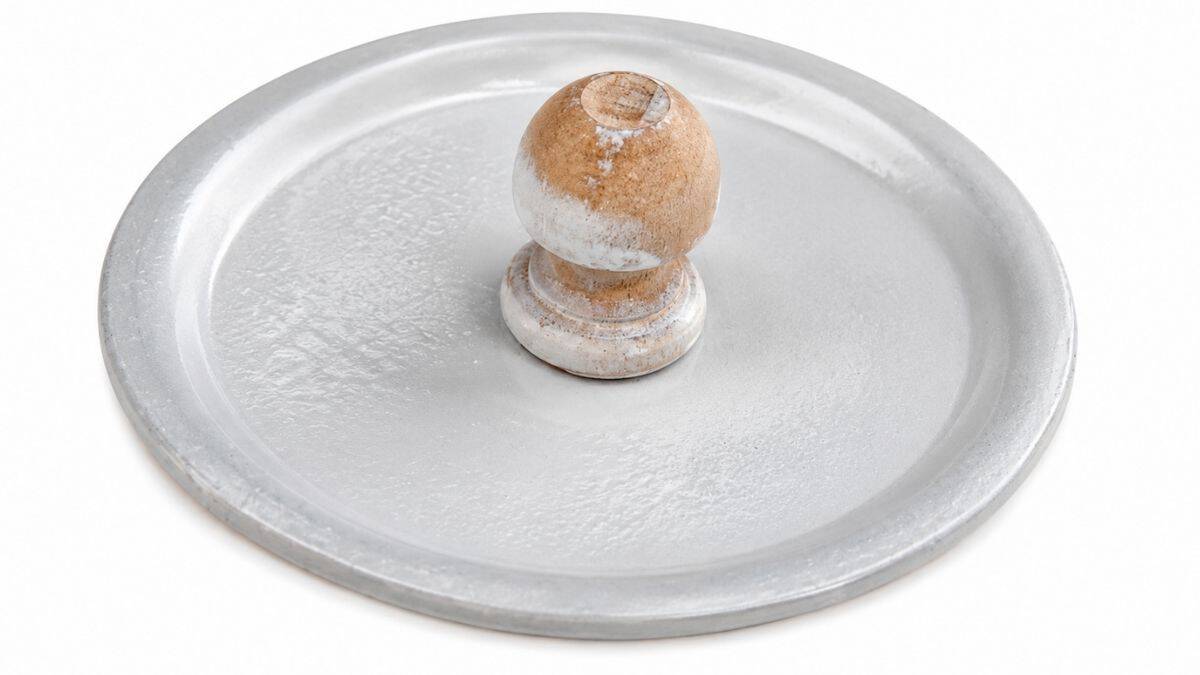
While the etching cream is working, you can prepare the lid.
Glue the wooden knob to the center of the flat mason jar lid and allow it to dry completely.
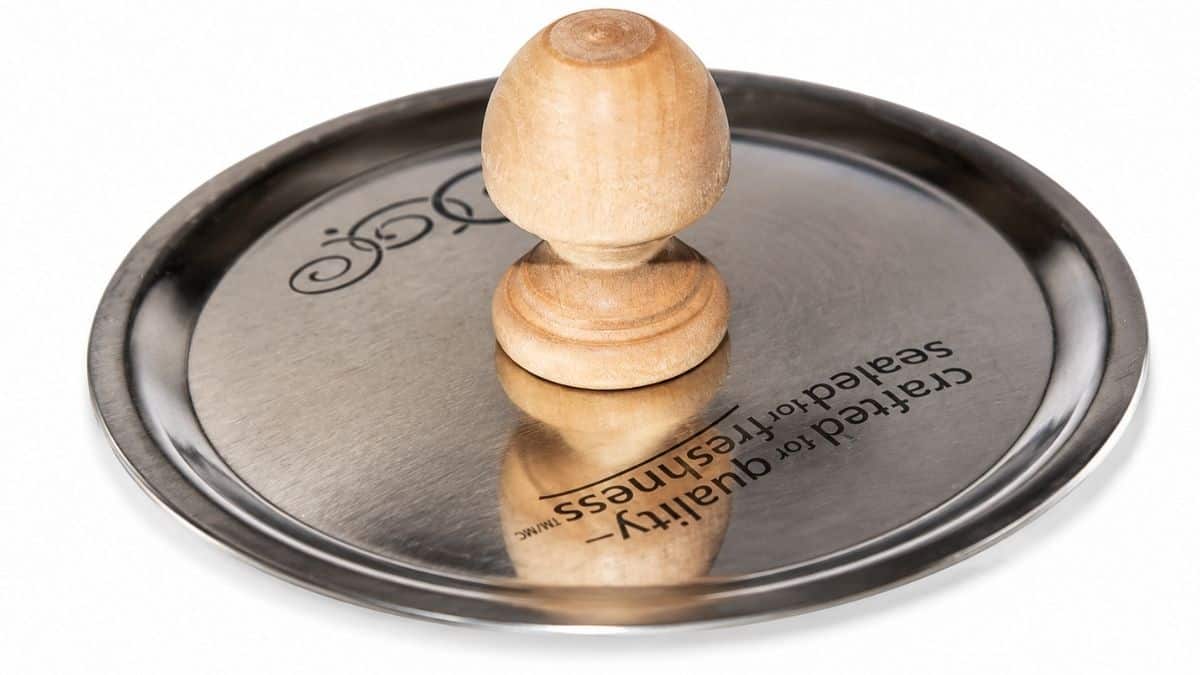
I originally tried spray-painting the knob, but the finish didn't adhere well, so I switched to white acrylic paint instead. It covered beautifully and gave the knob a smooth finish.
To create the pedestal, use E6000 glue to attach the mason jar to the glass candlestick. Allow the adhesive to cure for about 24 hours before filling or using the jar.
Once everything is dry, tie a ribbon around the top for a finishing touch and fill your custom mason jar with your recipient's favorite treats.
Gift Ideas
One of my favorite parts of this project is choosing what to put inside the finished jar.
Candy is always a fun choice, but these jars also make beautiful containers for homemade cookies, hot cocoa mix, bath salts, craft supplies, or small sewing notions.
They also make lovely wedding favors, bridal shower gifts, and personalized gifts for teachers, neighbors, coworkers, and friends.
Care Instructions
Because the design is permanently etched into the glass, it won't peel like vinyl decals.
To help protect the painted knob and glued pedestal, I recommend gently hand-washing the jar rather than placing it in the dishwasher. Avoid soaking the lid or the glued base in water for extended periods.
Frequently Asked Questions
Yes! Pint jars work well, but quart jars and other glass jars can also be personalized using the same technique.
Absolutely. Monograms, names, seasonal designs, and simple logos all work well for glass etching.
Yes. Glass etching permanently changes the glass's surface, so the design won't peel or wear away.
The etched glass itself is permanent, but because of the painted knob and glued pedestal, handwashing is recommended rather than using the dishwasher.
Once you've mastered this project, try etching wine glasses, baking dishes, vases, drinking glasses, candle holders, and other glassware.
Need help with this project?
Click a button below to ask AI what other glass items can be personalized with etching cream.
More Glass Etching Ideas
Here are more glass-etching projects and creative ideas to inspire your next handmade gift or home decor piece.


Hi, I'm Katie!
I'm so glad you're here. Want to make something fabulous? I'm here to help!
Andrea @ Sew Divertimento
great idea!!! =)
Stevie @ MooreBabies
I LOVE that idea!!
Bama Girl
That is so original! Thanks for sharing!
Paula Parrish
Great Idea! I love your candy jar. I am going to make a few, thanks for sharing your tutorial. ;o)
Lizzi's Creations
That is super cute! I love the monogram.
Sue j
I have yet to attempt etching cream, but I love the idea. Silly question, but after cutting, you peel away the letter, right and apply the etching cream to the void where the letter was? Thanks for the advice! Sue
Katie
Hi Sue! Yes, that is exactly right. You use the negative of the letters or image as a stencil. Stick that to your glass surface and apply the etch cream to that negative space. Thanks!
Sue ~ the world of suzy homemaker
Fab! Thanks Katie 🙂
Katie
Thank you Sue! I'm so glad you like the Monogram Candy Jar!
shelley
I've never heard of etching cream before but I'll have to give this a try the next time I'm feeling crafty. Love the idea!
Katie
Thanks for stopping by Shelley! Etching cream is really a lot of fun to play with. There are so many great ways to get creative with it.
Linda Primmer
Hi Katie, what a cute idea. I did make some candy jars from candle holders from the dollar store. I will have to try out your monogram idea. Thank for sharing your project at DI&DI.
Katie
Thank you Linda! If you try the etching cream, you'll be hooked! It's so much fun!!
Cheryl
I love this idea, thank you for sharing it! Can't wait to make a few!