This post may contain affiliate links. For more information, please see our disclosure policy.
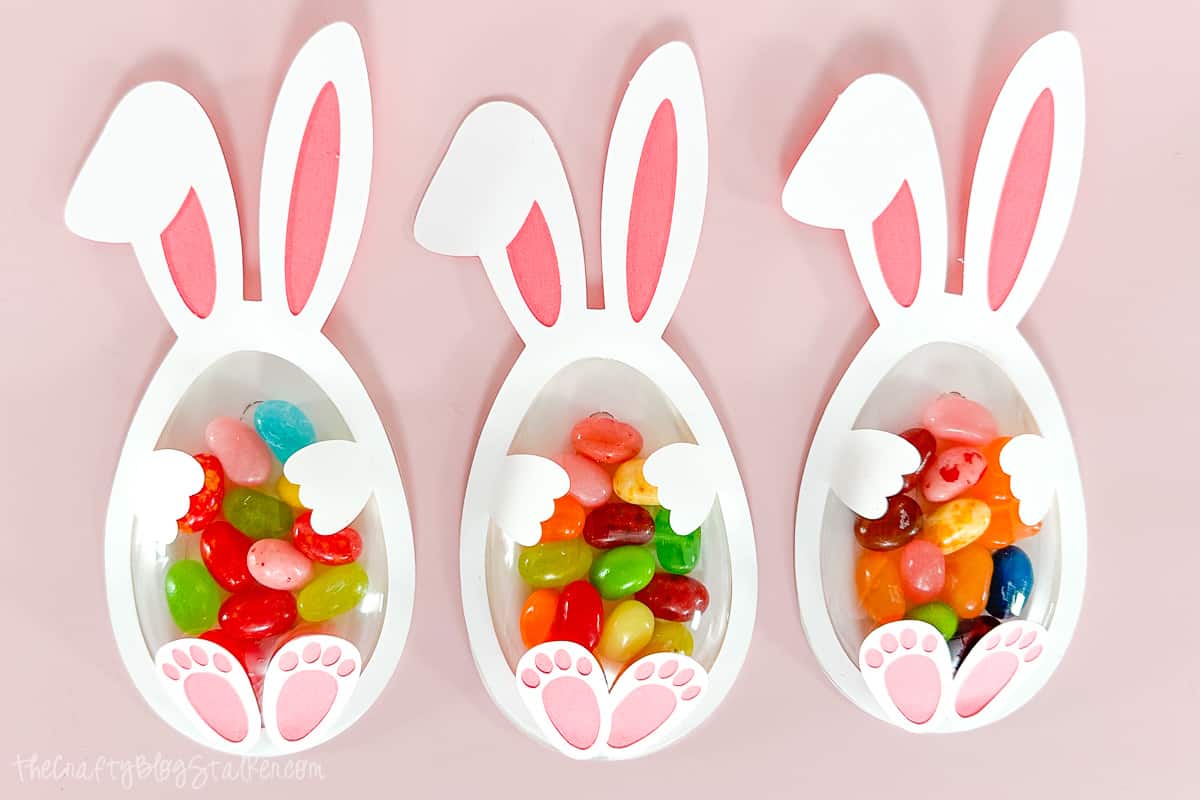
Hop into Easter fun with these adorable DIY candy shakers featuring the Easter Bunny. Grab our free SVG file and make these cute Spring gifts!
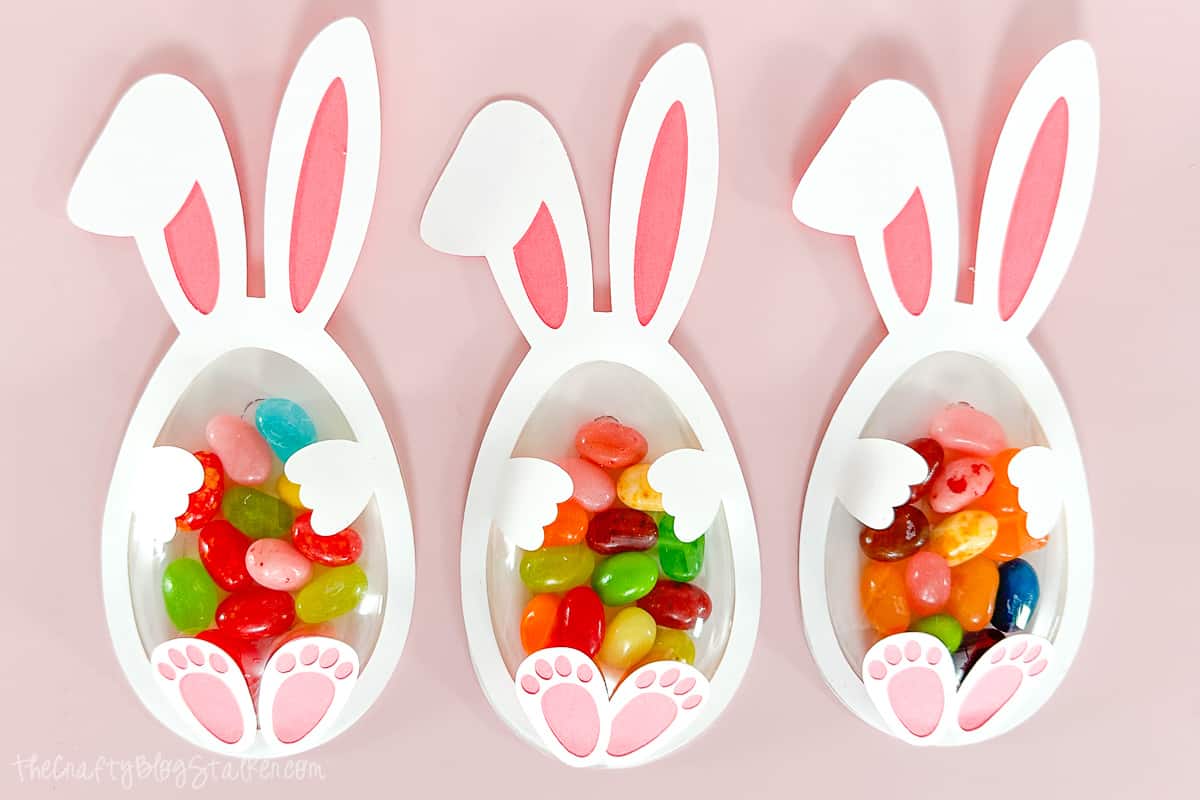
Add a sprinkle of joy this spring with our delightful DIY Easter Bunny Candy Shaker.
These charming candy shakers feature everyone's favorite Easter Bunny, plus a free SVG file to make crafting even easier!
Let's hop in and make some egg-stra special handmade gifts for your friends and loved ones.
AD: Shop Cricut.com
Craft Video Tutorial:
Like videos? I have a video tutorial for you! Subscribe to my YouTube Channel so you don't miss any future videos!
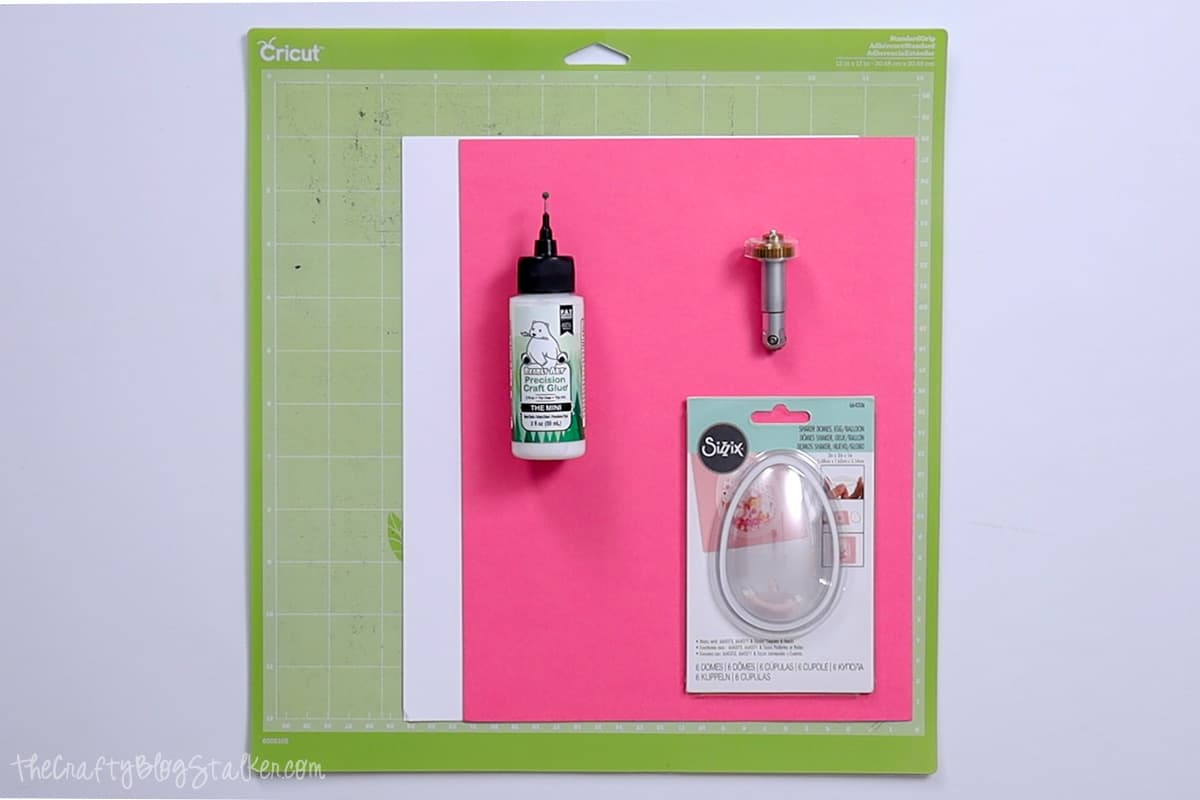
Supply List:
Some supplies were provided at no cost. Links may lead to similar products if the exact ones are unavailable.
- Cricut Cutting Machine
- Bunny Treat Holder SVG
- StandardGrip Mat
- Perforation Blade
- Pink and White Cardstock
- Precision Craft Glue
- Balloon Shaker Domes
- Jelly Beans
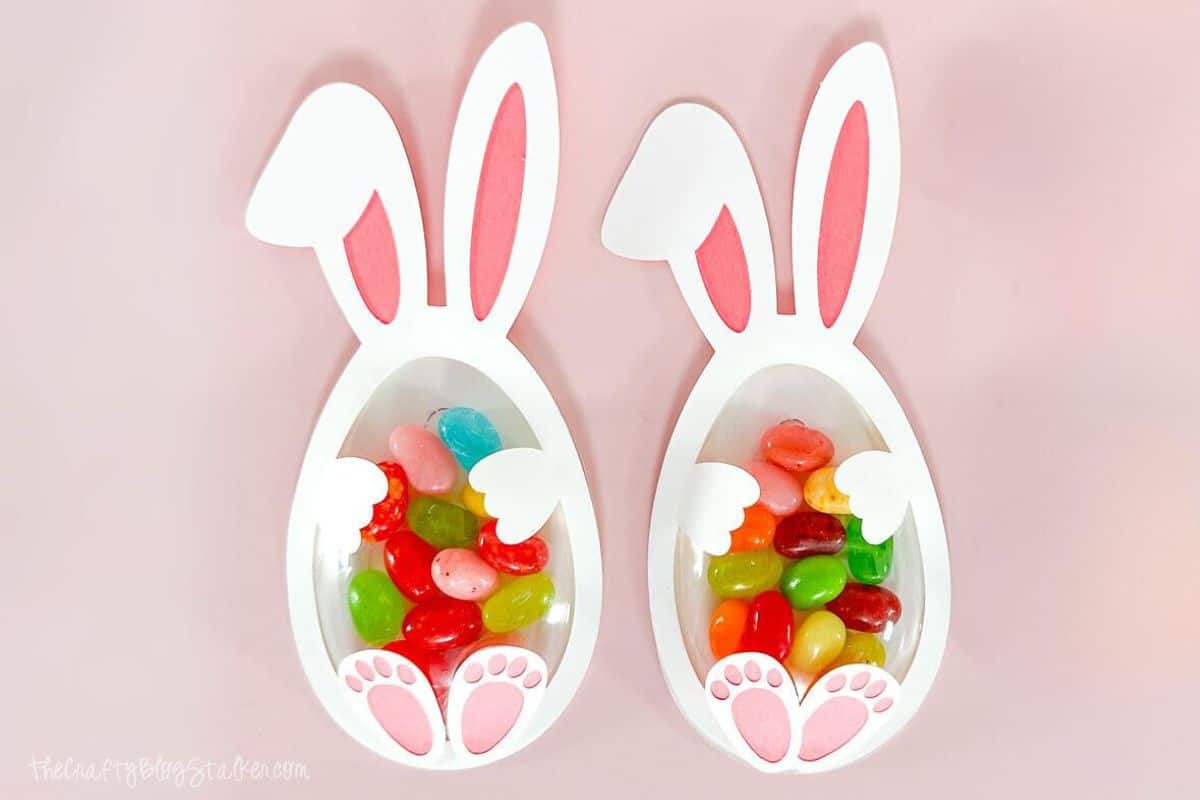
Grab the Free SVG:
This digital media is for Personal Use Only - You do not have permission to redistribute.
Cricut Design Space:
I use Cricut Design Space for the next several steps will be based on that.
If you use Silhouette Studio or a different design software, your steps may be different.
To start, upload the SVG into Cricut Design Space and add it to your Canvas.
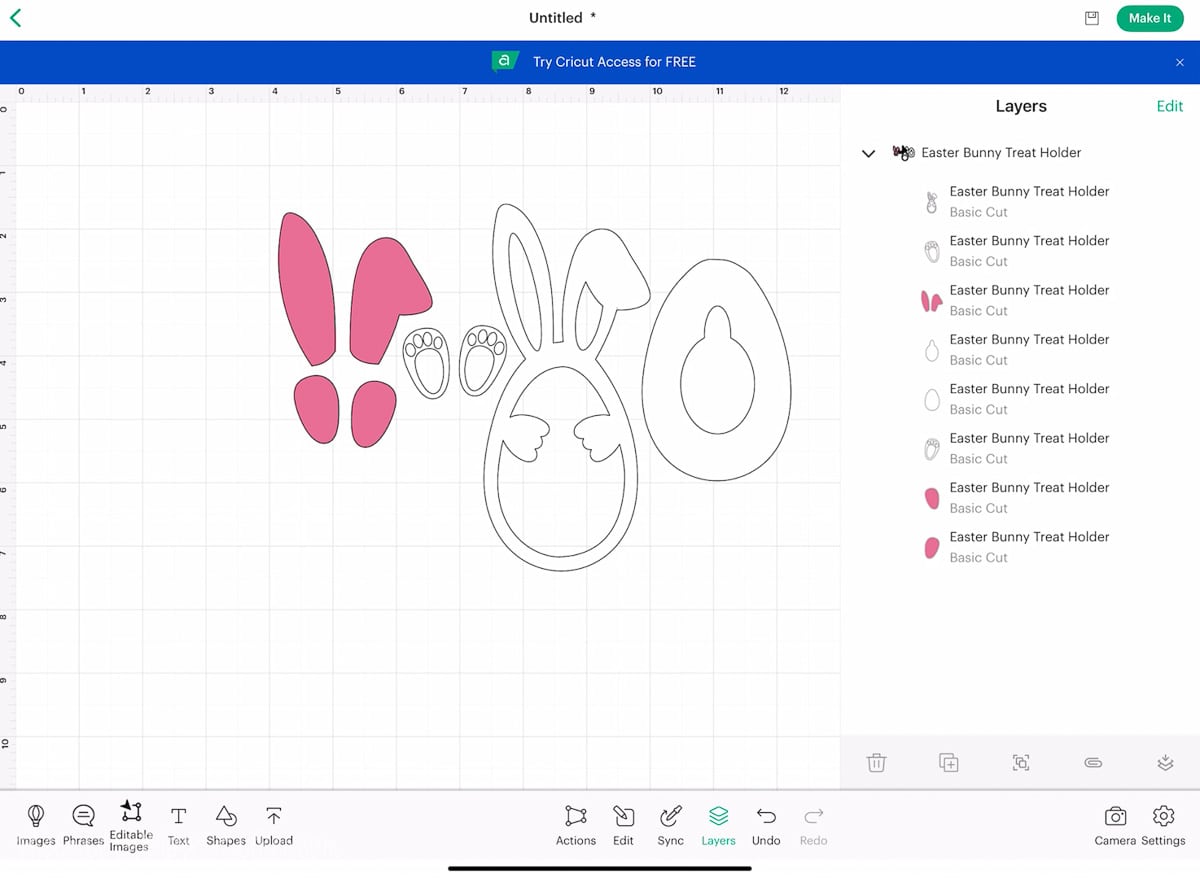
Do not resize the design. It was created to perfectly fit with the Balloon Sizzix Shaker Domes, and if you resize it, they will no longer fit together.
On the back of the design, there is a pull tab so the recipient can get to the candy inside without having to rip the whole thing apart.
This tab only works if you are cutting with the Cricut Maker and you have the Perforation Blade.
You can also just delete this shape and cut the design on any machine.
Highlight the pull tab which is the shape inside the oval.
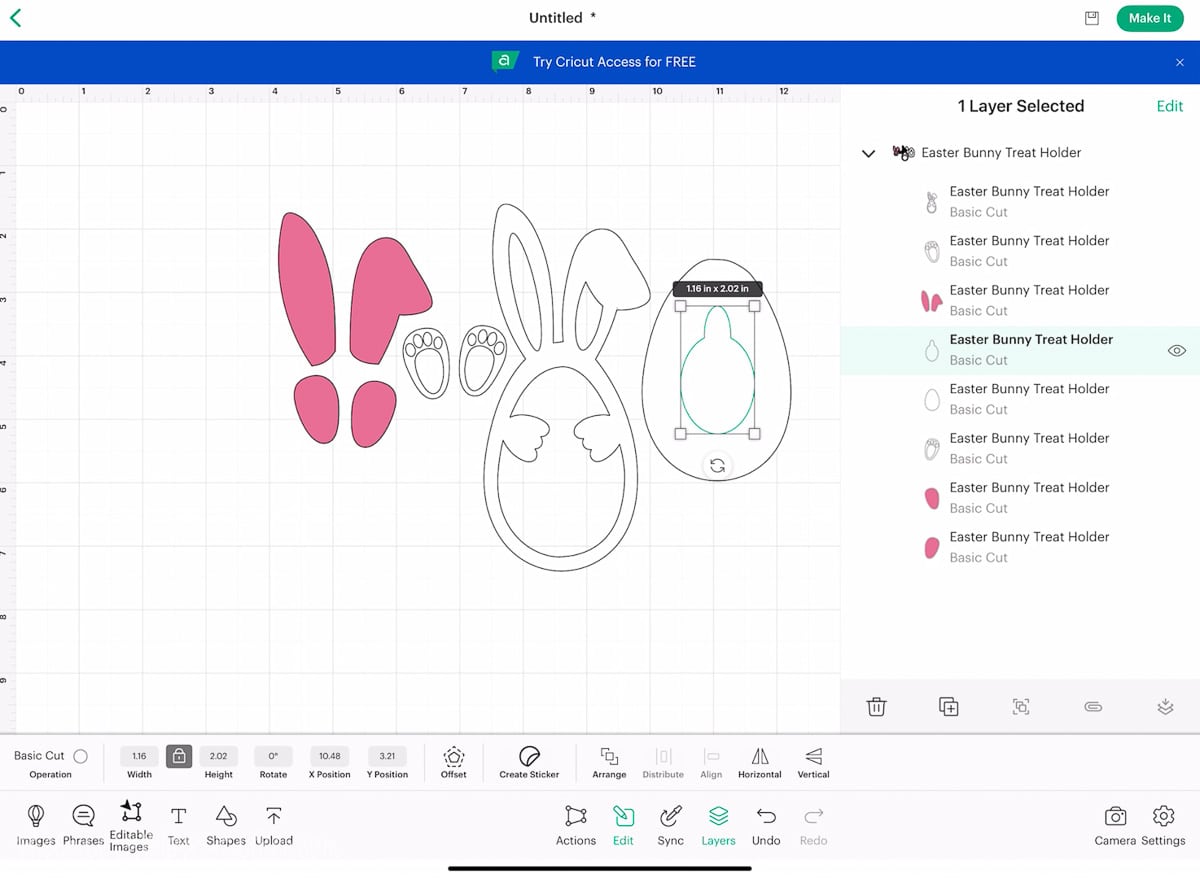
Click on Edit, and change the Basic Cut to the Perforated Blade.
Then highlight the pull tab and the oval around it, and select Attach.
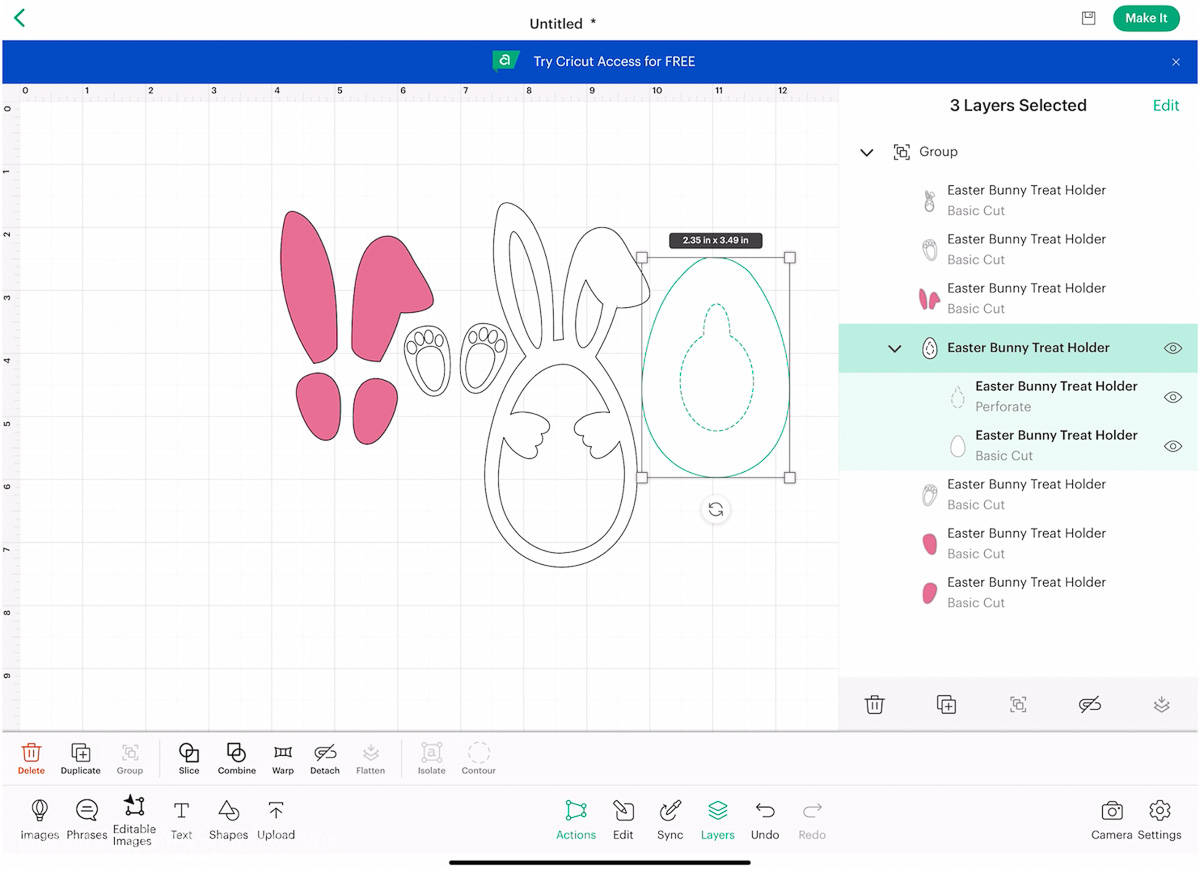
If you don't attach the two pieces, the back and pull tab will be cut separately.
Click on Make It, and the next screen is your Mat Preview.
On this page, you can also adjust how many copies you want to cut. I typed 3, so I will have 3 copies of the designs on my mats.
Select Next, and choose your material. I chose Medium Cardstock.
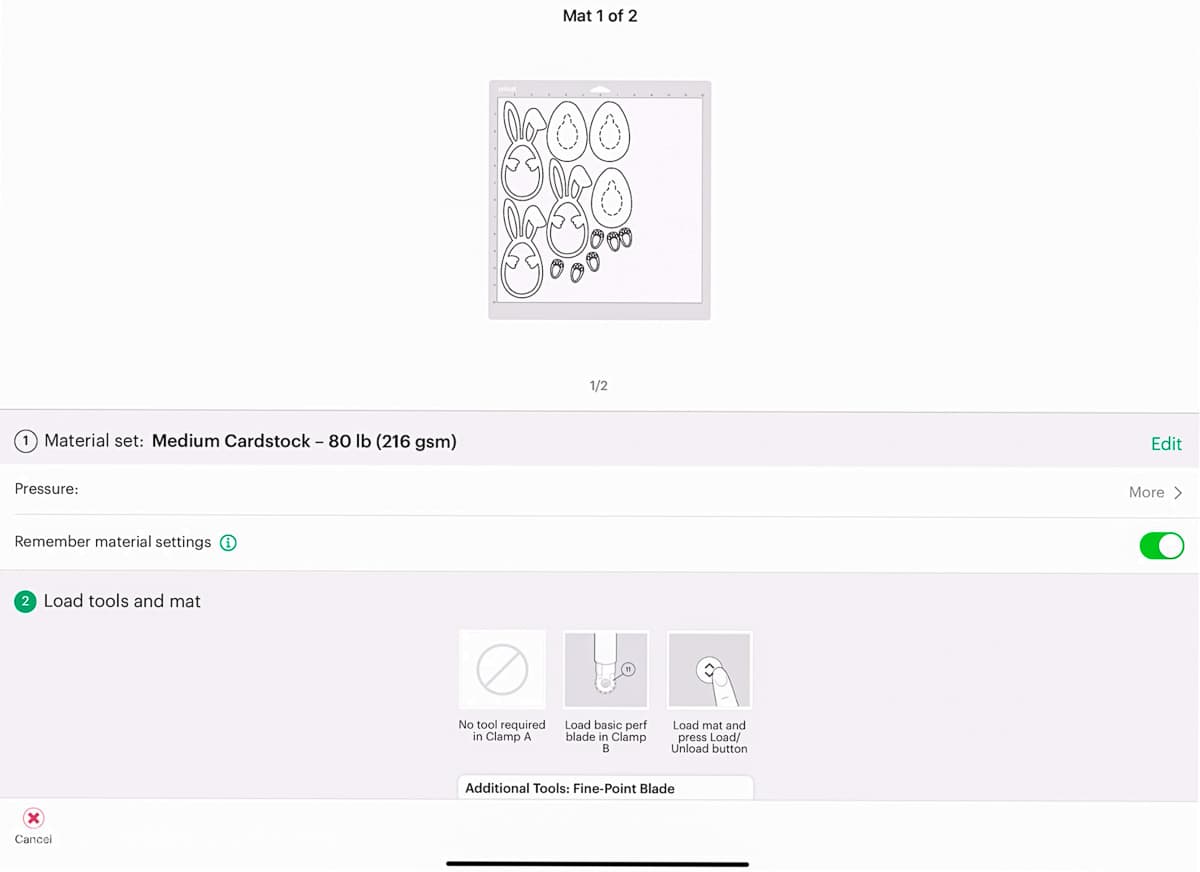
When cutting paper, I always select More Pressure to make sure I get nice cut lines without fraying.
Then I hit the toggle to Remember Material Settings so I don't have to revisit this screen between each mat. It will just cut them with the same settings.
Cut the Design:
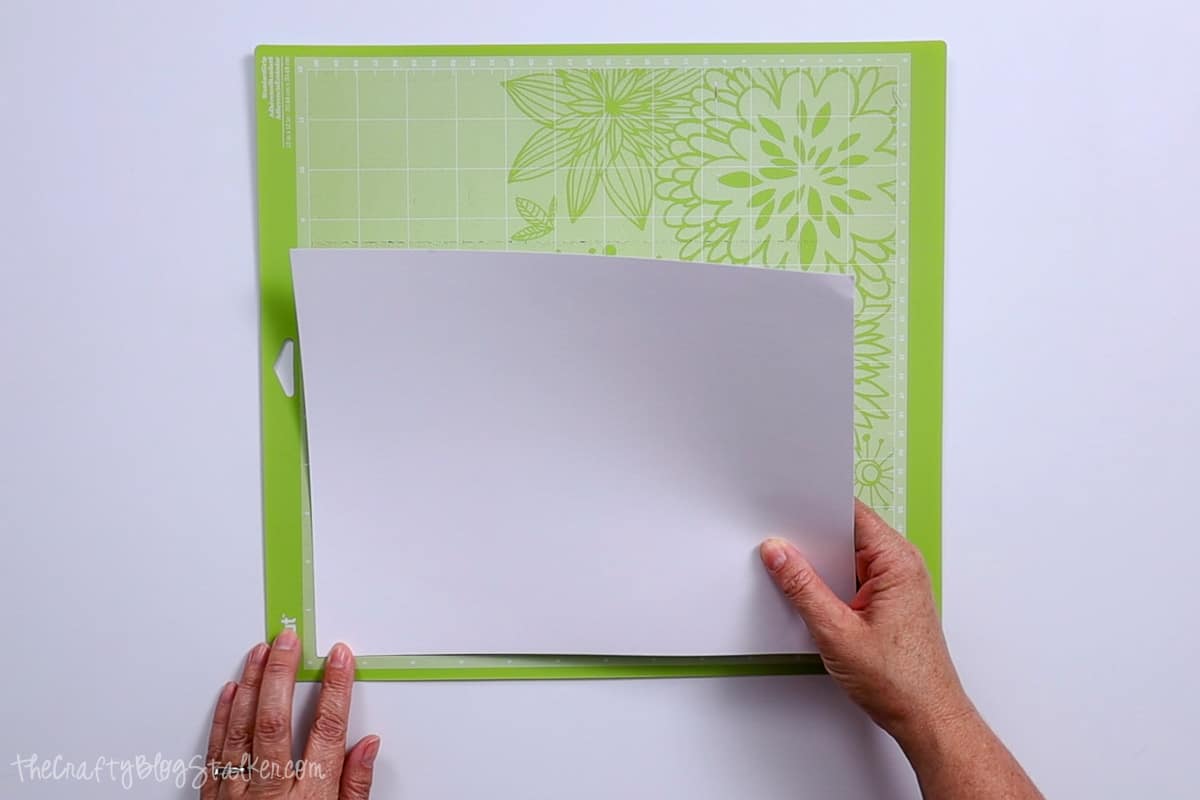
Remove the protective sheet from the StandardGrip Mat.
Align the paper to the mat by using a corner to keep everything straight.
Follow the prompts in Cricut Design Space. It will let you know what color of cardstock to load, and when to insert the Perforation Blade.
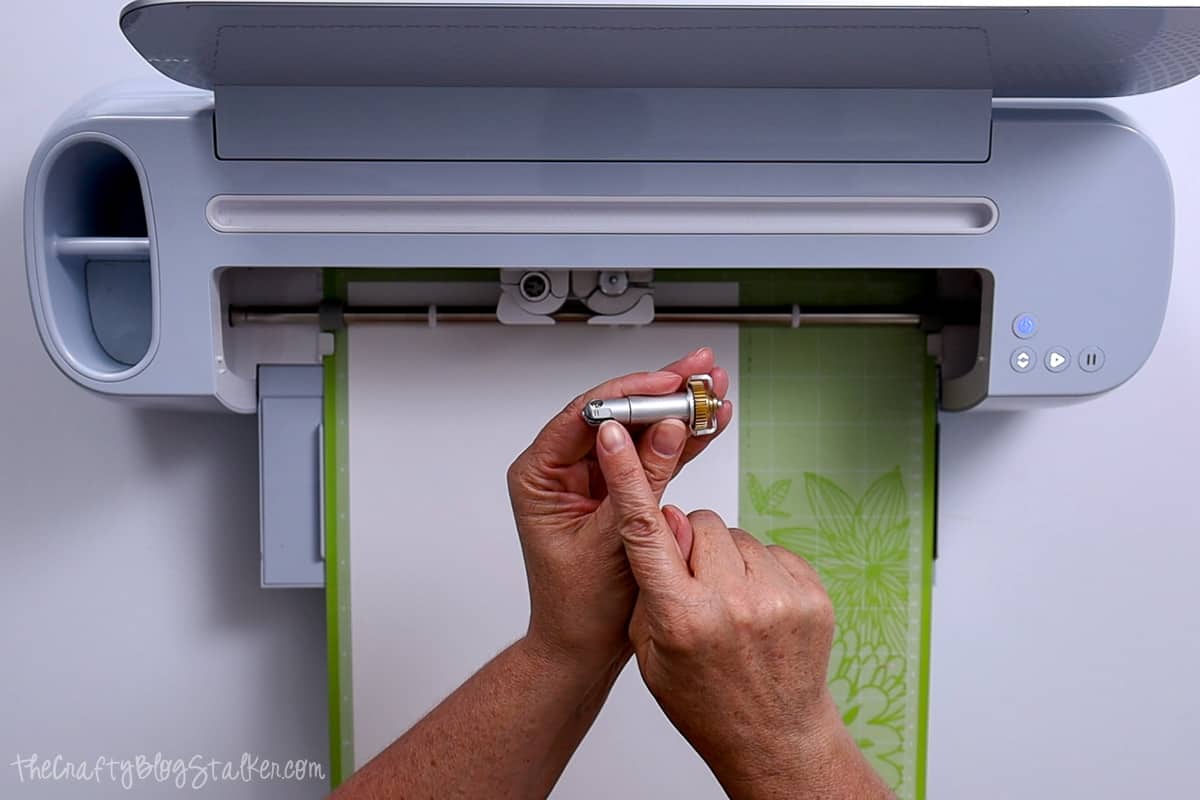
The white mat is the only mat that will use both the Fine Point Blade and the Perforation Blade.
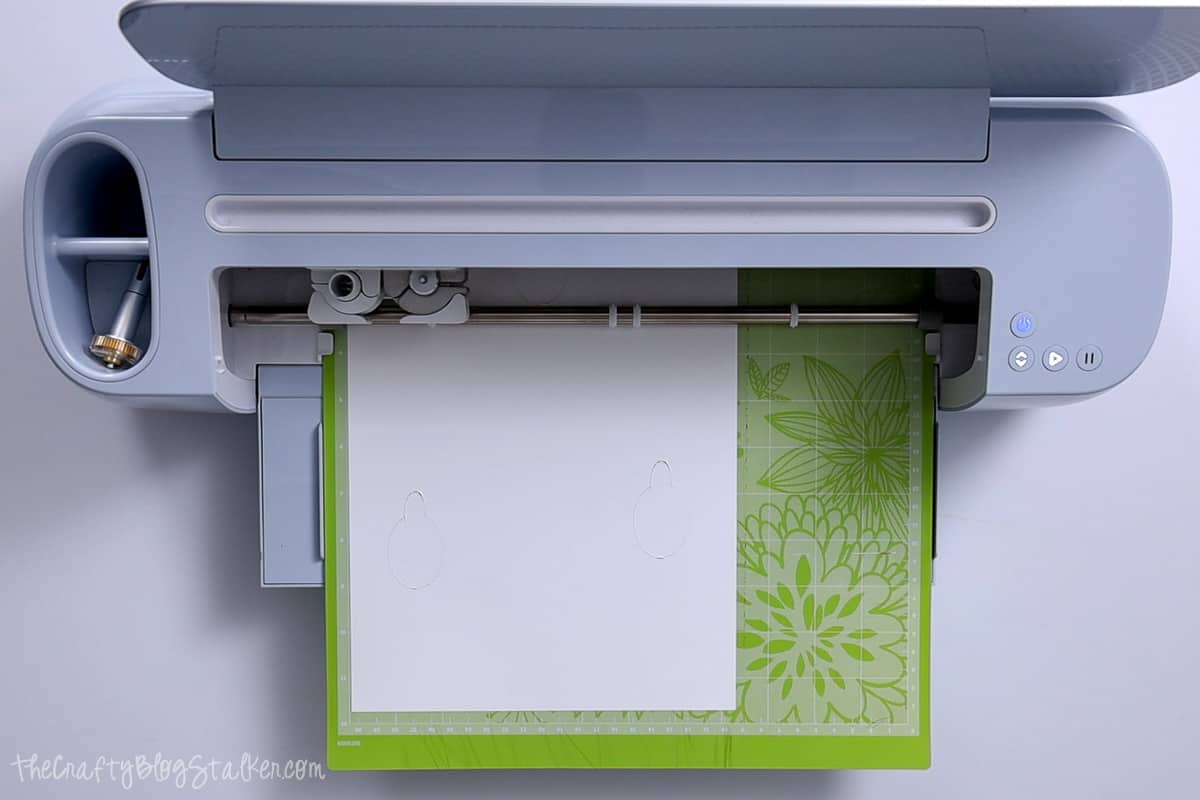
The pink mat only uses the Fine Point Blade (the blade that is included in the machine).
To remove the cut pieces from the mat, turn the mat over, and roll the mat back to remove the paper pieces.
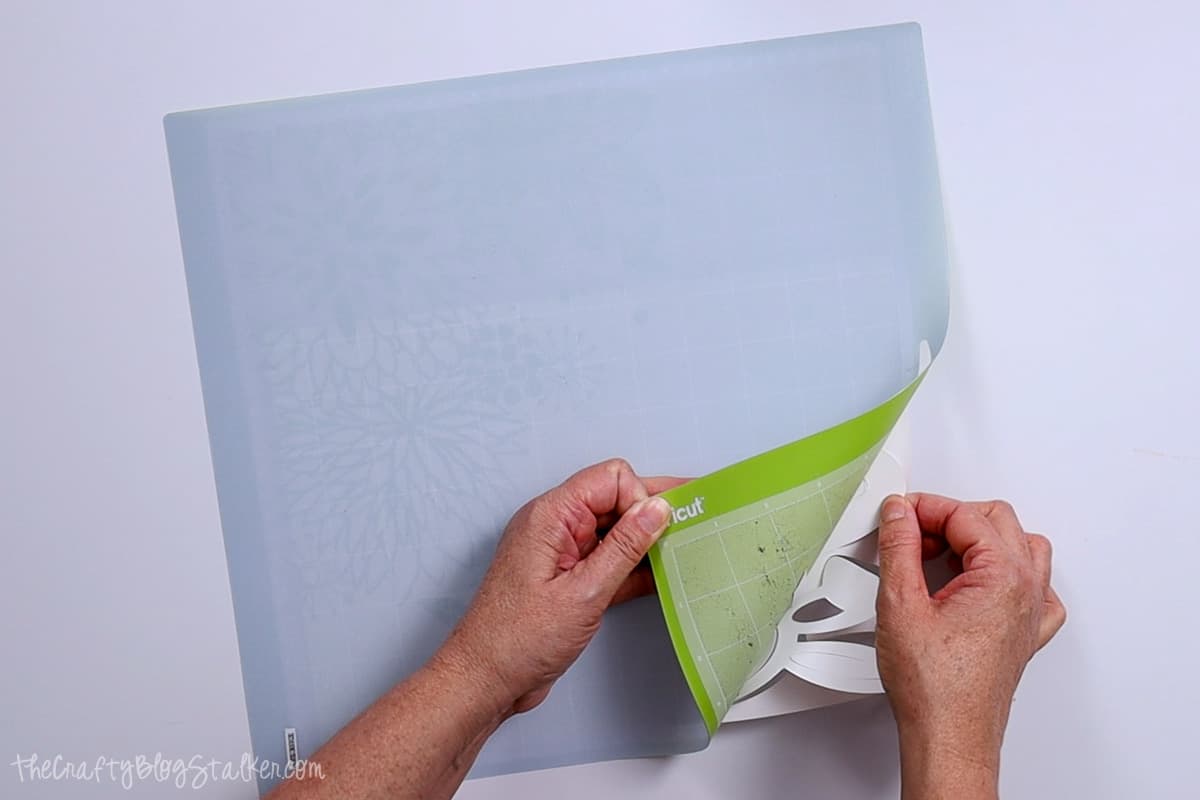
If you remove the pieces from the mat facing up, it can curl and tear your pieces.
Assembly:
Here are all of the cut pieces.
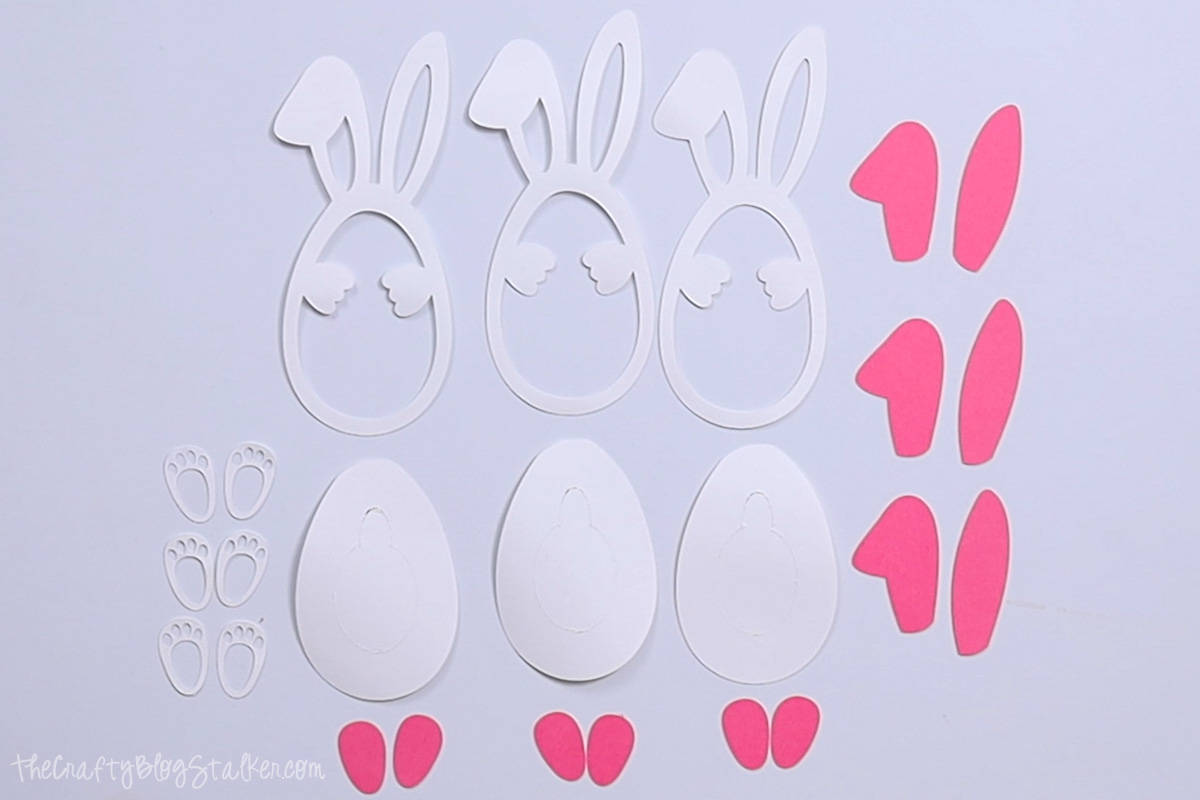
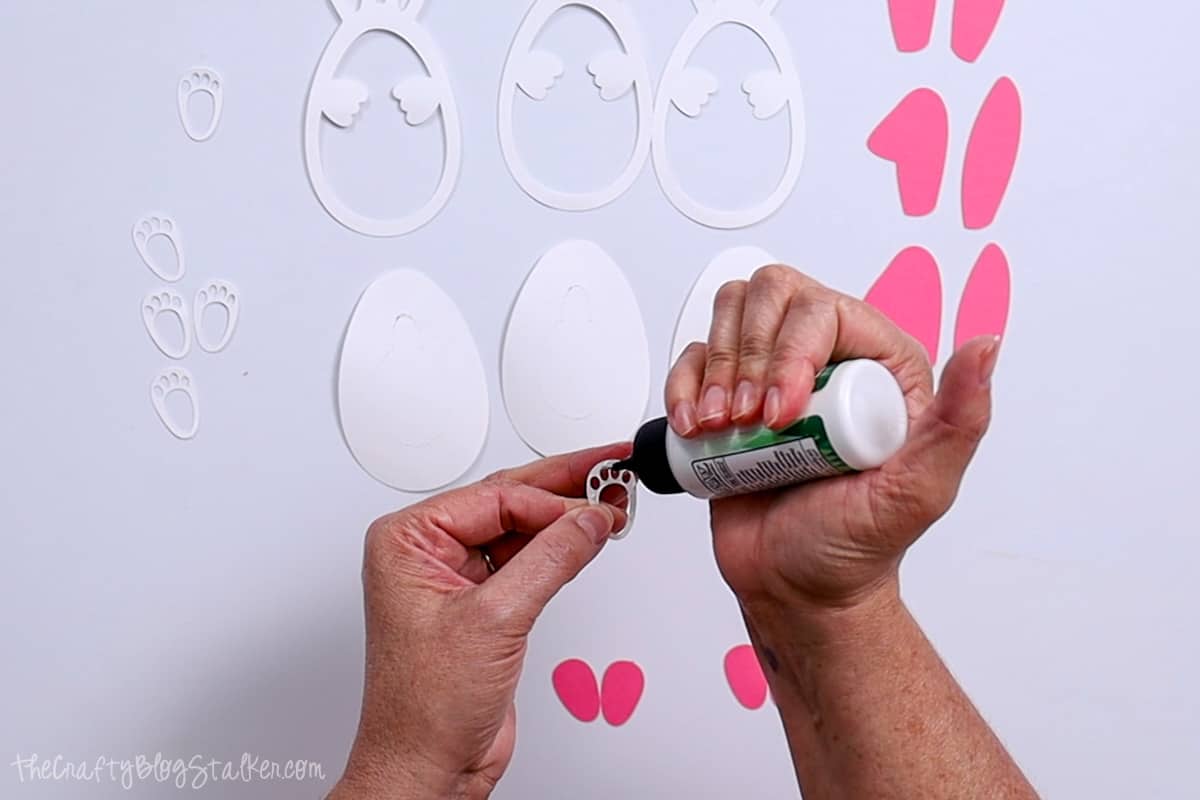
Since some of these pieces are very small, it is very helpful to have a fine precision tip glue.
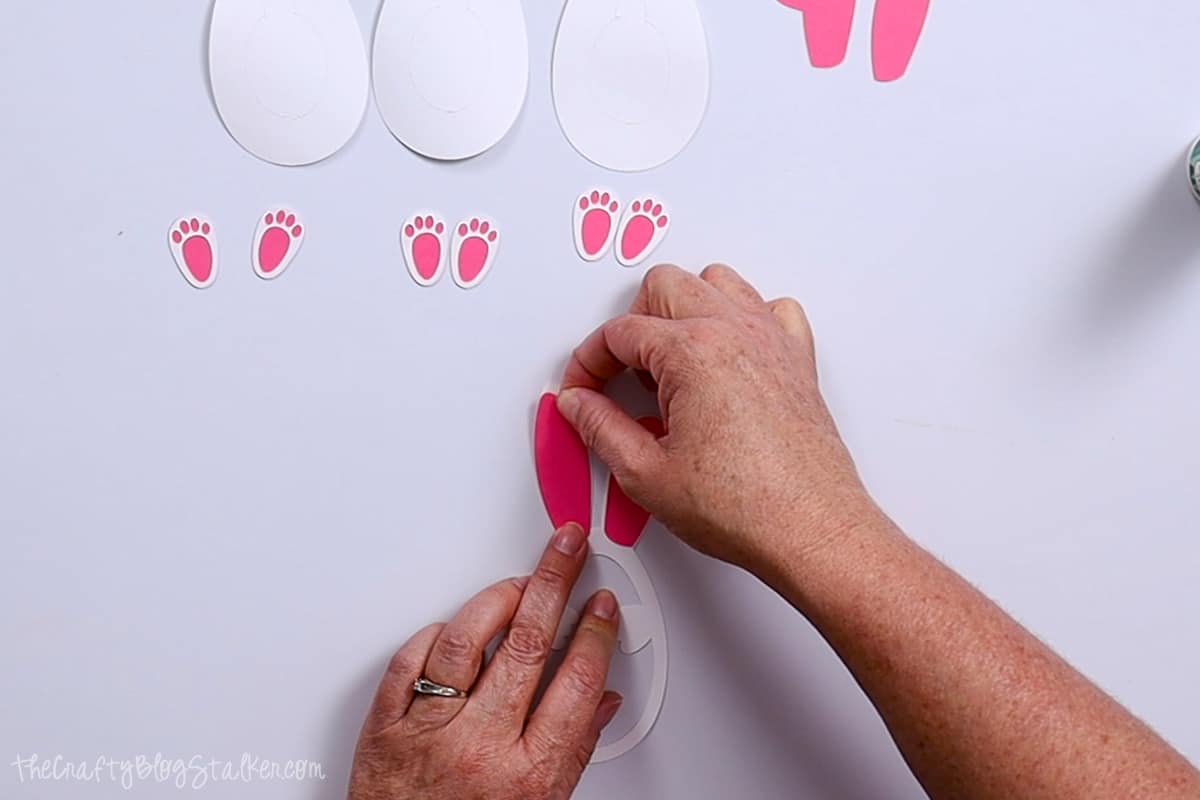
Glue the white feet pieces over the pink pieces.
Then glue the pink ear pieces into place.
Next, you'll want your food safe gloves, because you should never touch other people food with your bare hands.
With a clean, gloved hand, grab a shaker dome and dip it into your candy, I am using jelly beans.
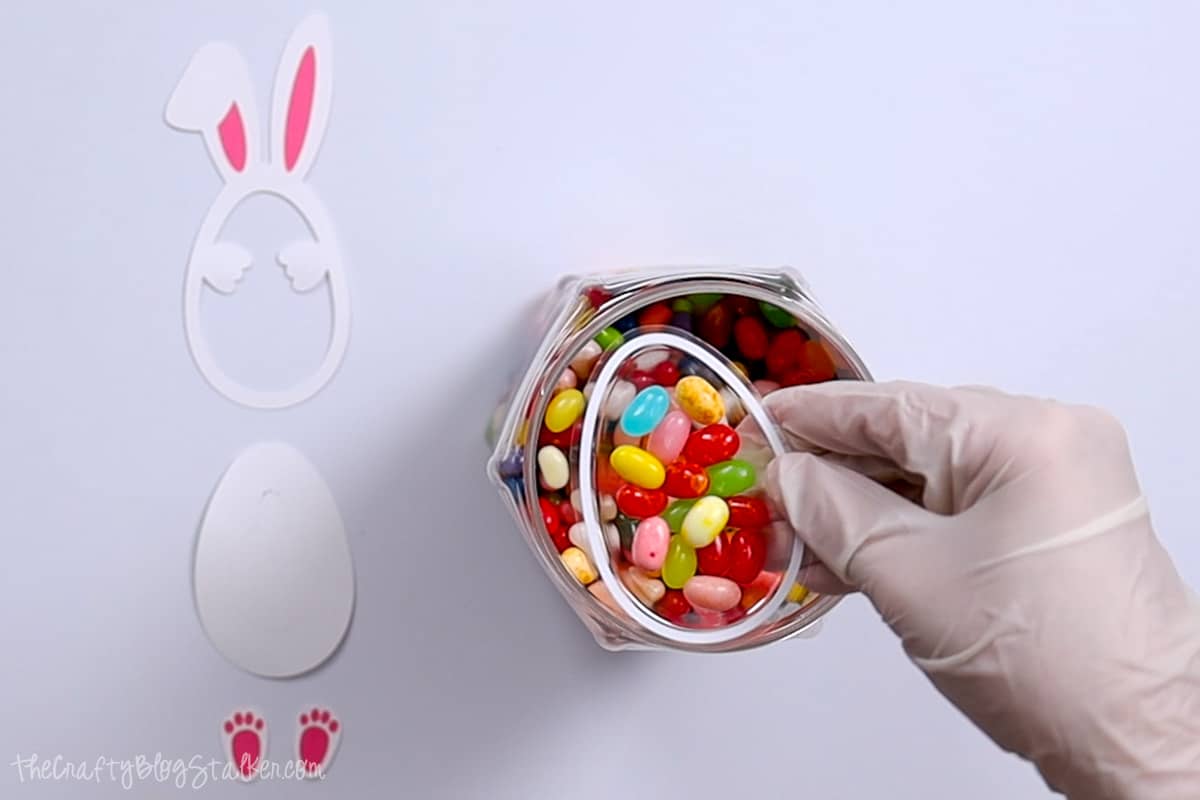
Level the candy because this piece is going to adhere to the backer, and if it isn't level with the rim of the shaker dome the candy can escape from the sides.
Peel back the white adhesive strip around the shaker dome, and center the backer over the dome.
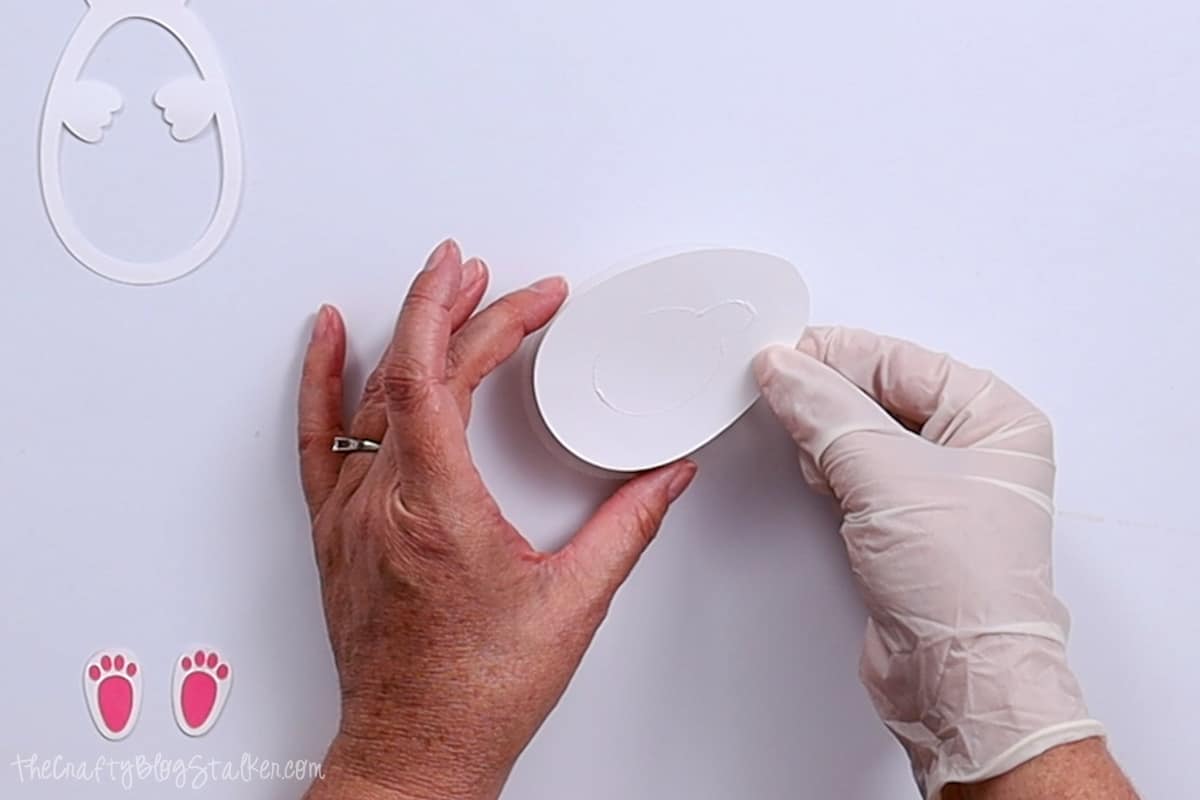
Now that the candy is completely covered, you can remove your glove.
Place a bead of glue around the edge of the shaker dome.
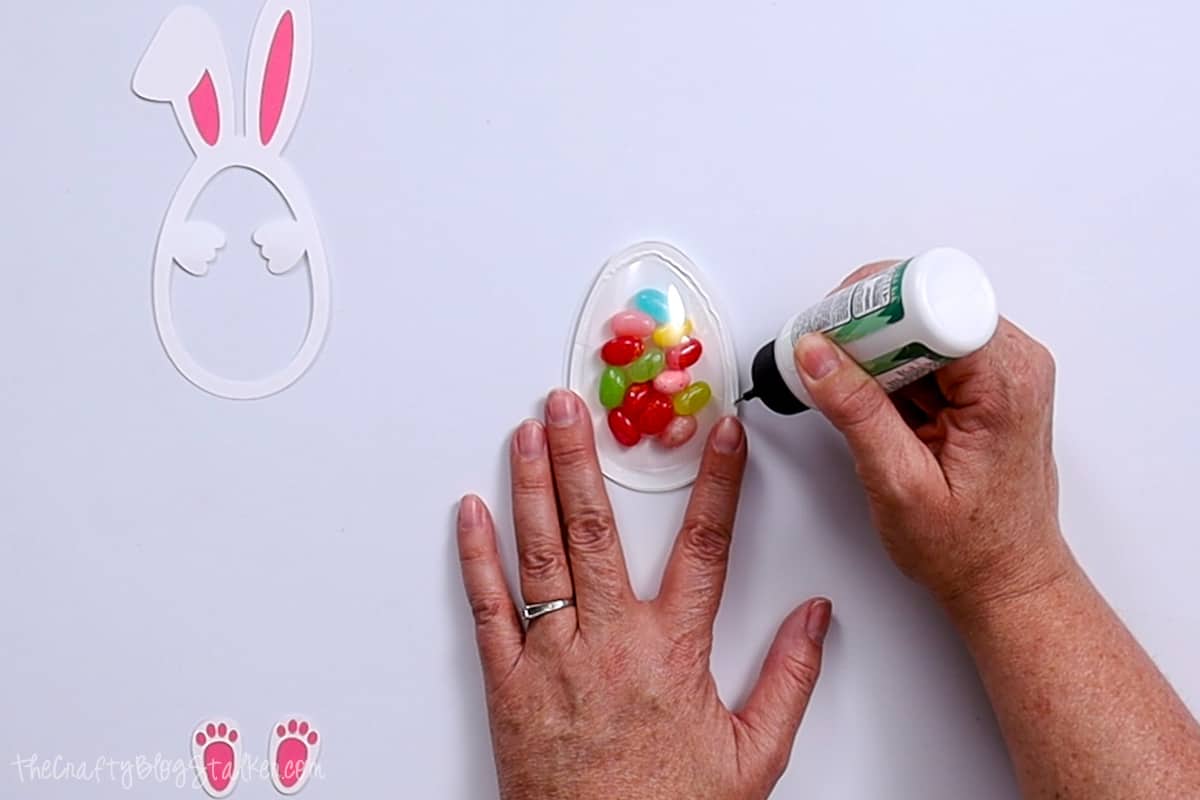
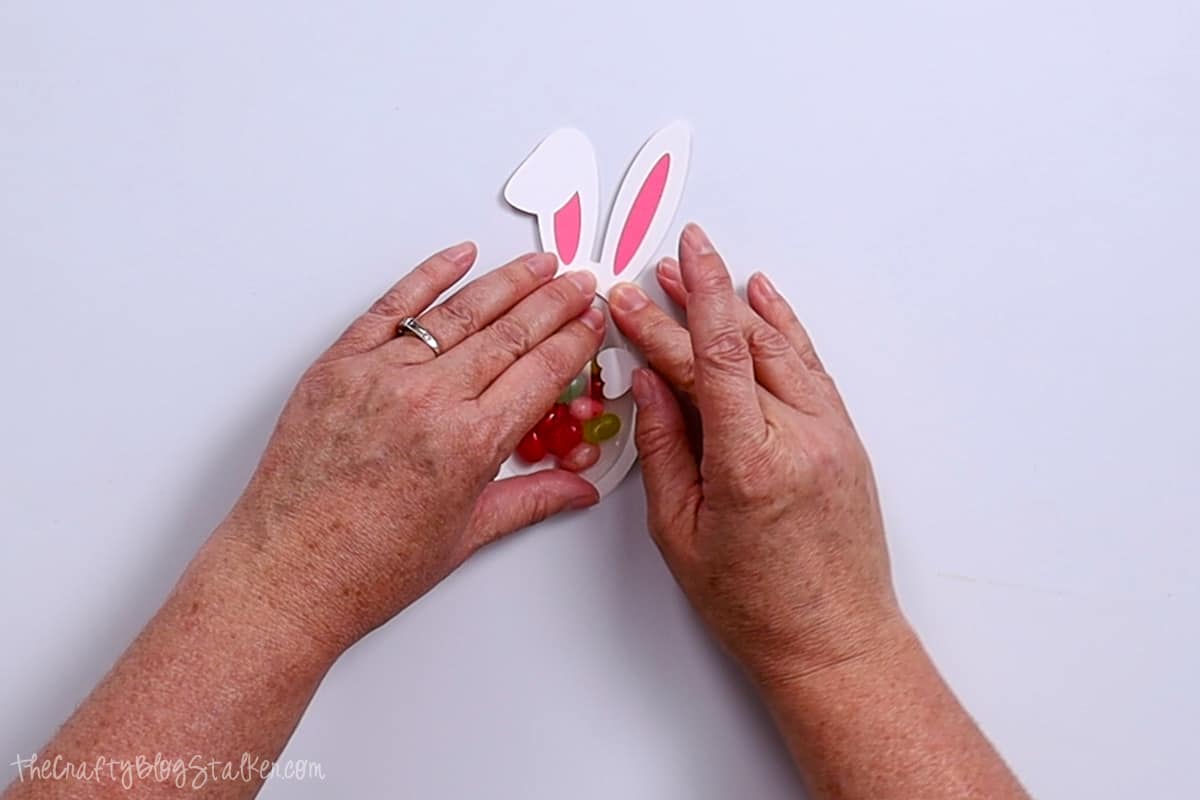
Place the bunny front on top of the dome, and hold in place for just a moment so the glue takes hold.
Place a large dot of glue on the back of each foot and glue them to the plastic shaker dome.
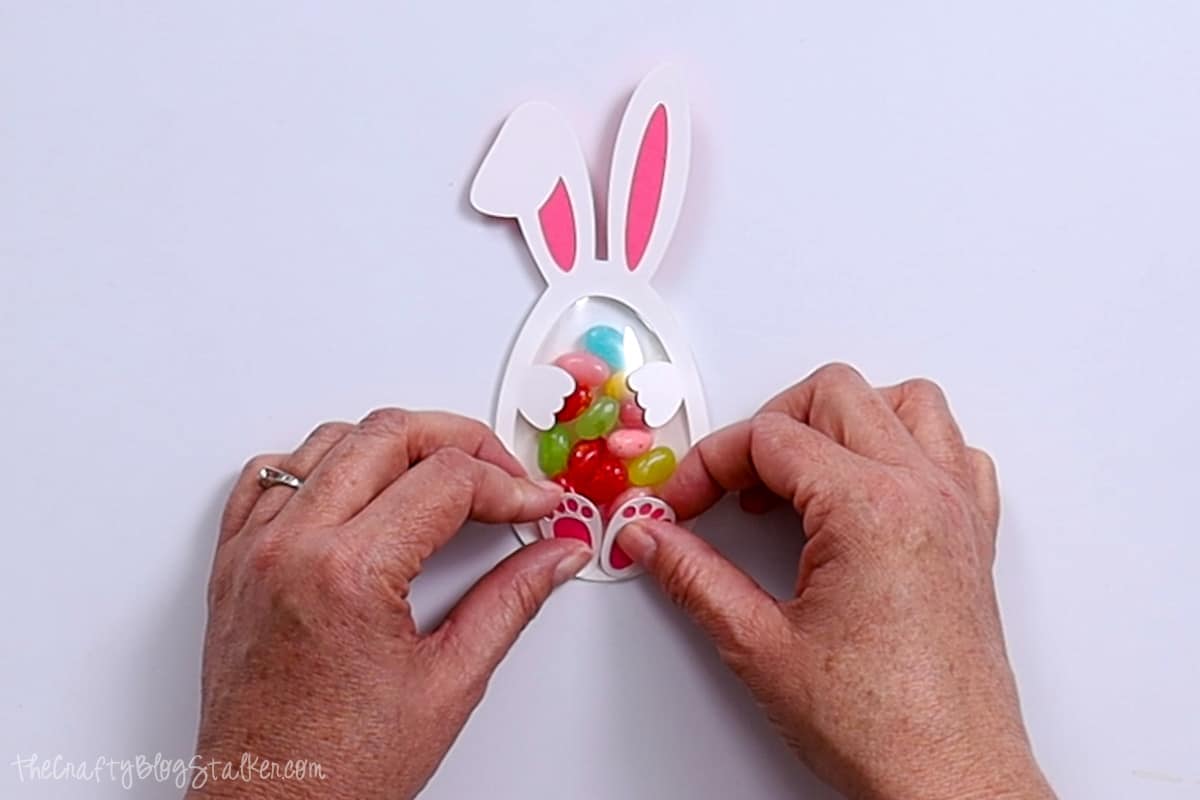
The finished Bunny Candy Shakers are so cute and make a perfect Easter gift!
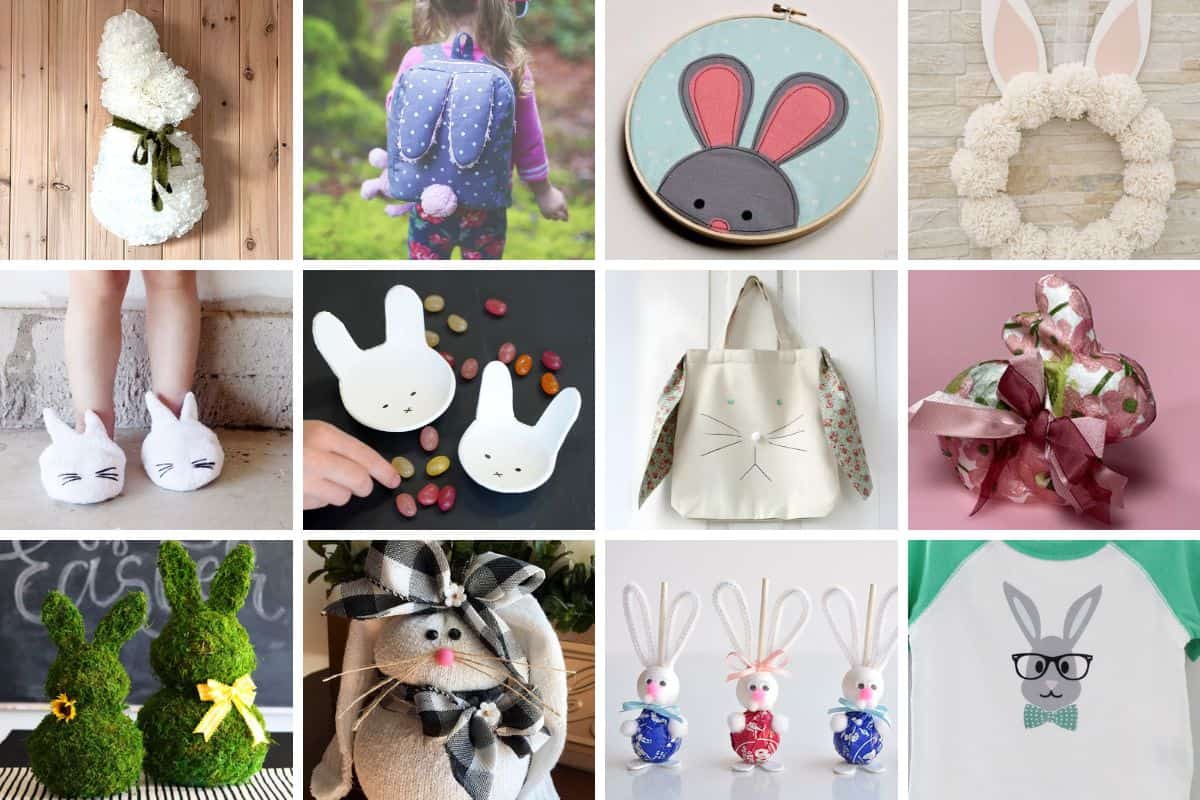
27 Greatest Easter Bunny Crafts of All Time!
Visit the website for step-by-step directions. All links will open in the same tab.
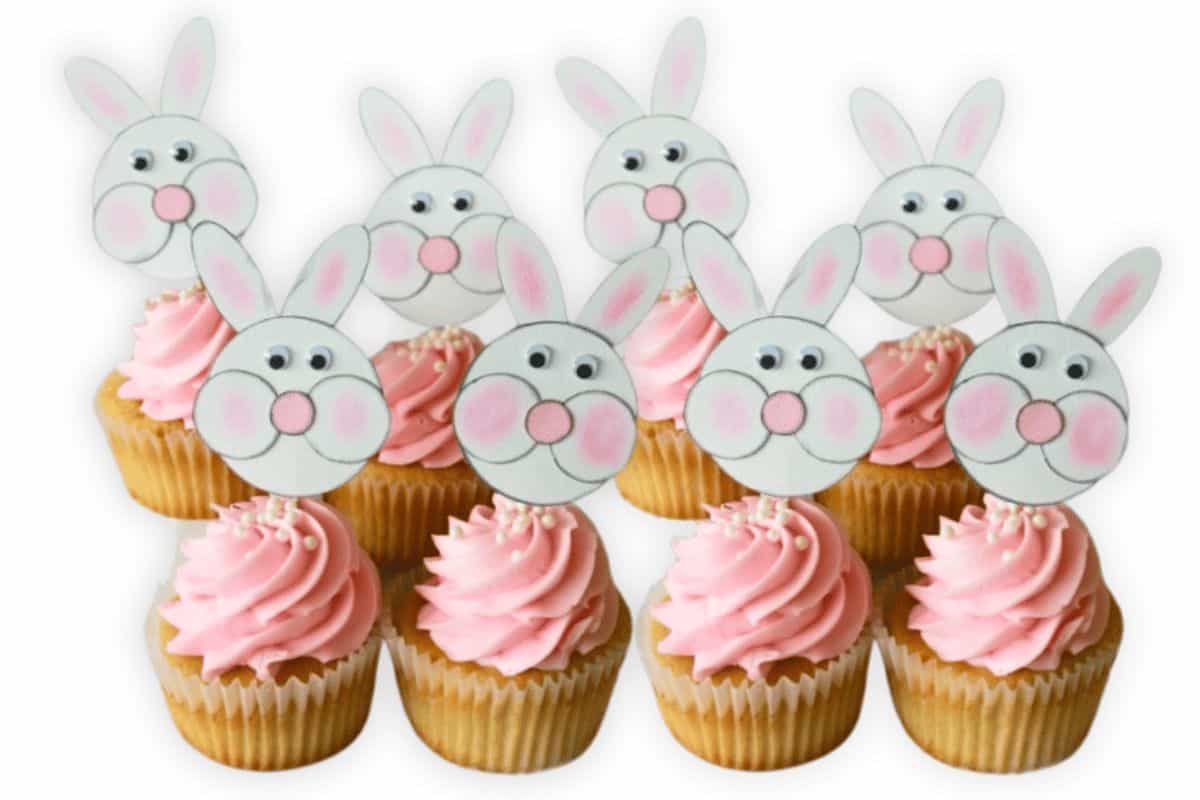
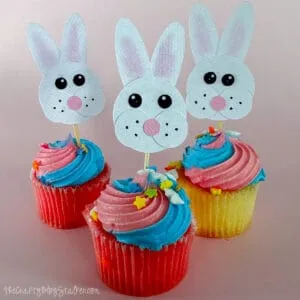
1. Bunny Cupcake Toppers
Elevate your cupcakes with adorable Bunny Toppers! Quick, easy, and perfect for any spring celebration. Learn how to make them here!
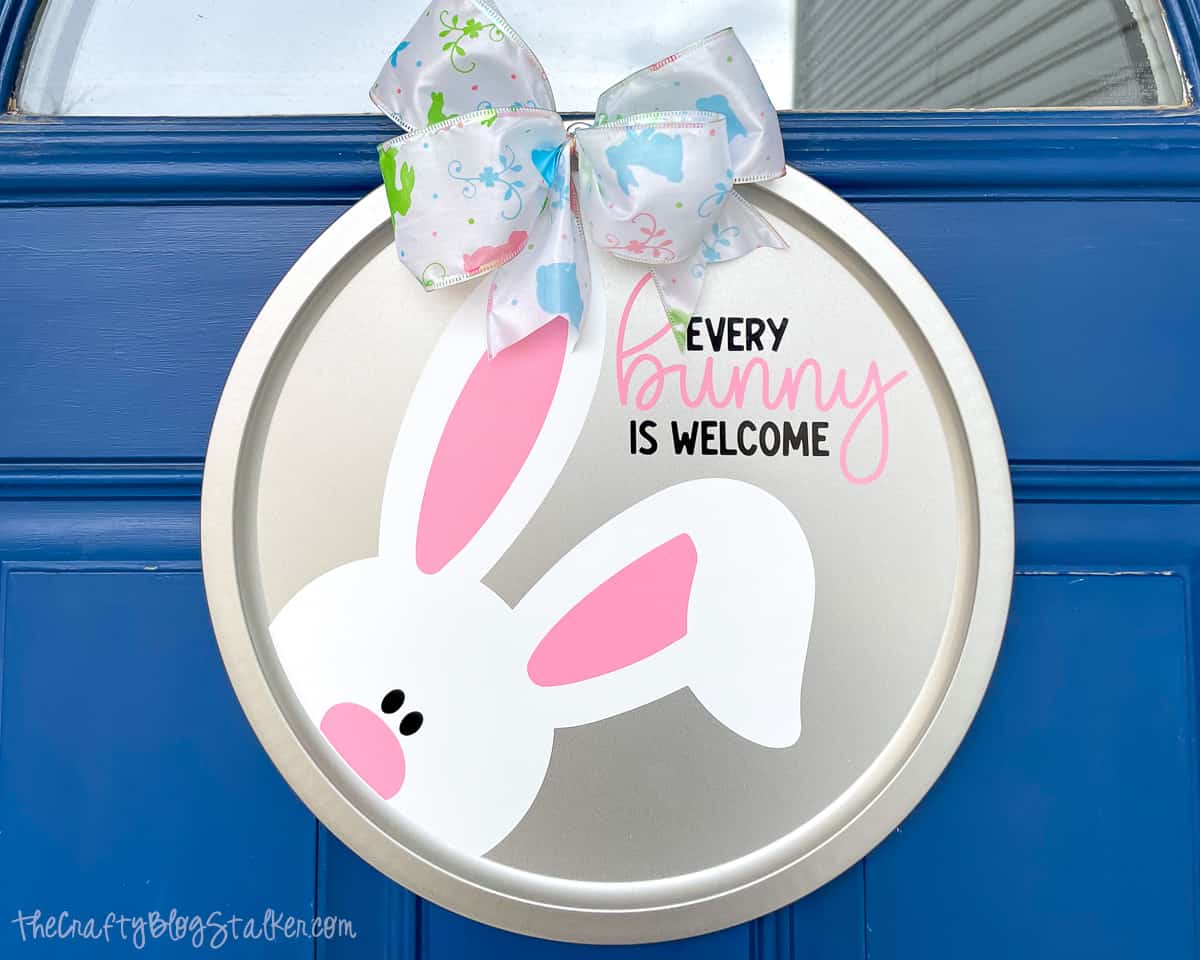
2. Spring Door Hanger with Free SVG from The Crafty Blog Stalker
Welcome spring with a DIY door hanger! Get started with our Free SVG file. Easy crafting for a cheerful front door makeover!
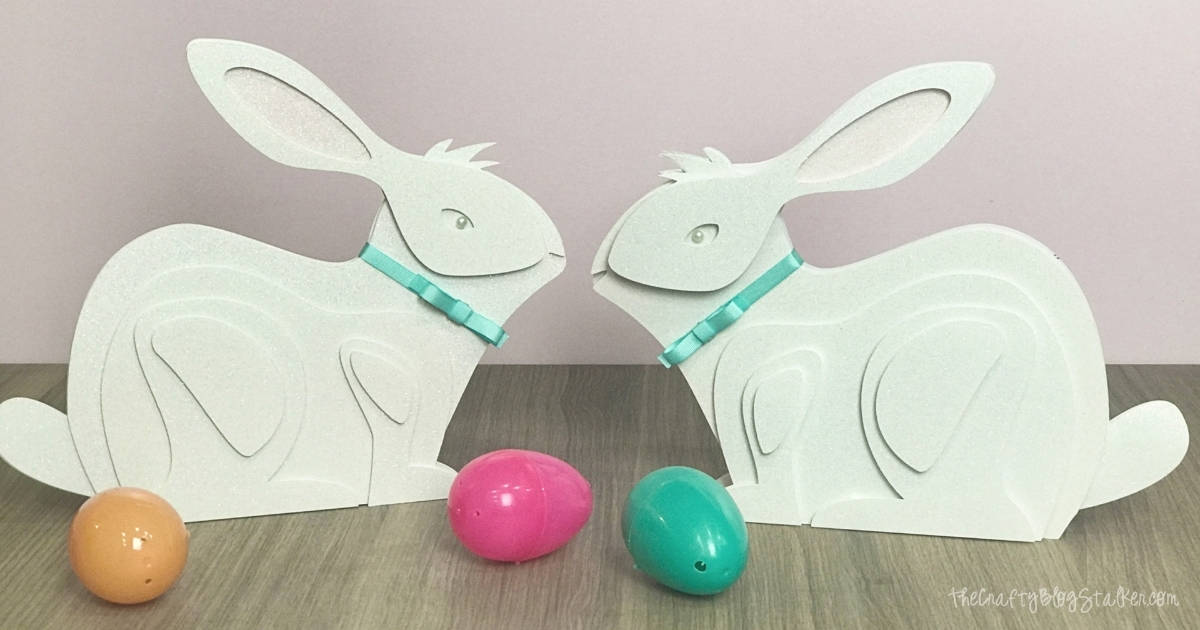
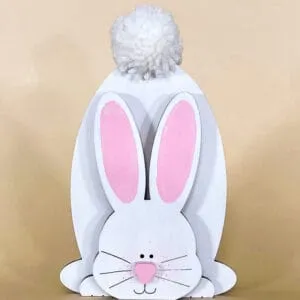
3. 3D Bunny Paper Art
Add charm to your Spring decor with a 3D Paper Art Bunny! Follow our Cricut tutorial for this adorable Easter craft project.
See All Easter Bunny Crafts!
Get ready for Easter with 27 adorable rabbit-themed crafts! Add festive fun to your celebrations with these cute Easter bunny crafts.



Leave a Reply