

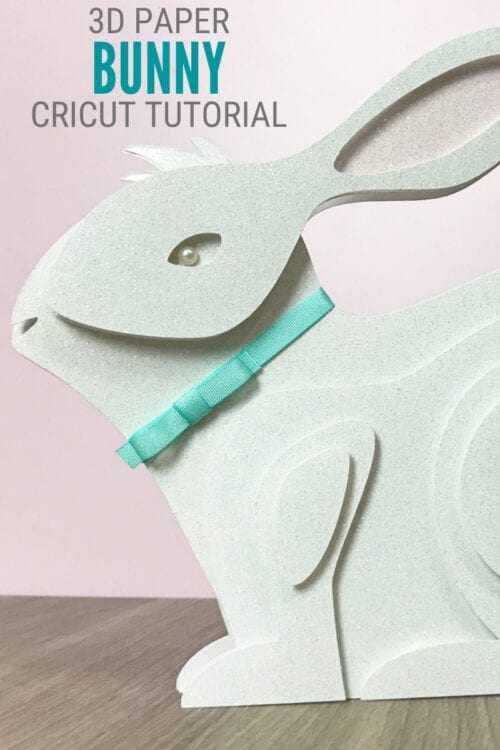
Make this cute Layered Paper Art Bunny to add to your Spring or Easter Decor! Below is the complete 3D Paper Art Bunny Cricut Tutorial.
Do you like to decorate for Easter and Spring? I do a little bit. I wouldn't say I go all out, but I like to have home decor items around the house that reflect the season.
This cute little 3D Bunny is a perfect spring project! Plus, it is one of the Make it Now projects in Cricut Design Space, so it really is Easy Peasy! Simply cut and assemble!
Craft Tutorial Video:
Like videos? I have a video tutorial for you! Please subscribe to my YouTube Channel so you don't miss out on any future video tutorials!
Supplies You'll Need to Make This Craft:
Some supplies were gifted at no cost. When exact item are unavailable online, links may point to comparable products.
- Cricut Design Space 3D Bunny
- Cricut Cutting Machine
- Standard Grip Mat
- Glitter Paper
- Pink Ink Pad
- Ink Daubers
- Adhesive Foam Dots
- Ribbon (optional)
- Hot Glue (optional)
Cut 3D Bunny with Cricut:
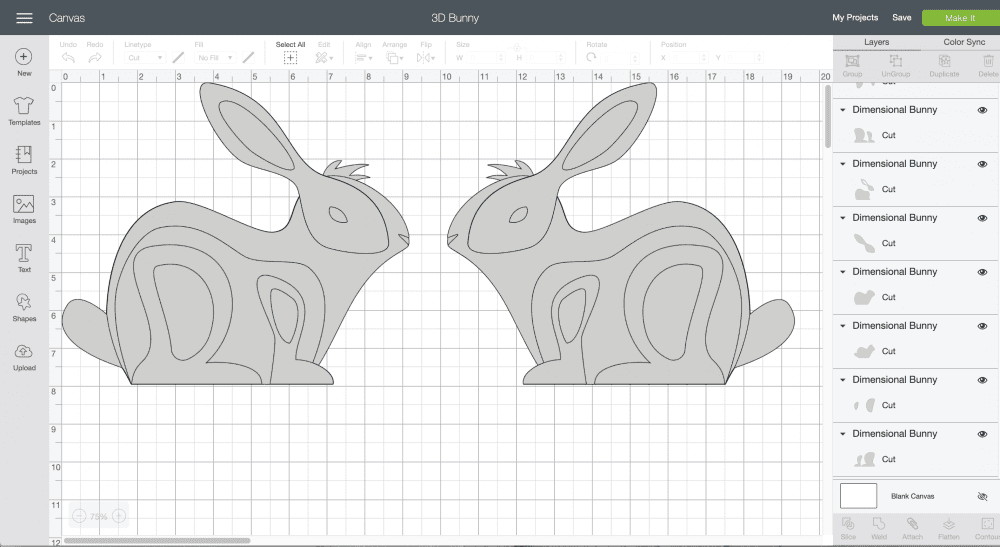
The cut file for this project is completely ready to go on Cricut Design Space! The finished size as-is is 9x7 inches. If this size works for you then you can select Make It. If you need to adjust the sizing, select Customize.
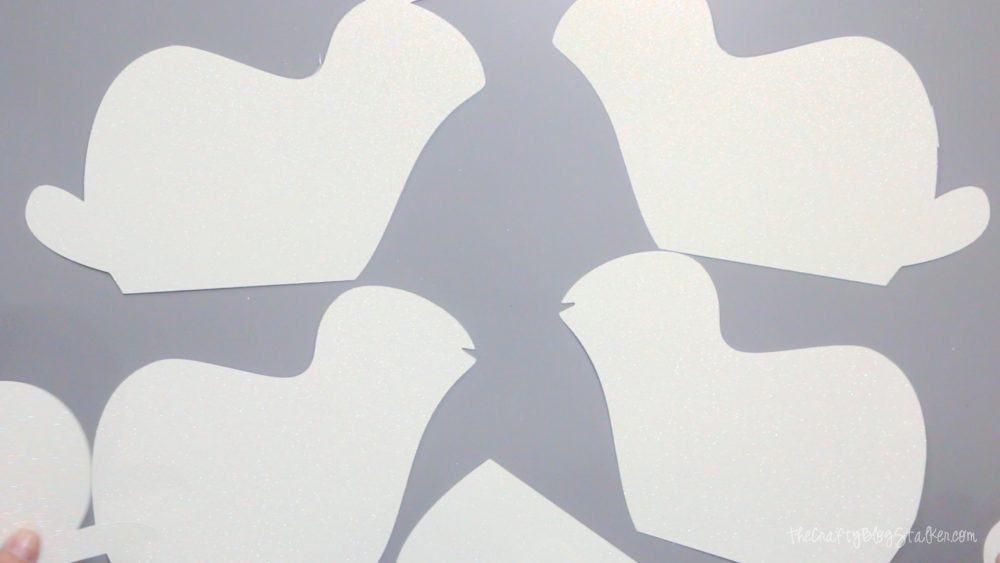
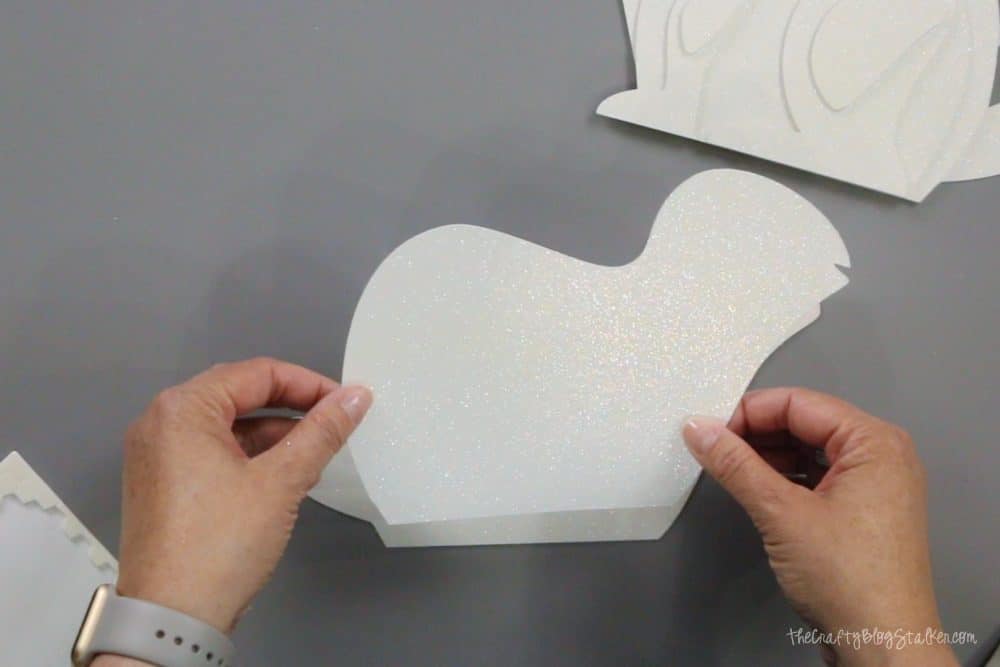
Place the glitter paper onto the standard grip mat. Follow the prompts in Cricut Design Space to cut the pieces out.
I cut this out on a Cricut Explore Air 2 but all Cricut machines cut glitter paper so it will work with any Cricut Cutting Machine.
Once the pieces are cut, separate the pieces into the different sides of the bunny.
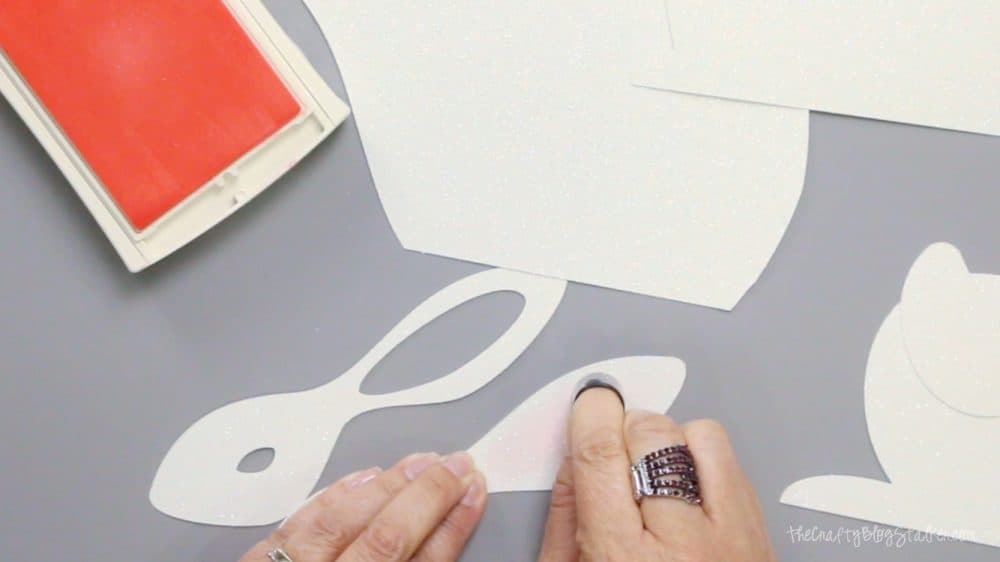
Before the assembly, there are a couple places you want to add some pink ink to help accent the ears and the nose of the bunny. Make sure to add the ink to both sides of the layered paper art.
Assembling the 3D Bunny:
Make sure that you have A LOT of adhesive foam dots because you are going to need them! For this project, you will use about 150+. Also, there are different thicknesses of foam dots. The thicker the foam dots the better the bunny will stand on its own.
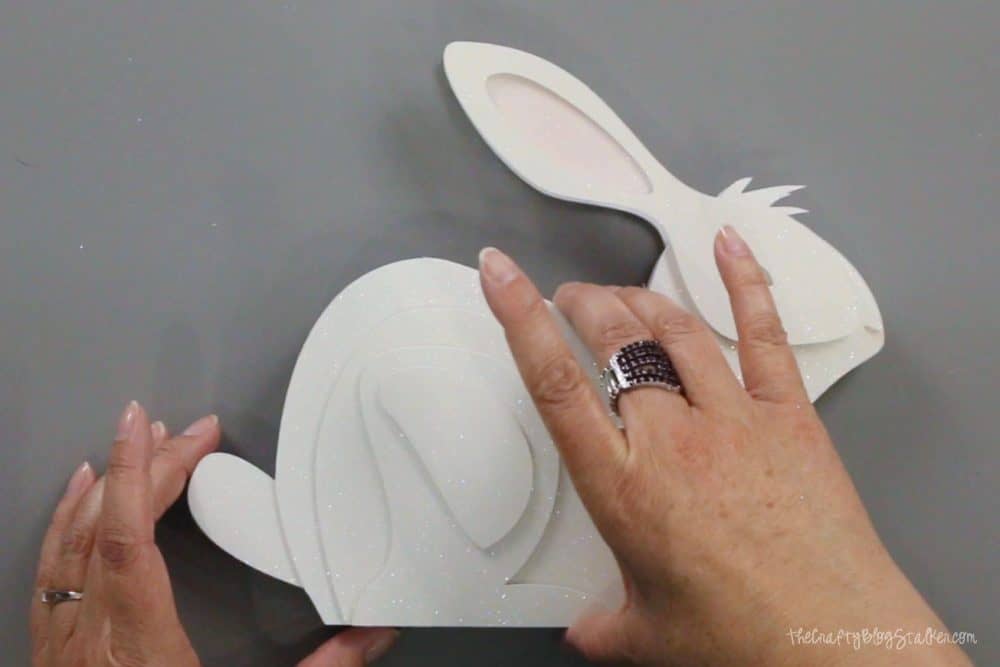
Start with the largest piece of the bunny right side up. Take the next largest piece and apply adhesive foam dots all over the back. You want to keep the dots fairly close and a lot of them to give the bunny a lot of
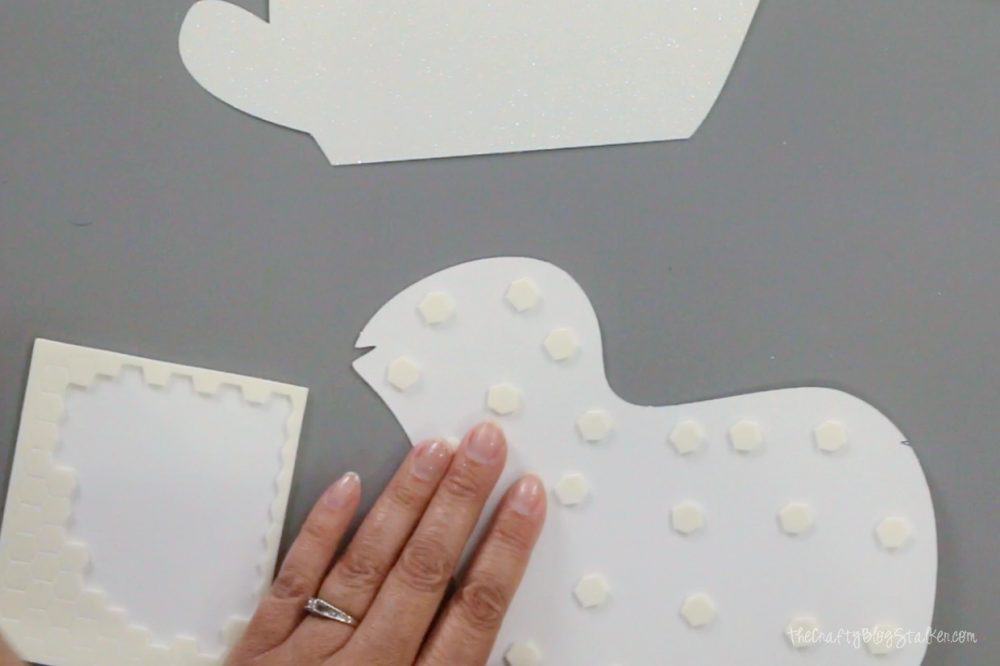
Turn the piece over and align the bottom of the second piece to the bottom of the first piece and stick it into place.
We are going to keep layering like this until we have all of the layers of this first side done. Remember, lots of adhesive foam dots and then align along the bottom of the bunny.
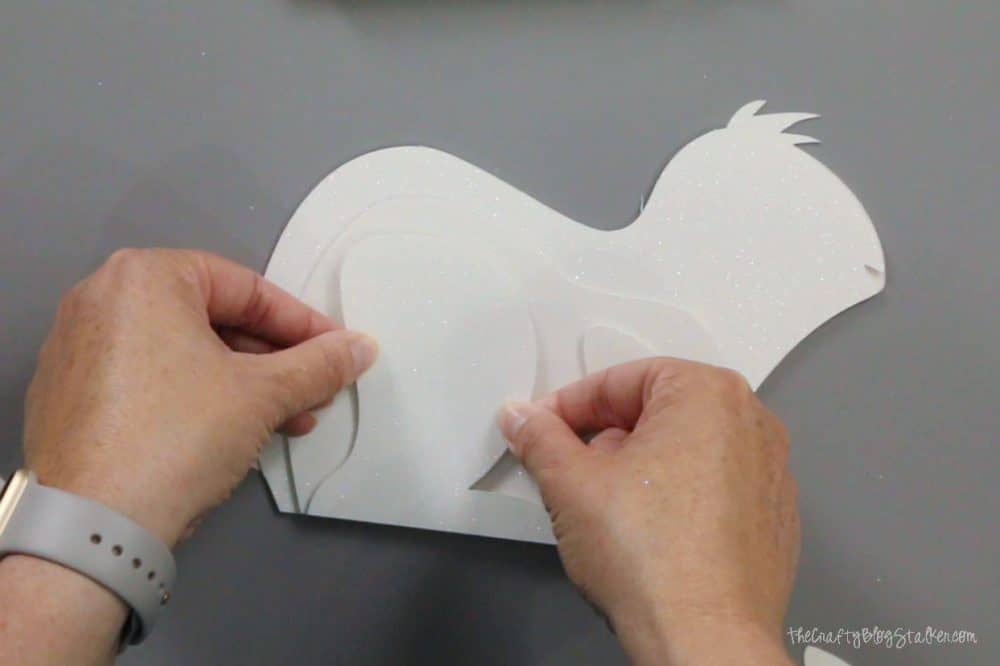
Once you are done with the first side, set it aside but keep it close. Then repeat the layering step until you get to the piece that has the front foot cut out.
Before you place this piece, have the first side placed right side down, with the new layer aligned on top. Use the bottom half as a guide to place the next piece. You want the feet to line up.
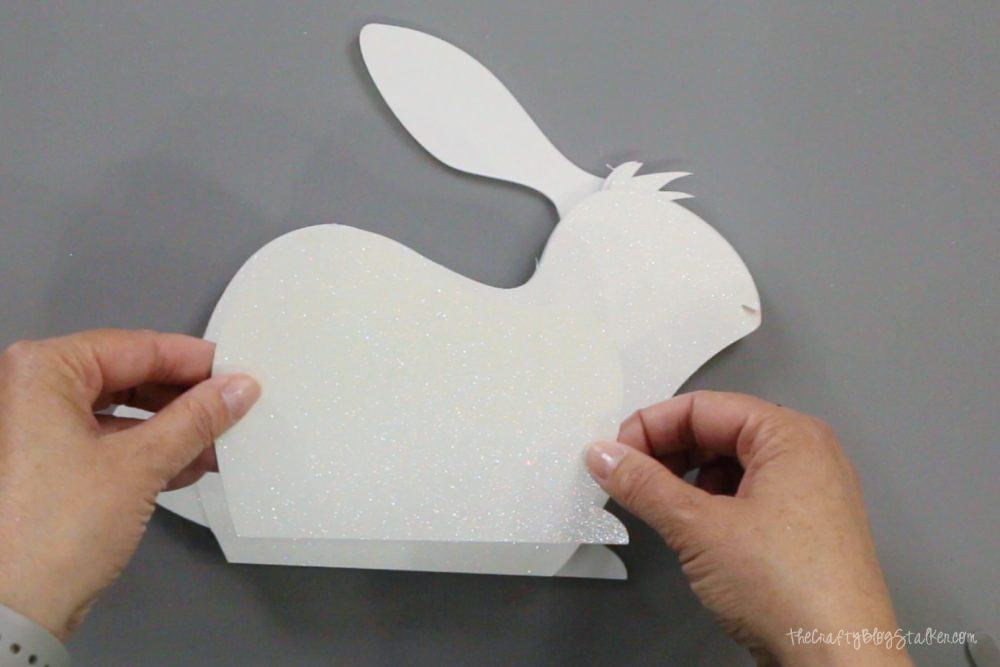
You will do the same with the head piece. Make sure it lines up with the other half.

When both sides are complete, attach the two sides with more adhesive foam dots. Make sure to align the two sides.
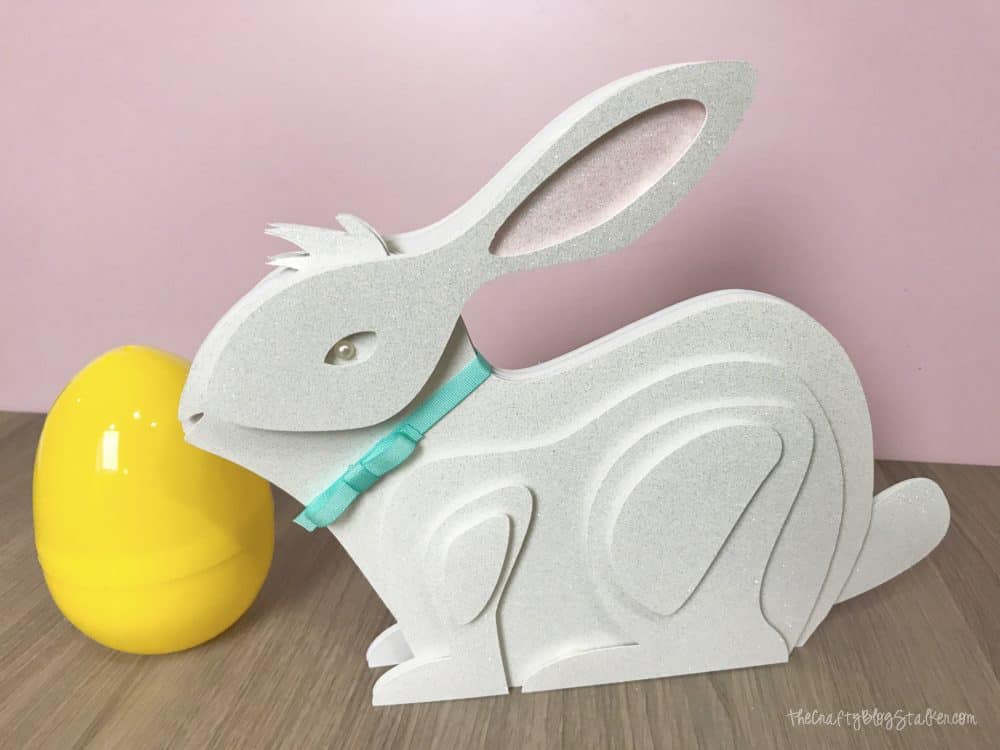
Once assembled the cute 3D Bunny should stand all by himself!
Adding a Ribbon Bow:
This step is completely optional, but is super cute!
Start with a length of ribbon, and color will do. It all depends on the look you are going for, and tie the ribbon around the neck of the paper layered bunny.
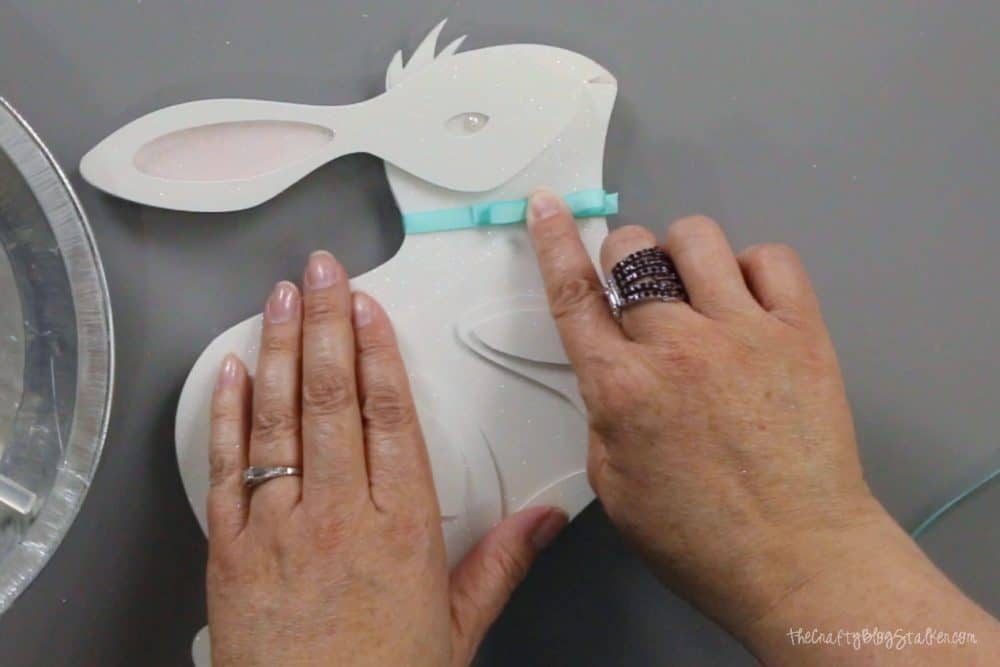
Now I really stink at tying ribbons, so if you want to know how I created a perfect bow without tying, watch the video above!

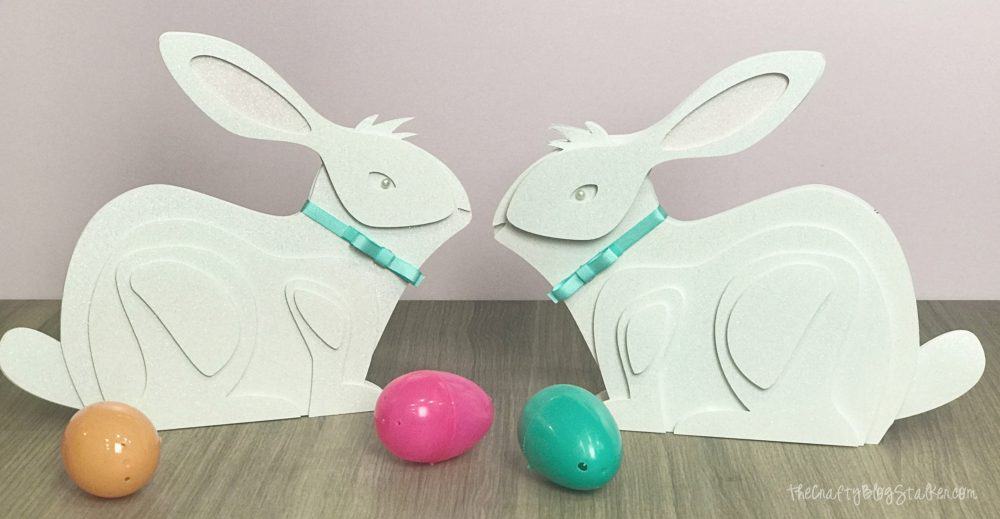
I love this 3D bunny so much that I actually made two! Aren't they adorable?
Crafting Essentials
- The Cricut Cutting Machine is easily my favorite crafting tool. We use it in so many of our tutorials!
- These MakerX Crafting Tools are perfect for keeping in the craft room and are always ready when needed!
- This Fiskars Paper Trimmer is easy to use and cuts nicely without frayed edges.
- These Scotch Precision Scissors cut like a dream, and you get multiple pairs in a pack!