

Craft a sweet Easter basket with our candy-filled tutorial! Perfect for kids and adults, it's a fun and creative holiday idea.
Welcome to our candy-filled Easter basket tutorial!
If you're on the hunt for a creative and fun idea to jazz up your Easter celebrations, you've come to the right place.
Join us as we show you how to create Easter gifts filled with tasty treats that will bring joy to kids and adults alike.
Let's hop in and make Easter morning extra sweet!
Craft Tutorial Video
If videos are your thing, you're in luck-I've got a full tutorial ready for you!
Subscribe to my YouTube channel and stay inspired with every new project.
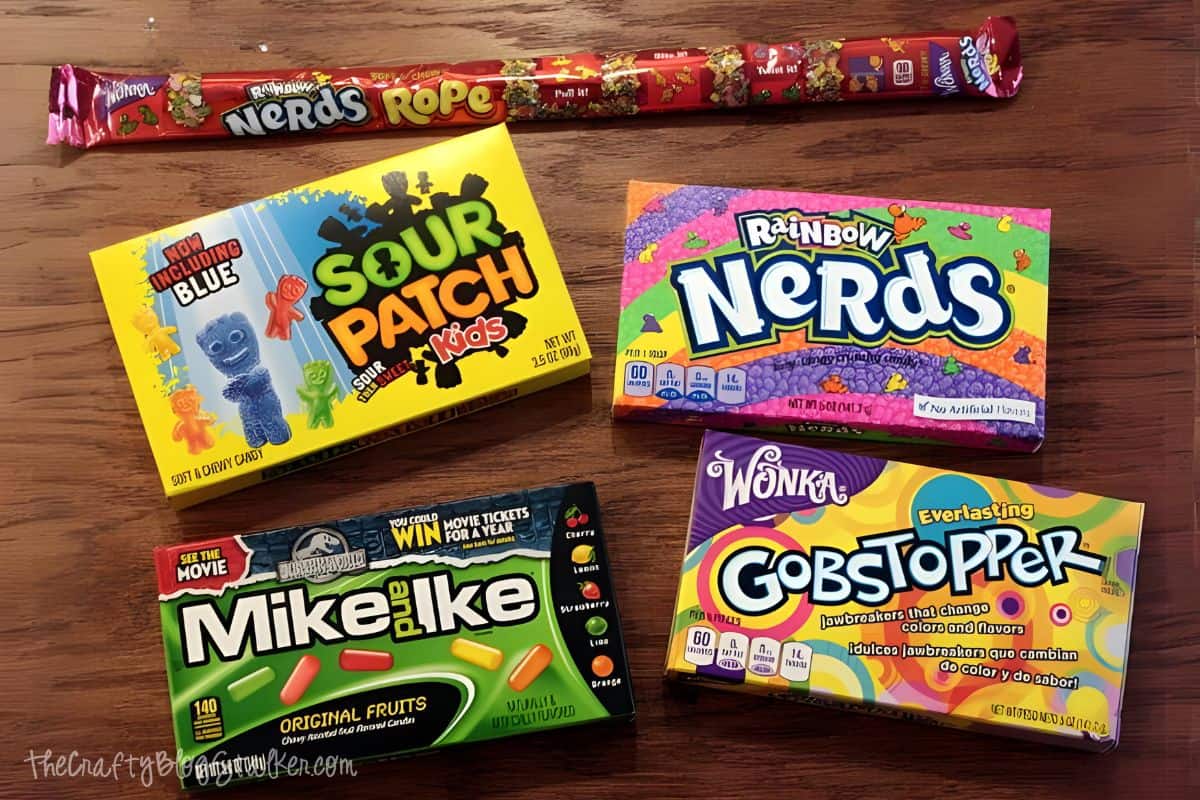
Supply List:
Some links may lead to similar items when the exact item is unavailable.
Instructions:
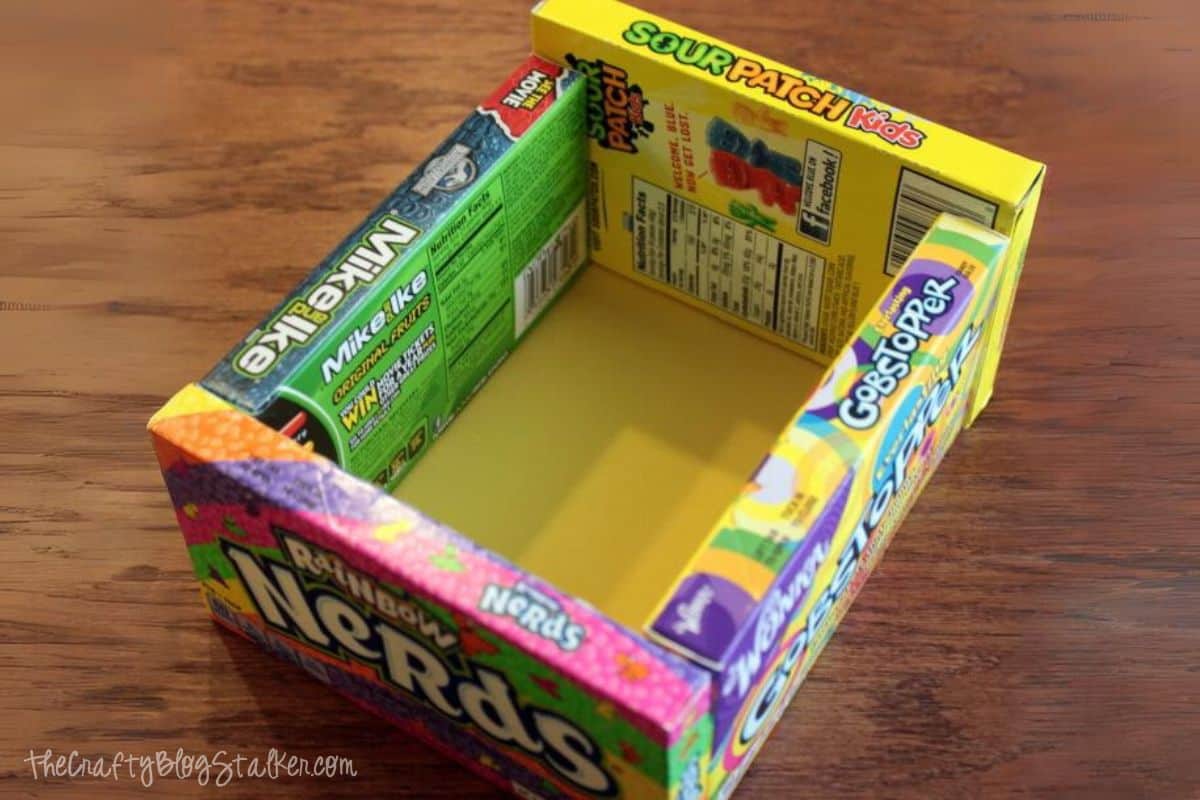
Start out by lining up the candy boxes and making a rectangle.
Measure the rectangle.
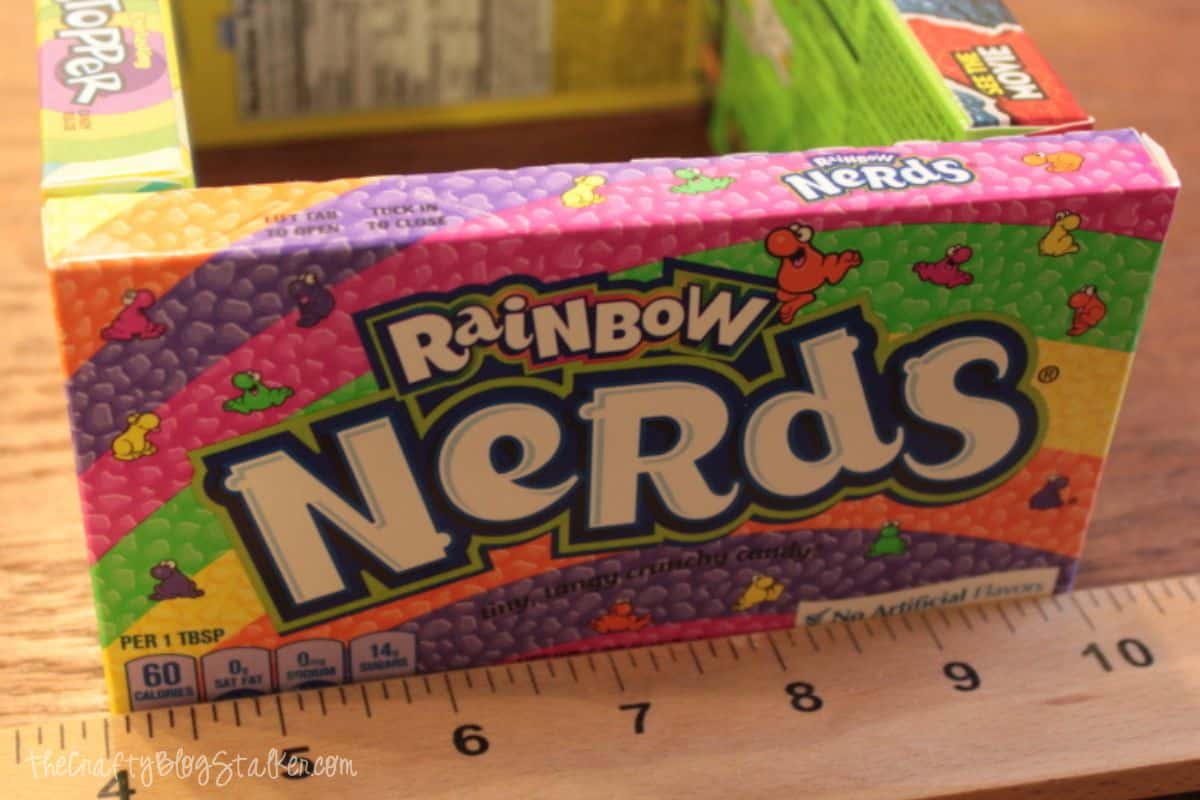
This measurement will be the size you need to cut the cardstock to make the base of your basket.
My basket is 6 x 7.5 inches so I cut a piece of yellow cardstock to that size.
To adhere everything together I used hot glue and laid it down in dots.
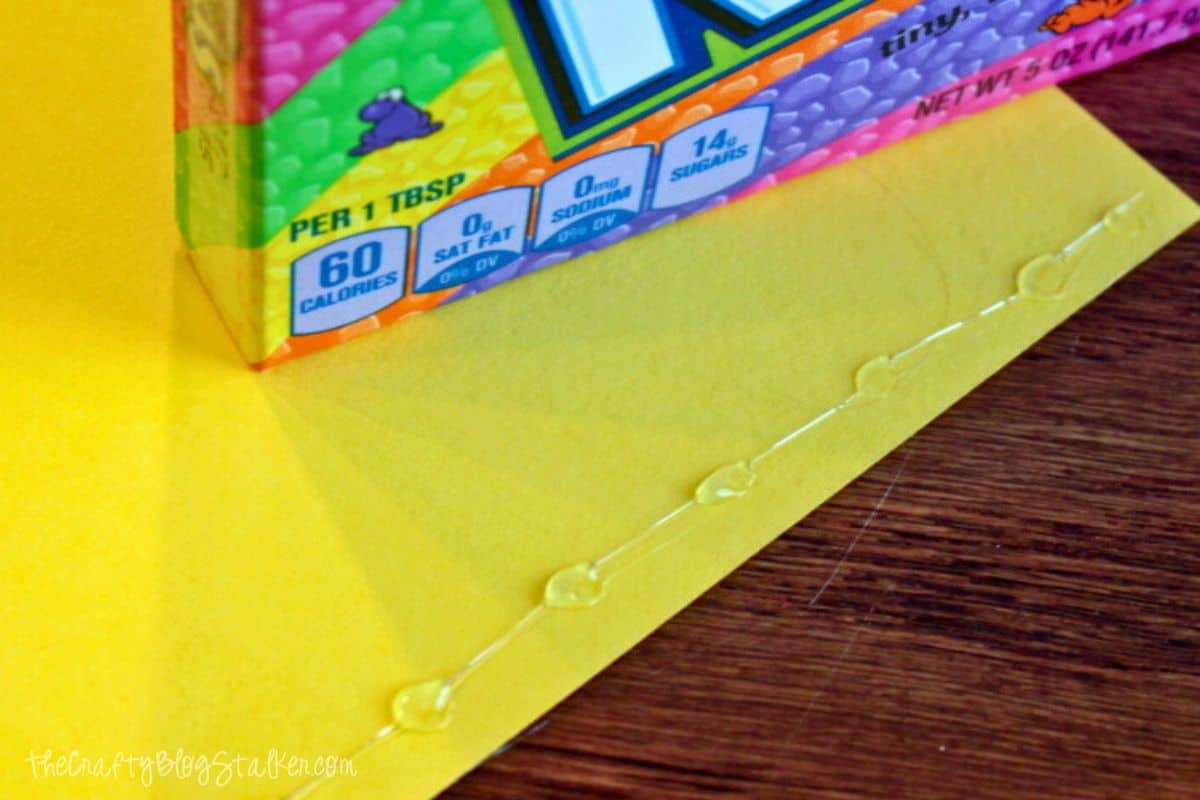
With dots of glue the boxes will come apart when the recipient is ready to disassemble, but will still hold the pieces together.
Add one box at a time until all of the pieces are glued together.
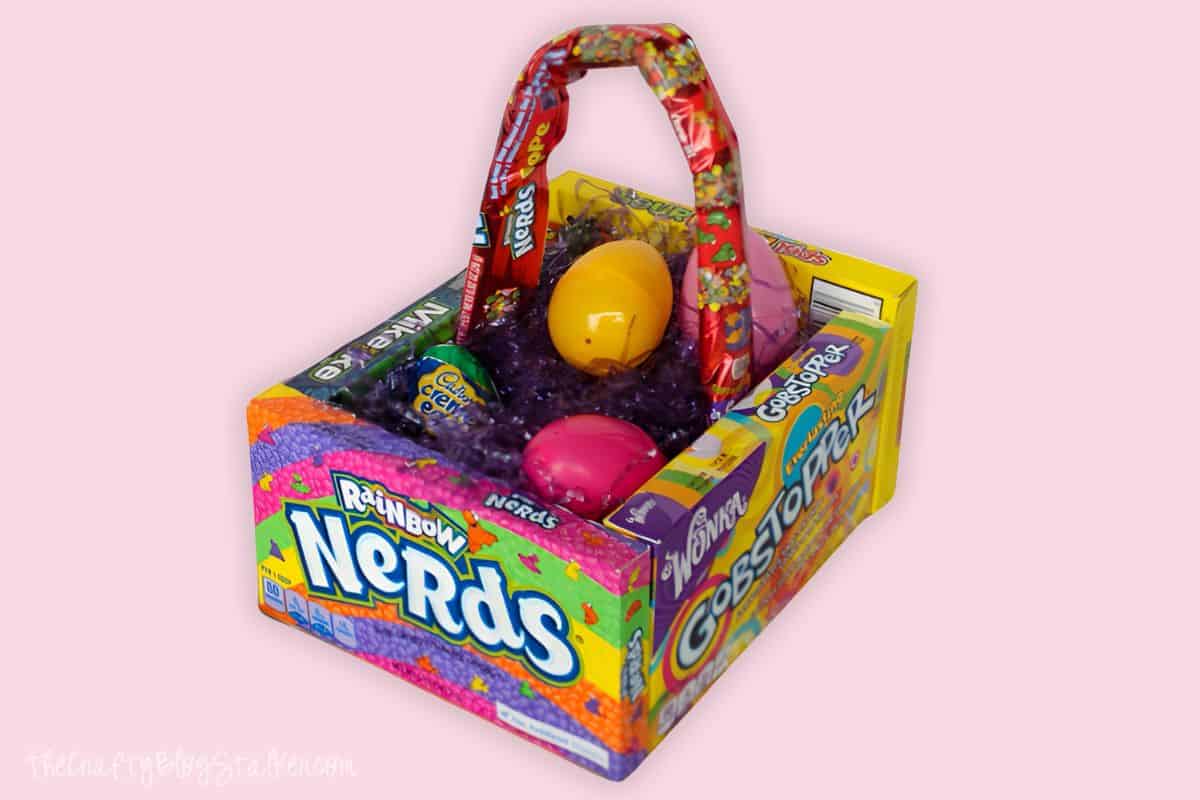
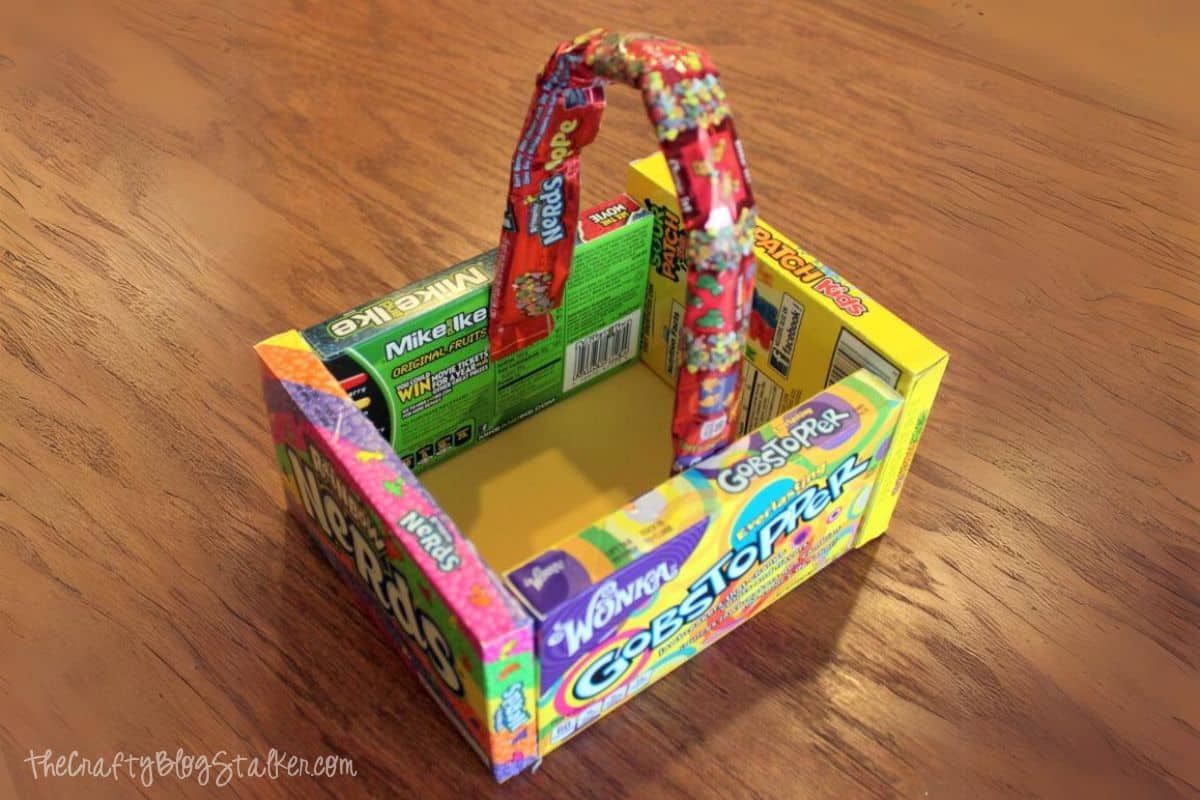
The last piece of the basket is the handle. That is where the Nerds Rope comes into play.
This handle is only for looks only, if you try to carry the basket by this handle it will break, so be aware.
Put a bit of glue on each end of the rope and adhere to the center of the side boxes, then shape the rope as needed to give it a nice curve.
That's it! You're done.
Fill the basket with some Easter grass and anything else you would like to add to the basket. Why not more Easter candy and chocolate?!
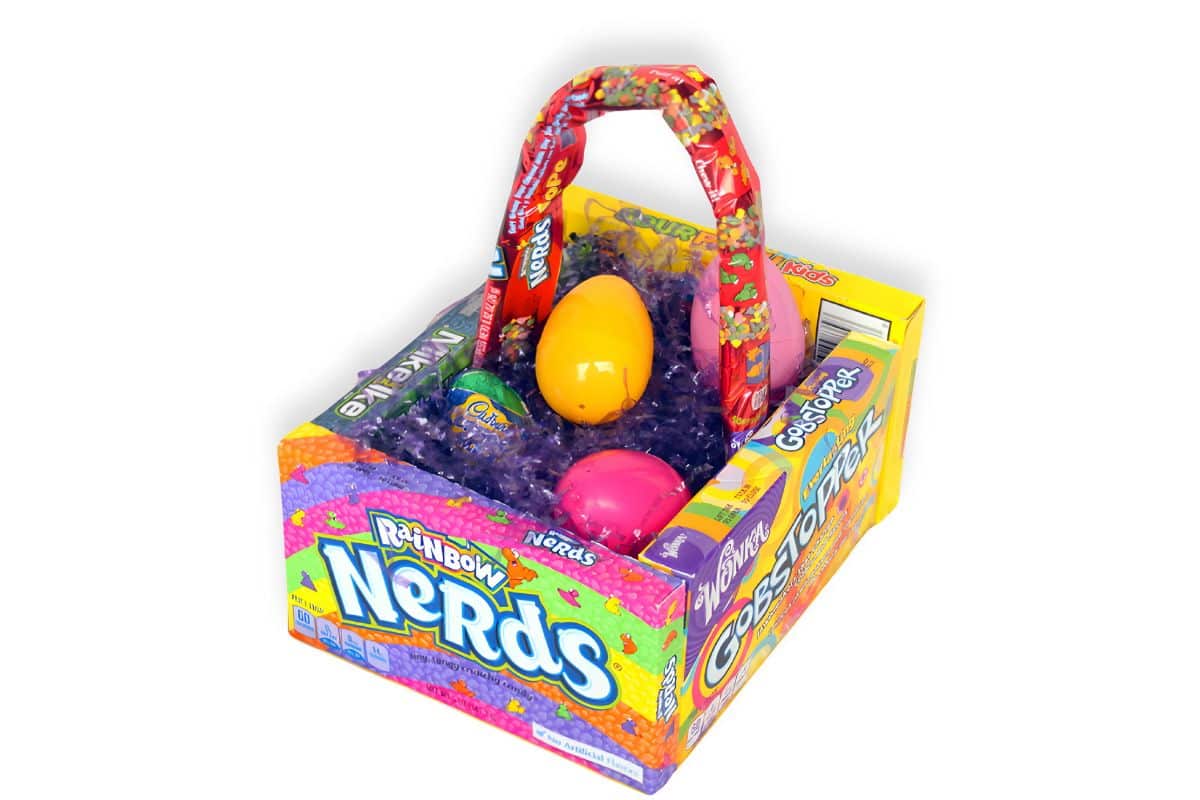
These fun gift baskets aren't just for Easter either, they make a perfect gift for Mother's Day, Bridal Showers, Baby Showers, or May Baskets!
You can even turn them into a flower arrangement!

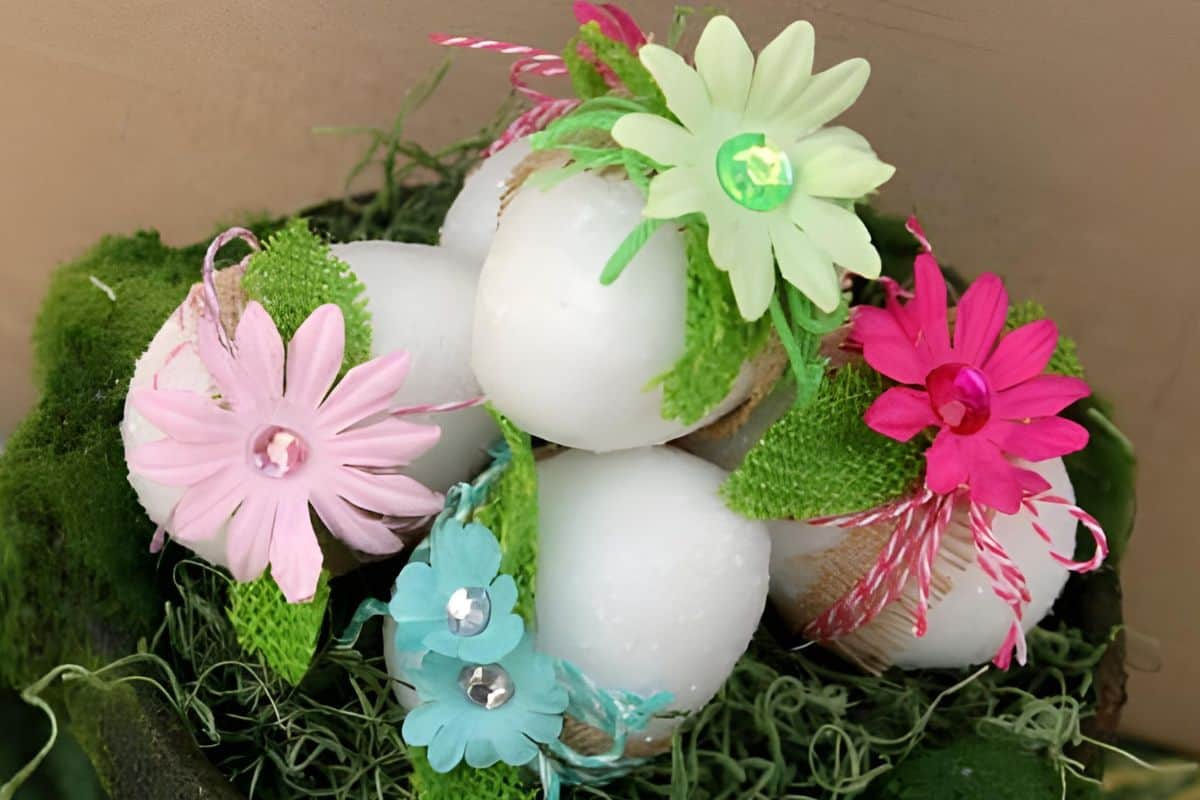
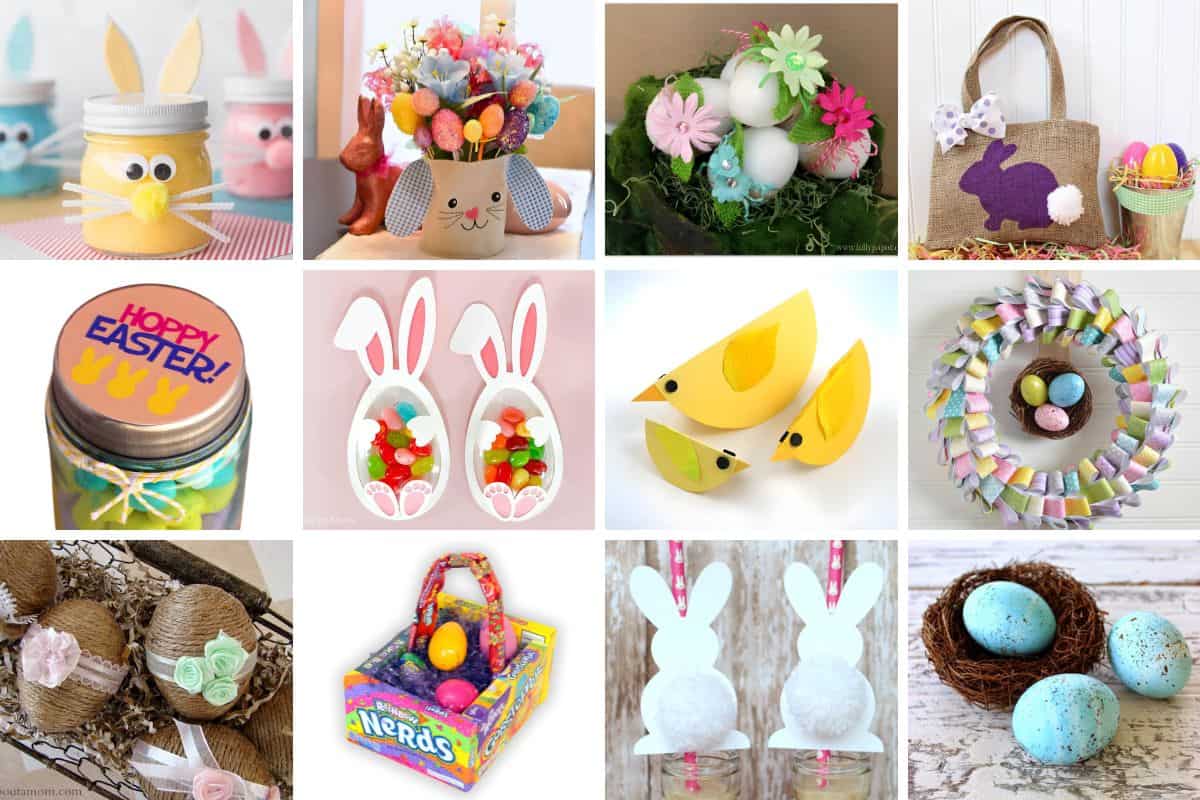
27 Greatest Easter Crafts of All Time!
Visit the website for step-by-step directions. All links will open in the same tab.
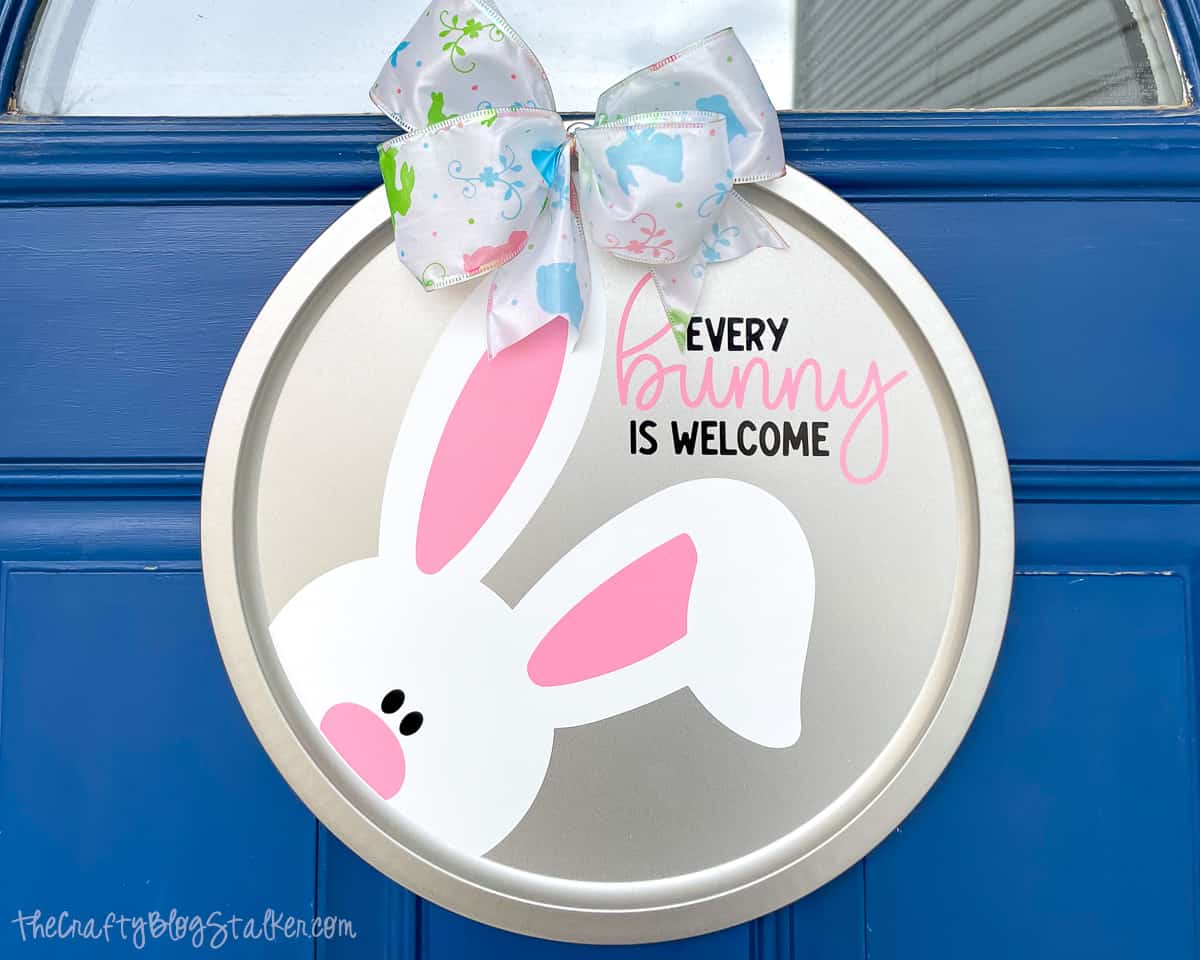
1. DIY Spring Door Hanger and a Free SVG
Spruce up your front door with DIY spring door hangers! This free SVG makes crafting easy. Transform your home with cheerful door decor.
2. Glitter and Burlap Easter Eggs
Get creative this Easter with glitter and burlap-decorated eggs! A fun craft idea for the whole family to enjoy. Let's celebrate in style!
3. Make Your Own Easter Grass
Learn to make your own paper Easter grass for eco-friendly baskets! Ditch plastic for a sustainable, fun alternative to your Easter celebration.
See All Easter Crafts!
Unleash your Easter creativity with 27 fun crafts! Follow step-by-step instructions to make decorations and gifts.
Julie
That's such a clever idea. My daughter did the santa sleigh from packets of sweets last Christmas for her brother (she'd seen it on pinterest of course) and that worked really well. I love this Easter idea.
laurie
What a cute idea! Thank you for sharing with us at VMG206 Brag About it!
~Laurie
Audrey
Such a cute idea. Pinned!
Found you on You're Gonna Love It
Angie
This is a genius idea - so cool!! I found you on the Show Me Saturdays blog hop.
Thanks
Angie
Jenn
Pinned, what a great and cute idea! Thanks for sharing!!
Annie
Love this! Very clever and cute!
Kendra @ www.joyinourhome.com
Super cute idea! I know our kids would love it! Thanks so much for sharing with us at Your Turn To Shine, Katie! Featuring you tomorrow 🙂 Hope to see you back!
Dee
I love this! It's so unique and fun! Thanks for sharing at Merry Monday. 🙂
Katie
Your welcome Dee, Thanks for stopping by!
Crechia
Thank you for sharing such an amazing and creative idea for an Easter basket. I'm going to try it for my cousin.
Katie
Thanks Crechia! They are really fun to make and even more fun to give!
Roseann Hampton
How creative!
Liz
What a great idea!
Katie
Thank you Liz! I'm so glad you like this Candy Basket!
Melissa Ruddy
Love this idea. I really love how you used it for flowers. Each year my ant gives my kids huge Easter baskets. Maybe we will make this one for her this year.
Katie
That is such a fun idea, Melissa! I am sure she would love it.
Lori
WOW. What a cool idea
Katie
Thanks Lori!
Beth
Such a brilliant idea for kiddos of any age, Katie!! Thanks for joining in the Creative Crafts FUN!