

Craft a stunning Easter decoration with our DIY glitter-and-burlap craft using Dollar Tree supplies. Budget-friendly and beautiful!
Get ready to add a touch of sparkle and charm to your holiday decor with our DIY glitter and burlap craft tutorial.
With supplies from Dollar Tree and our step-by-step instructions, you'll create a beautiful and budget-friendly Easter decoration that's sure to impress.
I mean, who doesn't love Dollar Tree Easter DIYs?
Let's hop in and make this Easter season extra special!
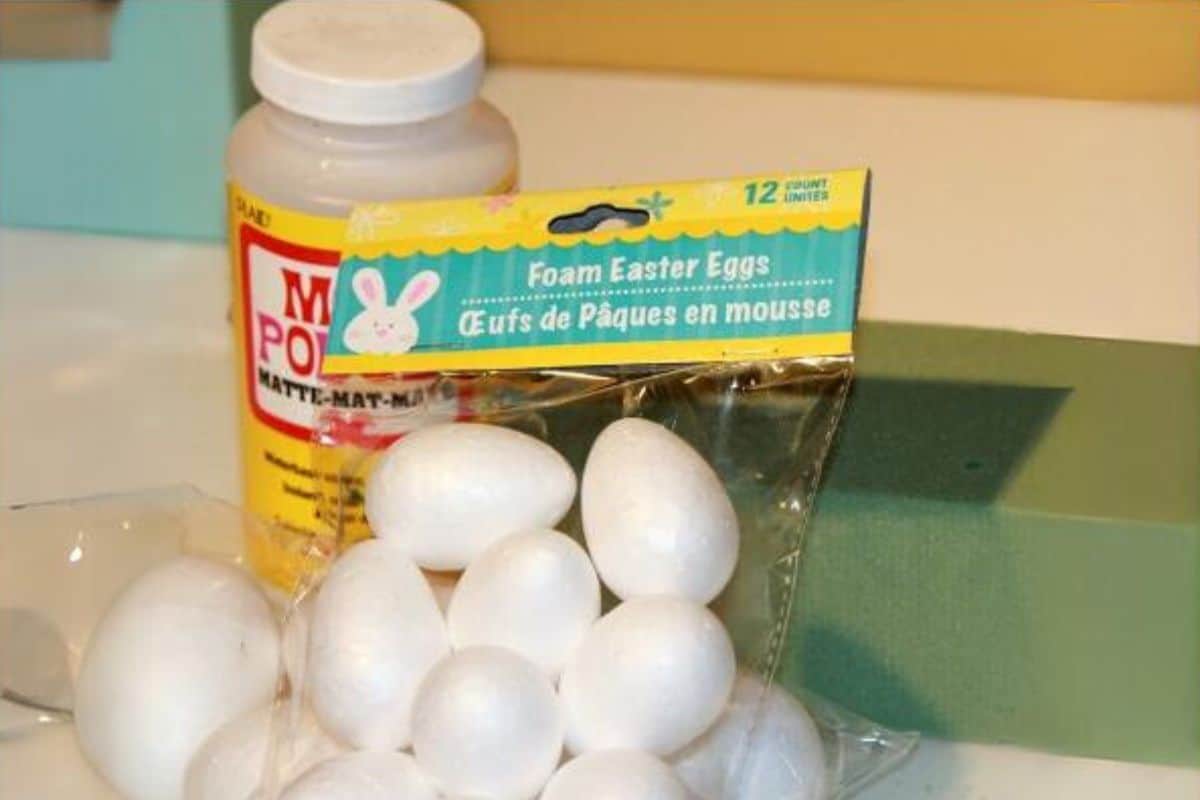
Supply List:
Some links may lead to similar items when the exact item is unavailable.
- Styrofoam Eggs
- Mod Podge
- Glitter
- Floral Wire
- Floral Foam
- Burlap Scraps
- Low Temp Glue Gun
- Baker's Twine
- Silk Flowers
Instructions:
If you don't have a dollar store nearby, you can go to any craft store and pick up any egg-shaped material.
I have found them in both paper mache and a heavier styrofoam material.
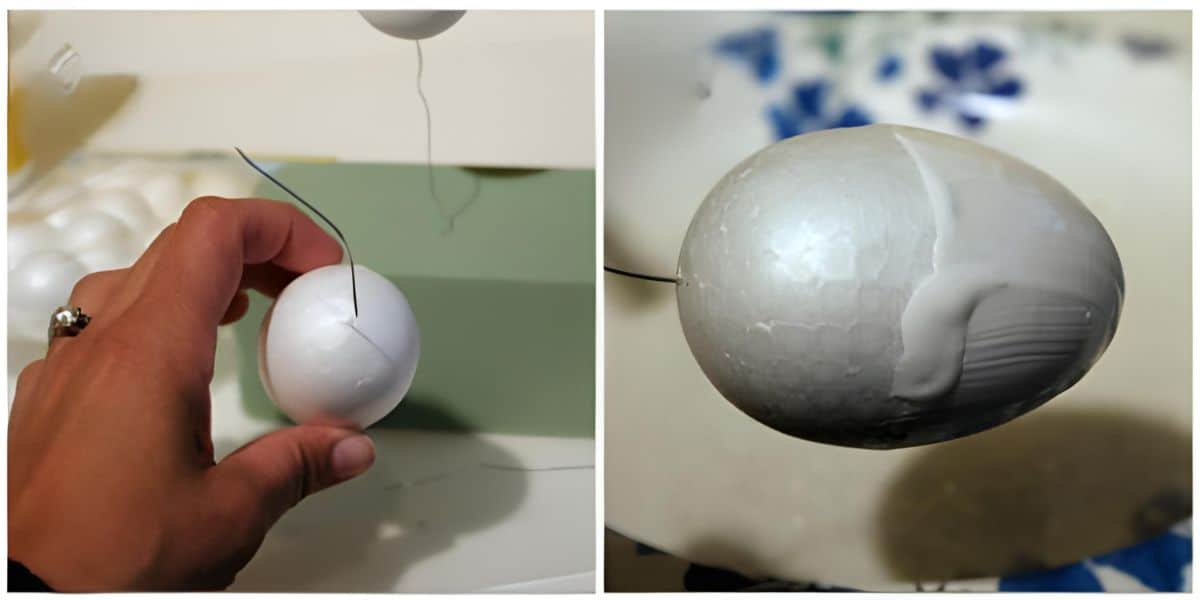
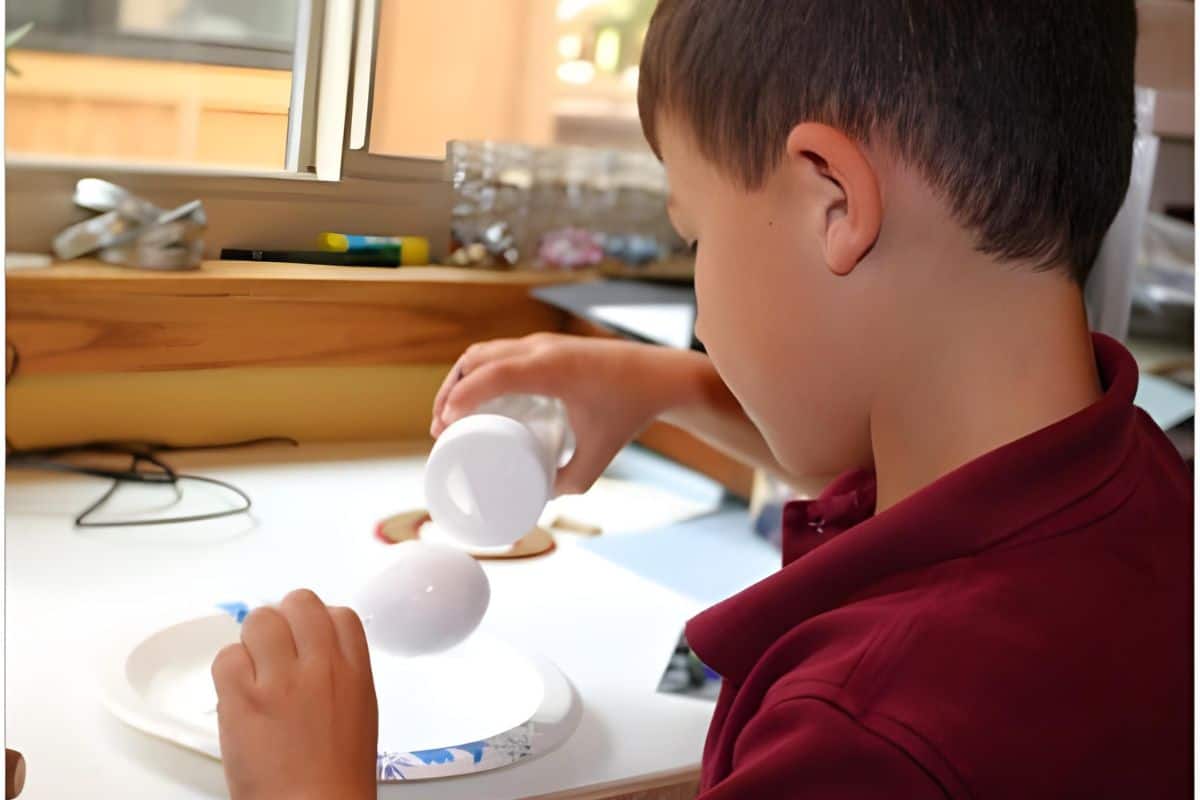
To begin, take a small piece of floral wire and insert it into the bottom of your egg to use as a handle.
Give the egg a nice coat of Mod Podge.
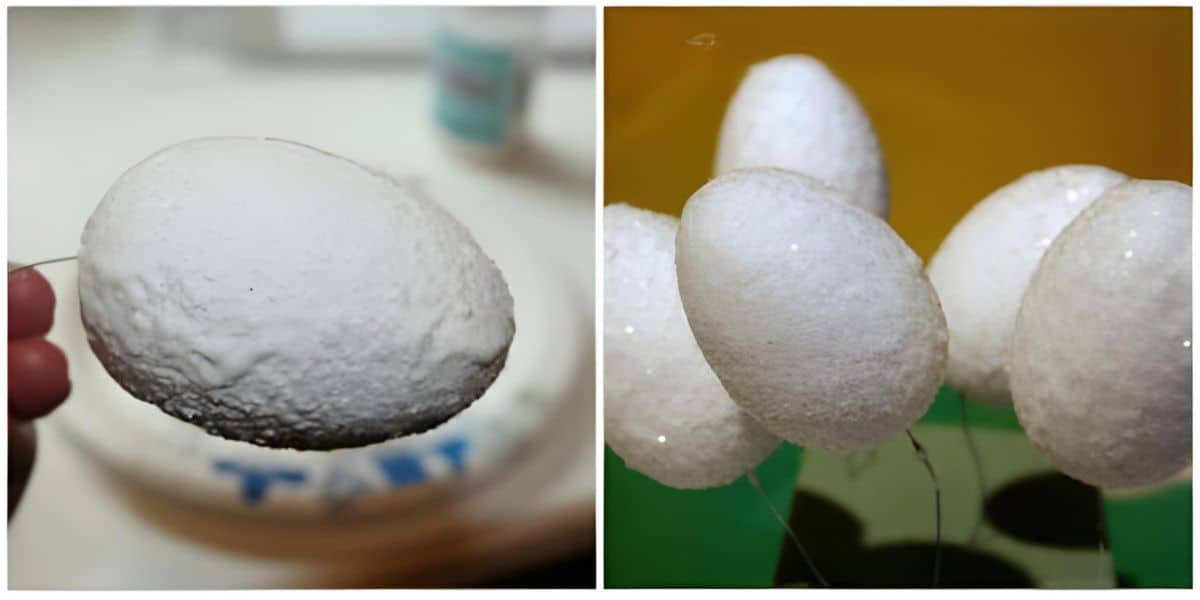
Sprinkle glitter all of the egg until it is well covered.
After the first layer is dry, apply a second layer of Mod Podge on top of the first and cover again with glitter.
It looks messy and not so pretty at first, but once it dries, you will be happy with a second coat!
Use a block of floral foam to hold the eggs during the drying process. You don't want an egg with a flat side!
I had a little after-school helper to apply the glitter. Although I think he got more on the floor than on the egg, that's what vacuums are for, right?
Next, take a few scraps of burlap and cut them down to fit around the egg. Yes, literally scraps...you don't need much!
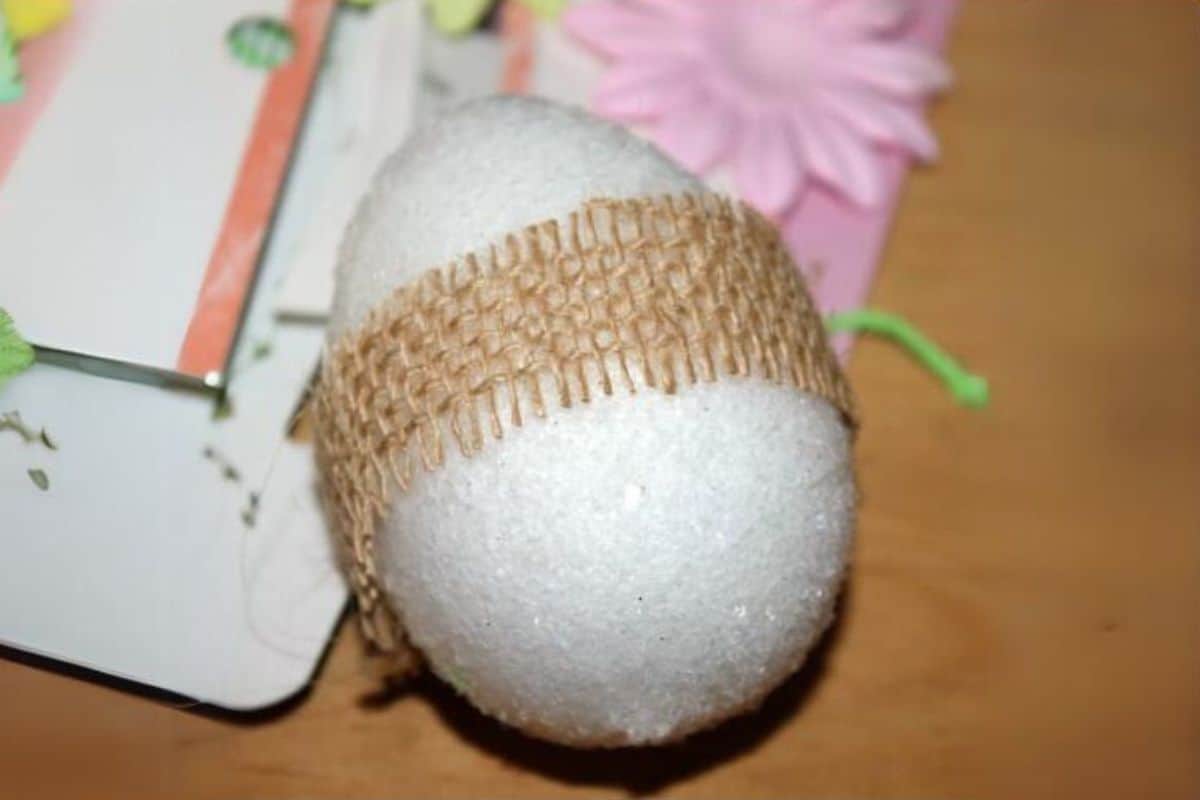
Next, cut a little oval, about 1 inch, out of green burlap.
Apply a dot of hot glue in the middle (only halfway) and pinch.
TIP: use a low-heat glue gun. It will really hurt if you do this with a high-heat glue gun!
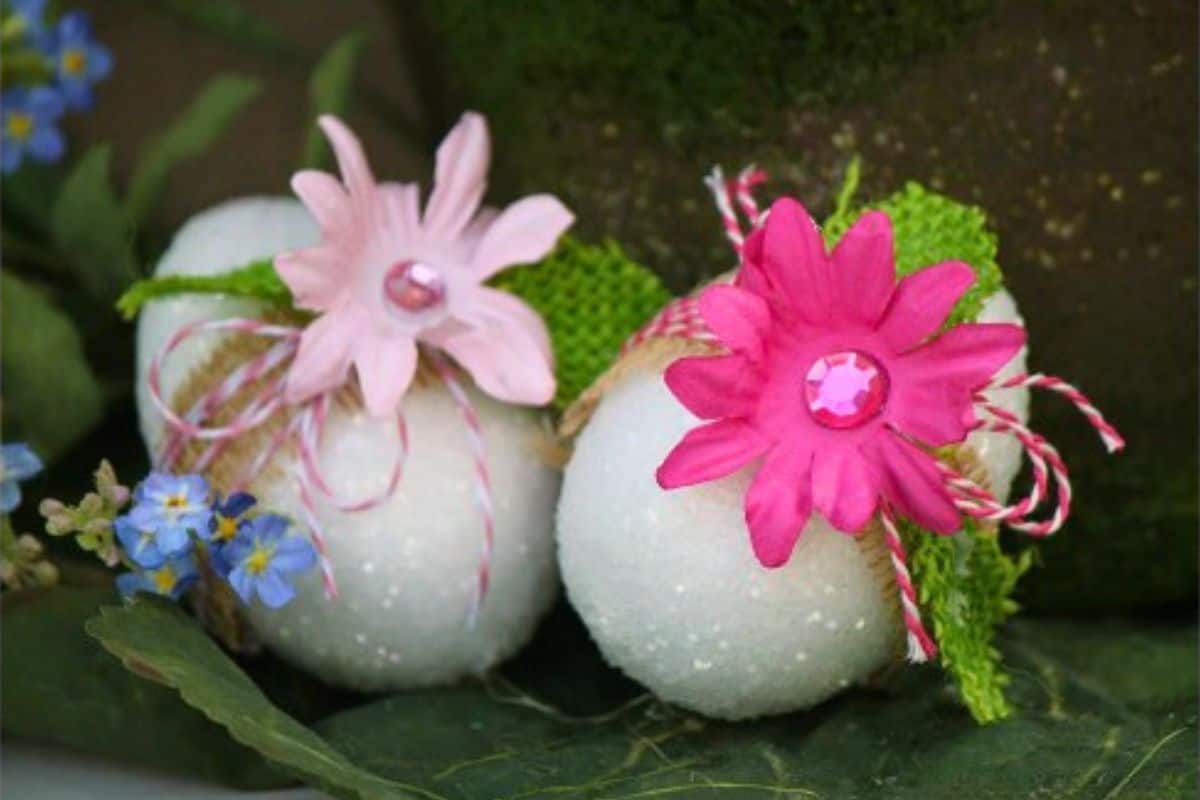
Wrap the egg with a colored twine and make some loops.
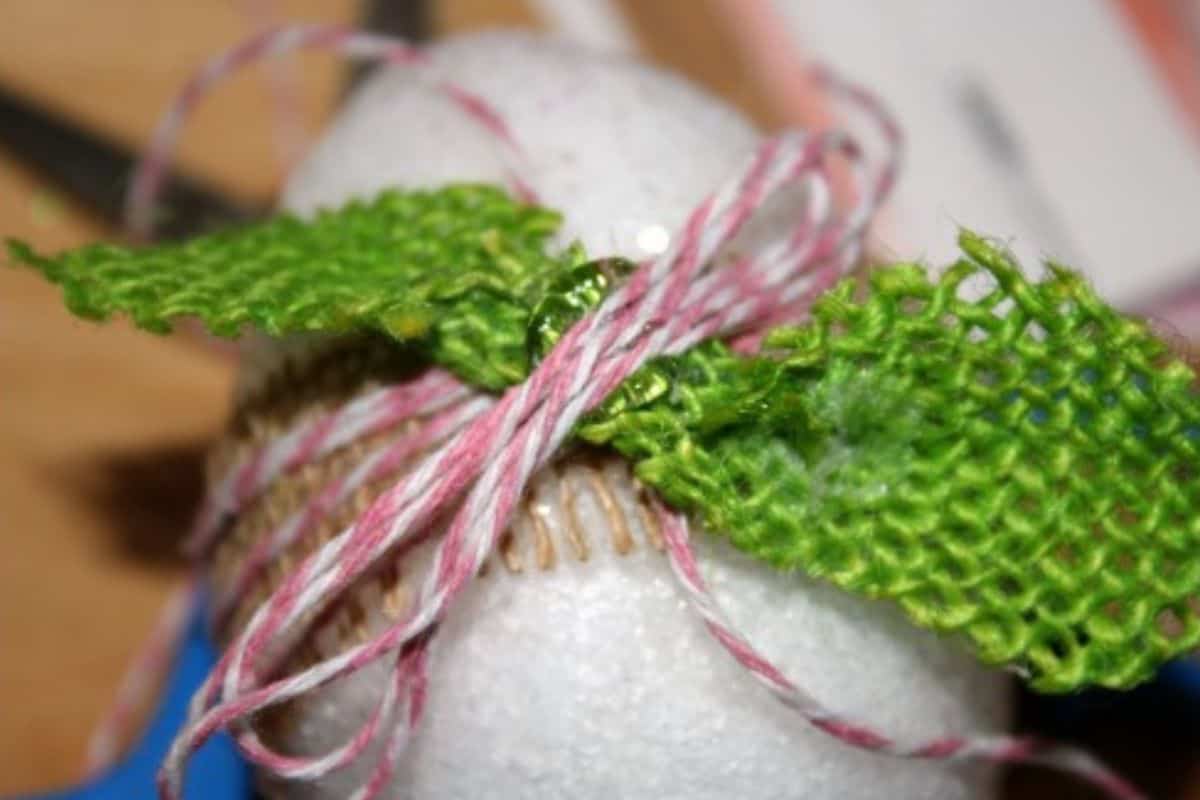
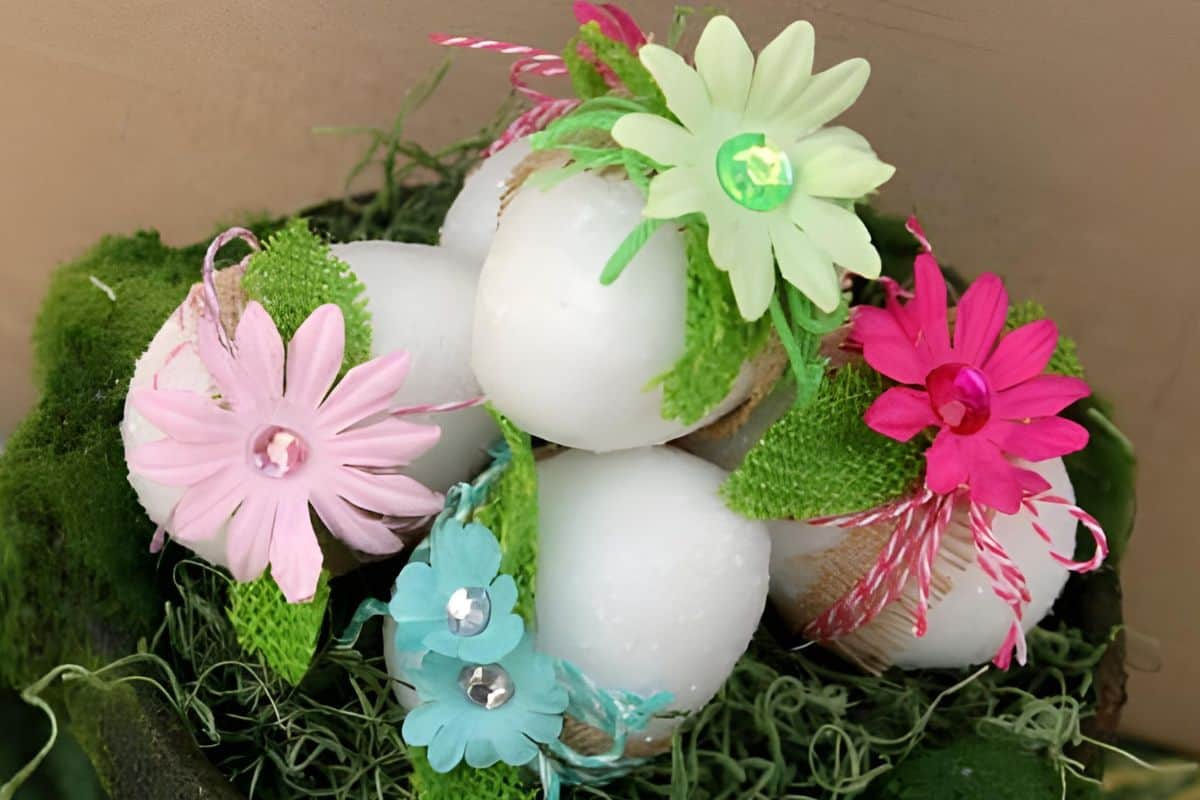
Then glue on leaves, twine, a paper flower, and maybe some bling.
If you don't have paper flowers, you can use artificial flowers, dried flowers, or even a ribbon flower. Be creative and use what you already have!
This Easter decor is so fun to make and the Easter eggs look fabulous in a planter as a centerpiece.
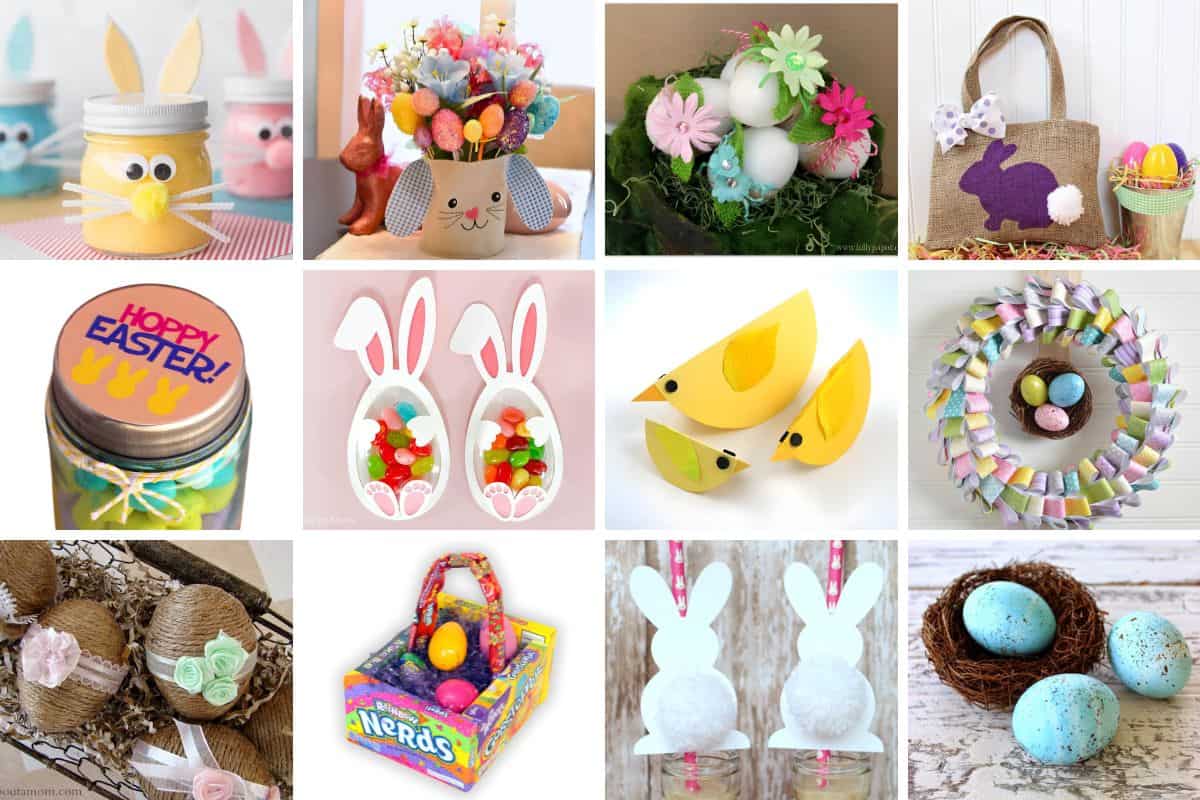
27 Greatest Easter Crafts of All Time!
Visit the website for step-by-step directions. All links from these craft projects will open in the same tab.
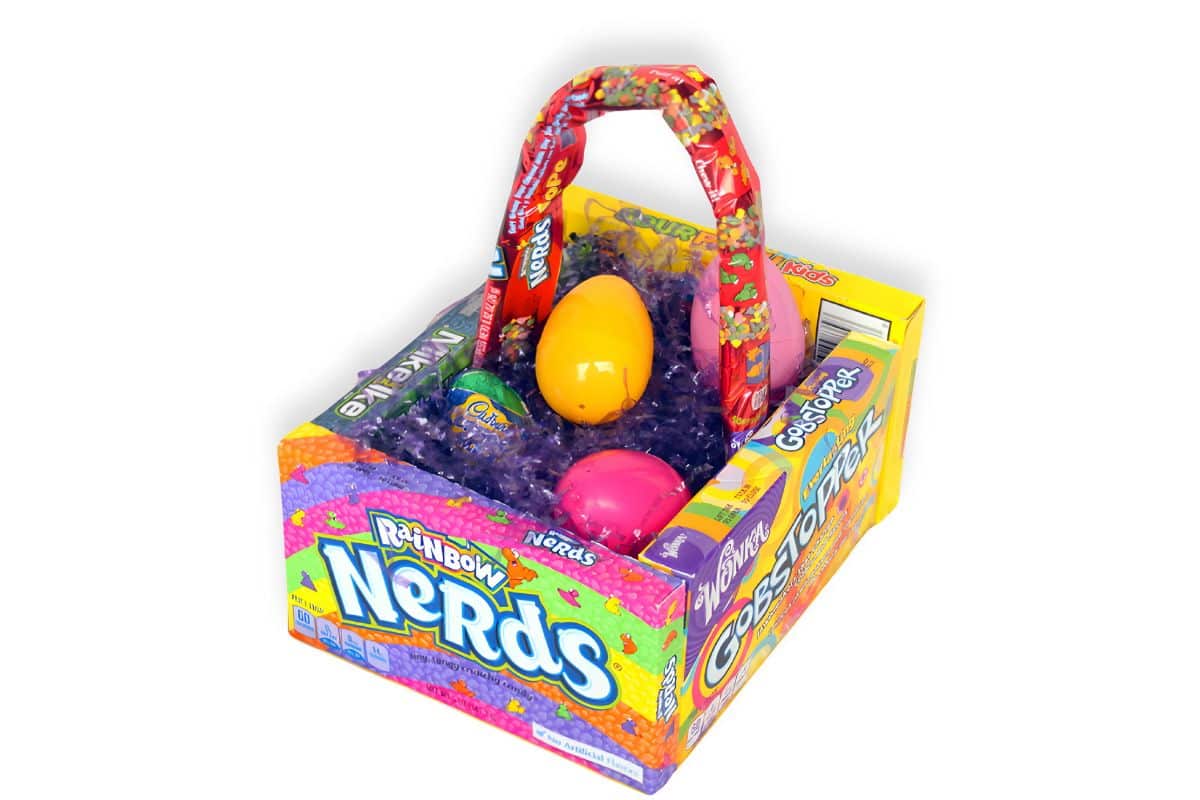
1. Candy Easter Basket from The Crafty Blog Stalker
Craft a Candy Easter Basket using theater candy boxes! Perfect for an Easter party or to gift a handmade gift.
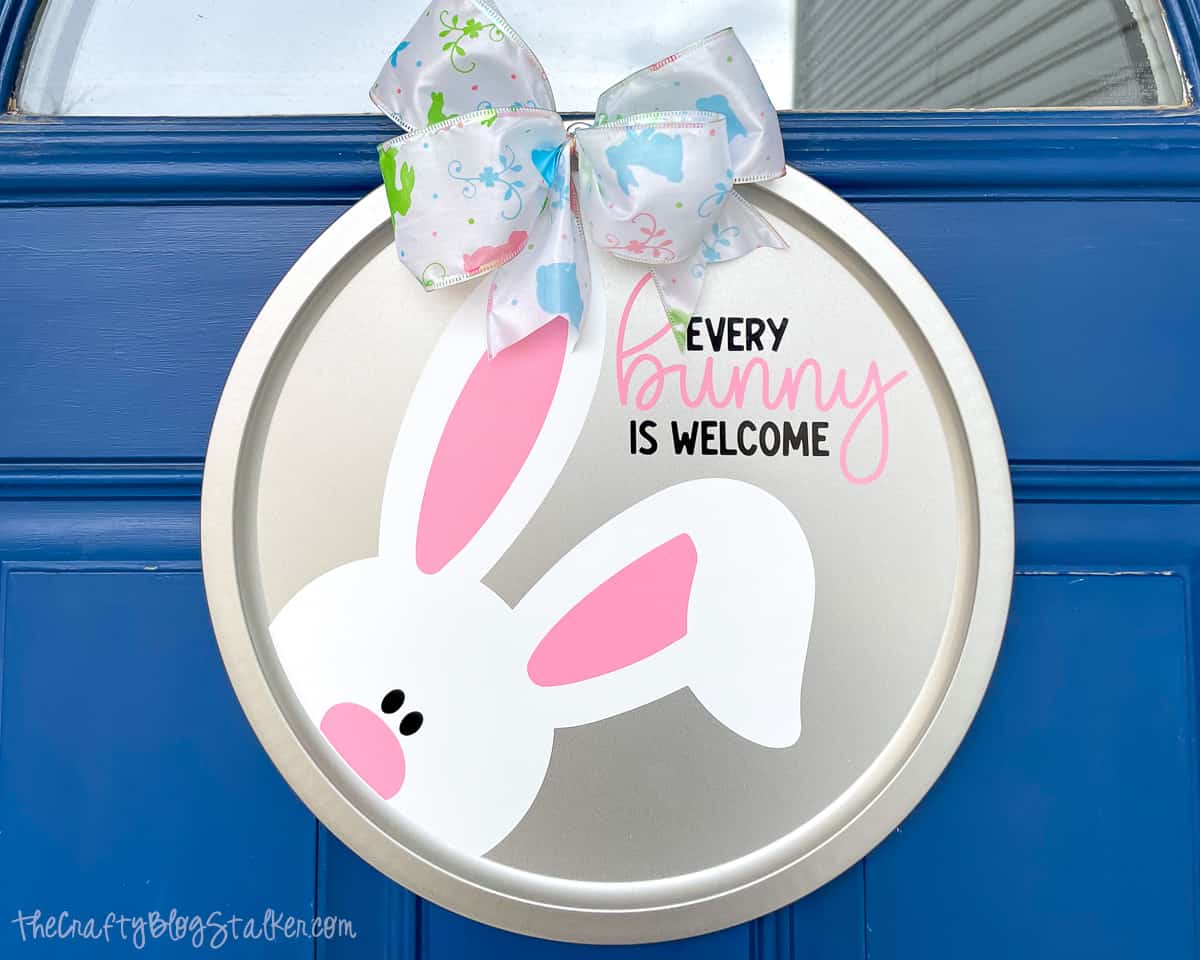
2. Every Bunny is Welcome Door Hanger and a Free SVG
Spruce up your front door with a DIY spring door hanger! This free SVG makes crafting easy. Transform your home with a cheerful Easter wreath DIY.
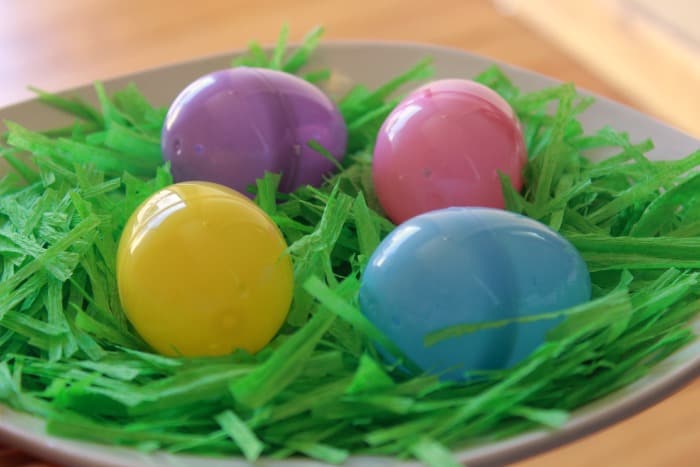
3. Make Your Own Easter Grass
Learn to make your own paper Easter grass for eco-friendly baskets! Ditch plastic for a sustainable, fun alternative to your Easter celebration.
See All of the Best Easter Crafts!
Unleash your Easter creativity with 27 easy Easter crafts! Follow step-by-step instructions to make DIY projects.
deedee
I must say when I sen your headline in my email, I thought, how would these items go together... well now I know.. these are just darling... precious tutorial pics too.. 😀
Robin
I, too, how will these items look together - but they are beautiful eggs - so SPRINGY! A perfect idea for decorating for Easter or a Spring Tea Party! TFS the wonderful photo tutorial!
Ashley @ 3 Little Greenwoods
Oh these would be perfect for my Easter dinner table! Love that your children helped you. 😉 I'm so excited to see your project on Show-Licious Craft & Recipe Party! Thanks for linking up with us!
~ Ashley
Claire
Aww love these 🙂 perfect for Easter... thanks for sharing at Creative Mondays...
Claire
Thanks again for sharing 🙂 pinned and featuring this week at the blog hop...
Marty@A Stroll Thru Life
I love, love, love these. What a fun project to do with the children and they are so cute. Thanks tons for linking to Inspire Me. Hugs, Marty
Mindie Hilton
Your glitter eggs are lovely!