

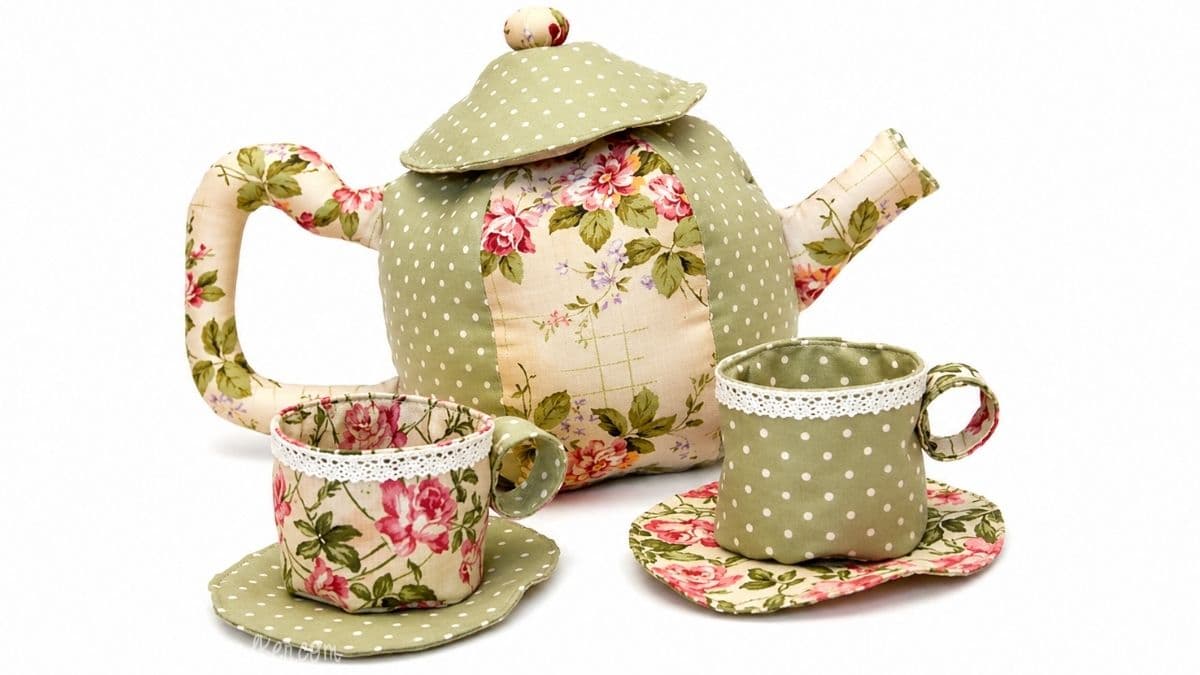
This tea cup pattern makes it easy to sew a soft fabric tea set that is perfect for pretend play and tea parties.
When my kids were little, I quickly learned that fabric toys were much safer than anything hard enough to become a flying projectile across the room.
This fabric teapot and tea cup pattern creates a soft tea set complete with teacups and saucers, perfect for pretend play and little hands.
It also makes a sweet handmade gift for birthdays, holidays, or just because.
Fair warning: I am definitely not a professional pattern maker, so this pattern came together through plenty of trial and error, but sometimes those are the projects that turn out to be the most loved.
Jump to:
Skill Level: Intermediate
Total Time: 4-6 hours
Supply List
- Sewing Machine
- Fabric
- Coordinating Thread
- Scissors
- Polyfil
- Lace Trim (optional)
- Hot Glue (optional)
The amount of fabric needed will vary depending on your fabric choices and cutting layout.
Approximately 2 yards of fabric were purchased for this project, but you could easily do it with one.
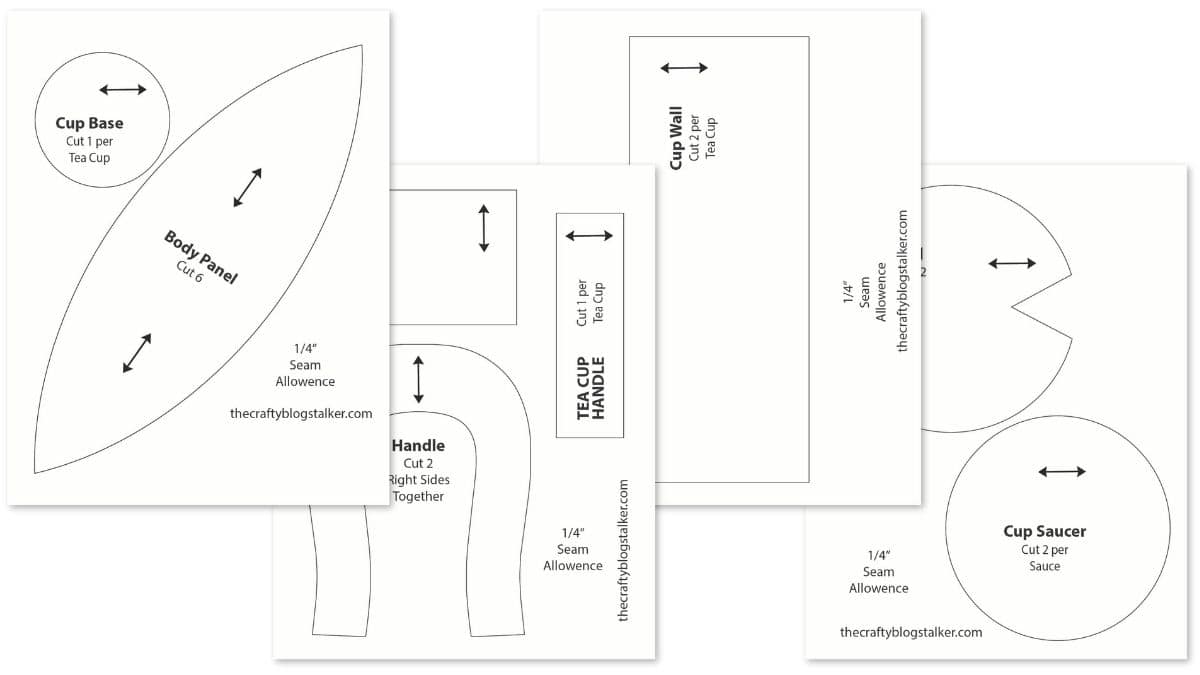
Grab the Free Printable Pattern Pieces
Download the printable pattern template to get started with this project.
Before You Begin
Print the PDF pattern at 100% scale and cut out all of the template pieces with scissors. Before cutting into your fabric, double-check that the pattern pieces print at the correct size.
A ¼-inch seam allowance is used throughout the entire project.
Because several pieces are curved, clipping the seams and trimming excess bulk before turning will help the finished pieces hold their shape much better.
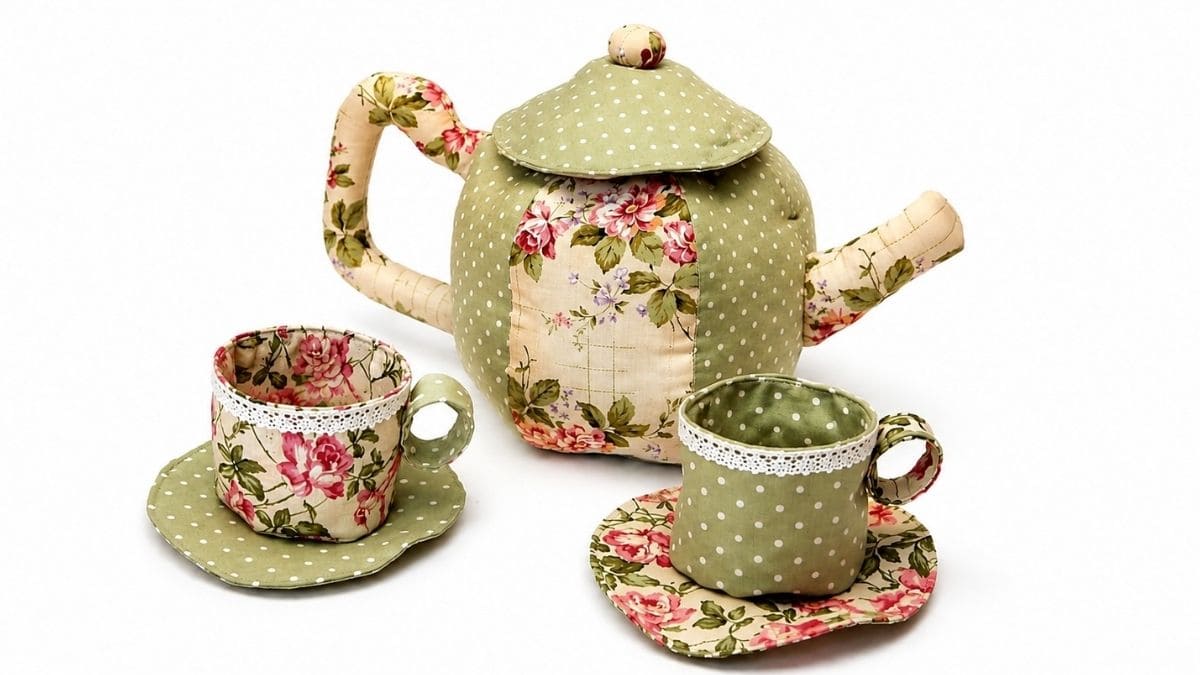
Sewing the Teapot
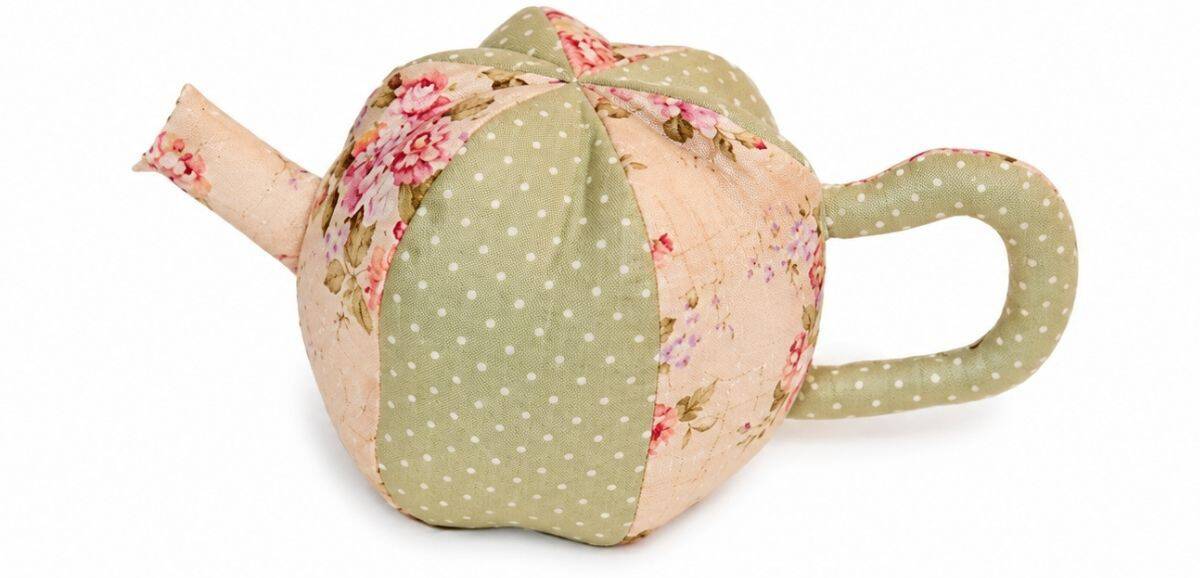
For the teapot body, cut six main body pieces. Two coordinating fabrics were used for this sample, creating alternating panels around the teapot.
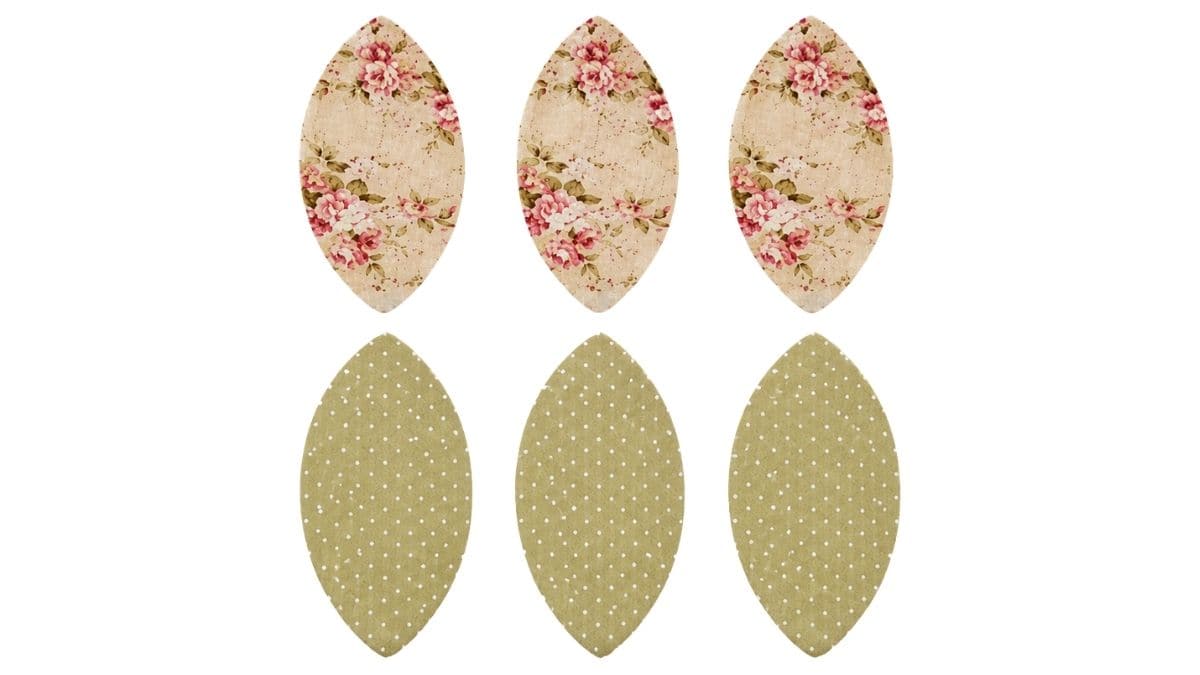
Sew together one piece from each fabric along one side, right sides together. Repeat until you have two sewn pairs and two remaining single panels. This arrangement creates the alternating design around the finished teapot.
I know the picture shows three pairs, but you really only want two sewn pairs and two single strips.

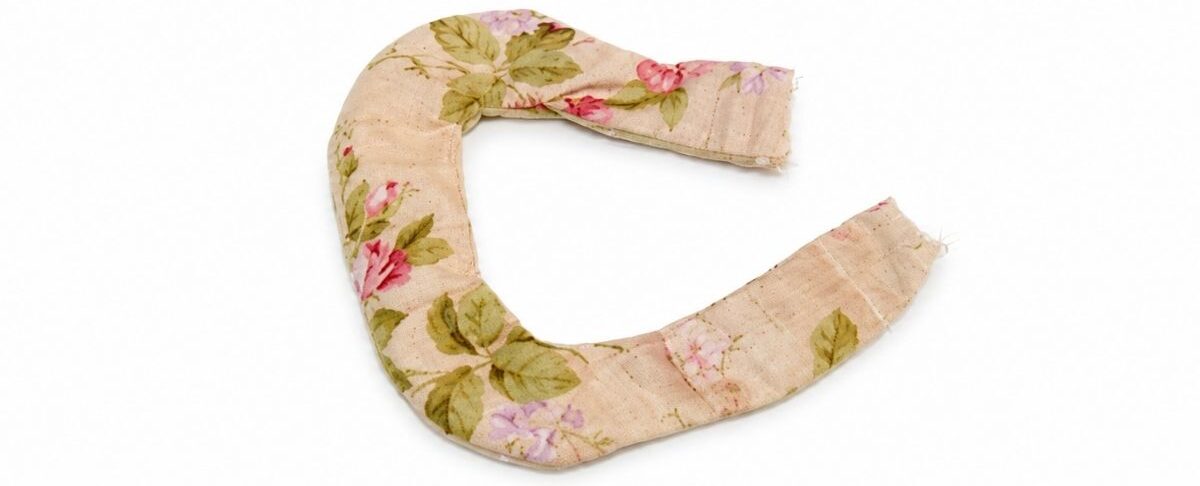
Next, sew the handle pieces right sides together, leaving one short end open for turning. Turn the handle right side out, lightly stuff it with Polyfil, and stitch the opening closed by hand.
For the spout, fold the fabric piece in half lengthwise with right sides together. Stitch along the long edge, leaving the angled end open. Turn the spout right side out, add a small amount of stuffing, and stitch the angled end closed.
Arrange the teapot body pieces right sides together, placing the handle and spout between the fabric layers on opposite sides. Pin everything securely before sewing.
Leave a small opening in one seam so the teapot can be turned right side out later. After stitching, clip the curved seams, turn the teapot right side out, and fill it firmly with Polyfil. Hand sew the opening closed using an invisible ladder stitch.
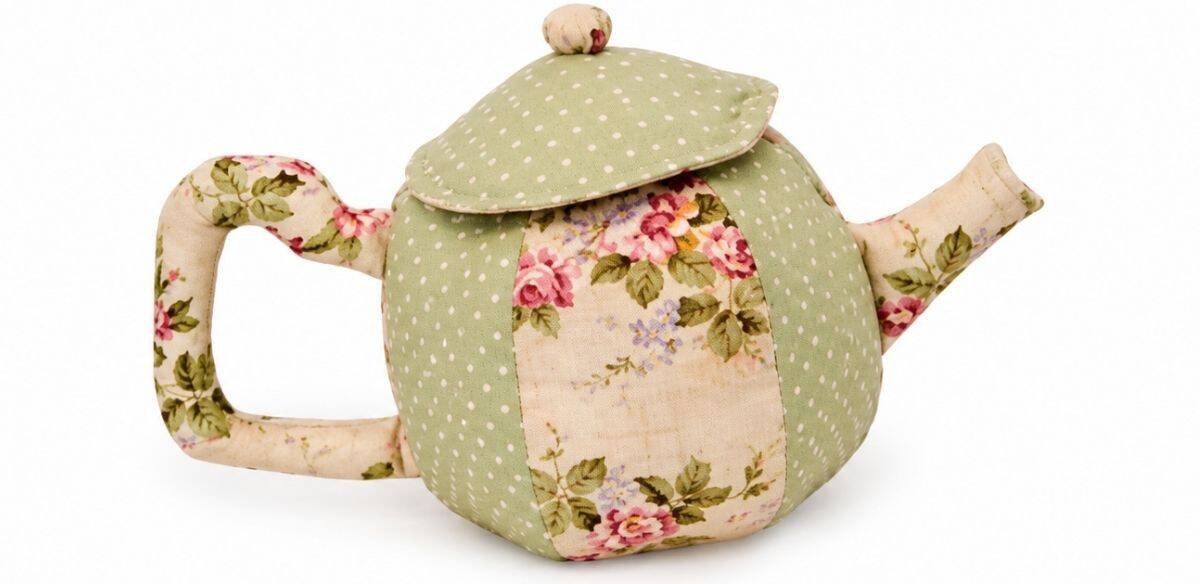
Making the Teapot Lid
The lid is made from two circular pieces that create a slightly raised shape.
Sew each circular section into the notched area indicated on the pattern. This gives the lid its curved, conical shape.
To create the lid knob, cut a small fabric circle approximately 2 inches in diameter. Sew a gathering stitch around the outer edge, place a small ball of Polyfil inside, pull the thread tight, and stitch the opening closed.
Attach the fabric ball to the center of one lid piece.
Place the two lid sections right sides together and stitch around the outer edge, leaving a small opening for turning. Turn the lid right side out, lightly stuff it, and stitch the opening closed. The finished lid should rest neatly on top of the teapot.
Sewing the Teacups
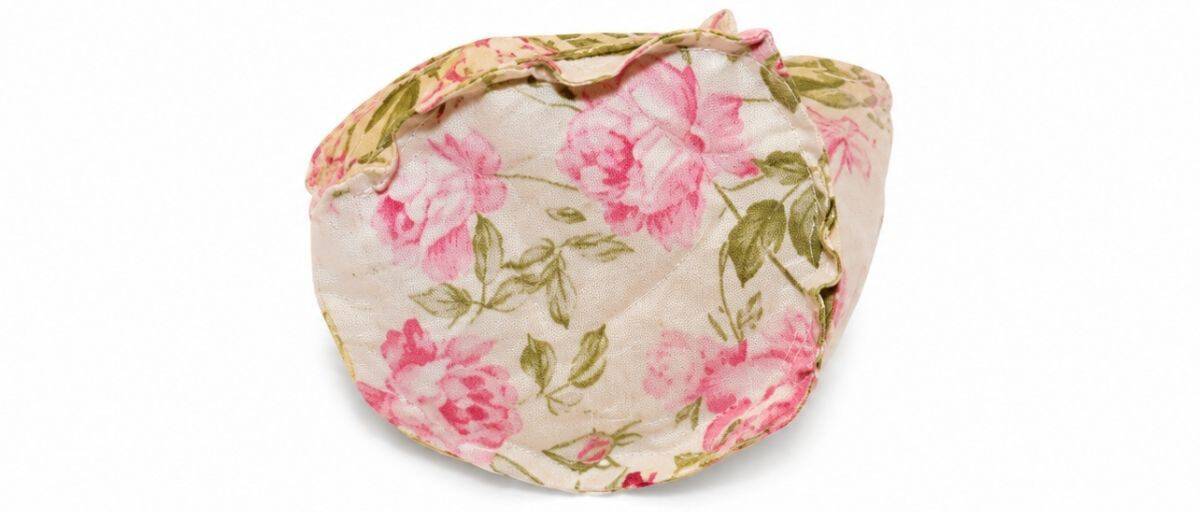
Each teacup is constructed using two rectangular pieces and two circular bases.
Place a rectangle and a circle right sides together and sew around the curved edge to create a cup shape. The finished piece will resemble a small fabric bowl.
Here is a pic of what the bottom will look like when you are done.
Repeat this process until you have two cup sections for each finished teacup.
Press the top edge of each cup section toward the wrong side by approximately ½ inch. Consistency is more important than an exact measurement, so simply make sure all the teacups are folded by the same amount.
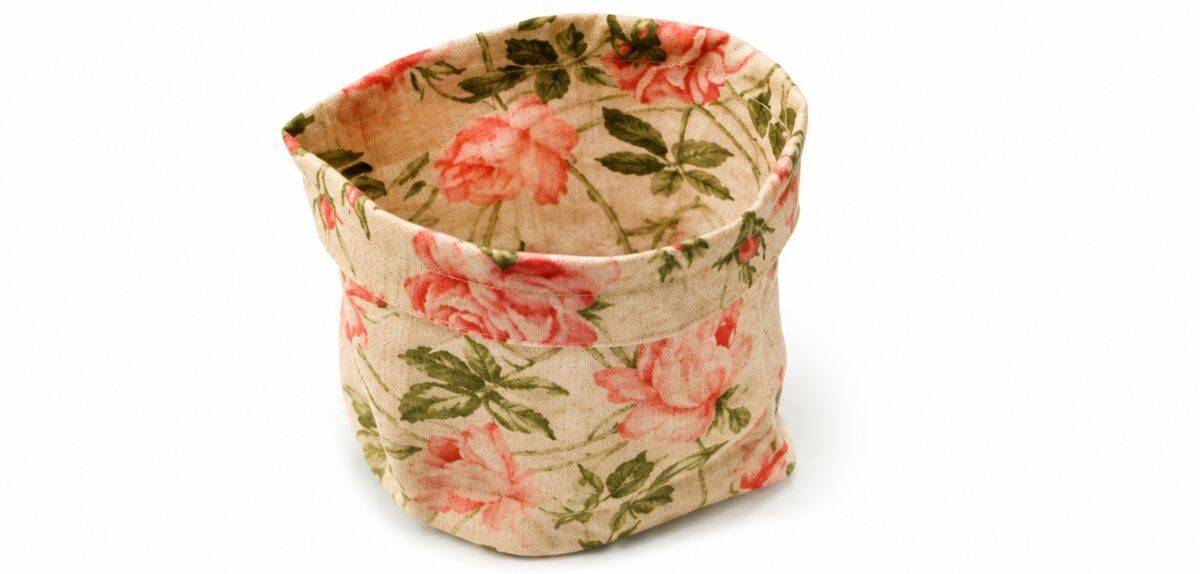
Turn one cup section right side out and leave the other with the wrong side facing out. Insert one inside the other so all raw edges are enclosed between the layers.
Topstitch around the upper edge to secure both layers together and create a clean finish.
Adding the Teacup Handles
Fold a handle piece so the wrong sides face each other.
Topstitch around the outer edge, folding the ends under as you sew for a finished appearance.
Shape the handle into a circle and hand stitch it securely to the side of the cup. Repeat for all teacups.
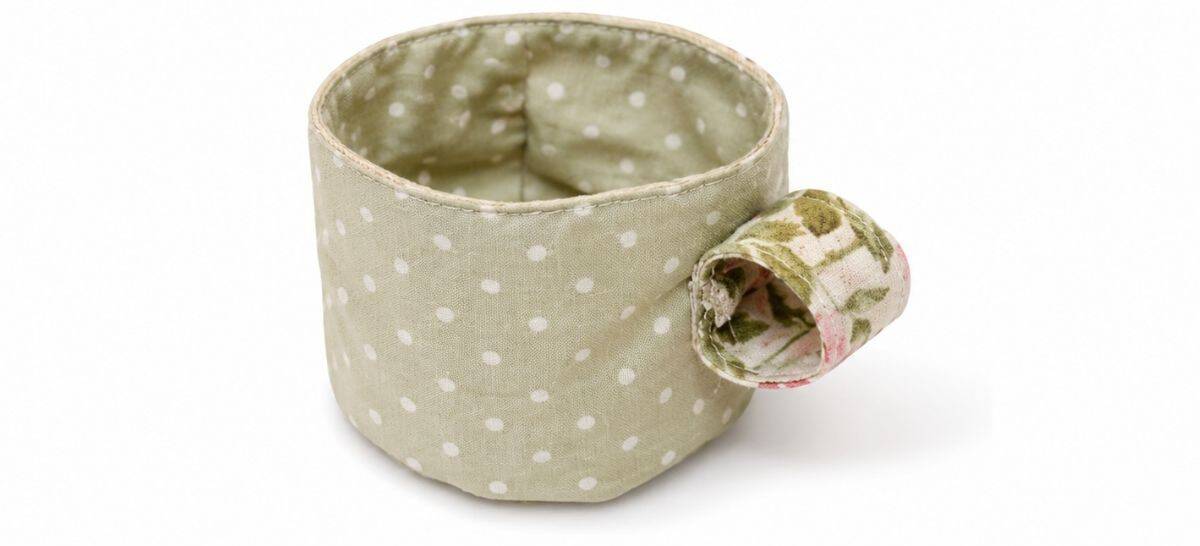
For a more decorative finish, lace trim can be added around the top edge of the teacups. The trim may be sewn in place or attached carefully with hot glue.
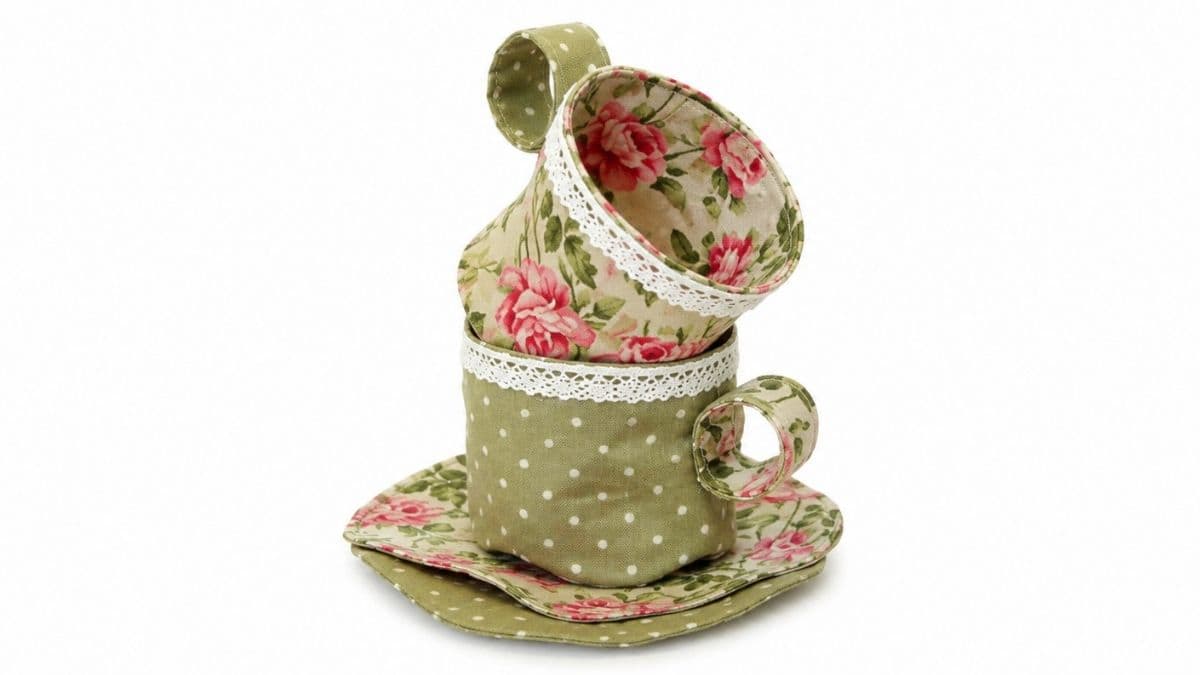
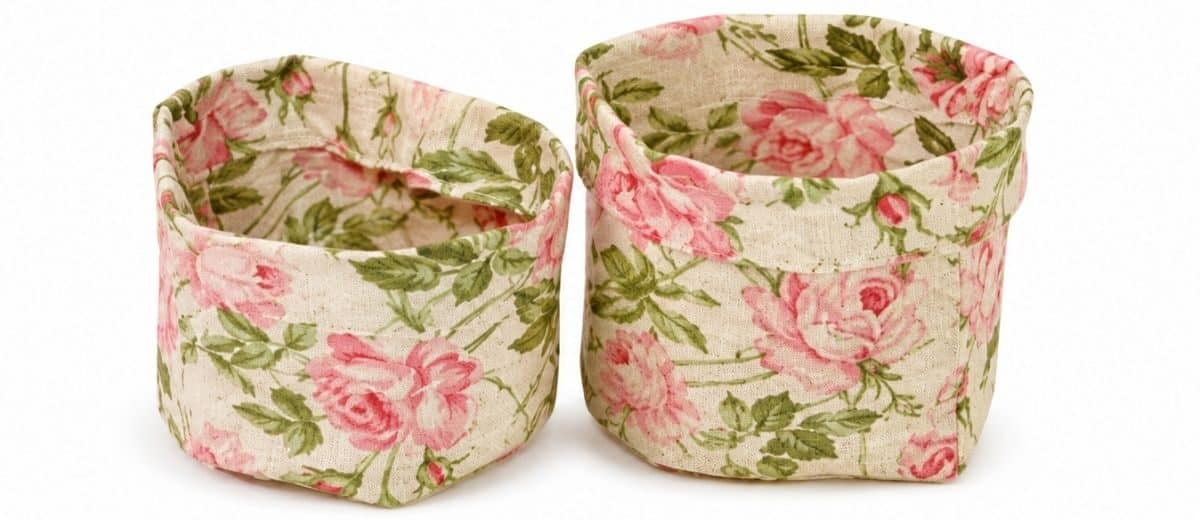
Sewing the Saucers
Each saucer requires two fabric circles.
Place the circles right sides together and sew around the edge, leaving a small opening for turning.
Clip small notches around the curved edge to reduce bulk and help the saucer lie flat. Turn the saucer right side out, press carefully, and hand-stitch the opening closed.
Repeat for each saucer needed for your tea set.
Finished Fabric Tea Set
Once all of the pieces are complete, arrange the teapot, teacups, and saucers together for a soft and adorable tea set. The lightweight fabric construction makes them easy for children to carry, stack, and play with during tea parties.
This project may take a little patience, but the finished set becomes a treasured handmade toy that can be enjoyed for years.
More Sewing Ideas
Looking for another sewing project? Here are a few more creative ideas to add to your sewing list.

Hi, I'm Katie!
I'm so glad you're here. Want to make something fabulous? I'm here to help!
Mami Made It
Absolutely adorable!
Johanson Family
So proud of you!! I feel like you are famous because of how far you are going with this craft link contest!! Its awesome!! i'm having a lot of fun with it myself.. Best of luck this week! !I know you're gonna rock it!! 🙂
Randi~Dukes and Duchesses
You did such an amazing job on that tea set! I love it. I thought you'd win that week for sure.
Down to the final three ... so fun! It's been neat competing with you and seeing what you make every week!
Kelly
Wow this is so cute! Love it! Thanks for the tutorial and pattern pieces!
Shore Girl
Oh my this is amazing! Couldn't be any cuter! Thanks so much for sharing it with all of us!
Marie
So cute! My girls would love this! I’m your newest follower! Come follow me to! mylilpinkpocket.blogspot.com
The Tootsie Wootsie
This is one of the cutest things i have ever seen! Soooo cute! I would so make this if i had little girls but i guess i can still make a teapot set for my nieces! o they will love it! thanks for this tut!
Beth@Wiccan Make Some Too
Love the Tea Set! Seeing this just made my day better.
Kadie
So cute!! I can't wait to make some for my daughter!!
Ashley@EisyMorgan
This is ADORABLE! Amazing job:)
" me "
so sweet!
bec @ smallbirdie.com
this is absolutely gorgeous!! I LOVE it!! thanks for sharing!
Shore Girl
Featured this lovely idea today in my 'Walk Around Blog Land.'
Nicole@Thrifty Decorating
A little girl would just love to have that tea set to play with! Thanks for linking to Thrifty Thursday! 🙂
Amanda @ The Little Giggler
This is such an adorable tea set!! You did an awesome job! I'm going to feature this tomorrow at The Little Giggler. Stop by and grab a button if you'd like.Amanda
At The Picket Fence
So unbelievably adorable!! My daughter received a fabric tea party set when she was 2 and just loved it. Thanks so much for sharing this with us at Inspiration Friday!
Vanessa
The Answer Is Chocolate
What an absolutely darling idea and it turned out so great! Thanks for linking up to this week's BFF link party!
Adrianne
This is absolutely adorable and so creative!! And I can't help but think of the mad hatter just a little bit when you mentioned the safety factor, lol! Love this.
I would love it if you would come link this up at Freestyle Friday (it's open all weekend) at happyhourprojects.blogspot.com.
~ Adrianne
Lori @ Beneath the Rowan Tree
Thanks so much for sharing this on our Weekly Playdate at Beneath the Rowan Tree! I am featuring it for the upcoming week. Cheers, Lori
Carolyn
That is certainly thinking outside the box, well done, it looks great!
Chelsea Williams
OH I cant wait to get started making these for all the little girls in my life!!! My daughter is going to love this 🙂 Thank you for the idea!!Chelsea
Anabella
I featured this tutorial in my "Top Ten CRAFTS I loved this week". It's an awesome tutorial!!!Thanks!
Emma Dorsey
Thanks So much for sharing this! I think this is the bomb. My granddaughter loves to play with her tea set and the one I have, but mine is antique and I am afraid it will get broken. This will be a better alternative and it is so cute. Thanks again:) Emma
Anonymous
Fantastic tea set
Betty
Brid
Thank you for posting this tutorial! I've been looking for one for ages, and I'll start it next week - so hopefully finish it by my little one's 4th birthday (in March, lol!).
MICHELE
Hi !I'm Michèle from France and I find your tea set very nice.If i'd well understand you send the tutorial in writing a mail ?I hope so !Thank you and I say : BRAVO
Gail
You are patient and talented to do this so well.
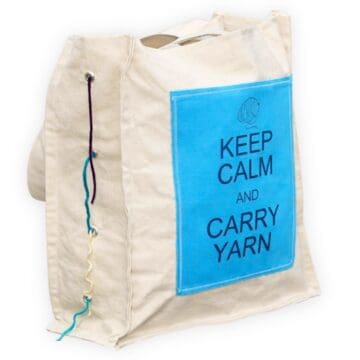
Also, thanks for yarn tote idea. I am putting grommet holrs for yarn into my current tote bag.
Lisa Summerhays
So cute! Added onto my "to do" list. 🙂 Thanks!
Amy
This is adorable! What a great gift idea!
Anonymous
Your fabric tea set is soooo CUTE.
Randie
I love this! I would like to make this for my daughter and my niece. Could you please send my this pattern. Thank you so much!!!
Nadia
I can't wait to try this! 🙂 I am having trouble printing. Could you please Email the pattern to me ?
sandy
love this. could you email me the pdf pattern? thank you.
Janet Hagen
Cannot get the pattern and it is really a great idea.
could you email me the pattern Thanks!!
Connie Inman
Perfect........have little who loves tea parties and this will put everyone to rest about broken glass. Please email the pattern.
Rebecca
Can't wait to make this for my two sets of granddaughters. However, whenever I try to print the pattern pieces, my printer "adjusts" to fit the page, even when I tell it not to. Some machinery just does not behave. Would you please send the pattern pieces to me via email when you get a chance?
Thanks for the great ideas!! Rebecca
Virginia Booker
I just adore your tea set...my granddaughter will be thrilled...she's really into the tea party stage. Will you email the pattern to me also. I am new and found you through another crafter on PInterest and then stumbled on to this darling tea set. Cannot wait to make it. Thank you gracious lady for sharing!
Bec
I am going to try to make a set of these this week. Absolutely adore it. Will make one for my 2 nieces as well as for my God daughter for their birthdays. They will love them. Thanks for the tutorial.
Cynthia
My daughter collects teapots. I am pretty sure this is one she won't have without looking at her display. Thanks!
Katie
How fun! I love old teapots!
Kym
Hi Katie
Can you email me the Fabric tea party pattern please.