



Make a Halloween Boo door hanger with your laser cutter for a fun, spooky front porch update that's easy to customize.
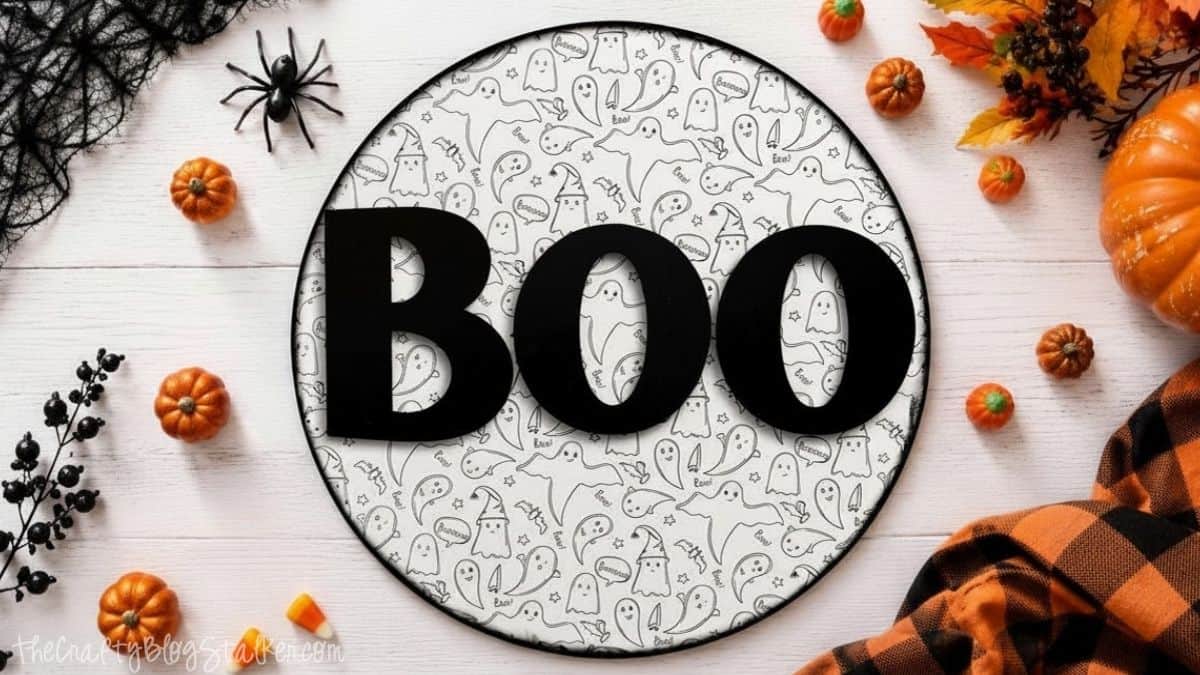
If you love decorating your front door for Halloween, this Boo door hanger is such a fun way to welcome trick-or-treaters.
You'll use your laser cutter to create a layered sign with engraved details that give the background a little extra personality.
It's a great project whether you're new to laser cutting or already have a growing collection of handmade Halloween decor.
Grab your supplies, and let's make a door hanger you'll be excited to pull out every October.
Jump to:
Skill Level: Beginner
Estimated Cost: $15-$25
Total Time: 2 hours
Craft Tutorial Video
If videos are your thing, you're in luck-I've got a full tutorial ready for you!
Subscribe to my YouTube channel and stay inspired with every new project.
Supply List
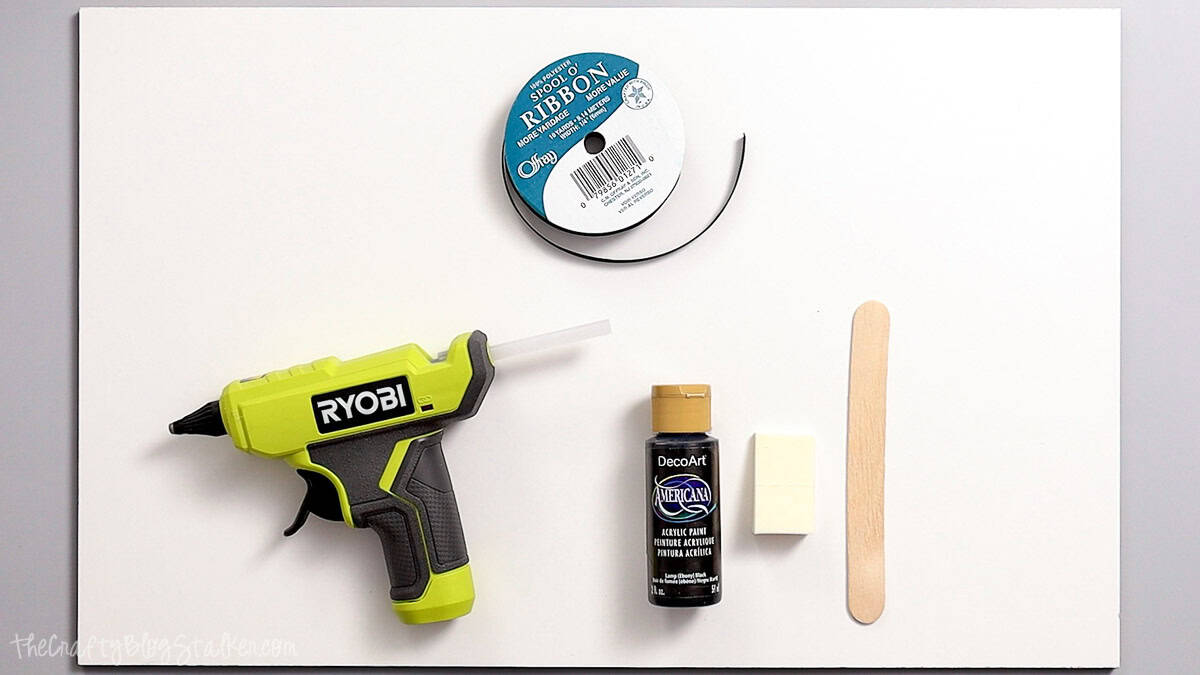
- Laser Cutting Machine
- Boo Door Hanger Laser Cut File
- .25" White Melamine Board
- Black Acrylic Paint
- Cosmetic Sponge
- Hot Glue Gun
- Easel Paper (optional)
- Masking Tape (optional)
- Sandpaper (optional)
- Ribbon (optional)
- Popsicle Stick (optional)
- Clear Sealer (optional)
Grab the Laser File
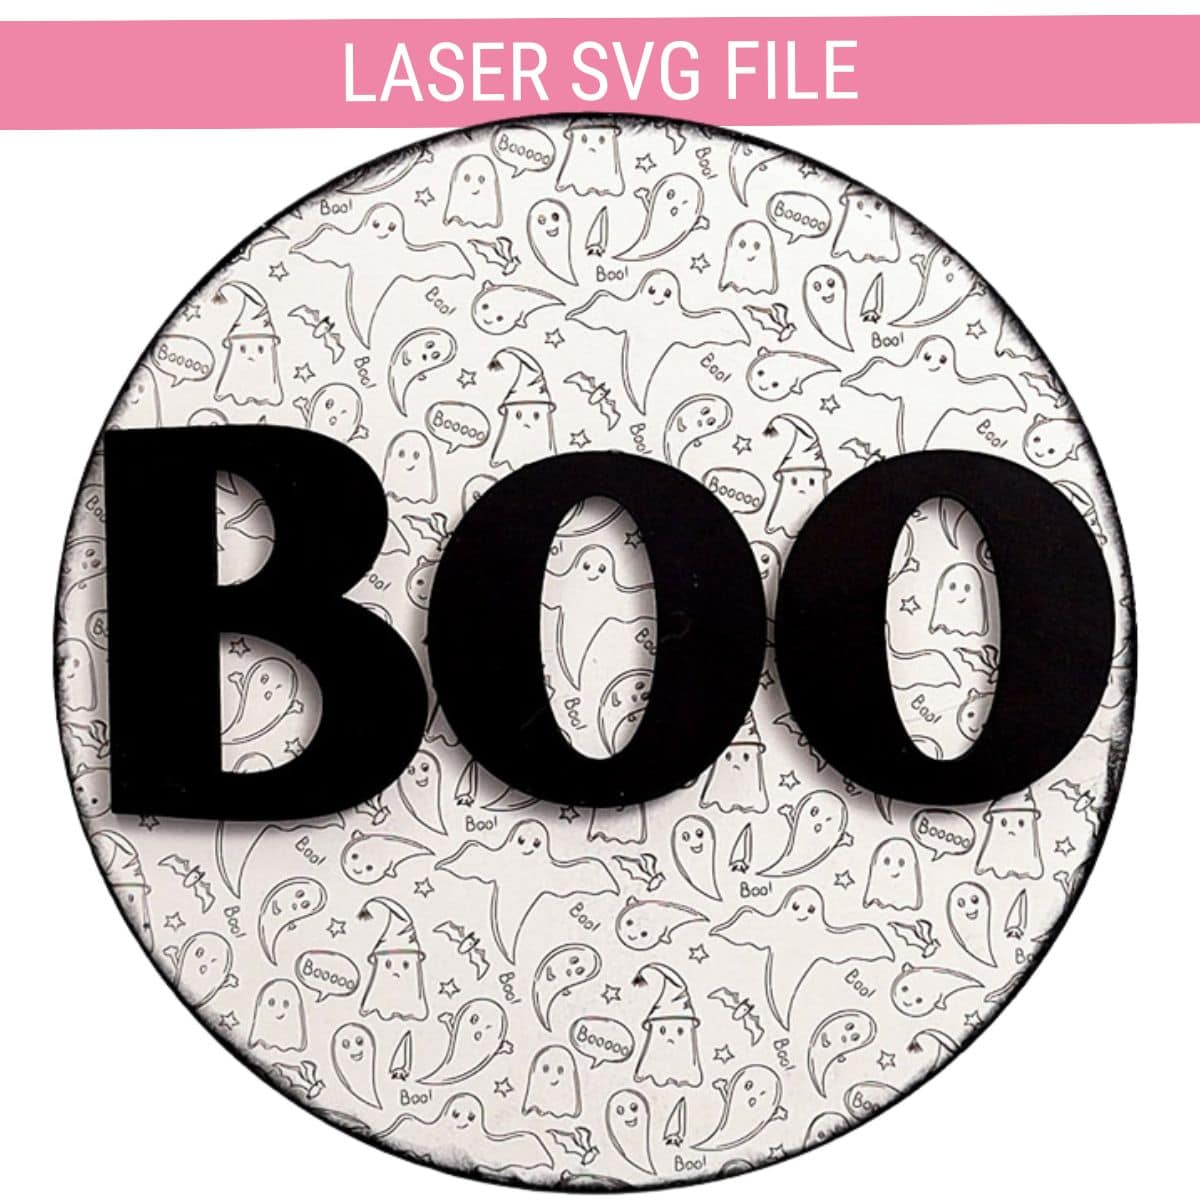
Download the Boo Door Hanger laser cut file to your computer or device before opening your laser software.
Laser Cut the Halloween Door Hanger
The first step is to cut all the pieces for the door hanger.
This design includes a round background with engraved details and separate Boo letters that will be layered on top.
Upload the Laser File
Open the laser cut file in the software you use with your laser cutting machine.
The file is already set up so the black lines are cut lines and the blue lines are engraved.
Before starting, double-check that your software recognizes each line correctly and select the appropriate settings for your machine and material.
I'm cutting my sign from .25-inch white melamine board. I really like melamine for this project because the finished white surface works perfectly as the sign's background.
The engraved pattern is another reason I chose this material. I was worried that if I used a material that needed to be painted white, the paint could fill in some of those engraved lines and make the pattern less noticeable.
With the white melamine, the laser does all of that work for me. I get a clean white background with the engraved pattern already visible, and I don't have to paint the entire base.
Cut and Engrave the Pieces
Place the melamine board in your laser cutter and adjust the settings to match your machine and the material you're using.
Send the project to the laser and let it engrave the pattern before cutting the circle base and letters.
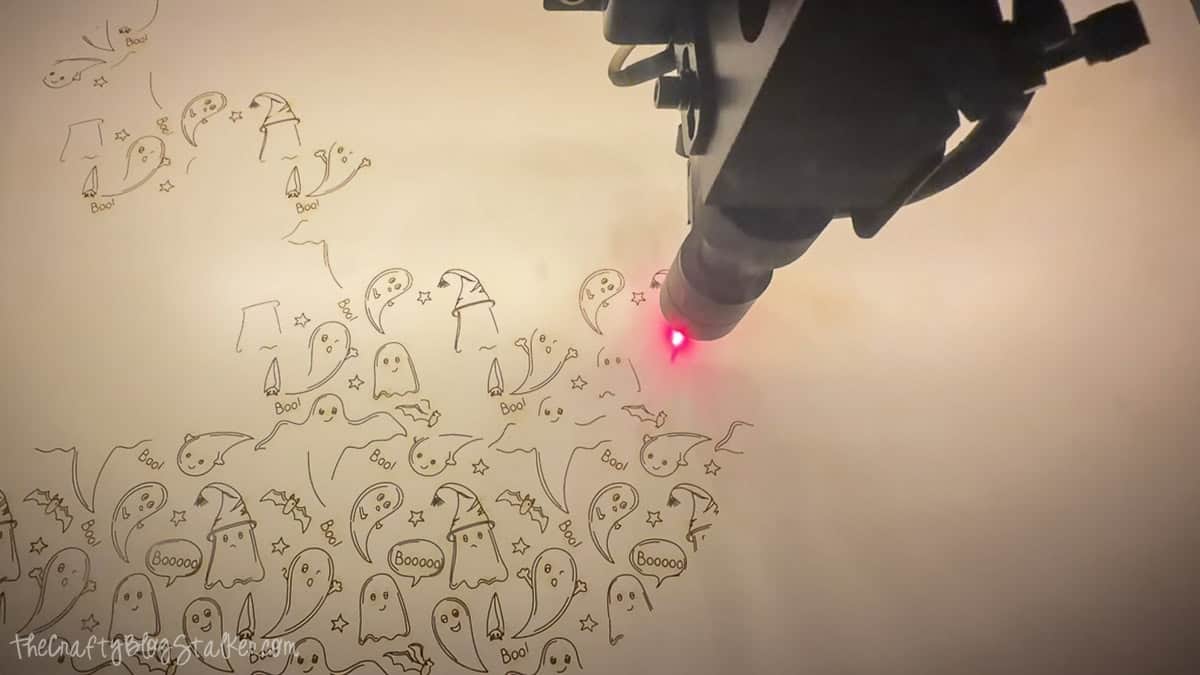
When the laser is finished, carefully remove all of the pieces.
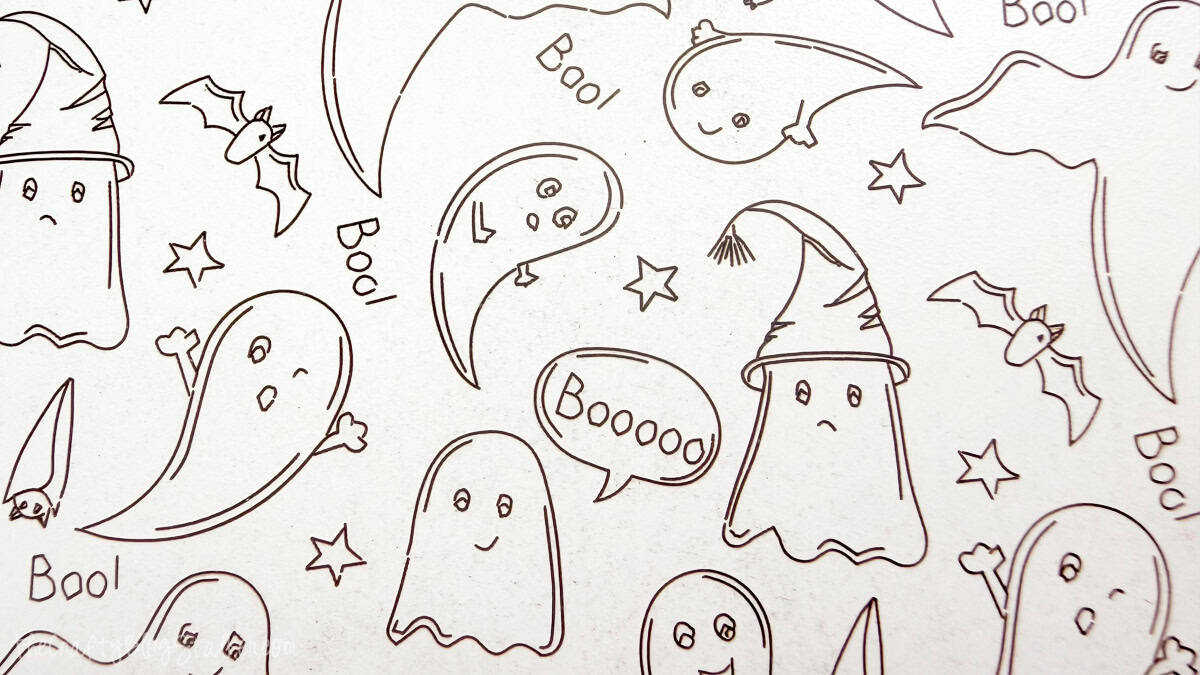
Laser cutting can leave a little residue around the edges, especially on lighter materials. I use a wet wipe to clean around the cut edges and remove any residue before moving on.
Give the engraved portion a quick wipe as well, but don't scrub aggressively. Clean the surface without damaging the finished melamine.
Once everything is clean and dry, you're ready for paint.
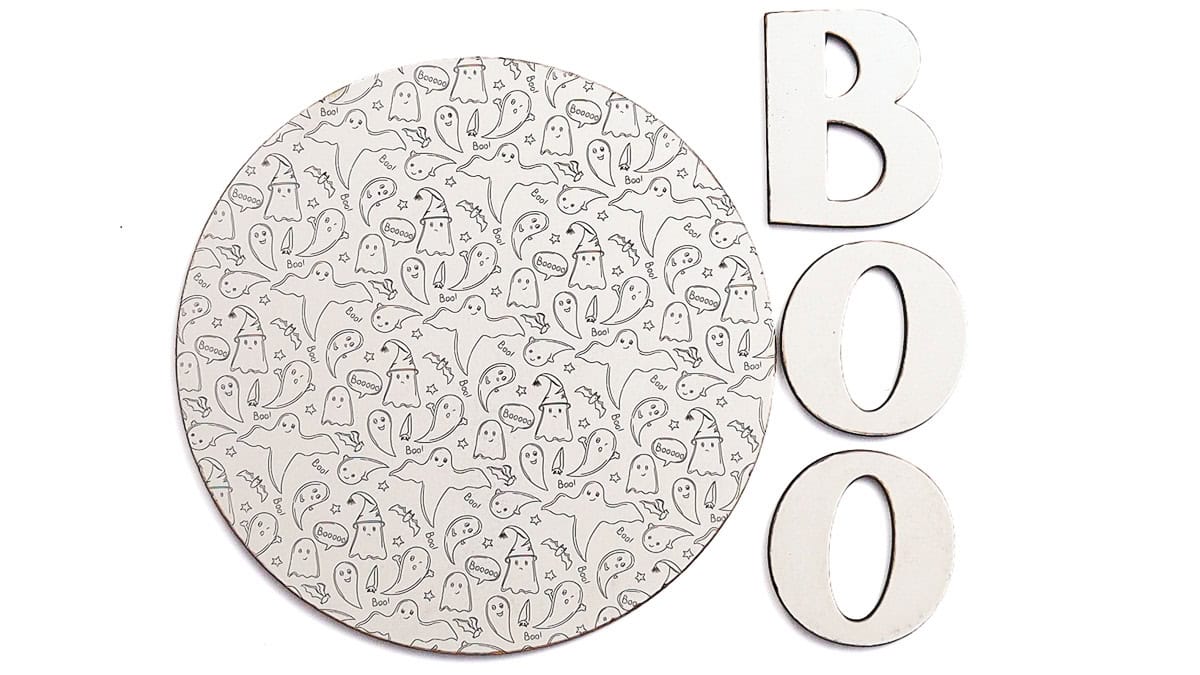
Paint the Boo Letters
The black letters really pop against the white background, but melamine has a very smooth finish. A little prep work makes painting much easier.
Sand the Letters
Lightly sand the front of each Boo letter before painting.
You aren't trying to remove the melamine finish completely. The goal is simply to scuff up that smooth surface enough to give the acrylic paint something to grip.
Wipe away any sanding dust before applying the paint.
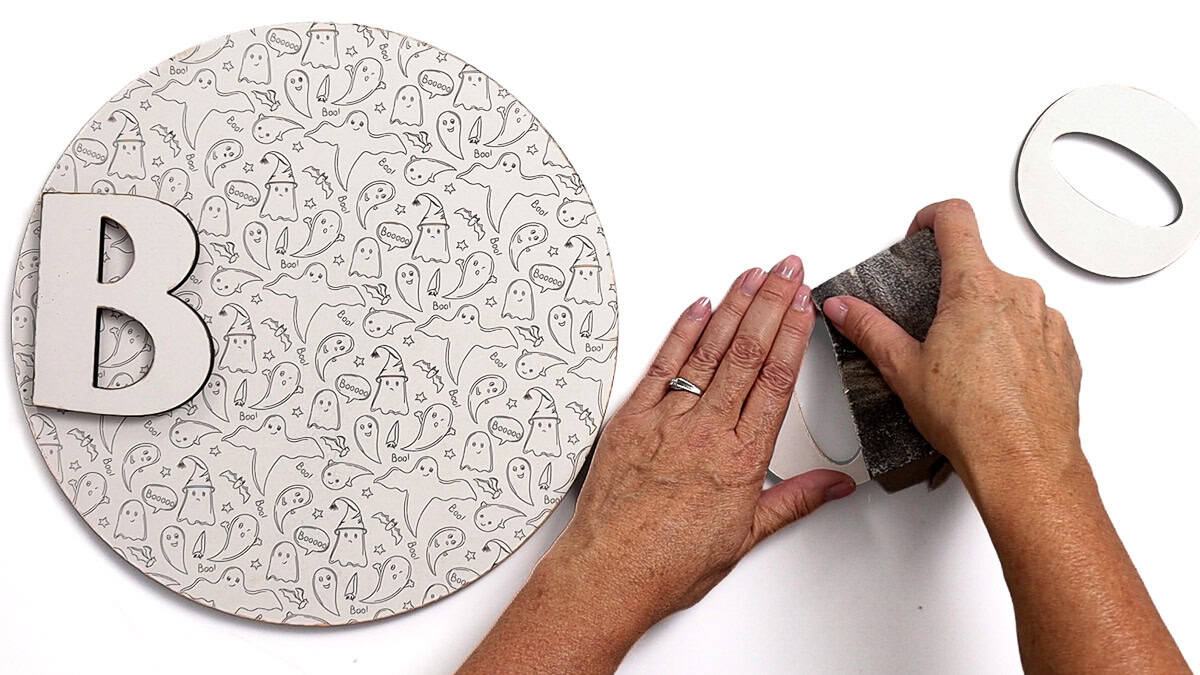
Secure the Pieces for Painting
Small laser-cut pieces have a funny way of moving exactly when you don't want them to. Instead of holding each letter while I paint and ending up with black paint all over my fingers, I tape the pieces to my work surface.
First, cover the table with easel paper or another protective covering.
Roll pieces of masking tape so the sticky side faces out, then use the tape to hold each letter securely to the paper.
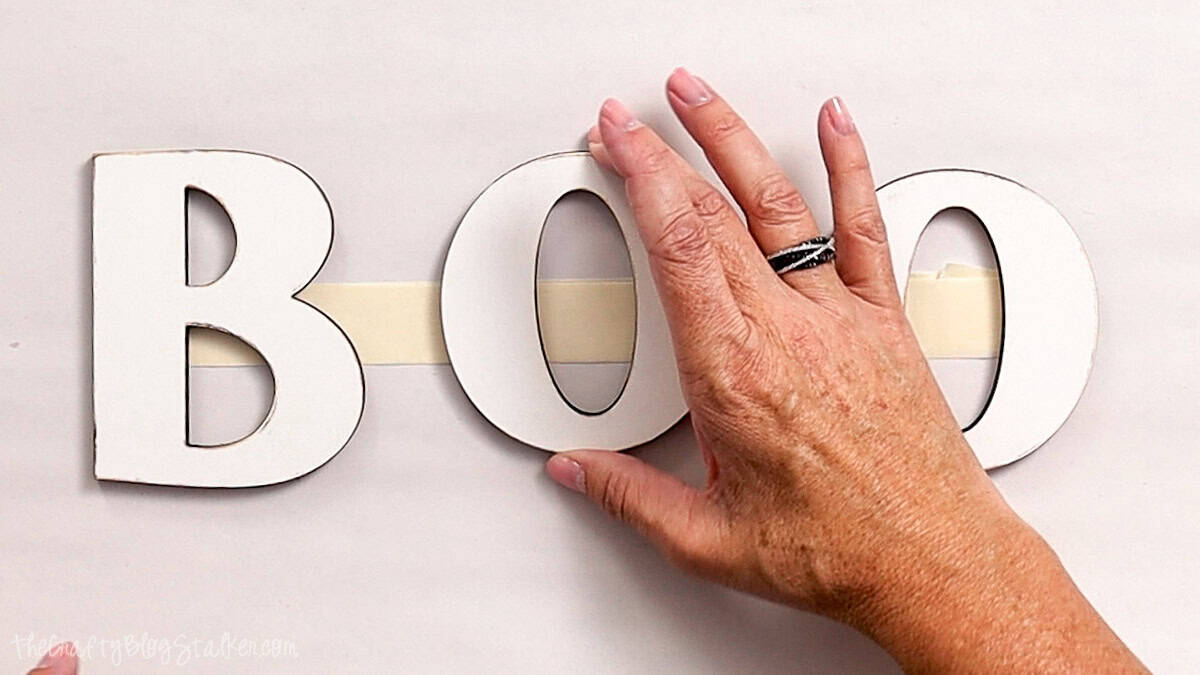
Now you can dab on the paint without chasing the letters around the table. It's a simple trick, but it makes painting small pieces so much easier.
Paint With a Cosmetic Sponge
I like using cosmetic sponges for small projects like this instead of traditional sponge brushes. They're inexpensive, easy to hold, and work really well for applying light coats of acrylic paint.
Dab the black acrylic paint onto each letter rather than brushing it across the surface.
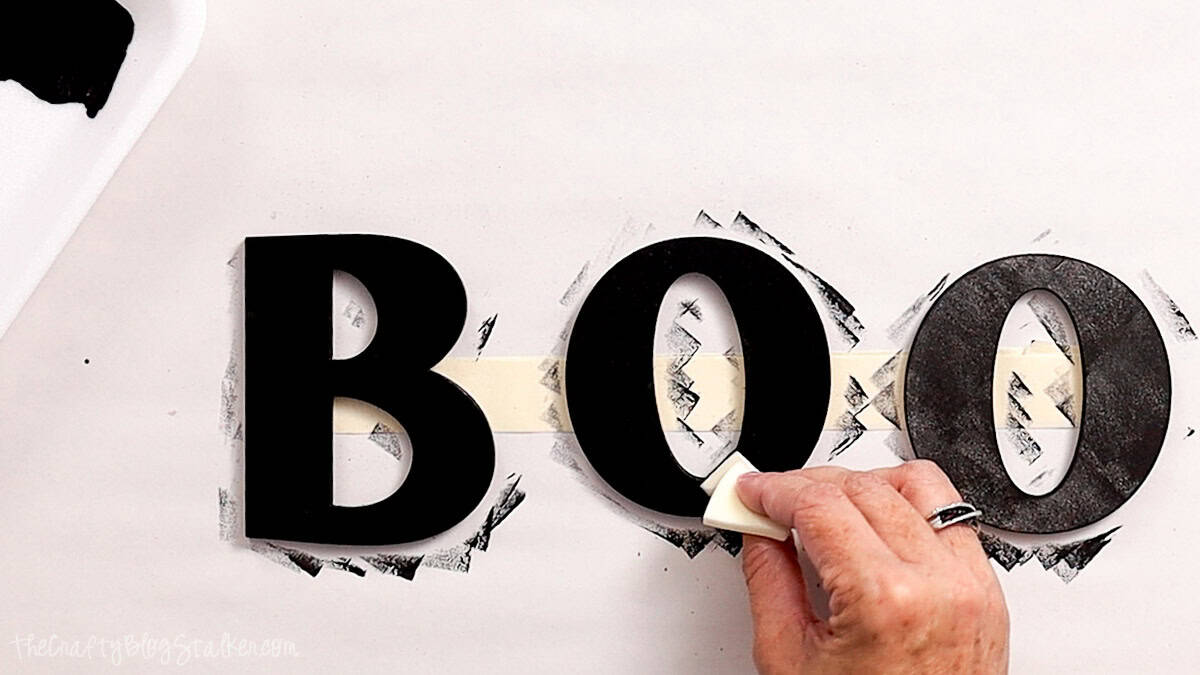
I applied three light coats of black paint, letting each coat dry completely before adding the next.
Several thin coats give you much better coverage than trying to get everything completely black with one heavy coat.
Add a Distressed Edge
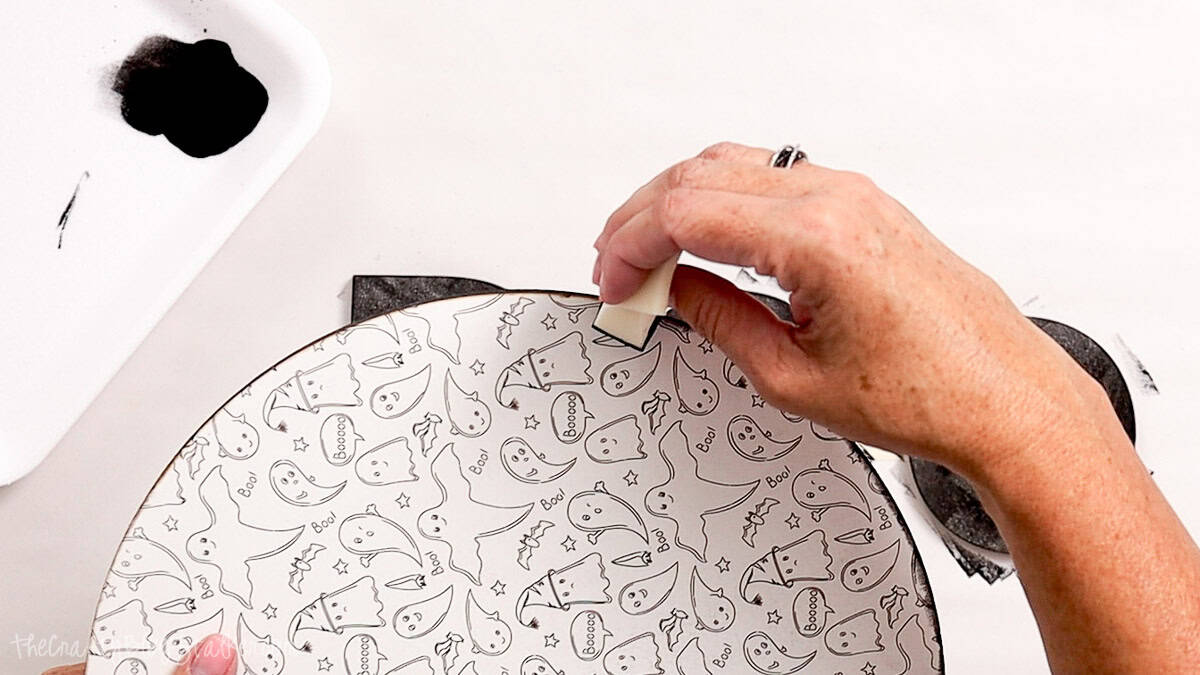
I wanted the background to look slightly spookier, so I used the same cosmetic sponge to lightly dab black paint around the outer edge of the circle.
Go lightly here.
It's much easier to add more black paint than it is to take it away. I wanted just enough around the edge to give the sign some dimension while keeping the white engraved pattern as the focus.
You could skip this step completely if you prefer a crisp black-and-white look.
Seal the Painted Pieces
Once all of the paint is completely dry, apply a clear sealer over the painted letters and around the painted edge of the circle.
Because melamine is so smooth, the sealer gives the painted finish a little extra protection against scratches.
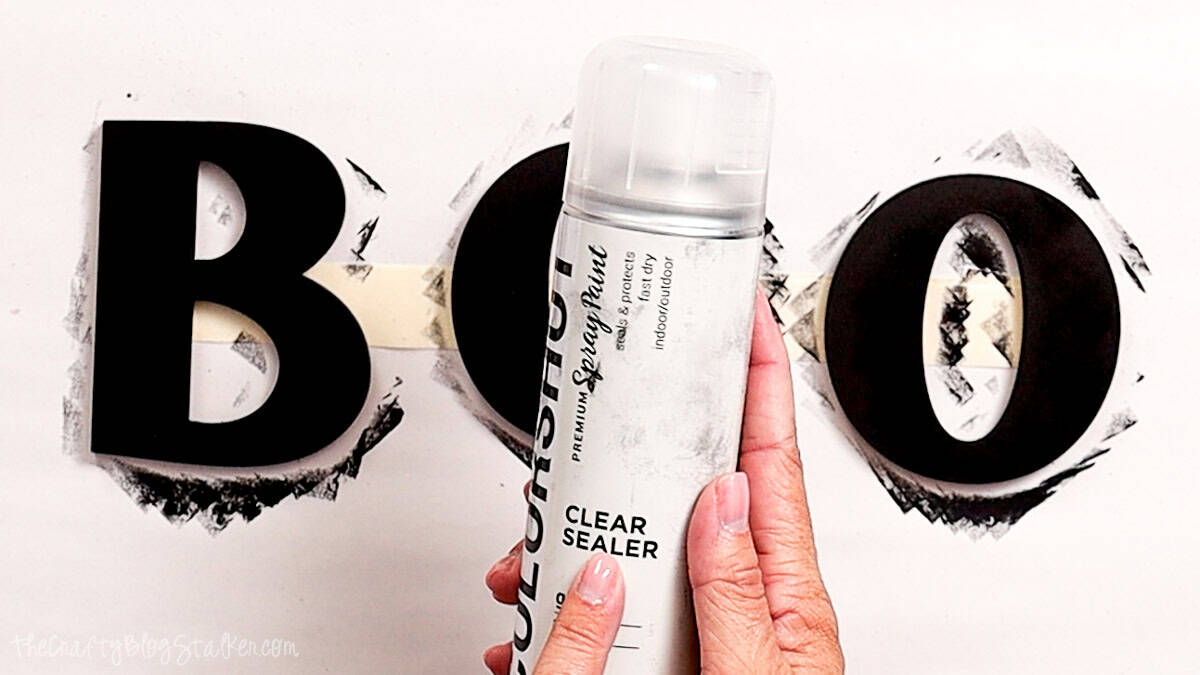
Allow the sealer to dry completely before assembling the sign.
Assemble the Boo Door Hanger
There aren't many pieces to this project, so assembly goes really quickly.
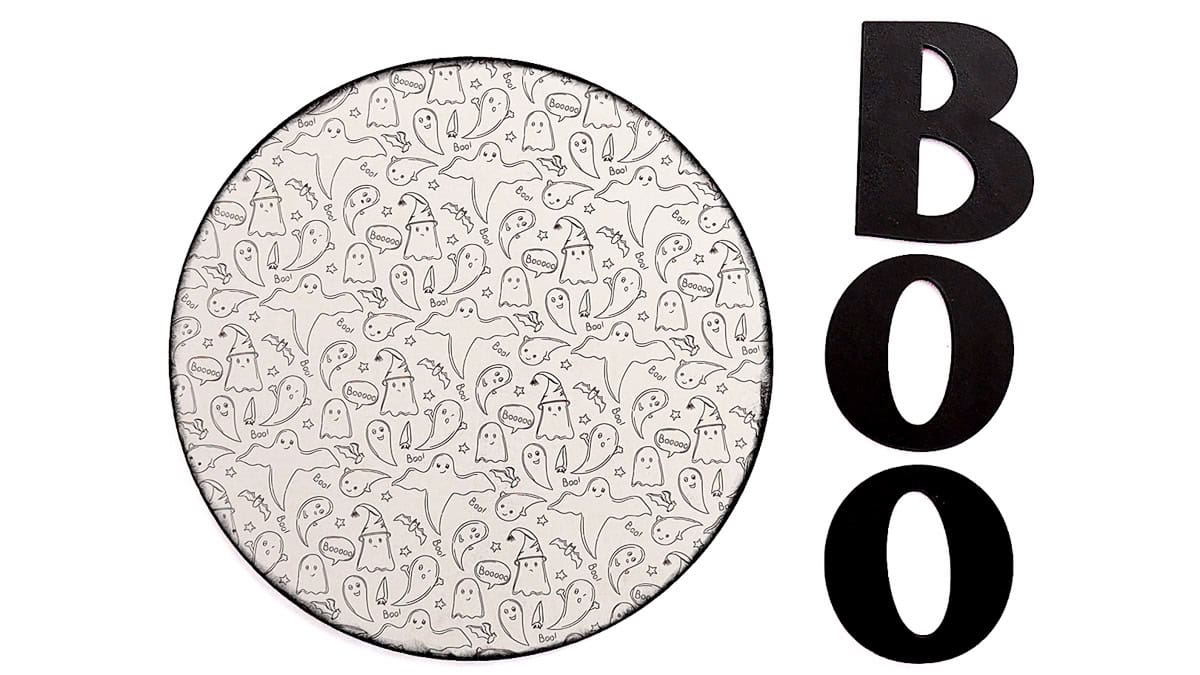
Before adding any glue, lay the letters onto the circle base and make sure you like their placement. Also check that the engraved pattern is facing the correct direction.
Once you're happy with the layout, pick up one letter at a time, apply hot glue to the back, and return it to its position.
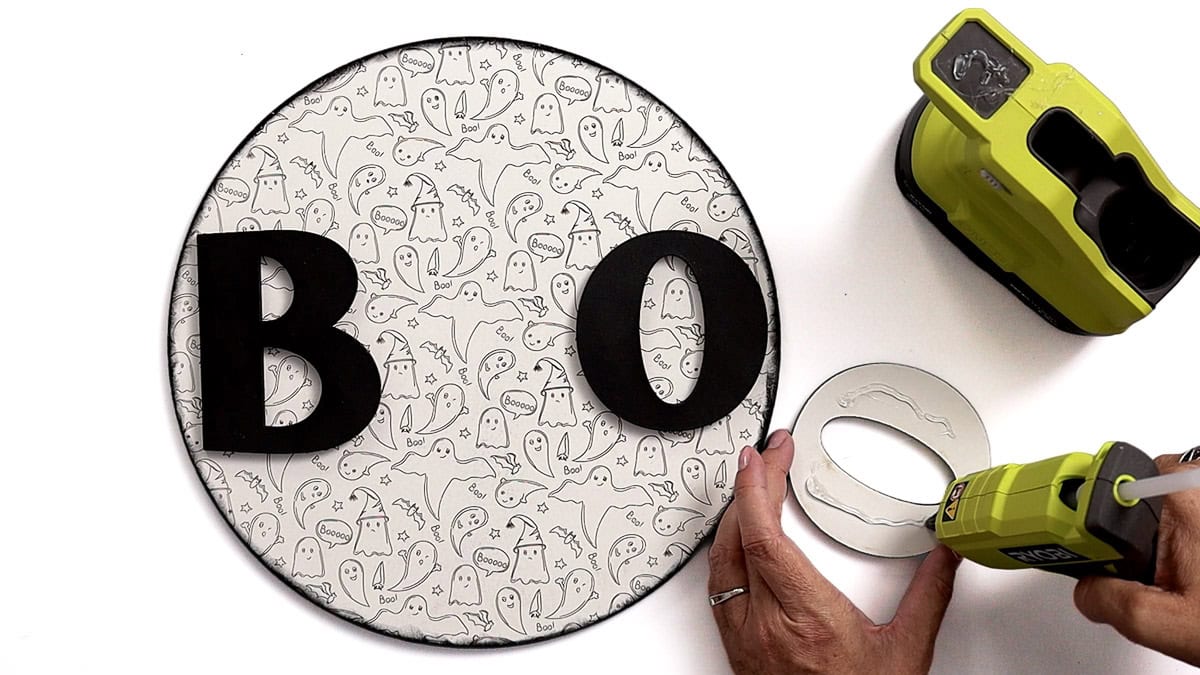
Press gently for a few seconds while the glue sets.
Repeat with the remaining letters until the entire Boo design is attached.
Hot glue works well for this project because the letters are lightweight. If you substitute a heavier material, choose an adhesive that's appropriate for both materials and where you plan to display the sign.
Add the Ribbon Hanger
You could stop here and display the finished sign on an easel, but I made mine specifically for the front door, so it needs a hanger.
Cut a piece of ribbon about 12 inches long. Adjust the length depending on how far down you'd like the sign to hang.
Tie a knot near each end of the ribbon.
Turn the sign over and position the ribbon in the center of the back with the knotted ends pointing down.
Before gluing anything, make sure the top is in the right place. Ask me how easy it is to attach a hanger and then realize the sign is upside down!
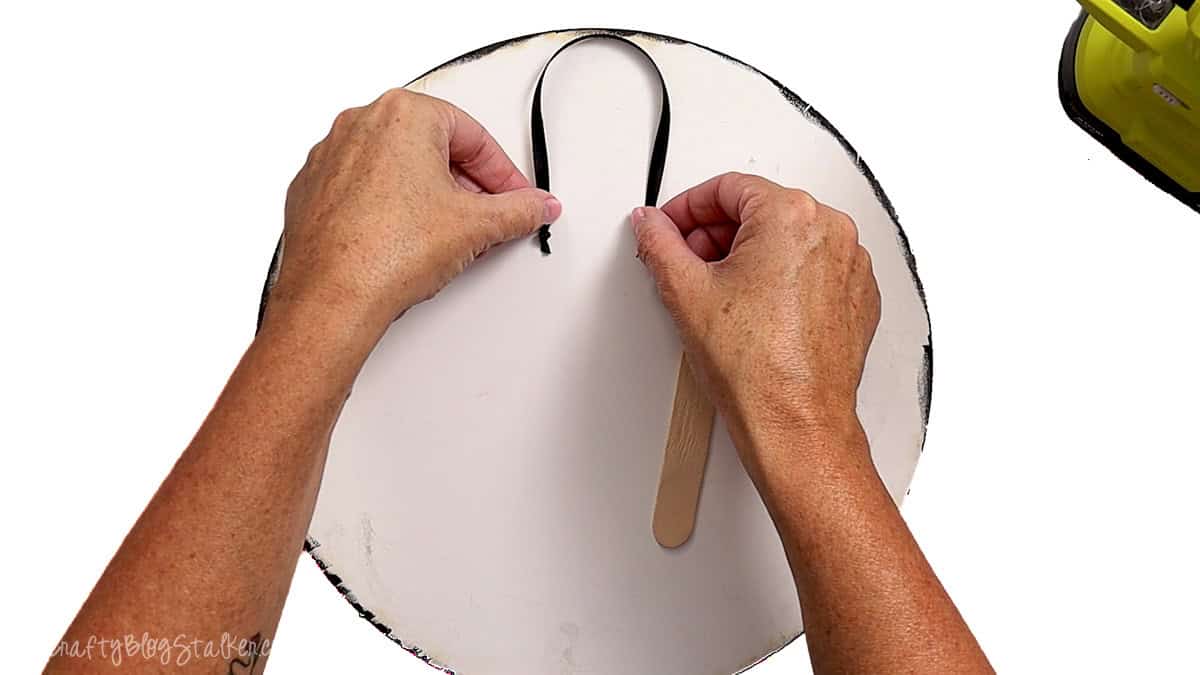
Place the ribbon where you want it and position a popsicle stick horizontally over the two ends.
Apply a line of hot glue to the popsicle stick and press it firmly over the ribbon, just above the knots. The stick creates a larger glued surface, and the knots help keep the ribbon from slipping out.
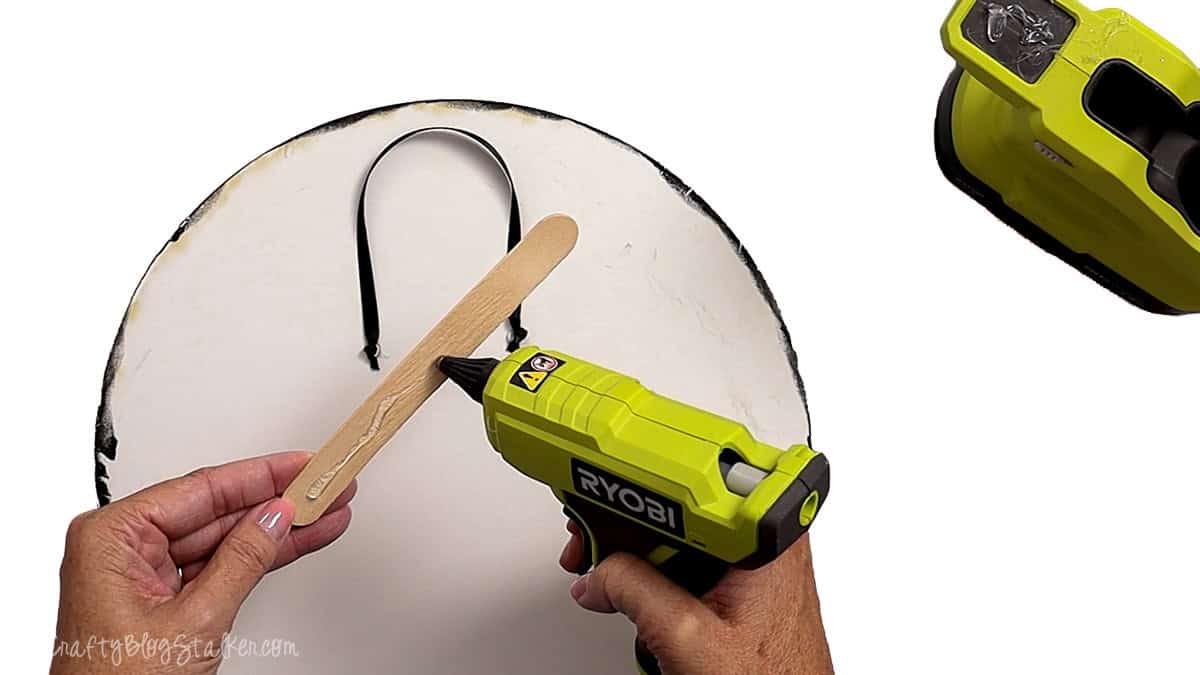
Let the hot glue cool completely before picking up the sign by the ribbon.
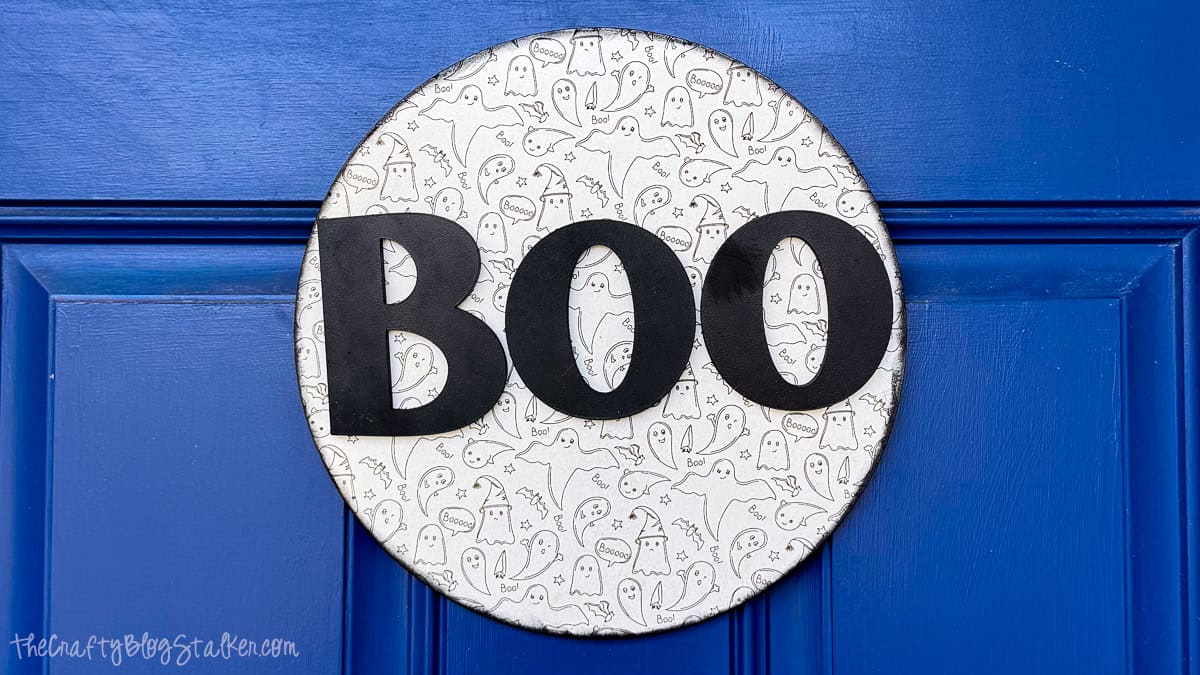
Your Halloween Boo door hanger is ready for the front door!
Frequently Asked Questions
I used .25-inch white melamine board because I wanted a finished white surface without painting the entire background. It also lets the engraved details remain visible, which is a big part of this design.
No. You can use another laser-safe material that works with your machine, but your finishing instructions may need to change. For example, you can paint or stain unfinished wood before assembly.
Always verify that a material is safe to use with your specific laser before cutting or engraving it.
Melamine has a slick surface, so acrylic paint doesn't have much texture to grab onto. Lightly sanding the areas I'm painting gives the surface a little tooth and helps the paint adhere better.
Absolutely! Black and white give this sign a classic Halloween look, but you could easily add orange, purple, green, or another favorite Halloween color.
Yes, but keep the entire design selected and resize everything together so the letters remain proportional to the circle base.
Also make sure the finished size fits both your laser's working area and the space where you plan to hang the sign.
Need Help With This Project?
Click a button below to ask AI what to use instead of melamine.
More Laser Cut Ideas
Ready for more spooky crafting? Here are three more laser cut Halloween projects to help you add a handmade touch to your seasonal decor.

Hi, I'm Katie!
I'm so glad you're here. Want to make something fabulous? I'm here to help!
Allison
This is really cute but my first thought as I was reading is that you can also buy a large embroidery hoop, Halloween-themed fabric (or whatever seasonal) & unfinished letters at Hobby Lobby or Michael's (or your favorite place). For those of us who don't have the equipment to cut these pieces out. In fact, when I initially looked at the photo, I thought that was what you had done until I noticed the place where you tighten the hoop was missing. Then paint & glue everything together. Again, this is really cute & it's something that just about anyone can do, one way or the other!! Thank you for sharing!!
Katie Adams
Hi Allison,
Yes, I love your ideas for recreating the design without a laser. Thanks for sharing!