This post may contain affiliate links. For more information, please see our disclosure policy.
This post is a sponsored conversation written by me on behalf of Cricut. The opinions and text are all mine.
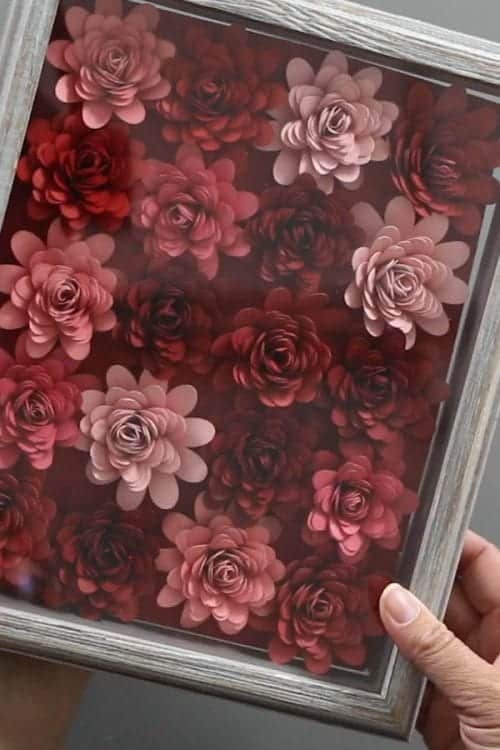
Learn how to make this beautiful paper flower shadow box with a Cricut. The finished project makes a perfect personalized gift for any gift-giving event.
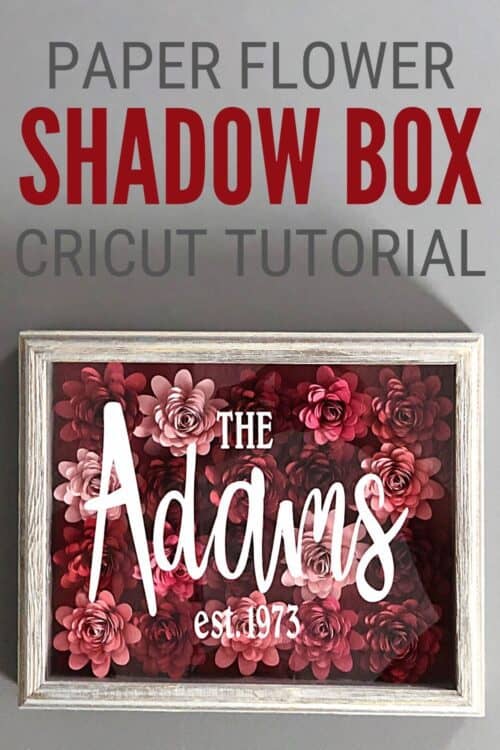
Do you love giving personalized gifts too? It is such a great way to show the other person that you love and care about them!
These shadow box frames with beautiful paper flowers inside the glass, with a last name and date, are fun to make and are a great gift for any occasion. Not just the holidays!

AD: Shop Cricut.com
Craft Tutorial Video:
Like videos? I have a video tutorial for you! Please subscribe to my YouTube Channel so you don't miss out on any future video tutorials!
Supplies You'll Need to Create this Project:
This post contains affiliate links.
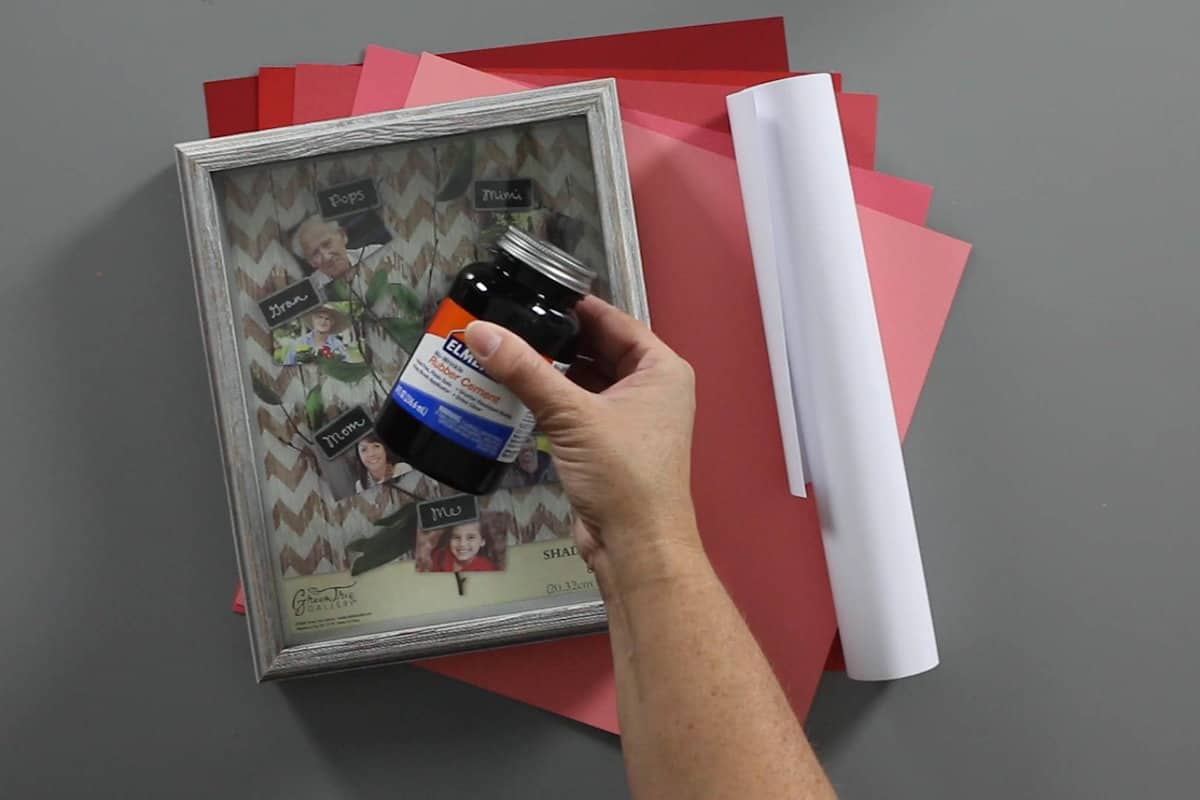
- Cricut Maker or Explore
- Cricut Design Space Project Canvas
- StandardGrip Mat
- Red Tones Cardstack Pack
- Bone Folder
- White Vinyl
- Transfer Tape
- Rubber Cement or Hot Glue Gun
- Weeding Tools
- Slotted Quilling Tool
- Shadow Frame
- Paper Trimmer
Cricut Design Space:
Cricut Design Space has many different rolled flower options to choose from. The one I used is called 3D Flower #M3CBDF.
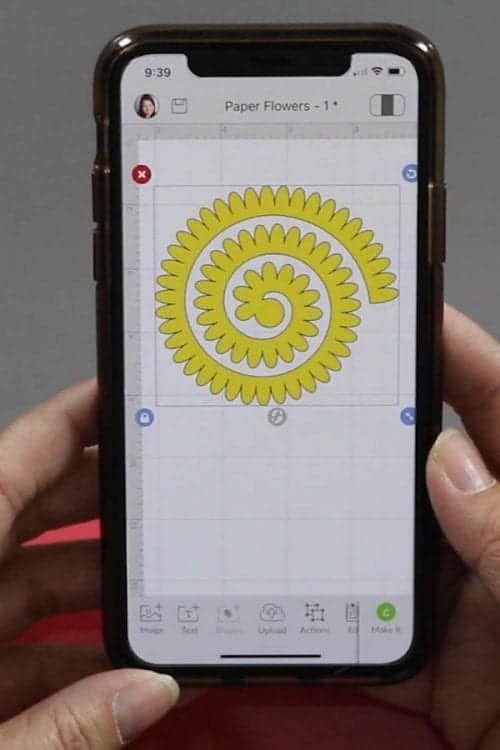
To know how big to cut the flowers takes a little bit of easy math. Measure the diameter of the center circle of the flower. Once the flower is rolled, the total diameter of the finished flower will be about double that size.
I cut my flowers with a center circle of about 1 inch and the finished rolled flowers were about 2 inches.
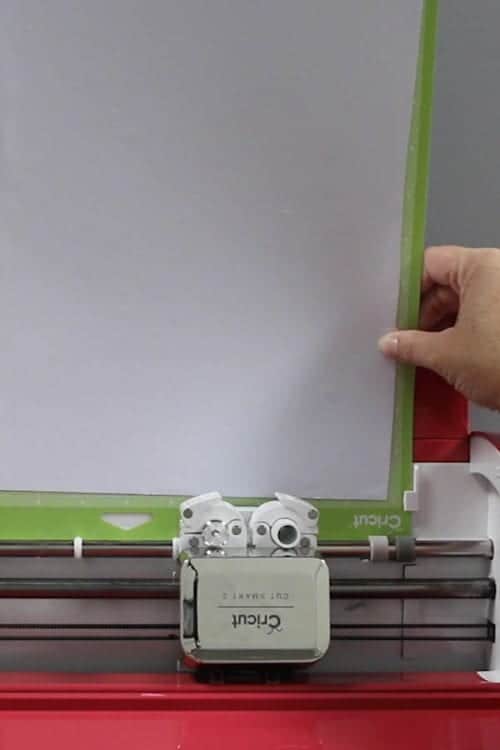
Send the cut to the Cricut Explore Air 2 and cut out your flowers.
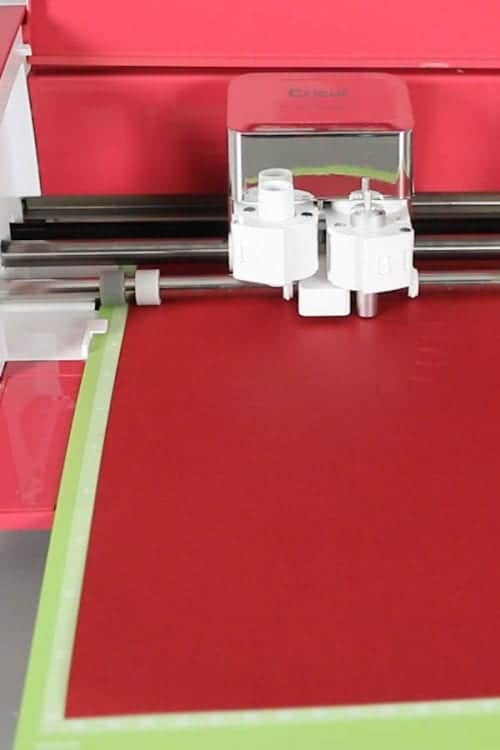
You will need to cut a lot of flowers, but it really depends on the size of your frame and the size of your finished flowers as to how many you will need.
Rolling the Paper Flowers:
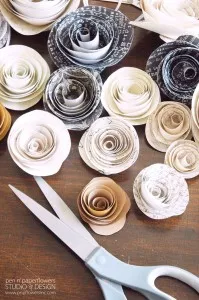
To begin, take a bone folder to the flower petals and give them a bit of shape.
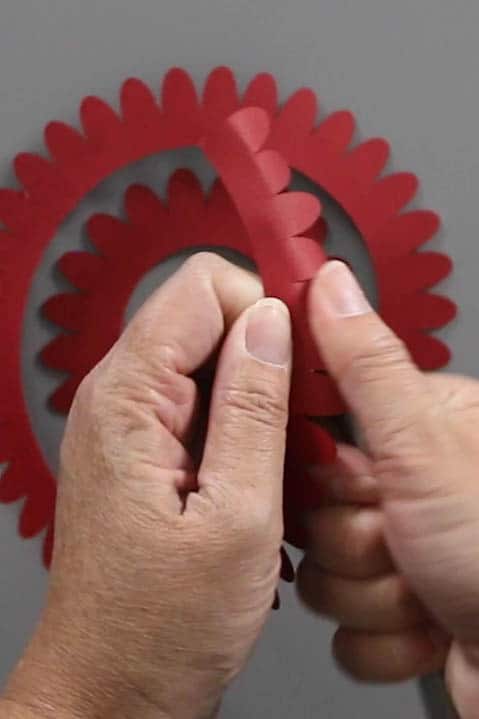
Using the quilling tool, begin rolling the flower from the outside in.
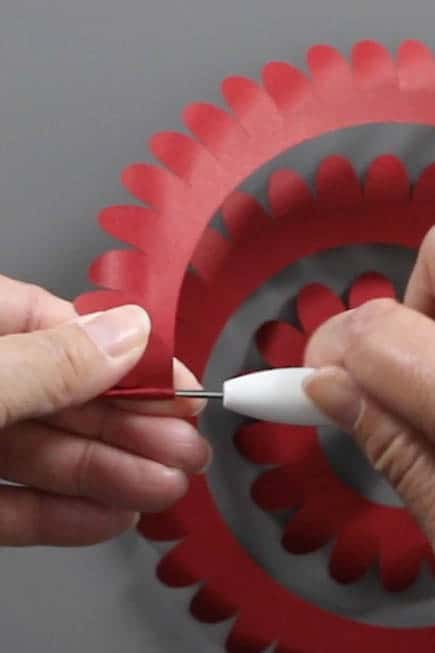
Once the paper begins to roll, I like to take the tool out and continue rolling the flower with my fingers, but whatever works best for you is fine.
Roll all the way down to that base circle.
Apply a gob of glue to the base circle, and let go of the rolled flower just a bit. This will loosen that roll and then stick the rolled base of the flower onto the circle base.
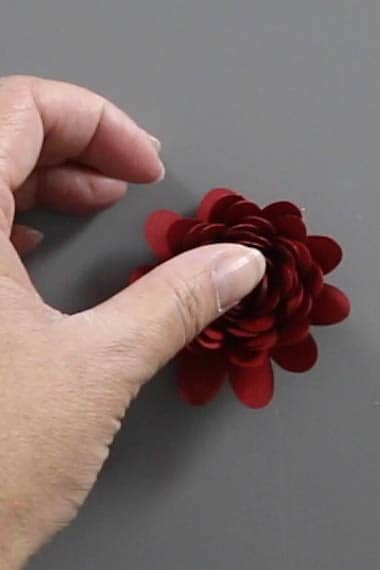
If you use rubber cement, you will have to hold the flower for a bit for the glue to take hold. Hot glue is quicker but makes the flower harder to shape once dry.
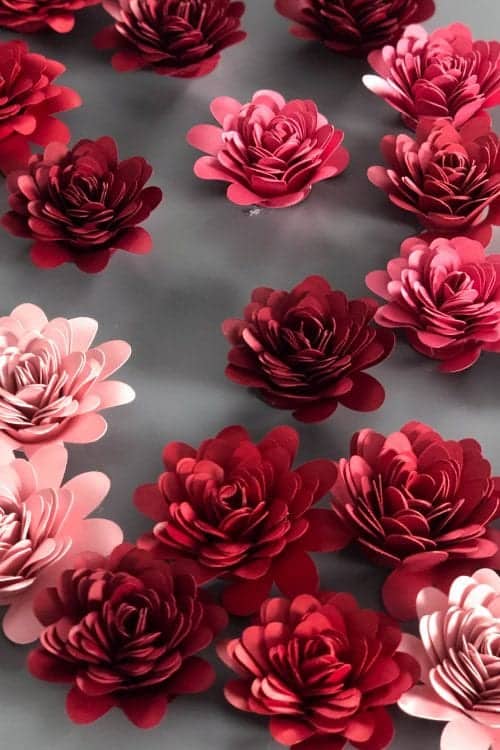
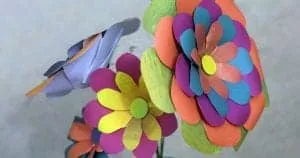
Repeat until all of your flowers are made! Don't they look pretty?
Arrange the Flowers:
Remove the back of the shadow box frame and place the flowers with the front side down into the frame. You can arrange them randomly or go with an ombre stripe.

Measure the inside of the frame. Even though my frame is an 8x10, the inside actually measures 9.5 x 7.5 inches.
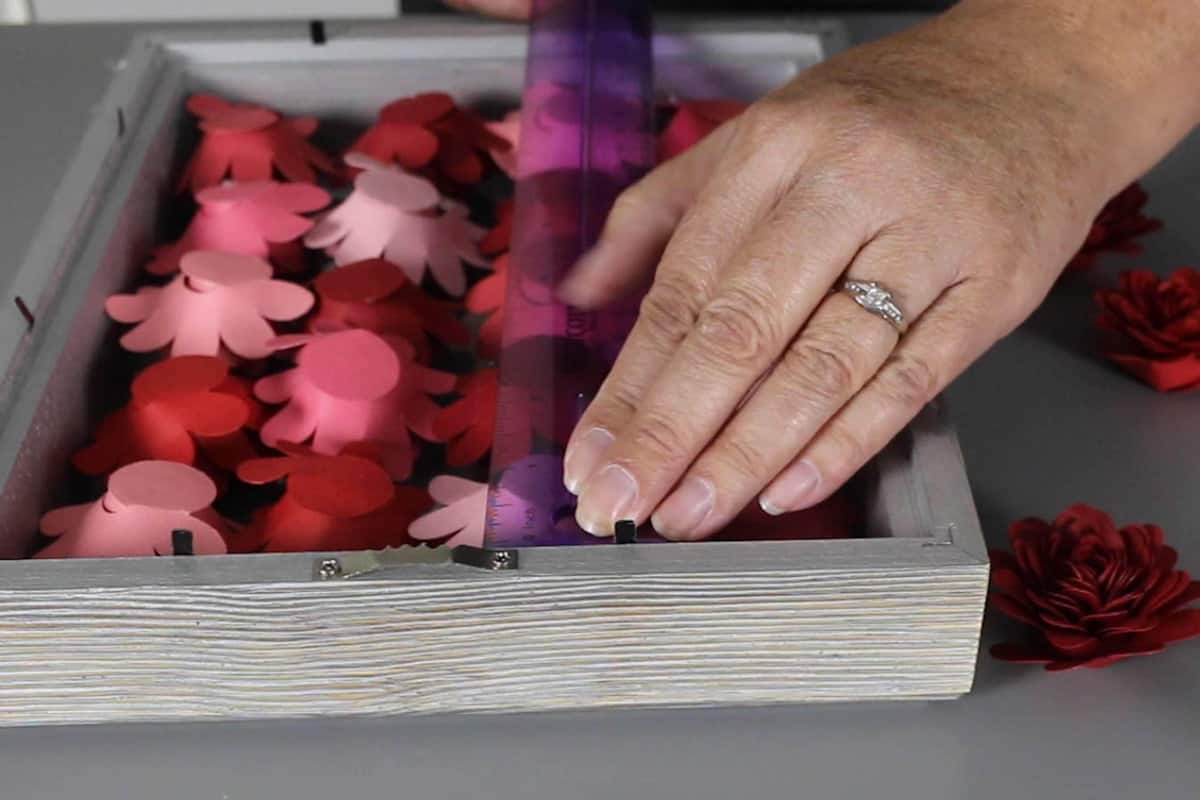
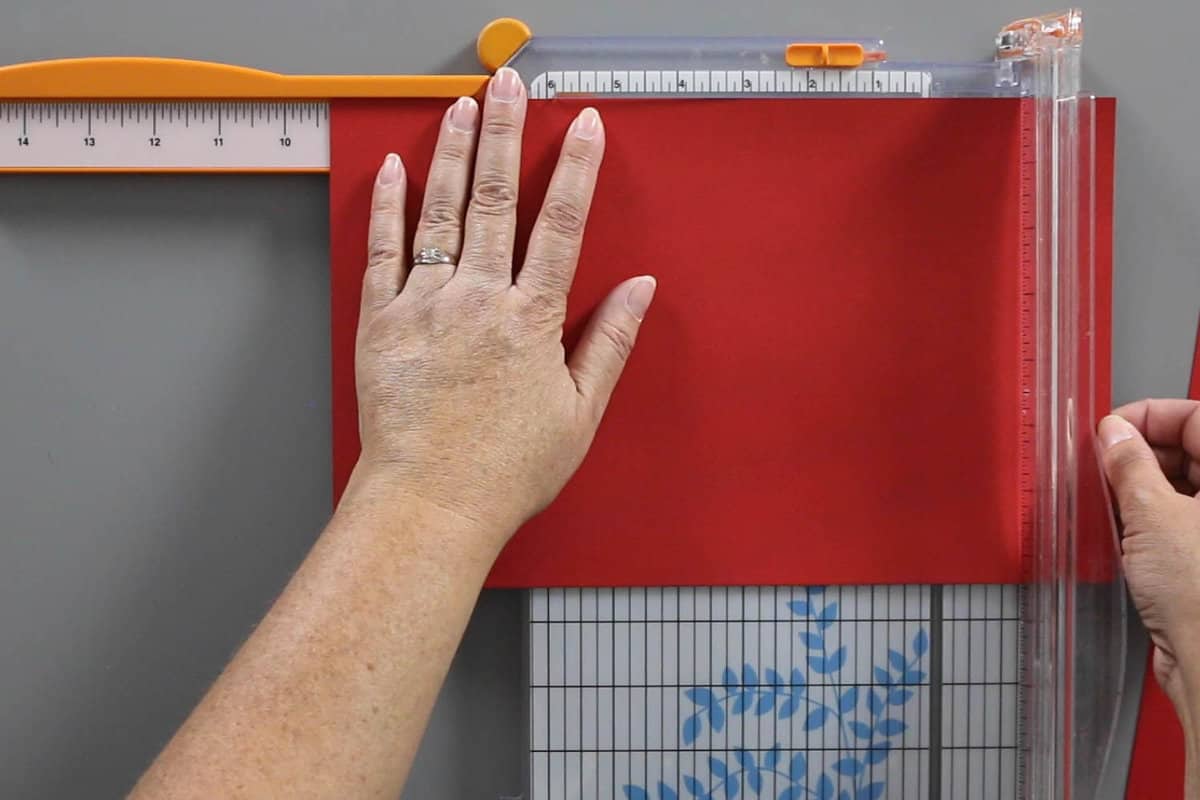
Cut a piece of matching cardstock to the size you just measured. This sheet of cardstock is going to go behind the rolled paper flowers.
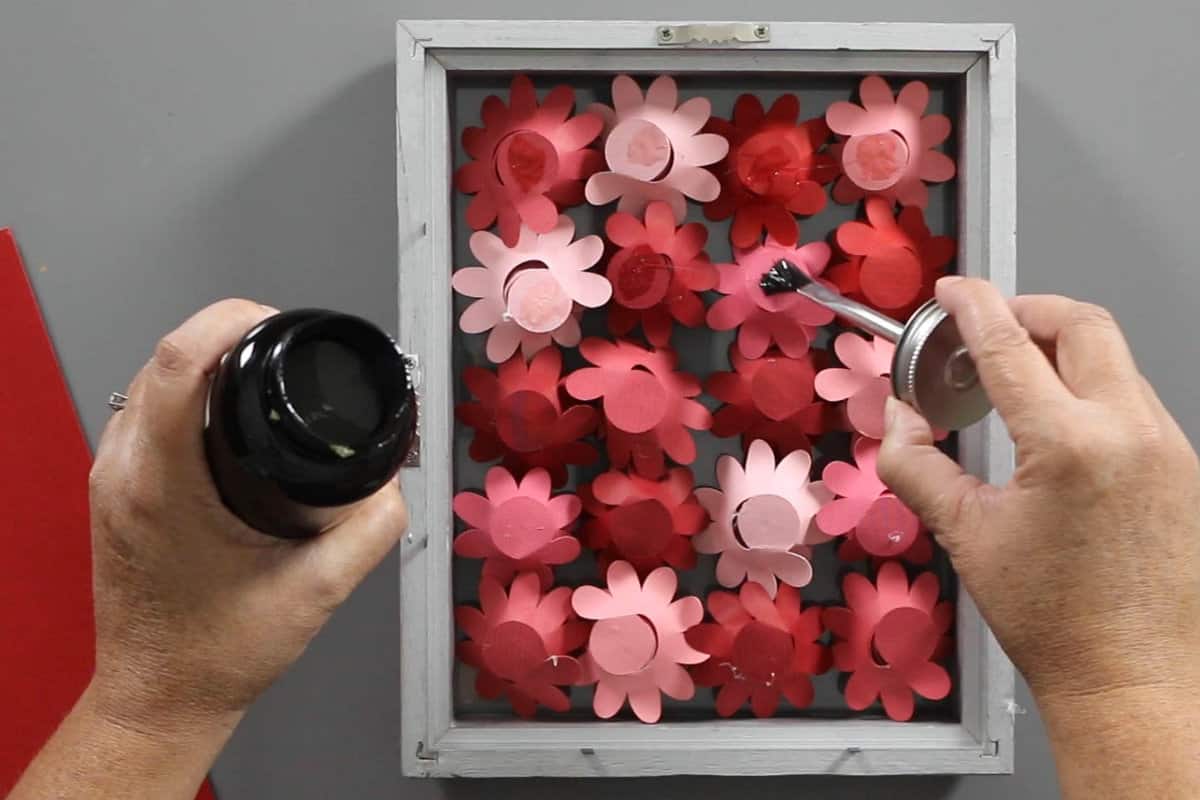
Put a dab of rubber cement on the base circle of each flower and then place the sheet of cardstock onto the back. Weigh this down with a small book while the glue dries.
Once the glue is dry and the flowers are secured to the back cardstock sheet, you can put the back of the frame into place.
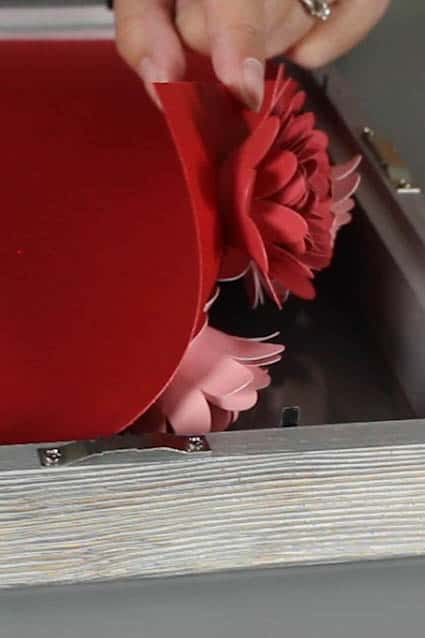
It already looks really pretty and doesn't even have the name on it yet!
Personalizing:
In Cricut Design Space, create your design using two different fonts. I used Babbette and Belwe Std Medium, but of course, you can use whatever fonts you like.
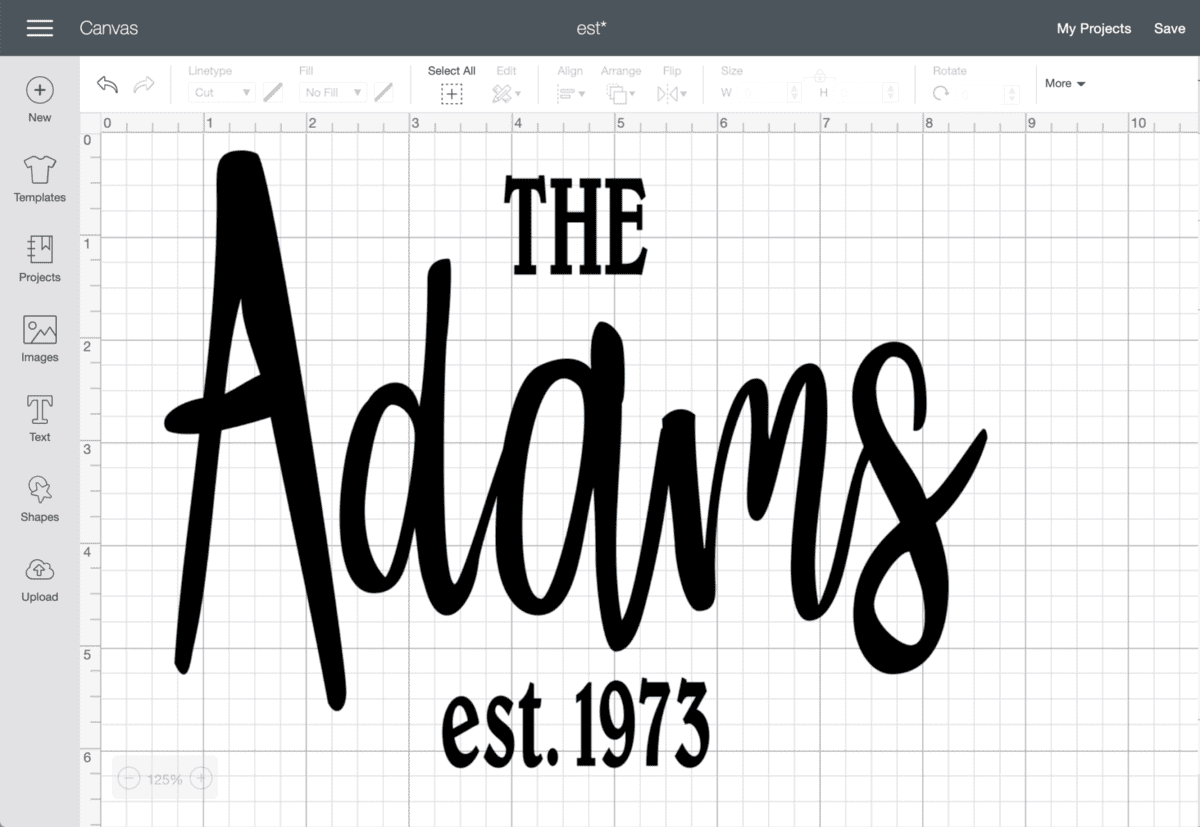
Size the design to the size of your frame. My frame is 8 x 10 inches, and I made my design 6 x 8 inches.
Weld the design to attach the letters together and cut the design out of white vinyl.
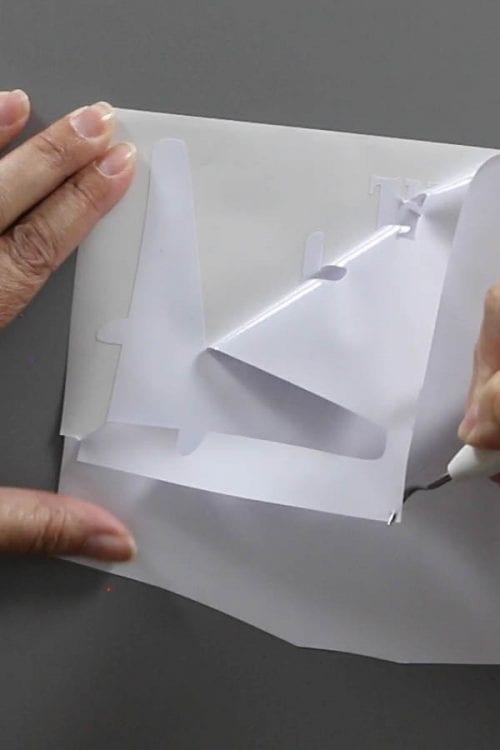
Weed out the negative part of the design, leaving the text.
Lay a sheet of transfer tape over the top of the vinyl design and go over it several times with the scraper tool.

Peel back the transfer tape, and the vinyl should come up with it.
Carefully center the design and press it into place.
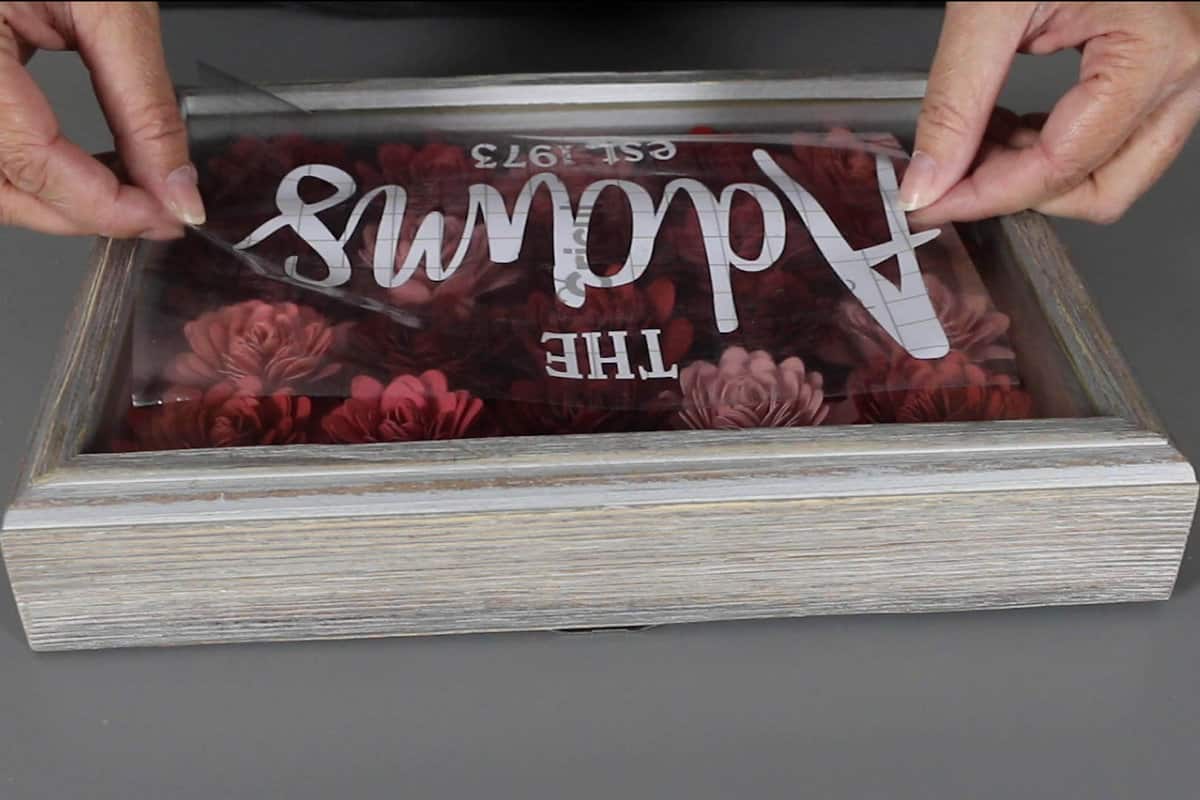
Peel back the transfer tape and the vinyl should stay on the glass frame.
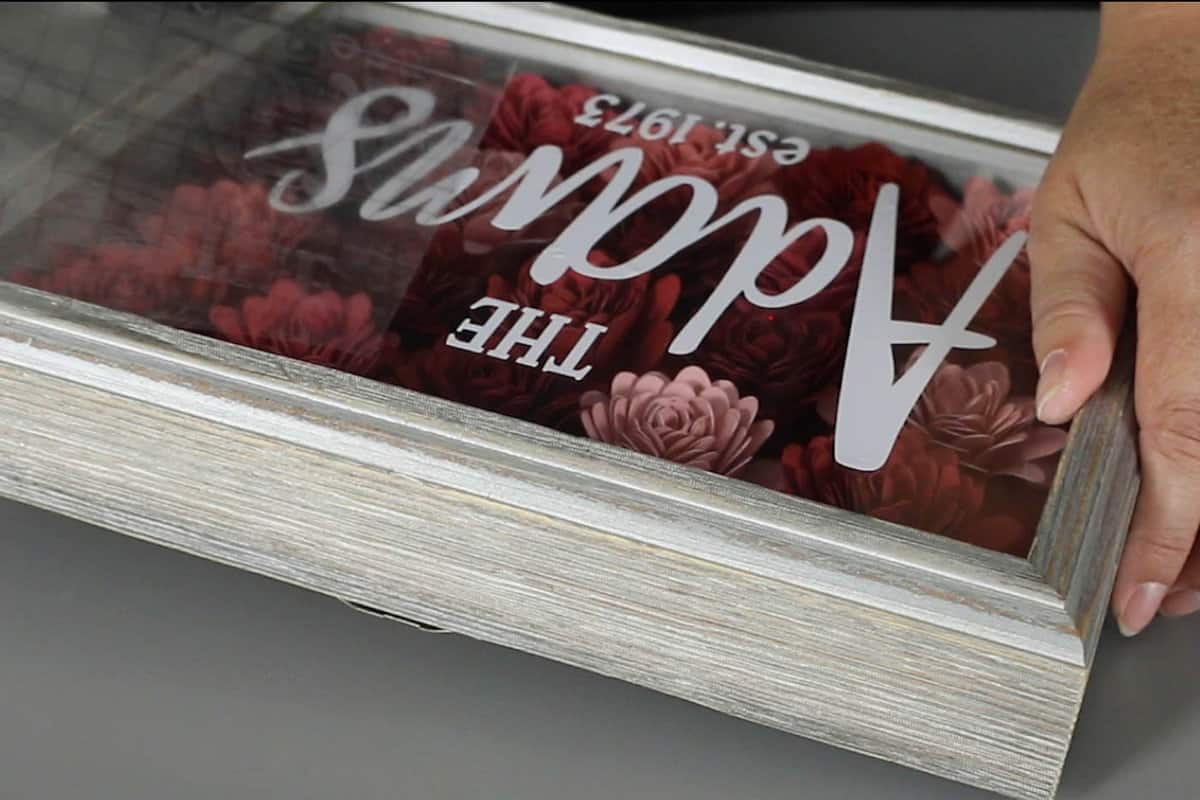
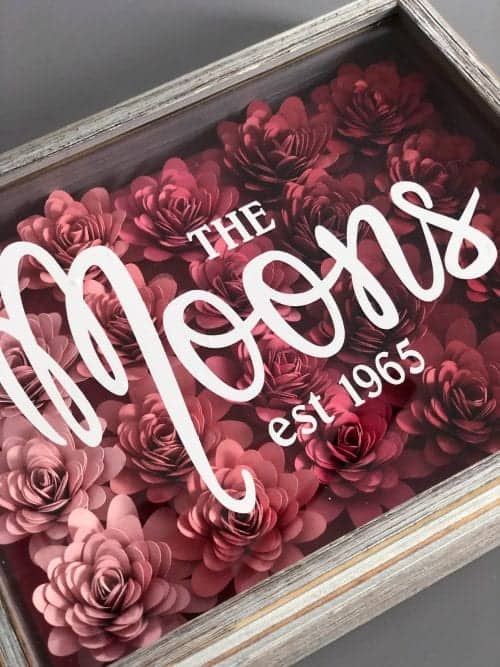
The finished personalized frame looks so great!!!
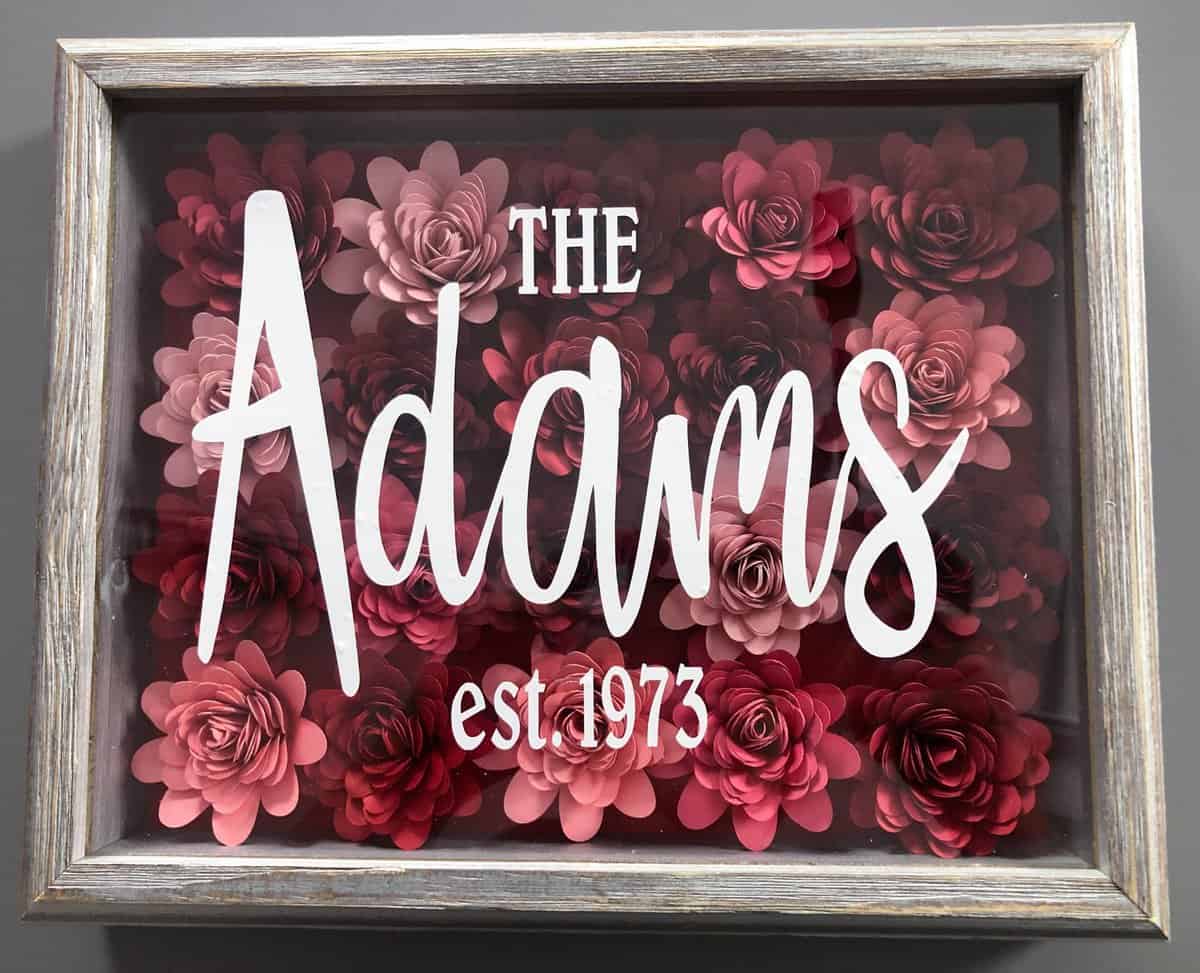
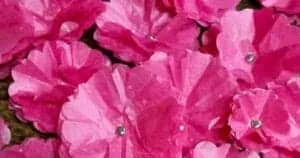
Don't those rolled paper flowers look amazing under the glass?
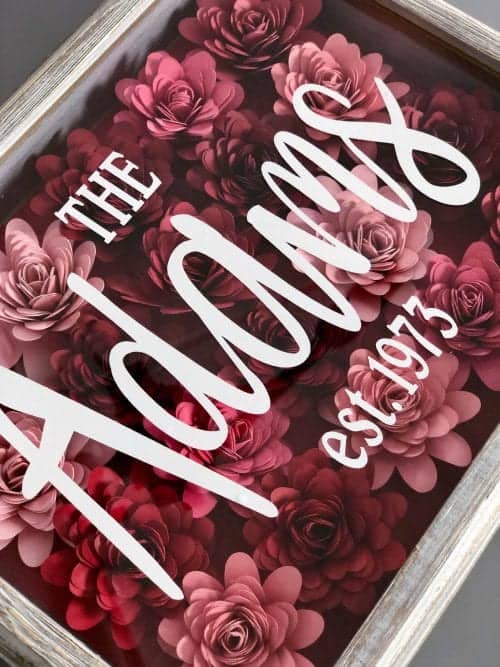
This one is for my Mother-in-Law, but I had to make one for my mom too!
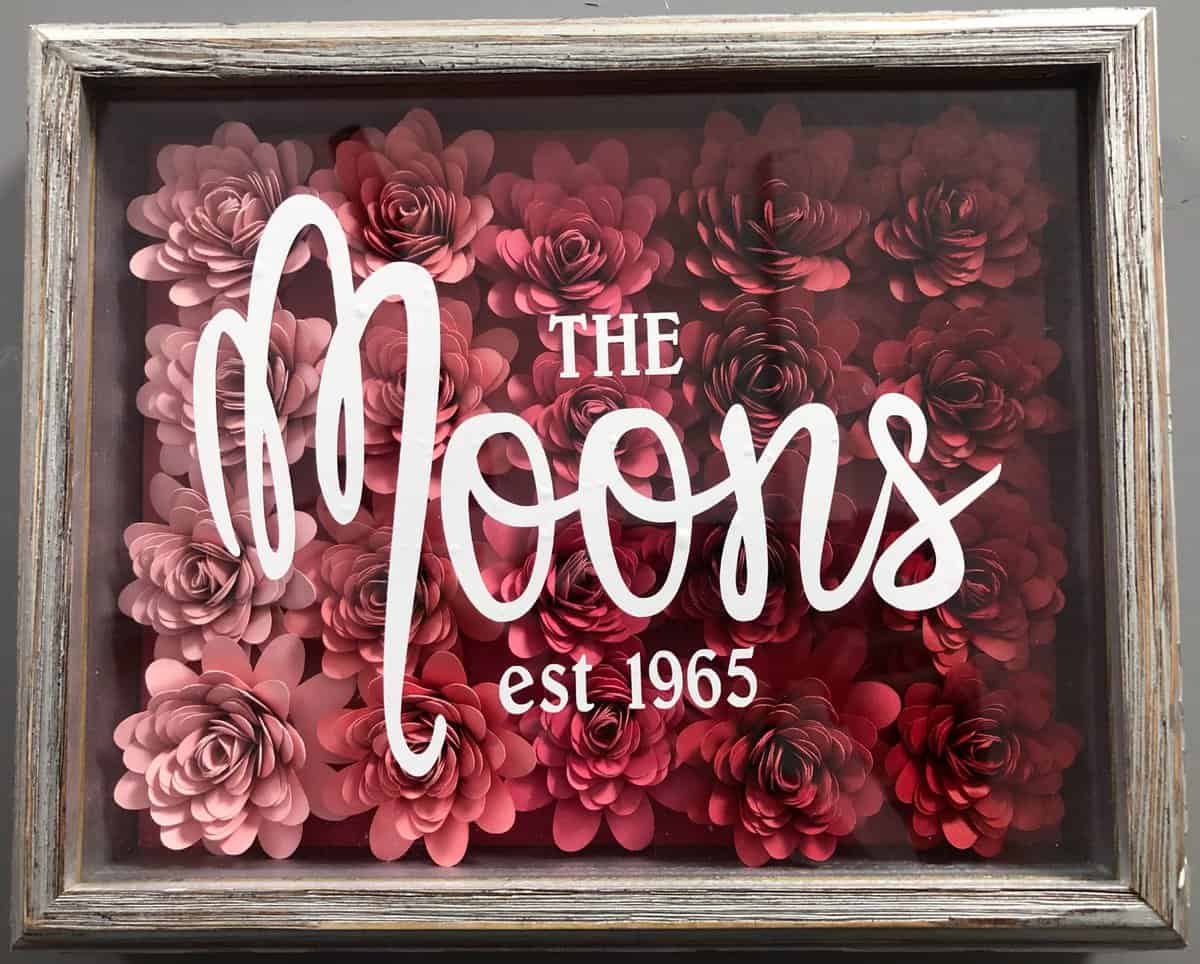
This time, I did the ombre stripe with the flowers.
Our Crafting Essentials:
- The Cricut Cutting Machine is easily our favorite crafting tool. We use it in so many of our tutorials!
- These MakerX Crafting Tools are perfect for keeping in the craft room and are always ready when needed!
- This Fiskars Paper Trimmer is easy to use and cuts nicely without frayed edges.
- These Scotch Precision Scissors cut like a dream, and you get multiple pairs in a pack!




sandra
Id like some information on how long shipping would take.
Katie
Hi Sandra, This item is not for sale. I am only showing how to make one yourself.
Terry
What is the name of the font for "The Moons"?
Katie
It is the Babbette Font from Cricut Design Space.
Gia
This is absolutely gorgeous! Thanks for the tutorial!!!
Can I use poster board in place of card stock?
Thanks!
Katie Adams
You can but it may be harder to roll the flowers since you are using thicker paper. But it is worth a try!