

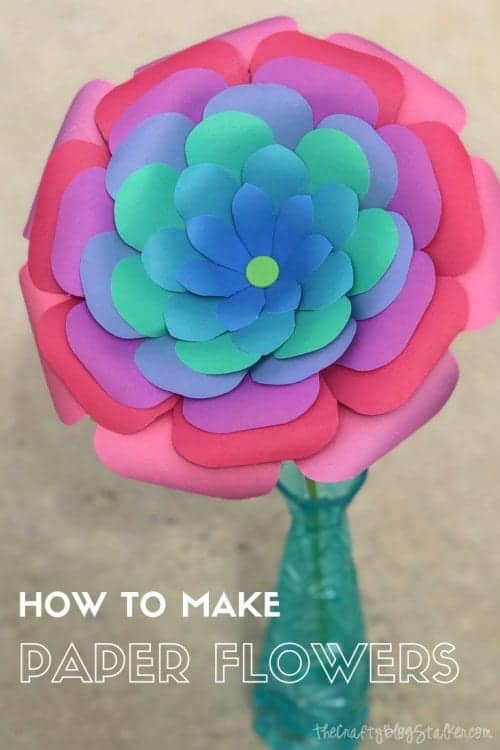
You can make beautiful paper flowers at home using the We R Memory Keepers Flower Punch Board. Create beautiful paper bouquets and home decor!
Complete step by step instructions and video tutorial below!
Did you know paper flowers date back to 100 B.C.? Yup, as soon as paper was invented people began making lanterns, fans, and of course, flowers!
Supplies Used to Make Paper Flowers
Items linked below may go to similar items when exact items couldn't be found online. Links are affiliate so when you purchase, I will get a small kickback to help fund the next tutorial!
- Flower Punch Board
- Cardstock or Patterned Paper
- Paper Trimmer
- Floral Wire (optional)
- Needle Nose Pliers (optional)
- Hot Glue (optional)
- Flower Stem Kit (optional)
Paper Flower Video Tutorial
Like videos? I have a video tutorial for you! Please subscribe to my YouTube Channel so you don't miss out on any future video tutorials!
What is the Flower Punch Board?
It all starts with the Flower Punch Board made by We R Memory Keepers.
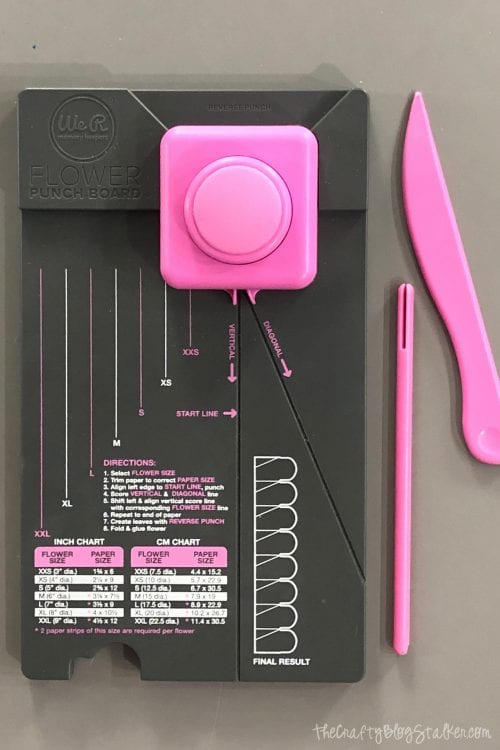
This nifty little tool helps you to make paper flowers with a diameter of 3 to 9 inches! Now that is a big bloom!
Plus, the directions are printed right on the board so you don't have to worry about losing the paper instructions. The board tells you what size of paper strip to use and has score grooves and a punch to make your paper flower. There is even an image of how the paper strip should look just in case if you have any questions on if it looks right.
The board also come with a scoring tool and a petal curler. They really have thought of everything!
Now, do you want to know how to use it?
How to Make Paper Flowers with the Flower Punch Board
There are 7 different sizes of flower that you can make. As you get larger you are adding more layers of paper to create a nice full bloom.
So if you want to make the medium 6-inch flower you will actually be making 4 flowers and layering them together.

Choose your flower size and trim the paper down to the size stated on the grid. Let's stick with that small size flower so the strip of paper would be 2 ⅝ x 12 inches.
Begin by lining up the edge of the paper along the score line. Punch and score the diagonal line.
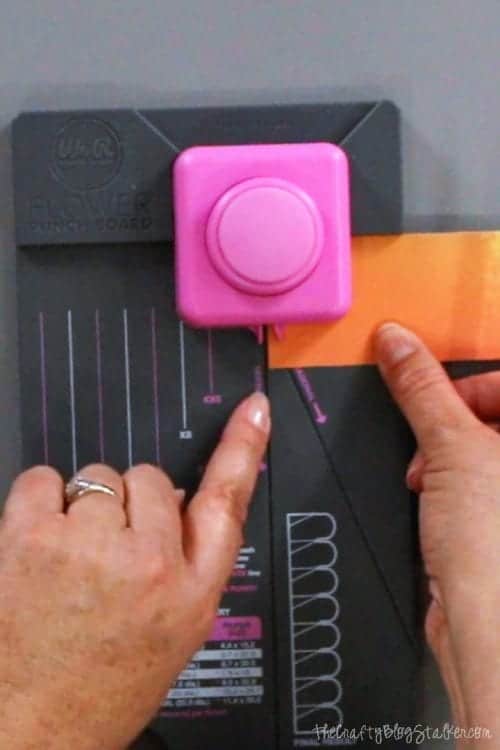
Then move the strip of paper to the S line on the board. Punch and score the down line and diagonal line. Then slide the strip of paper down and line up the down score line with the S line and punch and score again. Do this all the way down the strip of paper.
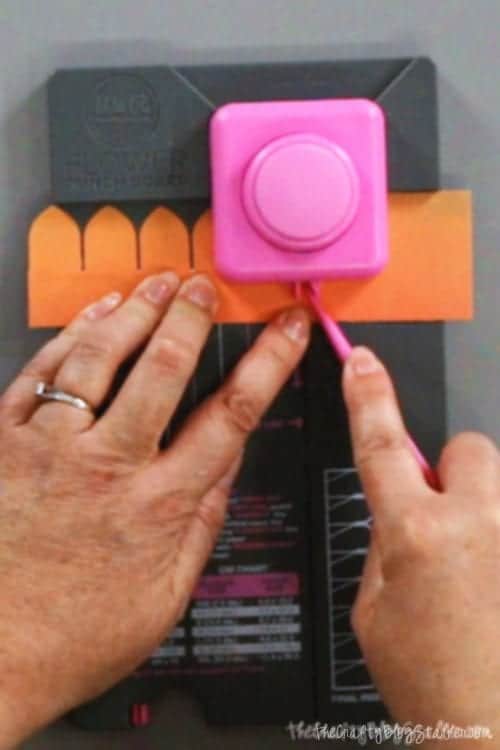
The strip will have 8 petals. An 8 petal flower will create a flat flower. For this tutorial I am showing how to make a more 3D flower so cut off the last petal at the last down score line.

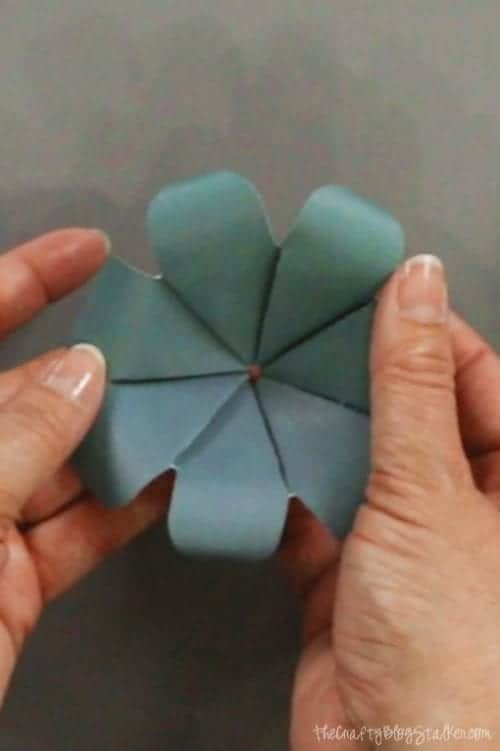
Accordion fold the strip of paper on the score lines. The flower will start to take shape.
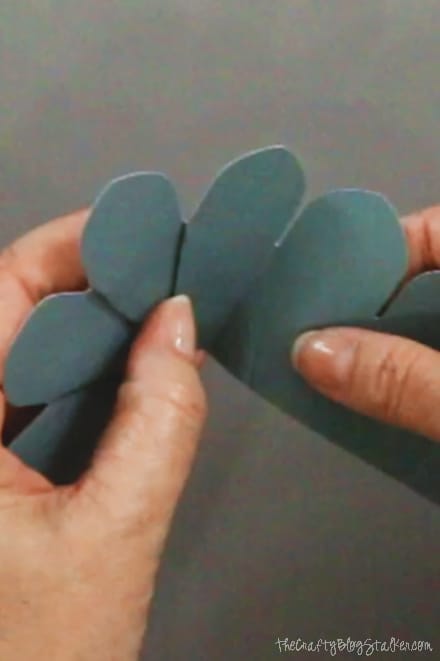
Apply a bit of glue on the right side up of the paper in the scored triangle on the end of the paper strip, then attach to the scored triangle on the right side up of the paper on the opposite end. (I know this sounds confusing, but it works!)
Use the petal curler stick to wrap each petal and give the flower a bit more shape.
On the backside of the flower, put a dot of hot glue in between the folds. This step is optional but I found it easier to handle the flowers when they held their shape.
Making the Wire Stem
For the stem of the flower, you do have a couple options. You can purchase a kit by We R Memory Keepers that attaches the blooms to a bendable stem, or you can make your own stem. I am going to show you how to make your own.
Take an 18-inch long piece of floral stem wire. I used the wire that was already wrapped.
Pinch the end with a pair of needle nose pliers and then wrap the wire around itself and the pliers.

You can make this circle as big or as little as you want. I wrapped it around about 5 times.
Remove the pliers and bend the circle wrapped top at a 90 degree angle.
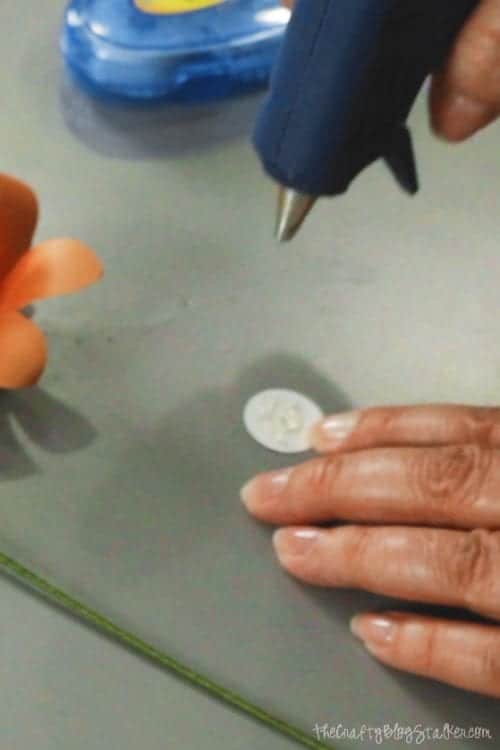
You can either hand cut a circle out of scrap paper or use a circle punch. I used a ¾ inch circle punch. Apply a good blob of hot glue to the back of the circle and lay the wire wrapped portion of the wire into the hot glue.
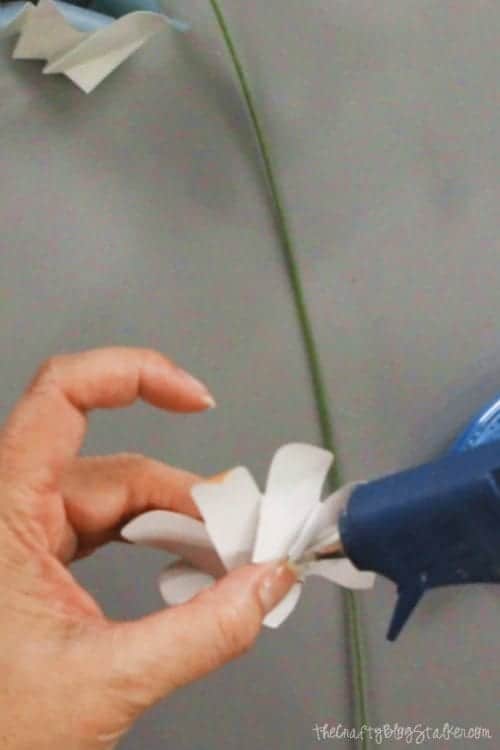
Slide the long end of the wire through the center of the smallest flower and pull through till the center circle becomes the center of the flower. Keep adding your flower layers with a bit of hot glue between each layer to hold in place.
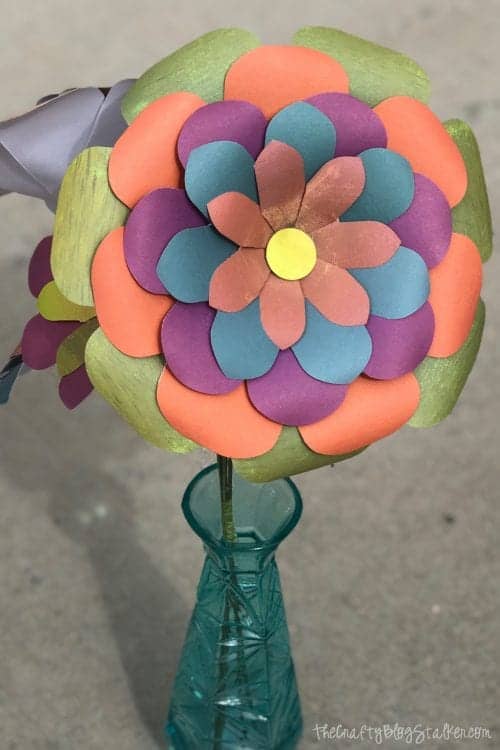
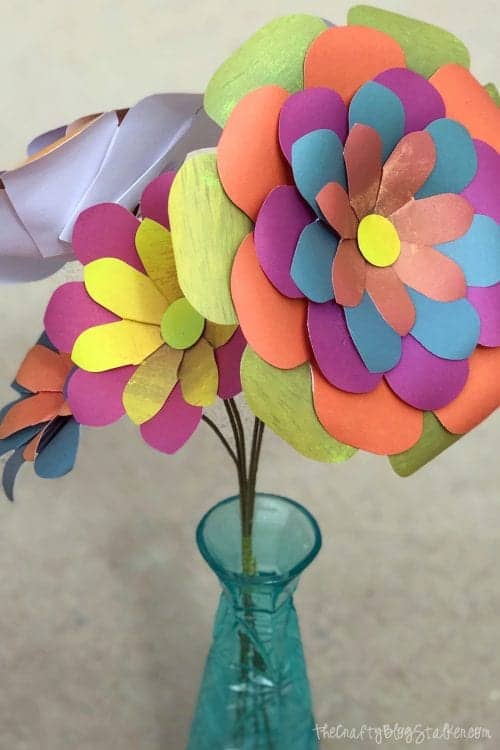
Make several different sizes of flower to make a paper flower bouquet!
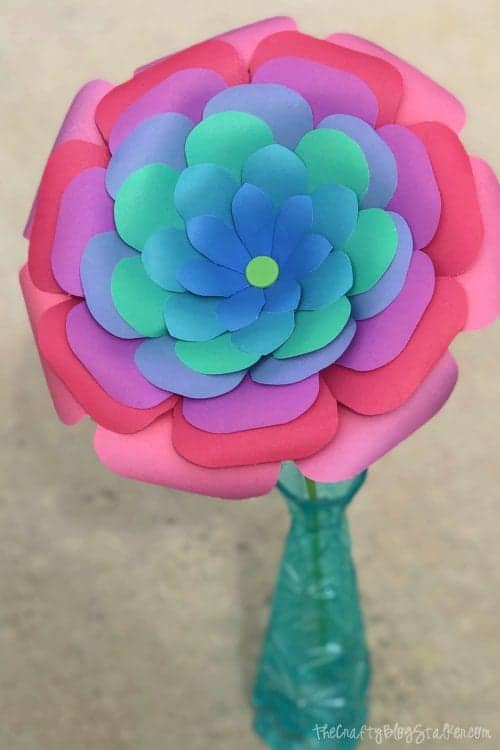
The largest Paper Flower
The largest paper flower is my favorite size and I love how it looks with all of those layers! These flowers were assembled using the Flower Stem Kit because I wanted to use both methods. I have to say they both look great and are easy to assemble. If you are looking to save a little money, just make your own stems.
I love this size so much that I couldn't stop making them! Look at those gorgeous colors!
For this one I used pattern paper. Aren't those contrasting layers fun?!
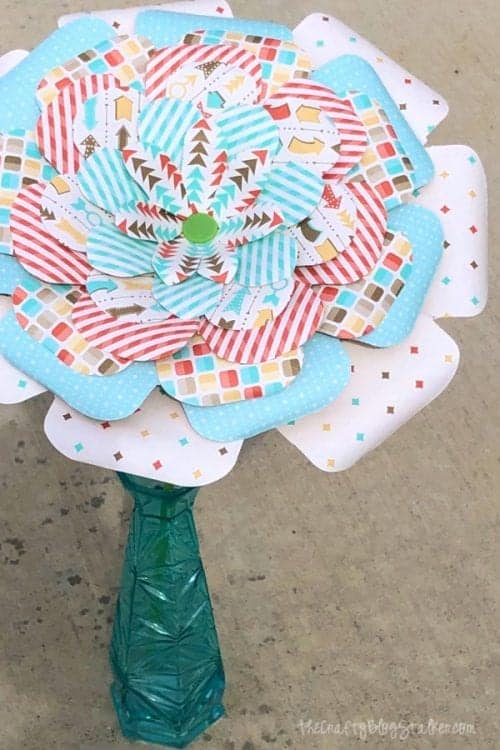
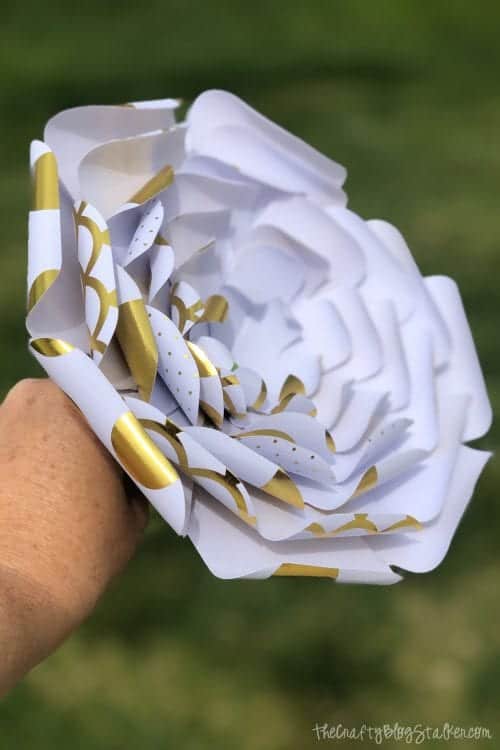
For this one, I really mixed things up. I used white gold foil pattern paper with the right side down and the curled the petals up instead of down. Isn't it gorgeous?
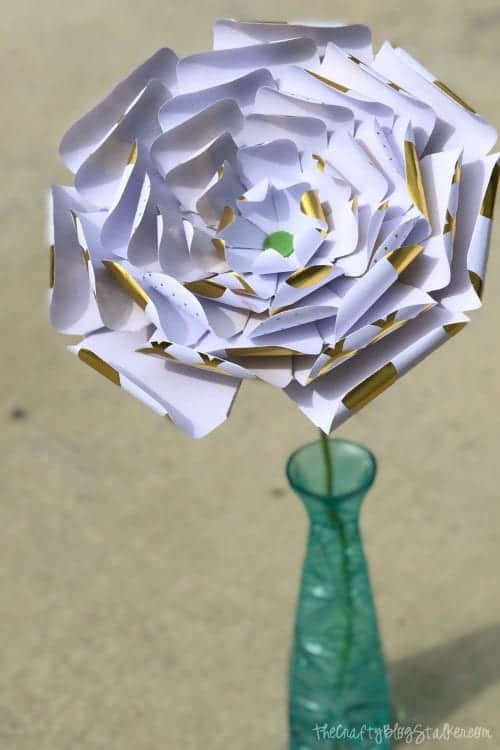
That peak of gold foil is gorgeous!
What will you make these gorgeous paper flowers for?
Crafting Essentials
- The Cricut Cutting Machine is easily my favorite crafting tool. We use it in so many of our tutorials!
- These MakerX Crafting Tools are perfect for keeping in the craft room and are always ready when needed!
- This Fiskars Paper Trimmer is easy to use and cuts nicely without frayed edges.
- These Scotch Precision Scissors cut like a dream, and you get multiple pairs in a pack!
Sally
These look fabulous. I used to love making paper flowers. I really should find some time. They are so bright!
Katie
Thank you Sally!