

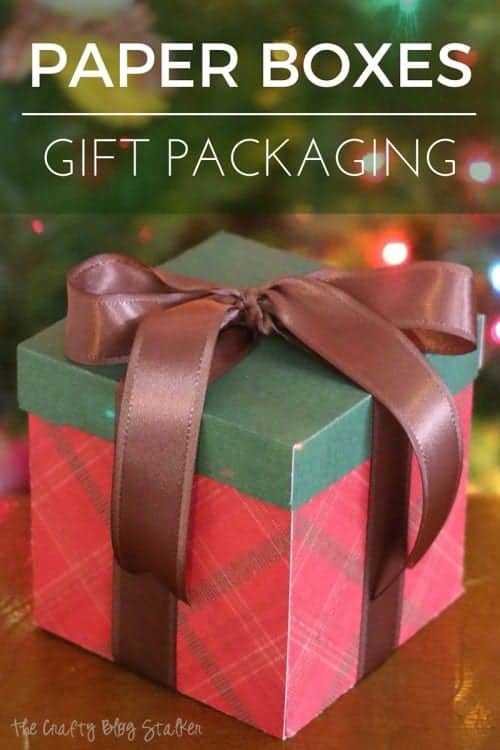
Wrap your Christmas Present in beautiful paper boxes made with a Cricut. Easy DIY craft tutorial idea for handmade gift packaging.
To me, giving gifts is one of the most exciting parts of the holidays. I love to show my friends and family how much I love them and how thankful I am for their friendship. This year Cricut invited me to participate in a Secret Santa Gift Exchange, and I jumped right on board. An opportunity to give a gift to an absolute stranger is very thrilling!
Shhh, you can't tell anybody, but my secret friend is Kim Byers who blogs over at The Celebration Shoppe. I am all fired up sending Kim this gift and I hope that she likes it too! I already know what I am going to give her, and I'll share that in a minute but first let's concentrate on the packaging.
Cute packaging can step up an awesome gift to an AMAZING gift. And that is what I hope to give Kim.
Supplies Used: Some links may be too similar items when exact items couldn't be found online.
- Cricut Cutting Machine
- Gift Box in Cricut Design Space
- Scoring Stylus
- Holiday Printed Cardstock
- Adhesive
- Chipboard (optional)
- Tissue Paper
- Sequins
- Satin Ribbon
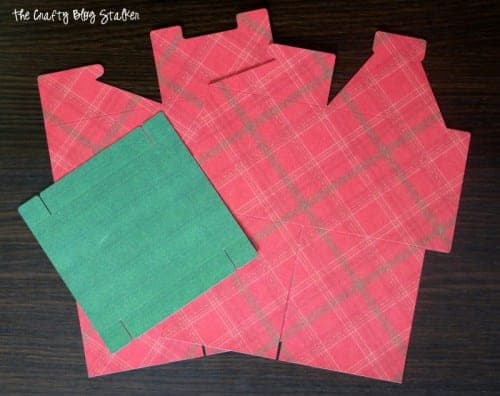
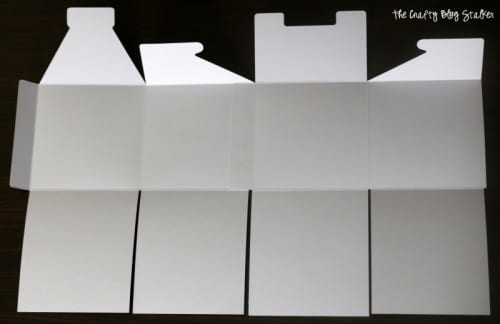
I only used one of the box templates from the Three Stacking Boxes set. Using the measured grid in Cricut Design Space I adjust the box size so it would fit my item perfectly. My Cricut cut the pieces I needed and even scored the lines for me to make assembly super easy.
Start with the lid piece and fold on all of the score lines. On each tab in the corner add a bit of adhesive.
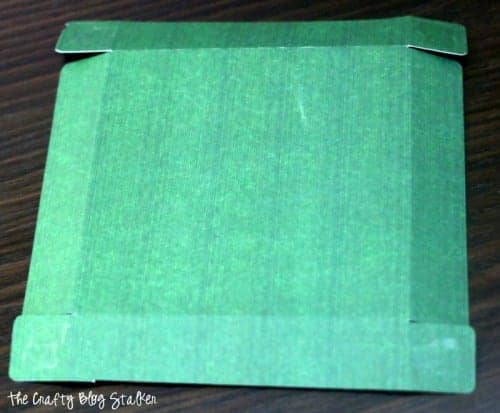
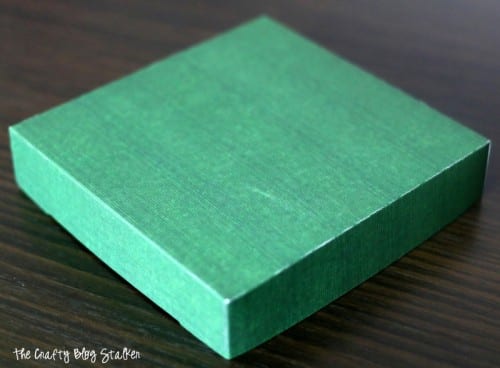
Fold the tabs to the inside, attaching them to the strip above it. Your lid is finished!
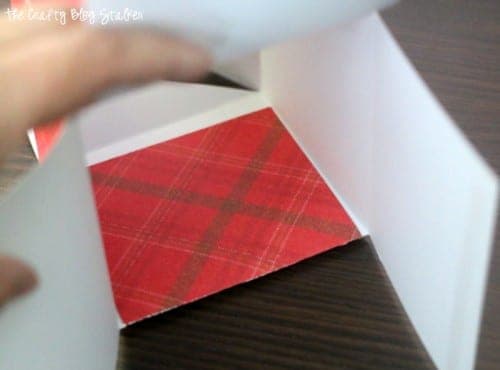
The box is cut into two separate pieces. Each piece has a tab. Apply some adhesive to each tab and attach it to the other piece. The picture shown below is with the printed side down and only one tab attached. When both are attached you will have the beginning shape of your box.
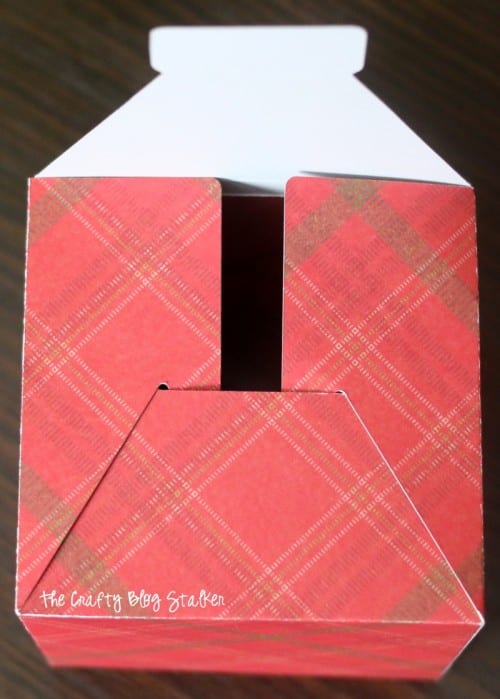
When you have the box shape, fold the larger tabs inside the box and glue them down. This will make the box more sturdy by giving it two layers of paper on each side.
The bottom is always tricky for me to figure out, but I did it! So let me show you how it's done. There are two tabs that are identical to each other that are also across from each other. Fold those tabs into the female end, then tuck the remaining tab in.
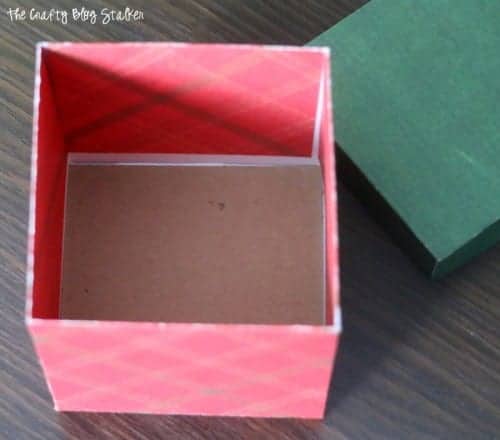
The inside of your box should look like this.
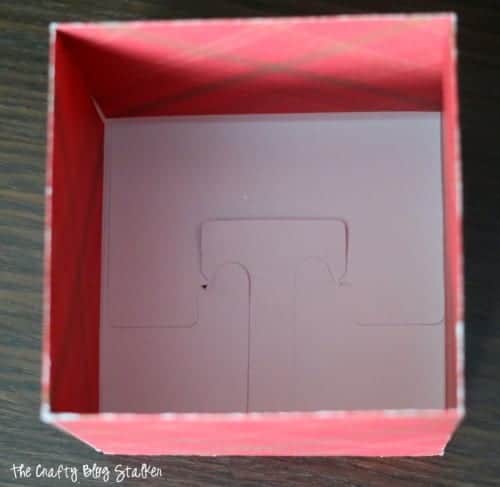
To make the box a bit more sturdy, I cut a piece of chipboard to fit in the base of the box.
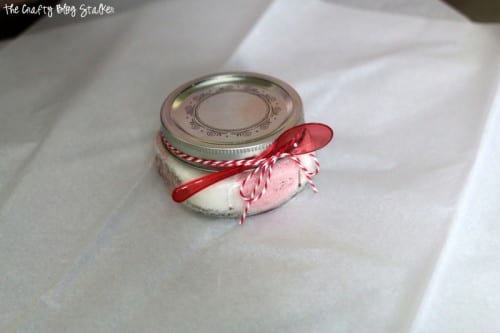
Now for the gift! I am giving Kim some yummy Peppermint Sugar Scrub that I shared the recipe for last week on my blog. If you are looking for the perfect gift for a friend this is it. It smells amazing and leaves the skin exfoliated and super soft.
I put the jar in the center of two sheets of white tissue paper and rolled it up.
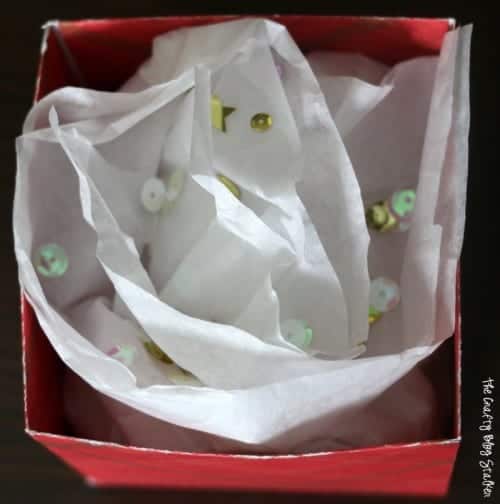
Of course, it fits in the box perfectly! I "fluffed" the top pieces of tissue paper and added a sprinkle of sequins to give the gift a bit of sparkle when first opening.
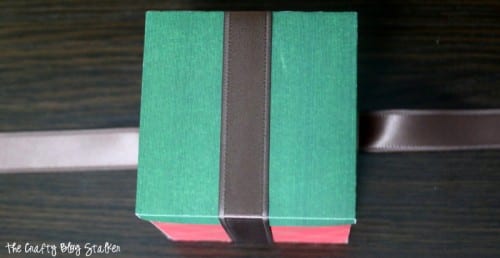
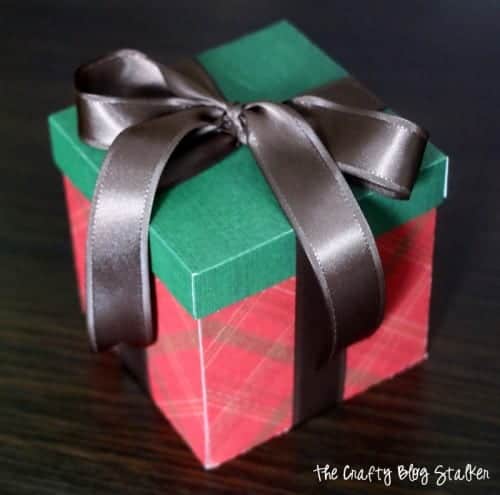
But I can't just leave the box like that, I wanted to dress it up a bit more with a beautiful satin bow.
Cut a long piece of ribbon and place the center over the top, pull down over the sides until the two ends meet on the bottom, and have them twist over each other so an end comes out on each side.
Bring each side up and tuck under the piece over the top.
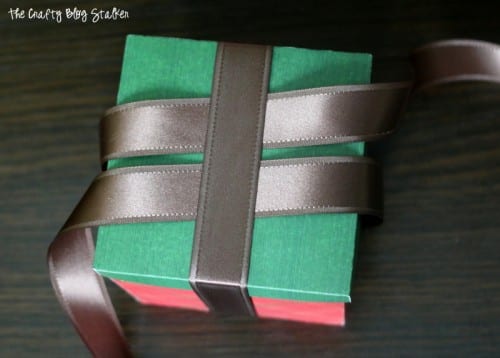
Tie a knot.
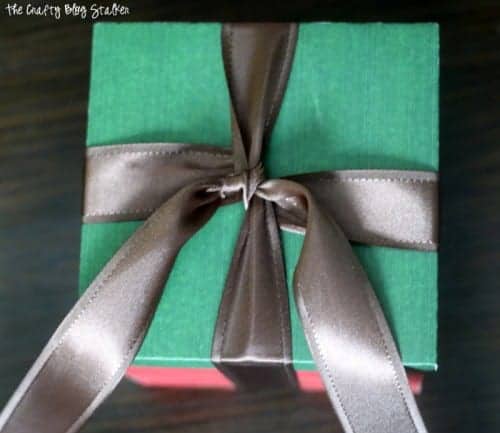
Then tie the bow. Just like tieing your shoes. Tug on the ribbon ends and loops until everything lays right where you like.
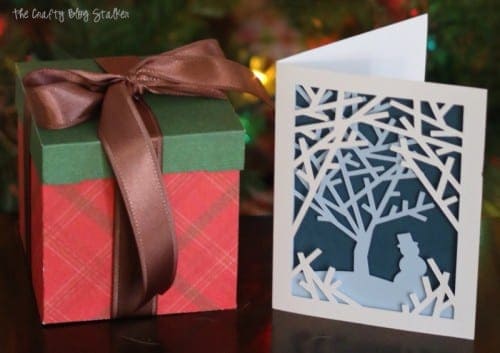
I also grabbed one of my Into the Woods Handmade Christmas Cards to give with the gift as well.
Wasn't that simple? And it came together so quickly! I really do hope that Kim likes her gift. How do you like to wrap your gift packages?
Crafting Essentials
- The Cricut Cutting Machine is easily my favorite crafting tool. We use it in so many of our tutorials!
- These MakerX Crafting Tools are perfect for keeping in the craft room and are always ready when needed!
- This Fiskars Paper Trimmer is easy to use and cuts nicely without frayed edges.
- These Scotch Precision Scissors cut like a dream, and you get multiple pairs in a pack!
Denise
Thanks for linking up to Home Matters Party.
David
Very handy ideas Katie. I used these for our Easter celebration.
Angie ~ ambient wares
I would love a gift like this! I'm sure she'll love it 🙂 Thanks for sharing with us at Funtastic Friday!
Katie
Thank you Angie! Happy Holidays!