



These turkey treats are easy to make with paper, candy, and a free SVG. They're a cute Thanksgiving gift for friends, family, or party guests.
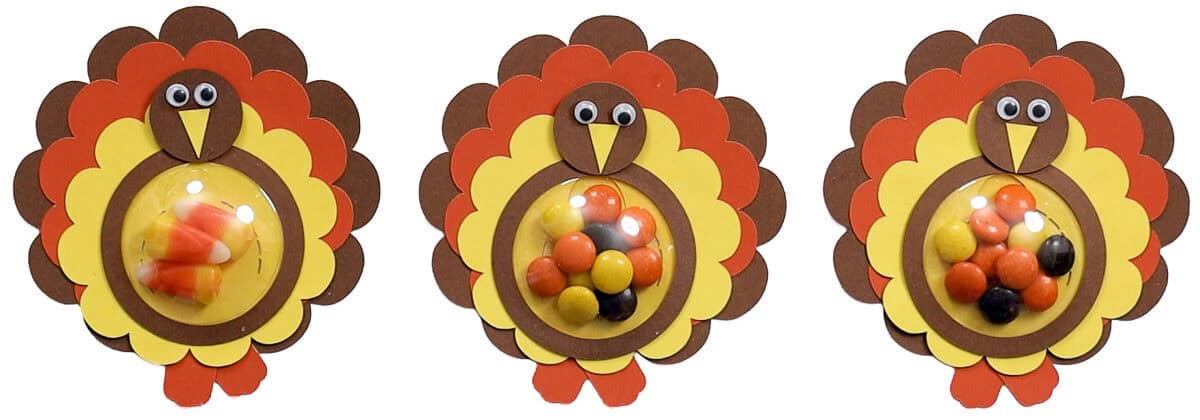
Thanksgiving will be here before we know it, and I'm already looking forward to the wild, crazy, and very loud time we always have with family.
With 46 people on my side of the family, there's never a dull moment, even when we can't all be together in one place.
This year, I'm hoping to lock in my spot as the favorite aunt with these adorable turkey treats filled with candy and made with my free SVG.
They're easy to make with your Cricut and perfect for kids, nieces, nephews, friends, or anyone who deserves a little Thanksgiving surprise!
Jump to:
Skill Level: Beginner
Estimated Cost: $2-$3 each
Total Time: 20 minutes
Craft Tutorial Video
If videos are your thing, you're in luck-I've got a full tutorial ready for you!
Subscribe to my YouTube channel and stay inspired with every new project.
Supply List
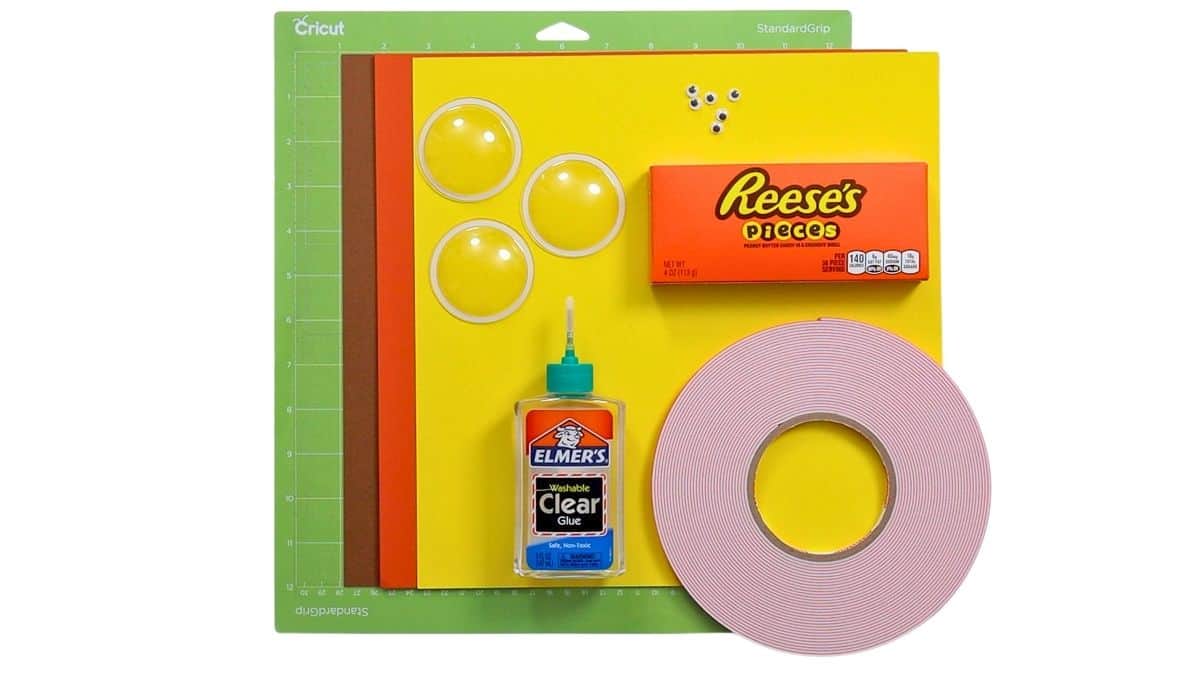
- Cricut Cutting Machine
- Turkey Treats SVG
- StandardGrip Mat
- Brown, Orange, and Yellow Cardstock
- Wiggly Eyes
- Plastic Shaker Domes
- Glue
- Adhesive Foam Tape
- Food Safe Gloves
- Candy
Grab the Free SVG
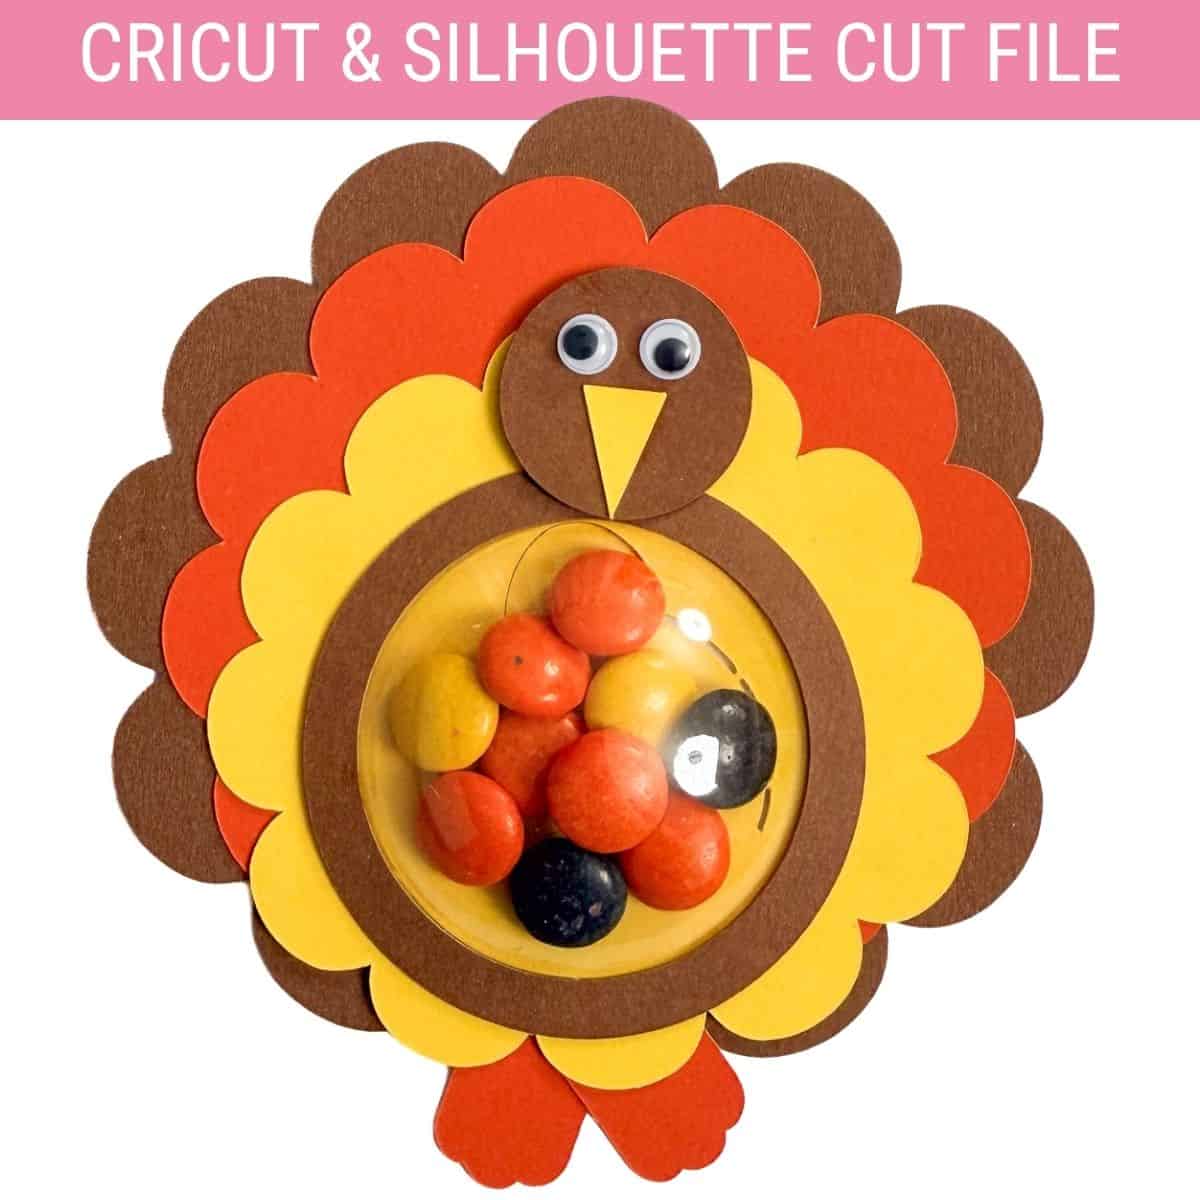
The Turkey Treats SVG includes everything you need to cut the layered paper pieces for this cute little candy turkey.
Cricut Design Space
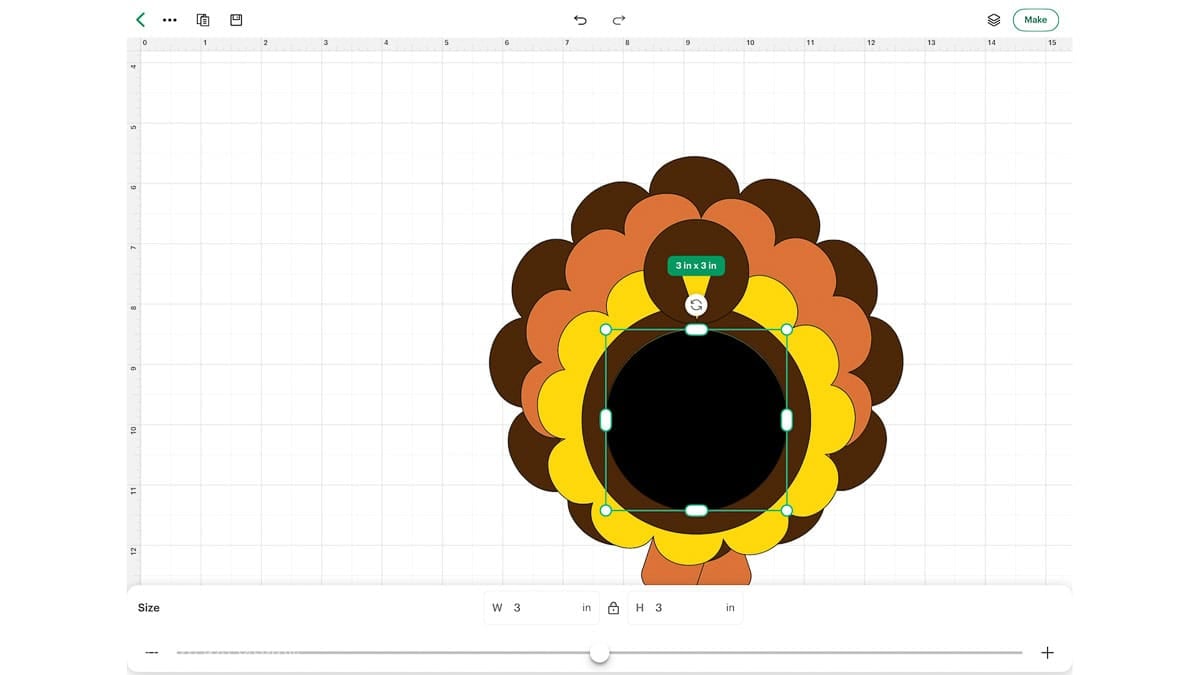
Upload the Turkey Treats SVG into Cricut Design Space and add it to your canvas.
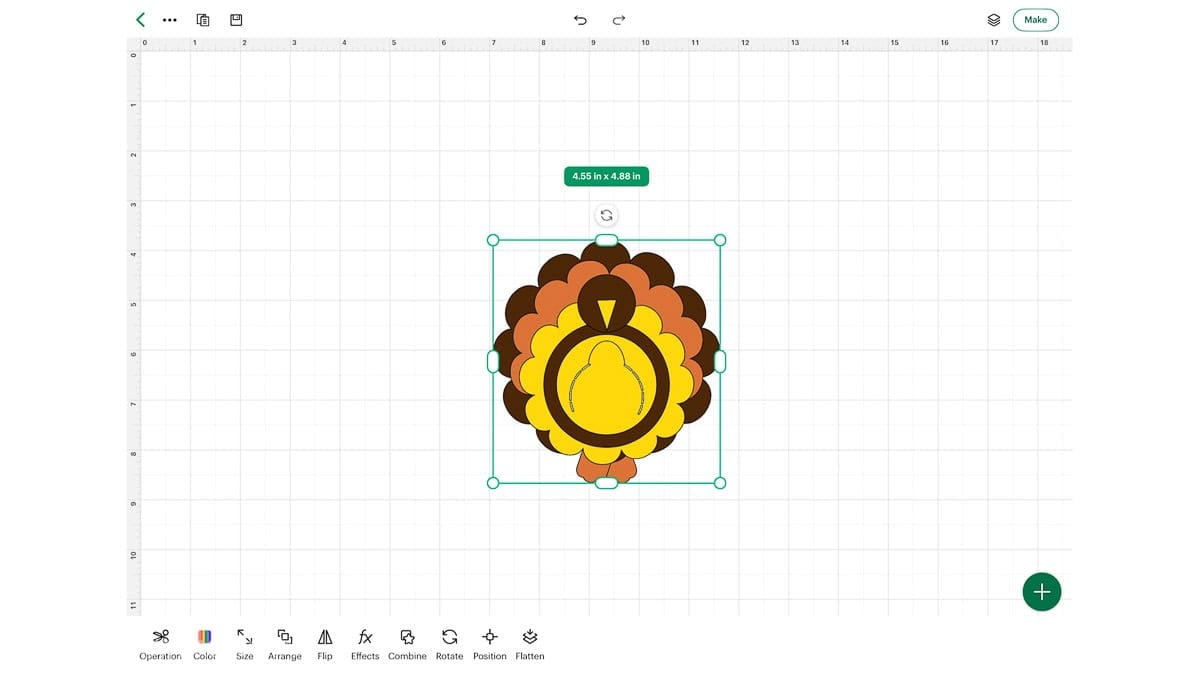
The SVG is already sized to fit the plastic shaker domes I used, so you won't need to resize anything if you're using the same ones from the supply list.
If your domes are a different size, you can easily adjust the design in Cricut Design Space.
Open the shapes and add a circle to the canvas. Change the circle's measurement to the diameter of your circle cups.
Resize the Turkey Treat design, keeping everything grouped so the feathers, face, opening, and other pieces stay in proportion.
The next screen is the Mat Preview.
I wanted to make three turkey treats, so I clicked the mat icon in the top left corner and changed the project copies to 3.
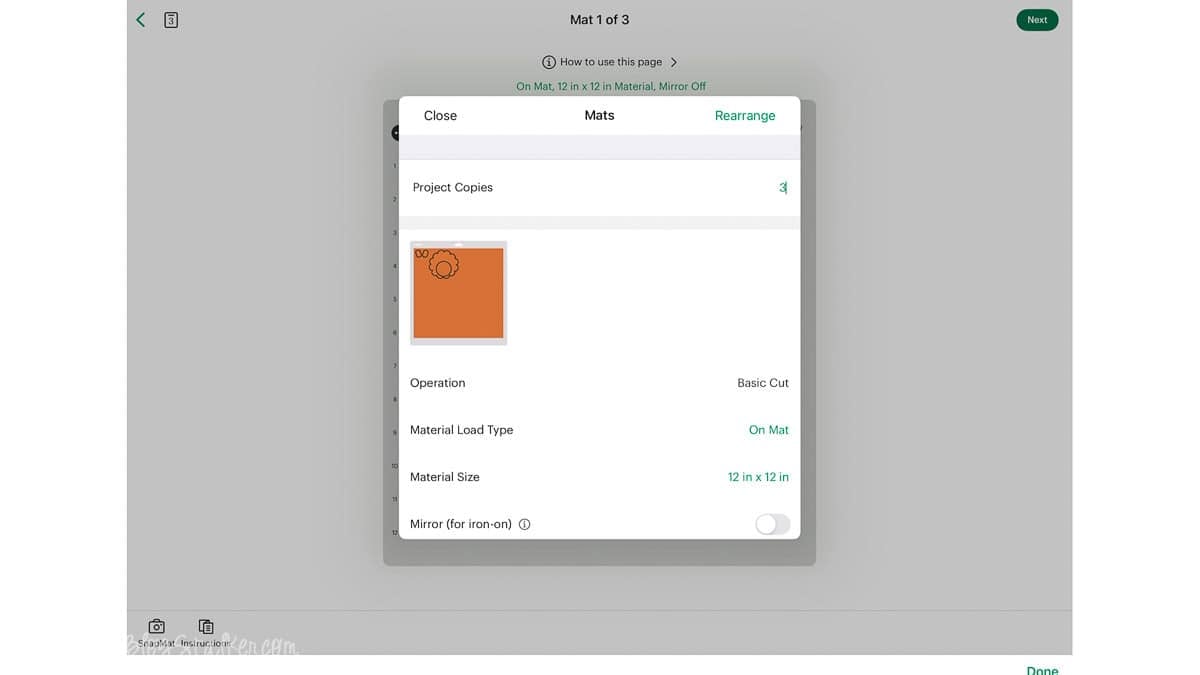
This automatically adjusts the mats to cut three, so I don't have to duplicate while on the canvas screen.
Select Cardstock as the material. Then I like to choose More Pressure and Remember Material Settings, but this is just personal preference.
Apply the cardstock to the StandardGrip Mat, load it, and click the Start button when it begins to blink to start the cut.
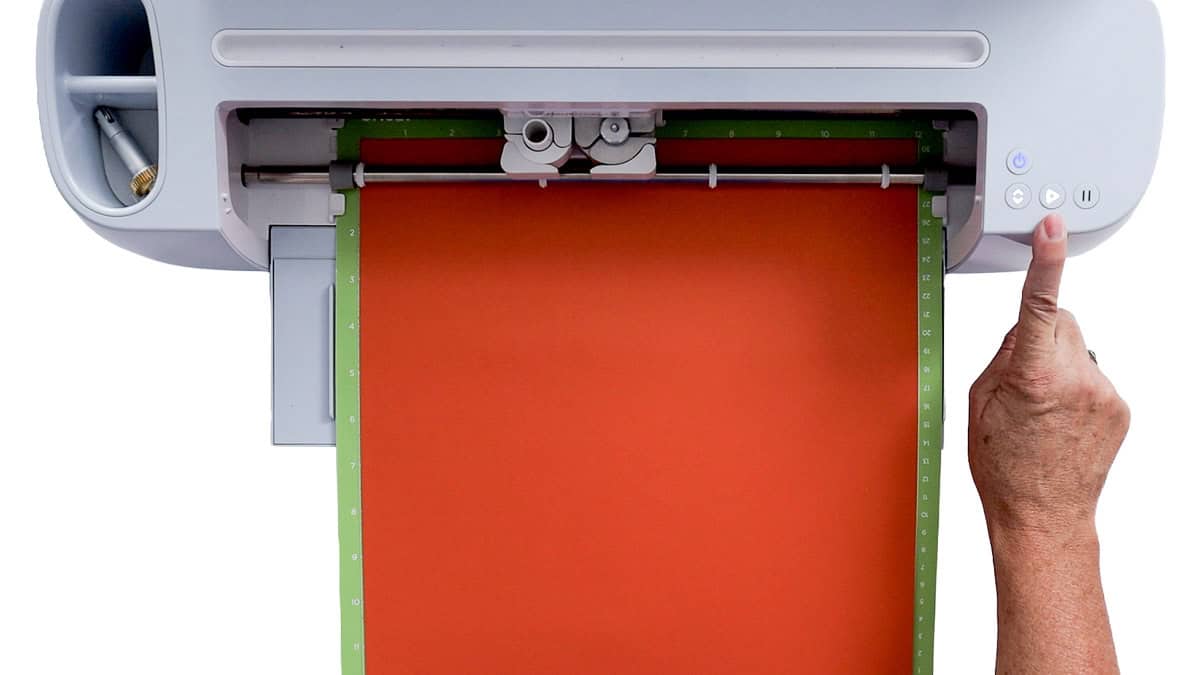
Watch Cricut Design Space, as it will tell you which cardstock color to load next.
Assembling Turkey Treats
This project has quite a few small cardstock pieces, so it helps to keep everything together once it comes off the cutting mat.
Lay out the pieces for one turkey before assembling anything so you can easily see how the colors and layers work together.
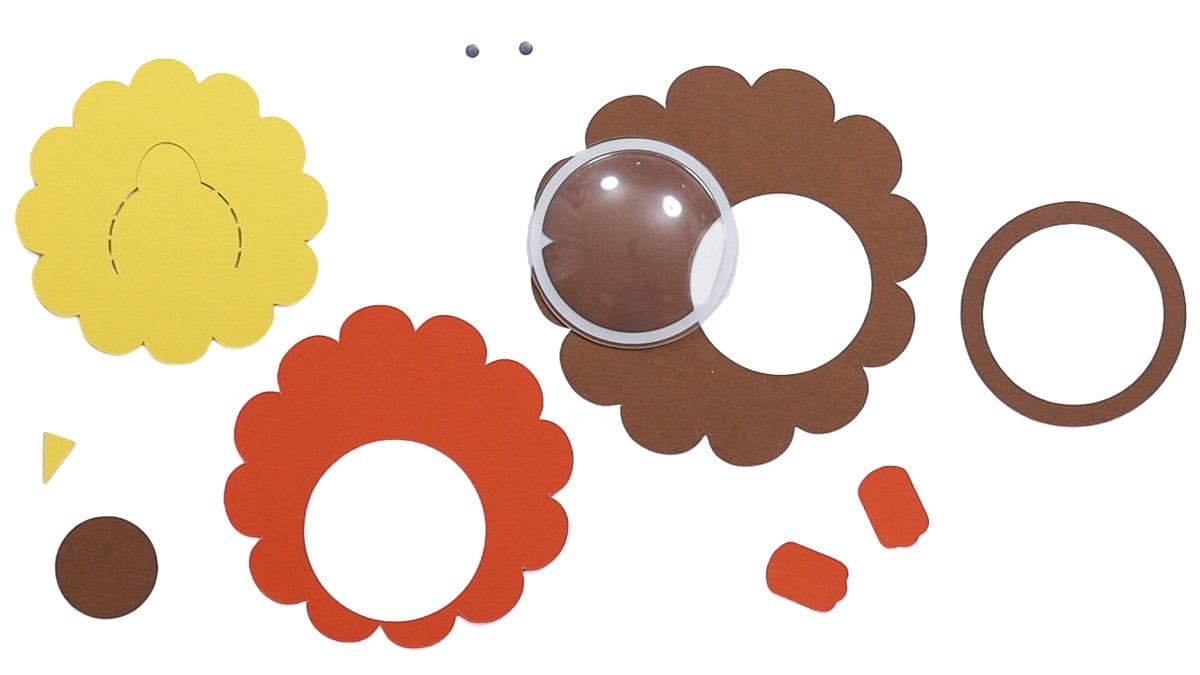
I use two types of adhesive for these turkey treats.
Regular glue works well for assembling the cardstock layers, while adhesive foam tape gives the turkey's face a little dimension and helps it stand out from the candy-filled dome.
To start, apply a dot of glue to the back top of each foot, then place it on the bottom of the thin side of the brown layer. Don't go past the open hole.
Apply glue to the back of the orange layer, and place it on top of the brown layer, aligning the center hole.
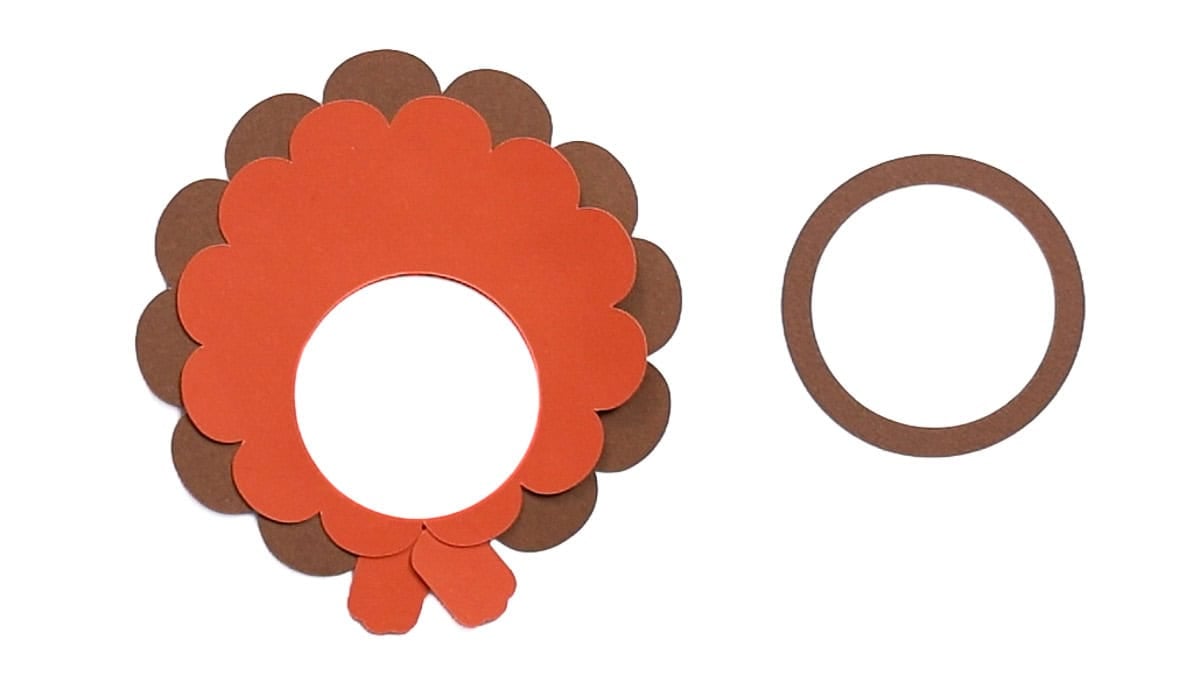
If your shaker domes have a protective plastic layer, remove it before putting everything together.
It can be surprisingly easy to miss, especially when you're making several turkeys at once.
Since the candy is going directly into the shaker dome, I also recommend wearing food-safe gloves anytime you're handling it. That way, the treats stay clean and ready to give.
Pour a little bit of candy onto the plastic shaker domes.
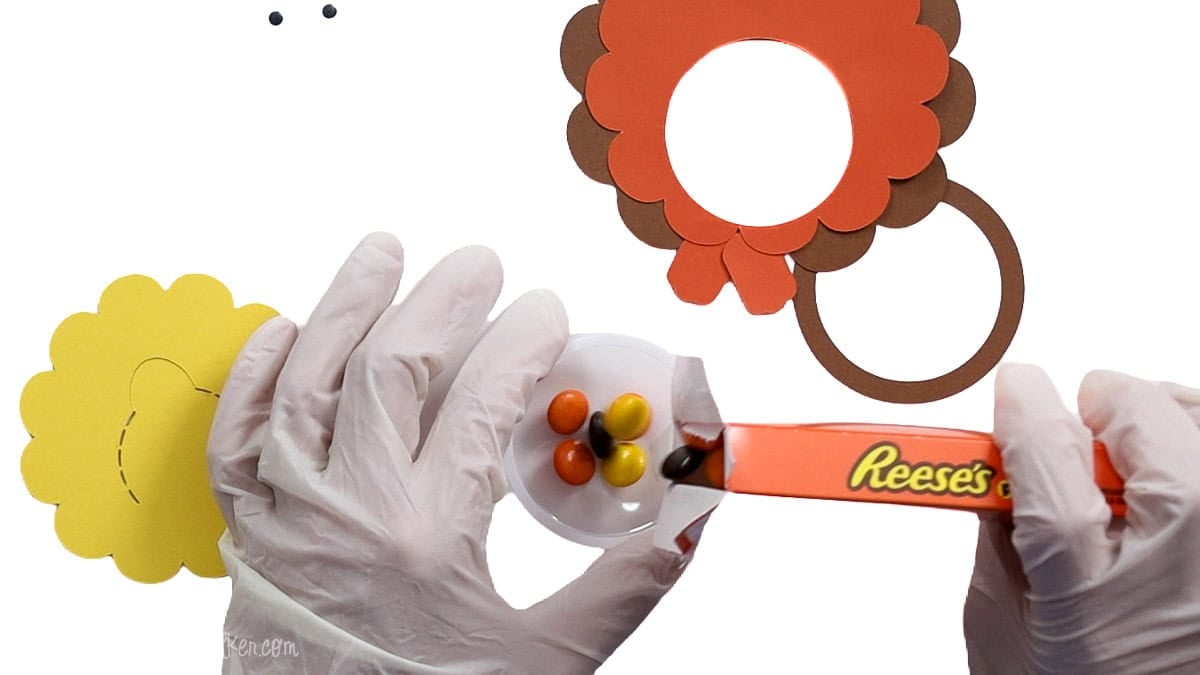
Before sealing the candy inside, make sure the dome isn't too full. You want the candy to move around a little and the dome to sit flat.
If the dome feels overfilled, simply remove a few pieces.
My shaker domes have an adhesive strip around the edge. Use a weeding tool to remove that strip.
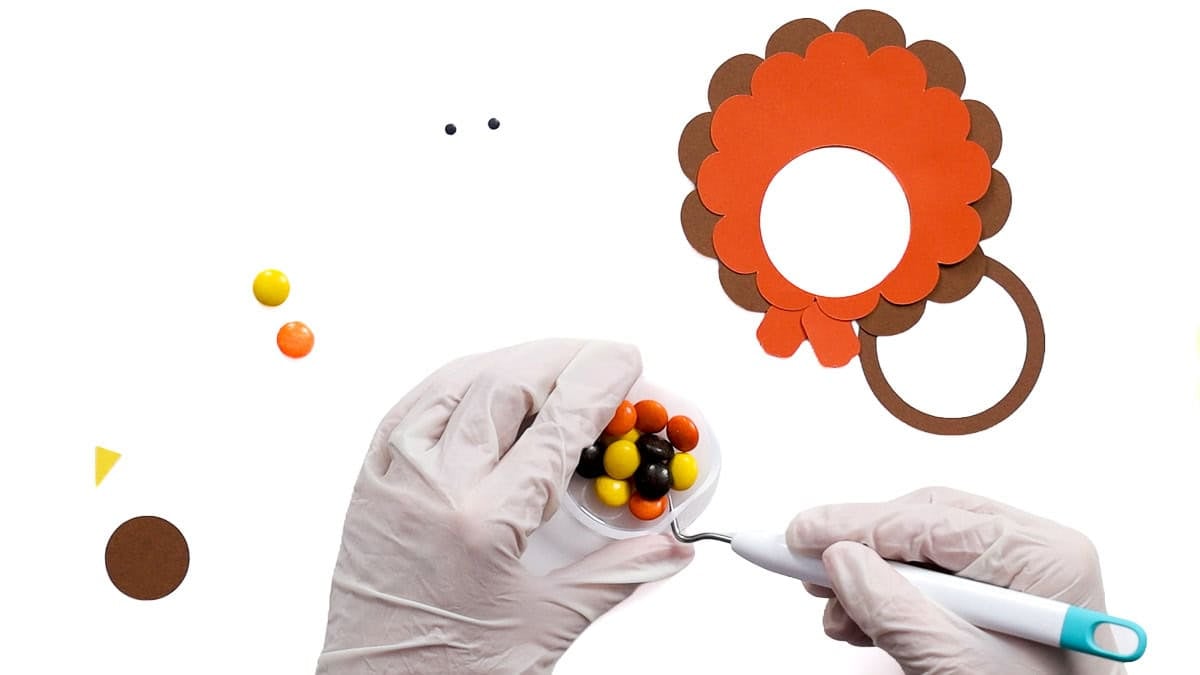
Place the yellow layer on top of the cup, making sure the pullout tab is in the shaker dome area.
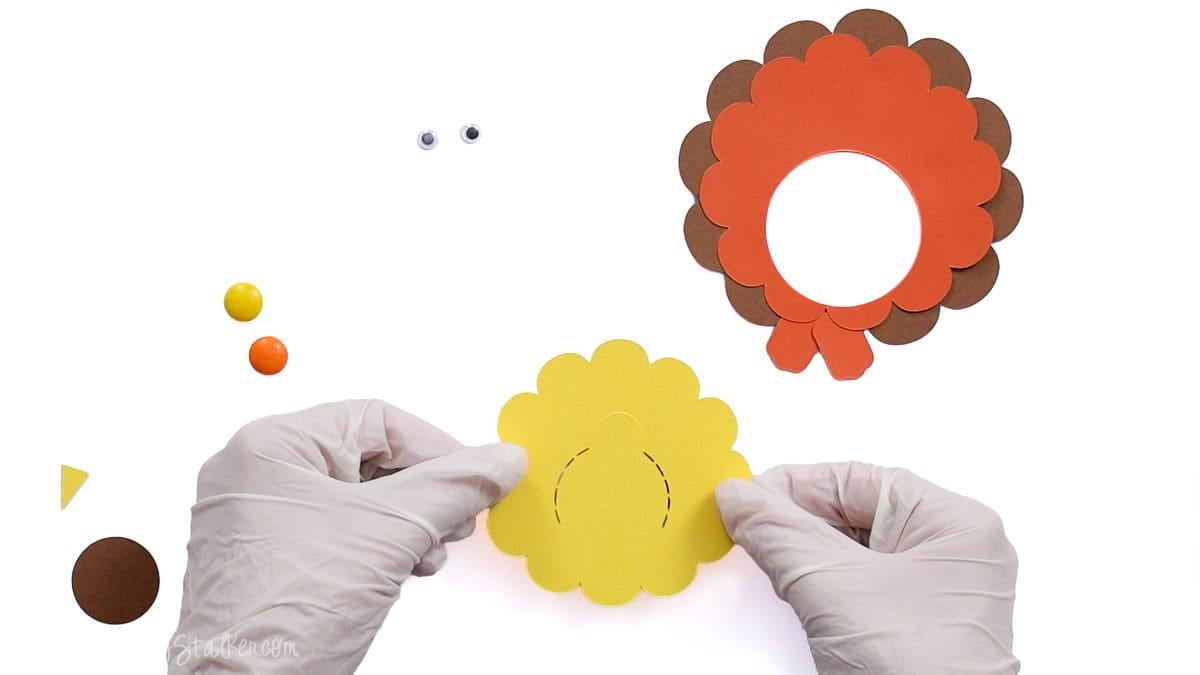
Then turn over and press around the edged to adhere the dome to the paper.
Apply glue around the back edge of the yellow layer, keeping the pull tab in the circle of the other layers.
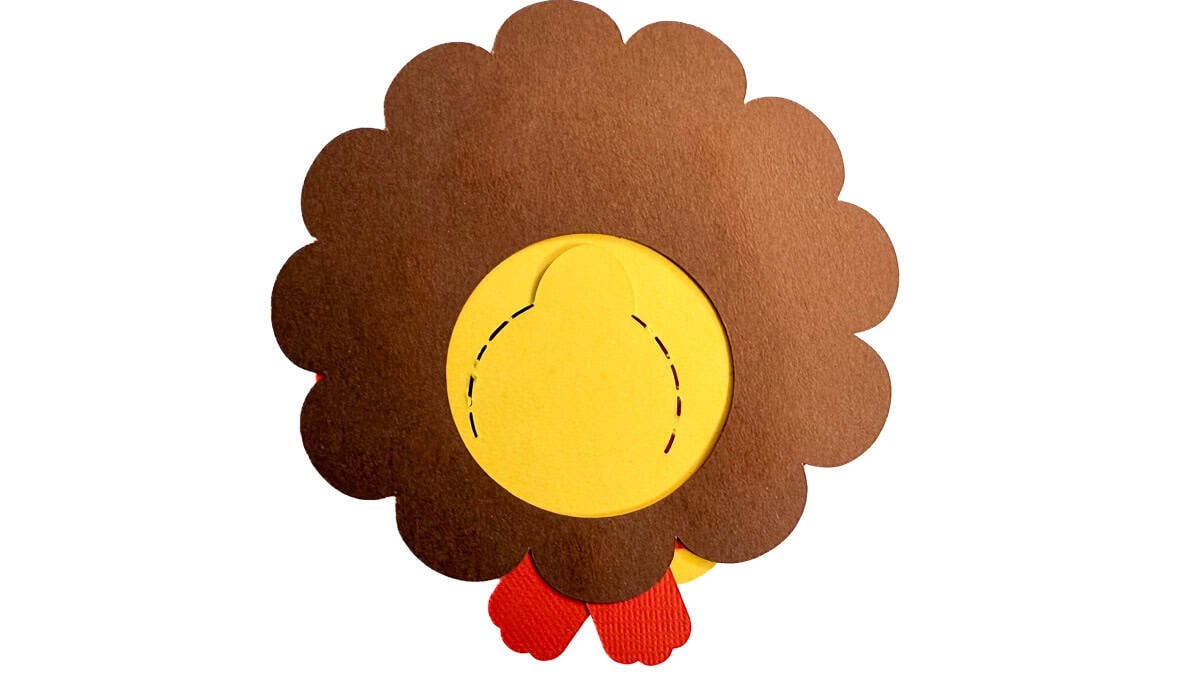
Apply a line of glue around the circle brown border layer and place it on top of the shaker dome. This should hide that plastic edge.
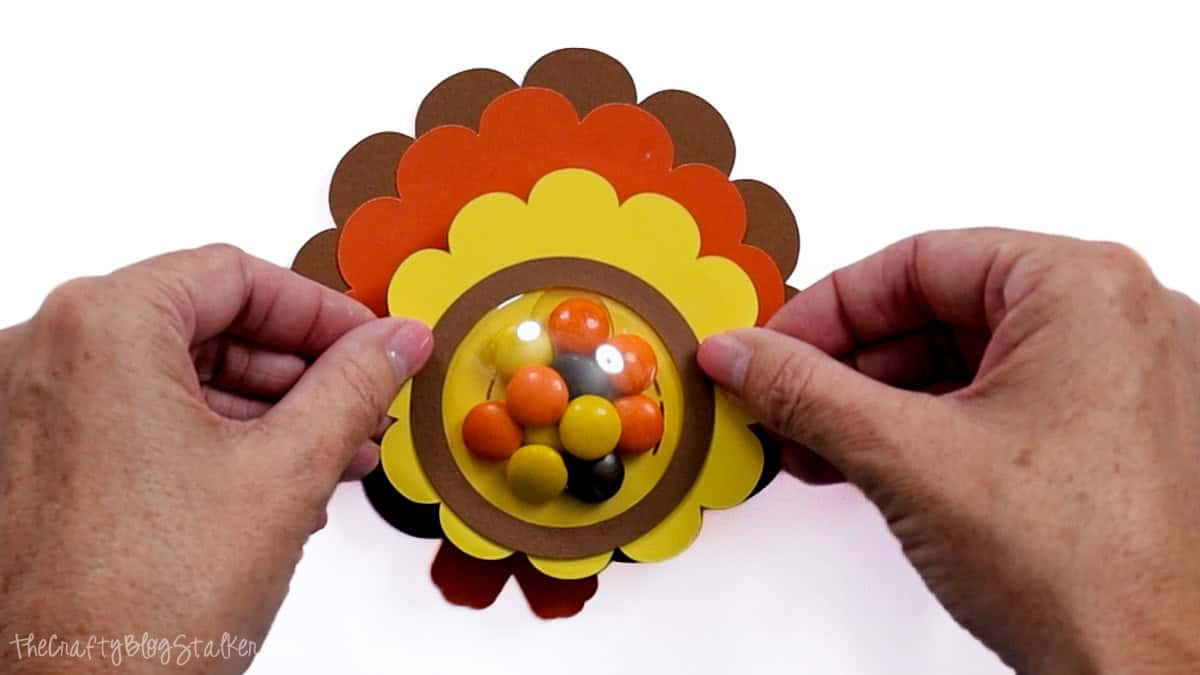
Last is the cute turkey face. Glue the beak and wiggly eyes onto the smaller brown circle to create the turkey face.
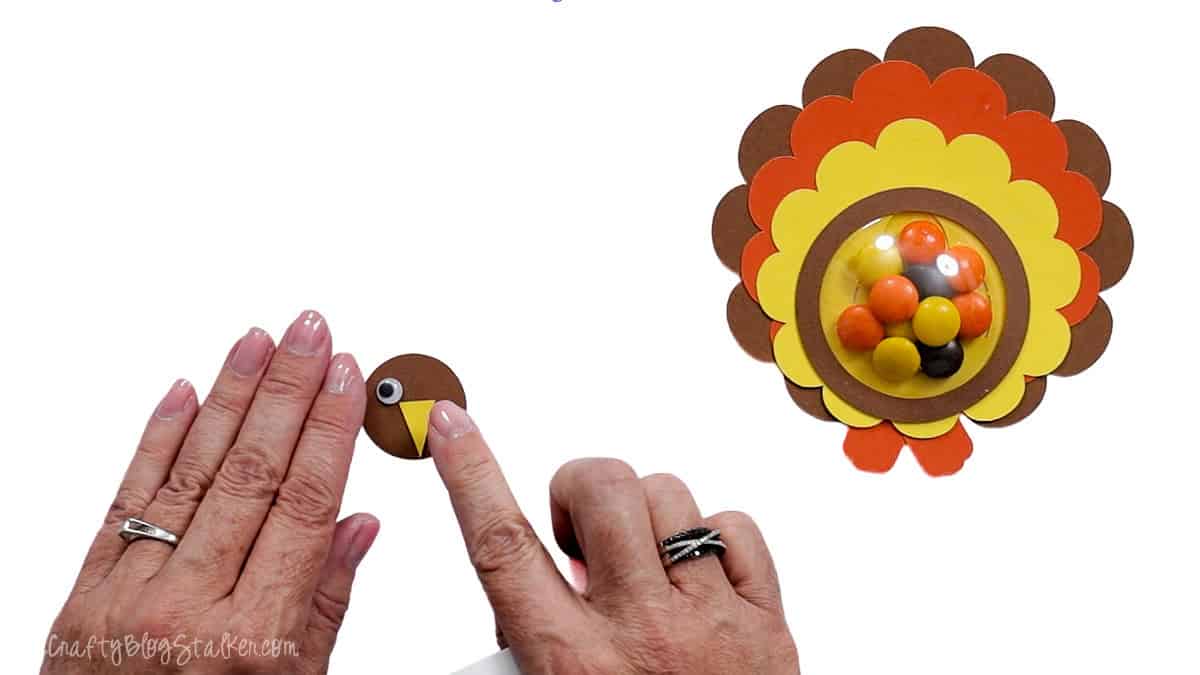
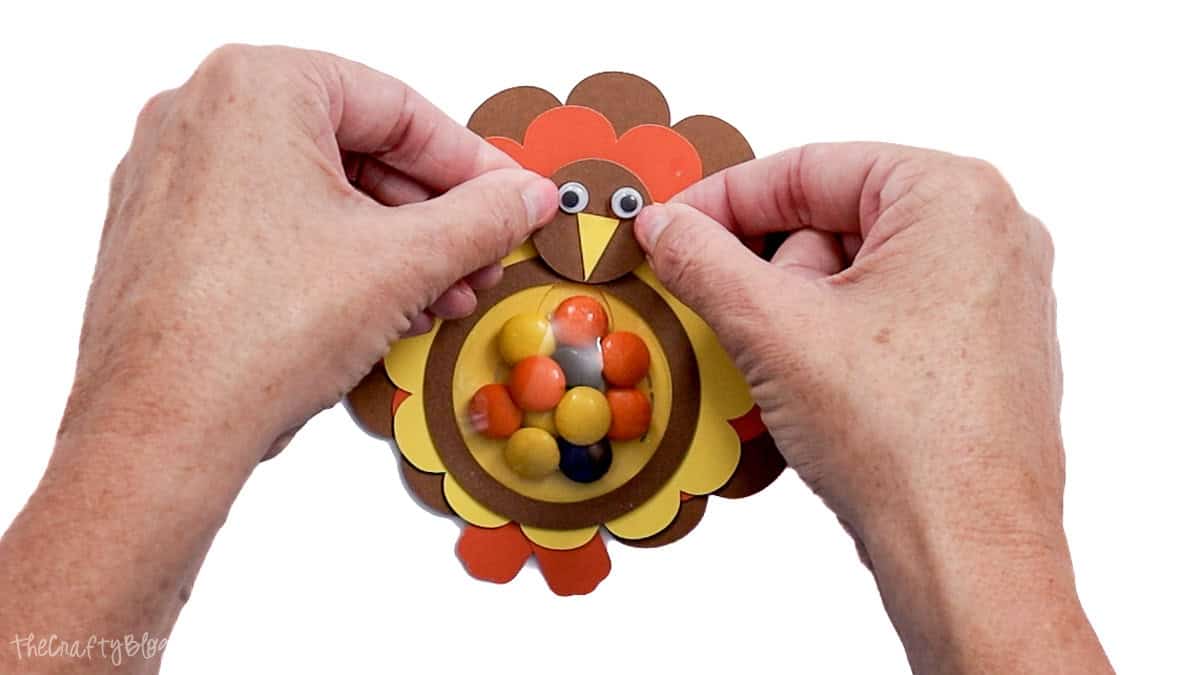
In this last step, use the adhesive foam tape. Cut a small strip and place it on the back of the turkey face.
Then center the face at the top of the turkey treat. He is so cute!
What Candy Works Best?
You can fill the shaker domes with all kinds of candy, but smaller pieces definitely work best. You want enough candy inside to make the turkey look full without packing the dome so tightly that the pieces can't move.
I really like Reese's Pieces for this project because the brown, orange, and yellow colors are perfect for Thanksgiving. M&M's would also work well and come in plenty of colors if you want your turkey treats to look a little brighter.
Candy corn is another cute option, especially if you want classic fall colors. I tried it and loved the way it looked, but only three pieces fit inside my dome because candy corn is quite a bit larger.
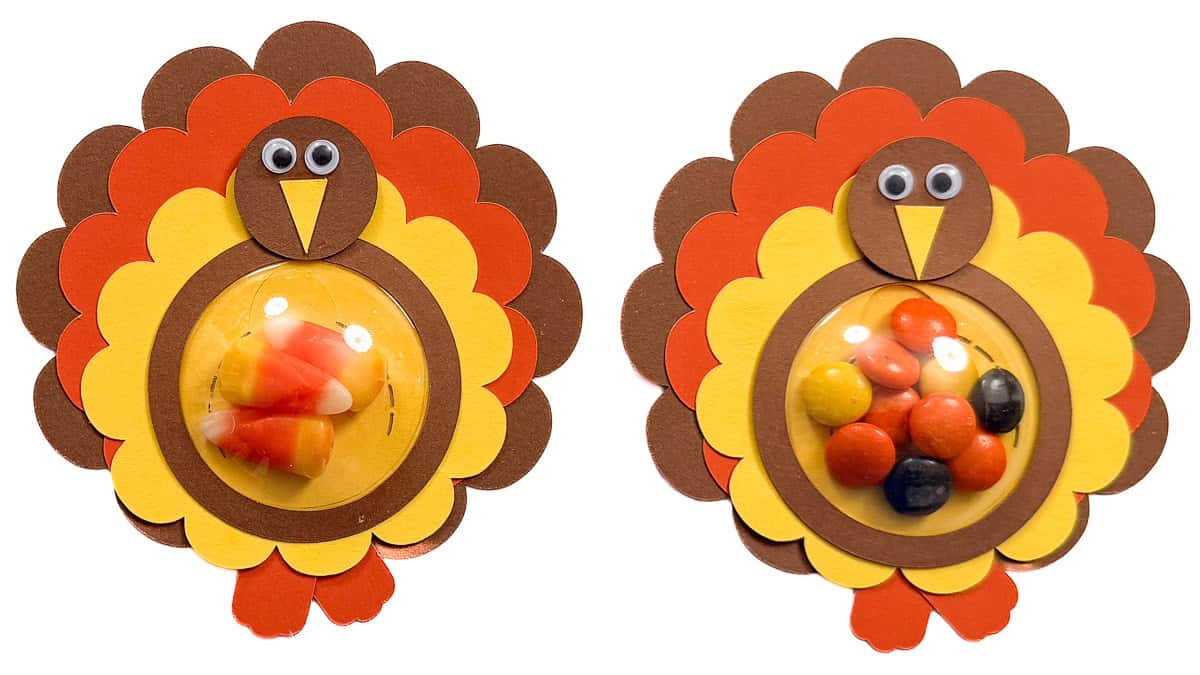
These would be adorable waiting at each place setting for Thanksgiving dinner, tucked into a little gift for neighbors, or handed out to kids as a Thanksgiving treat.
They're small enough to make several at once but still feel like a special handmade surprise.
Frequently Asked Questions
Absolutely. Reese's Pieces, M&M's, and other small candies work especially well because you can fit several pieces inside the shaker dome. Candy corn works too, but you won't fit as many pieces.
No. You can use a different size, but you'll need to resize the SVG so the opening fits your dome. Resize the entire grouped design rather than changing individual pieces so everything stays in proportion.
Yes, and that's how I prefer to make them. Change the number of project copies in Cricut Design Space before cutting so the mats are automatically arranged for multiple turkeys.
There may be too much candy inside. Remove a few pieces and test it again before sealing the dome to the cardstock.
A medium-weight cardstock works well because it is sturdy enough to hold its shape while still cutting cleanly with a Cricut. You can also change the cardstock colors to give your turkeys a completely different look.
The SVG includes a pull tab on the back of the turkey. This gives the recipient access to the candy without pulling apart all those cute paper layers.
Need help with this project?
Click a button below to ask AI how to resize the SVG for my shaker dome.
More Cricut Crafts with Free SVG
Find even more fun Cricut crafts with free SVGs to download and use for your next creative project.

Hi, I'm Katie!
I'm so glad you're here. Want to make something fabulous? I'm here to help!
Lindsay
I wish I would have seen this earlier! I love this idea, it is so cute! What a fun little treat to pass out! I am so happy you share this @ Show & Share--thank you!
Maxine Conrad
Thanks for featuring me on your blog Katie. You did an amazing job re-creating so many of these cute turkeys 🙂
EvA. . .
how adorable! Love it 🙂
Jodie
Love this! What an adorable idea! Perfect for the classroom!
Hey Mommy, Chocolate Milk
No way... these are adorable! I would love for you to add this, and any other of your awesome ideas, to my Mom's Library weekly round-up. Thanks and be blessed,
Julie
Katie @ Horrific Knits
So cute!
erica deuel
I love these!! Thank you for the instructions! I am so glad I found you at Miss Information today!!
Colleen@partyfunbox
Really love this idea ... and the instructions are so clear ... thanks!
mail4rosey
Oh they're cute and I know the kids would really enjoy making them too! I'm visiting today from the FFFFF blog hop, and I'm your latest Linky follower.
Happier Than a Pig in Mud
They are absolutely adorable! I'm sure everyone loved them:@)
Trish - Mom On Timeout
So cute! Just pinned these 🙂
Our Pinteresting Family
So stinking cute! pinning these asap. 🙂 Megan
Bonny @ thedomsticatedprincess.com
These are adorable! What a cute way to give a treat to kids.
Erica Bodker
I'm your newest follower from Monday blog hop, would love for you to stop by and follow back 🙂
Erica
Simone Iantorno
these turkey treats are adorable! Thanks for sharing! Stopping by from the blog hop over at Crazy Mama!
-Simone
Simplee Sue
These are so cute. These are great to give at the Thanksgiving table.
Claiming Our Space
What a cute gaggle of turkeys you ended up with! Thanks so much for sharing on Tout It Tuesday! Hope to see you next week.
Peggy
I love these cute little guys!
Holli
Found you via Happy Hour Projects. This is really adorable. I'd love for you to share it at my Thanksgiving Link-Up:
Happy to be a new follower of yours. Thanks for sharing!
Stephanie @ Toastie Studio
Hi, I wanted to let you know I featured this on the EtsyKids Team blog along with 50 other Thanksgiving crafts, recipes and printables for kids.
Natalie B.
Absolutely adorable!
Thanks for sharing and linking over on Tutorial Thursdays, much appreciated.
x
Natalie
Tessa
Thanks for linking up at tessacotton!
Jennifer Sapp
Can anyone tell me where to find the little treat cups? Thank you!!!
Amanda Shaw
Where did you get the treat cups? Either I missed that part or you didn't say but I'm so curious!
Katie
I purchased them from Stampinup.com although it looks like they are no longer available. I tried to find something similar on amazon but was not able to find any. Sorry.
Sheila Burtis
How do I get this design. I have searched and can not find it. There is no link that I can find. I work in a special need class and I thought this would be cute to make for the students for Thanksgiving.