

Learn how to make a fun vampire-themed Halloween shirt with Glitter Iron-on and a Cricut! An Easy DIY Craft Tutorial Idea.
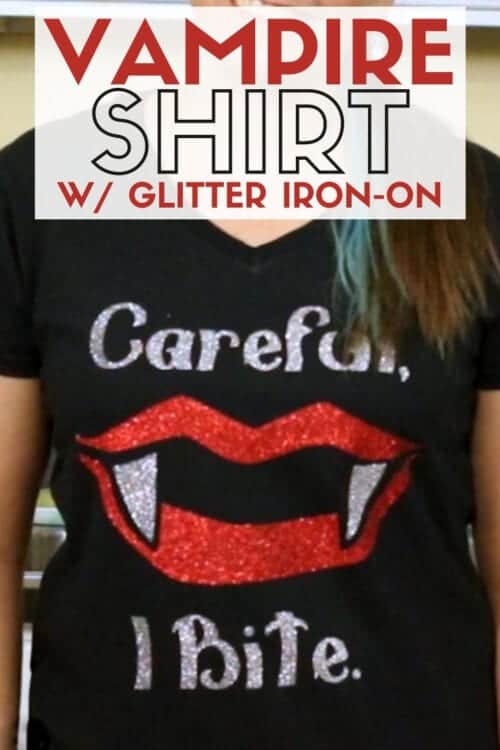
Do you dress up for Halloween? While I don't cover myself in green makeup and spend hundreds of dollars on a costume, I still like to show my Halloween spirit. This year I am making myself a fun Vampire shirt for Halloween.
And honestly, I can wear this shirt all year long, not just for Halloween!
DIY Vampire Shirt Tutorial Video
Like videos? I do have a video tutorial if you would prefer to watch the tutorial. Please subscribe to my YouTube Channel so you don't miss out on any future video tutorials!
This shirt was super simple to make and in fact, in one afternoon we all made some fun Halloween shirts!
Supplies Used: Some links may be too similar items when exact items couldn't be found online.
Supplies Used to Make a Vampire Shirt
Some links may be too similar items when exact items couldn't be found online.
- Careful, I Bite Cricut Design Space File
- Cricut Cutting Machine
- LightGrip Mat
- Red and Silver Glitter Iron-on
- Comfy T-Shirt
- BrightPad
- Heat Press
How to Make a Halloween Shirt with Heat Transfer Vinyl and the Cricut Maker
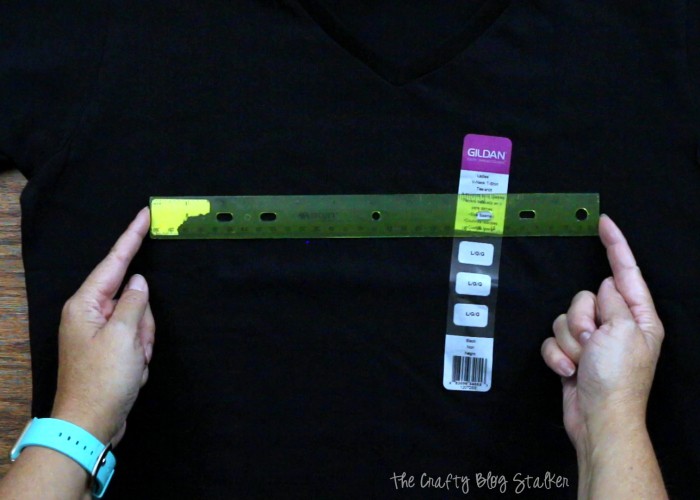
To begin, take the shirt you are going to apply the heat transfer vinyl too. Lay flat and decide how big you want the image to be. I like the image to cover as much of the front as possible.
Use a ruler to decide the size. The maximum width the Cricut can cut is 11.75 inches so it must be smaller than that.
I am applying my image to a black size large t-shirt, so my image will have a width of 11 inches. How tall your image is will depend on the image you are using.
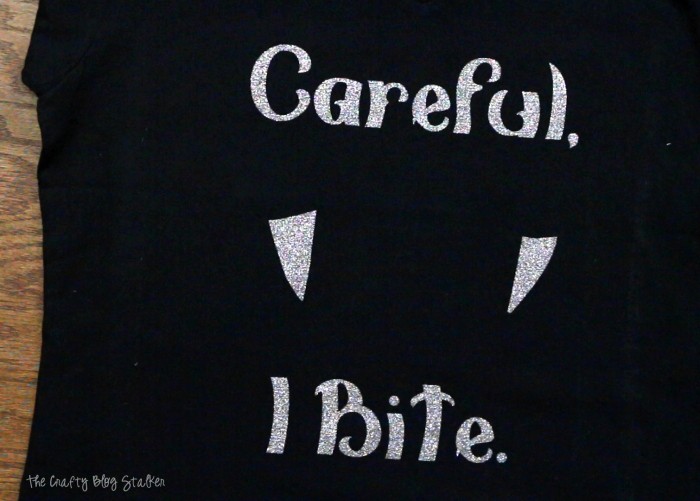
In Cricut Design Space, I designed my "Careful, I Bite image". If you'd like, you can use my image in Cricut Design Space.
My Image is already sized for 11 inches so if you would like a different size, select customize and change the desired size before you cut it out.
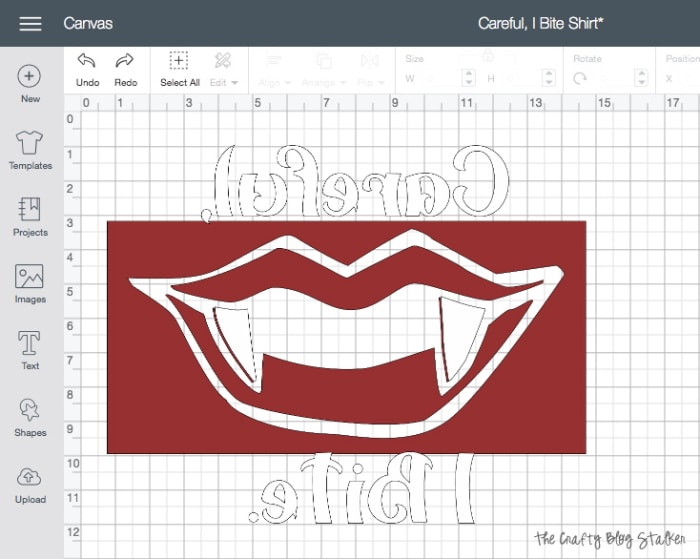
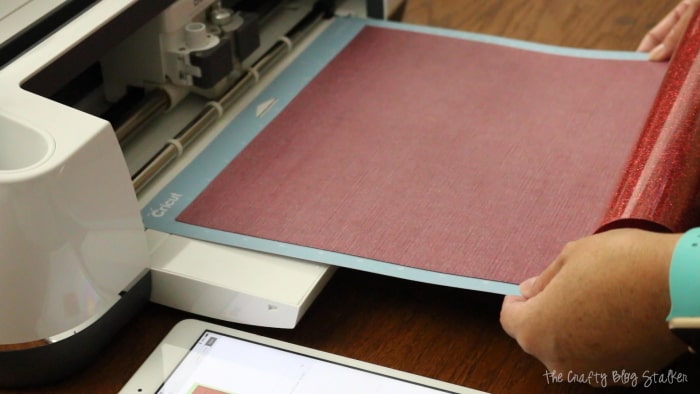
In Cricut Design Space select the green button that says Make It. Then follow the prompts telling you which mat you are cutting. The Lips I cut out using Red Glitter Iron-on. For the words and teeth, I used Silver Glitter Iron-on.
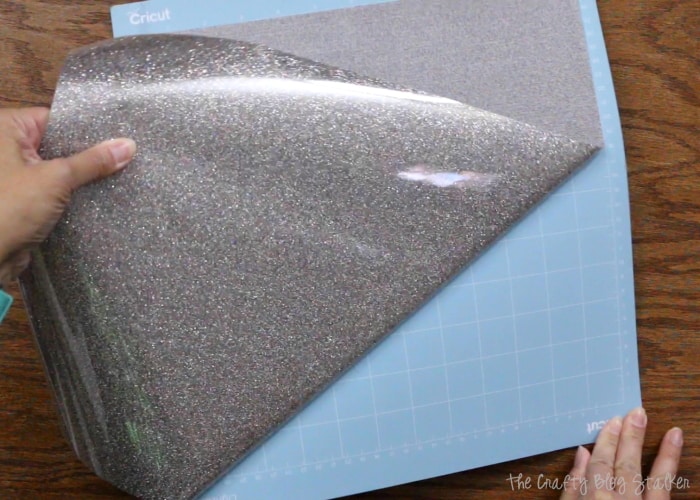
Before you cut, make sure that you are laying the shiny side down onto the cutting mat.
When the Cricut machine is done cutting, lift up the glitter iron-on from the mat. Careful not to touch the sticky parts of the mat with your hands. Replace the plastic sheet on top of the mat right away. This helps prolong the life and stickiness of the mat.
The Cricut BrightPad helps to see the cutlines when you are weeding the iron on. Weeding is the fancy term for removing the excess or the pieces you don't need.
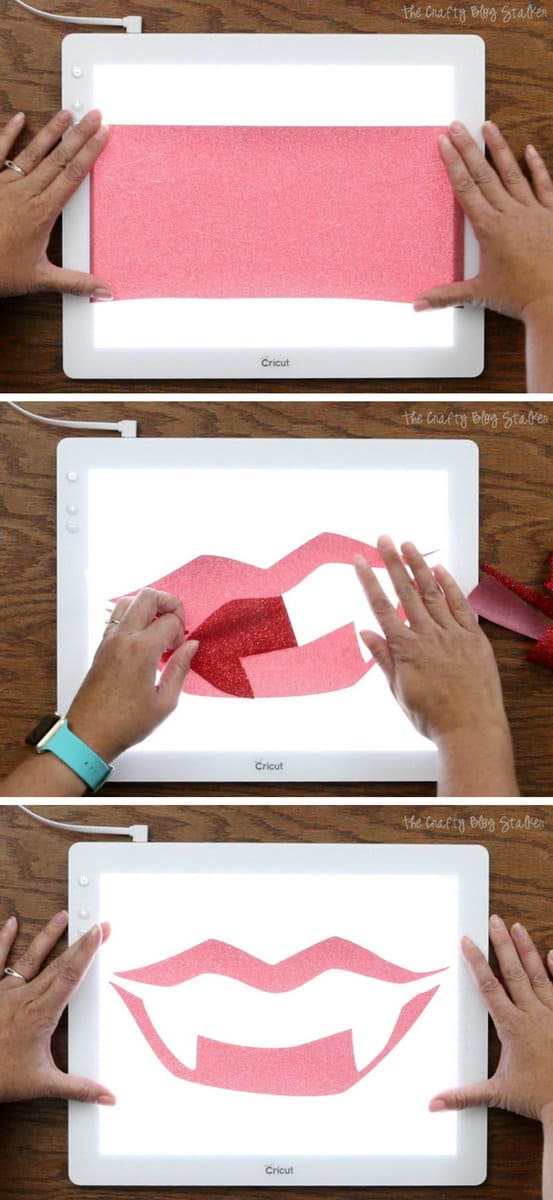
After both the red and silver pieces are weeded, its time to iron them onto your shirt!
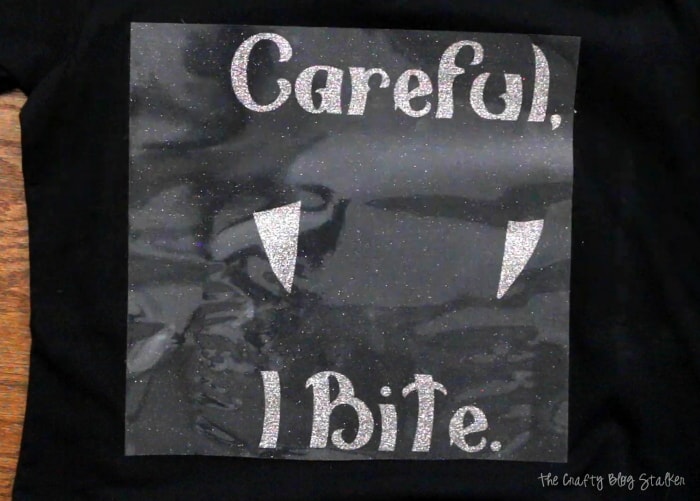
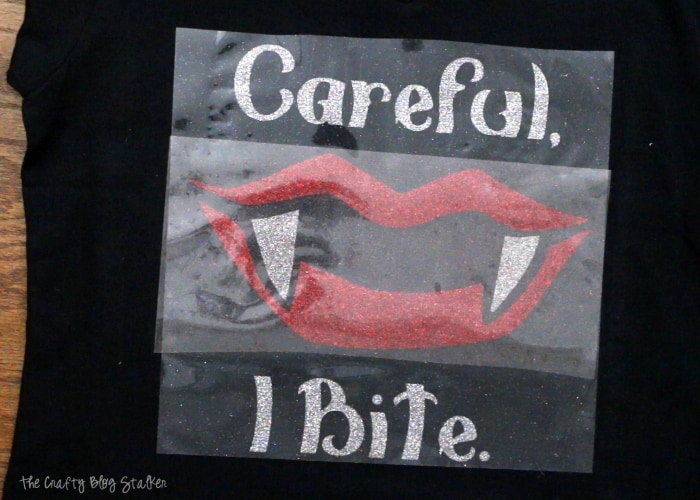
Carefully center the first layer exactly where you want it. The sheet is a little sticky, but you can still pull it up and move it around until it is right where you want it.
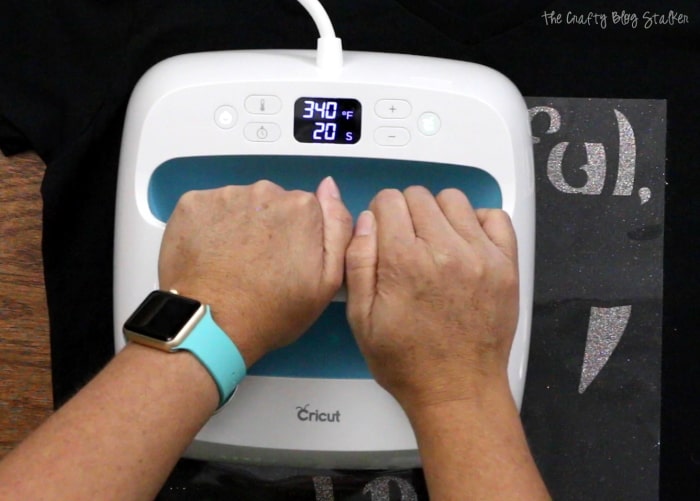
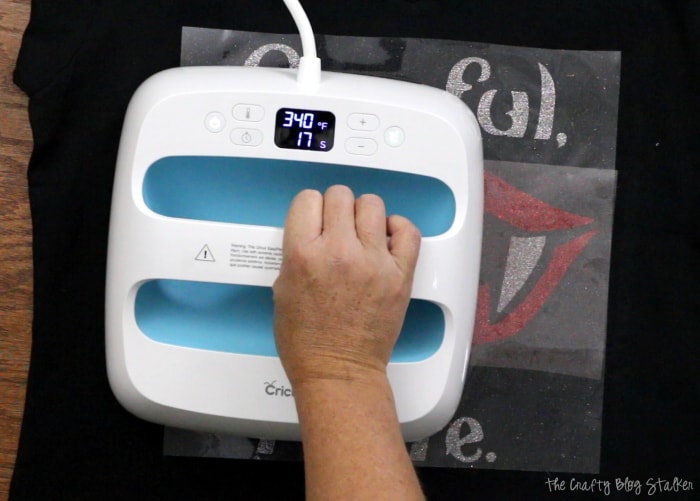
The EasyPress comes with a heat guide and according to the material of my shirt and the glitter iron-on I am using, I set it to 340 degrees and 20 seconds.
Hold and light press over each section of the image. It's really that easy!
Let the shirt cool for a minute before you remove the backing sheet.
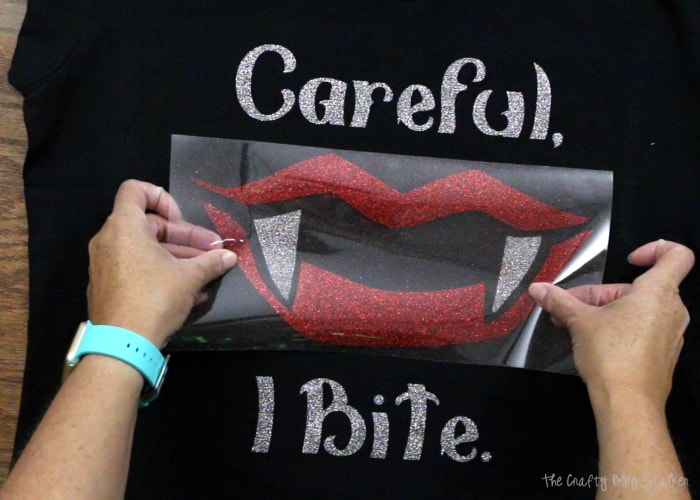
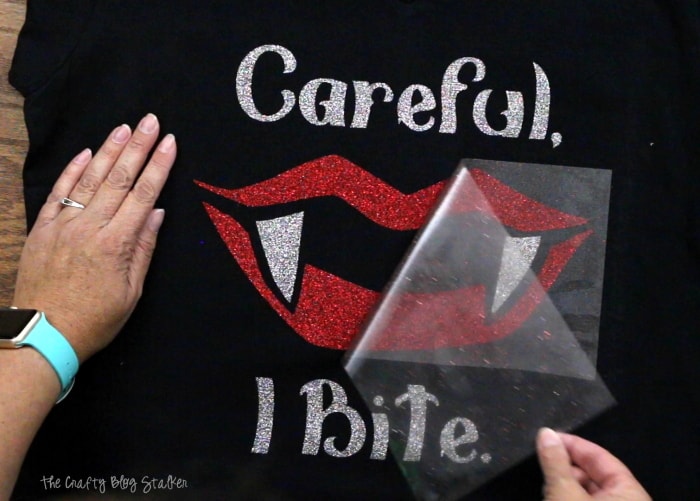
Center the red lips around the teeth and lightly press them into place.
Use the backing sheet from the Silver Glitter Iron-on and relay it down. You don't want the EasyPress directly on the silver glitter or it may damage it.
Using the same heat settings, now go over the Red Glitter Iron-on.
Again, let the iron-on cool for a moment before you remove the backing sheets.
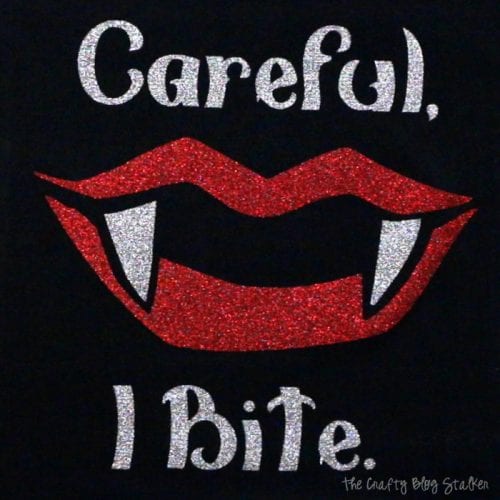
Didn't it turn out so cute!!

What image or saying would you put on a Halloween Shirt?
Crafting Essentials
- The Cricut Cutting Machine is easily my favorite crafting tool. We use it in so many of our tutorials!
- These MakerX Crafting Tools are perfect for keeping in the craft room and are always ready when needed!
- This Fiskars Paper Trimmer is easy to use and cuts nicely without frayed edges.
- These Scotch Precision Scissors cut like a dream, and you get multiple pairs in a pack!
Beth
Thank you for the very informative tutorial. I’m new to Cricut Maker projects, even though I’ve had my machine for 1 year. I’ve just been overwhelmed with the instructions. Your video is easy to follow. You’re not word and cutesy. I’m happy to have found this with all the information you share. Thank you so much,,
Katie
Thank you so much, Beth! I am so glad you found my tutorial helpful!