This post may contain affiliate links. For more information, please see our disclosure policy.
Make a pair of fun skeleton shoes using iron-on vinyl and your Cricut! A step-by-step tutorial and video.
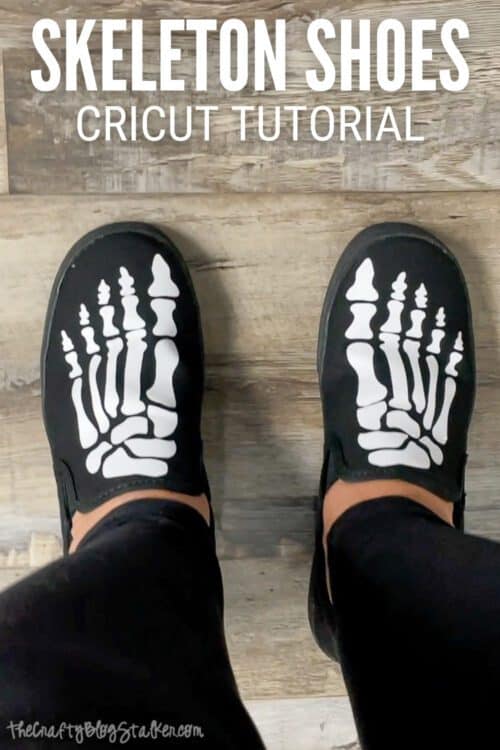
Decorating shoes is fun any time of year, but especially when it's Halloween!
Whether you are making these skeleton shoes as a part of a costume, or just to wear for fun, these shoes are sure to impress!
Craft Tutorial Video:
Like videos? I have a video tutorial for you! Please subscribe to my YouTube Channel so you don't miss out on any future video tutorials!
Supplies You'll Need to Create this Project:
This post contains affiliate links.
- Cricut Explore or Maker
- Free Skeleton Feet SVG
- White Iron-on Vinyl
- Black Slip-on Sneakers
- StandardGrip Mat
- Weeding Tools
- EasyPress Mini
- Rags
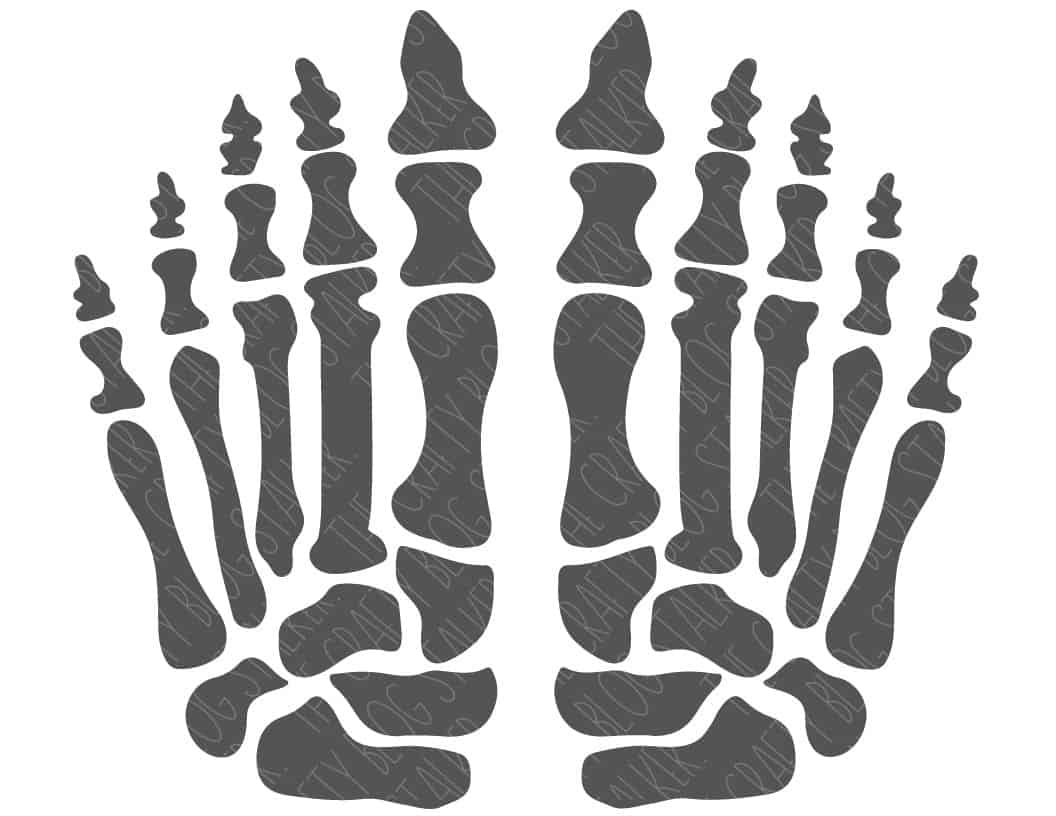
Cut the File in Cricut Design Space:
Upload the SVG file into your cutting software, I use Cricut Design Space.
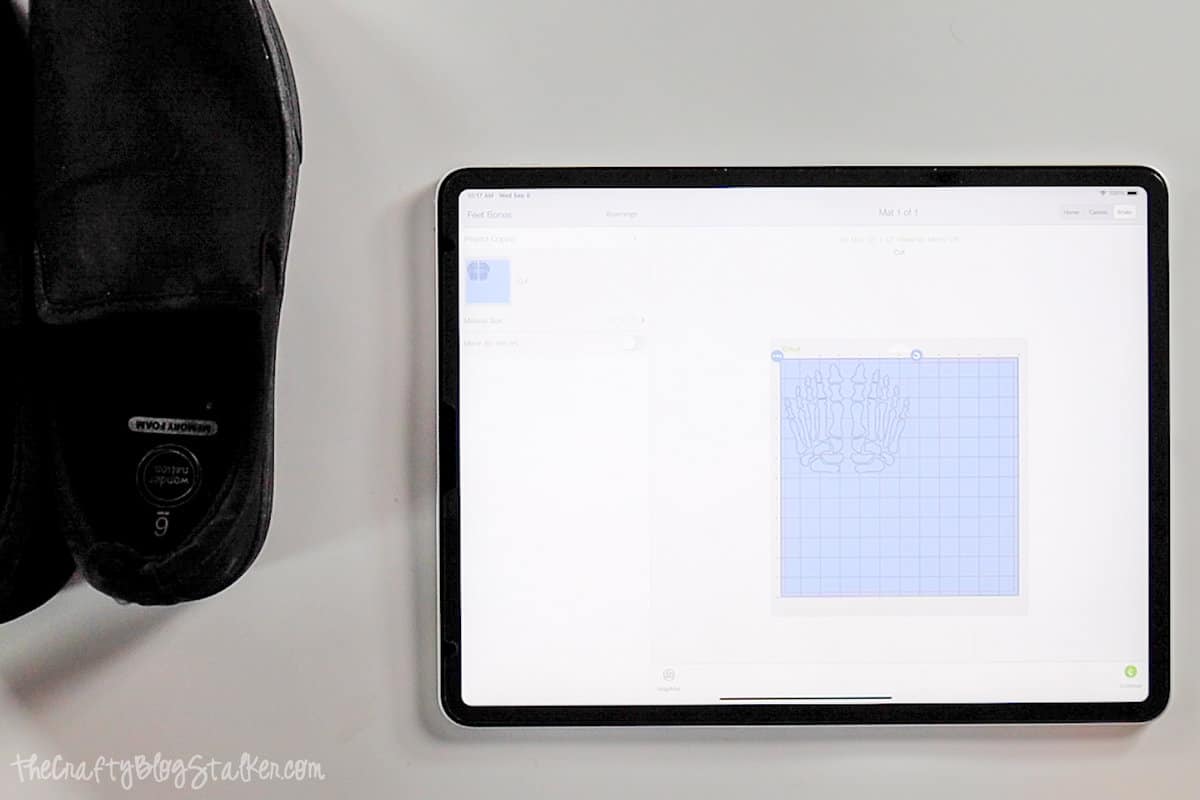
Measure the top/front of the shoe and size the file accordingly.
I printed a copy first, just to make sure it would fit right but that is completely optional.
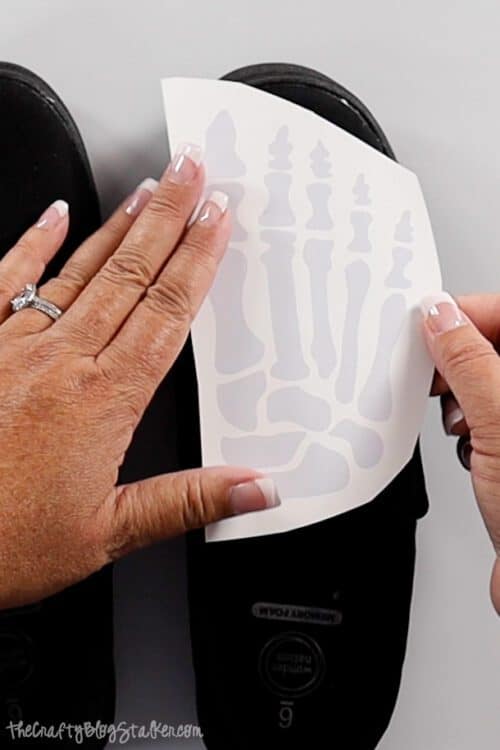
Mirror the design, and cut out of iron-on vinyl.
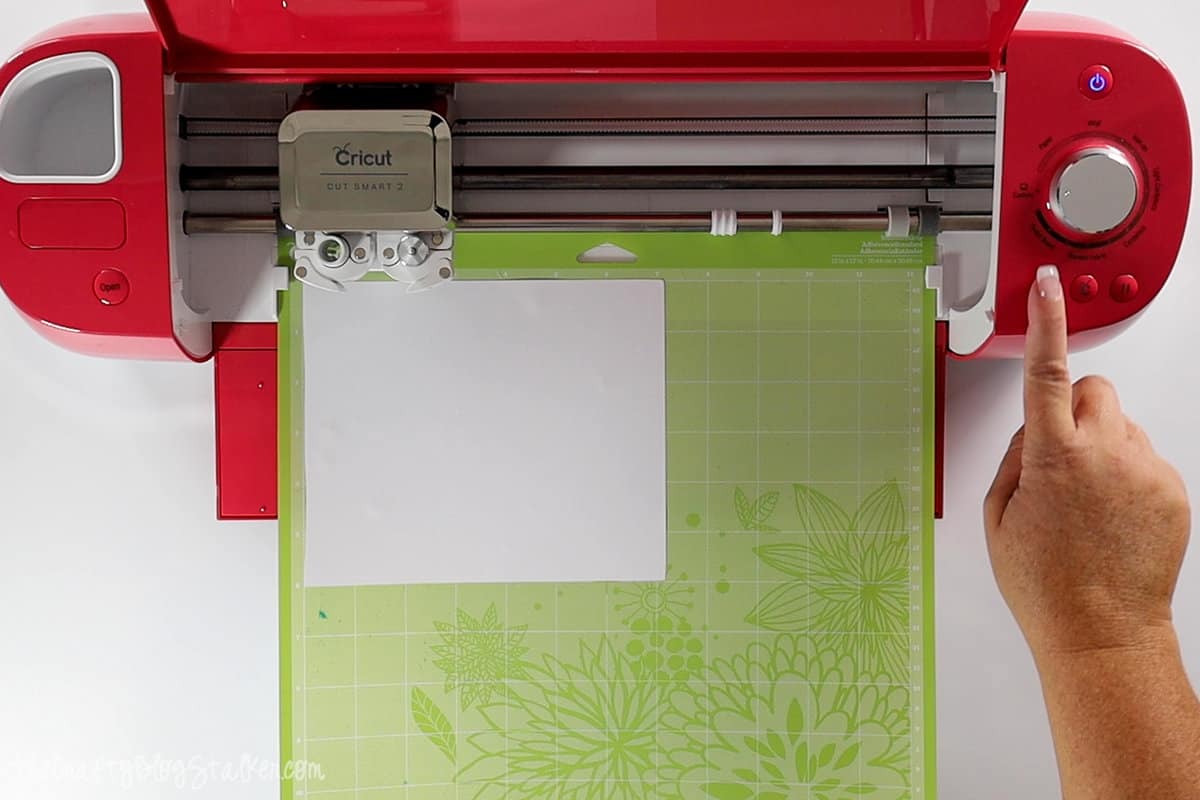
Weed the design, and then cut the feet apart.
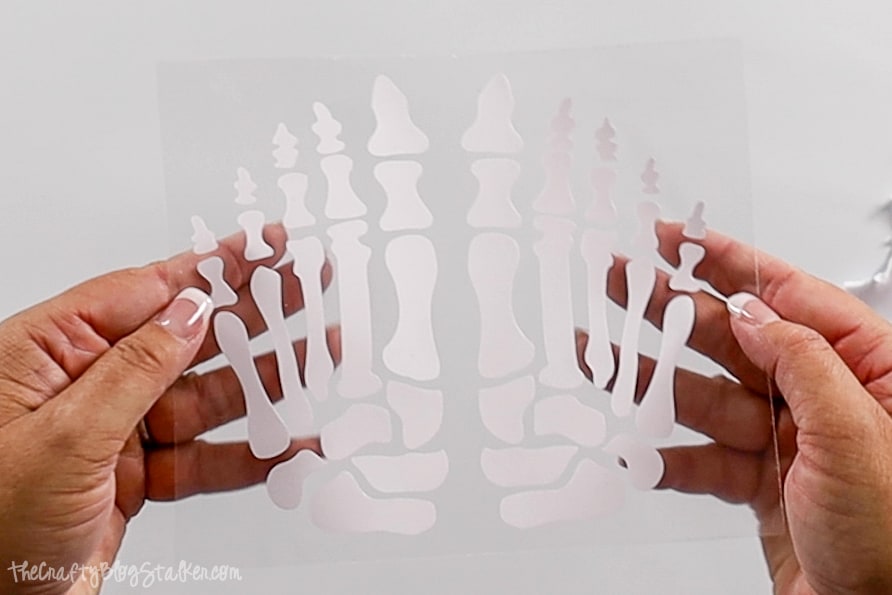
Applying the Design to the Shoes:
Place the shoes on the table how they would go on your feet. Then place a skeleton foot on each shoe.
You want to make sure that the left skeleton foot is going on the left shoe, and the right skeleton foot is going on the right shoe. Otherwise, your shoes will look backward.
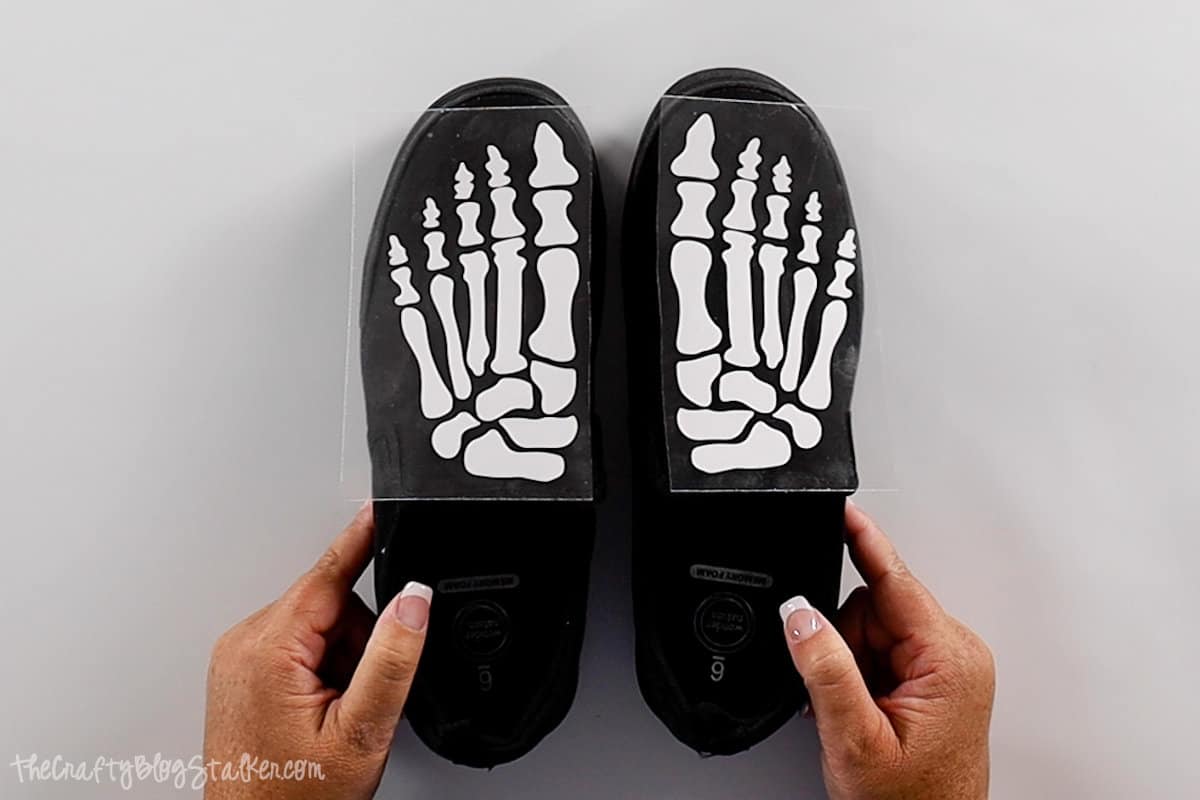
Start on the left shoe.
Stuff the shoe with rolled rags. You want the canvas of the shoe to be stretched tight and firm.
Cut the skeleton foot into three pieces, the ankle, the middle, and the toes.
Arrange the skeleton foot pieces on the shoe where they look best.

Start with the ankle bone and press it into place using the EasyPress Mini.
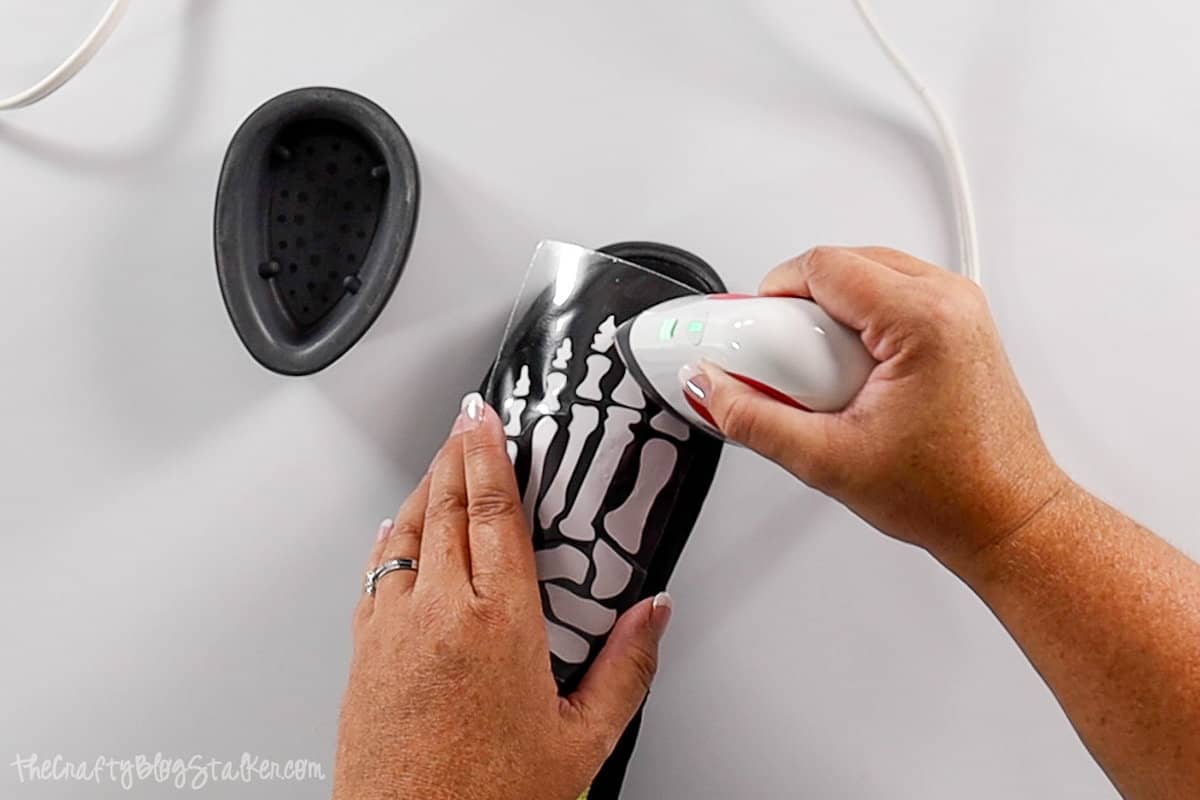
Continue applying heat to all of the pieces down to the toes.
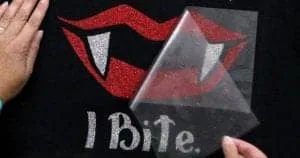
Wait until the backing sheet is cool to the touch before you begin peeling it back.
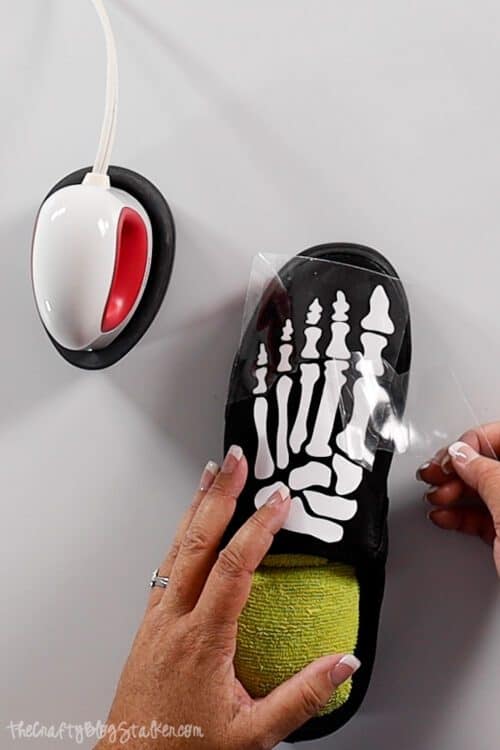
Repeat the above steps with the right shoe.
Now you have a pair of skeleton shoes! Aren't they so cute?
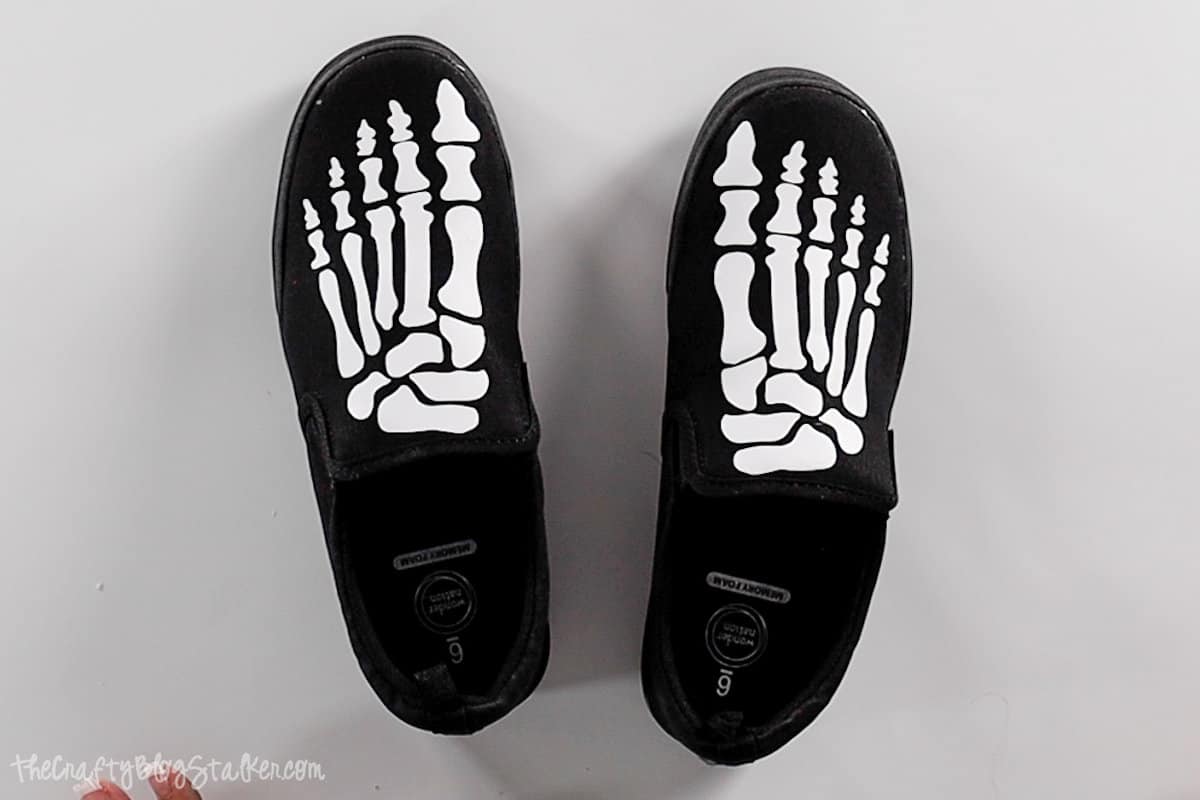
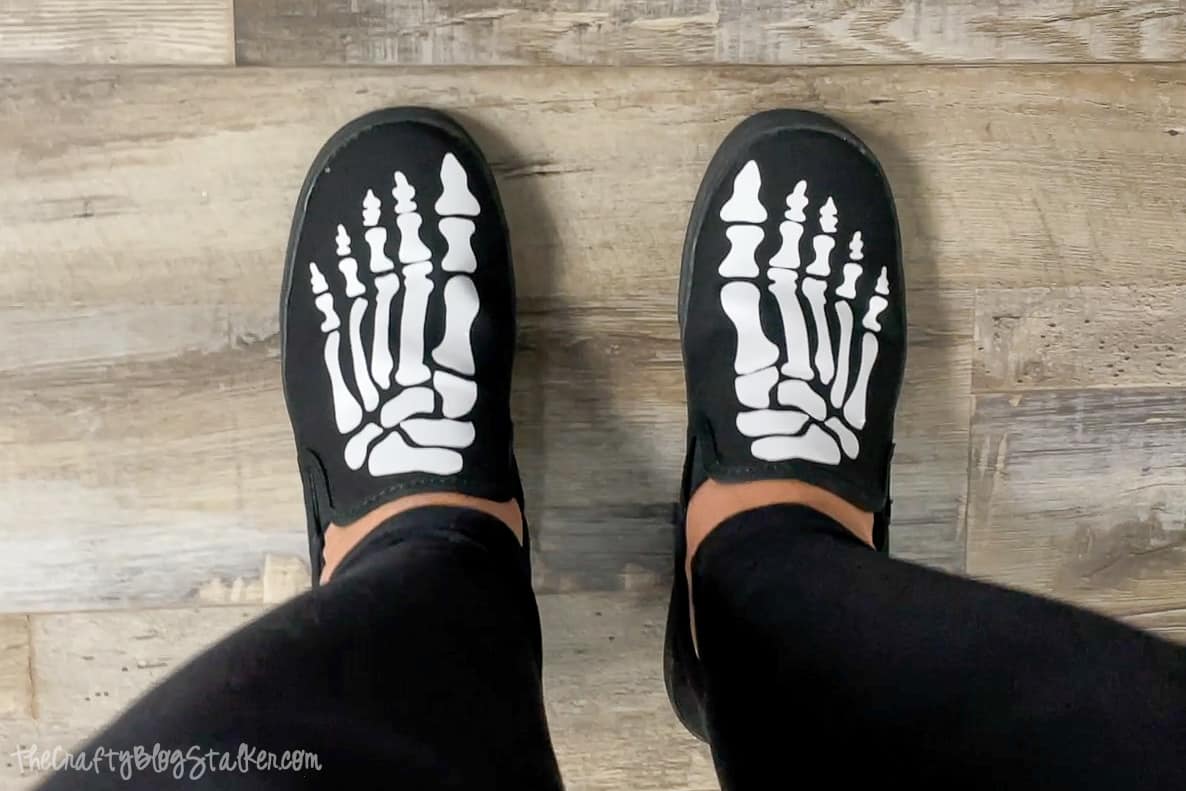
I couldn't wait to put them on!
Our Crafting Essentials:
- The Cricut Cutting Machine is easily our favorite crafting tool. We use it in so many of our tutorials!
- These MakerX Crafting Tools are perfect for keeping in the craft room and are always ready when needed!
- This Fiskars Paper Trimmer is easy to use and cuts nicely without frayed edges.
- These Scotch Precision Scissors cut like a dream, and you get multiple pairs in a pack!




Leave a Reply