Celebrate the USA with a Large DIY Patriotic Paper Rosette made with the Cricut Maker! Paper Medallions are a great Wall Hanging or for the Front Door.
Complete step-by-step instructions and video tutorial below!
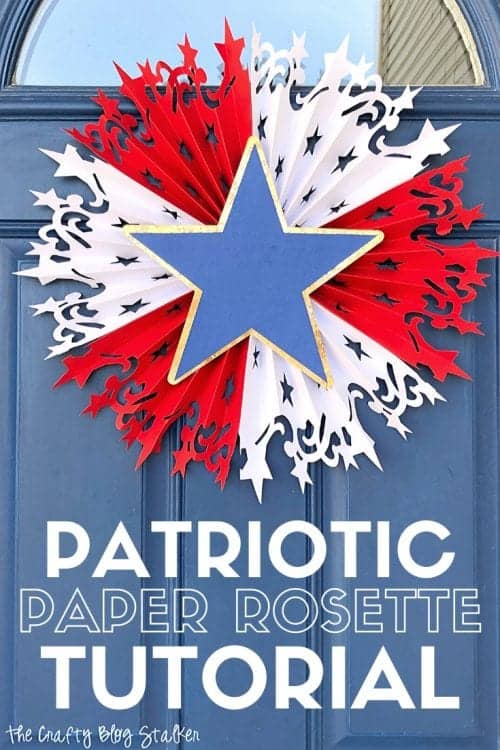
Red, white, and blue are the perfect summer colors. Whether you are celebrating Memorial Day, Independence Day, or Veterans Day there is always a reason to show off those beautiful patriotic colors!

AD: Shop Cricut.com
Large DIY Patriotic Paper Rosette Video Tutorial
Like videos? I have a video tutorial for you! Please subscribe to my YouTube Channel so you don't miss any future video tutorials!
Supplies Used to Make a Large DIY Patriotic Paper Rosette
Items linked below may go to similar items when exact items couldn't be found online. Links are affiliate so when you purchase, I will get a small kickback to help fund the next tutorial!
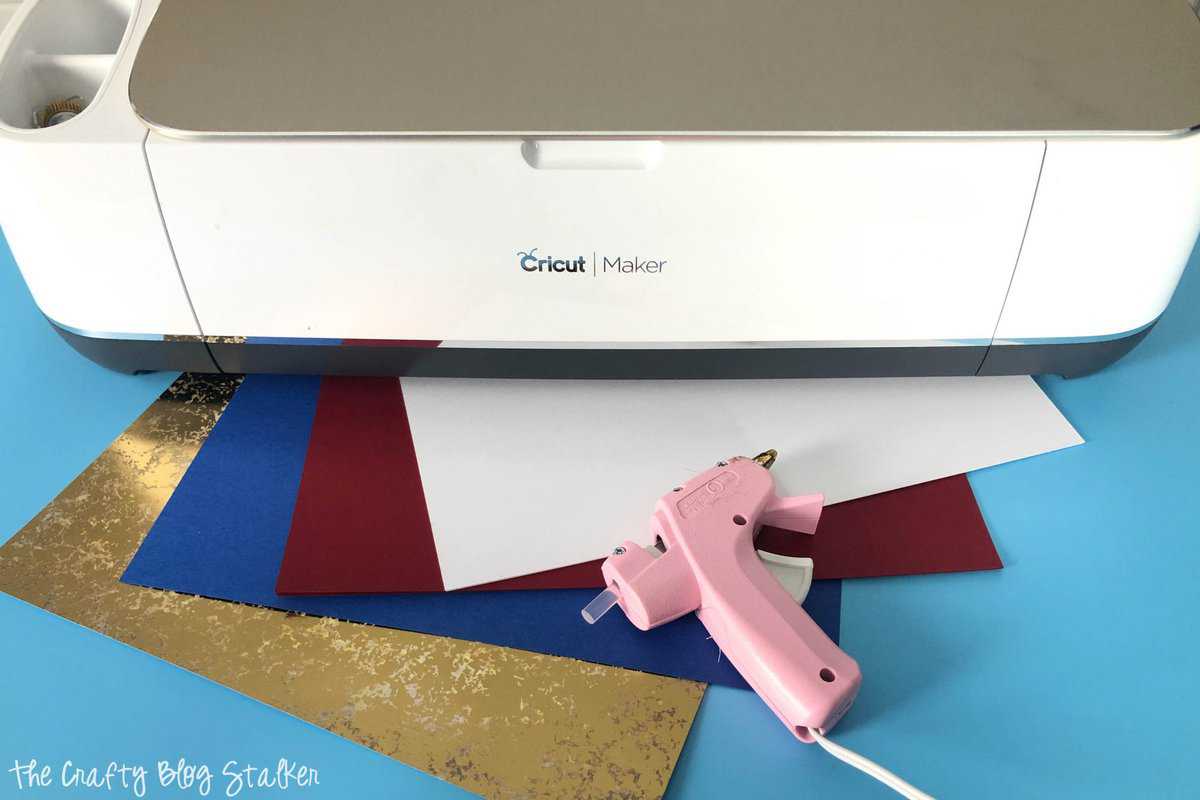
- Cricut Maker
- Cricut Design Space
- Scoring Blade 01
- White, Red, and Blue Cardstock
- Foil Embossed Cardstock
- Hot Glue Gun
- Foam Dots
- Bone Folder (optional)
Cutting the Design with the Cricut Maker
Open the "Patriotic Rosette" Canvas in Cricut Design Space.
The finished size of this rosette is 20 inches wide, but you can resize the design however you need it.
Select "Make It" to cut as is, and "Customize" to resize.
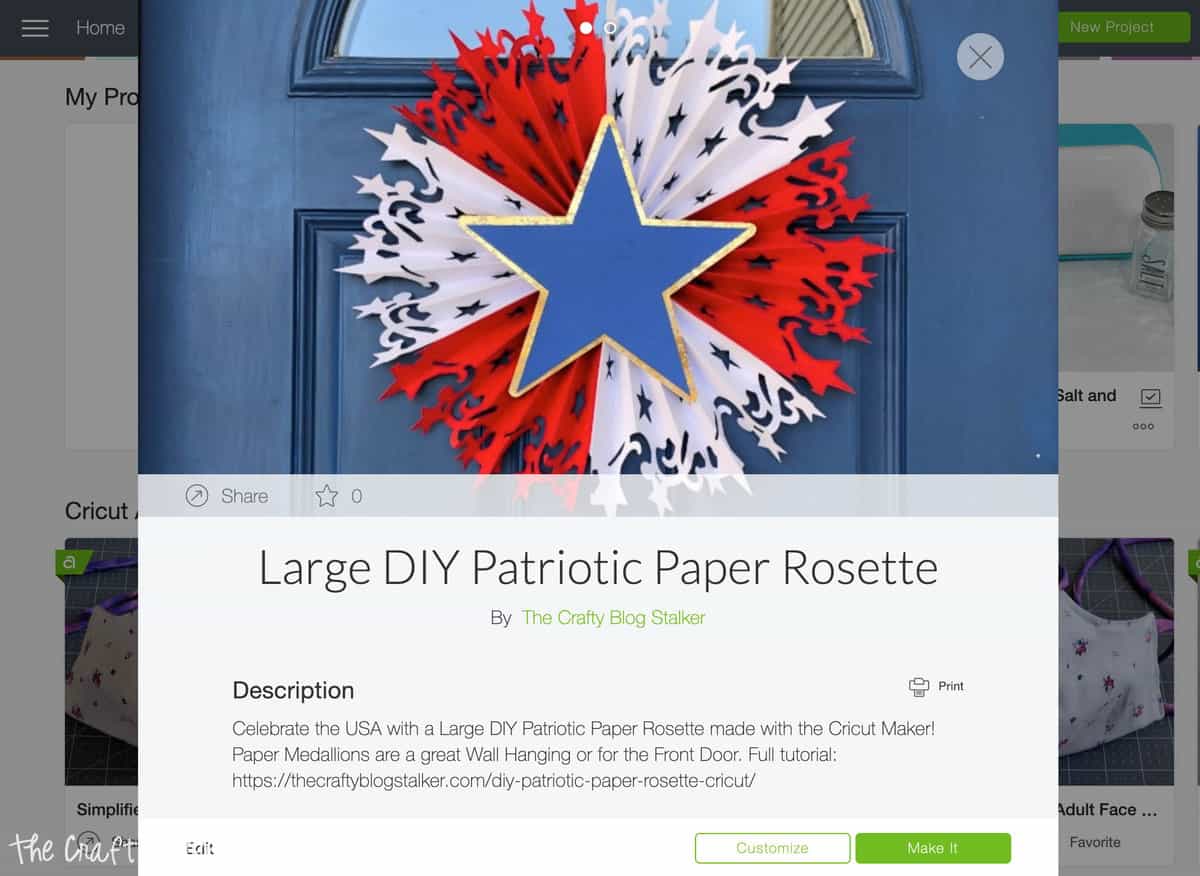
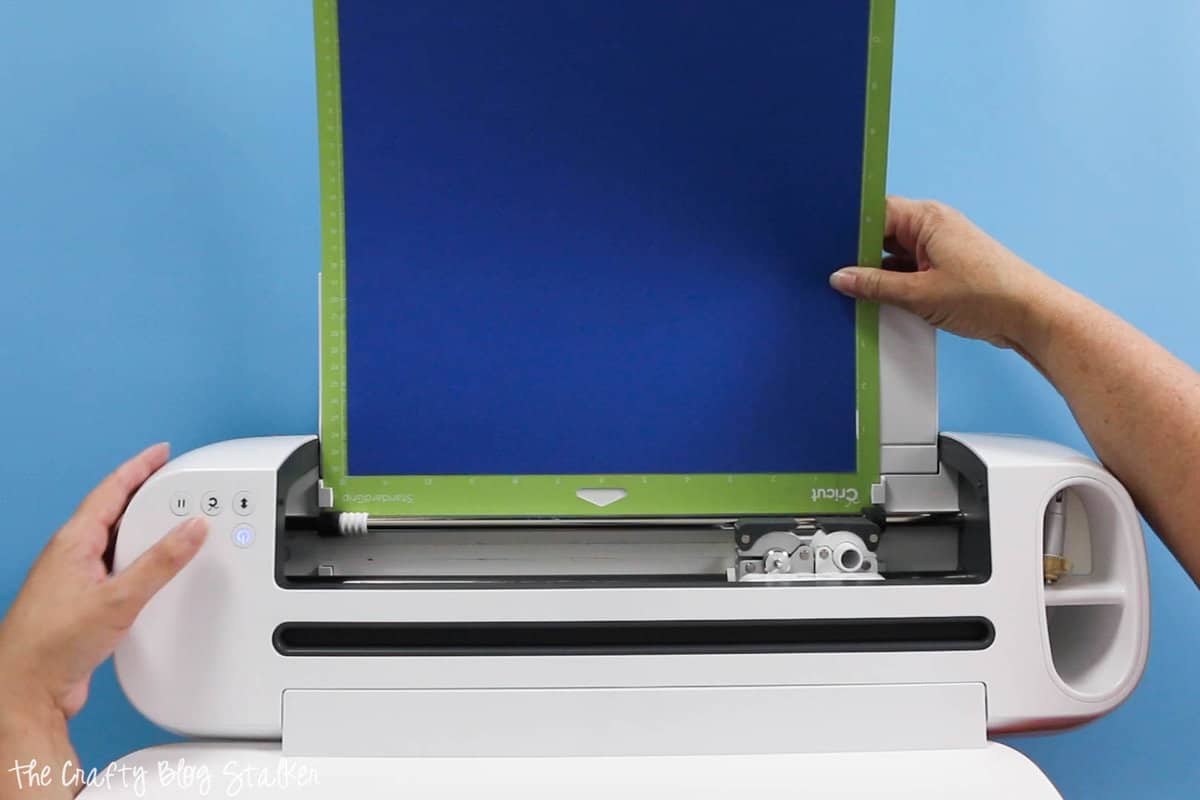
Follow the prompts from Cricut Design Space. It will tell you which blade to use and what color of paper to load as well.
Here are all of the pieces once they are cut out on the Cricut Maker.
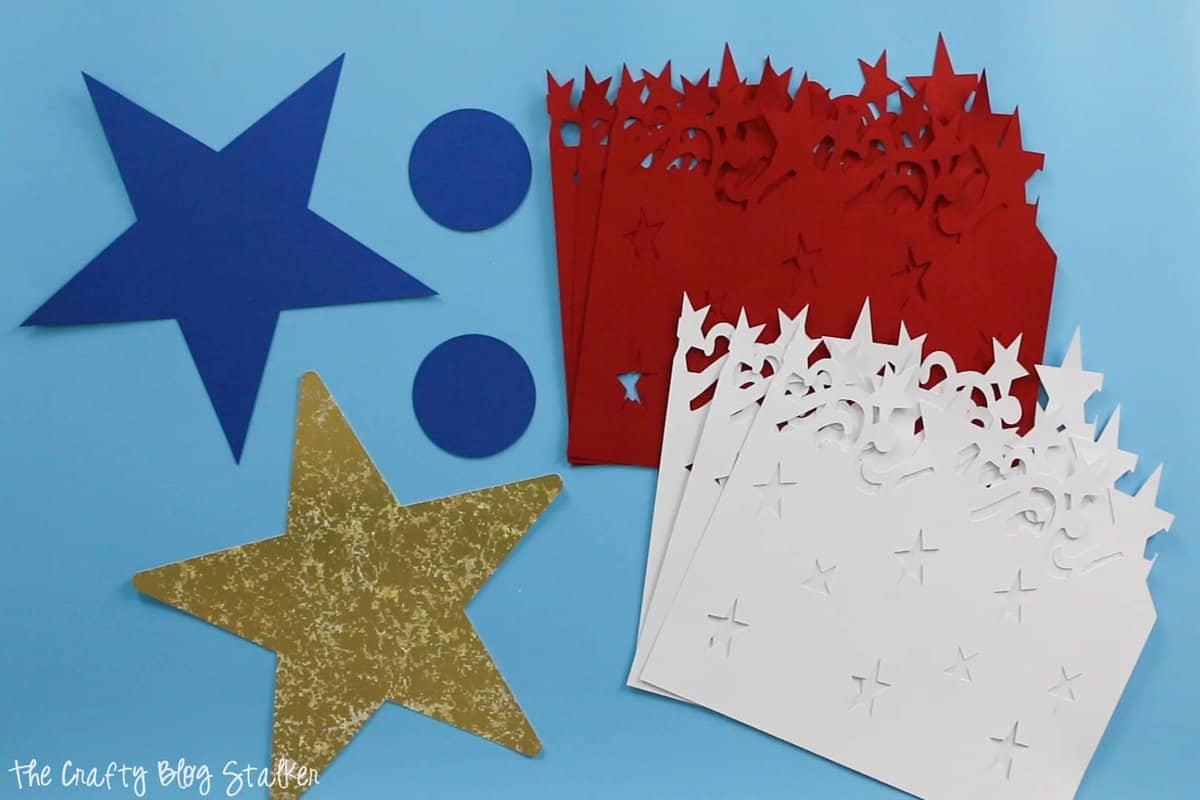
Creating the Paper Rosette
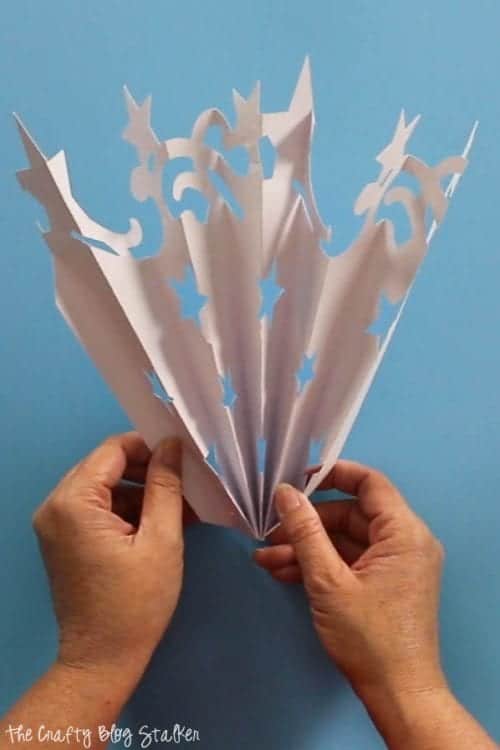
The rectangle pieces are the base of the rosette. Accordion fold each of the red and white pieces, making sure that they are all folded the same way.
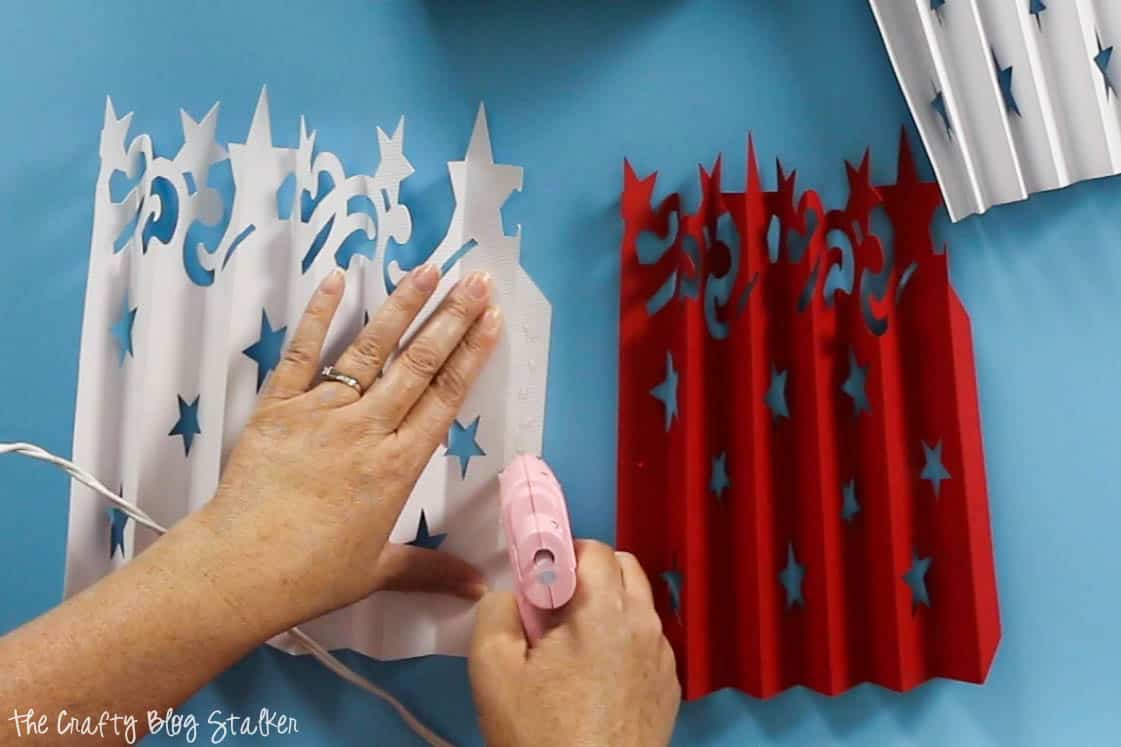
Apply hot glue to the tab and attach the next folded piece. I went red, white, red, white... for my rosette.
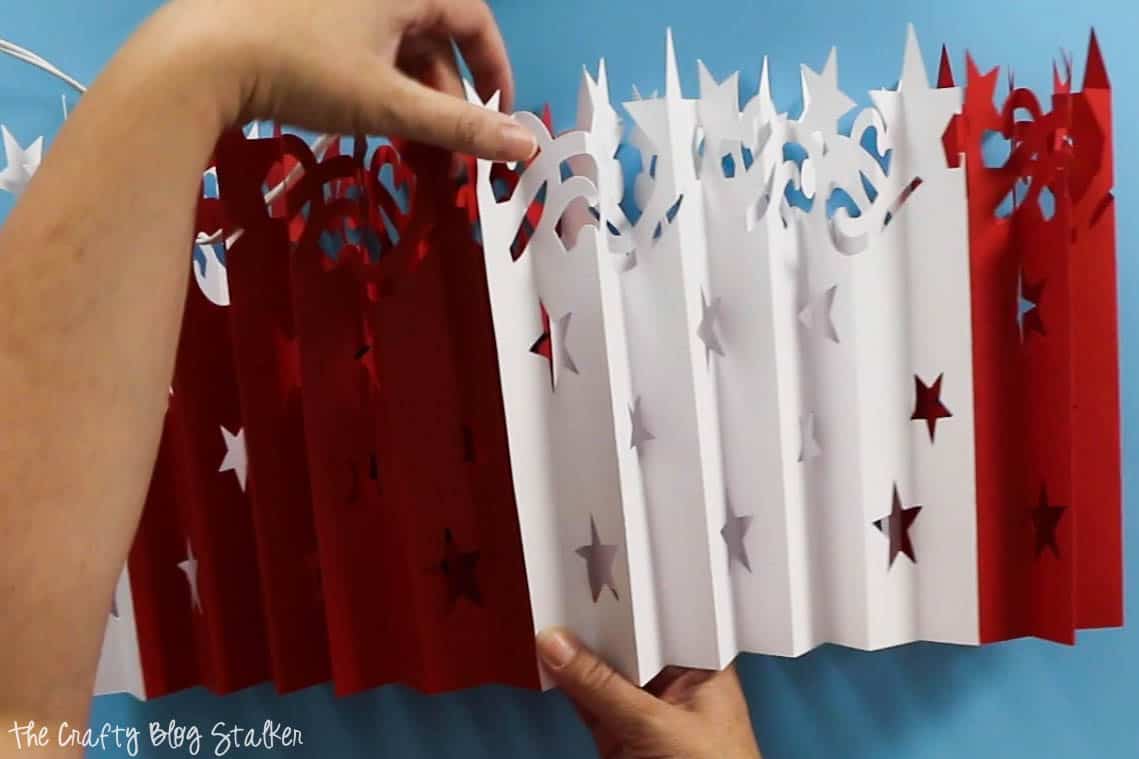
When you come to the end, attach both ends so you have a loop.
Lay the loop of paper on the table with the flat edge against the table.
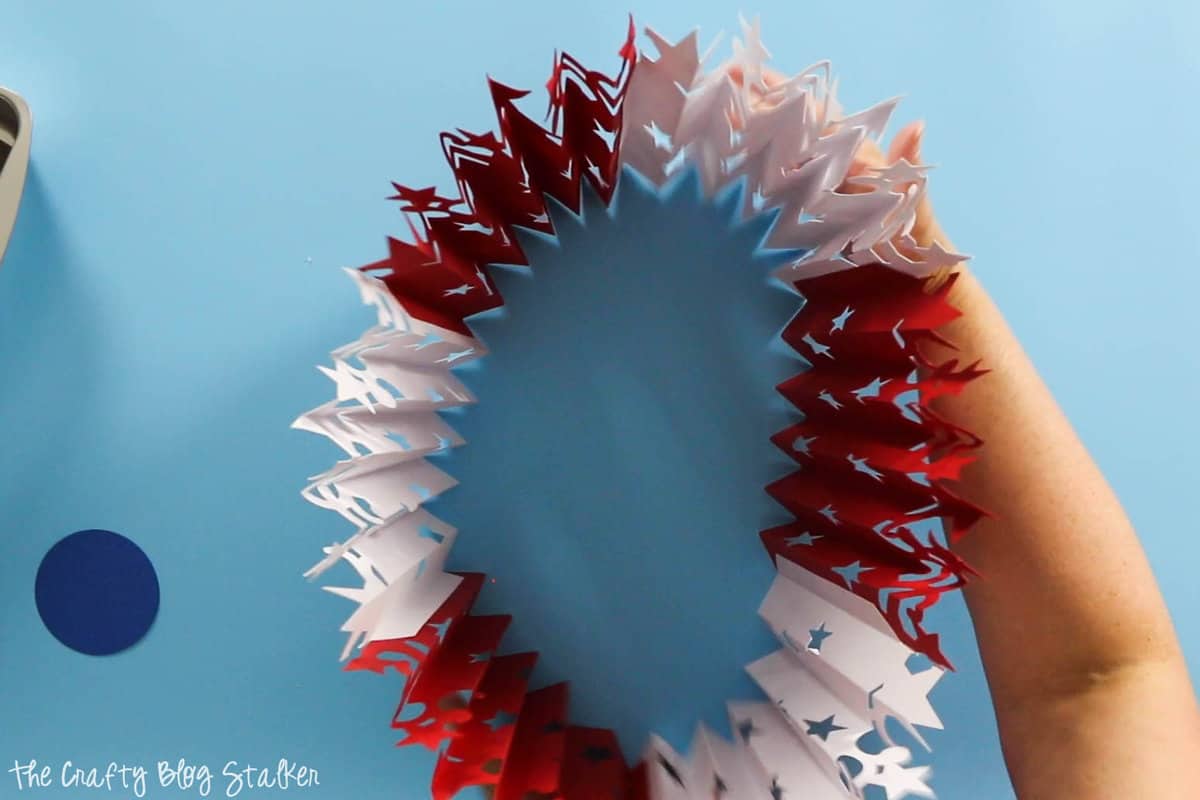
Squish the base of the loop together and push the top out. This is a little tricky, and you'll wish you had an extra hand, but it can be done. Watch the video above if you are running into problems.
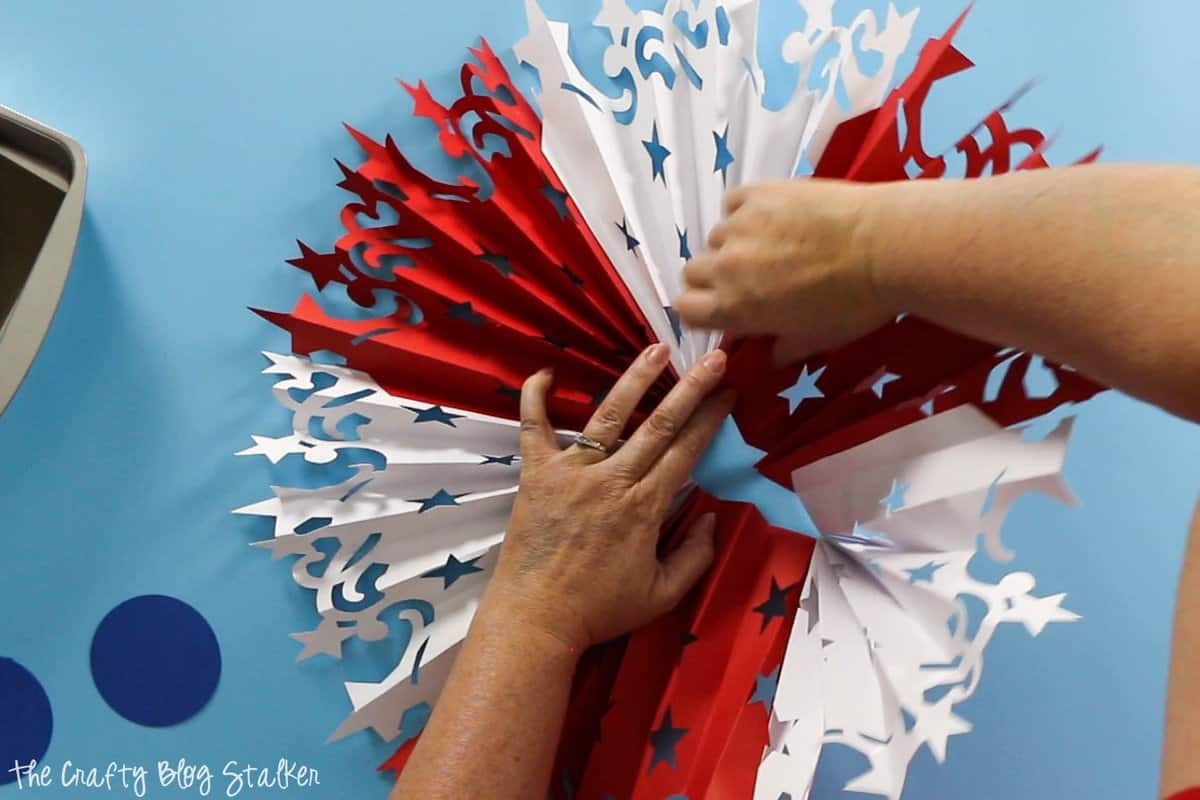
While holding the rosette flat with one hand, apply a circle of hot glue to the blue circle. (Yup, this part is tricky too)
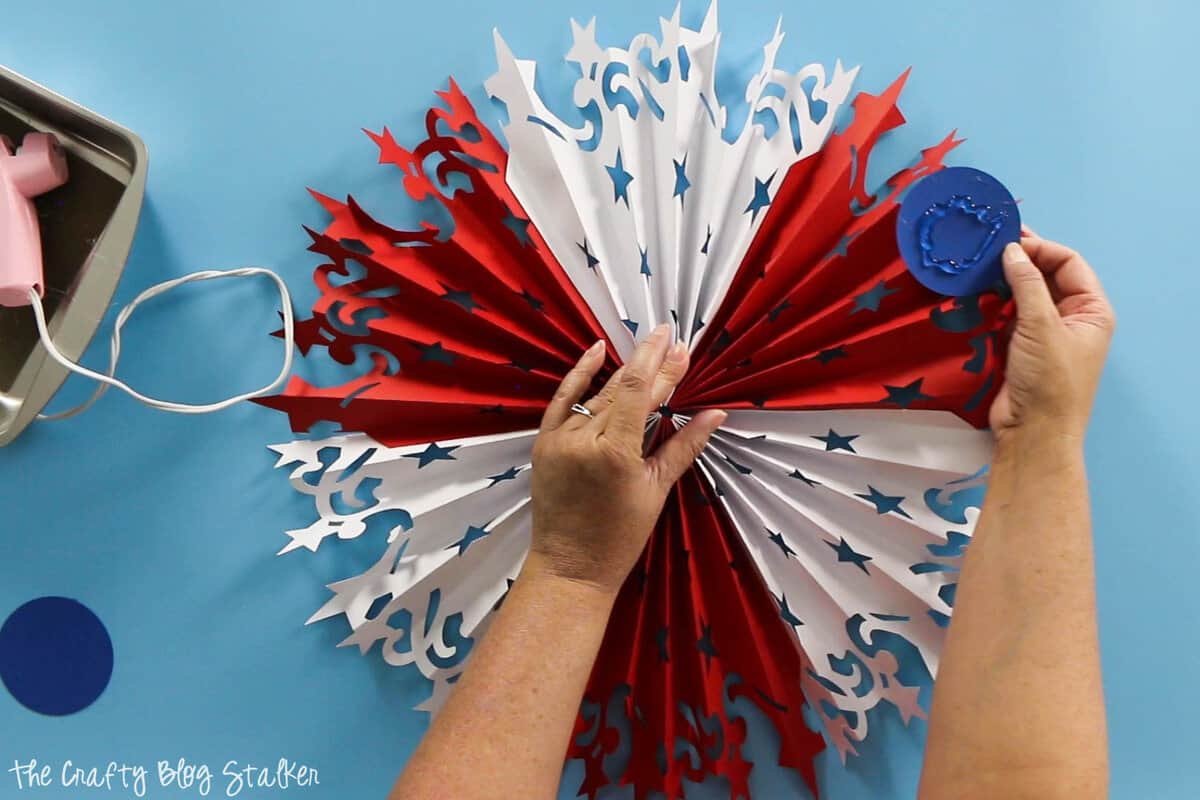
Lay the hot glue circle over the center of the rosette and hold it in place until the glue is cooled and will hold the rosette.
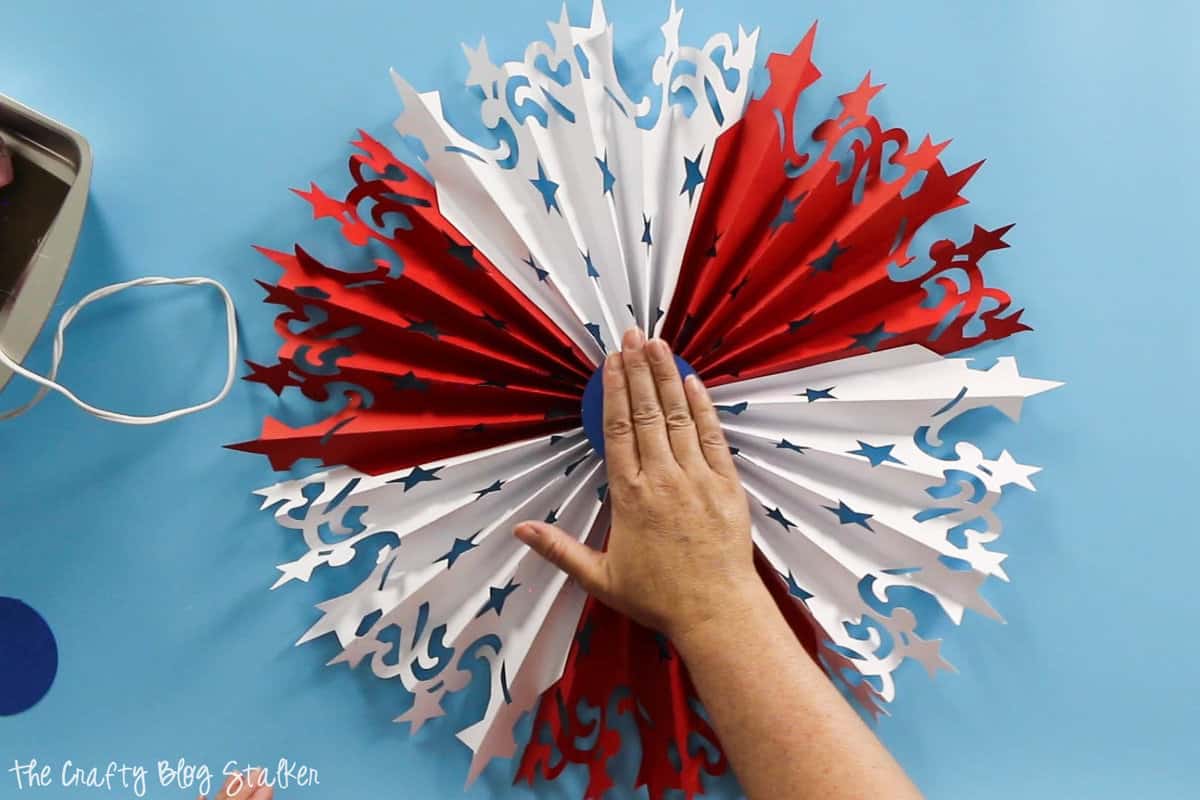
Flip the rosette over and repeat the hot glue on the second blue circle, and apply to the center of the rosette. These two circles will hold your rosette together.
Adding the Star
Apply Adhesive foam dots to the blue star. The foam dots will give the star some dimension and make it pop up off of the background accent star.

Center the blue star over the accent star and press to stick together.
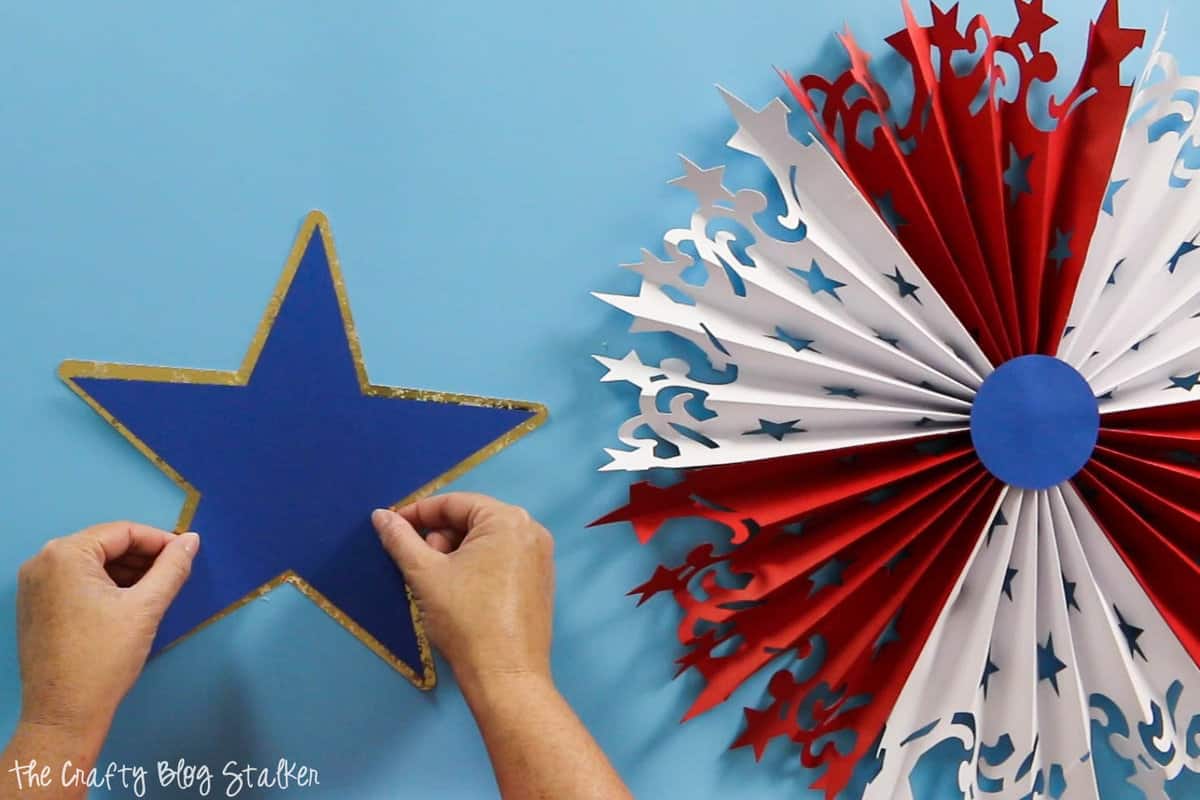
Before you add the star you want to make sure that you have the rosette right-side facing up. You will be able to see the tabs on the back side, so place those facing the table.
To add the star to the rosette, apply a glob of hot glue to the center blue circle and lay the star on top.
To center, the top peak of the star should meet a seam and the two inward side points should also hit a seam.
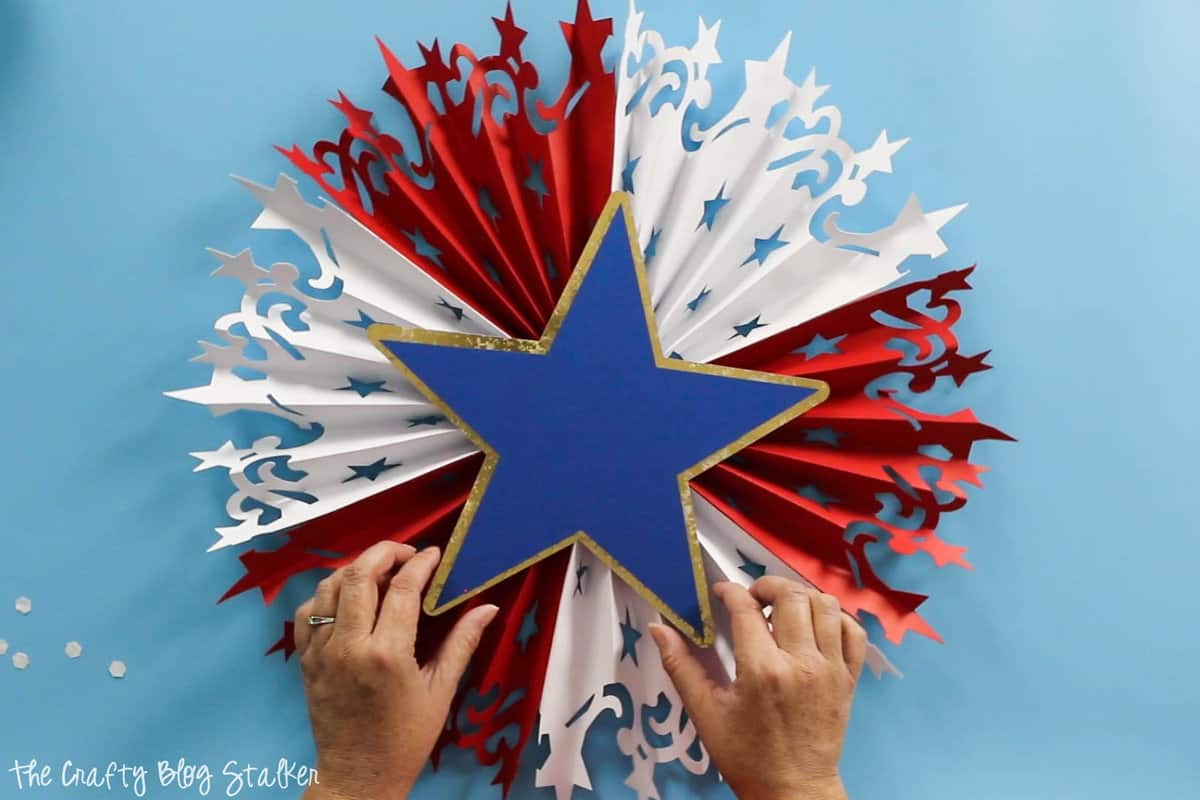
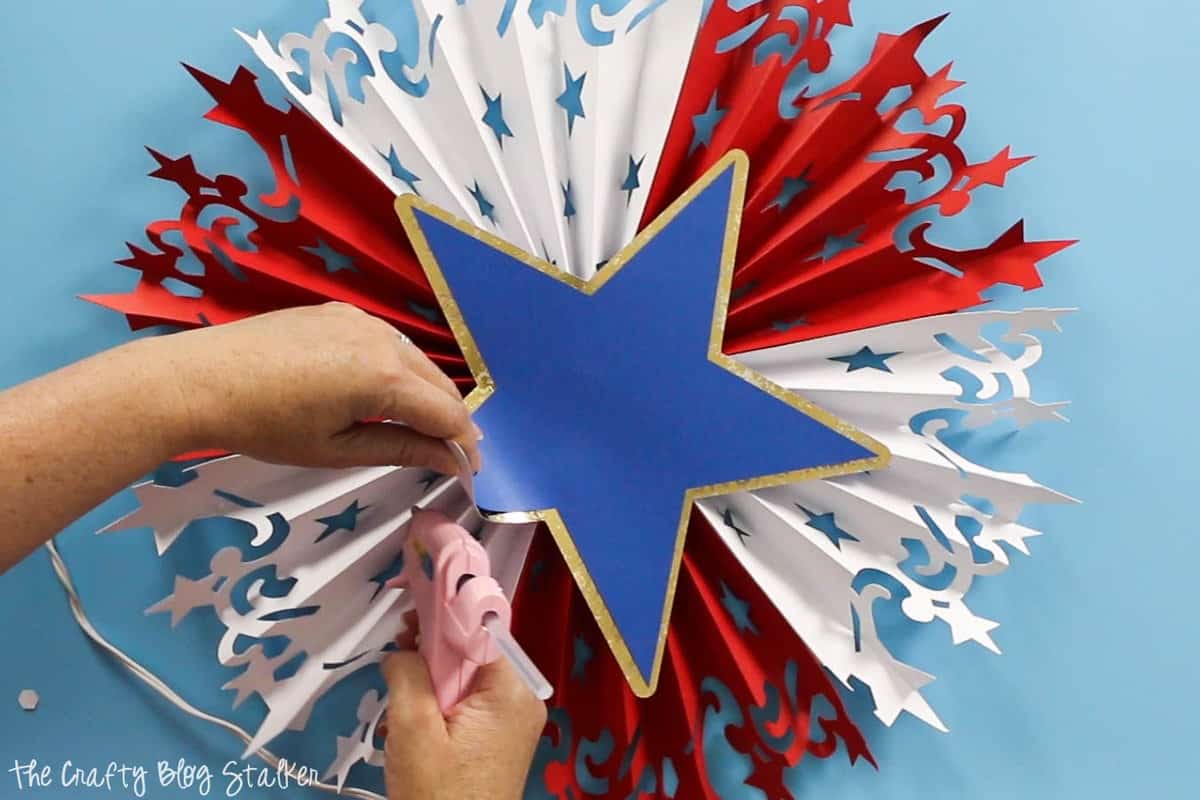
To secure the star in place, run a line of hot glue at the accordion peaks under the star.
I decided to hang mine on my front door, and I absolutely love it!
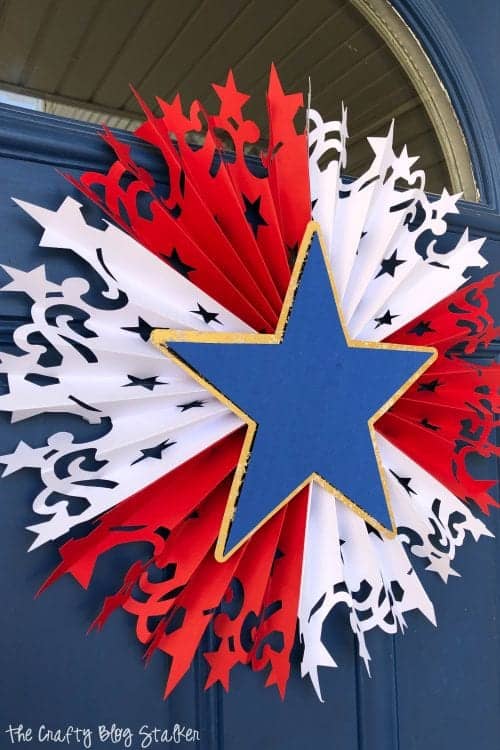
I live in a very dry area. If you live in a humid area, I'm not sure how the paper will hold up long term outdoors.
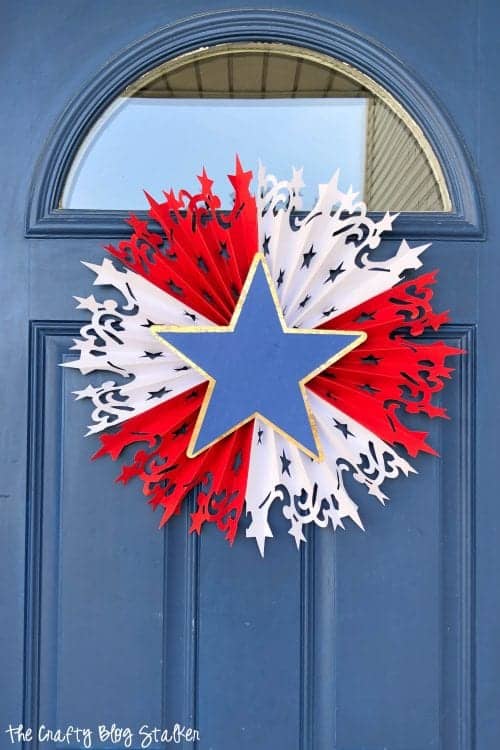
Where will you hang your DIY Large Patriotic Rosette?
Our Crafting Essentials:
- The Cricut Cutting Machine is easily our favorite crafting tool. We use it in so many of our tutorials!
- These MakerX Crafting Tools are perfect for keeping in the craft room and are always ready when needed!
- This Fiskars Paper Trimmer is easy to use and cuts nicely without frayed edges.
- These Scotch Precision Scissors cut like a dream, and you get multiple pairs in a pack!







Dionne
For some reason I'm not able to locate the Cricut file. Have you removed it?
Katie
Hi Dionne, Here is the link: https://design.cricut.com/landing/project-detail/5e99ef3e818cc3095c3a2cd6
You will need to login to Cricut Design Space. But once logged in, and you open Cricut Design Space it will take you to the design.
Let me know if you have any more questions.
Diane
I found a way to help me with the rosette part. I ran a needle and thread through the bottom of the folded part, about 1/4'' from the bottom edge and pulled it almost closed before gluing the last tab. That way, it was already lying flat, and I adjusted it before gluing the blue circle. Then I pulled the thread out. Viola! Ready to finish.
Katie Adams
Great tip! Thanks Diane.
Shirl Lundstrom
Just made this! Love it! Huge!
Katie Adams
I am so glad that you love it!