This post may contain affiliate links. For more information, please see our disclosure policy.
Learn how to make a colorful paper flower wreath to hang on your front door this summer. You can make all the flowers on your Cricut Explore with free pattern files available here. This is a fun project that looks it took a long time to make, but it's actually pretty easy.
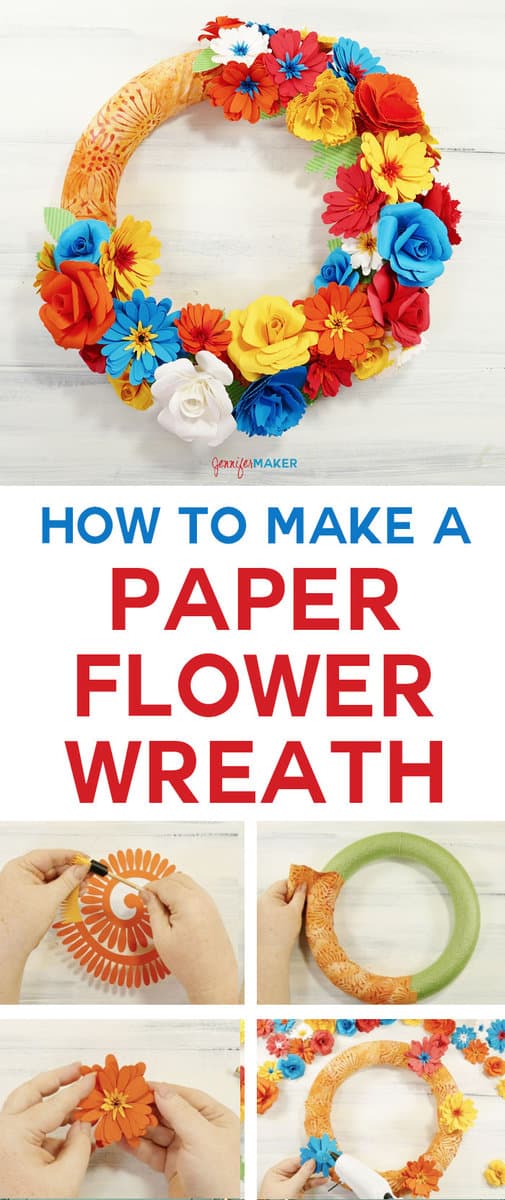
Hello, my name is Jennifer and I blog over at JenniferMaker.com. I love to design fun papercrafts for my Cricut and to share them with everyone through my detailed tutorials and videos. And I'm so excited to share this pretty summer wreath with you! This wreath features paper daisies, roses, and carnations, all of which I've designed by studying actual flowers so they look realistic.
Supplies Used: Some links may be too similar items when exact items couldn't be found online.
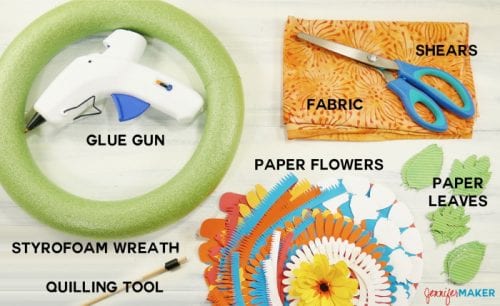
- 12 to 14-inch Styrofoam Wreath Base
- ½ yard of Cotton Fabric in a complementary color and pattern
- Core'dinations 8.5" x 11" Card Stock
- Glue Gun and glue sticks
- Quilling tool (here's how to make your own DIY quilling tool)
- Scissors
- Flower and leaf SVG files (here are links to the free flowers I designed: rose, carnation, daisy, and leaf assortment)
- Cricut Cutting Machine
I think it's easier to watch than explain, so here's a short video I made that shows you how to roll a paper flower.
How to Make a Paper Flower Wreath
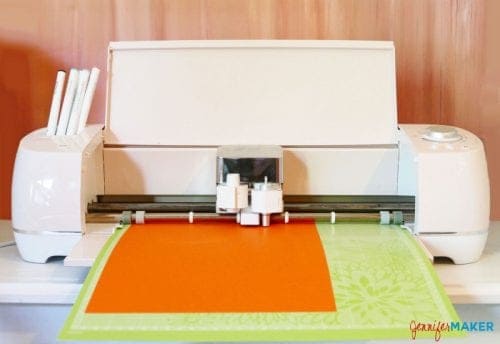
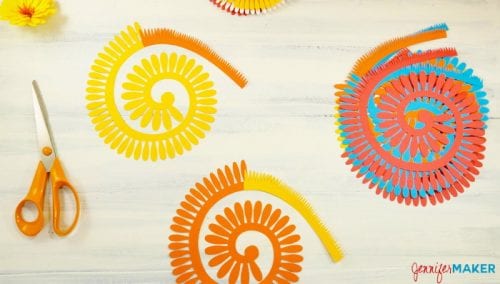
First, cut out your flowers and leaves in different sizes and on different colors of cardstock. For this project, I recommend you cut 5 large daisies, 10 small daisies, 5 large roses, 10 small roses, and 5 large carnations. I picked bright colors for summer: red, yellow, orange, turquoise blue, and white, but you can use whatever you like. You can also cut 12 large leaves and 14 small leaves on a green cardstock if you want to include them. I cut all my cardstock on a green StandardGrip mat with the blade that came with my Cricut. Set your "Custom Materials" menu in Cricut Design Space to "Cardstock, Solid Core."
I made the two-tone daisies by combining together the petals of two different colored flowers. If you want to do this as well, be sure to cut and combine colors before you move on to the next step.
Once you've cut out your flower patterns, roll up each flower with your quilling tool. For example, to roll up the daisy you put the smaller, loose end into the slot at the tip of your quilling tool and roll the paper onto it until all petals are rolled up.
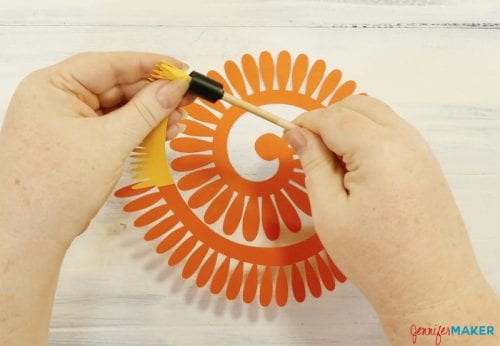
Gently pull the quilling tool out of the rolled petals while keeping the flower together in your hand.
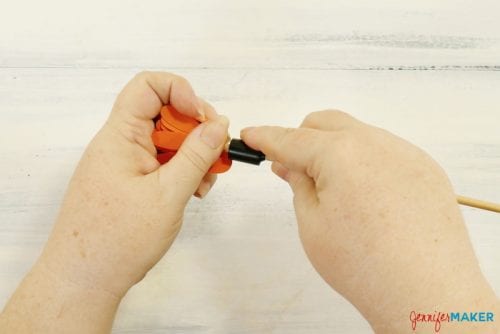
Use your hot glue gun to put glue on the end of the rolled petals, then fold the circle onto the glue and press down. Remember, hot glue is hot -- you may want to use something other than your finger to press the circle down while the glue is setting.
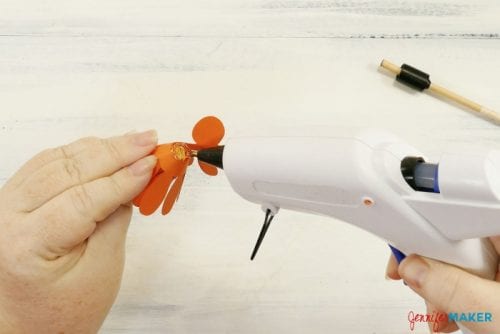
Arrange the petals of the daisy by spreading them outward.
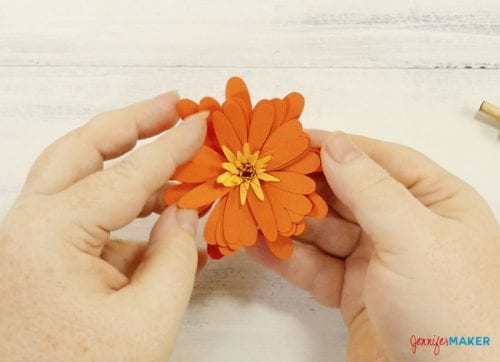
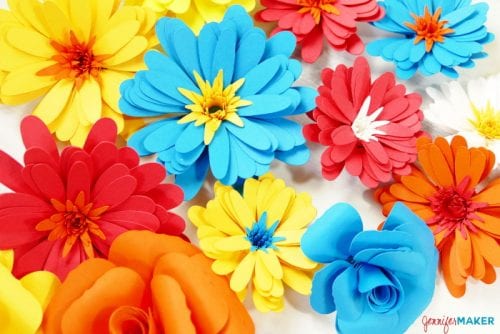
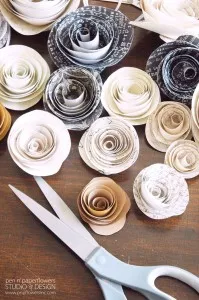
Here are a bunch of paper flowers all ready to go!
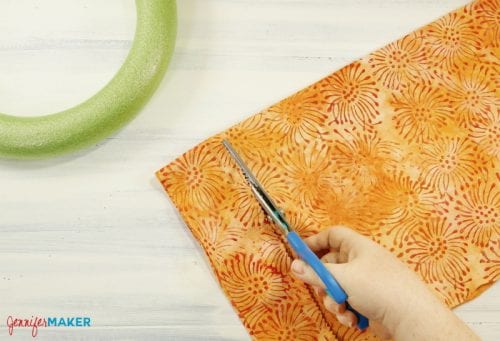
Before we attach the flowers to our wreath, we need to cover it with fabric. Cut 3" wide strips from your fabric. You'll likely need 3-4 strips of your ½ wide fabric. I used pinking shears because I like the zig-zag pattern it makes, but you can use regular scissors, too.
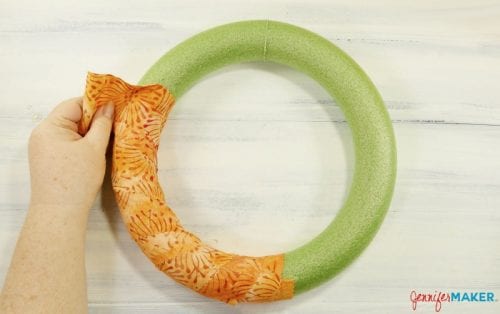
Glue one end of a fabric strip to the styrofoam wreath then begin wrapping the fabric tightly around the wreath. When you get to the end, just glue it down and start a new strip of fabric and keep going. Glue and wrap until the entire wreath is covered.
Now simply glue your flowers onto the wreath in the way you like best. I wanted some of my pretty batik fabric to show, so I went for an asymmetrical arrangement. But you can do whatever you want!
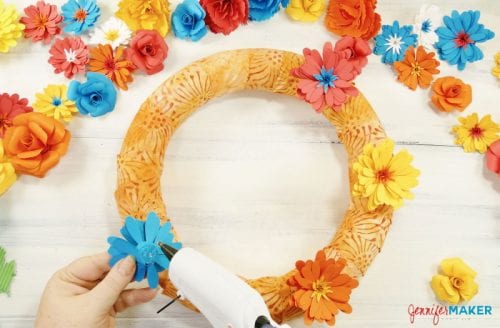
Glue on leaves under the edges of your flowers to fill in any gaps and just give your wreath more foliage.
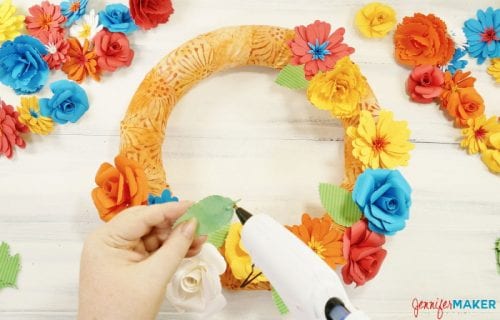
Hang your pretty wreath on your front door and enjoy!
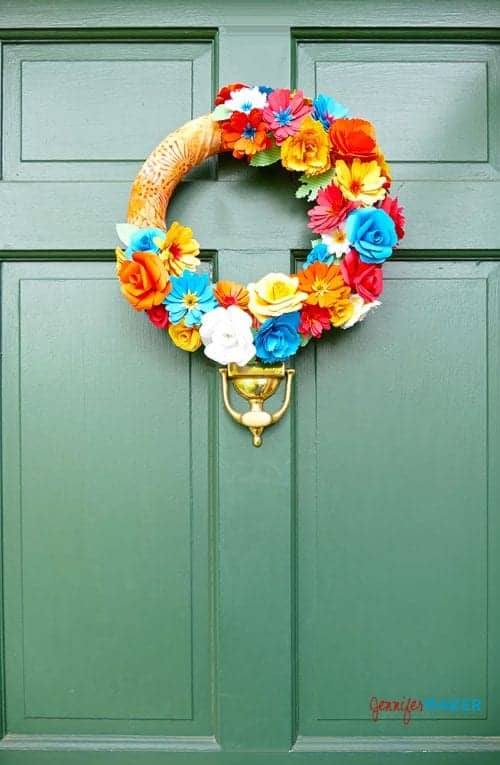
I thought this project would take a really long time to make and I put it off for so long because of that. But in reality, cutting the flowers out on my Cricut only took about an hour and I finished the wreath in just one evening! I am so glad I made this -- it looks amazing on my front door.
Do you like to make 3D paper crafting projects, too?
Our Crafting Essentials:
- The Cricut Cutting Machine is easily our favorite crafting tool. We use it in so many of our tutorials!
- These MakerX Crafting Tools are perfect for keeping in the craft room and are always ready when needed!
- This Fiskars Paper Trimmer is easy to use and cuts nicely without frayed edges.
- These Scotch Precision Scissors cut like a dream, and you get multiple pairs in a pack!






Ann
Wow, such a gorgeous wreath!! Love it and the colors! 🙂
Katie
Thank you, Ann! I am so glad that you like it! This paper flower wreath is perfect for summer!
Victoria @DazzleWhileFrazzled
Super pretty and fun! Love it!! Visiting from Welcome Home Wednesday party.
Julie
This is so pretty, I love the mix of different flowers and colours you have chosen.
Bjorn Metzger
beautiful colors, That would look amazing hung on my house on my front door in the spring time. Thanks for the Idea.
Katie
Thank you, Bjorn. I am so glad that you like this Paper Flower Wreath!
ouskamp
I'm dyin'! LOVE the name of your blog! Love the wreath! Will have to take a look around here! 😉
Katie
Thank you so much!