


Yes, you can paint a cork board! This is a super easy craft for kids. All you need is some tape and acrylic paint to make a bright, fun pinboard for any room.
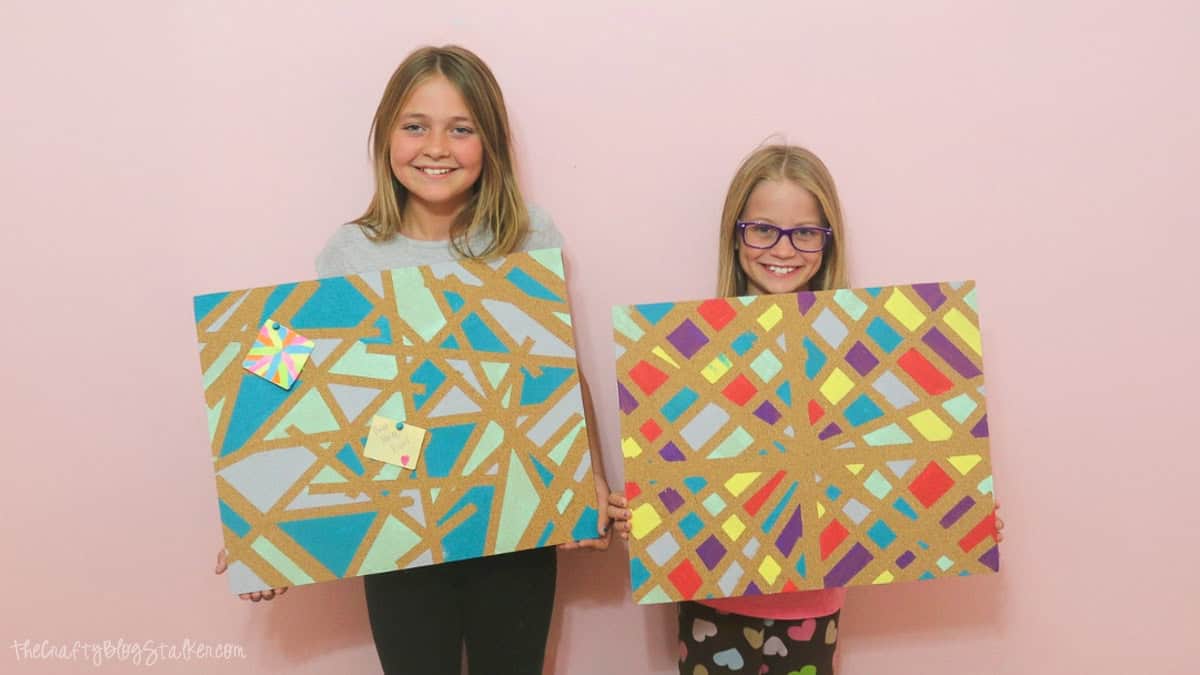
Making crafts with my kids is one of my favorite things to do, especially when I get to see their big smiles!
Last week, we painted cork boards together. The kids did most of the work all by themselves.
They had so much fun picking out their favorite colors and making up their own designs.
The best part is these cute cork boards can hang in their rooms and hold photos, notes, and all their little treasures.
Jump to:
Skill Level: Beginner
Estimated Cost: $10-$20
Total Time: 1 hour
Craft Tutorial Video
If videos are your thing, you're in luck-I've got a full tutorial ready for you!
Subscribe to my YouTube channel and stay inspired with every new project.
Supply List
- Cork Foam Boards
- Washi Tape/Painters Tape
- Acrylic Paints
- Foam Brush or Paint Brush
- Ribbon
- Hot Glue
- Wood Push Pins
- Styrofoam Block
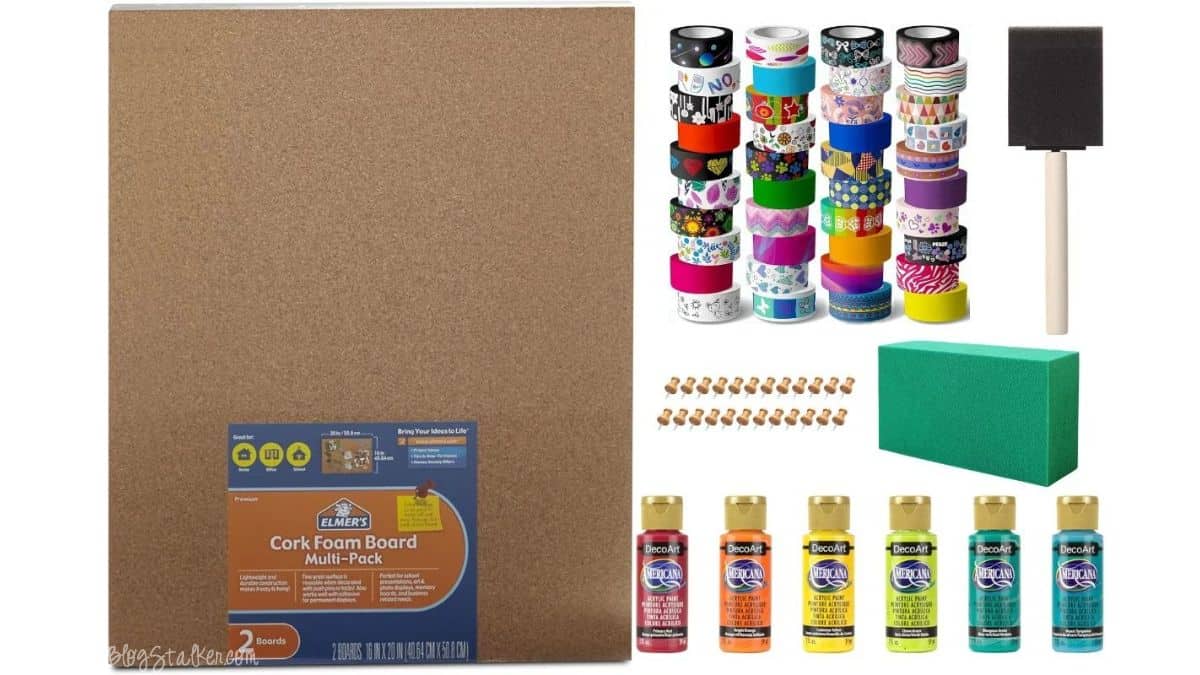
We used cork foam boards for this project because they are light and easy for kids to hold and paint. They hang up nicely on a bedroom wall, too.
You can use this idea to give an old cork board a fresh new look. Just make sure the surface is clean and dry before you start.
If your cork board has a wood frame, you can leave it as it is or paint it to match your new design.
Apply Tape to the Cork Board
We started by digging through my washi tape collection and picked out some patterns I didn't mind using up. Since we were painting over the tape, we saved the cutest ones for another day.
We also grabbed some painter's tape because it is a little wider. Using both kinds of tape makes different line widths in your design.
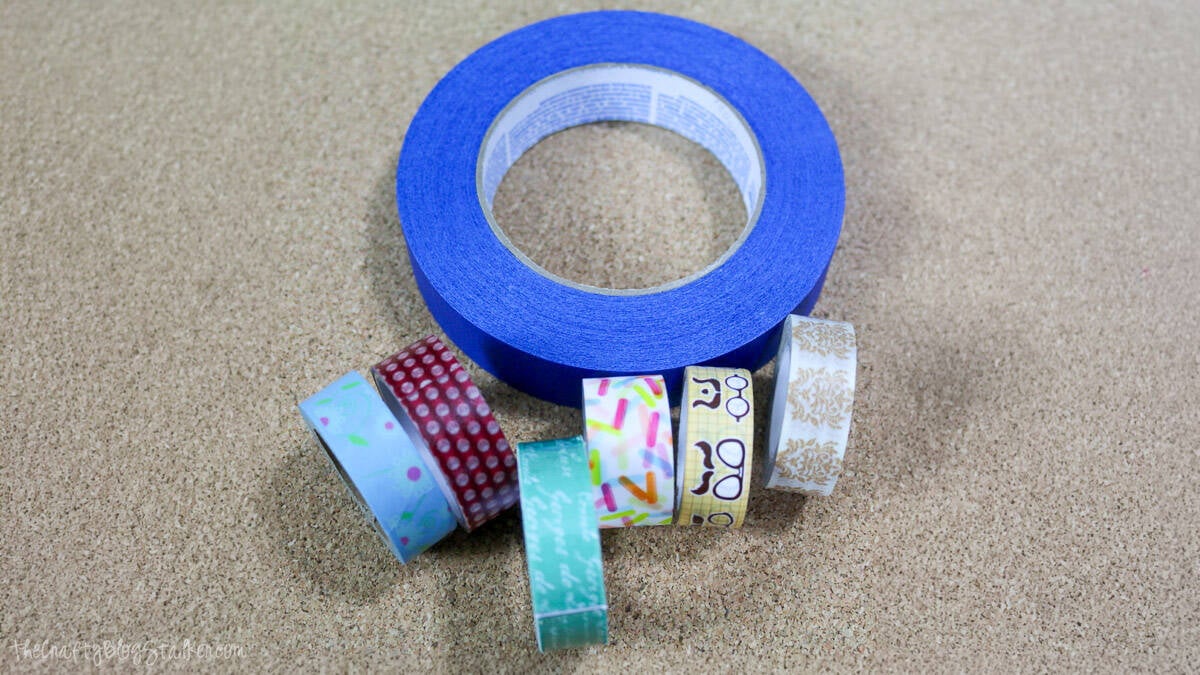
Start placing strips of tape across the cork board in different directions.
You don't need to plan a pattern. Let the kids have fun and put the tape wherever they want.
My daughter loved this part. She kept adding more tape until she was happy with her design.
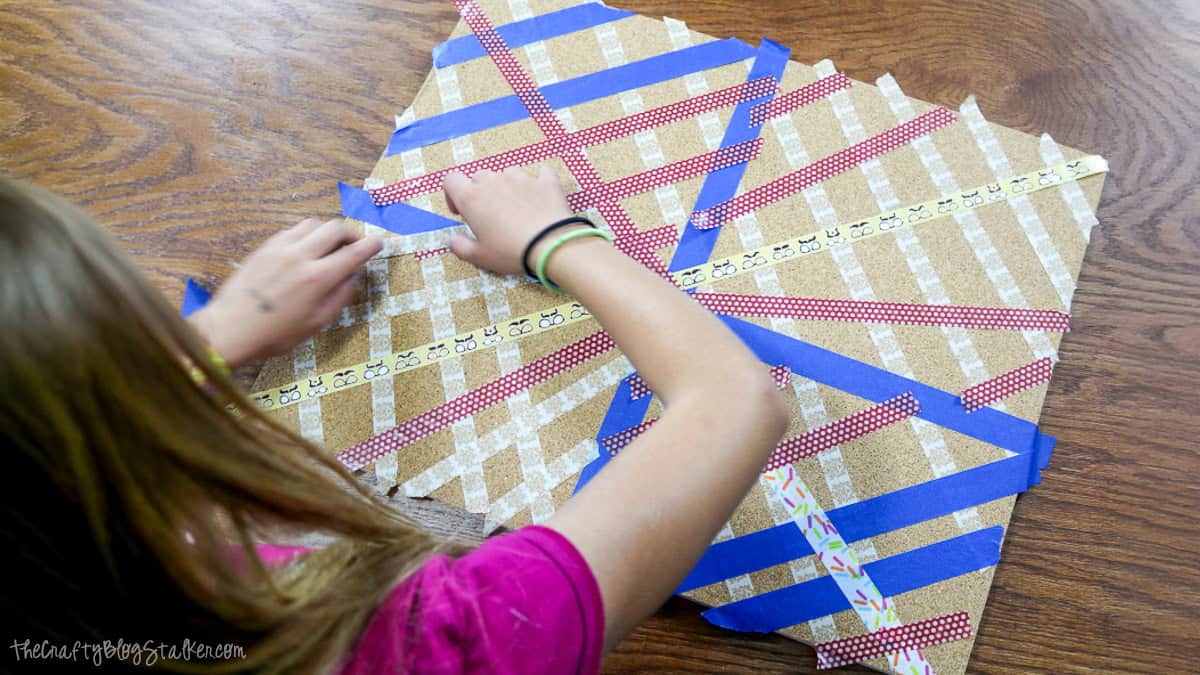
Once all the tape is in place, press down along each strip with your fingers to help it stick.
Pay close attention to the tape edges. Cork is a little bumpy, so paint can sneak under any loose spots.
Pressing the tape down well helps you get nice, clean lines when you peel it off later.
Paint the Cork Board
Now for the fun part, painting!
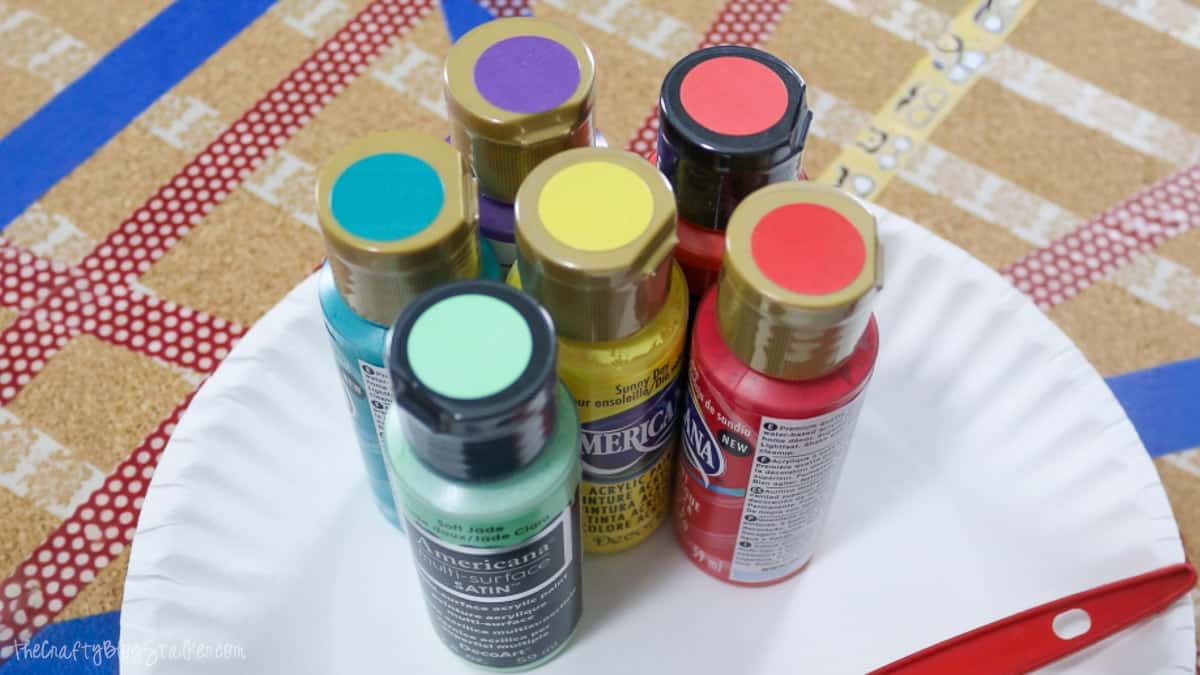
I pulled out my acrylic craft paints and let my daughter pick her favorite bright colors to use.
Acrylic paint is a great type of paint for cork boards because it is easy to use, comes in lots of colors, and dries fairly fast.
You can use a regular paintbrush or a foam brush. We used a few foam brushes so we could switch colors without having to wash the brush each time.
Start painting the open spaces between the tape strips.
Paint each space a different color, repeat colors to make a pattern, or just paint wherever you want.
There is no wrong way to do this.
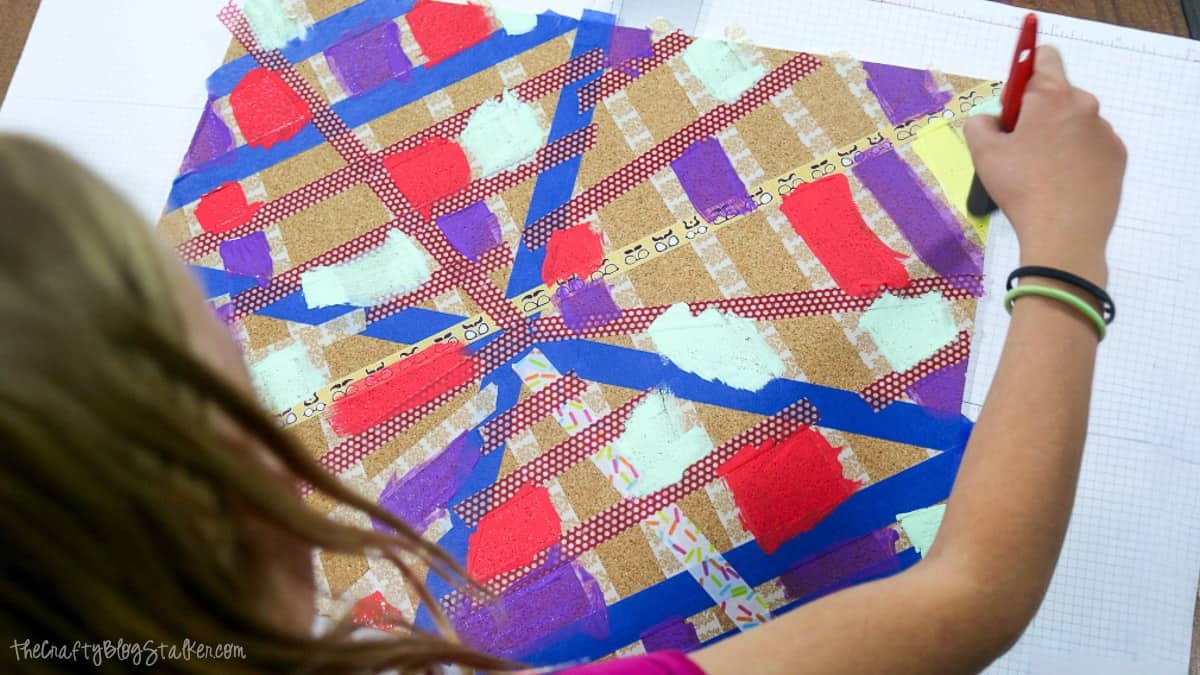
Use thin coats of paint instead of adding a lot at once. Thick paint can soak into the cork and make it harder to get nice, clean lines.
If you need more color, let the first coat dry before adding another.
Once the paint is dry, carefully peel off the tape and see your design appear.
Pull the tape back slowly so it doesn't tear the cork or lift the paint.
Look at all those bright colors and fun shapes.
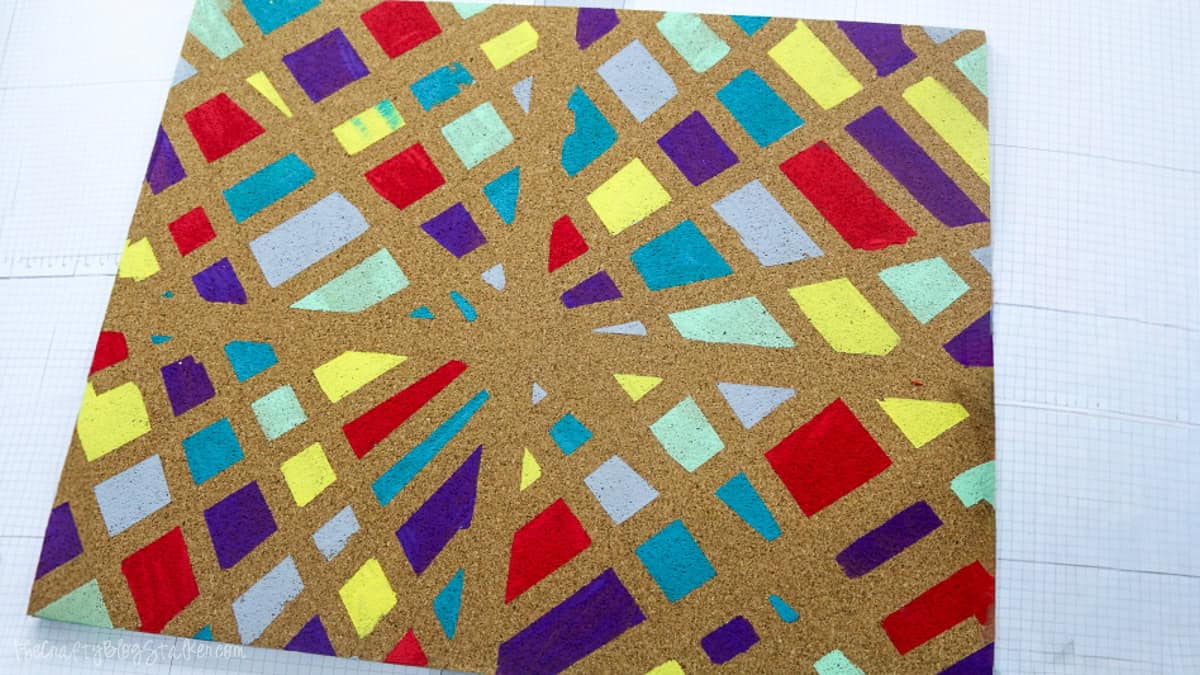
I love how the natural cork lines break up all the bright colors. Every board turns out a little different, and that makes this craft even more fun.
Let the paint dry fully before adding the hanger or push pins.
Add a Ribbon Hanger
To hang our painted cork boards, we used ribbon and hot glue.
This is a simple way to add a cute hanger without needing a frame or any extra hardware.
Cut two pieces of ribbon, each about 24 inches long.
Place the cork board face down on your work surface.
Add a dot of hot glue near the top left corner and press one end of the first ribbon into the glue. Repeat at the top right corner with the second ribbon.
Hold the ribbon in place until the glue cools.
An adult should help with this step. Hot glue can burn, so I always have an adult use the glue gun.
Bring the loose ends of the ribbon together above the board and tie them into a bow.
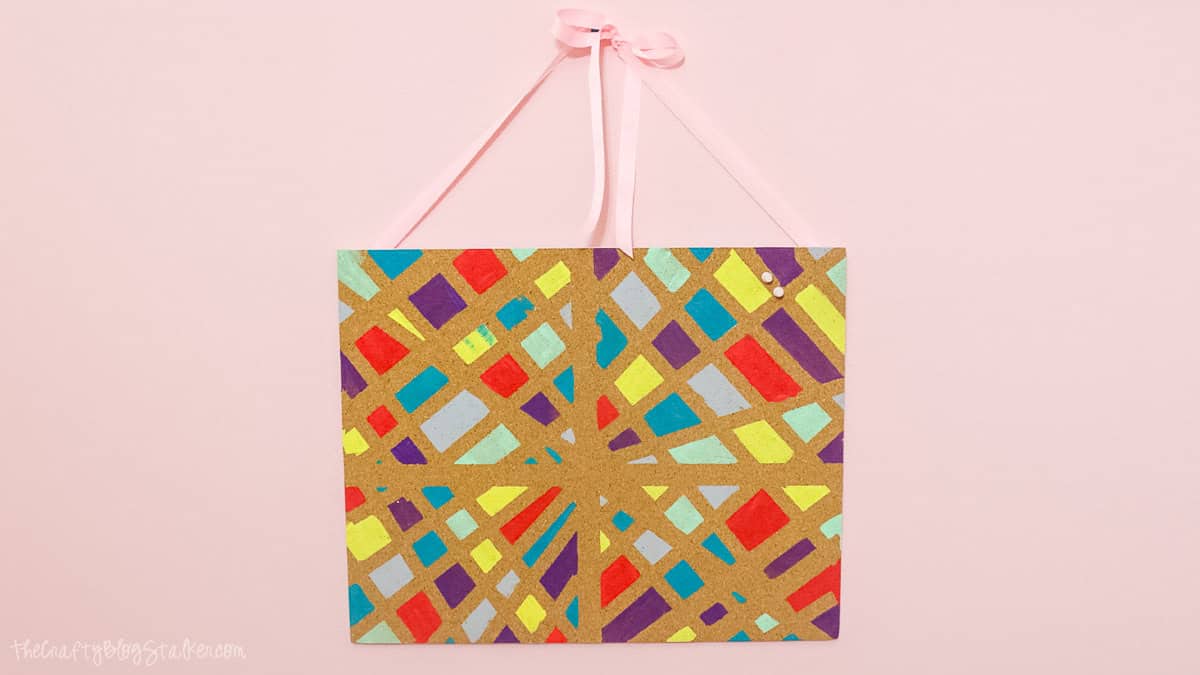
Now you have a cute ribbon hanger for your cork board.
Before you hang up your board, gently pull the ribbon to make sure it is secure.
If your cork board is bigger or heavier, use wall hooks or hangers made for its weight instead of just hot glue.
Paint Wood Push Pins
To finish our cork boards, I helped the kids paint some wood push pins to match their boards.
These little wood pins are perfect for painting.
Push the sharp ends into a Styrofoam block. This holds them in place and makes the wood tops easier to paint.
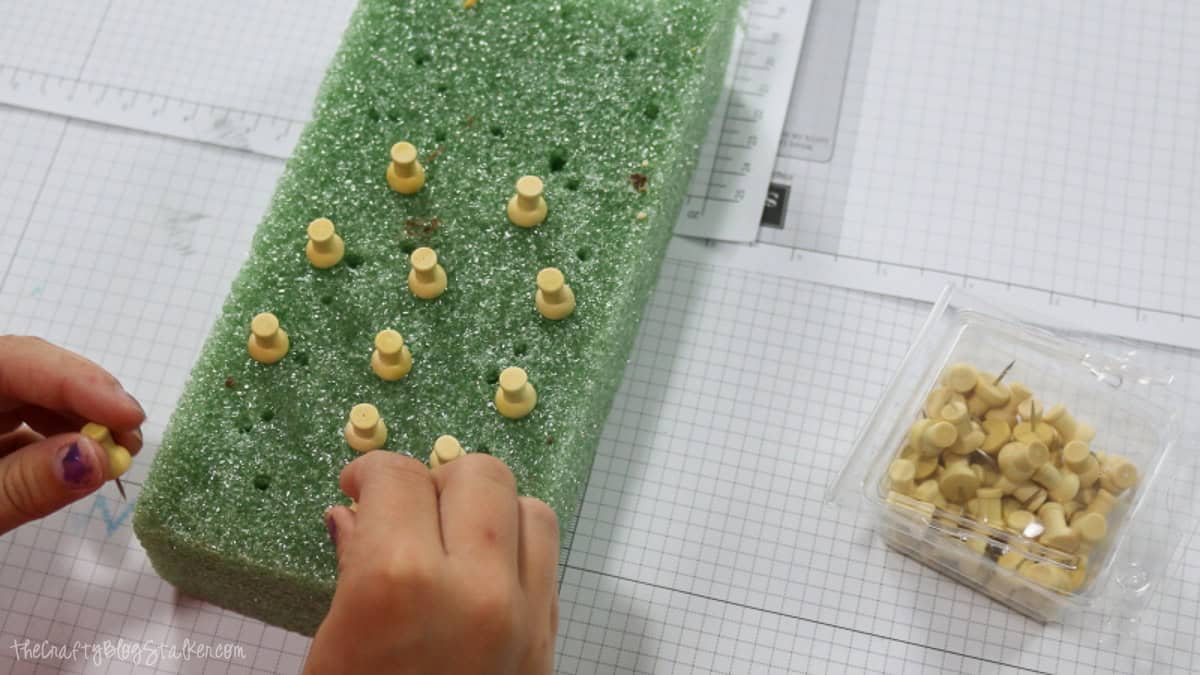
Use a small paintbrush to paint the wood tops to match your cork board.
You can use one color for all the pins, or mix and match.
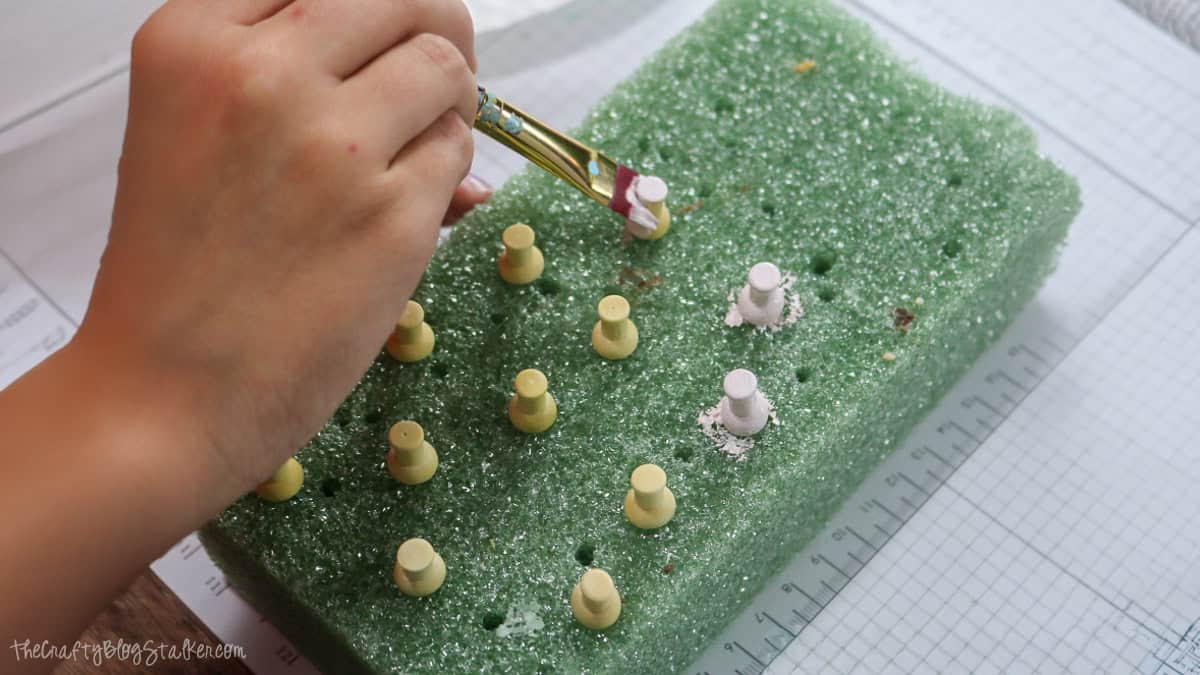
Leave the pins in the foam block until the paint is all the way dry.
Because push pins are sharp, have an adult help younger kids with this part. Keep loose pins out of reach of small children.
Once everything is dry, your painted cork board is ready to use.
Hang it on a bedroom wall or near a desk. Use the matching pins to hold photos, drawings, notes, or little reminders.
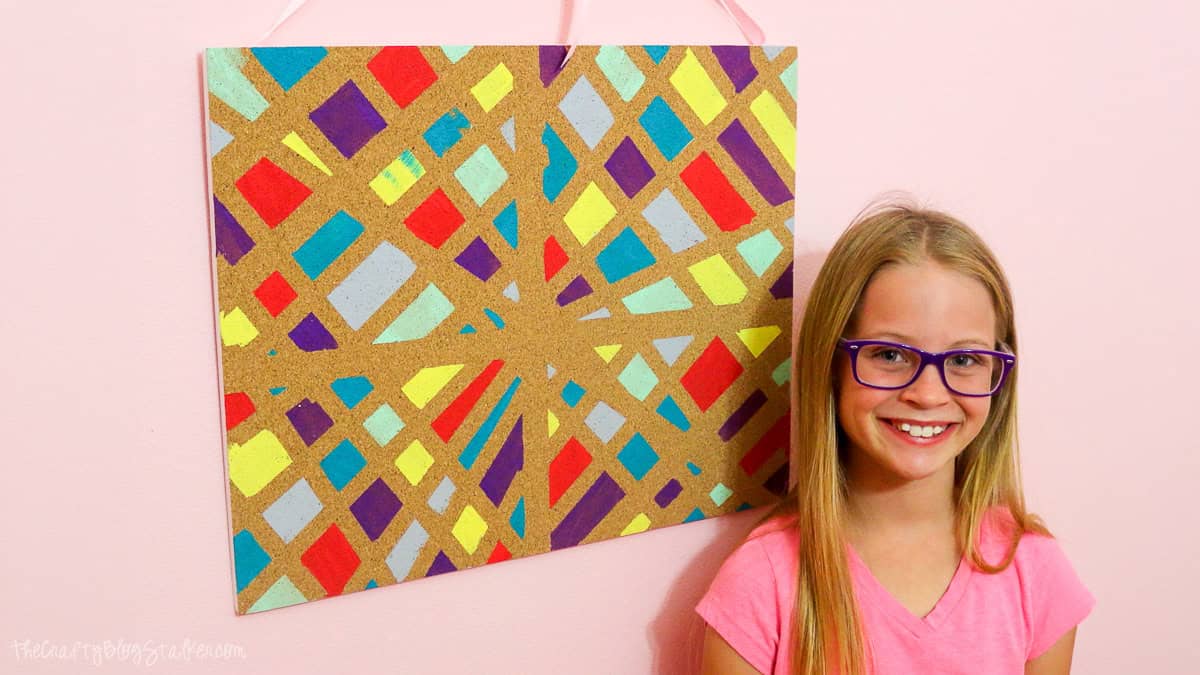
This DIY painted cork board turned out so cute. My daughter did a great job, and I love that she made it herself.
Frequently Asked Questions
Yes! You can paint cork boards with acrylic craft paint. It's an easy way to add color to a plain cork board or give an old one a new look.
Acrylic craft paint is my favorite choice for this project. It comes in lots of colors, brushes on easily, and dries fairly fast. Use thin coats so the paint doesn't fill the small holes in the cork.
Yes! As long as you use thin coats, you can still push pins into the cork. Avoid using too much paint, because a thick layer can make the surface harder to use.
You don't need to seal it for this project. I left ours as-is, and the paint gave them plenty of color. If you want to add a sealer, test it on a small area first to make sure it doesn't make the cork too stiff for pins.
Yes! Painting an old cork board is a fun way to give it a fresh look. Wipe away any dust, make sure the cork is dry, and use painter's tape to make your design. If the board has a frame, you can paint that, too.
Need help with this project?
Click a button below to ask AI how to hang a painted cork board without damaging the wall.
More Kids Crafts
I love finding easy crafts that kids can make and feel proud of! Check out my other kids' craft tutorials for more fun projects to make together.



Hi, I'm Katie!
I'm so glad you're here. Want to make something fabulous? I'm here to help!
creativejewishmom/sara
Love this project! thanks so much for sharing on craft schooling sunday!
Sarah Eliza @ devastateboredom
No kids here, but um, I think I will definitely be using this brilliant idea myself!! I have done the paint tape project with wee ones before (kindergarten teacher), but never would have thought of putting it on a corkboard and I LOVE that idea. 😀
PS The colors and patterns your daughters chose look awesome!!
Katie
Thank you Sarah. My girls really did have a lot of fun, and I love how they turned out too!!
Melanie redd
Hey Katie,
Your painted pin boards are very cute! I love what your girls have made!
I was "parked" by you today on Grandma Ideas, and I'm glad I've gotten to read some of your posts.
Have a great day~
Melanie
Katie
Thanks Melanie! I'm glad we got to be together! 🙂 Thanks for stopping by.
Erin @ Nourishing My Scholar
This looks so fun!!!! Sharing and pinning. I hope to do this activity with my children next week! Visiting from A Little Bird Told Me!
Katie
Thanks for the Pin Erin! I would love to see what your kids come up with.
Heather
These are so cool!! I love the designs. I'm thinking I could even use your tape method on canvas squares to fill a blank wall in the guest bathroom! 🙂 Thanks to you & your girls for the inspiration! I found you through Grandma Ideas!
Katie
Thank you Heather! Using this method on canvas squares would be awesome! If you do it you'll need to email me so I can see. Thanks for stopping by.
Megin
What a great project! I love the fun colors but I could totally see making (myself) one in GOLD!
Thank you for sharing this week at Brag About It link party on VMG206 (Mondays at Midnight). I plan to feature you next week!
~ Megin of VMG206
Audra @ Renewed Projects
What a fun way to spend time with your girls and personalize their room. 🙂
Renee
This is a great project for the kiddos (even us moms too). Great Idea!
Katie
Thank you Renee, it was a lot of fun to make and I love how proudly my girls hang them in their rooms.
Mother of 3
Such a cute idea! we have cork boards in each of the boys rooms but I never thought to personalize them! The boys would love this.
Katie
My girls had a ton of fun making them, and I even heard one of them tell their friends - Yup, I made this all by myself.
Patti McDermott
Katie,
You did a posting a while back on how to construct a camera to do videos. I would love to try this myself and start doing videos. Can you link me to this video? Thanks and hugs. Patti
Katie
Hi Patti,
Yes, Here is the link to Hands-Only Camera Mount video: https://youtu.be/Ktkzfu0EvdY
Hands-Only Camera Mount Post: http://thecraftyblogstalker.com/diy-overhead-camera-mount/
Thanks!
Cucicucicoo: Eco Sewing and Crafting
Those are really, really cool! Great idea! 🙂 Lisa
Katie
Thank you Lisa! It was a fun project and the girls had a ball!
Rachel
Great idea- especially to use washi tape for different widths. Have you tried this technique on anything else? I was thinking how cool it would look on the side of a bookcase or tabletop. I wonder if the washi tape was placed on top of a painted surface if it would pull the paint up? Thanks!
Katie
Thank you Rachel. As long as the paint is completely dry it shouldn't peel up the dried paint beneath it. Washi tape is less tacky than other tapes.