



Learn how to use puff vinyl on a T-shirt to create a fun, raised design with plenty of texture and dimension.
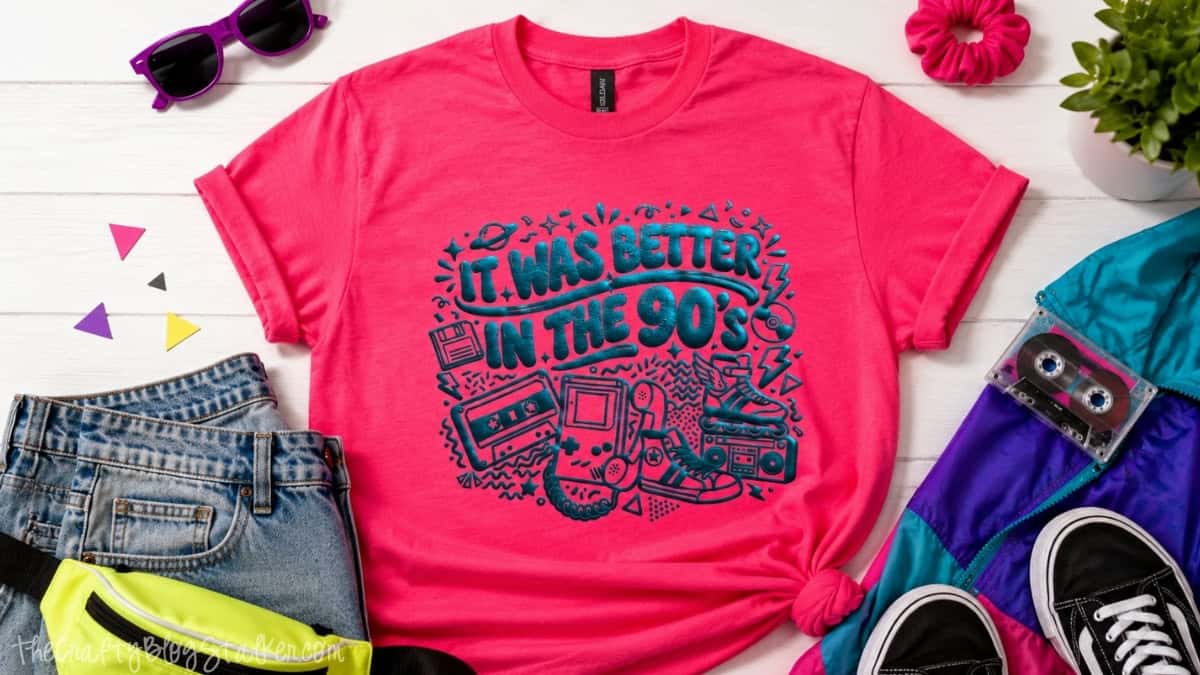
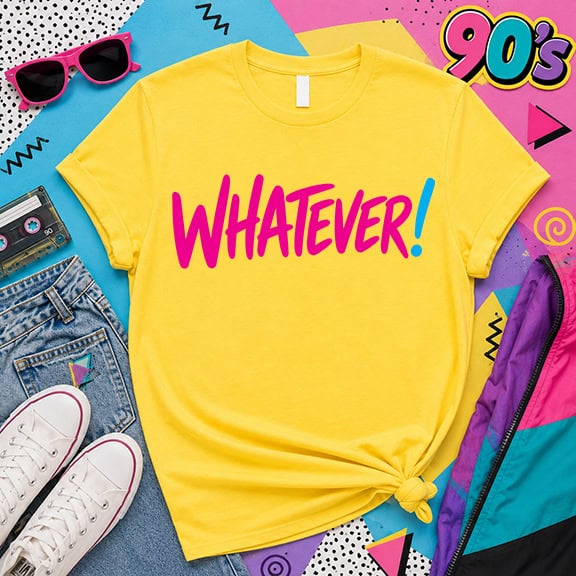
If you grew up in the 90s, this puff vinyl T-shirt is about to bring back some fun memories.
I'll show you how to use puff vinyl to give a simple design a raised, dimensional finish that really stands out.
Whether you're new to HTV or just want to experiment with a new material using your Cricut, this is an easy project you can make right along with me.
Keep going to the end of the post for 7 more free 90s-themed SVGs you can use for your next nostalgic craft!
Jump to:
Skill Level: Beginner
Estimated Cost: $10-$20
Total Time: 30 minutes
Craft Tutorial Video
If videos are your thing, you're in luck-I've got a full tutorial ready for you!
Subscribe to my YouTube channel and stay inspired with every new project.
Supply List
- HTVRont Heat Press 2 (Code Katie10 for $50 off)
- Cutting Machine
- Tshirt Blank
- Better In The 90s SVG
- Ruler
- Super Puff Heat Transfer Vinyl
- Weeding Tools
- Lint Roller
- T-Shirt Ruler (optional)
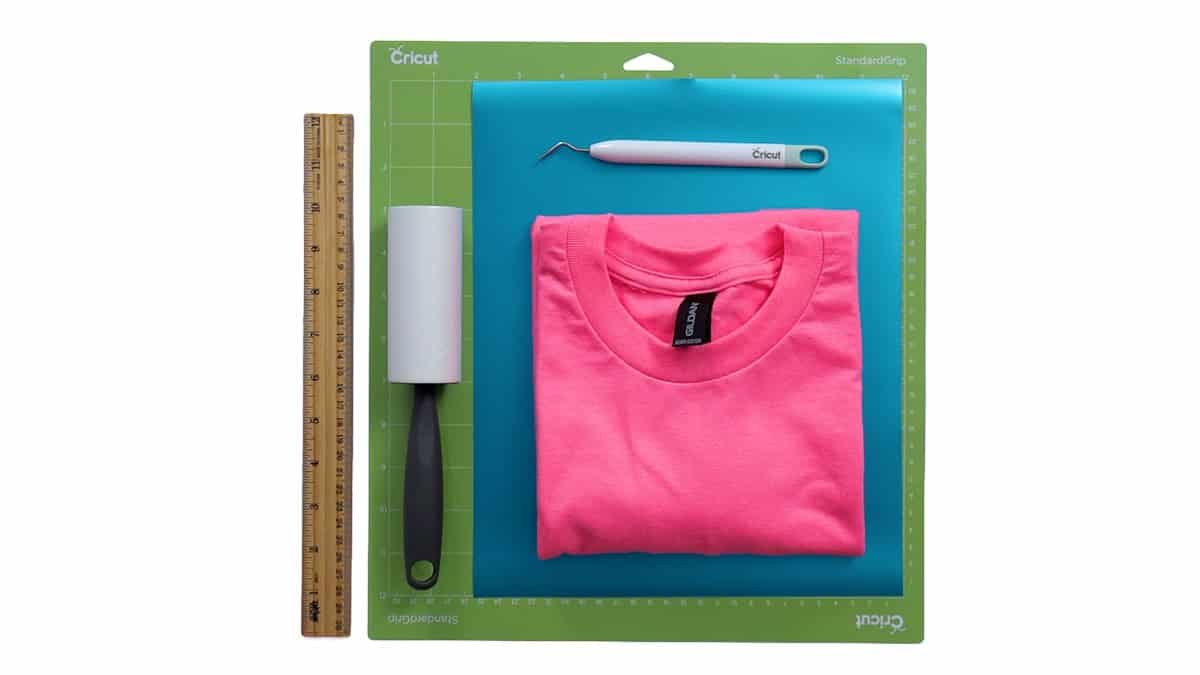
Grab the Free SVG
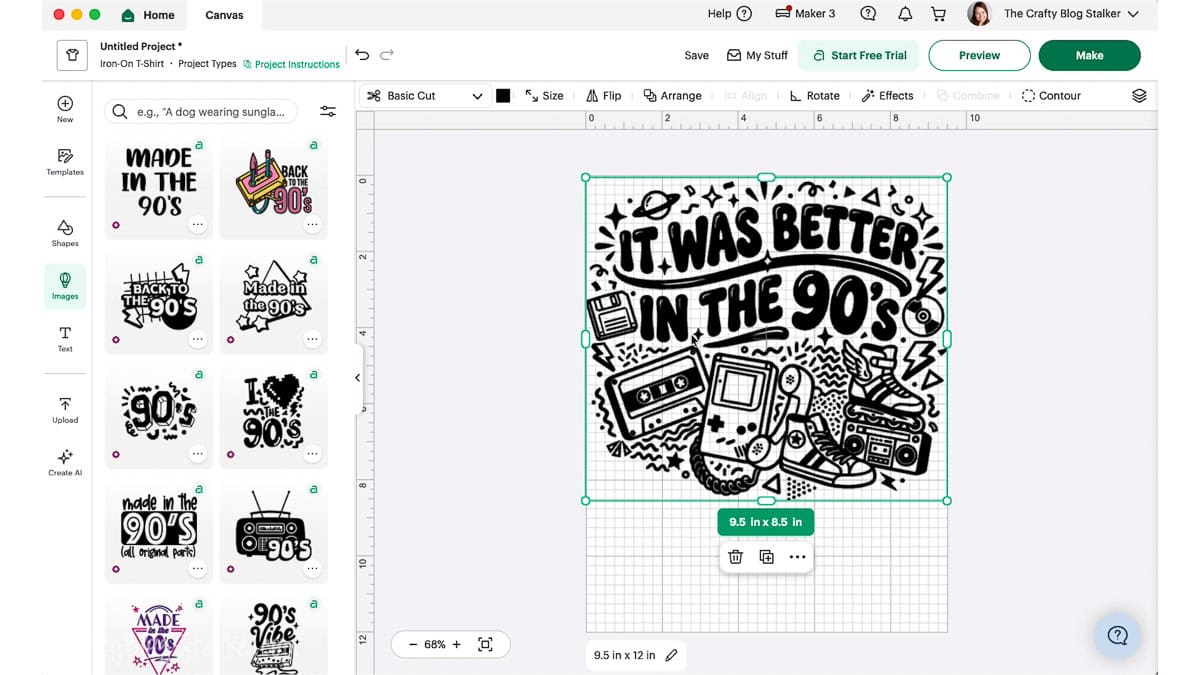
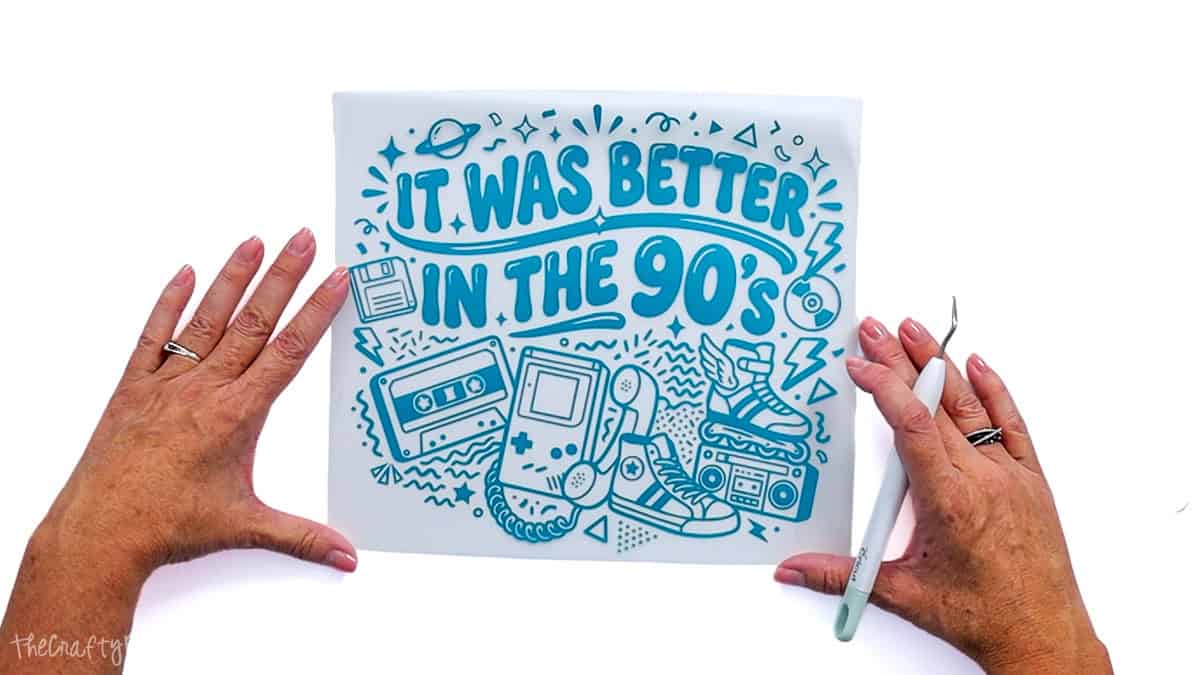
I'm using my It Was Better In The 90s SVG for this shirt. The bold lettering is perfect for showing off the raised texture of puff HTV.

Prepare and Cut the Puff Vinyl
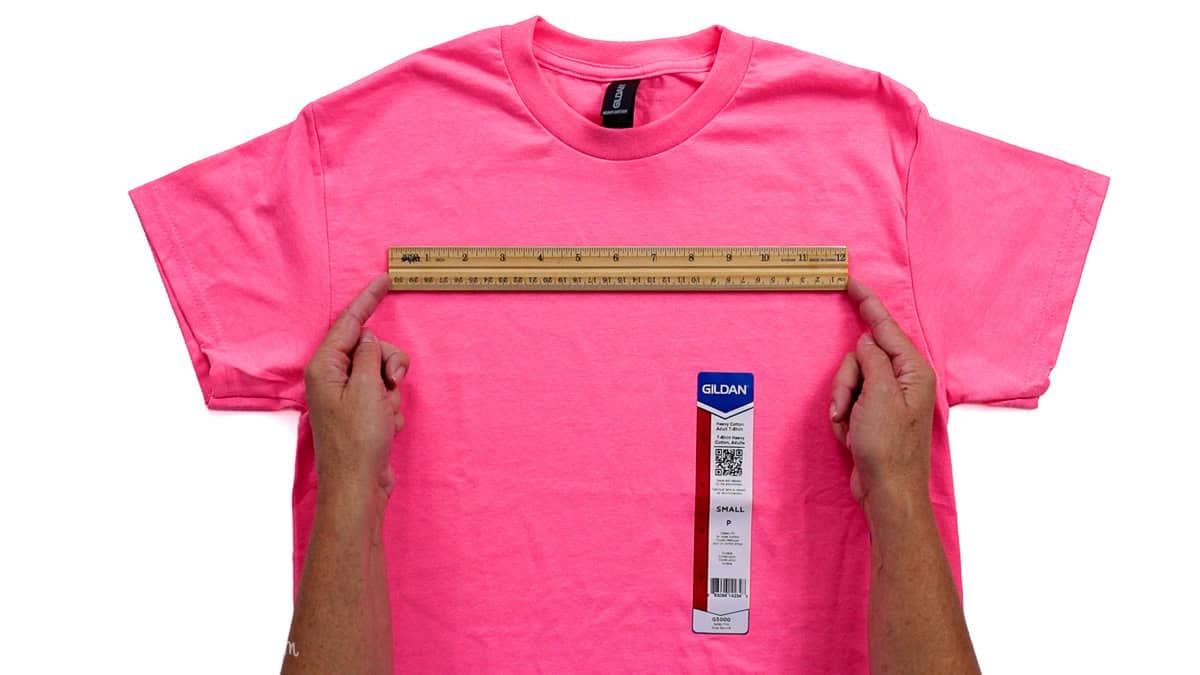
Before opening Cricut Design Space, measure your shirt so you know how large to make the design.
I'm applying mine to a small T-shirt and decided on a finished width of 9.5 inches.
Your size may be different depending on the shirt and the look you're going for, so don't automatically use my measurements.
Holding a ruler across the shirt before cutting is an easy way to visualize the finished size and avoid wasting vinyl.
Set Up the T-Shirt in Cricut Design Space
Open a new project in Cricut Design Space.
For this project, I selected a Men's T-shirt as my canvas and set the size to 12 inches. I later realized I didn't actually need the full 12 inches, but that's okay. The important measurement is the finished width of the design.
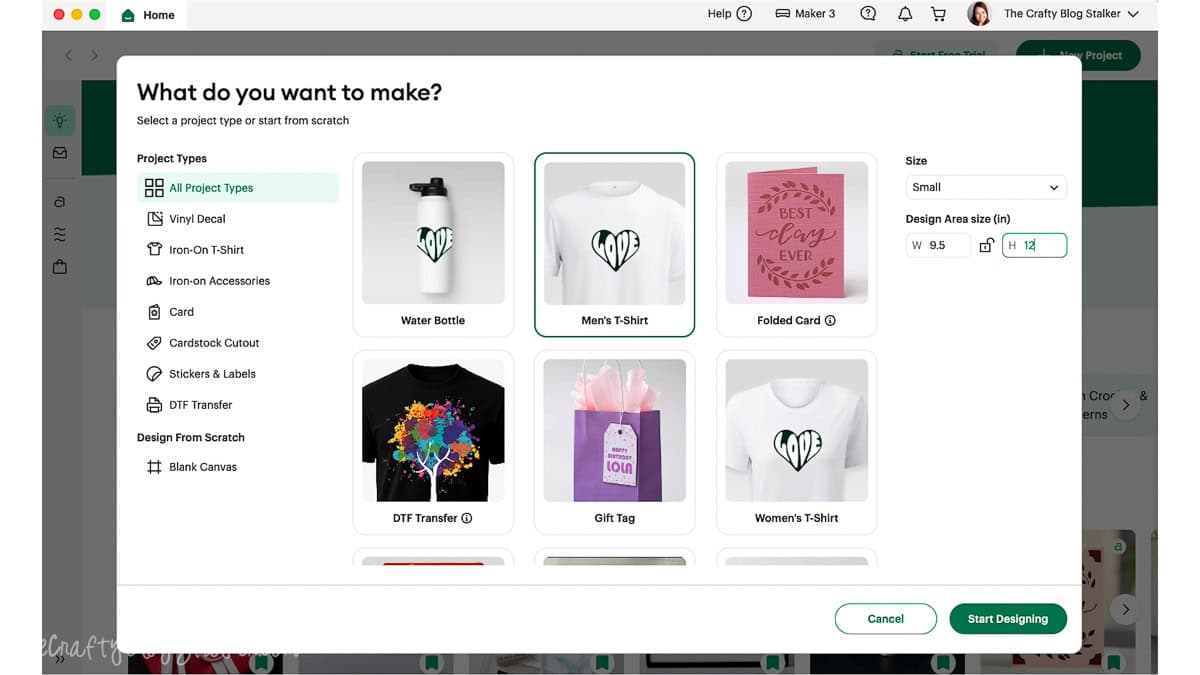
Using a T-shirt template gives you a visual reference for sizing and placement, which is especially helpful when you're deciding how large the design should be.
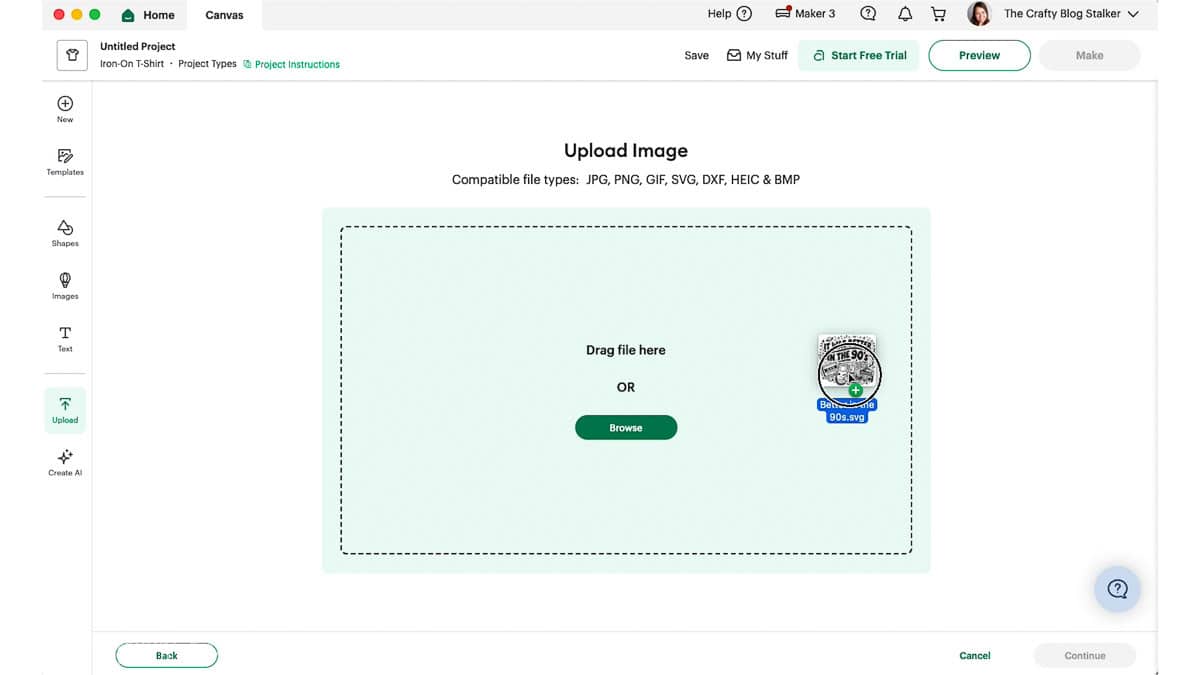
Click Upload, select Upload Design, and drag and drop the SVG file into Design Space.
Add the SVG to the canvas and resize the entire design to 9.5 inches wide.
Prepare the Design for Cutting
Once the size looks right, click Make.
On the mat preview screen, make sure the design is mirrored before cutting. Iron-on vinyl needs to be cut in reverse because the design is flipped over when it's pressed onto the fabric.
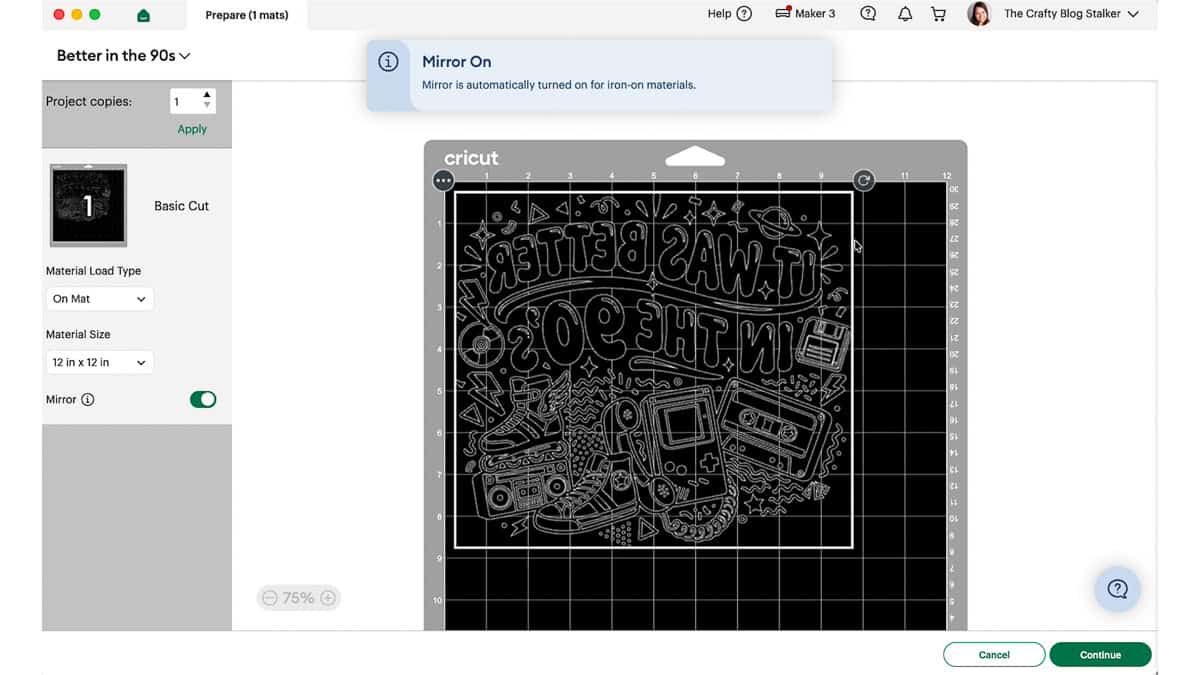
Select Continue and choose your material.
Cricut Design Space has a Puff Iron-On material setting. To find it, search the material list for Puff and select the appropriate setting for your vinyl.
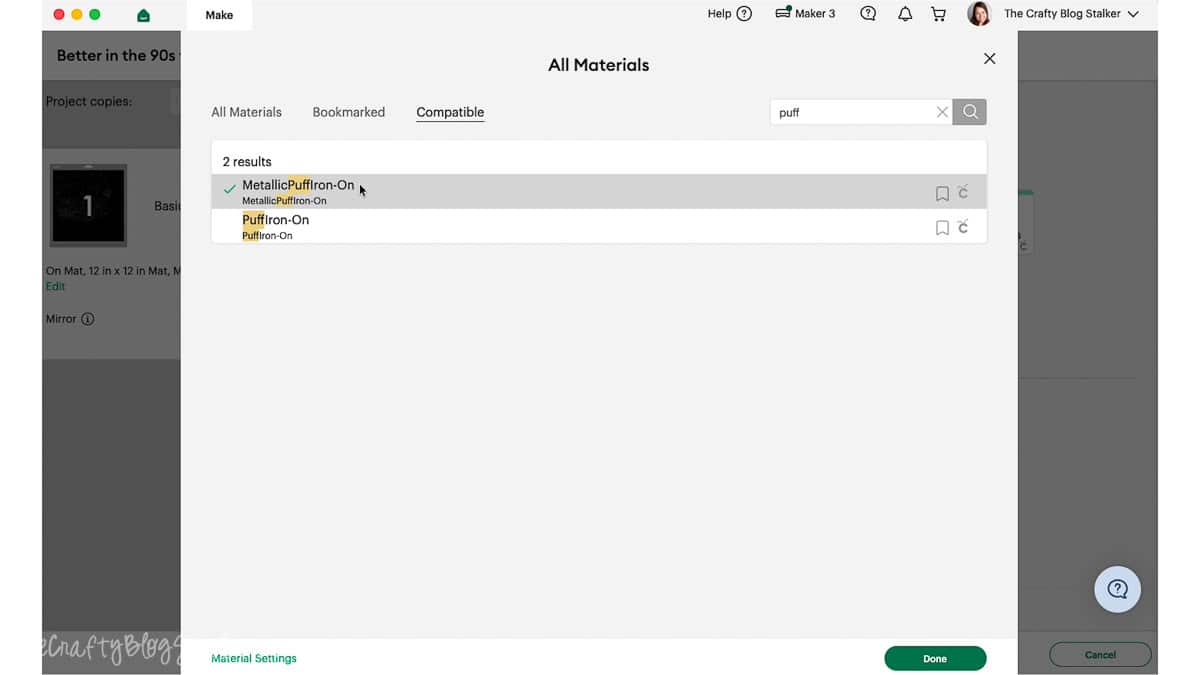
Always check the recommendations for the specific puff heat transfer vinyl you're using. Different brands can require different cut, heat, pressure, and peel settings.
Place Puff HTV on the Mat
Place the puff HTV onto your Cricut mat according to the manufacturer's directions. For the material I'm using, the shiny side faces down against the mat.
Smooth the material onto the mat to prevent bubbles or wrinkles.
Load the mat into the cutting machine and start the cut when the Cricut prompts you.
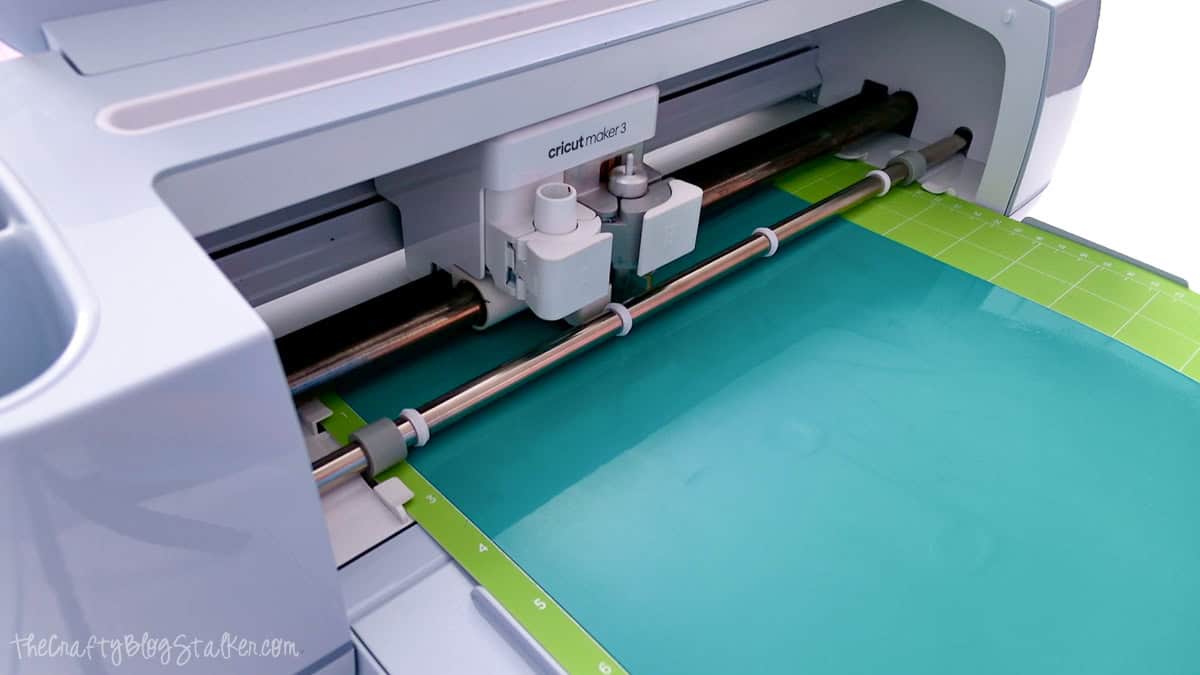
Once cutting is complete, unload the mat and remove the vinyl.
Weed the Design
Start in one corner and slowly peel away the excess puff vinyl surrounding the design.
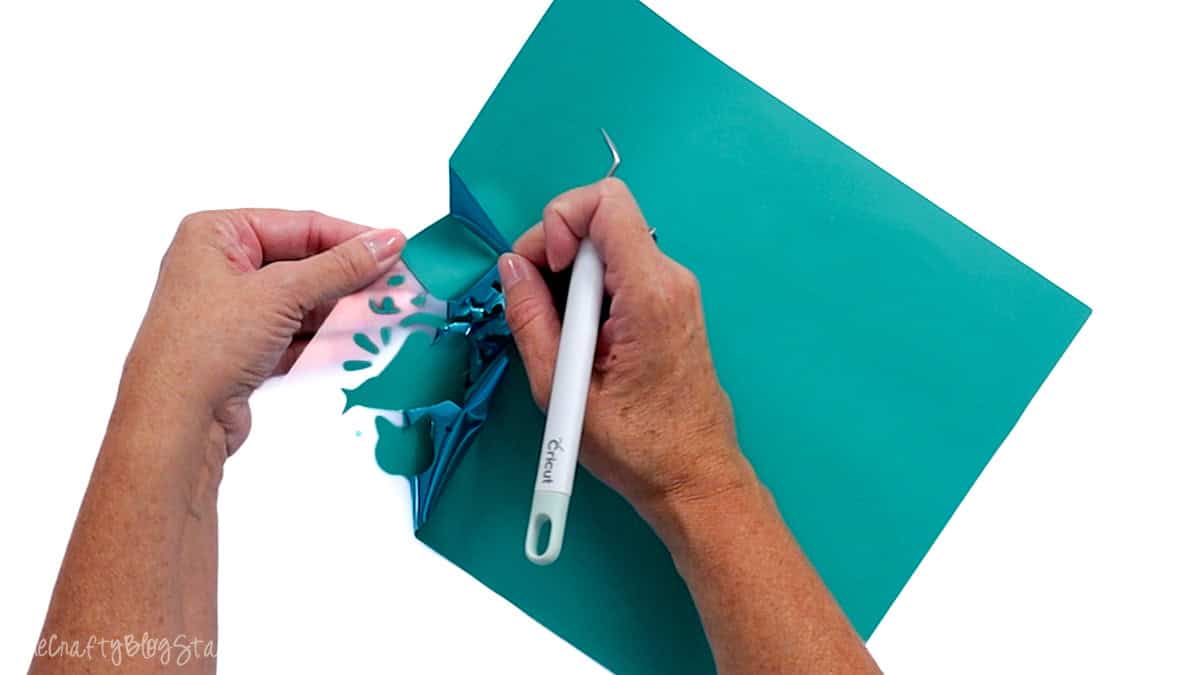
Then use a weeding tool to remove the smaller pieces from inside the letters.
When you think you're finished, turn the design right side up and look over the entire thing.
This is my favorite little weeding trick because missed pieces are often much easier to spot when you're looking at the design the way it will appear on the finished shirt.
Take your time here. It's much easier to catch a forgotten piece now than after it has been pressed.
Prepare the T-Shirt for Pressing
I'm using the HTVRONT Auto Heat Press 2 for this project because I can adjust the pressure, which is important when working with this particular puff HTV.
Unlike regular HTV, puff vinyl expands when it's heated. The combination of heat, time, and pressure activates the material and creates that raised effect.
That also means you shouldn't guess at your settings.
Always follow the manufacturer's instructions for your specific material.
Set the Heat Press
My metallic puff iron-on is from Vinyl and Tulle Supply. The manufacturer's instructions call for 265°F to 280°F for 10 seconds with heavy, firm, even pressure.
For my project, I set the heat press to 280°F for 10 seconds with the pressure set to 170 pounds.
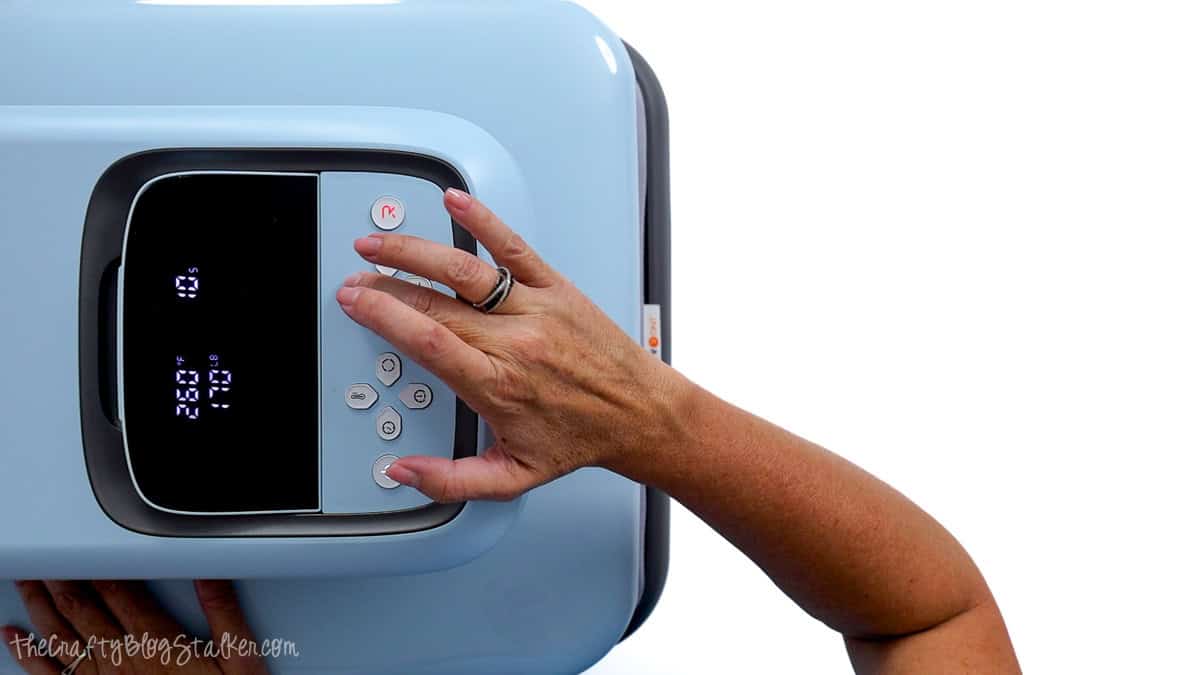
Your settings may be different if you're using another brand or style of puff HTV, so check those instructions before pressing.
Prepress the Shirt
While the heat press is warming, place the shirt on the press and give it a quick prepress.
This removes wrinkles and any moisture trapped in the fabric, giving the vinyl a nice, smooth surface to adhere to.
Next, run a lint roller over the front of the shirt.
Even when a shirt looks clean, tiny pieces of lint, hair, and other debris have a sneaky way of showing up exactly where you don't want them.
A quick pass with a lint roller takes only a few seconds and gives you a cleaner finish.
Position and Press the Puff HTV
Now we're ready for the fun part.
Before placing the design on the shirt, find the center of both the design and the T-shirt. This makes positioning so much easier.
Find the Center of the Design
Lightly fold the left and right sides of the clear carrier sheet together without creasing the puff vinyl itself.
Make a small pinch at the top and bottom of the carrier sheet to mark the center.
Now you have an easy guide for lining up the design with the center of your shirt.
Position the Design
For an adult T-shirt, I generally like the top of the design to sit about 3 to 4 inches below the collar.
I use a T-shirt ruler because it makes placement quick and helps me double-check that everything is straight. A regular ruler works perfectly fine too.
Position the design with the carrier sheet facing up, then take a moment to look at the entire shirt before pressing.
Is it centered?
Is it straight?
Is it the right distance from the collar?
This is the time to make adjustments. Once you press it, we're committed!
Press the Puff Vinyl
With the design positioned, slide the tray into the HTVRONT Auto Heat Press 2.
My press automatically lowers and starts the timer. After 10 seconds, it lifts again.
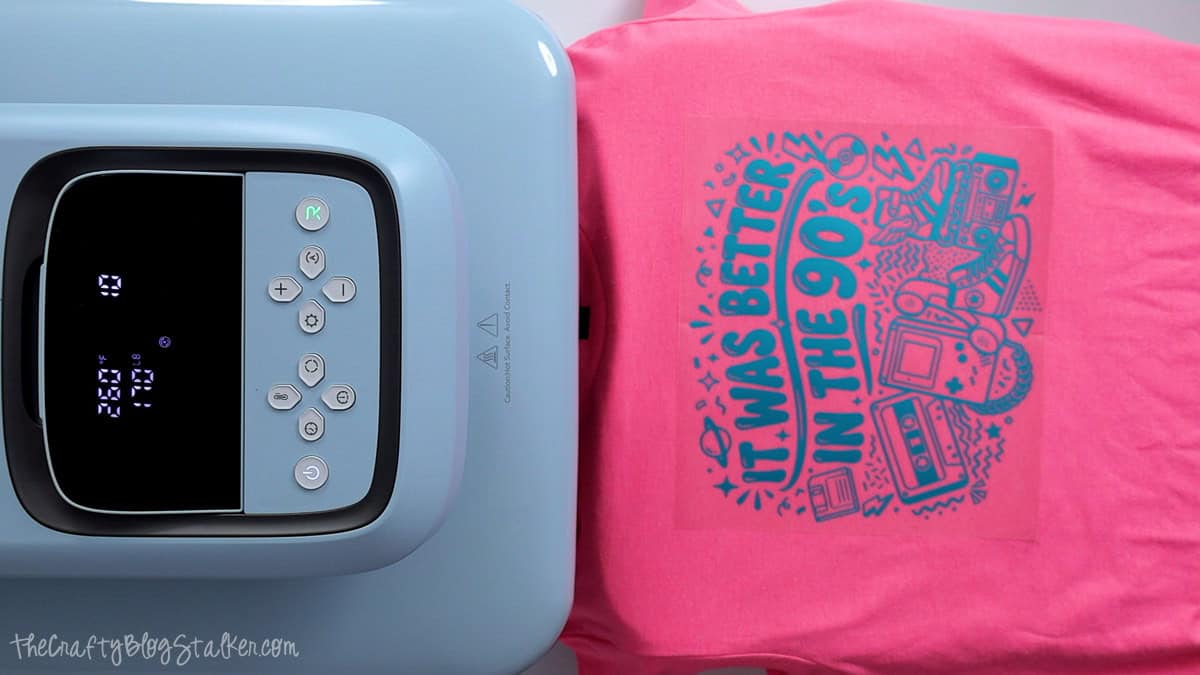
The puff HTV I'm using calls for a warm peel, so I let it cool just enough to comfortably handle the clear carrier sheet.
My highly technical cooling method is to pick up the shirt and flap it a couple of times. It works!
Then I carefully peeled away the carrier sheet.
And this is when you get the first peek at that puff.
Press the Design Again
For the material and method I used in this project, I pressed the design a second time.
I placed the liner back over the design, returned the shirt to the heat press, and pressed it again using the same settings.
After the second press, I warm peeled the liner again.
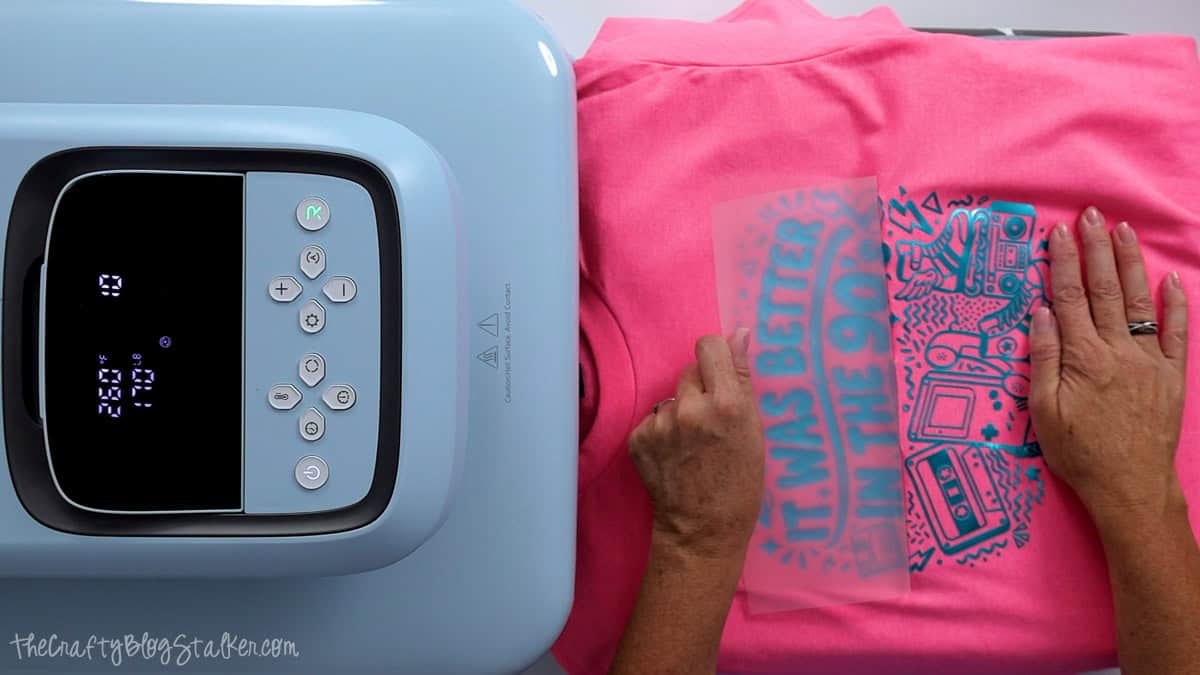
This time, the design had even more depth, and that raised puff texture was really noticeable.
Because puff HTV products can have very specific application instructions, don't assume every brand should receive multiple presses. Follow the directions for the exact material you're using.
Back Press the Shirt
I like to back press my T-shirt designs as a final step.
Place the liner back over the design for protection, then turn the shirt so the front of the design faces down.
Press from the back of the shirt one final time using the settings appropriate for your vinyl.
Then let the T-shirt cool completely.
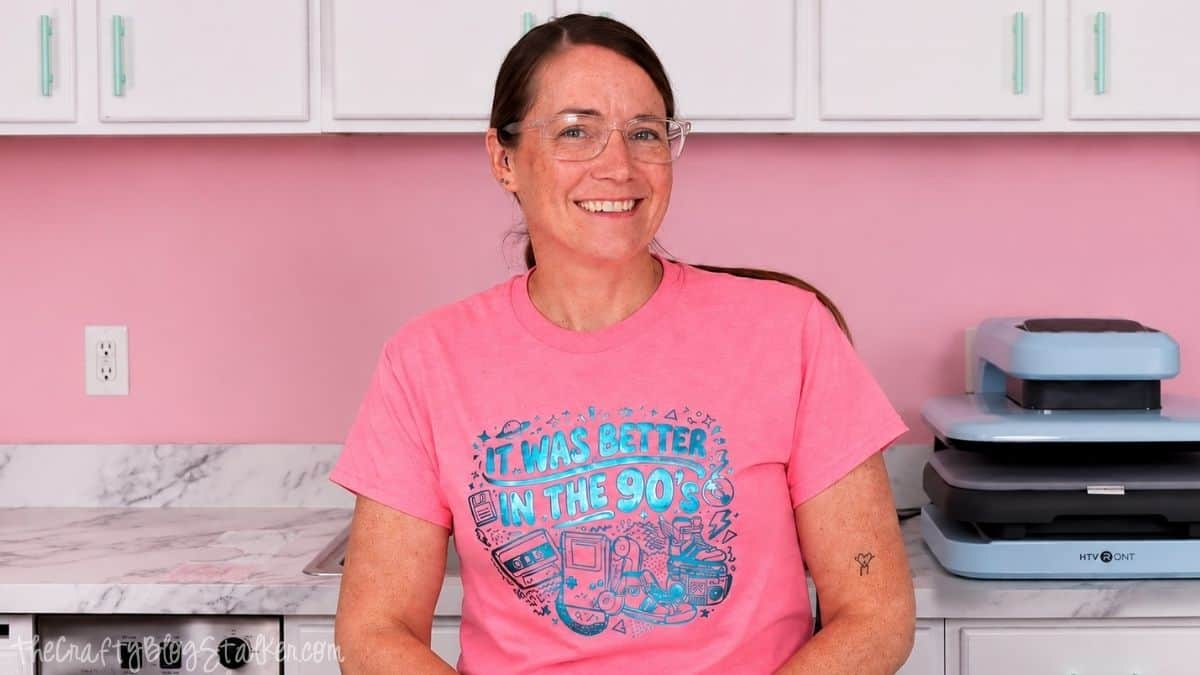
Once mine was cool, I obviously had to put it on and model it.
I love how it turned out! The puff vinyl takes a simple SVG and gives it so much more personality and texture. It was definitely the right material for this 90s design.
Frequently Asked Questions
Puff vinyl is a type of heat transfer vinyl that expands when heated. Instead of remaining flat against the fabric, it rises to create a soft, dimensional finish.
That extra depth makes it fun for bold lettering, simple graphics, and designs where you want the vinyl to stand out.
The basic process is very similar. You'll create or upload your design, mirror it, place the vinyl on the mat according to the manufacturer's directions, cut it with your cutting machine, and weed away the excess.
The biggest differences come during pressing because puff vinyl can require specific temperatures, times, and pressure settings.
For the puff HTV I used, the shiny side goes down on the cutting mat.
Don't assume that's true for every product, though. Check the manufacturer's directions for your specific material before cutting.
A heat press is ideal because puff HTV can require firm, even pressure across the entire design.
Whatever heating tool you use, make sure it can provide the temperature and pressure recommended by the vinyl manufacturer.
Check your heat, pressing time, and pressure first. Puff HTV needs the right combination of all three to activate properly.
Also make sure you're following the instructions for your specific product rather than using settings intended for regular HTV.
Follow the care instructions provided by your HTV manufacturer. In general, allow the vinyl to fully cure before washing, and avoid anything that could damage the raised texture.
Turning the shirt inside out before washing can also help protect the design.
Need help with this project?
Click a button below to ask AI why your puff vinyl isn't puffing.
More Free 90's SVG files
Ready for another throwback craft? Here are 7 more free 90s SVG files!


Hi, I'm Katie!
I'm so glad you're here. Want to make something fabulous? I'm here to help!
Hung from SVG Hive
Love how this turned out, Katie! The tip about lightly pinching the carrier sheet at the top and bottom to find the center is so simple but makes placement so much easier than eyeballing it. And you're right that bold lettering like "Better in the 90s" is perfect for puff vinyl - thicker letters really show off the raised texture. Such a fun nostalgic shirt!
Katie Adams
Thank you so much. I am so glad that you like the project!