


Make a DIY snow globe ornament with your laser cutter! These lovely Christmas ornaments are a fun one to make and look absolutely gorgeous on the tree.
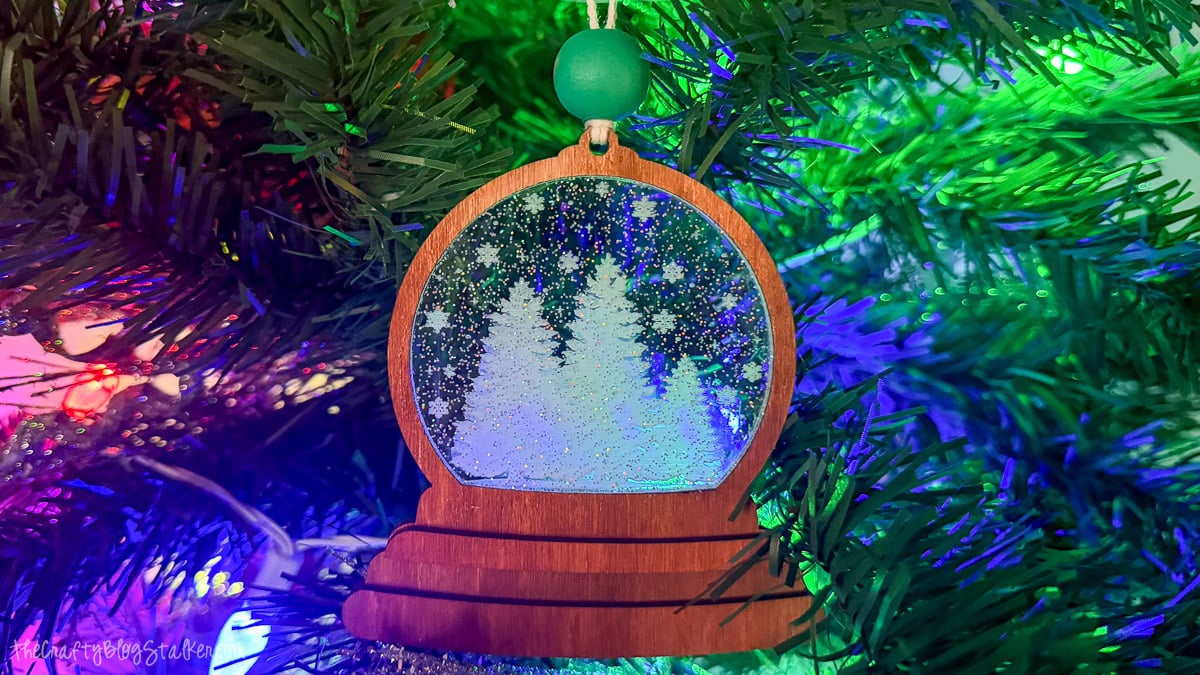
Making your own Christmas ornaments is always a good time. You can make them extra special by adding your own style or favorite colors!
This snow globe ornament uses wood and glitter acrylic to make a tiny winter scene, just like a real snow globe. It's so cute and sparkly!
I love how the glitter shines in the Christmas tree lights, making it look like snow is falling.
In this tutorial, I'll show you step by step how to cut, paint, and put together these cute ornaments. You can hang them on your tree or give them as a handmade gift.
Jump to:
Skill Level: Intermediate
Estimated Cost will vary depending on what materials and supplies you already have
Total Time: 1-2 hours
Craft Tutorial Video
If videos are your thing, you're in luck-I've got a full tutorial ready for you!
Subscribe to my YouTube channel and stay inspired with every new project.
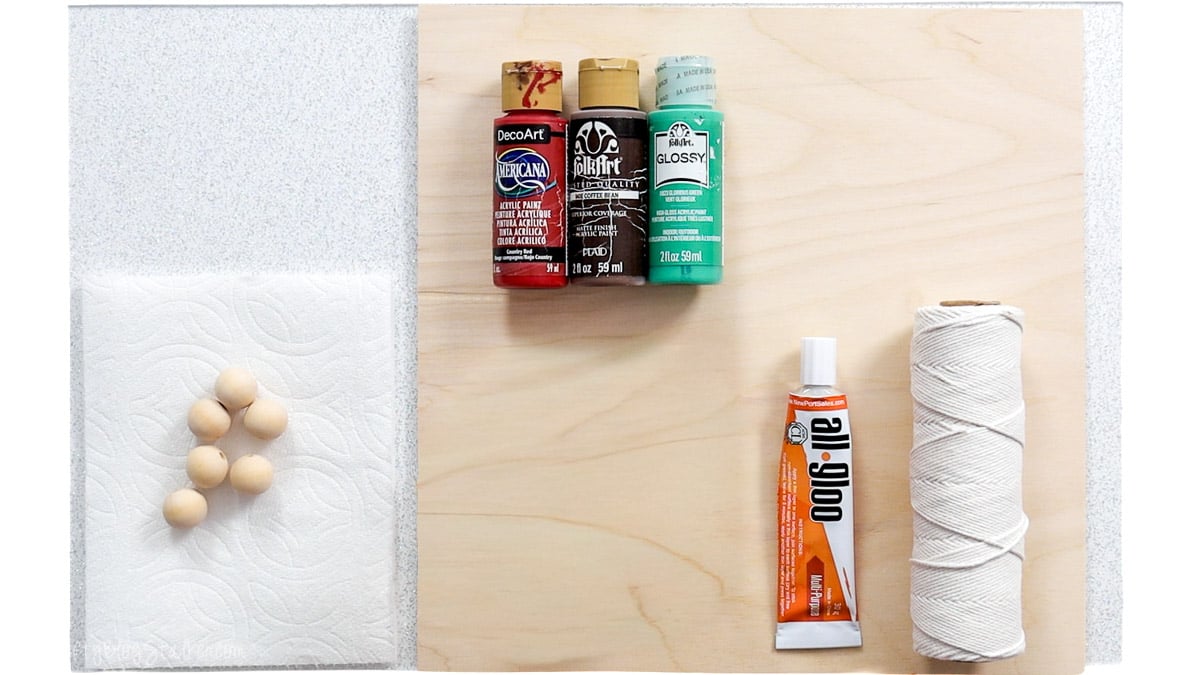
Supply List
- Snow Globe Ornament SVG
- Laser Cutting Machine
- 3mm Basswood Sheet
- 3mm Clear Glitter Acrylic Sheet
- Acrylic Craft Paint
- Wood Beads
- Twine
- All Gloo Adhesive
- Isopropyl Alcohol
- Paper Towels
- Snack Plastic Bag
- Cotton Wipes
- Cotton Swabs
- Wire
- Scrap Paper
Grab the Laser File
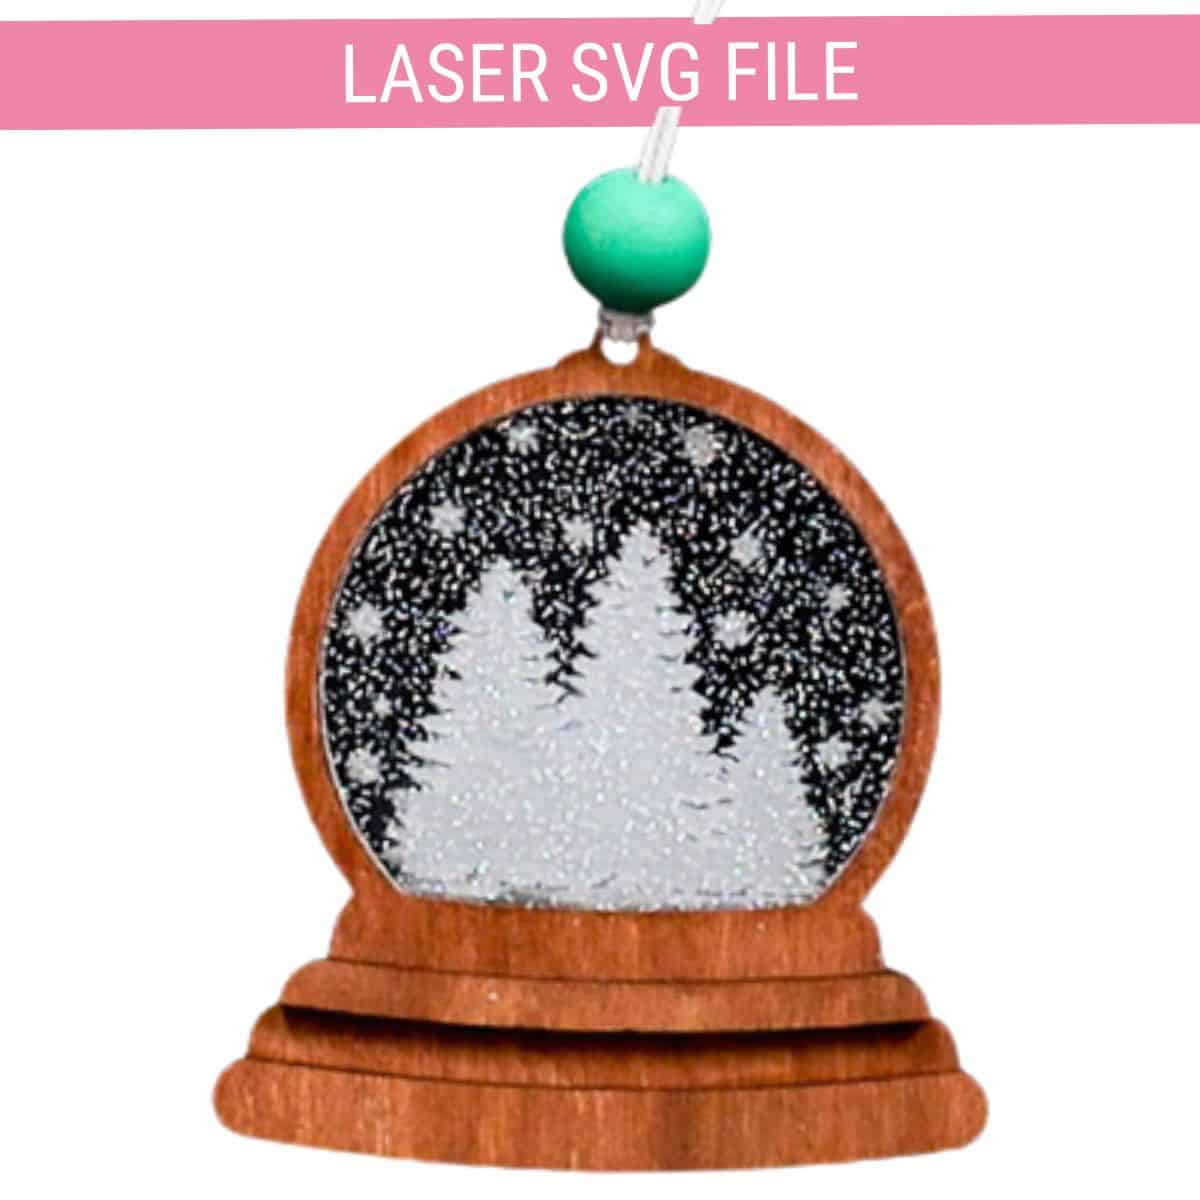
You'll need my Snow Globe Ornament SVG file to make this project.
The file includes the wood frame and base pieces, plus the winter scene engraved on the glitter acrylic.
Prepare the Wood and Beads
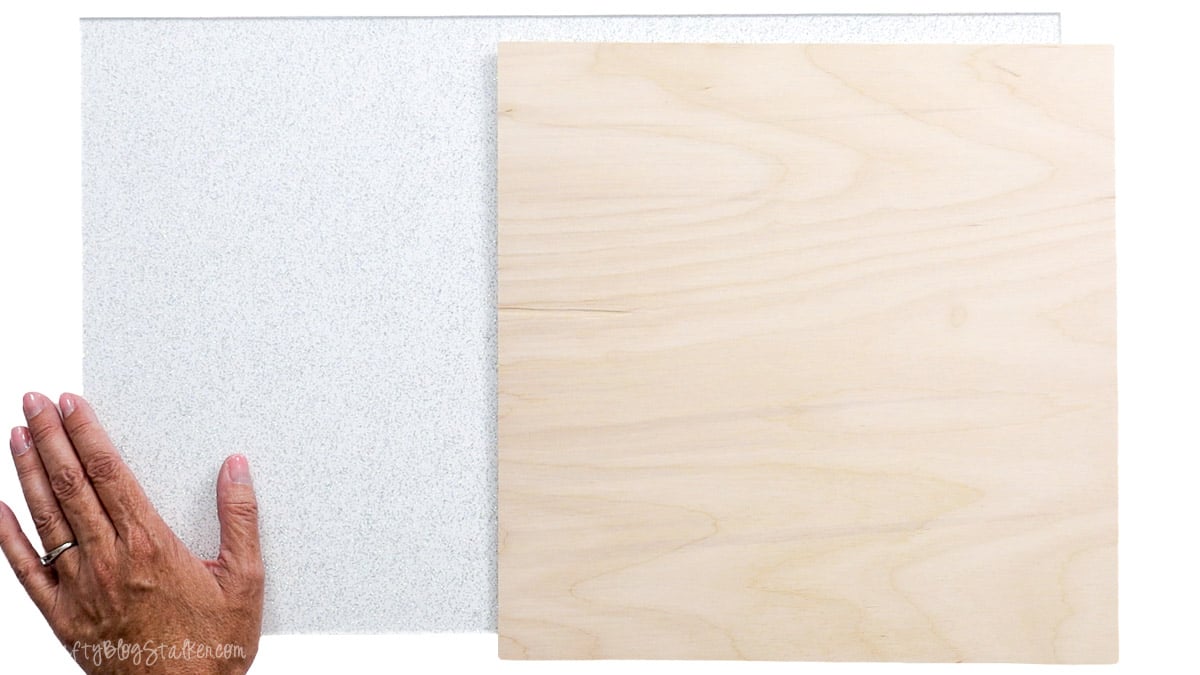
For my snow globe ornaments, I'm using 3mm basswood and 3mm glitter acrylic.
You can use a different thickness, but I recommend using the same thickness for both materials so the pieces fit together well.
Stain the Basswood
Basswood has a light, natural wood color. I wanted my ornaments to have a warm, reddish-brown finish instead.
So I stained the wood before cutting it with my laser. This is much easier than painting all the little pieces after cutting.
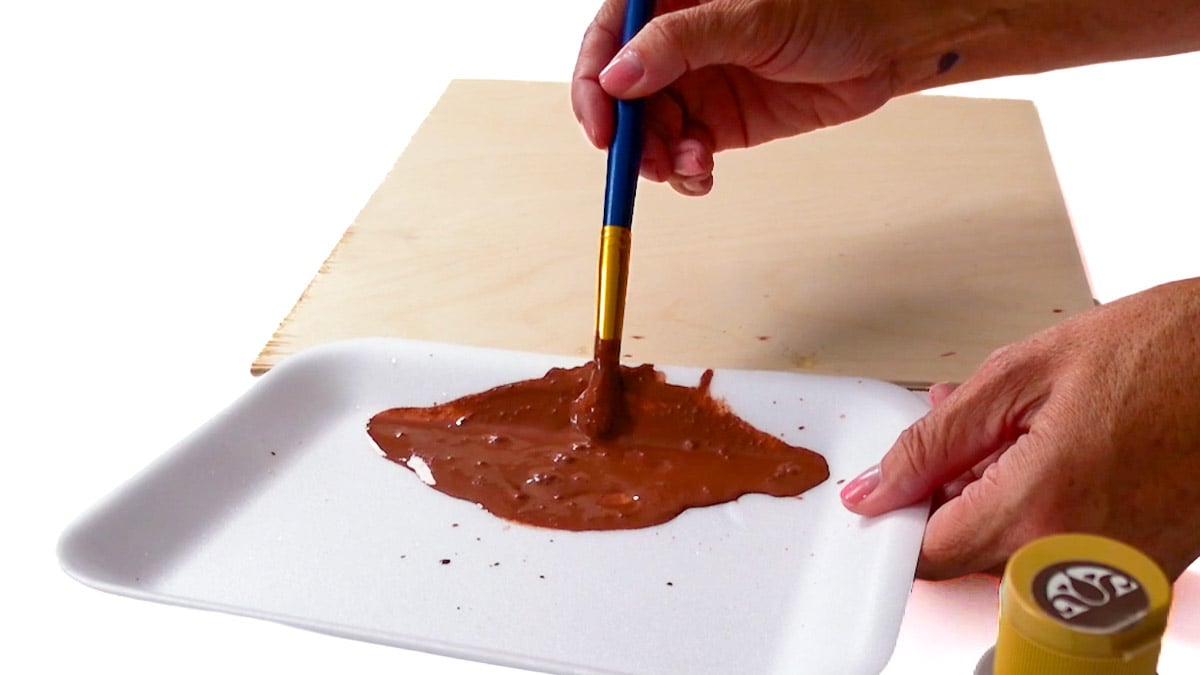
To make my stain, I mixed brown acrylic paint with a few drops of red paint. I didn't have the exact color I wanted, so I just mixed until I liked how it looked.
Next, I added water to thin the paint. I don't have an exact ratio. I just added water a little at a time until the paint was thin enough to wipe on the wood but still had good color.
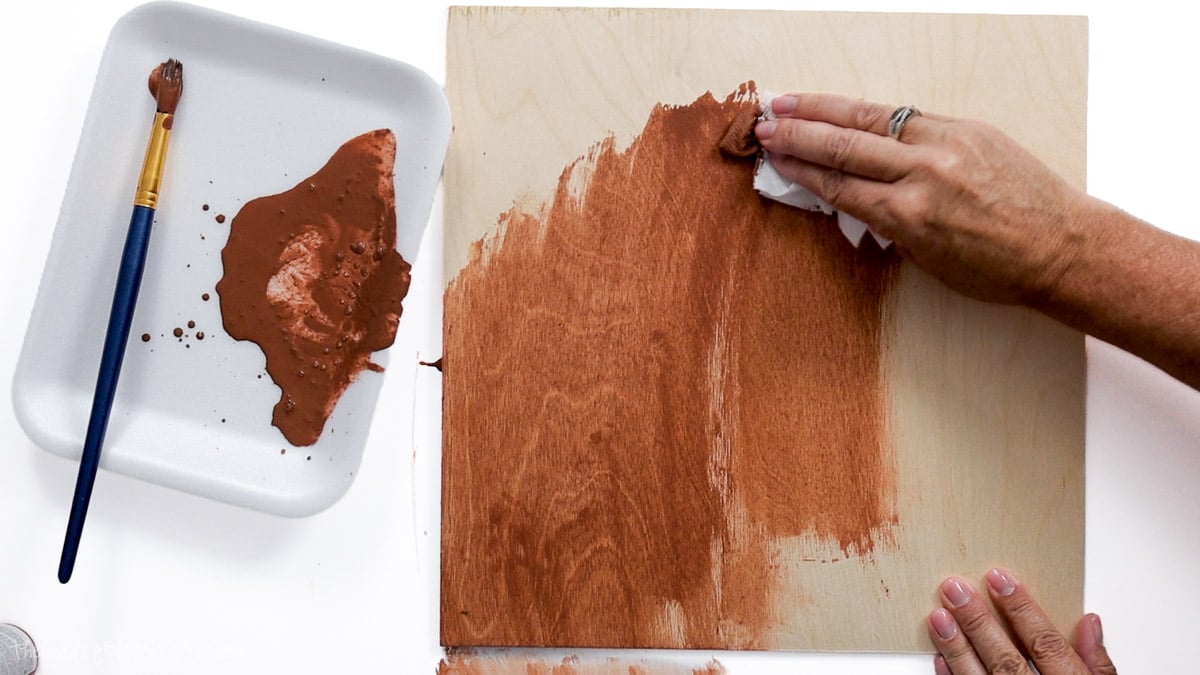
Using a paper towel, wipe the stain across the basswood. You can use the same towel to spread the color and wipe away any extra paint.
I like this way because you can still see the wood grain, but the sheet gets a nice, darker color.
Repeat on the back of the wood so both sides of the ornament have the same finish.
Set the wood aside until it is fully dry. Mine took about 10 minutes, but yours may take longer based on how much water and paint you used.
Important: The wood must be fully dry before you put it in the laser. Make sure your paint and wood are safe for laser cutting, and always follow your machine's safety steps.
Paint the Wood Beads
The wood beads are part of the ornament hanger, so I like to paint them now and let them dry while I work on the other pieces.
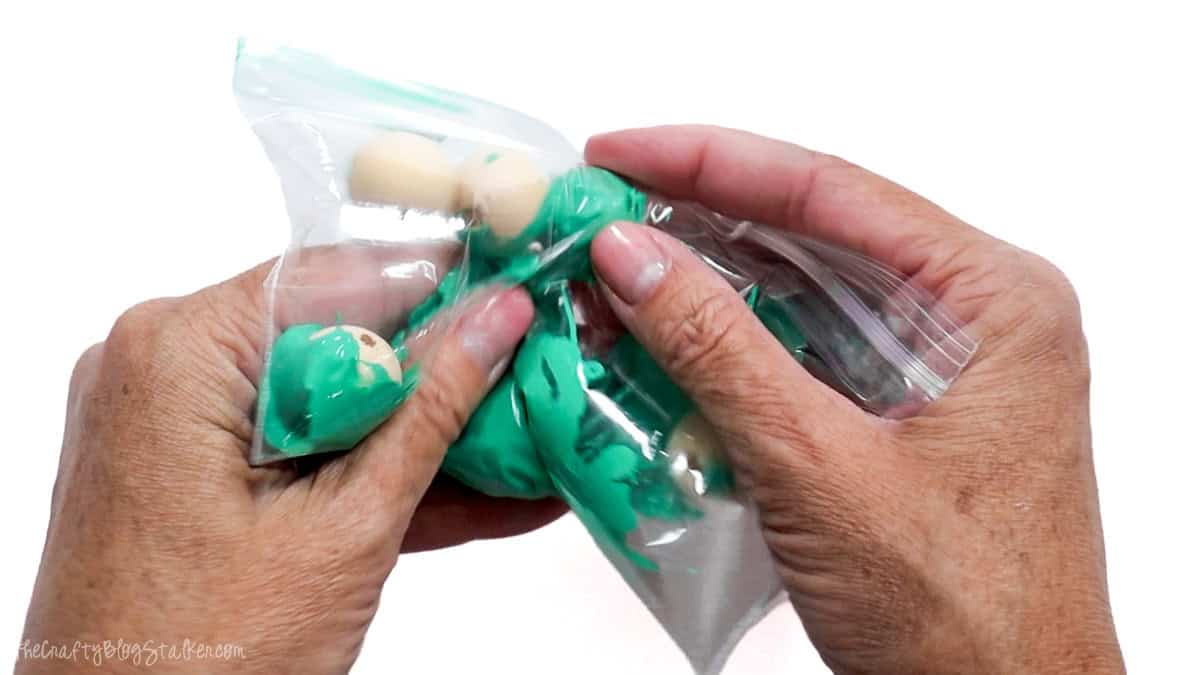
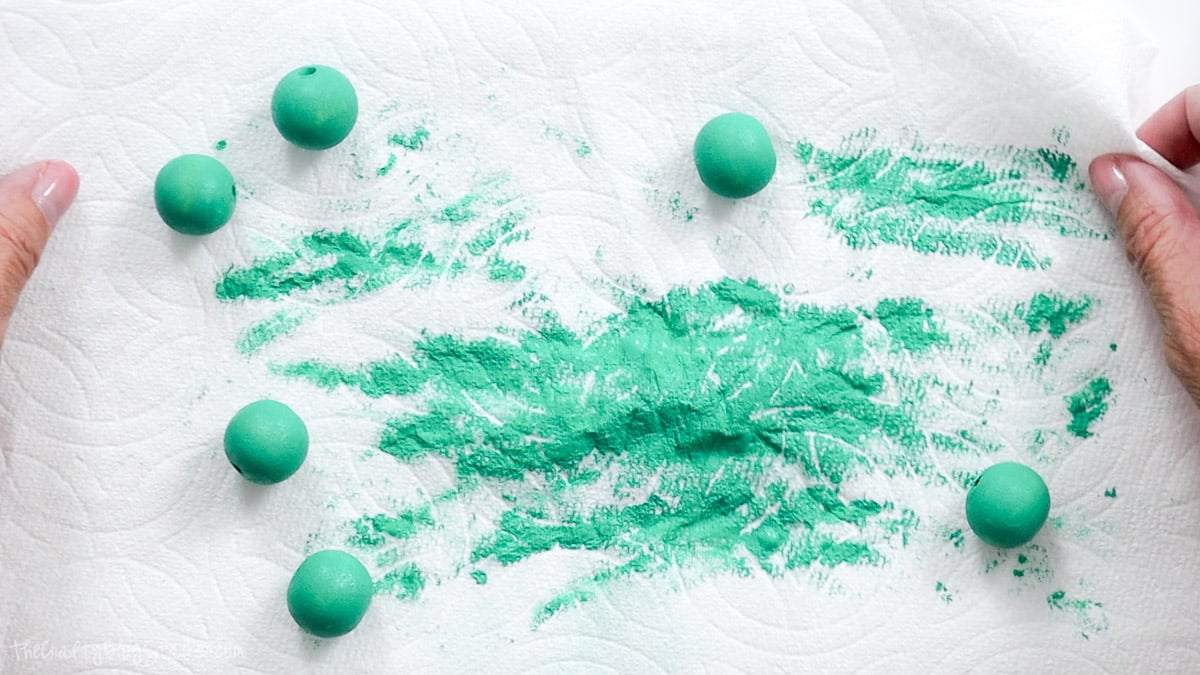
Add a good squeeze of acrylic paint to a small zip-top bag. Drop in the wood beads, seal the bag, and gently squish them around until they are covered in paint.
This is one of my favorite ways to paint beads because it's quick and keeps paint off my fingers!
Dump the painted beads onto a paper towel.
Place another paper towel over the top and gently roll the beads between the two towels. This removes excess paint and smooths out any thick spots.
Use a toothpick or wooden skewer to clear the paint from each bead hole. You want the holes open so the twine can pass through later.
Set the beads aside to dry completely.
Cut the Snow Globe Ornament Pieces
Open the Snow Globe Ornament SVG in your laser software.
The file uses two line colors to show which parts to cut and which parts to engrave.
The blue lines are for engraving the fill. The black lines are for cutting.
Make sure each layer has the right setting before you start. Your speed and power will depend on your laser and the materials you are using.
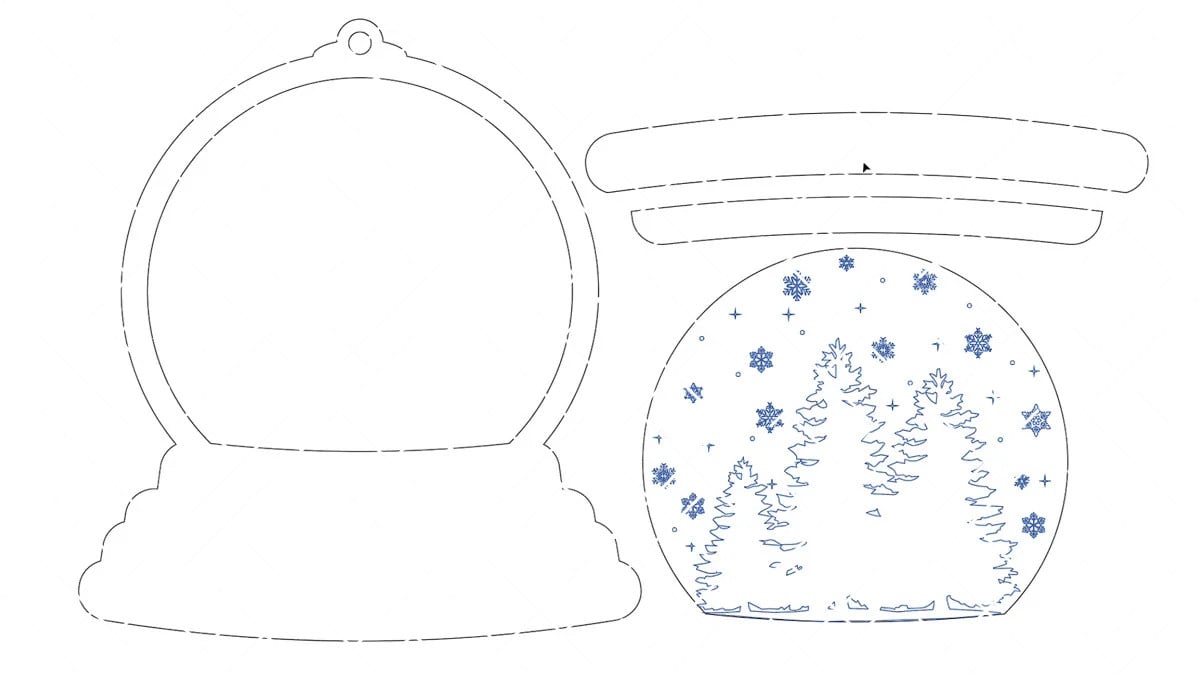
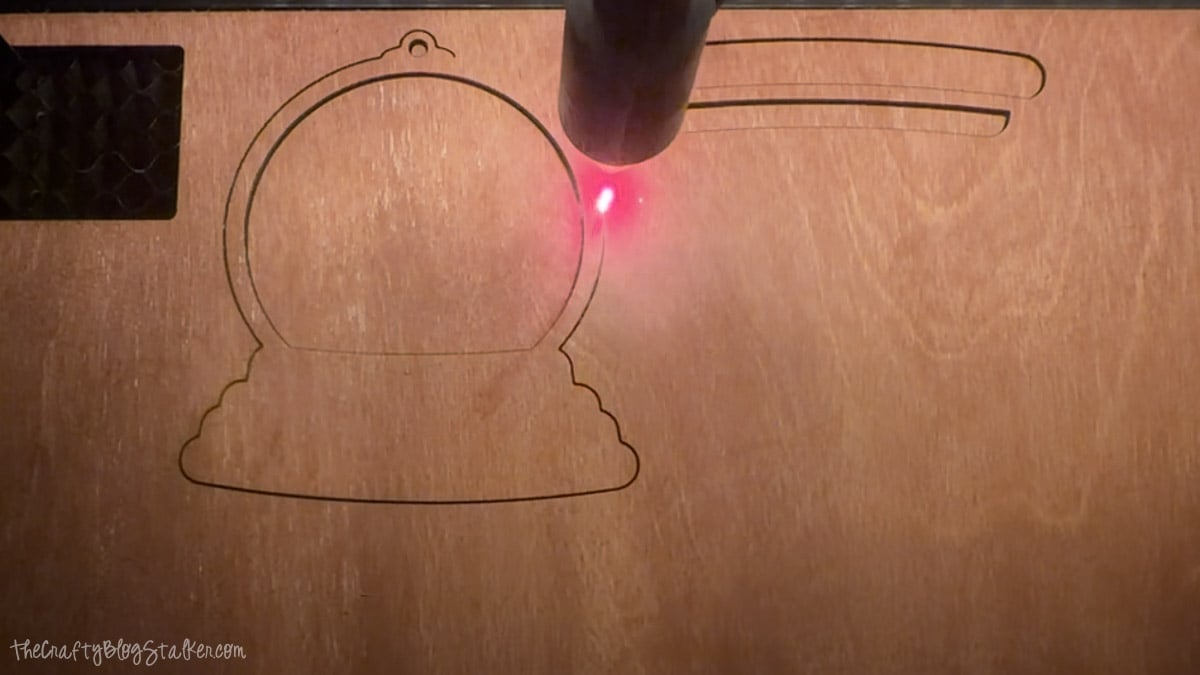
Cut the outside frame and base pieces from the stained basswood. Engrave and cut the inside winter scene from the glitter acrylic.
Make sure your acrylic is suitable for your laser. Not all acrylic sheets can be cut on every laser, and some craft plastics aren't safe to laser cut.
I recommend testing a small piece first to make sure the engraving and cuts look the way you want.
Once your settings are ready, cut the wood and acrylic pieces.
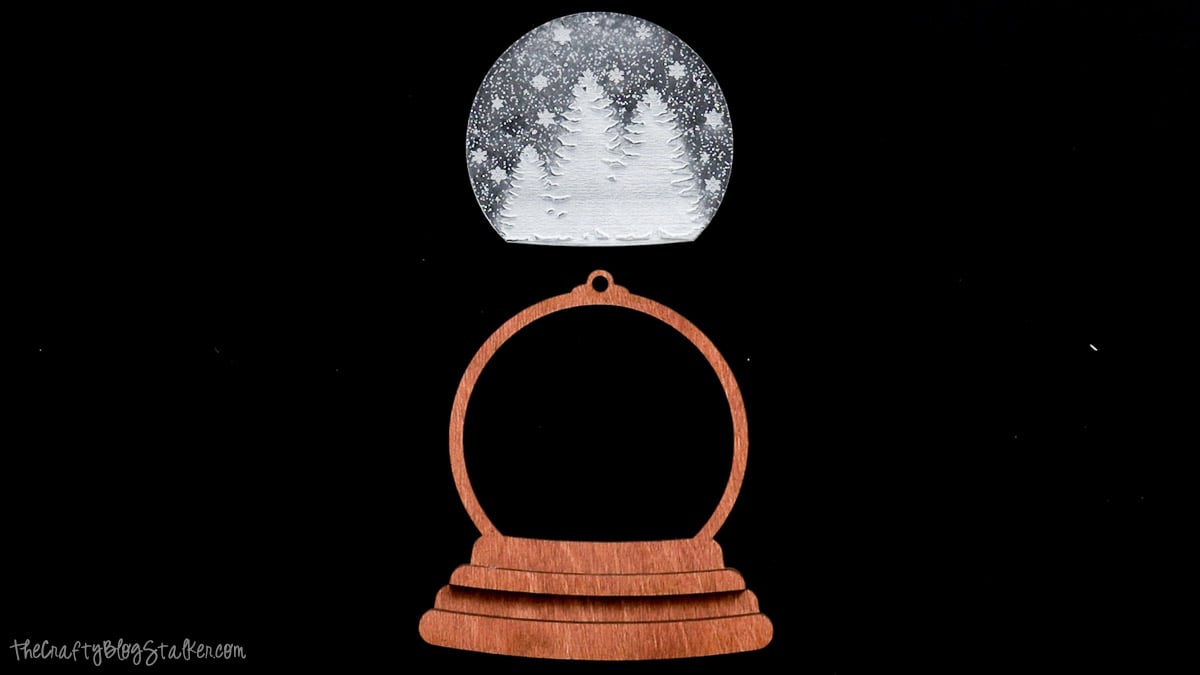
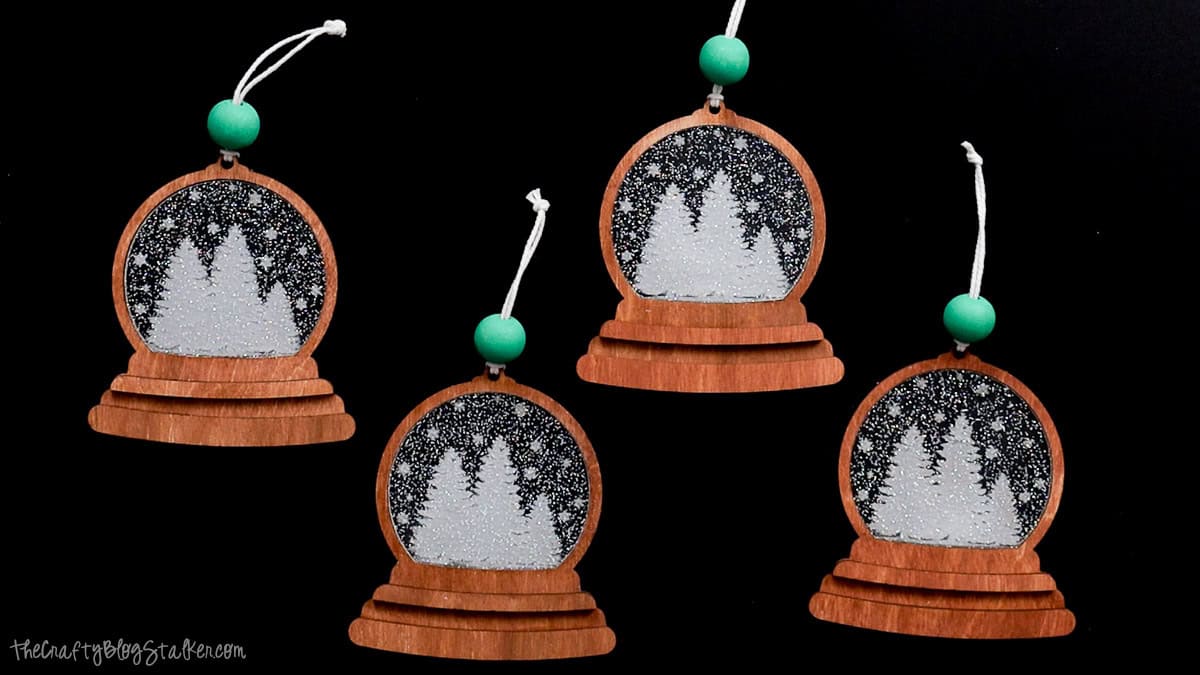
I'm making four snow globe ornaments, but the pieces shown below are everything you need to make one.
Lay out your pieces and make sure you have the wood frame, the acrylic globe, and the wood base pieces.
Clean the Glitter Acrylic
When the acrylic comes out of the laser, it may look a little cloudy from the cutting and engraving process.
To clean mine, I added a little isopropyl alcohol to a cotton wipe and gently wiped the surface.
This removed the cloudy film and helped the glittery winter scene stand out.
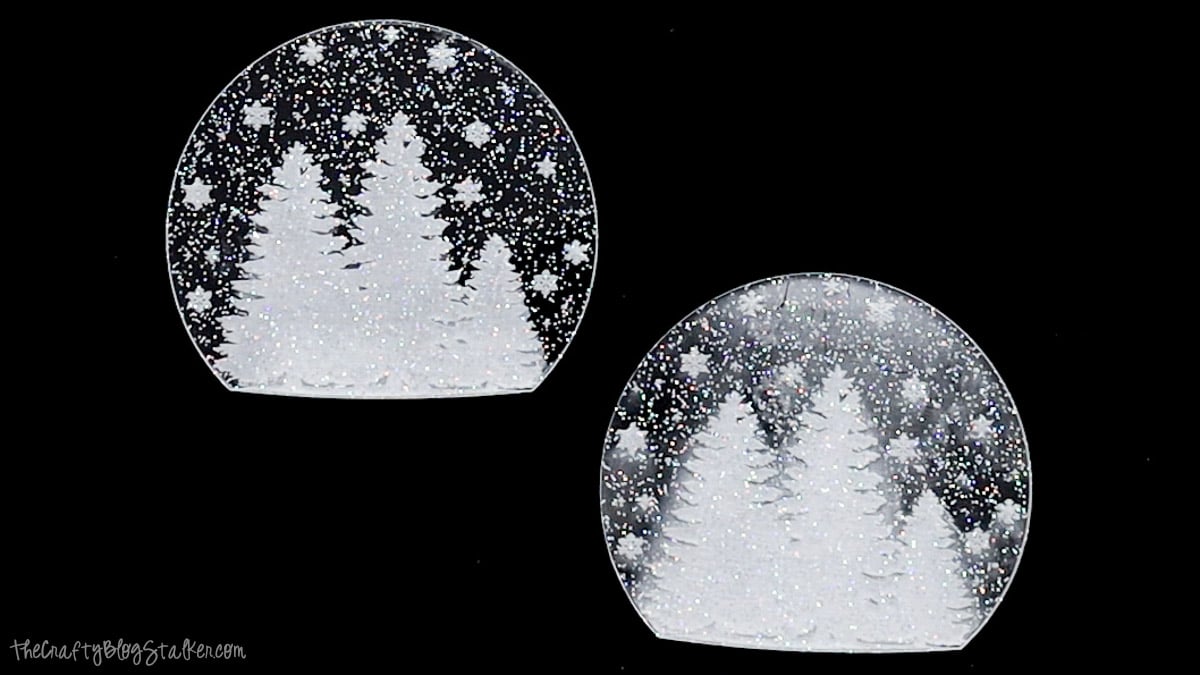
Before using alcohol on your acrylic, test a small area or check with the maker of your sheet. Some acrylics can turn cloudy or crack when you clean them with alcohol.
Let the pieces dry before you begin adding glue.
Assemble the Snow Globe Ornaments
Before adding any glue, lay out all the pieces to make sure they fit.
This is a good time to check that the engraved side of the acrylic is facing the right way and that the wood pieces line up.
Glue the Acrylic Into the Wood Frame
Start with the acrylic globe and apply a thin line of All Gloo around the outer edge.
I find it easiest to move the glue tip in one direction around the entire piece. You only need a small amount, so don't add too much.
Carefully place the acrylic inside the wood frame, making sure the edges line up.
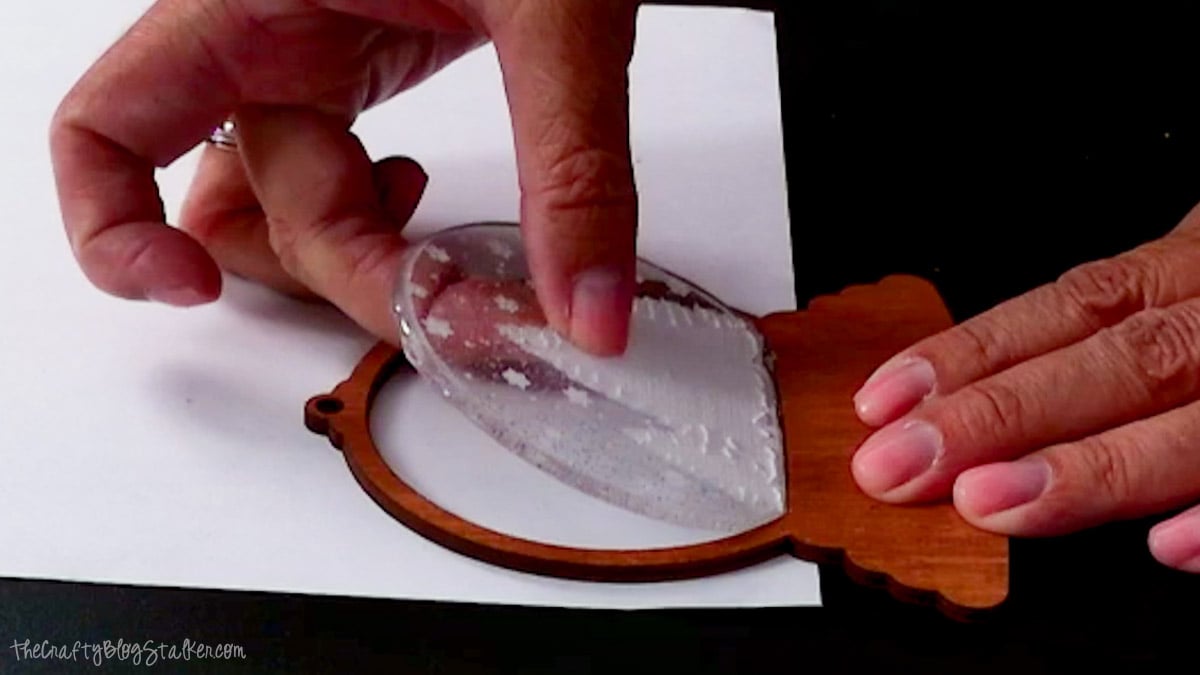
Let the glue sit for about 10 minutes before cleaning the edges.
The glue will start to set, but it won't be fully dry. The acrylic can still fall out if you pick up or move the ornament, so handle it with care.
Clean Up the Extra Glue
After about 10 minutes, clean up any glue that squeezed out around the edges.
Dip a cotton swab in isopropyl alcohol and gently move it along the edge where the wood and acrylic meet.
Slowly twist the swab as you go to pick up the extra glue. Work your way around the entire acrylic piece.
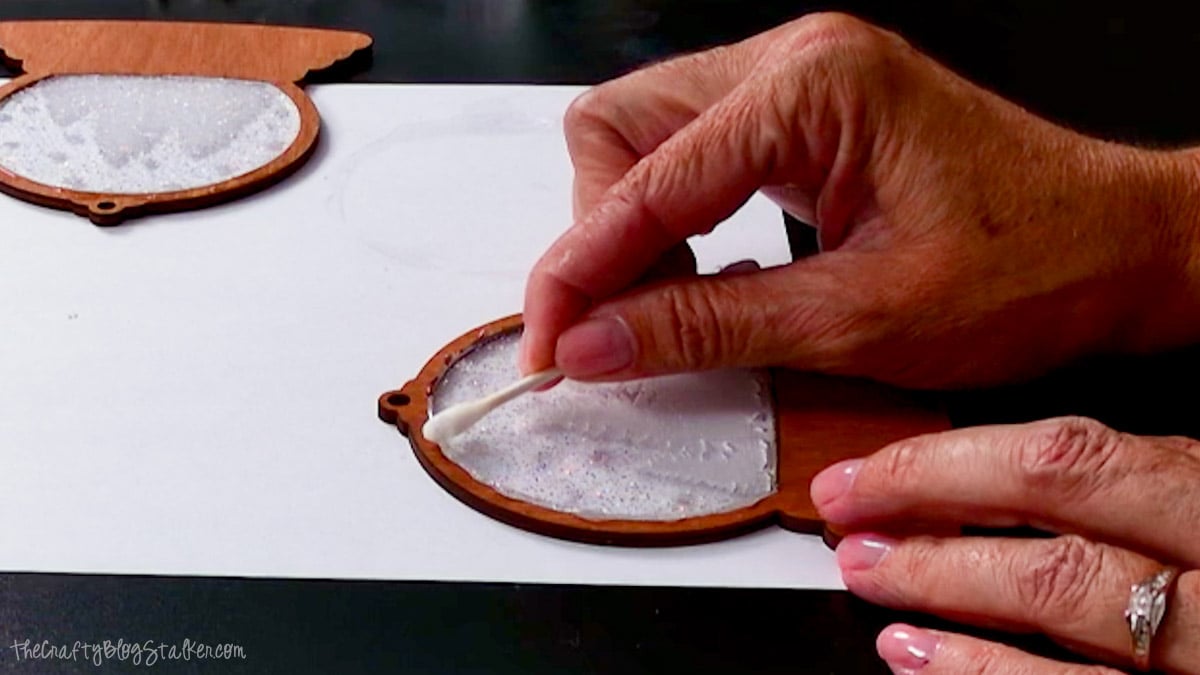
Add a little more alcohol to a cotton wipe and gently clean any glue marks from the back of the ornament.
Turn the ornament over and repeat on the front.
Be careful not to move the acrylic while the glue is still soft.
If you're using a different adhesive, check its cleanup steps first. Also, test alcohol on your acrylic and stained wood before using it on the finished piece.
Attach the Wood Base Pieces
With the ornament face up and the engraved side of the acrylic facing down, add a thin line of glue to the wood base pieces.
Place the base pieces onto the ornament, lining up the edges so everything sits straight.
Gently press to keep the pieces in place.
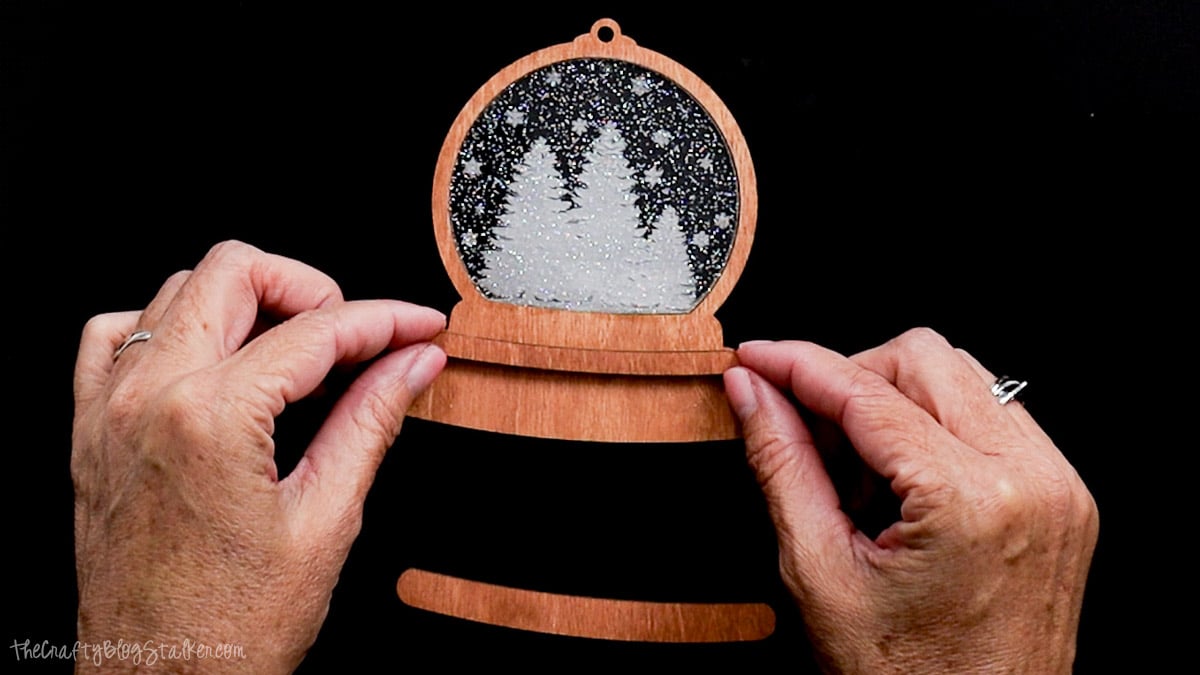
Set the ornament aside and let the glue dry fully.
Try not to move it while it dries. The more you handle it, the more likely the acrylic or wood pieces are to shift before the glue has set.
Follow the drying time on your glue package before moving on to the hanger.
Add the Ornament Hanger
The last step is to add the twine hanger and painted wood bead.
Cut a piece of wire about 4 inches long and fold it in half. This will act as a needle to help pull the twine through the bead and ornament.
Next, cut a piece of twine about 8-10 inches long.
Thread the twine through the folded end of the wire, then bring the two ends together.
Push the folded wire through the hole in a painted wood bead, pulling the twine through.
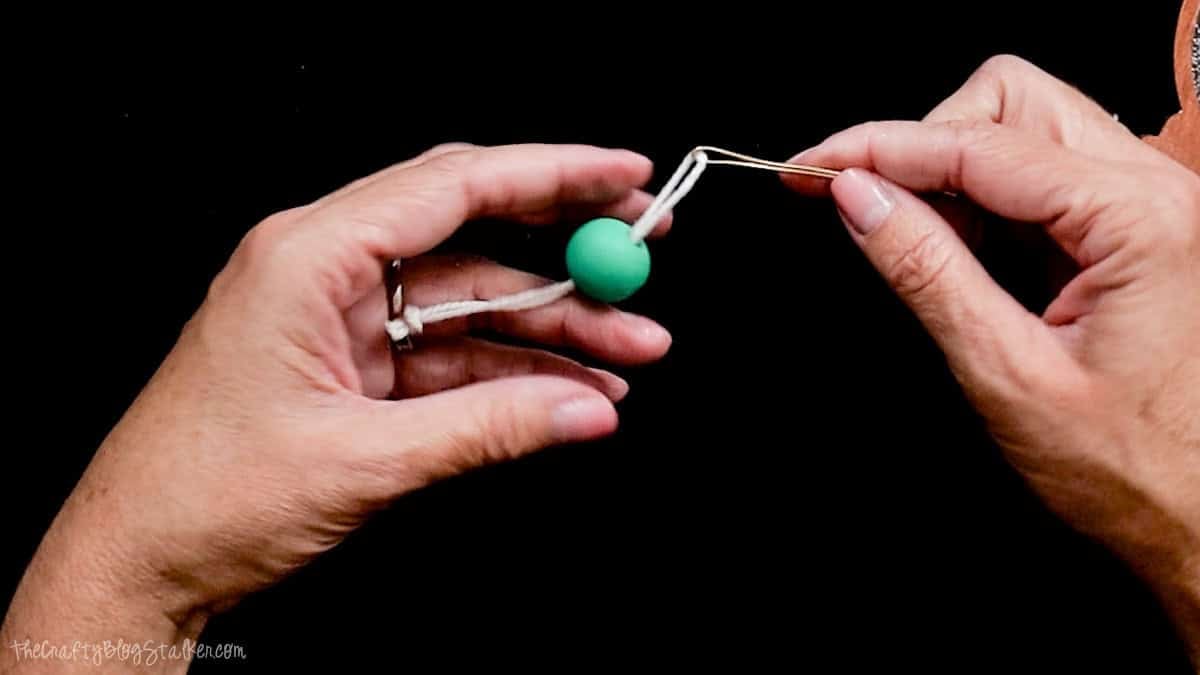
Leave the wire on the twine for now.
Tie a simple knot near the loose ends of the twine and trim off any extra string.
Use the wire to pull the twine through the hole at the top of the ornament. The bead will keep the twine from pulling all the way through.
Remove the wire, then pull the knotted end of the twine over the bead to form a hanging loop.
Move the bead up toward the knot and pull the twine snug.
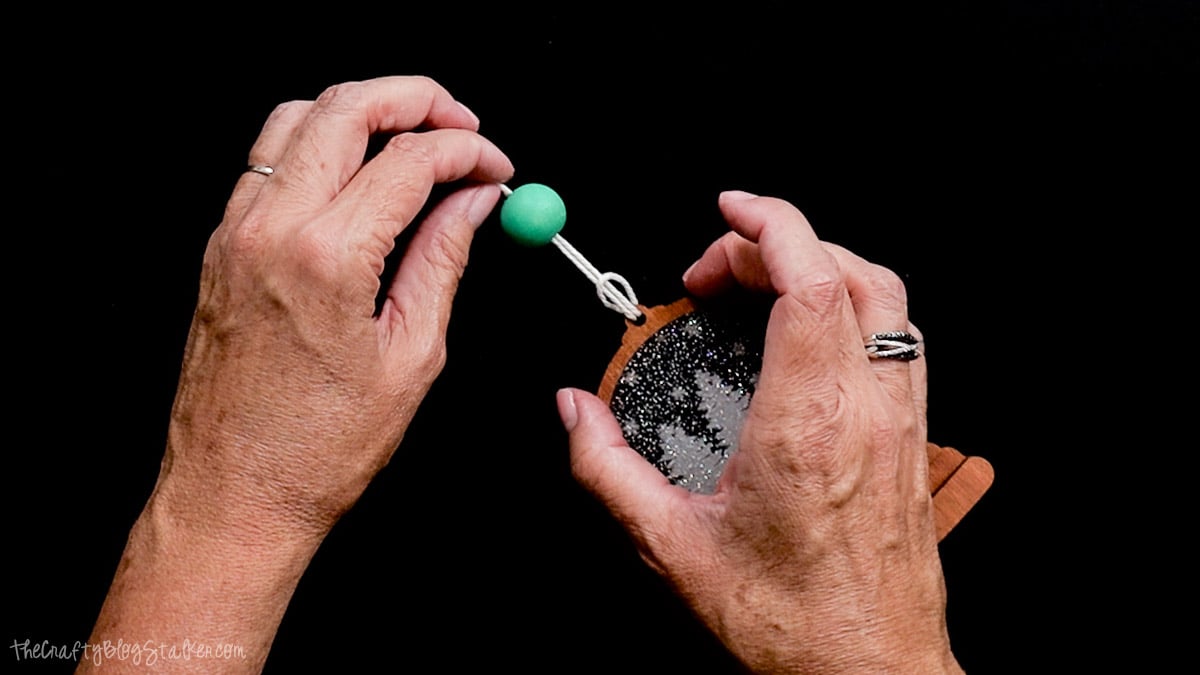
Your snow globe DIY ornament is now ready to hang!
I have to say, these turned out even better than I pictured! The glitter acrylic makes it look like the snow globe has just been shaken and snow is falling around the trees.
My favorite part is how the glitter picks up the glow from the Christmas tree lights behind it. They are so cute, and I can't wait to hang them on my tree!
Frequently Asked Questions
Yes! You can use other laser-safe wood and acrylic sheets that work with your machine. I recommend using the same thickness for both materials so the pieces fit together well. You may need to change the file size or settings if you use thicker or thinner sheets.
No, you can leave the basswood its natural color or paint it after cutting. I like staining it first because it's faster and gives all the pieces the same finish. Just make sure the wood is fully dry and safe to laser cut.
Yes, you can try another laser-safe acrylic color or finish. Glitter acrylic gives the ornament its snowy look, but a different sheet can still make a pretty design. You may need to adjust your engraving settings based on the material.
I used All Gloo because it works with the materials in this project. Look for an adhesive made for both wood and acrylic, and test it on scraps first. Some glues can leave cloudy marks or damage acrylic, so check the label before using them.
Yes! I made four ornaments, and batch-making them saved time. You can stain a full sheet of wood, paint all the beads together, and cut several ornaments in one laser job if your machine has enough room.
Need help with this project?
Click a button below to ask AI how to customize these snow globe ornaments with different colors, designs, or names.
More Laser-Cut Ornaments
I love making handmade Christmas ornaments, and there are so many fun ways to use a laser cutter to create them!
Check out my other laser-cut ornament tutorials for more ideas to add to your tree or give as gifts.



Hi, I'm Katie!
I'm so glad you're here. Want to make something fabulous? I'm here to help!