This post may contain affiliate links. For more information, please see our disclosure policy.
Craft unique Christmas Barn Ornaments with this laser-cut design, easily made on most laser-cutting machines. Perfect for holiday DIY!
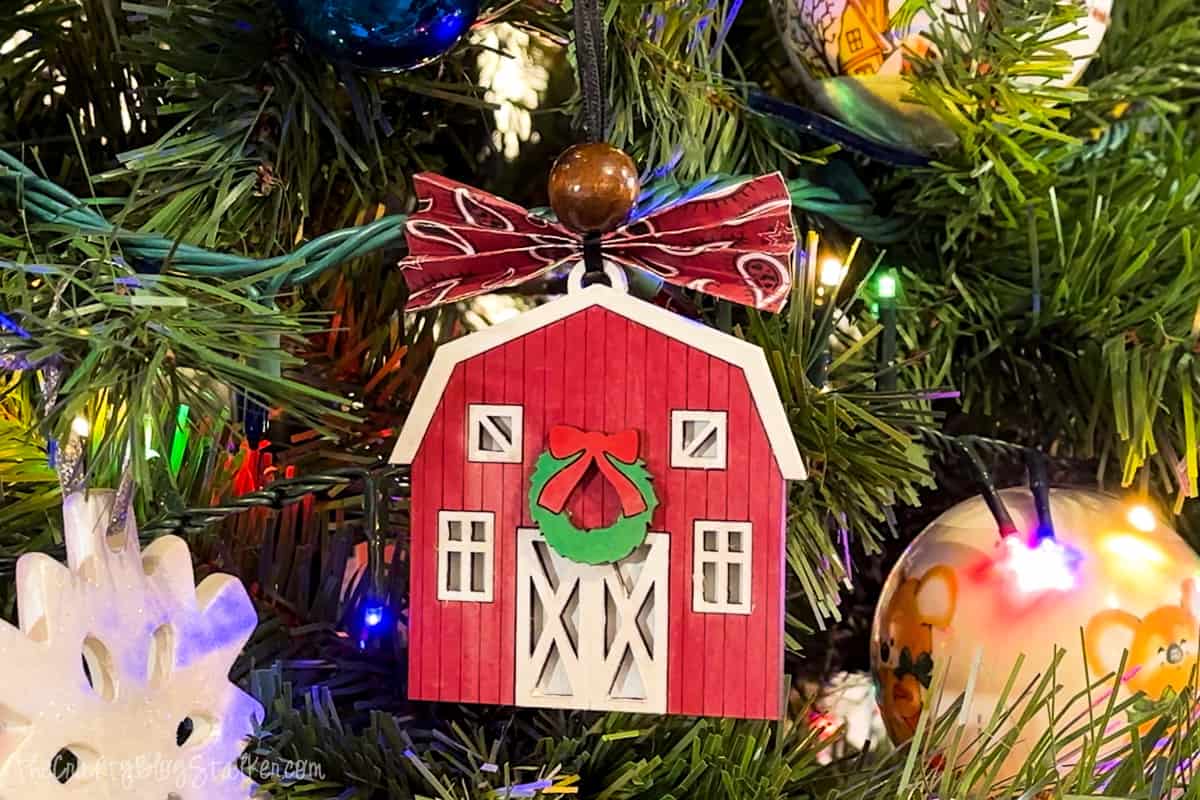
In this post, we'll guide you through the process of making your very own Laser-Cut Christmas Barn Ornaments.
These DIY Christmas Ornaments are not only a delightful addition to your holiday decor but also a great opportunity to explore the world of laser-cutting.
Whether you're a seasoned crafter or new to laser-cutting, our step-by-step instructions will make it easy and fun to create these unique ornaments.
Add a personal touch to your Christmas tree with these handmade rustic barns!
Craft Video Tutorial:
Like videos? I have a video tutorial for you! Subscribe to my YouTube Channel so you don't miss any future videos!
Supply List:
Some links may be to similar items when exact items couldn't be found online.
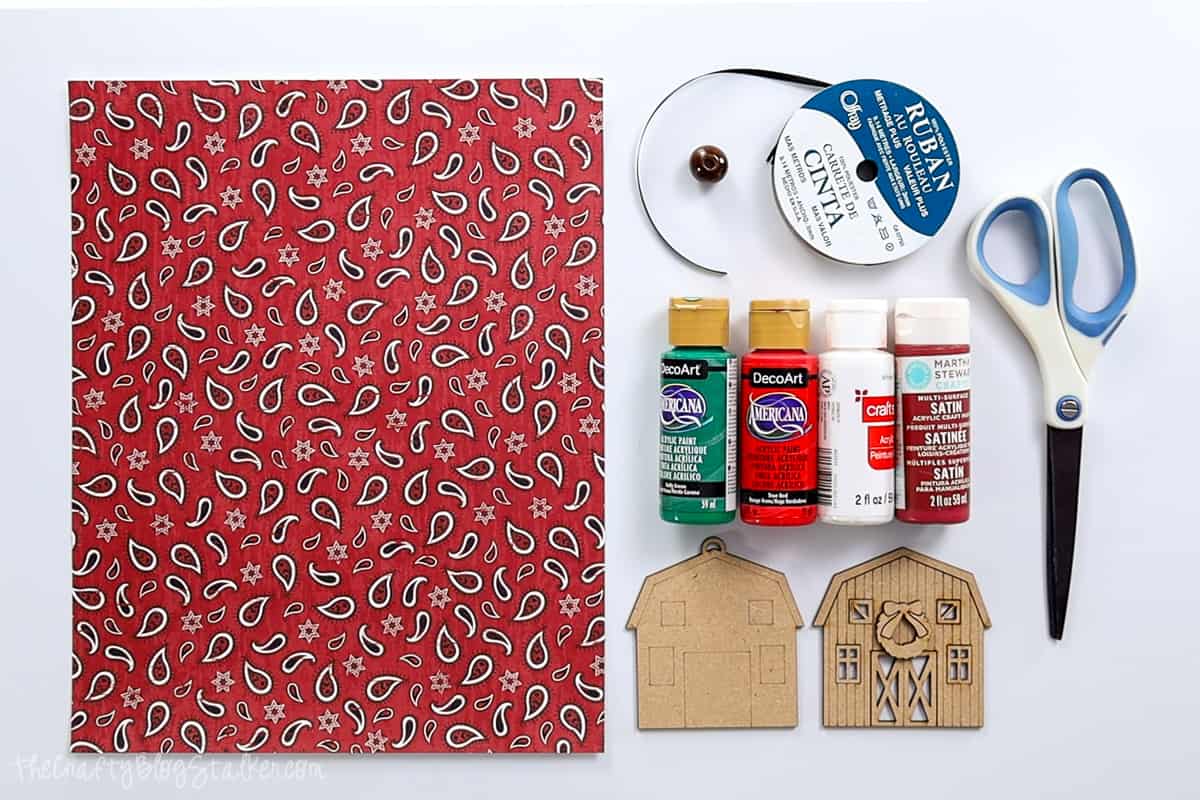
- Old Barn Ornament Laser File
- Laser Cutter
- 3mm MDF
- Red Acrylic Paint
- White Acrylic Paint
- Green Acrylic Pain
- Wet Wipes
- Wood Glue
- Pattern Paper
- Paper Trimmer or Scissors
- Large Wood Bead
- Black Ribbon
Grab the Old Bar Ornament Laser File:
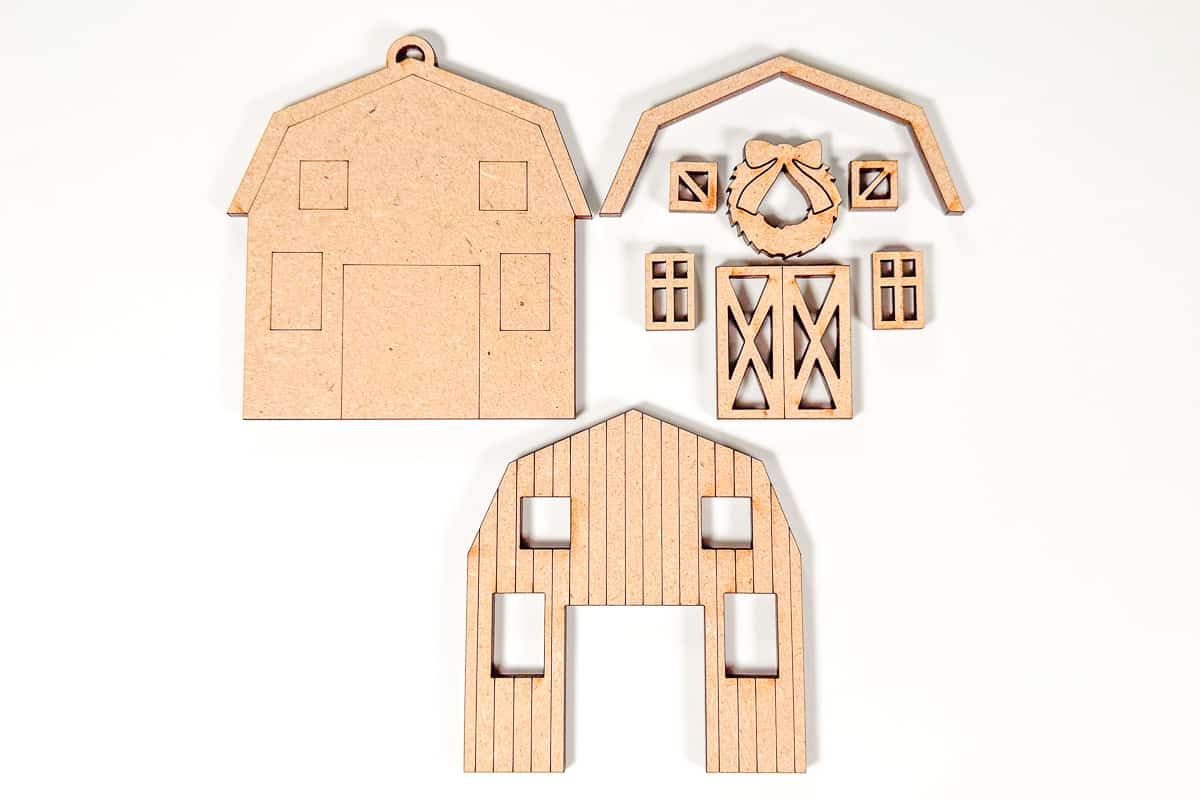
This is a downloadable digital file, no physical product will be sent.
Laser Cutter:
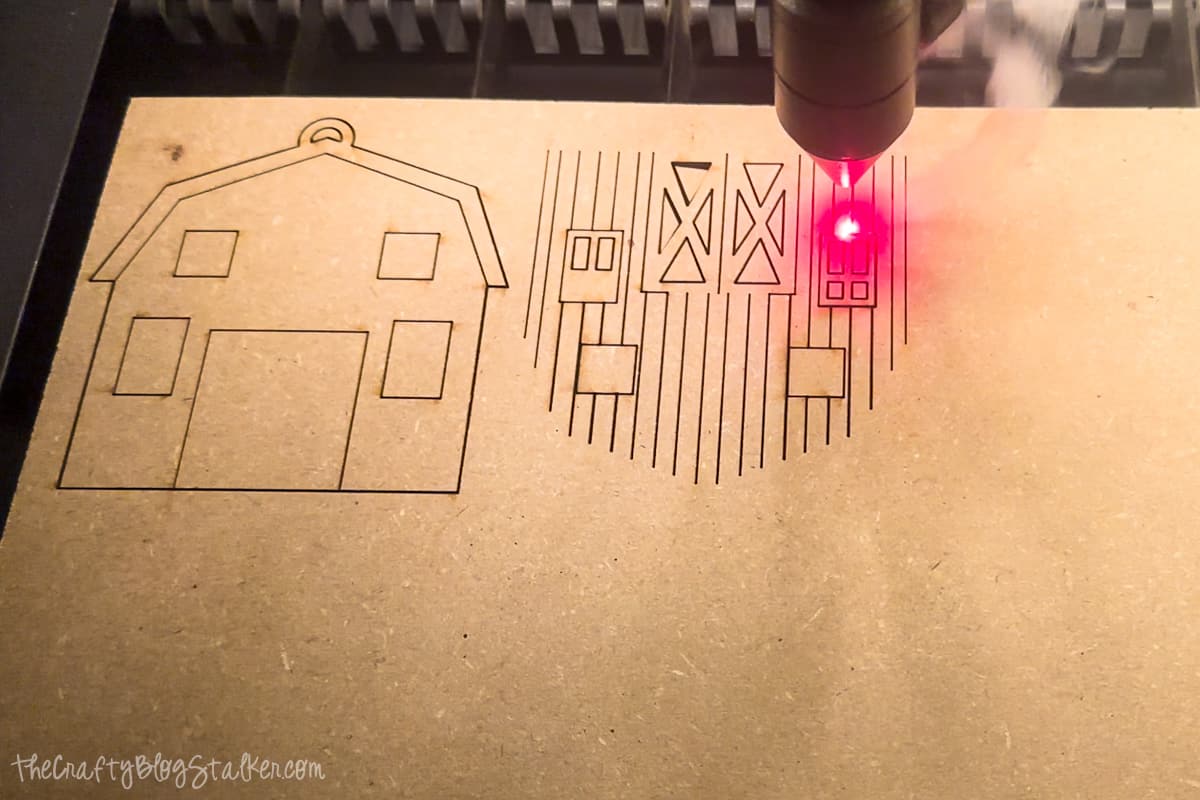
Pull the SVG file into your laser-cutting software.
You can resize the file as needed, although the larger you make it, the larger the hole at the top to hang your ornament.
The ornament is sized at 3.19 inches x 3.4 inches.
My barn pieces were cut on my OmTech 50w using Lightburn software, and 3mm MDF.
Painting:
Once all of the pieces are cut, the next step is to paint.
I went with more traditional barn colors, but you can paint the pieces any colors that work for you.
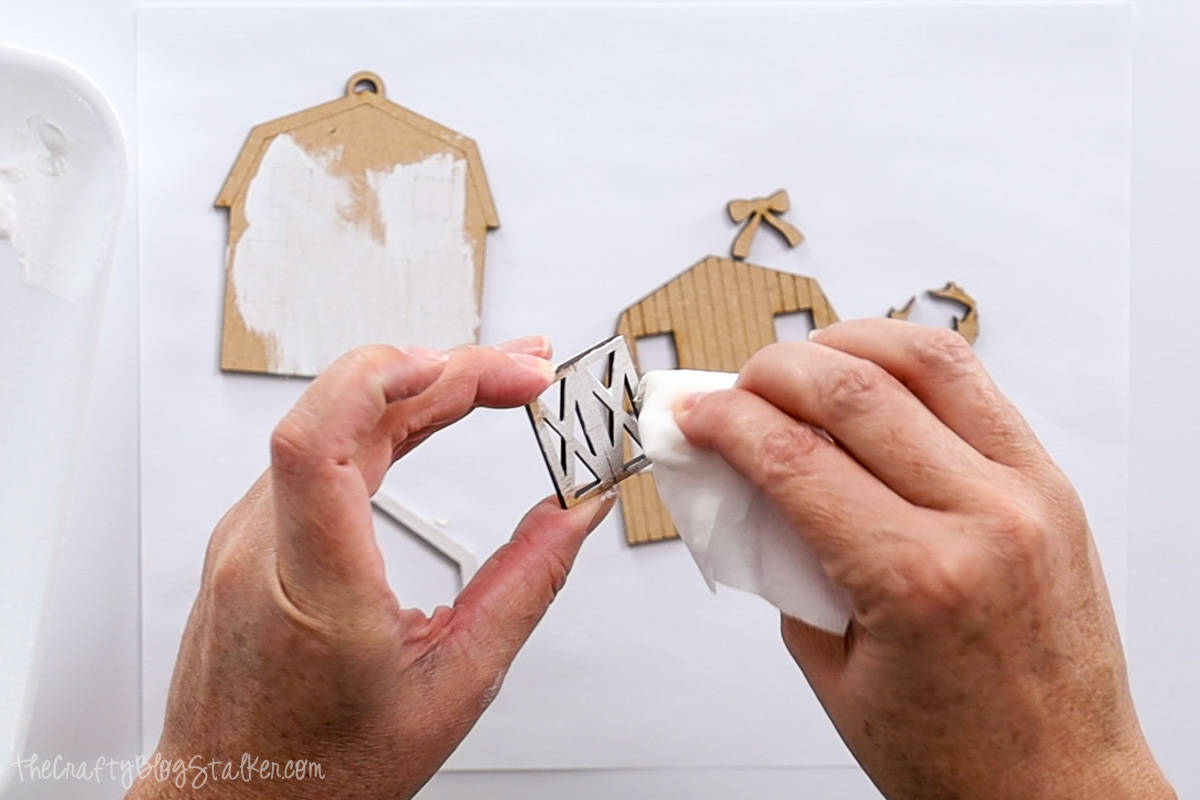
Instead of a paintbrush, I painted with wet wipes. You can use any type of wet wipes from baby wipes, to bleach wipes.
I use wipes when I am not painting large areas and only painting a small project.
The outlines of the door and windows are scored into the back piece of the barn. No need to paint the entire base just where those outlines are. Also, paint the loop at the top of the barn.
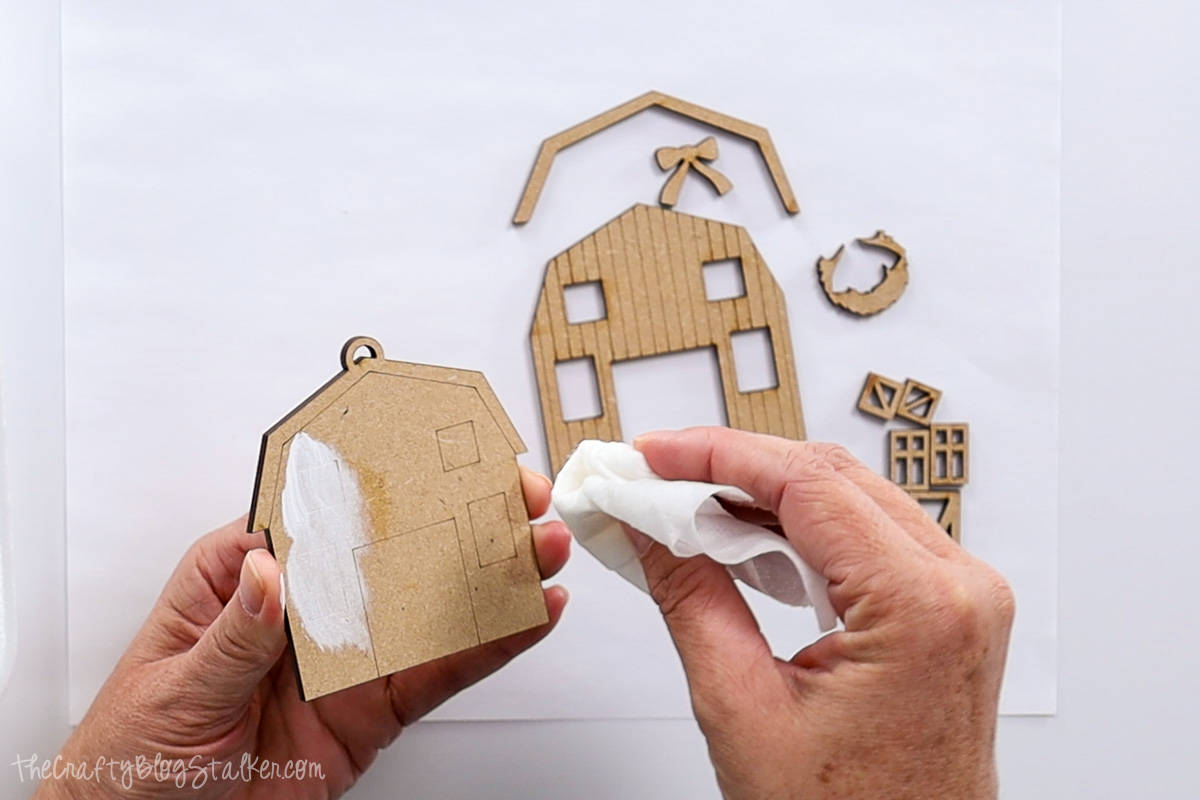
Paint the windows and doors white as well.
Paint the barn, and the bow to the wreath, red.
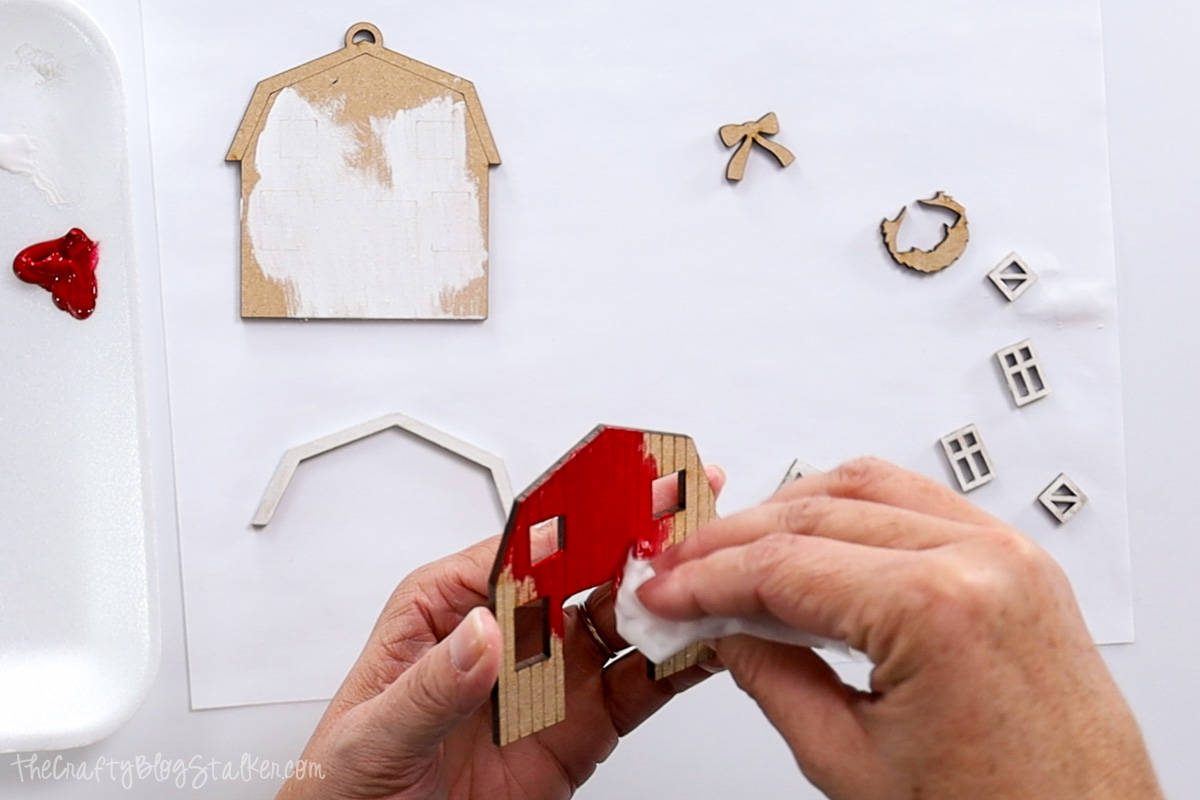
Then paint the wreath green.
Gluing:
Most of the pieces being glued are small. I found it easier to squeeze some glue out and then paint the glue onto the pieces with a small paintbrush.
Start by applying glue to the back of the red barn piece, and place it on top of the barn base piece, aligning the edges.
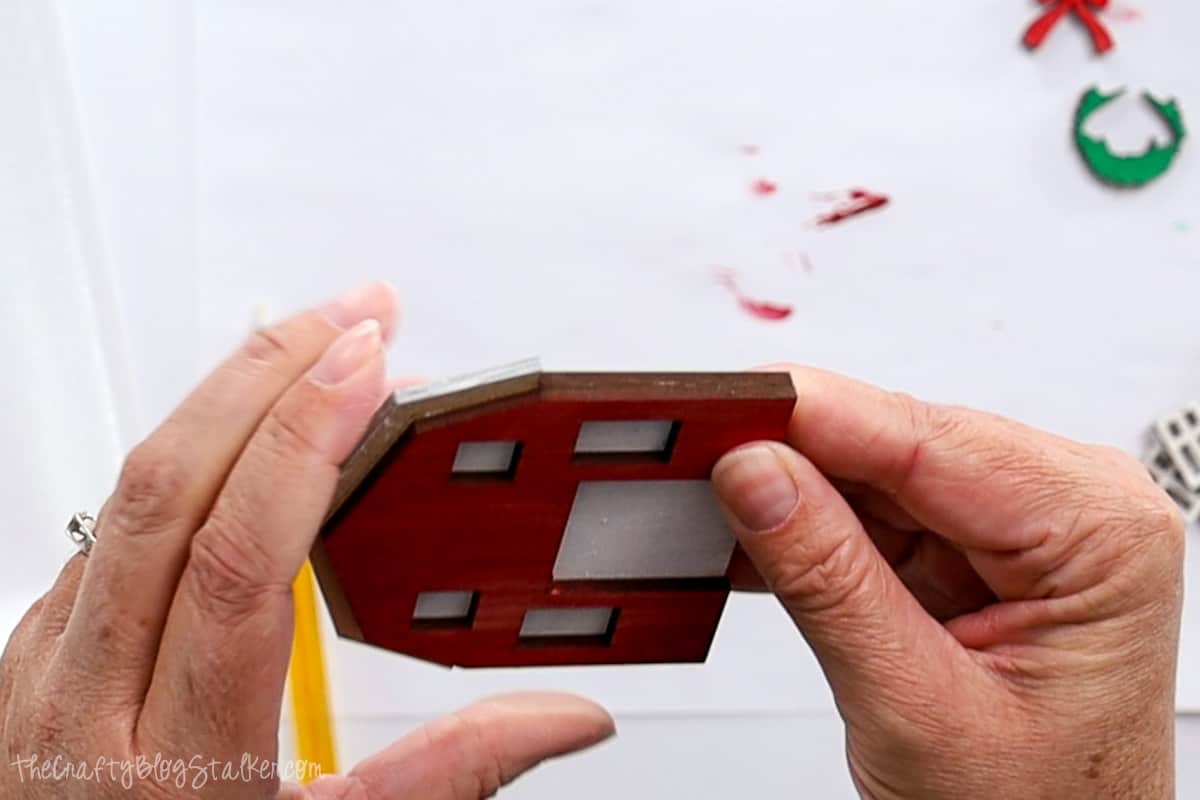
Adhere the roof, windows, and doors to the ornament.
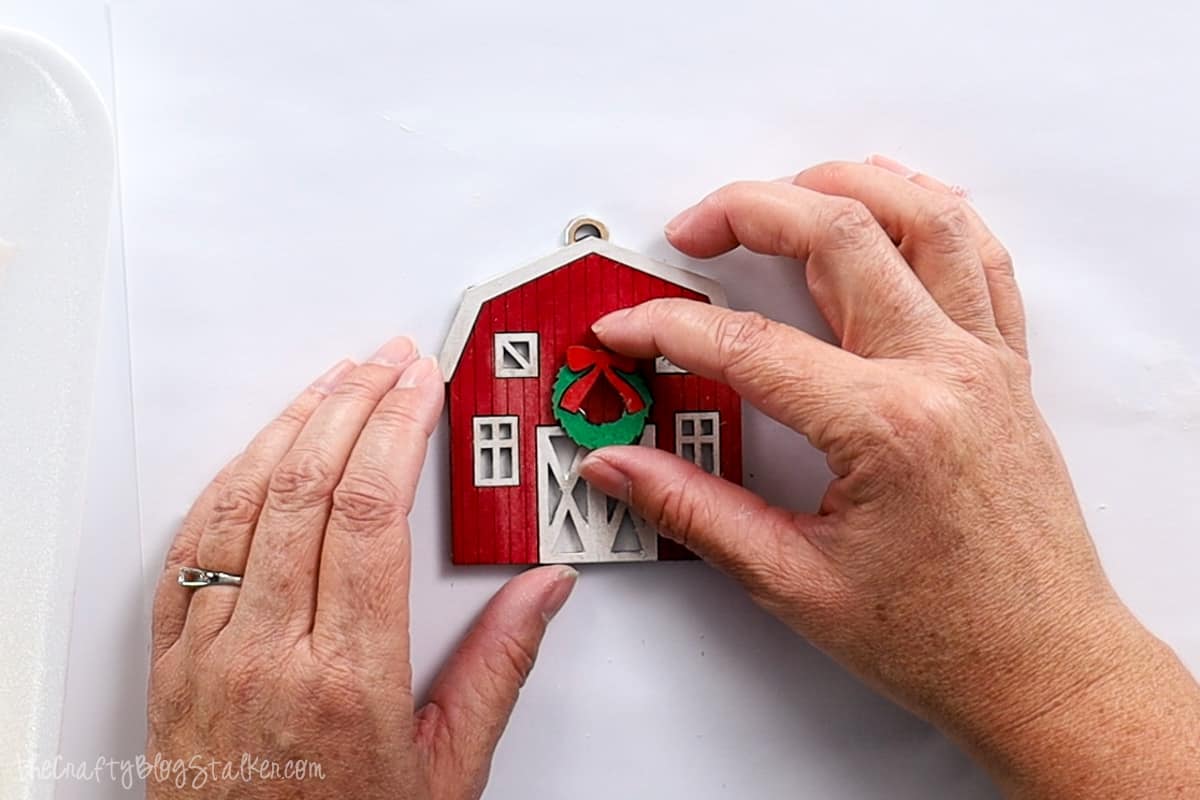
Lastly, glue the wreath into place above the barn door.
Ornament Topper:
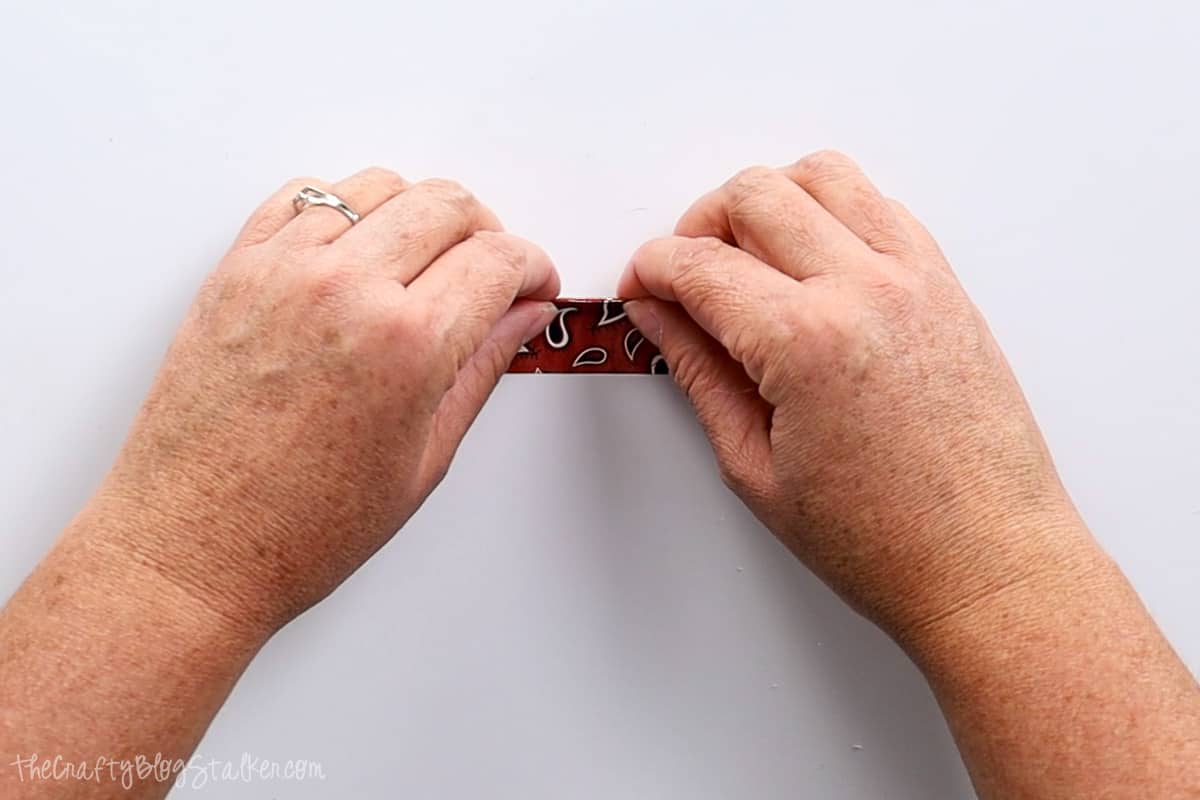
Cut a rectangle of matching pattern paper that measures 2.5x3 inches.
Accordion fold the paper rectangle. This doesn't have to be done perfectly but do try to have smaller folds.
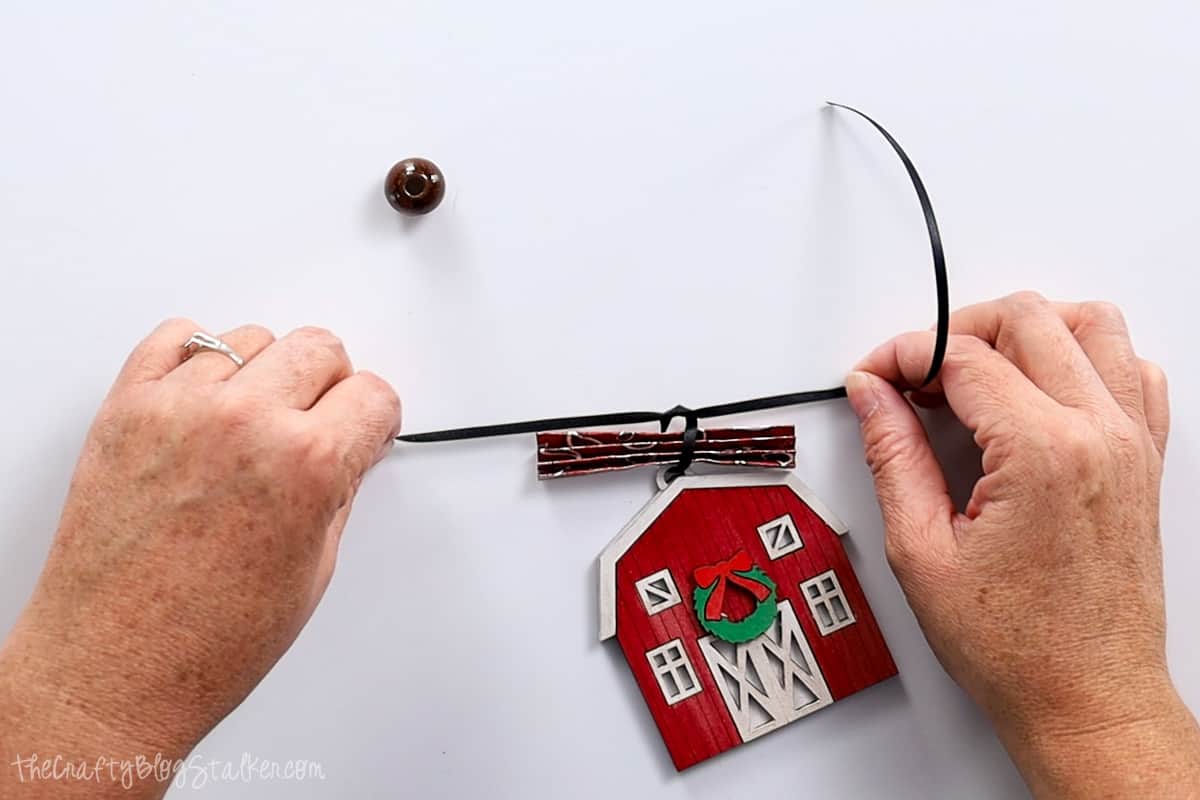
Cut a length of ribbon about 10-12 inches long.
Place the accordion folded rectangle on top of the barn, string the ribbon through the hole, and tie a secure double knot over the top of the folded paper.
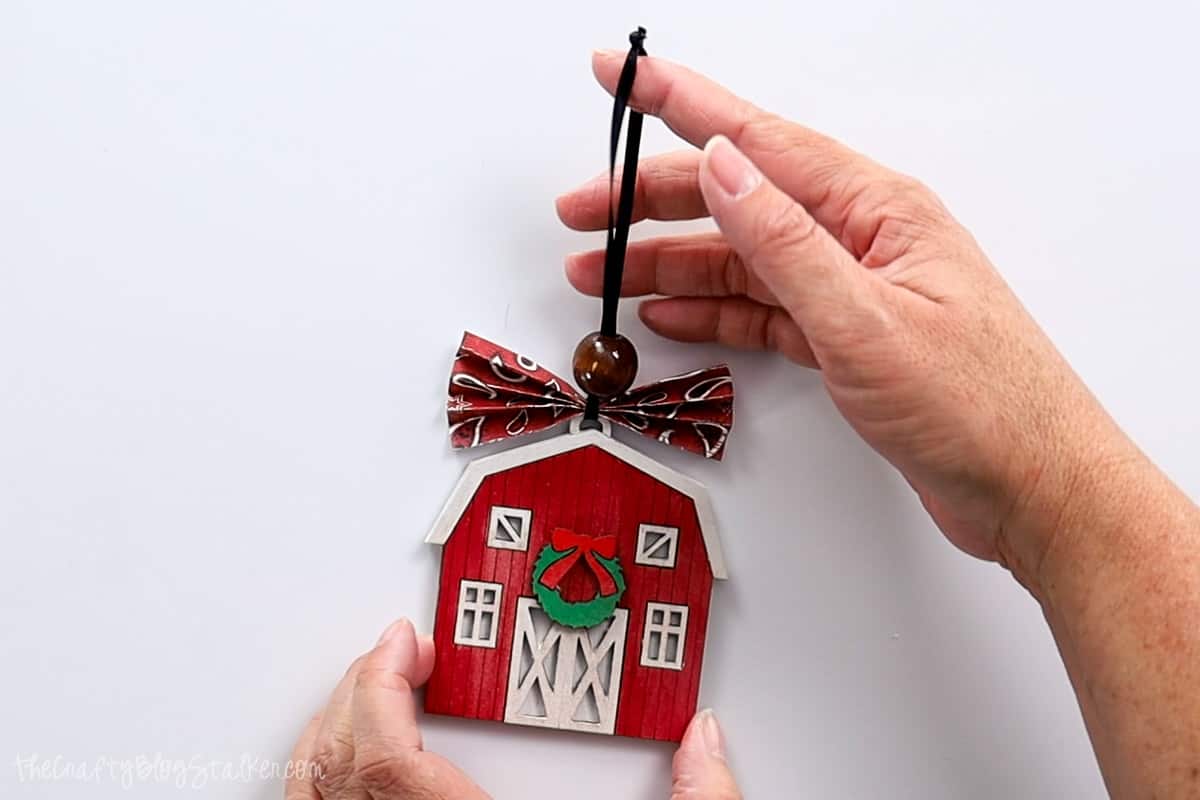
Carefully fan out the folded paper into a bow shape.
String the bead through both strands of the ribbon so it sits right on top of the folded paper.
Now the ornament is completely finished, and oh so cute!
Our Laser Essentials:
- New to laser machines? I would highly suggest the xTool M1 Ultra! This machine is super easy to learn and helps you create beautiful projects!
- More experienced with lasers and want more power? I love my OmTech 50W, but they have all types of machines up to 150W!
- Craft Closet is my favorite shop for all of my laser materials. Their materials are high quality and have the lowest price, I can find anywhere!
- If you really want to get into lasers, I highly suggest you learn how to create your own files. Pen & Posh has a great course for this.









Leave a Reply