This post may contain affiliate links. For more information, please see our disclosure policy.
These DIY Christmas ornaments are so simple to make and are so pretty! They require no tools and take less than a minute each. We may earn a commission if you make a purchase using the links below.
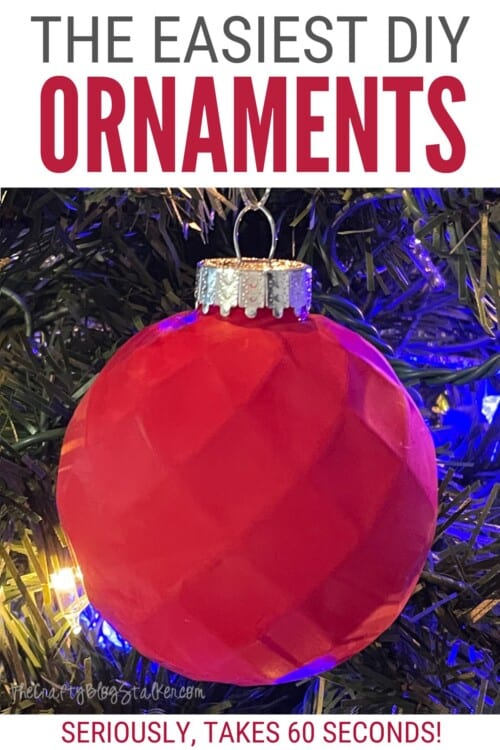
Making Christmas decorations is my favorite type of Christmas crafting.
I love that ornaments are small, don't take long to make, and make great heartfelt gifts for friends, family, coworkers, teachers, and more!
This balloon Christmas ornament hack is great because they are so quick to make but turn out so cute!!
Craft Video Tutorial:
Like videos? I have a video tutorial for you! Subscribe to my YouTube Channel so you don't miss any future videos!
Supplies You'll Need to Make This Craft:
- 12-inch Latex Balloons
- 3.27-inch Clear Plastic Ornaments
- Scissors
- Christmas Sayings Bundle (optional)
- Cricut (optional)
- Vinyl (optional)
- 3.27-inch Textured Plastic Ornaments (optional)
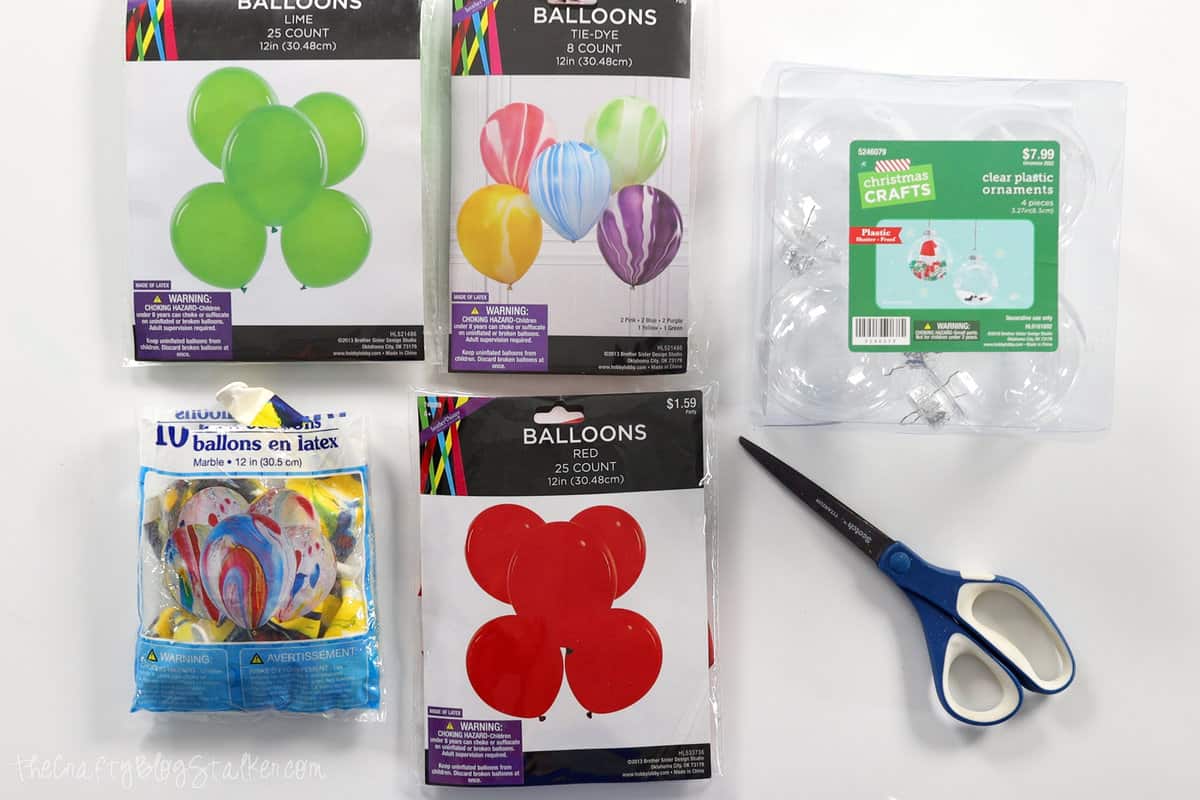
This really works best with 12-inch balloons and plastic ornaments that measure 3.27-inches. If you use different-sized supplies then your results will vary.
I also do not recommend using glass ornaments. If they break in your hands while trying to stretch the balloon they could easily cut you.
Instructions:
Blow up a balloon. You want to blow it up about as big as you can without popping it. This will stretch the balloon.
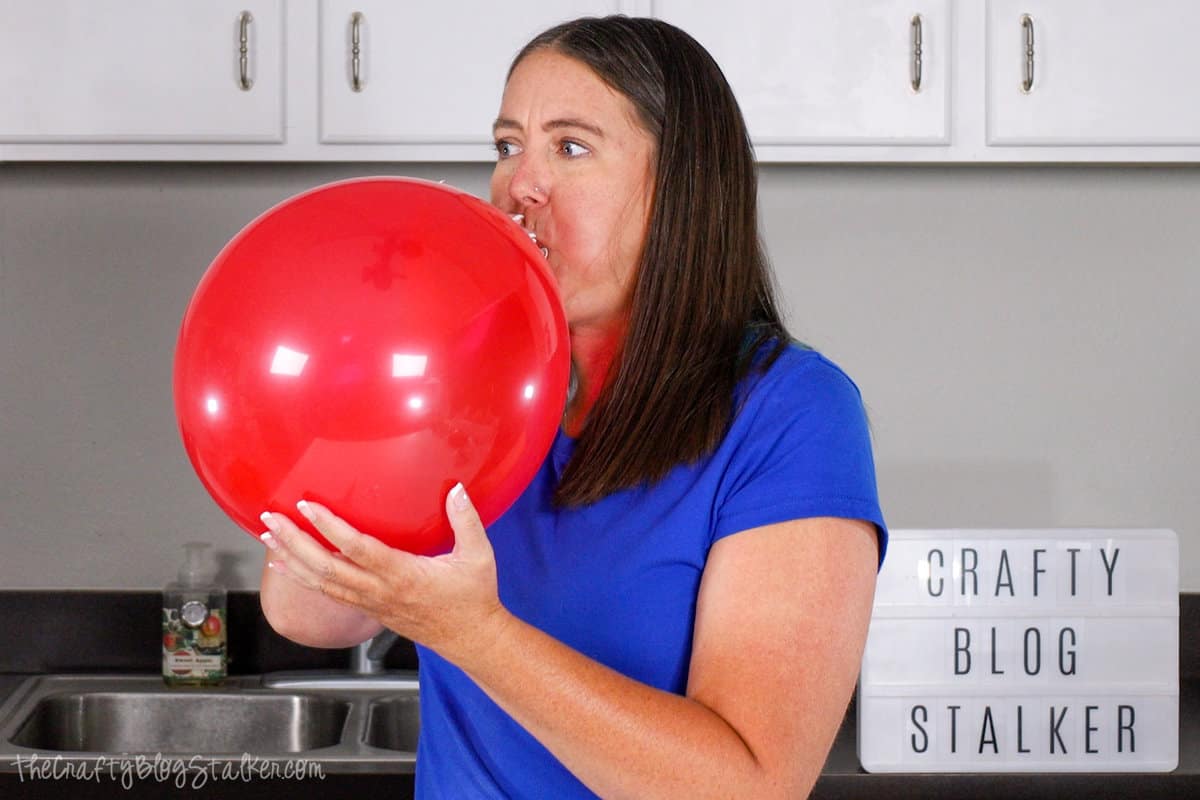
Then release all of the air.
Remove the ornament topper and place the ornament on its top.
Using a pair of scissors cut off the neck of the balloon. Cut right where the body of the balloon starts to get bigger.
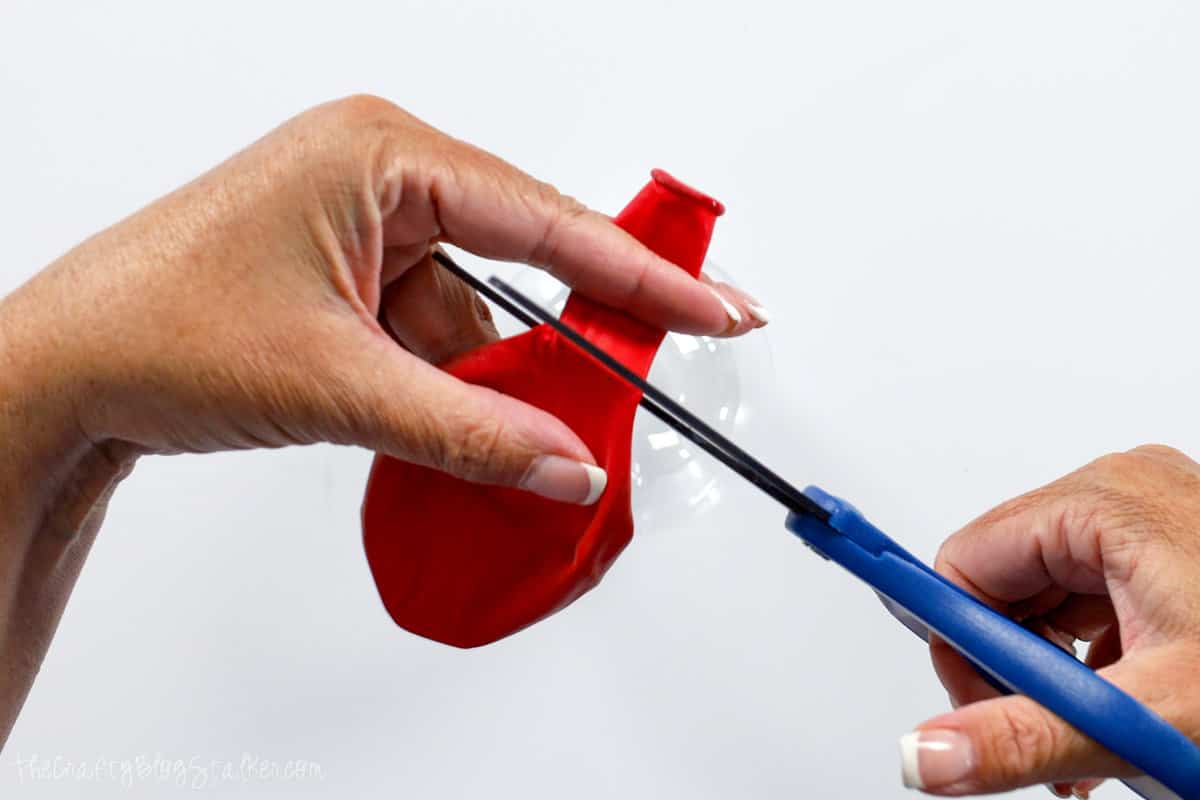
Place your fingers inside the balloon and stretch it out.
At the very bottom of the balloon is a little dot. Place your thumb onto the dot in the balloon.
And place your thumb, through the balloon, on top of the bottom dot of the ornament.
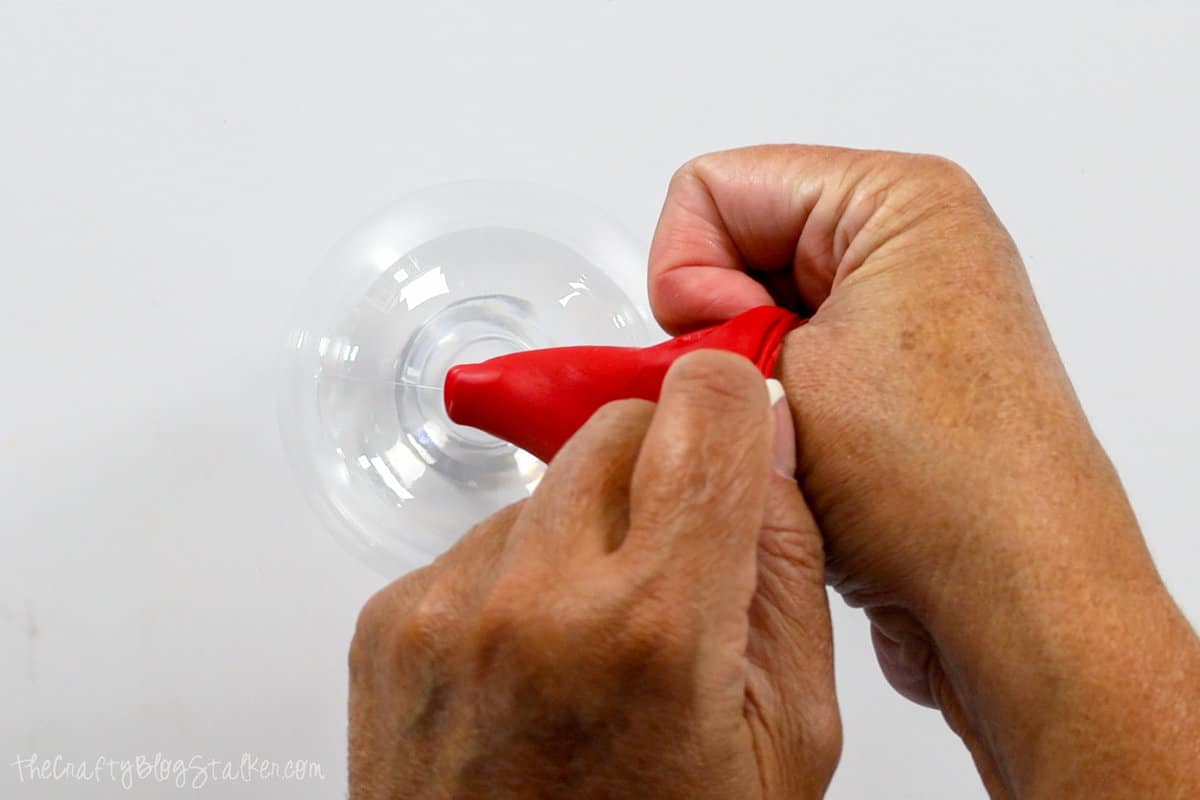
This placement does not have to be perfect, it just helps you center the balloon over the ornament.
Then stretch the sides of the balloon around the ornament.
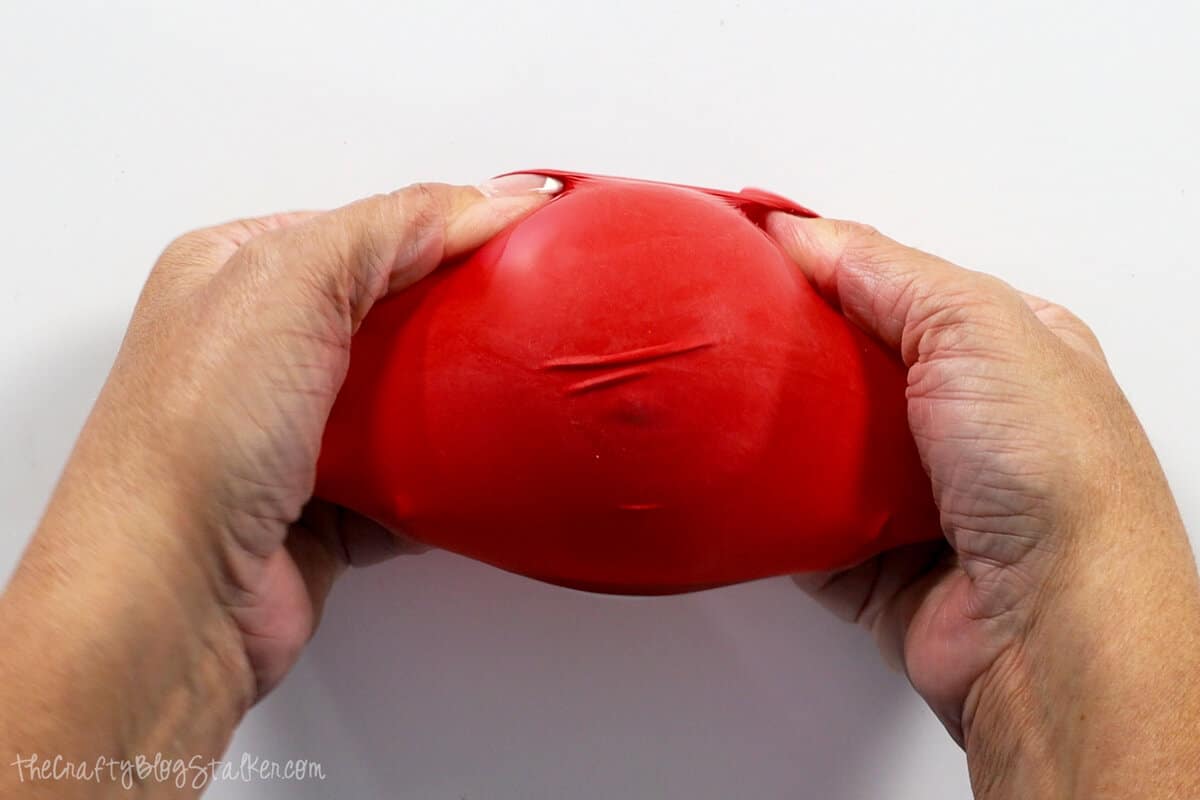
Stretch the side of the balloon to the base of the neck on the ornament. You really want the balloon to go all the way to the base of the neck. You can keep stretching the sides of the balloon until it reaches.
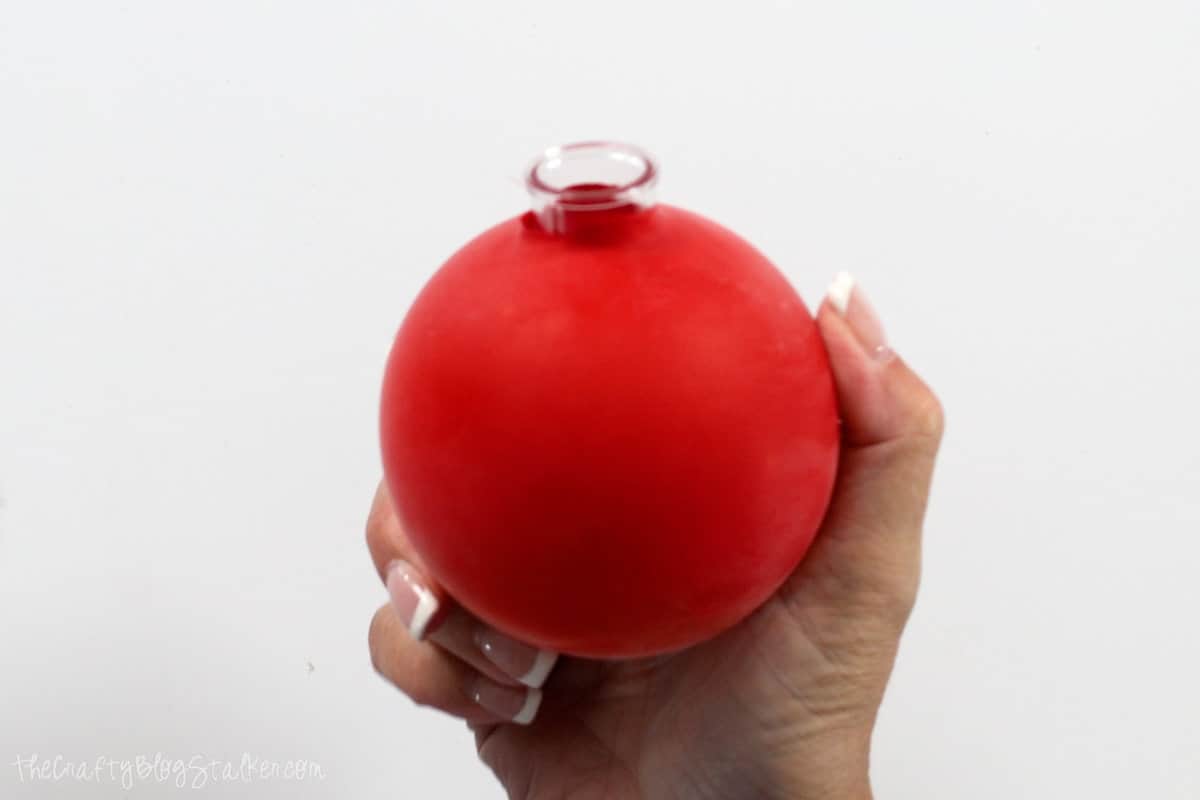
Place the ornament topper back on and that will hide the open end of the balloon.
And there you have your finished ornament! I told you it was easy!
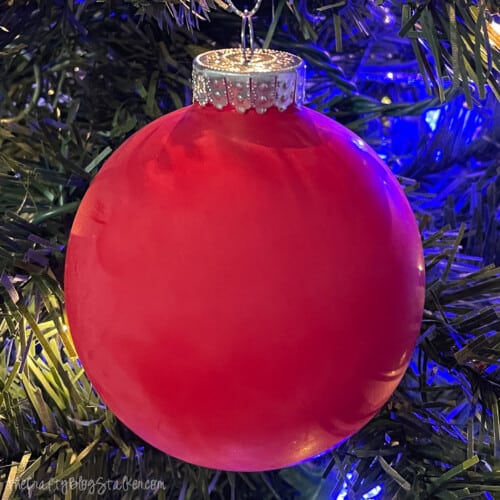
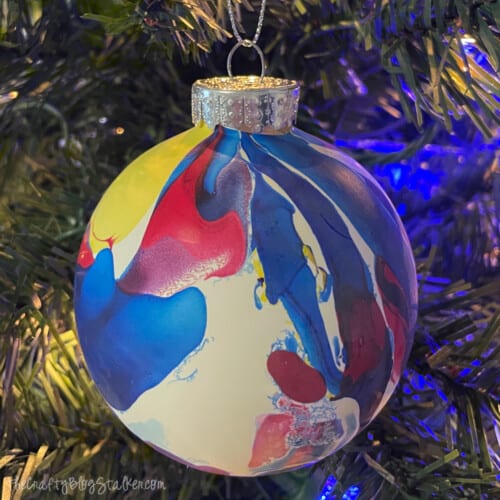
This works with any style of balloon too! Here is a fun Tie-Dye balloon purchased from Dollar Tree. I love that dripped-paint look.
Text Option:
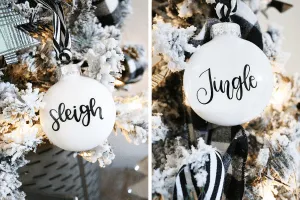
As I was making these ornaments I began to wonder if you could add vinyl to them. So of course I had to try.
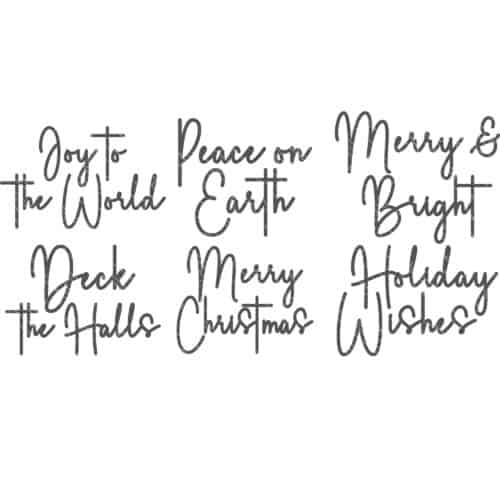
I grabbed my Cricut, some permanent vinyl, and cut some phrases from my Christmas Sayings Bundle.
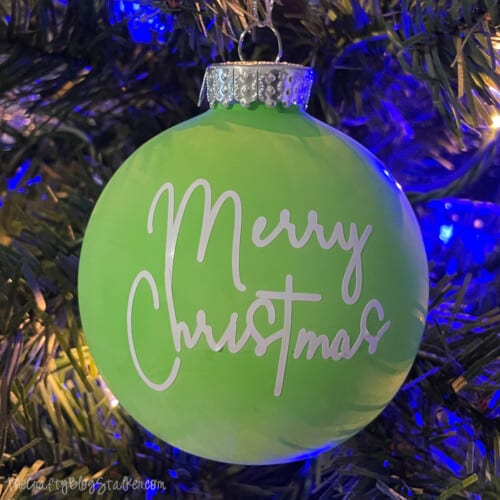
Balloon wrapped the ornament the same as before, then applied the Christmas saying like a sticker onto the ornament.
Look at that, another cute and easy ornament!
Textured Balloon Ornament:
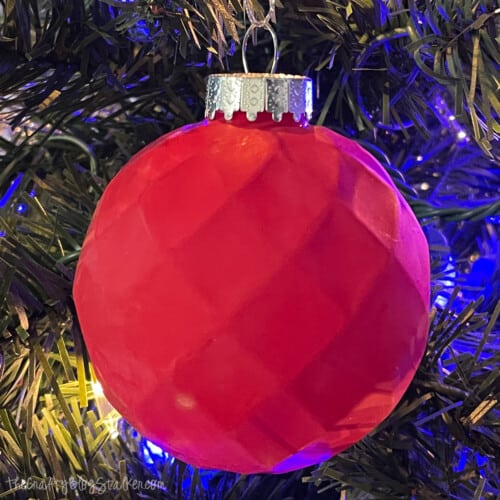
My last test was to see how a textured ornament would look balloon wrapped.
I found these geometric-shaped ornaments at Hobby Lobby, which were still the 3.27-inch size.
Using the same method as above, wrapped one with a balloon, and you can see the texture through the balloon! So cool.
The best perk of balloon ornaments is that you could easily create them for any holiday scheme or color theme without searching all over the place for a specific color ornament!
Which method is your favorite?
Our Crafting Essentials:
- The Cricut Cutting Machine is easily our favorite crafting tool. We use it in so many of our tutorials!
- These MakerX Crafting Tools are perfect for keeping in the craft room and are always ready when needed!
- This Fiskars Paper Trimmer is easy to use and cuts nicely without frayed edges.
- These Scotch Precision Scissors cut like a dream, and you get multiple pairs in a pack!




Leave a Reply