This post may contain affiliate links. For more information, please see our disclosure policy.
Get your car noticed with custom vinyl window decals made using your Cricut! Learn to upload images in Cricut Design Space and cut them with ease.
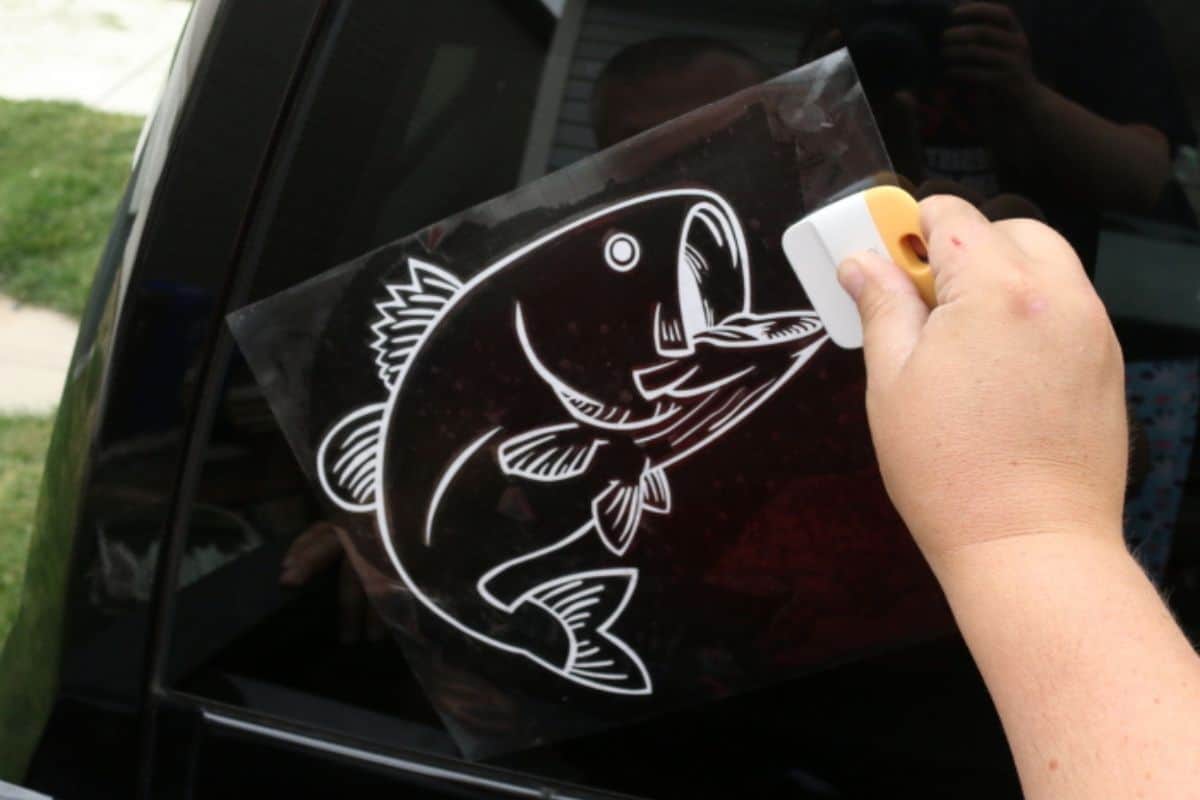
Have you seen those vinyl stickers or car decals that people put on the back window of their cars? They are so fun and a great way to share your passion or personality.
It can be your family in stick figures, your favorite football team mascot, or my husband's true love, bass fishing.
My husband has been telling me that he wants his own car decal for the back window of his truck for a while, and I thought that I might as well teach you how to do it too!
Craft Tutorial Video:
Like videos? I have a video tutorial for you! Please subscribe to my YouTube Channel so you don't miss out on any future video tutorials!
Craft Supplies:
Some links may be to similar items when exact items couldn't be found online.
Upload an Image to Cricut Design Space:
If a big mouth bass isn't your thing, you can turn any cut image into a window decal using the Premium Outdoor Glossy Vinyl.
Pick a premade image from Cricut Design Space if you'd like, but I'm going to show you how to upload an image and create your own simple car decal.
To find that perfect image you can do a simple google search. There are loads to choose from but I have found the more simple the image the better it transfers to a cut file.
*Images found online should be for personal use. Most images have copyright so you can't sell the design or sell an item using that design.
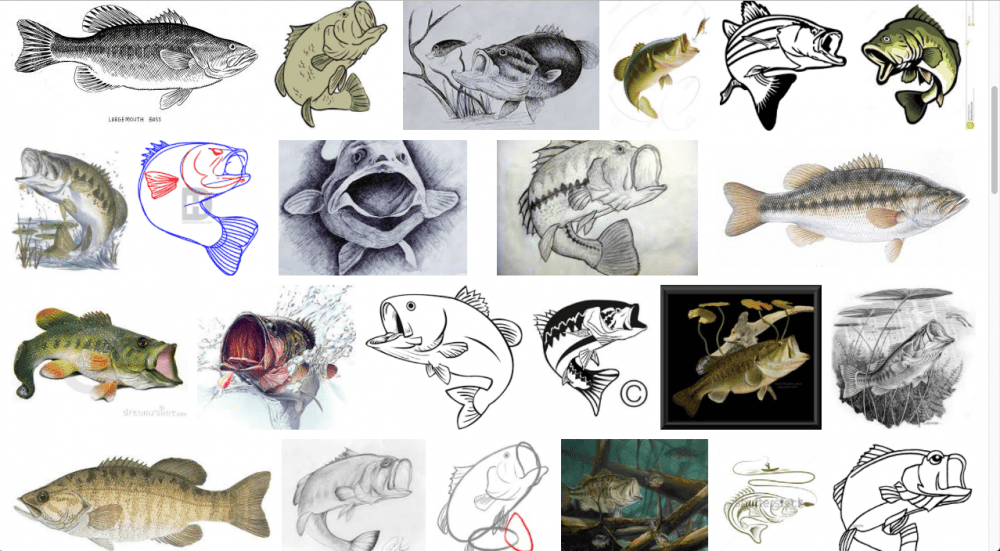
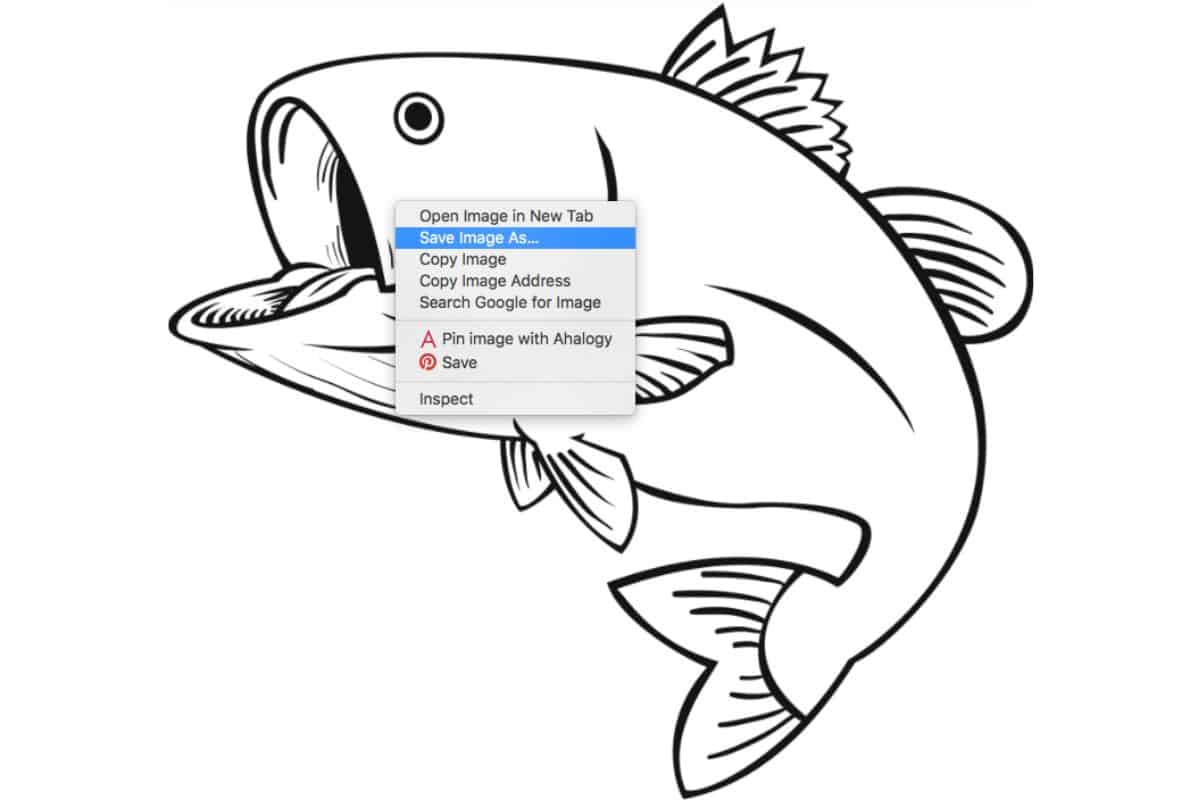
When you find your image, save the image to your computer.
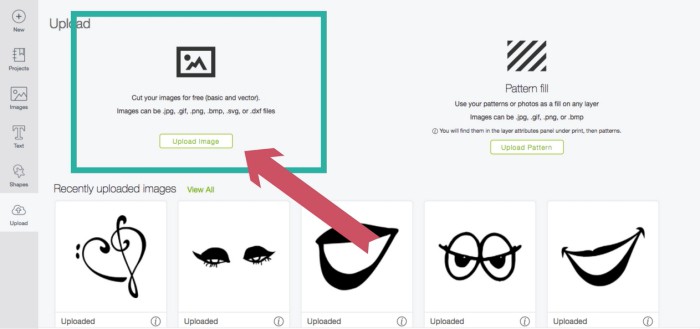
Go into Cricut Design Space and select New Project.
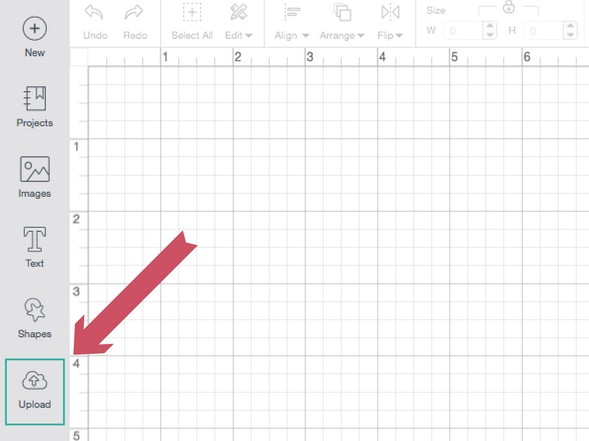
Select Upload Image and drag or drop the image onto the next page.
You will be asked to select your image type. For this bass fish, I am going with simple since there aren't multiple layers of different colors.
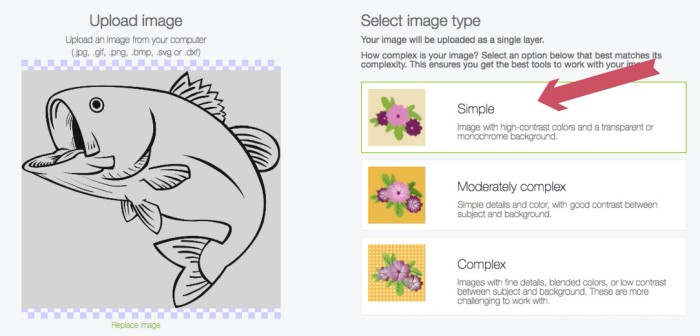
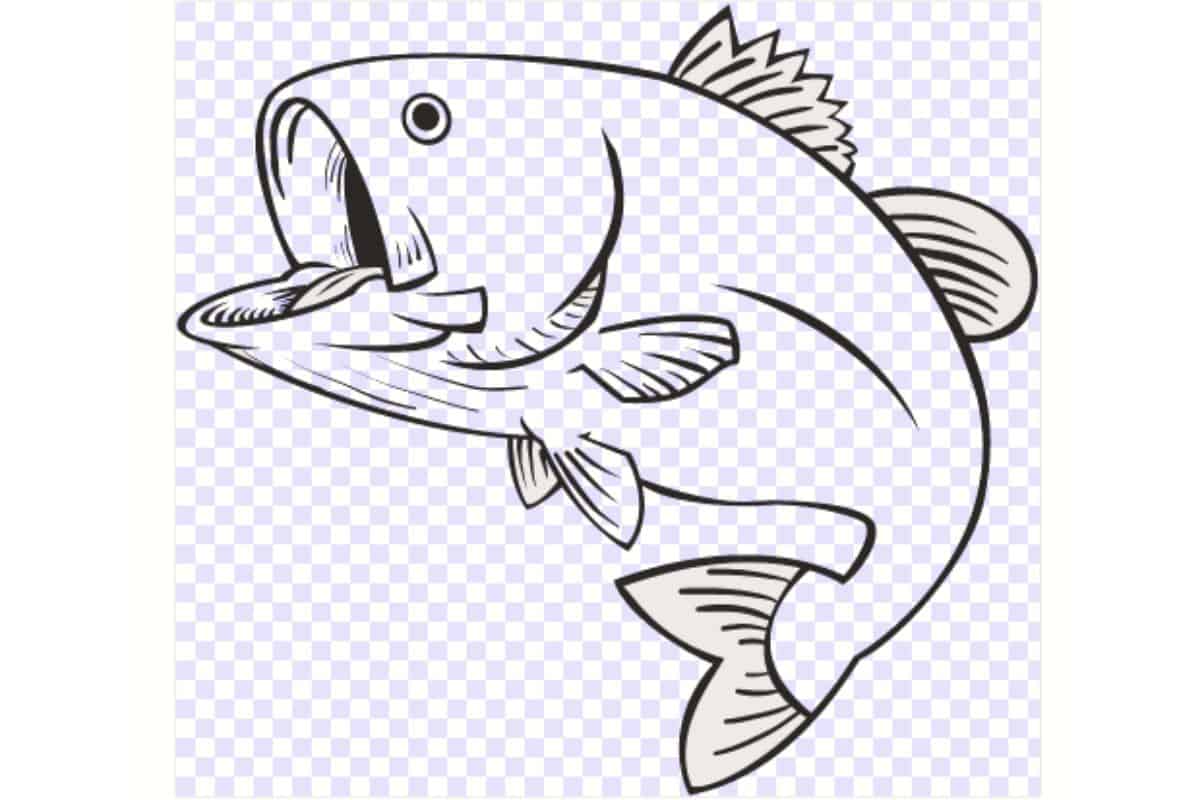
Now you select which areas of the image are not a part of the final cut. In this case, I select everything white. When it is erased Ii then turns into a blue and white checkerboard. Make sure to select every area that is white.
In the below image, I still need to select the fins and tongue.
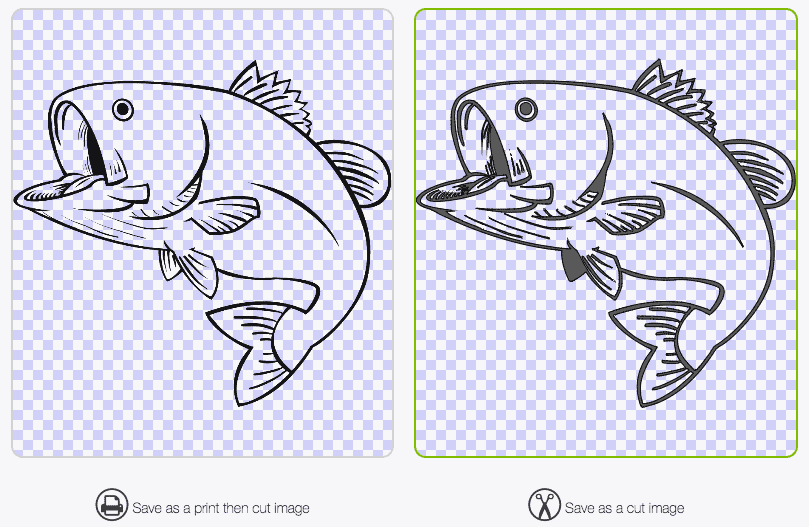
Select the image as a cut image.
This also gives you a preview of what the cut image will look like.
There is a back button you can select if you need to do some more adjusting to the image before you move forward.
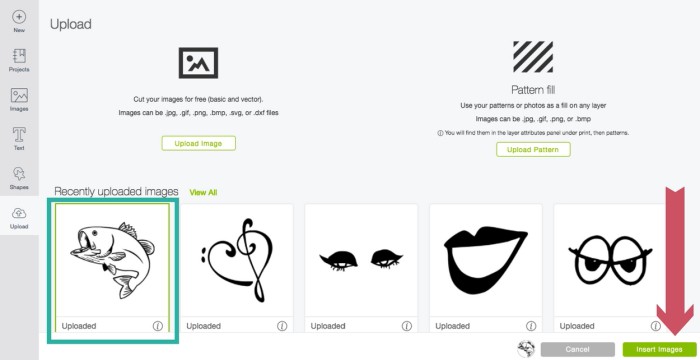
After you approve the final design, you are taken back to the original upload screen but this time you can see your newest cut file under Recent Uploads.
Cutting your Design on a Cricut Machine:
Select the image to highlight and then select Insert Image.
This adds the image to your design area where you can adjust the size or even the direction of the image. Then you are ready to cut!
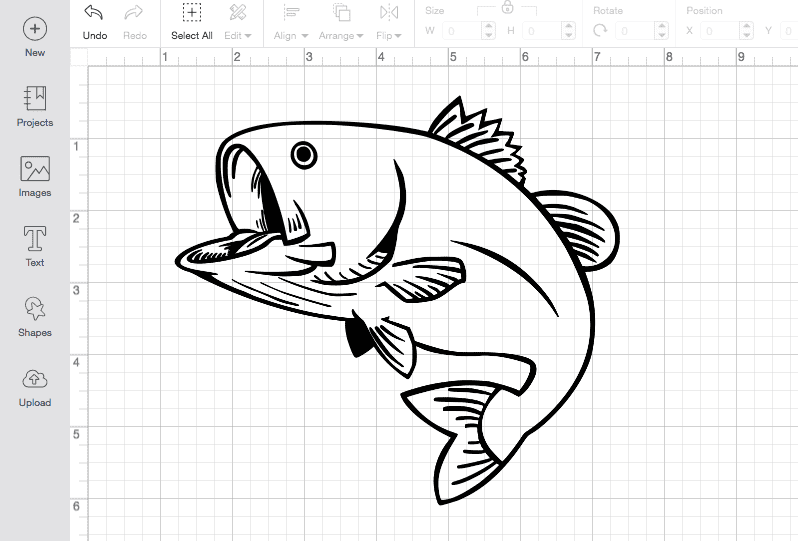
Select the green button that says Make It and follow the prompts to cut the image out of Cricut Premium Glossy Vinyl.
Prep the Design:
After the image is cut, carefully weed or remove the excess vinyl.
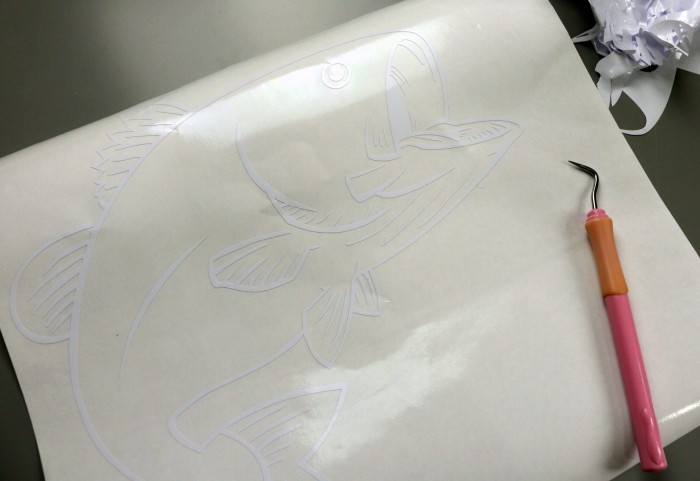
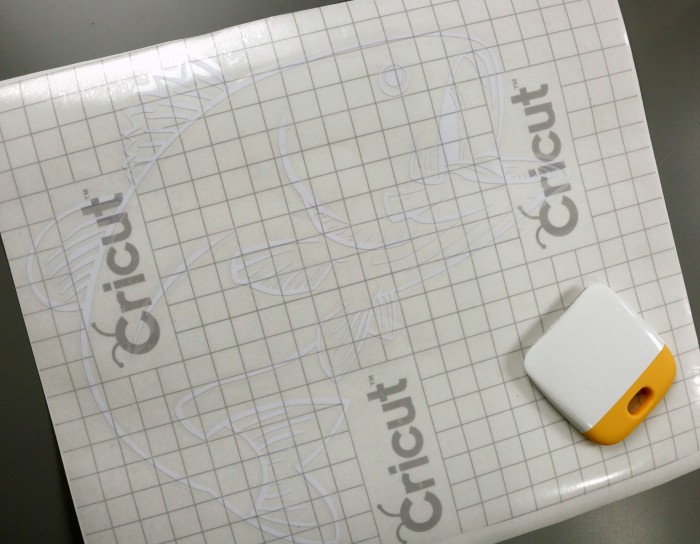
Apply a piece of Transfer Tape on top of the cut vinyl. The Transfer tape will help you place the vinyl without letting any of the pieces stretch or move out of place.
Applying the Decal:
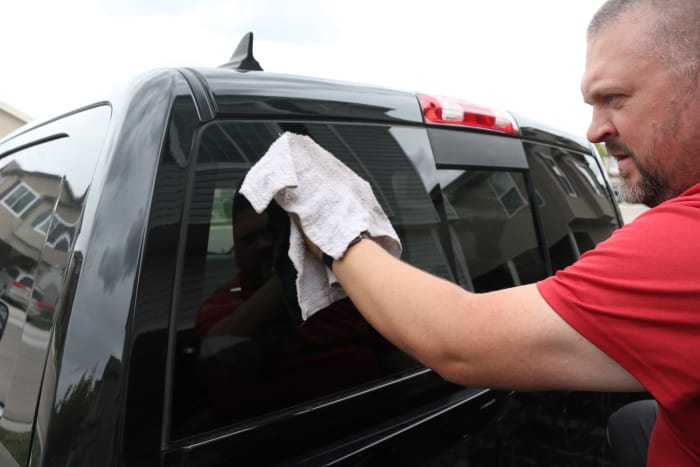
Clean the area with glass cleaner where you want to put the sticker decal really well.
Then go over the area once again with rubbing alcohol to remove any dirt, debris, or excess grease.
Carefully peel back the backing paper of the adhesive vinyl going slowly to make all parts of the image release from the sheet.
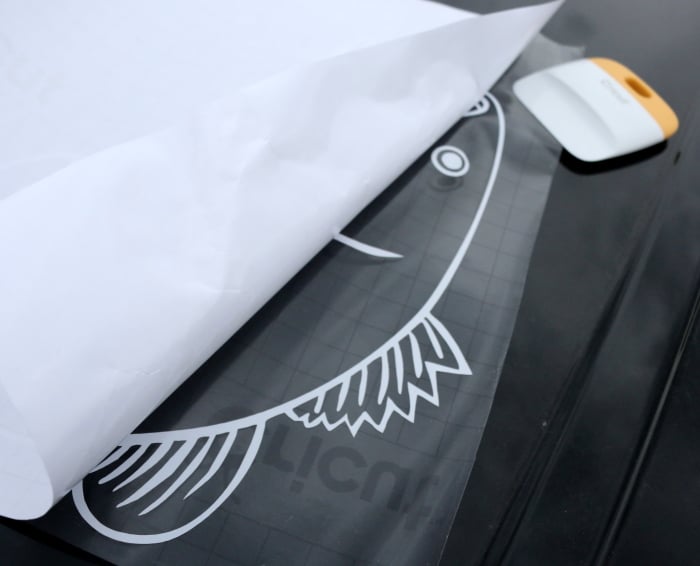
To apply the vinyl, start at one end or corner and lay the vinyl down in a rolling motion across the glass surface. This will help assure even placement and minimal air bubbles.
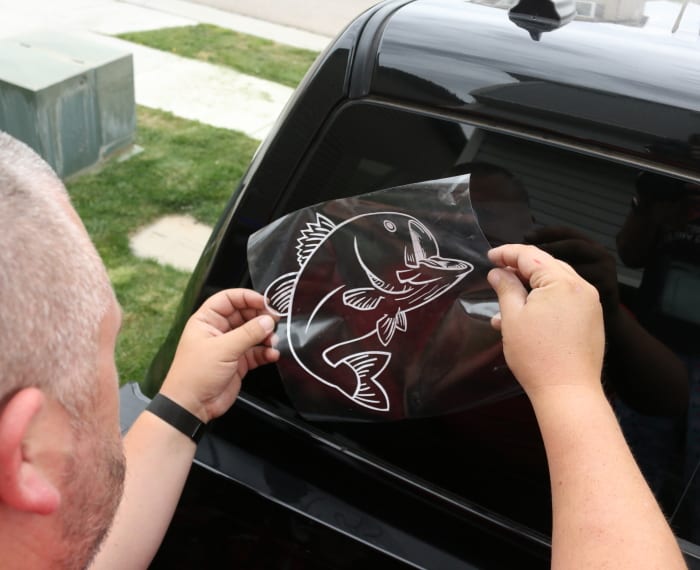
Go over the entire design with the Scraper Tool and push out any bubbles from underneath the vinyl car decal.
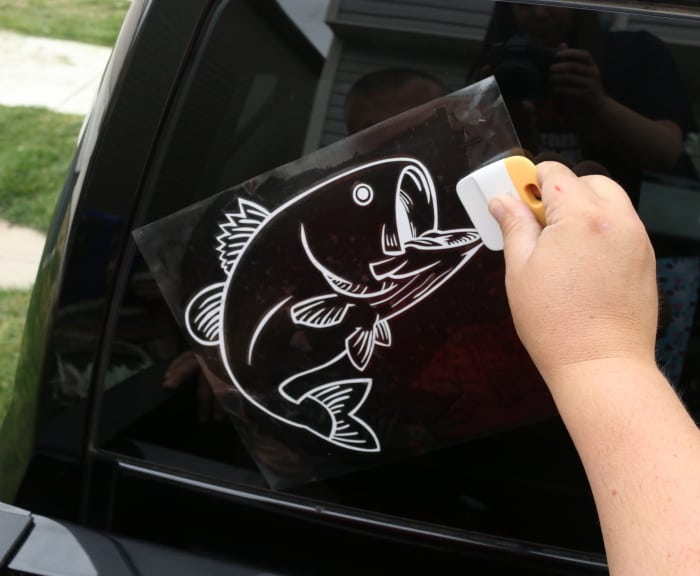
Peel back the Transfer Tape and you are done!
And the best part, look at that happy face!

Frequently Asked Questions:
What Cricut vinyl do I use for window decals?
The best vinyl to use is Permanent Glossy Vinyl when applying decals to outside windows. This permanent adhesive vinyl is "more sticky" and is ideal for outdoor use.
But don't worry, it can still be removed by peeling up the edges. If there is any residue, use Goo Gone is my favorite adhesive remover.
If you want more temporary car stickers, the best option is Cricut Removable Vinyl. It will still work great, but may not last as long.
Can you wash permanent vinyl on glass?
Yes, you can still wash permanent vinyl on glass, although it may last longer if you handwash instead of going through a carwash.
What Cricut Machine cut window stickers?
You can cut your own vinyl decals on any machine, whether you have a Cricut Maker, a Cricut Explore Air, or Cricut Joy, you can cut window decals. But with the different machines, there are different size limits.
Our Crafting Essentials:
- The Cricut Cutting Machine is easily our favorite crafting tool. We use it in so many of our tutorials!
- These MakerX Crafting Tools are perfect for keeping in the craft room and are always ready when needed!
- This Fiskars Paper Trimmer is easy to use and cuts nicely without frayed edges.
- These Scotch Precision Scissors cut like a dream, and you get multiple pairs in a pack!






mary
What a great idea! How have I not thought of doing this yet?
Katie
ha ha! Thanks, Mary!
Don
I just bought my wife a Cricut Explore Air 2 and I'm trying to use the Design Space however I'm not getting the same pages your are. The step where you select "simple" that page does not come up neither does the step where you select the area. It comes up directly into the design space. Now with that being said I'm not using a googled image I'm using an image I converted to .svg, maybe that changes things a bit? Basically it's the logo for our business. Any help or insight would be greatly appreciated.
Katie
Hi Don, Cricut Design Space has recently updated within the last month. so that is why the programs look different. Sorry for the confusion. I'm sorry but I'm not understanding what you are trying to do. Are you wanting to cut the logo out with vinyl, create a stencil or a printable? The steps for all of the actions are different.
Lora
Don,
The reason yours isn't making you do those steps is because it is a vector file already. You can do whatever you need or want to the layers without needing to alter it.
Elizabeth
Hello Katie, What kind of Vinyl do you used for the car decal?
Katie
I used Cricut Premium Outdoor Glossy Vinyl. Here is my affiliate link: http://shrsl.com/?hzni It works great and so far has had no peeling or bubbling!
ELIZABETH
Katie, Thank you very much .
Lori
What would you store your vinyl on if you were giving out the decals at an event?
Katie Adams
I would place the transfer tape on top and hand them out that way. So all they have to do is remove the vinyl carrier sheet, apply, and discard the transfer tape.
Audra
Do you know if this would hold up during a cold Minnesota winter?
Katie
It's hard to say exactly, I can't find exact temperature specifications but it is rated to last 6 years on an outdoor surface.
Becca
Katie -
If I am doing one with lettering, will I need to mirror the image before cutting? Making window decals for our farm and I don't want to waste vinyl with a mistake. Thanks!
Katie
Great question Becca! You do not need to mirror the cut for regular vinyl. You only mirror the cut when using iron-on or heat transfer vinyl.
Kelly
Katie - Is there a way to make vinyls with the cricut explore air 2 that you can stick to interior windows that will read correctly from the outside? I have a boutique and am needing vinyls for our storefront windows. Thank you!
Katie
Yes there is Kelly. When cutting there is an option to mirror the cut. This will cut it backward. You would then be able to place the vinyl to an inside window and have it readable from the outside. Thanks for the great question!
Donna
Hi sweetie I'm new to the Cricut I have an Impressions or Expressions that I haven't used yet. What vinyl do you recommend that is not permanent but I can use for window decals on vehicles? I want it to stay on but I can't use permanent! I have tons of oracal 651 and I was told do not use that unless I'm making signs for outside LOL! Thanks Donna
Katie
Hi Donna, No Vinyl is permanent and can all be removed. Cricut actually has an outdoor vinyl that is perfect for outdoor signs and car window decals. It is more sticky then regular vinyl but can still be removed. http://shrsl.com/hzni (affiliate)
Wesley
Can you make car vinyl stickers with the cricut explorer one
Katie
Yes, you can Wesley, just make sure that you use the outdoor vinyl.
Jessica Borron
Hi, I’m having issues when I use the premium glossy outdoor vinyl as I cannot get it to stick to my transfer tape. I have tried several different brands including the cricket brand and I cannot get the vinyl to lift. I made sure that the settings on my cricket we’re set to premium outdoor glossy vinyl And I am still having issues. Any ideas or recommendations for me? Thank you
Katie
Jessica, do you have a Scraper Tool? (http://shrsl.com/11ybw) Remove the backing paper from the transfer tape and when you lay the transfer tape over the vinyl, press it down really good with the sticky side of the transfer tape to the top of the vinyl. When you pull the transfer tape up, the vinyl should stick to the transfer tape and life off of the original paper backing of the vinyl. Just like a big a sticker.
Jessica
Yes, I use that tool and have literally spent hours trying to get it to stick. I made a bunch of decals for my aunt for her son who passed away and just couldn’t get the stinking vinyl to stick. Some letter would after tons and tons of rubbing but it was so time consuming!
Katie
That is so strange, I am so sorry Jessica. You should contact Cricut because you have gotten a faulty roll of transfer tape. I'm sorry I can't be of more help.
Teresa
Have you tried using window cling vinyl? Would that work for a car sticker?
Katie
Great question Teresa! I have never used the window cling vinyl myself but I don't see why it wouldn't work as a car sticker! Good thinking!
Kristi
Hi katie, i am trying to understand your post, seems like there is a step missing. You go from designing it on the computer, to cutting it out. So my question is, how do you print it? How does it get off the computer and onto the vinyl?
Katie
Hi Kristi, I am so sorry I confused you. The design isn't printed at all. Instead, the Cricut cuts image out of vinyl. Then it is just a big sticker. Please let me know if you have further questions. I am happy to help.
Amber
Hello,
I noticed you used permanent vinyl. I am curious how it’s held up over the past couple years and if you removed it was it difficult
Katie
Hi Amber! This decal has been on our truck since May of 2017 and it is still looking great!
Kristina Smith
Hey, I know this isn't a big deal in this particular case, but please be careful when suggesting taking images from Google. It's fine for one-off, personal things like this obviously. But images on Google can be copyrighted, which can lead into trouble if anyone tries to monetize the image they swiped by turning it into decals, stickers, etc.
Katie
Thank you for that great reminder, Kristina. I have added a little disclaimer. *Images found online are fine for personal use, BUT most images will have a copyright and you will be in violation if you use them in any way for personal gain.*
Gail walraed
Hi
I want to make decals for patio door so people know they are there and don’t try to walk thru Them
Can I make the decals for the patio door the same way
If not how would I make ones for the patio doors and what material would I use
Thanks
Katie
That is such a great idea Gail! Yes, you can make them in the exact same way.
John Smith
Thanks for sharing such information, you simplified the whole process in very informative steps.
BETTY STROHBEHN
I have a great granddaughter who likes to stick items and re arranging them. What kind of material would cling, not permanent and would hold up to multiple times of removing and re applied.?
Katie
I would recommend using Cricut Window Cling Material. You can find it here via my affiliate link (http://shrsl.com/22mpg). It can be used over and over again and stick to glass,
Teri
Do you have a tutorial where I can make a decal that has more than 1 color in it?
Katie
I do not currently but I will add it to the list. Thanks for the great idea, Teri!
KD
In this decal-what is the smallest line width? I'm looking to do an outline of a shape like you have here but can't find a suggested minimum line width anywhere!
Katie
Great question KD! I can't find an official specific minimum for line width on the Cricut website. But I did find this article and a person shows an example of the design they created and the line width. I hope this helps.
https://www.reddit.com/r/cricut/comments/agn5j8/how_small_can_you_go/
bart
Great content! I would like to have better blog post about HOW to than you. But this is over my head. Keep crushing