This post may contain affiliate links. For more information, please see our disclosure policy.
Apply a large vinyl decal to the side of your vehicle. Below is the step-by-step tutorial and video using the wet method.
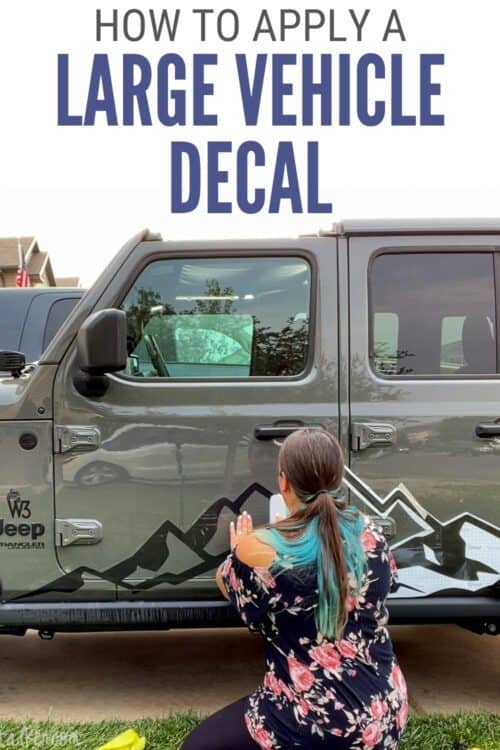
Recently, I designed and cut a large decal using my Cricut Maker 3 and Cricut Design Space.
In that tutorial, I walked you through exactly how I created a decal to place on the side of my Jeep.
If you want to learn more about that you can find the tutorial here: How to Design and Cut Large Decal Stickers with Cricut.
But today, we are going to put that baby on! I am so excited for my jeep to have this new decal!
Craft Tutorial Video:
Like videos? I have a video tutorial for you! Please subscribe to my YouTube Channel so you don't miss out on any future video tutorials!
Supplies You'll Need to Create this Project:
Some supplies were provided at no cost. Links may lead to similar products if the exact ones are unavailable.
- Vinyl Decal
- 2 Spray Bottles
- Isopropyl Alcohol
- Dish Soap
- Scraper Tool
- Masking Tape
- Craft Knife
- Microfiber Cloth
- Heat Gun (optional)
Helpful Tips:
Here are some helpful tips so you get the best application, and help you from getting frustrated.
If you're doing this outside, don't apply on a windy day. The vinyl may end up stuck together ruing the decal.
Don't apply to a super hot car, the vinyl will stretch and pull more easily. You don't want that.
This takes a lot of patience. In fact, the slower you go the better the result will be. We aren't in a hurry here.
If you are a little unsure, an extra set of hands can be helpful. Don't be afraid to ask someone to help you.
Wet Mixtures:
We are going to apply the decal using the wet method.
The wet method makes it so the decal is easy to move once placed on the side of the car, and it helps get rid of air bubbles behind the vinyl.
In one spray bottle make a mixture of half water and half isopropyl alcohol. We will call this the alcohol mixture.
In the other spray bottle, add a drop of dish soap and fill the bottle the rest of the way up with water. We will call this one, the soap mixture.
Placing the Decal:
The first step is to wash your vehicle. I took my jeep through my local car wash to get it all nice and clean.
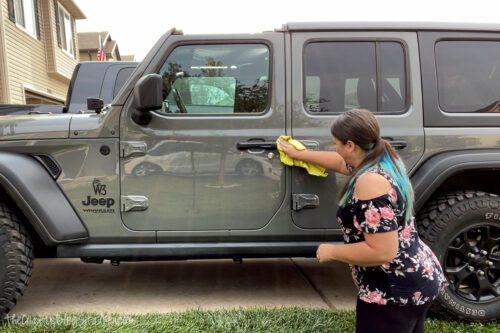
Right before you apply the decal, spray the area heavily with the alcohol mixture and wipe clean with a microfiber cloth.
Position the decal and apply painter's tape to secure the decal in place.
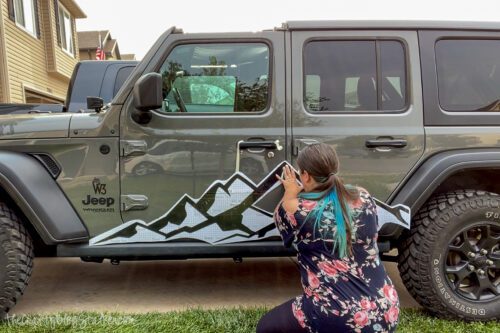
We are going to be using the hinge method and that means we are going to be applying each side at a time, from the inside out.
Place a long strip of tape down the center of the decal.
Application:
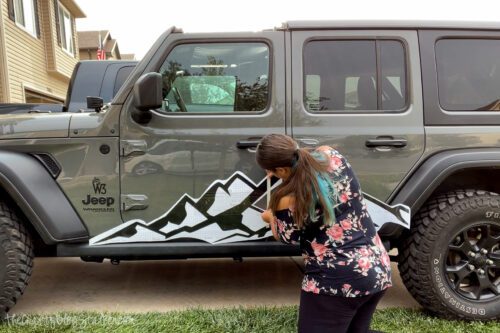
We are going to start on the left side of the decal.
Carefully peel the decal and transfer tape away from the backing tape.
Once you get to the taped hinge, pull the decal all the way to the left. Stick a small bit of the transfer tape to the car to hold the decal out of the way.
Cut the backing paper off at the hinge.
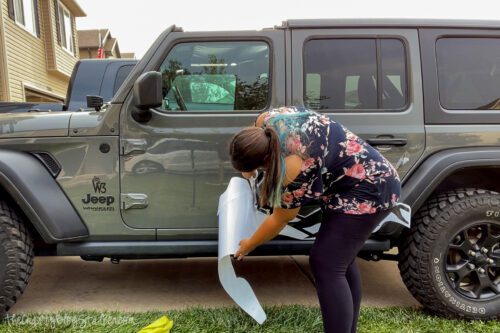
Grab the soap mixture and spray the vehicle where the decal is going to be placed, and the back of the decal.
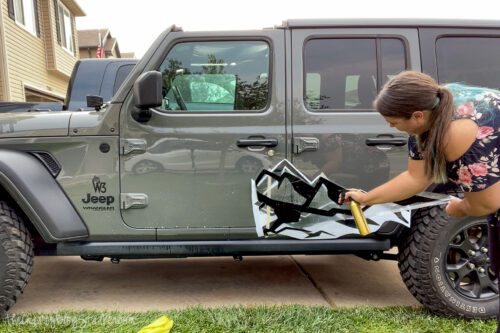
From the center hinge, slowly start pressing the decal into place using the scraper tool.
Don't stretch or pull because that will damage the decal. Simply press it into place.
As you apply pressure, make sure to only scrape over the transfer tape so you don't scratch your car. Try to press out the water behind the vinyl decal as well.
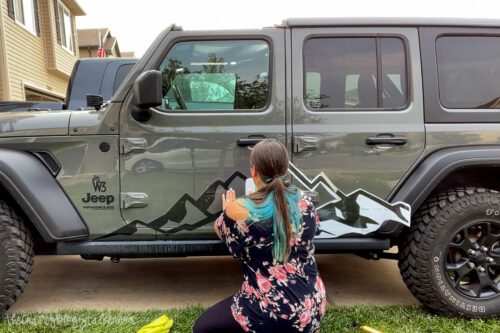
Once the where you want it on the left side, we are going to move to the right side of the decal.
Remove the tape hinge. You can place the tape on the left slide to make sure everything stays in place. The decal is still wet underneath, so it can slip and move.
Peel the paper backing from the decal, and remove it completely.
Spray the vehicle and the decal with the soap mixture.
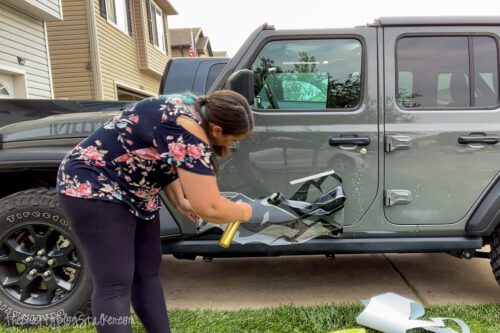
Carefully begin pressing the decal into place from the center hinge position and to the right.
Repeating the process as before. Pressing the decal into place, and removing water from behind the decal.
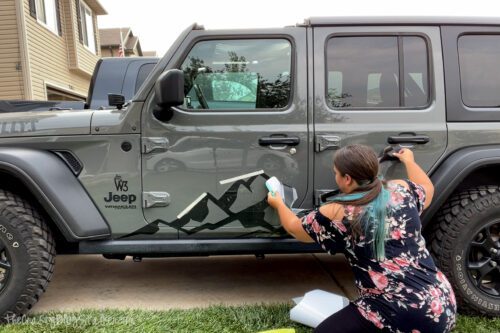
Before we remove the transfer tape, we want to make sure that the decal and behind the decal are as dry as possible. Otherwise, the decal won't stick in place.
I used a heat gun over the decal to help dry a little faster. I would apply heat with one hand and scrape with the other.
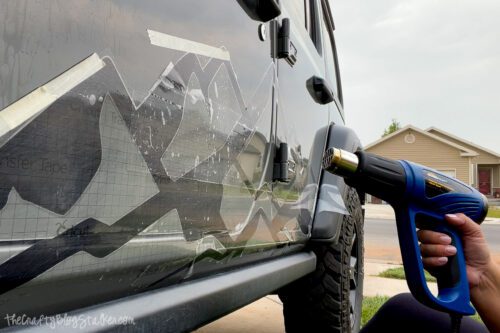
If you don't have a heat gun, leave the decal to dry for a couple of hours. Once it is dry, then you can move on to the next step.
Removing the Transfer Tape:
Remove the transfer tape in little sections at a time. Keep a craft knife close to trim off the tape when needed.
I started on the left side of the decal and moved right.
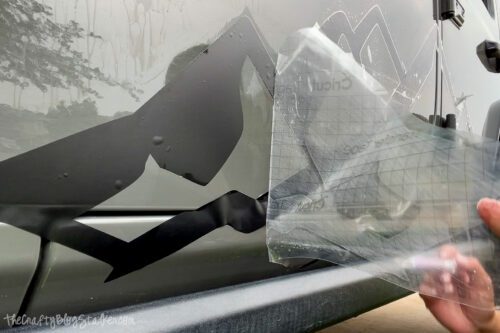
As you peel, use the cloth and scraper to help remove more water from behind the decal. Be careful not to scratch your car.
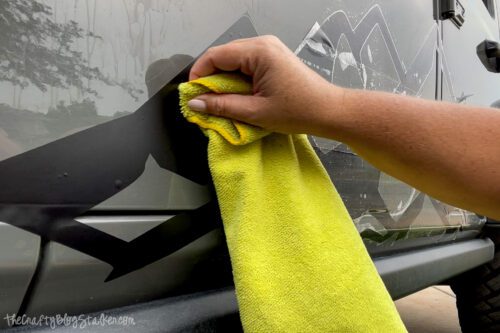
Move slowly down the length of the vehicle, removing and pressing small sections at a time until all of the transfer tape has been removed.
Trimming the Decal:
The last step is to trim the decal around the doors and any moving parts that the decal is covering.
Slowly slide the craft knife blade around the doors.
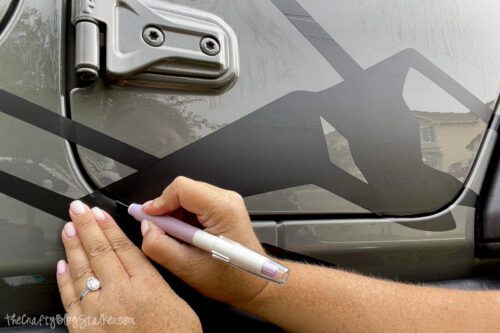
Once the pieces are detached, open the car door and press the edges down. Make sure to press the edges down around the door as well.
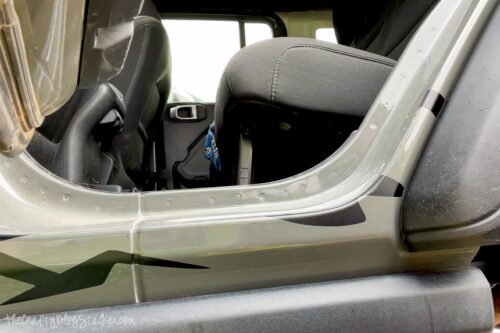
After the doors are free you are done with the first side!!
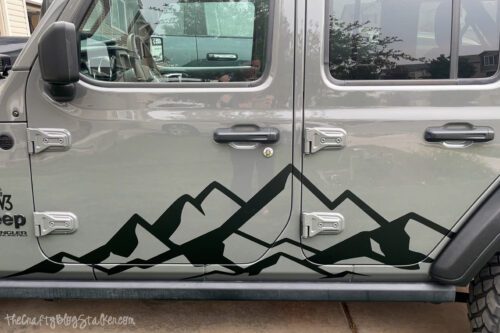
Yay, you did it! Was it easier or harder than you thought it would be?
Our Crafting Essentials:
- The Cricut Cutting Machine is easily our favorite crafting tool. We use it in so many of our tutorials!
- These MakerX Crafting Tools are perfect for keeping in the craft room and are always ready when needed!
- This Fiskars Paper Trimmer is easy to use and cuts nicely without frayed edges.
- These Scotch Precision Scissors cut like a dream, and you get multiple pairs in a pack!





Leave a Reply