

Learn how to make matching tote bags with Cricut Infusible Ink! This step-by-step tutorial makes it easy. Perfect for you any sisters!
We have three teenage girls in our family, and I wouldn't change a thing.
I won the teenage lottery and got some pretty amazing kids who call each other their best friends!
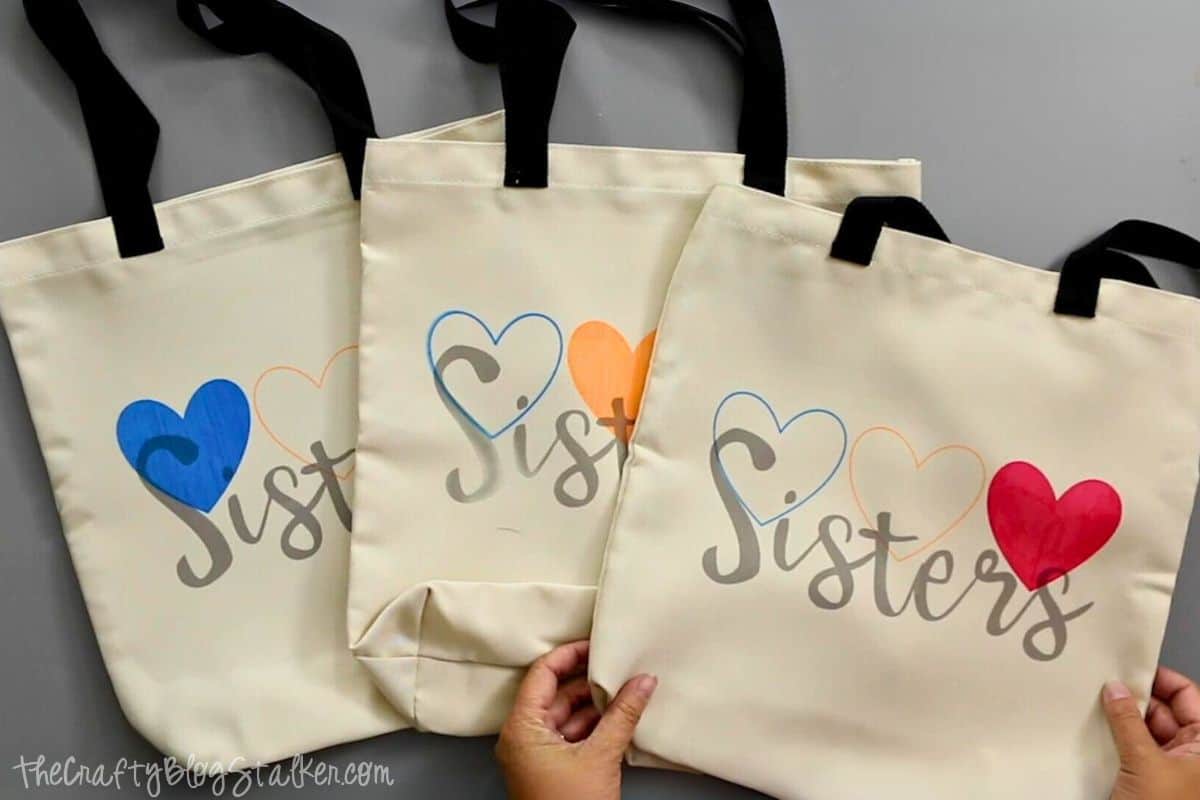
I saw this idea as a tattoo, but since my girls are too young for that, I made them personalized tote bags instead.
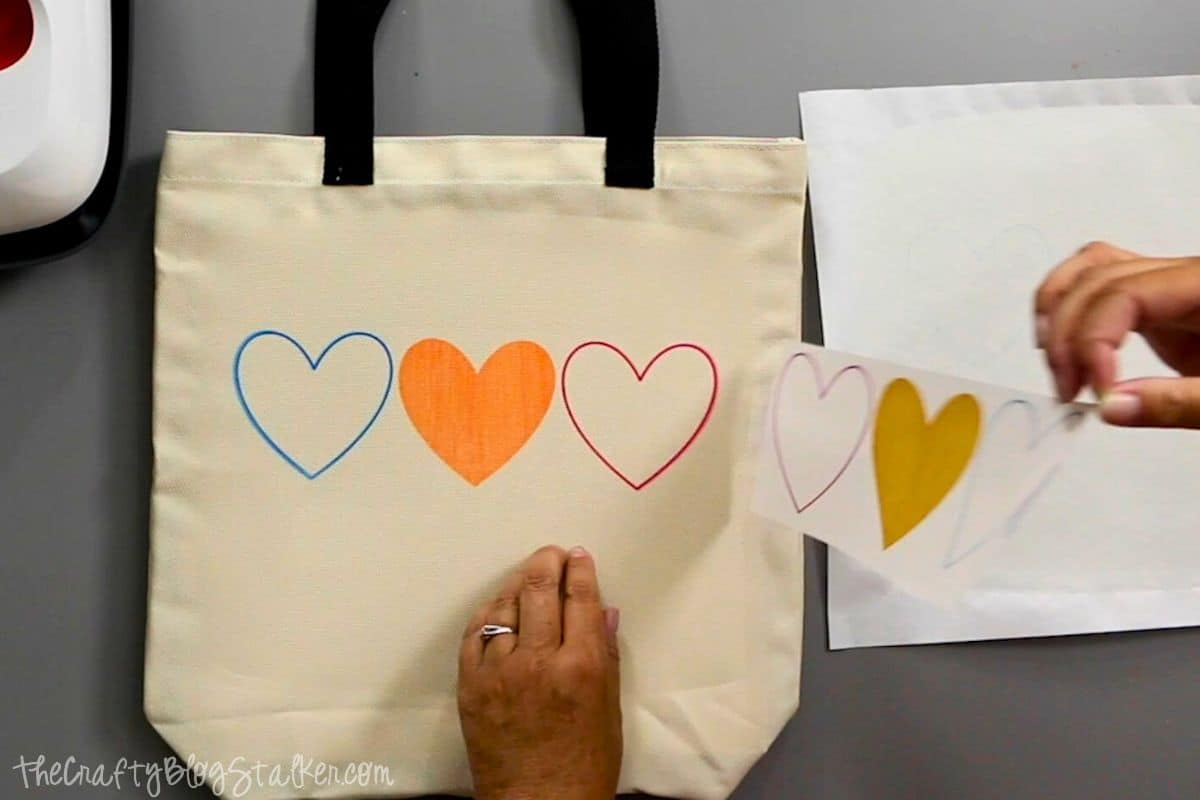
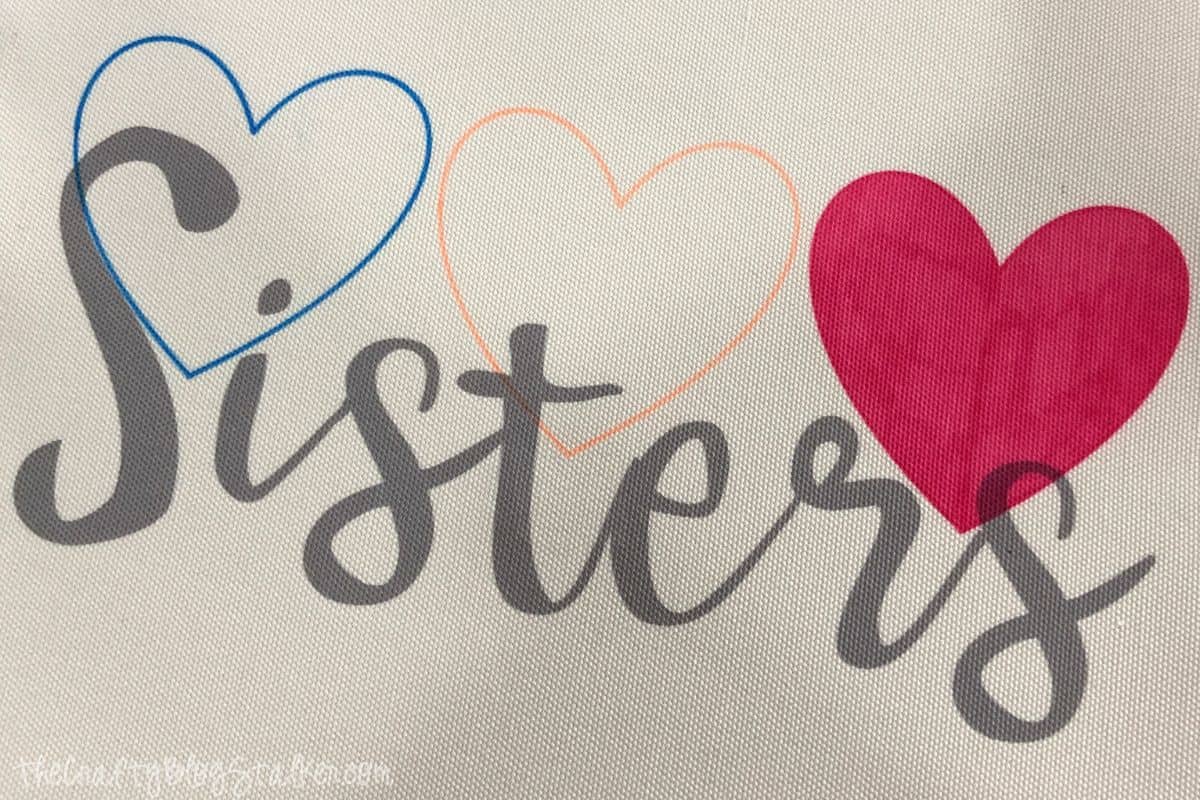
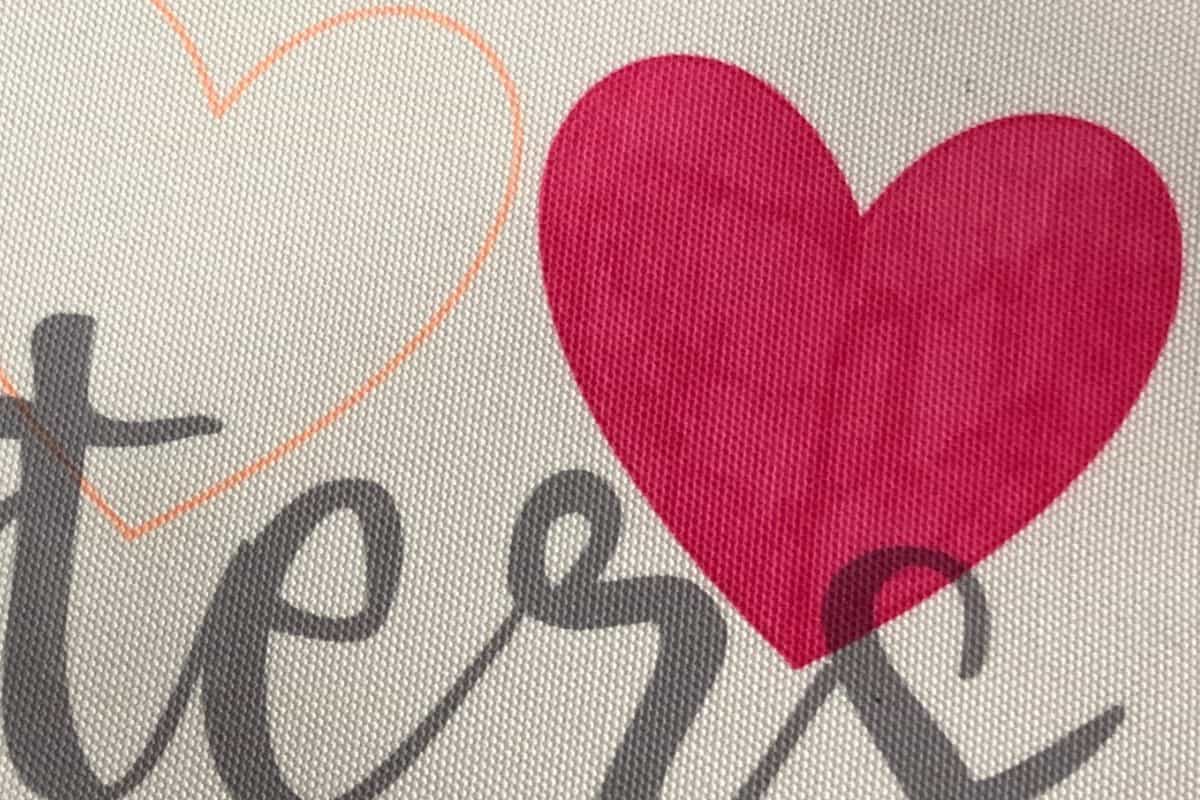
Each heart represents a sister, with the colored one showing their birth order.
In this tutorial, I'll show you how to create these tote bags using Cricut Infusible Ink Markers and Transfer Sheets.
Jump to:
Craft Tutorial Video
If videos are your thing, you're in luck-I've got a full tutorial ready for you!
Subscribe to my YouTube channel and stay inspired with every new project.
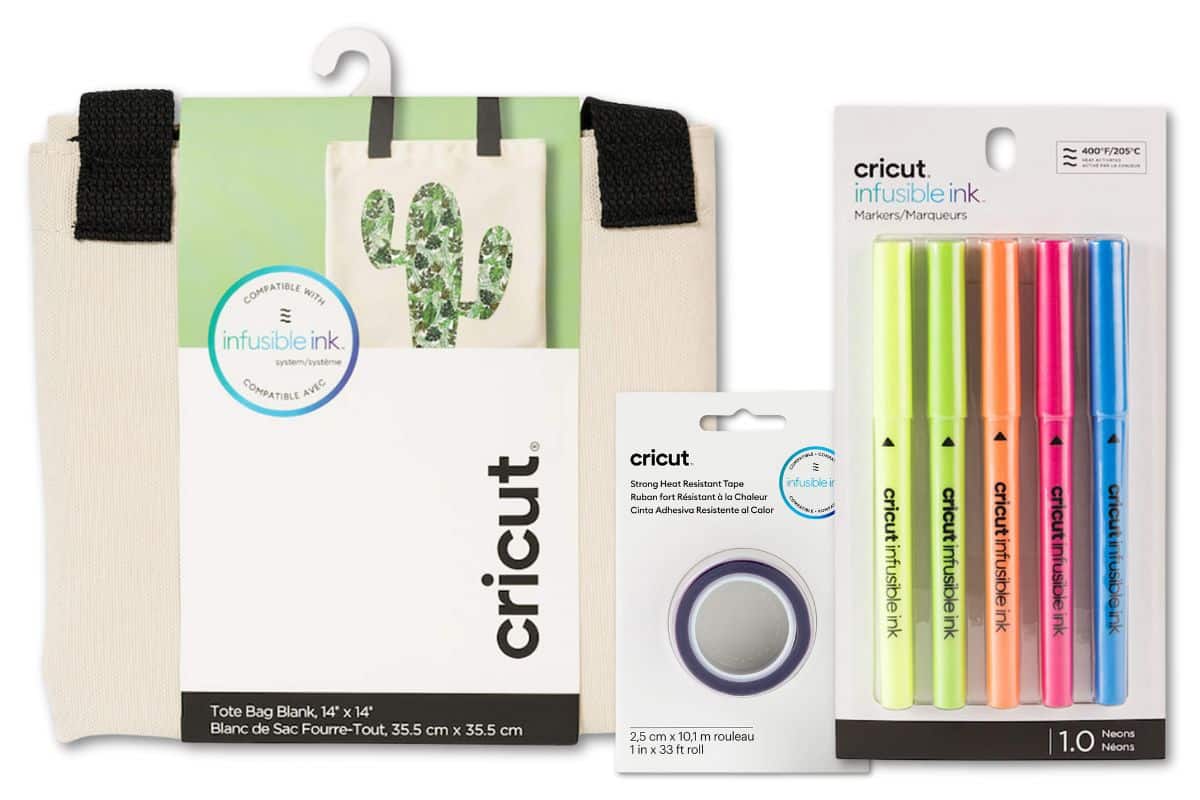
Supply List:
Some supplies were gifted at no cost. When exact item are unavailable online, links may point to comparable products.
- Sisters Personalized Tote Bags File in Cricut Design Space
- Cricut Cutting Machine
- Infusible Ink Transfer Sheets
- Infusible Ink Pens
- Heat-Resistant Tape
- StandardGrip Mat
- LightGrip Mat
- Tote Bag Blanks
- Heat Press
- Heat Press Mat
- Cardstock (80lb)
- Butcher Paper
- Lint Roller
- Scissors
This project works with any Cricut Venture, Cricut Maker, Cricut Explore, and Cricut Joy models.
Make sure that you only use a compatible infusible ink blank. Not all materials will take the ink, it needs to have a high percentage of polyester.
Cricut Design Space:
The design for these totes was created in Cricut Design Space. You can make your own Infusible Ink designs or use mine in Cricut Design Space.
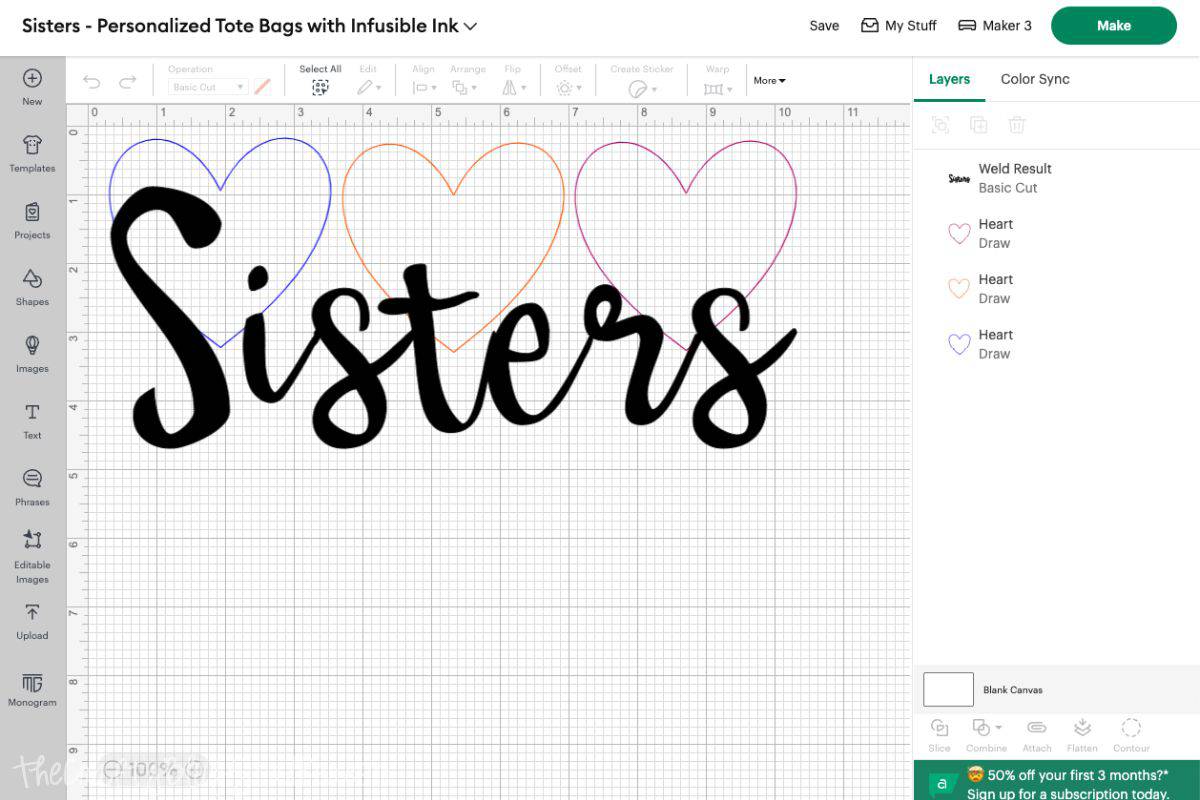
Size the design according to your project base.
I am applying the design to a 14x14 inch tote bag and sized the design to 10 inches wide.
When the design is ready, select the green Make button.
The next page is the Mat Preview, toggle the button to mirror the image. If you don't your design will be backward when finished.
Select copy paper as the material you are drawing on.
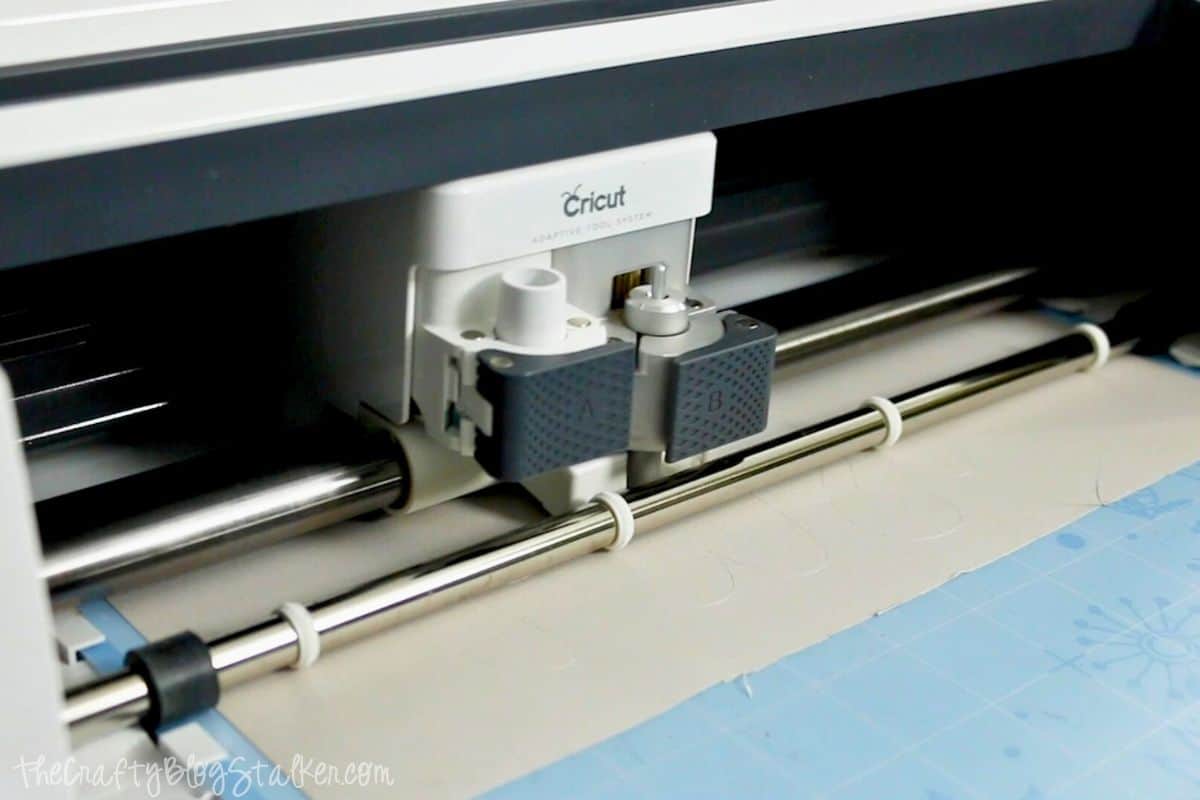
Place a sheet of laser copy paper onto the LightGrip Mat, and load the mat into the cutting machine.
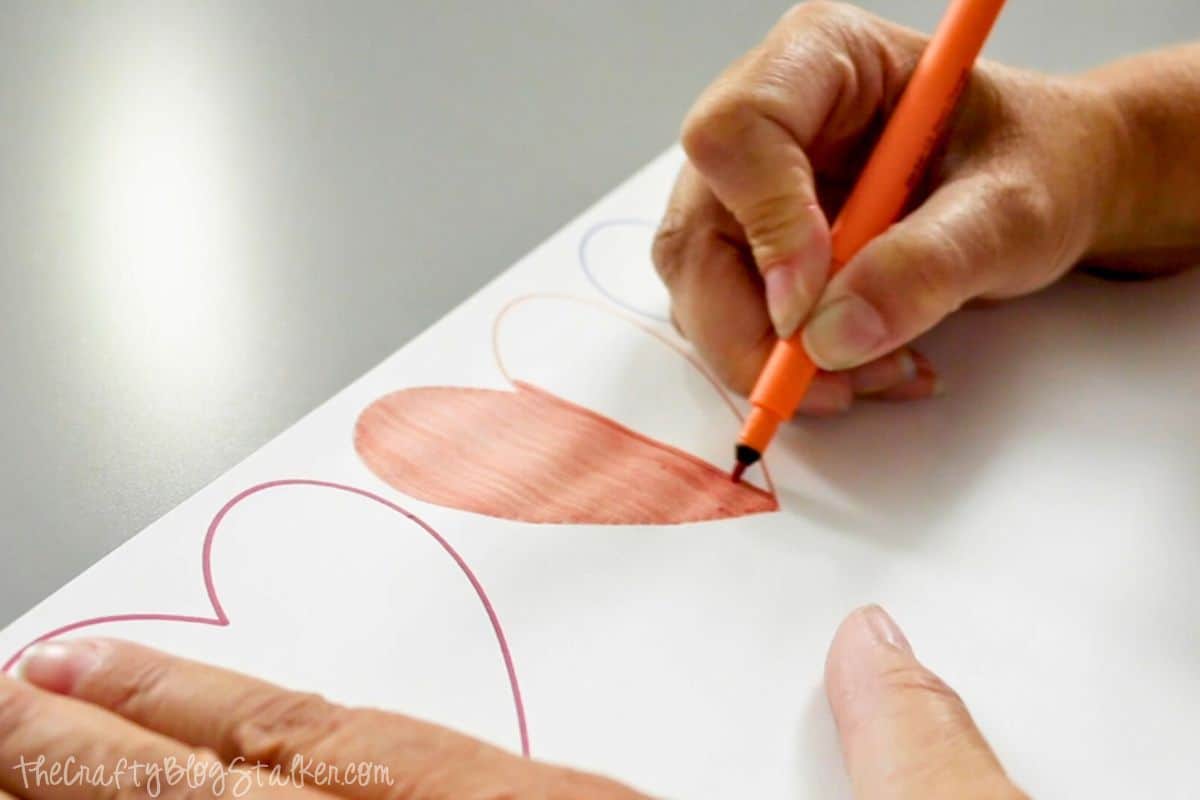
Cricut Design Space will tell you the color of the marker to load. Simply open Clamp A to remove and insert the markers.
Do not unload the mat when changing marker colors.
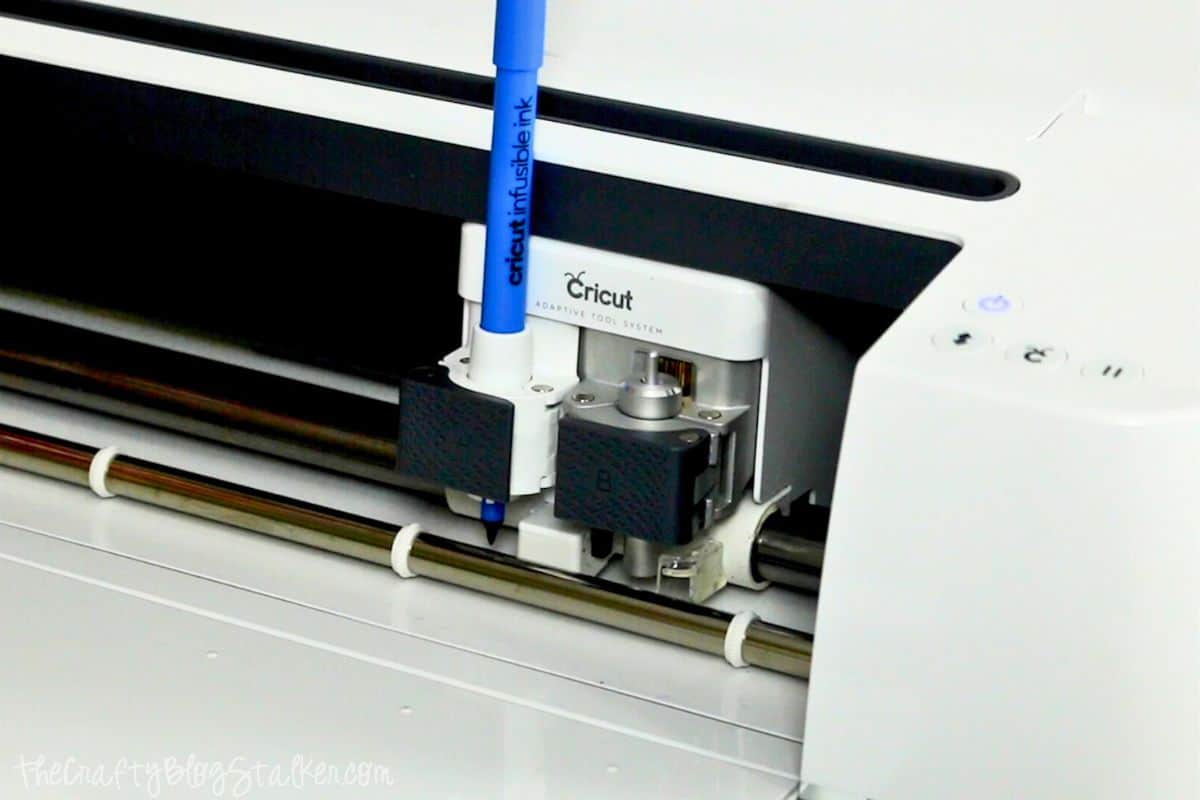
Color in a heart by hand depending on which sister bag you are making.
I repeated this process three times and colored a different heart each time for all three bags.
Once the drawing is done, cut the Infusible Ink transfer sheet.
Place the Infusible Ink Transfer Sheet onto the mat with the color side facing up.
Change the material from copy paper to Infusible Ink on the material list otherwise, your cut won't be deep enough.
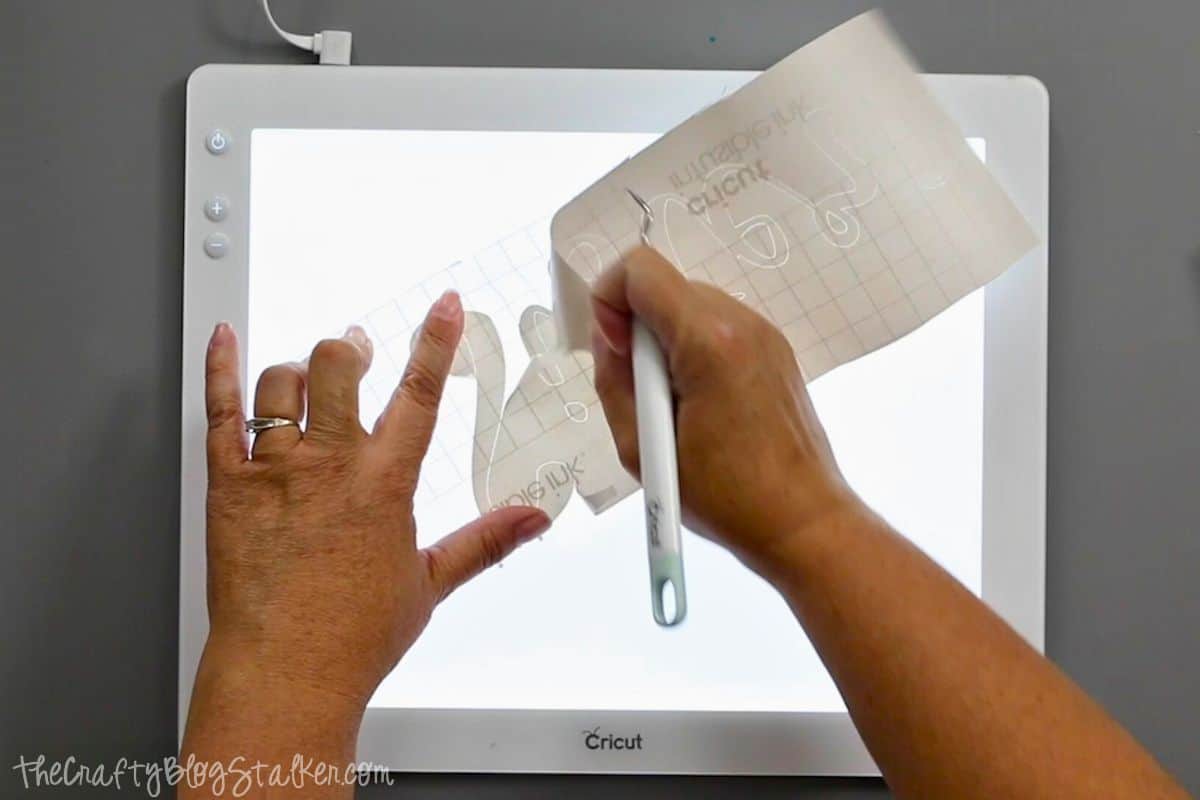
Weeding the excess infusible ink is really quite simple.
The sheet feels like paper and peels away pretty easily.
Gently roll the transfer sheet until the cut lines separate and you can remove the unwanted parts of the design.
Cricut Heat Guide:
To know exactly what temperature and time to set your EasyPress 2, visit the online Cricut Heat Guide.
Enter the Heat-Transfer Material and the Base Material and the guide gives you all of the information you need.
It even tells you when to peel the backing, like when warm or to let it cool! It also gives a visual of how to layer everything.
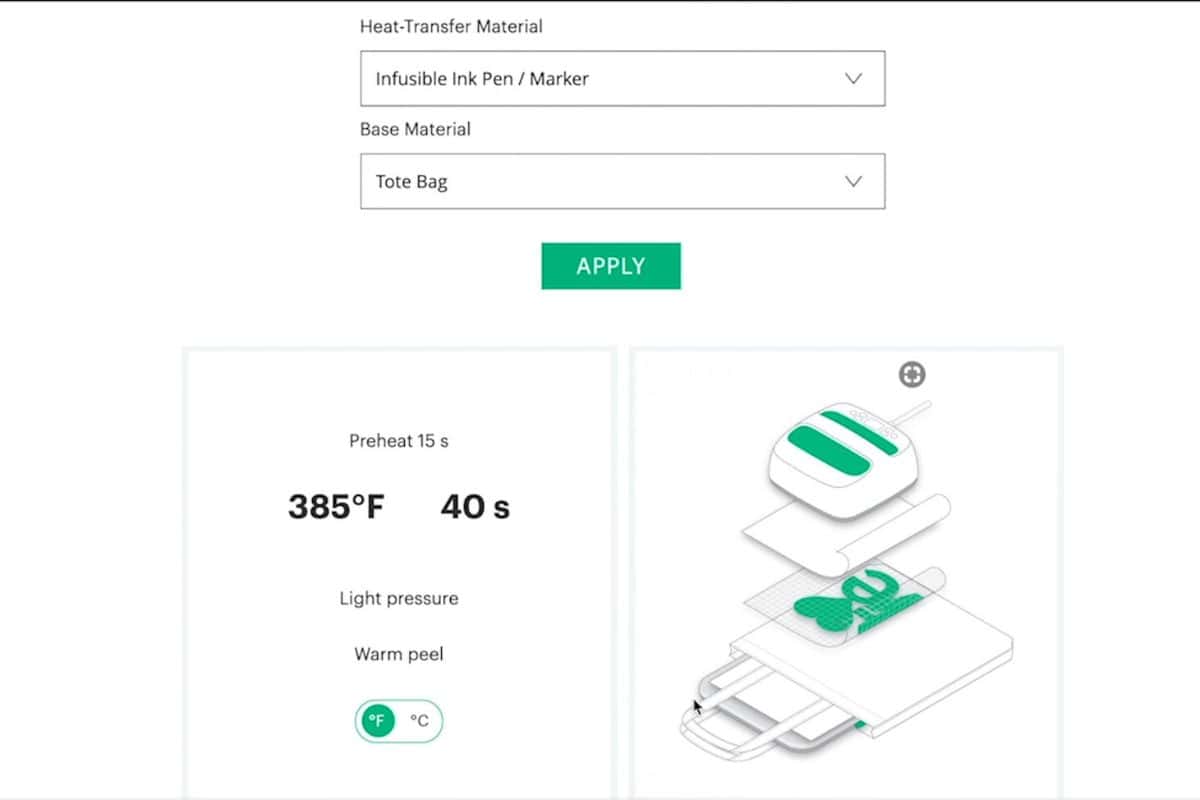
Since we are using two different types of infusible ink for this project, check the heat and time for each combination of products. They may be different, depending on your base material
Place the EasyPress Mat inside the tote with a sheet of cardstock between the mat and the front of the bag.
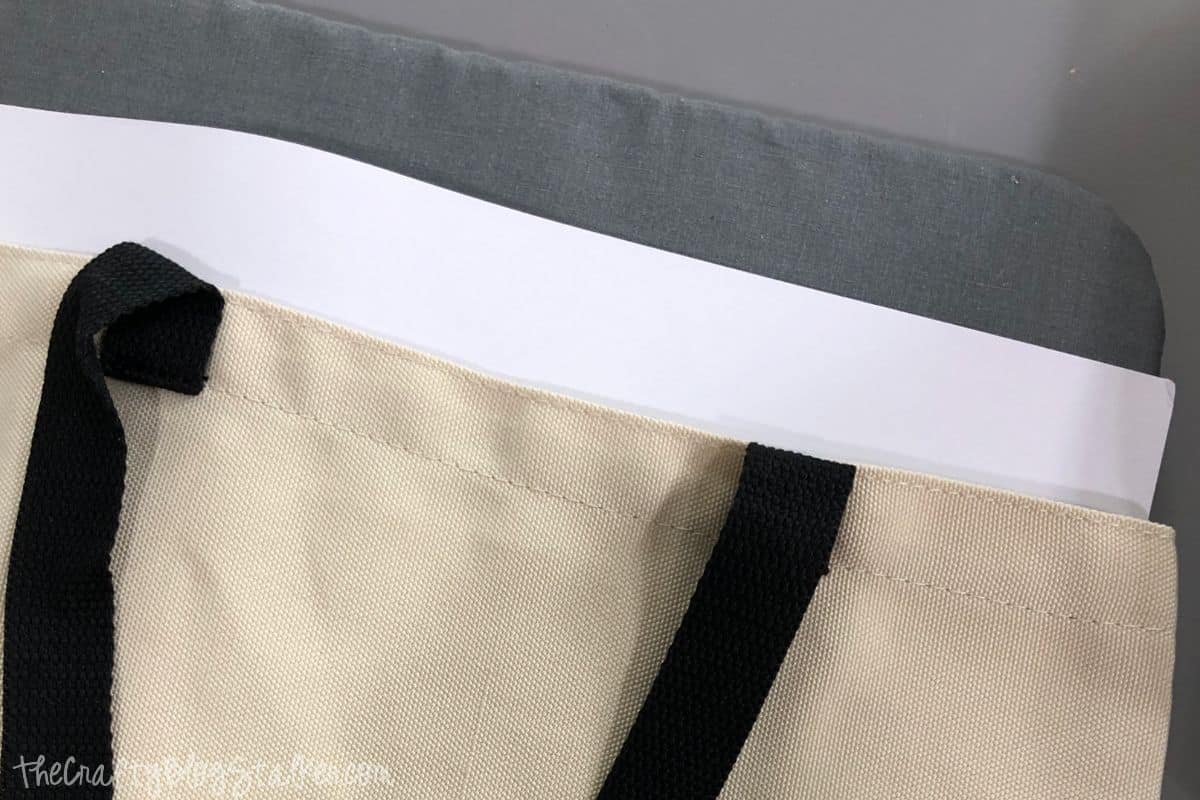
The paper protects the EasyPress Mat from getting any leaked ink on it.
Go over the area with a clean lint roller because small debris can interfere with the ink transfer.
Cover the area with butcher paper and preheat your surface according to the heating directions in the Quick Reference Guide. For this project, it is 15 seconds.
Application:
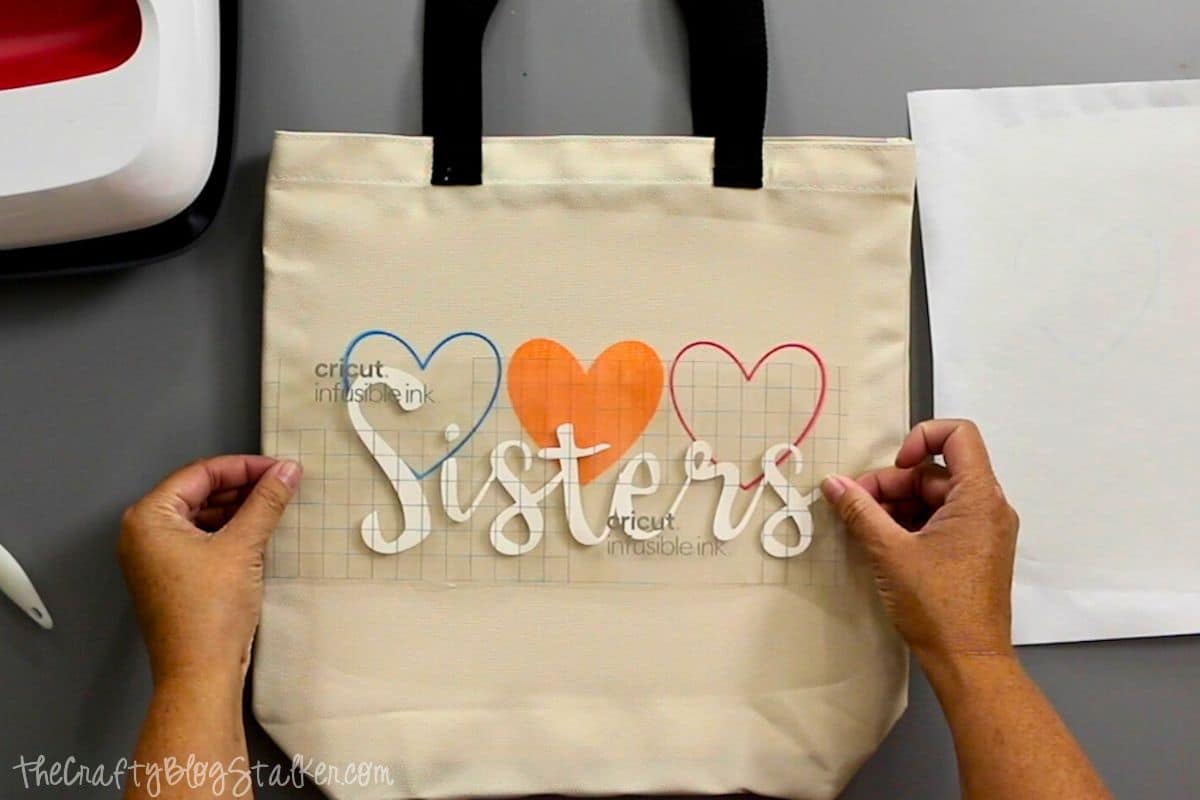
It doesn't matter what order you apply the design. You can go with the drawn layer or transfer sheet first, the finished product will look the same.
I will start with the drawn hearts layer.
Center the drawn sheet design face down onto the front of the tote bag.
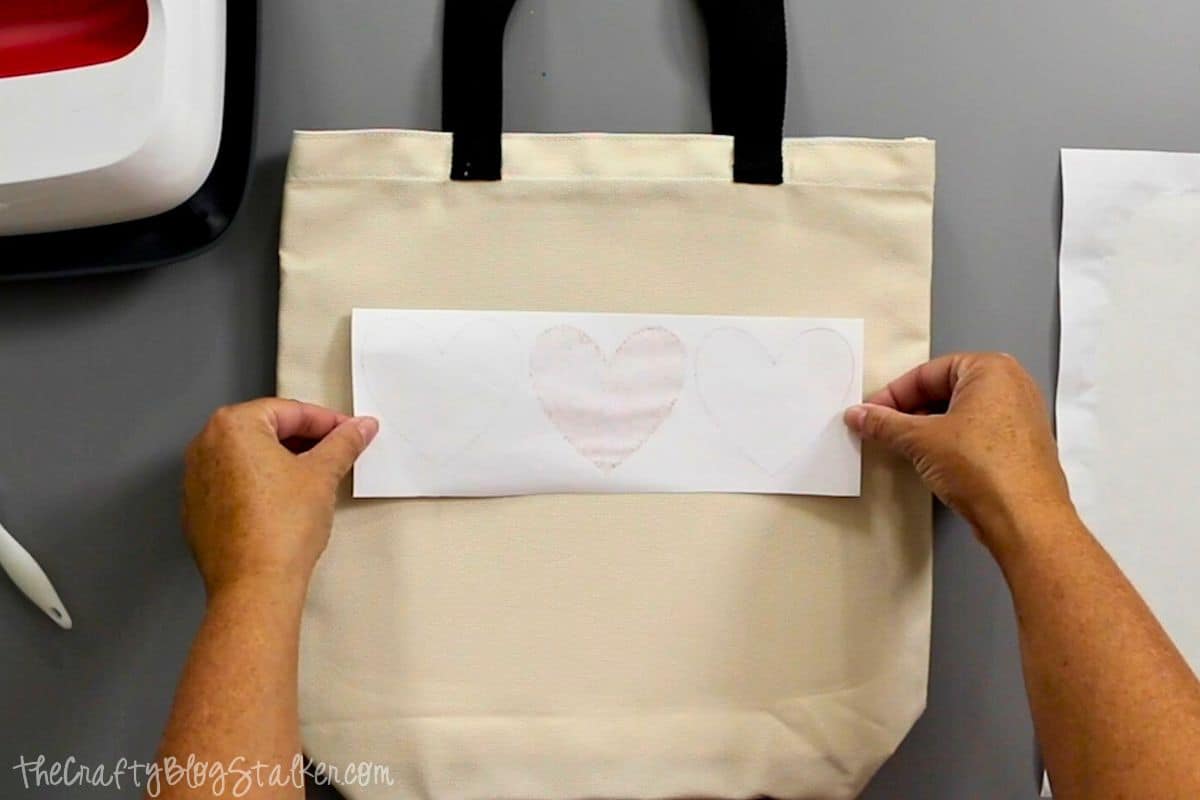
Secure the paper with a few strips of Heat Transfer Tape. You don't want the paper to shift, or you might get a ghosting effect.
Cover with Butcher Paper and apply the heat for 40 seconds with light pressure.

When it beeps, carefully lift the press straight up to stop any sliding between the layers.
Let the project cool completely and remove the butcher paper and the drawn design.
We are halfway done and it already looks awesome!
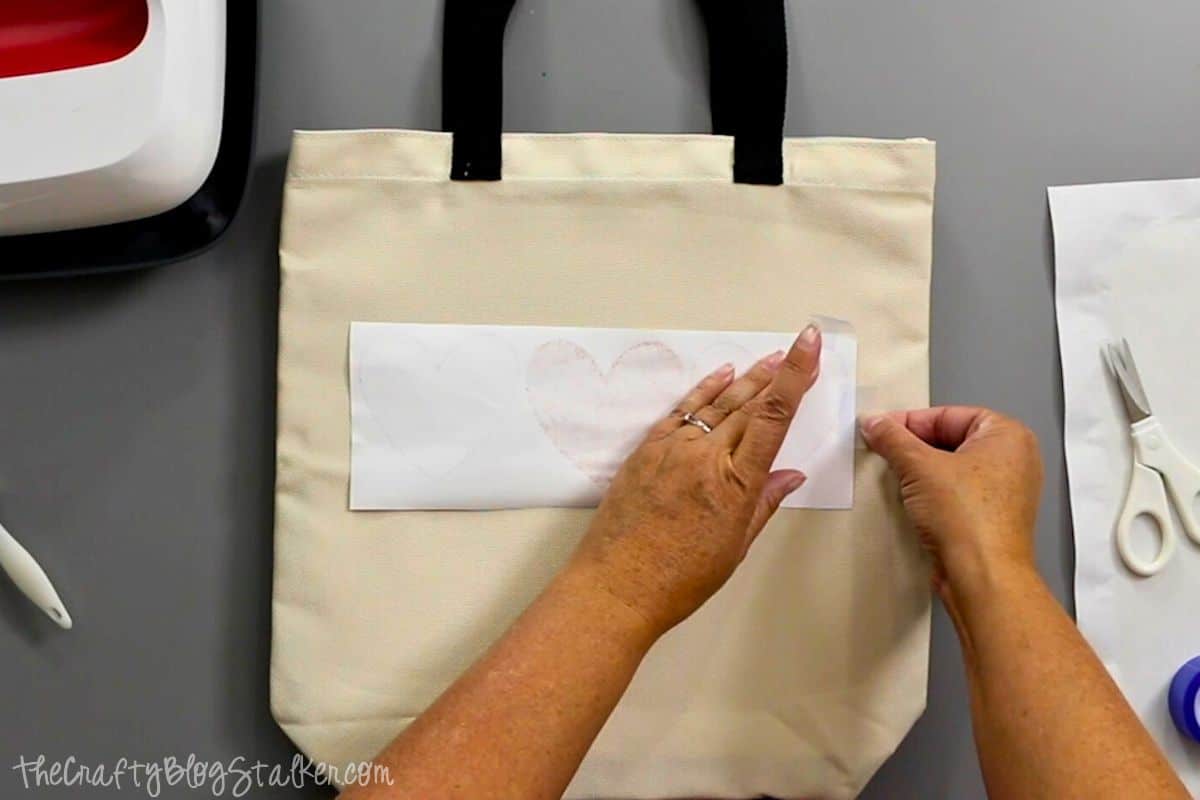
Go over the top of the tote again with the lint roller, and place the cut design on the tote bag.
The backing sheet to the Infusible Ink Transfer Sheet is adhesive, so there is no need to secure it with heat transfer tape, just press the backing down.
Cover with butcher paper and apply the heat press for 40 seconds. Do not move hands or slide the EasyPress during the transfer.
When the time is up, lift the press without sliding the layers.
Let the project cool completely.
Remove the butcher paper and lift the transfer sheet away from the bag.
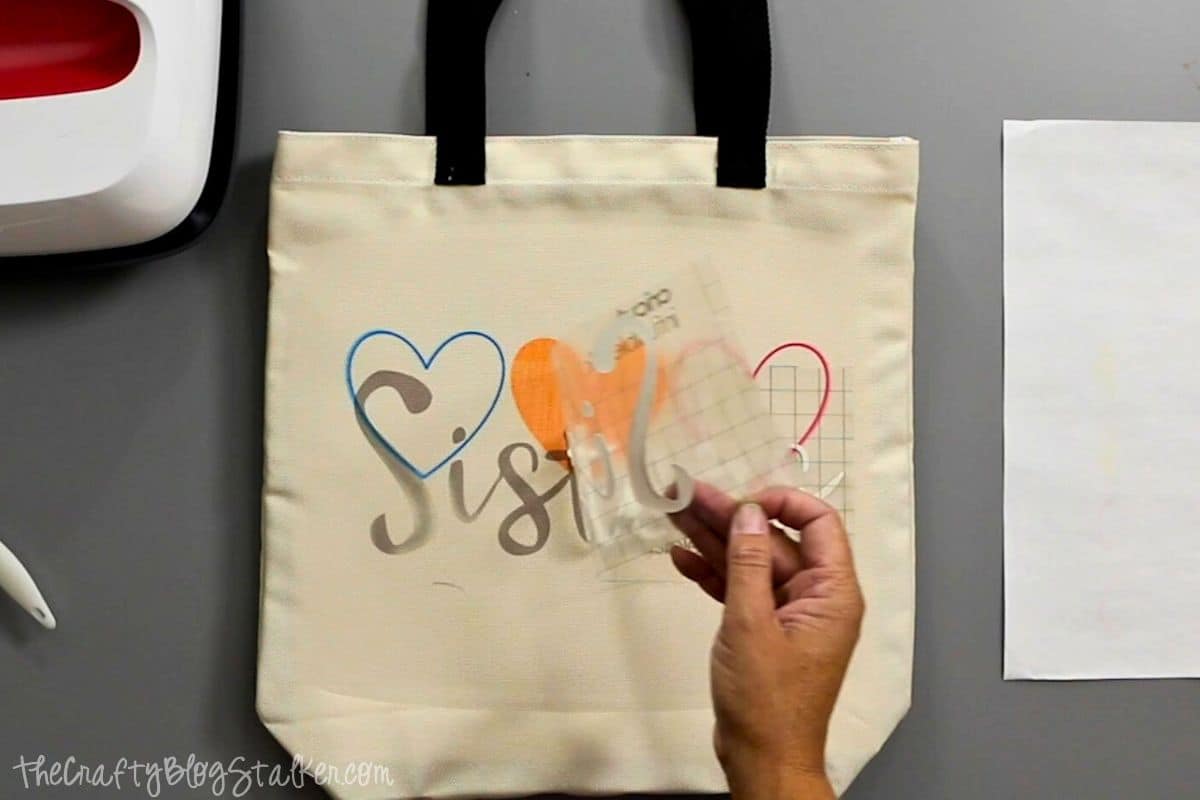
I can't get over how cool this infusible ink looks. The ink really does infuse and become a part of the fabric.
Tips for Infusible Ink:
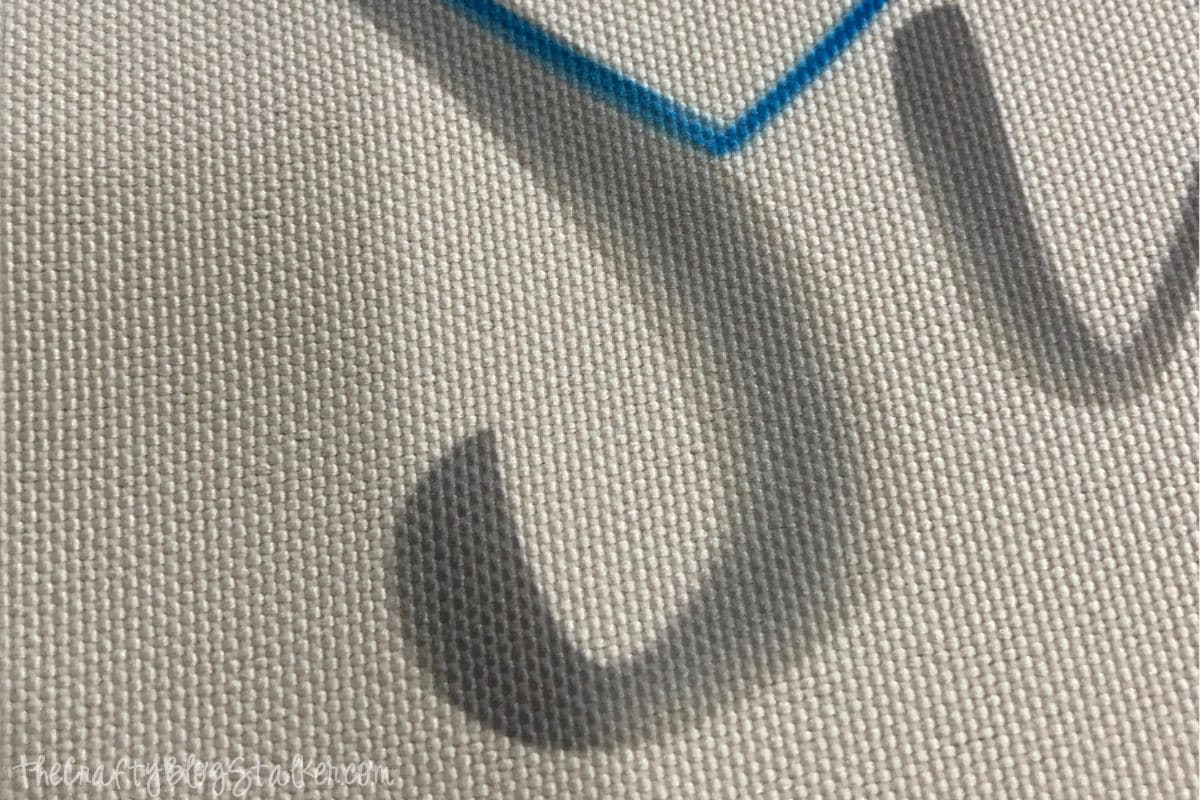
Tip #1 - It is important to let everything cool completely before moving to the next step. I know it's hard but patience is a virtue, right?
I didn't let the tote cool completely before laying down my second layer, and you can see the imperfections it caused. Since it was so hot the plastic backing sheet curled a little making the transfer sheet not lay flat, and I didn't get a solid image.
Tip #2 - Don't slide the layers when heating. Lift the h straight down and straight up.
Tip #3 - When using the Infusible Ink Markers, the coloring lines will be transferred so take care in how you color.
Tip #4 - Follow the directions. It really is that easy! Your project will turn out perfect every time!
Crafting Essentials
- The Cricut Cutting Machine is easily my favorite crafting tool. We use it in so many of our tutorials!
- These MakerX Crafting Tools are perfect for keeping in the craft room and are always ready when needed!
- This Fiskars Paper Trimmer is easy to use and cuts nicely without frayed edges.
- These Scotch Precision Scissors cut like a dream, and you get multiple pairs in a pack!
Susan
What is the name of the font you used for SISTERS?
Katie Adams
It is the Cricut font Babette. For future, when you click into the project on Cricut Design Space it will tell you the name of the font if it is a Cricut font. Thanks!