This post may contain affiliate links. For more information, please see our disclosure policy.
Discover the Cricut Autopress features and find out if it's the right heat press for you. This post is sponsored by Cricut. All opinions expressed are my own. If you make a purchase using any affiliate links below, we may earn a commission.
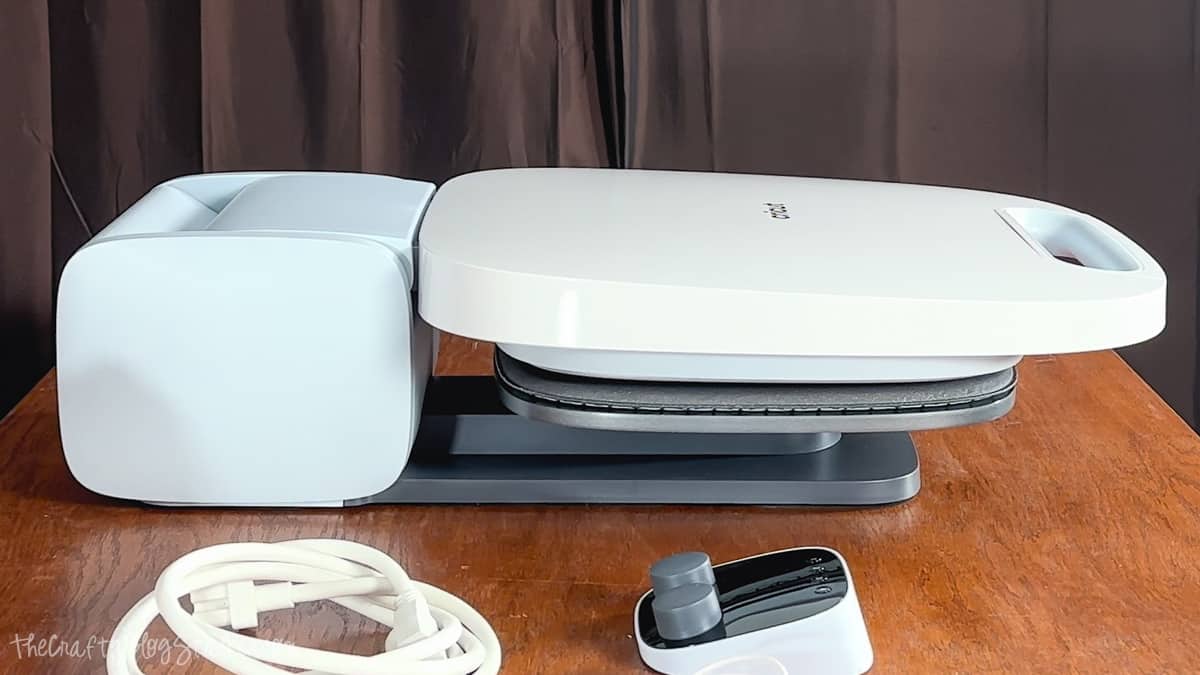
Looking to enhance your crafting experience with the perfect heat press?
Discover the Cricut Autopress, a tool specially designed for T-shirt makers and fabric enthusiasts.
With unique features tailored to your needs, you might be wondering if it's the right option for you.
In this post, we'll explore what the Cricut Autopress offers and help you decide whether it fits your creative projects and craft space.
AD: Shop Cricut.com
Craft Video Tutorial:
Like videos? I have a video tutorial for you! Subscribe to my YouTube Channel so you don't miss any future videos!
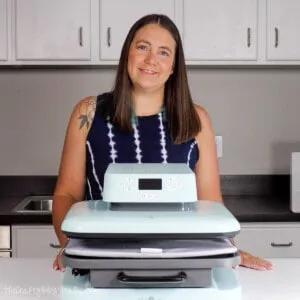
The machine is securely packed with Styrofoam and although that makes the box larger, you don't want the machine damaged during shipping.
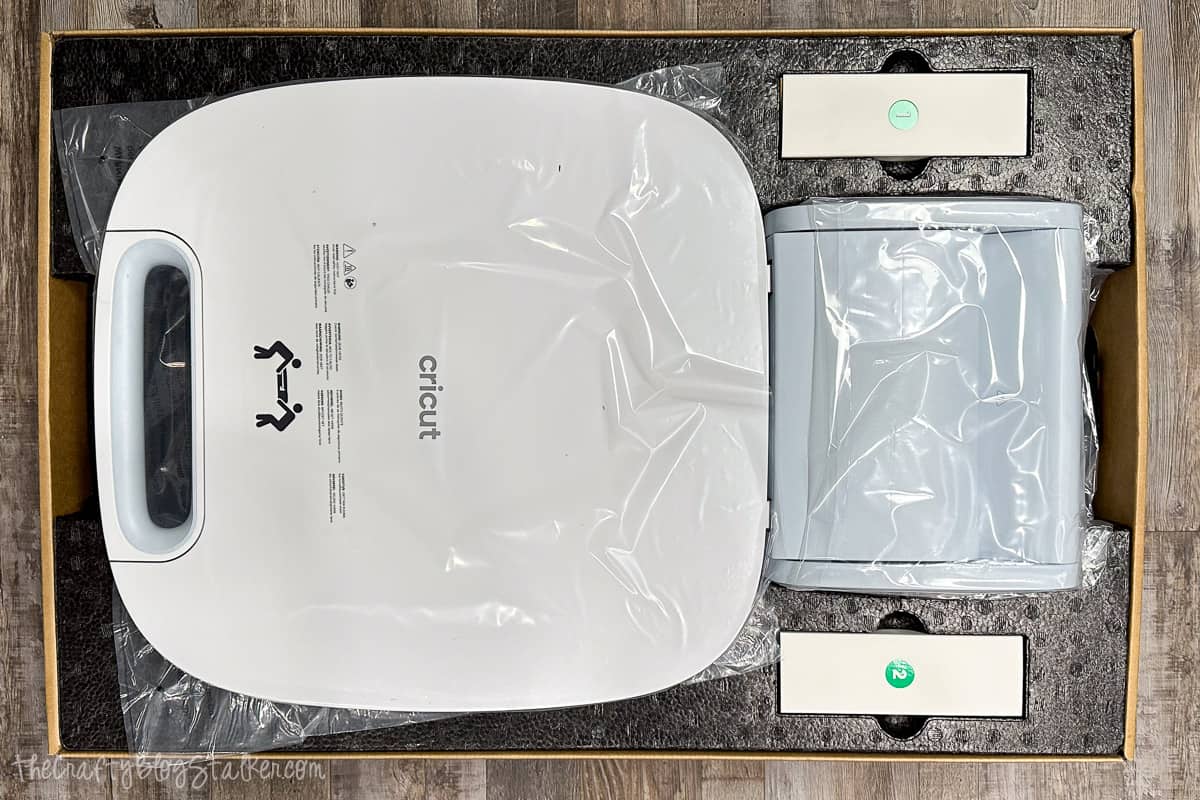
The packaging recommends a two-person lift when unboxing because the machine itself weighs 53 pounds.
But I am a rule breaker and was able to lift it out of the box by myself.
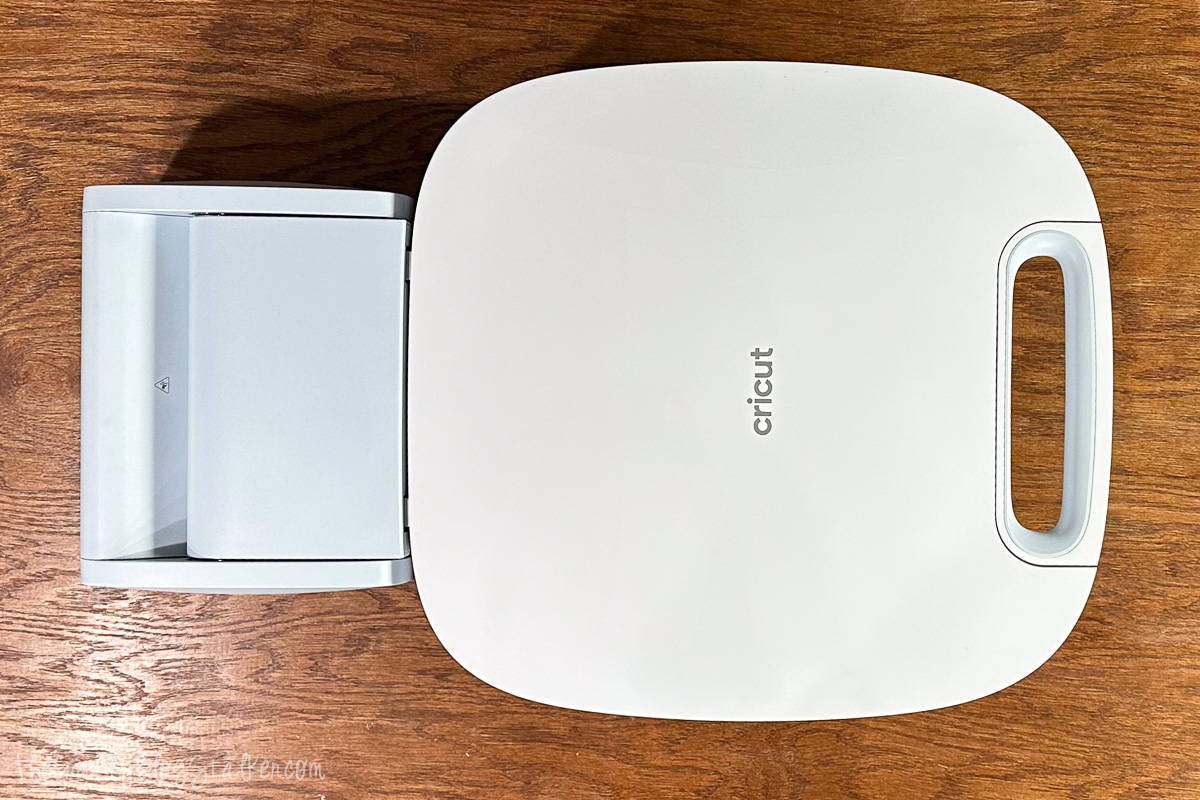
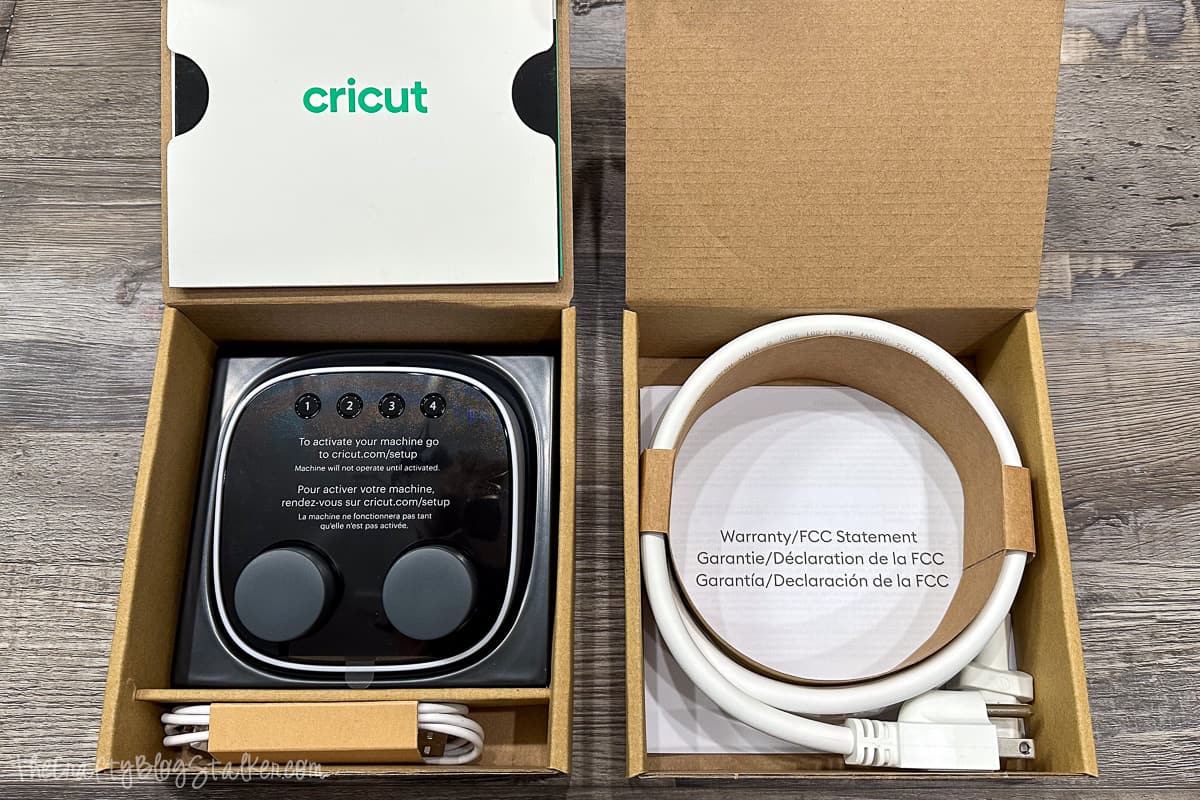
Inside boxes 1 & 2 from the packaging, are the control pod, power cord, warranty information, and setup instructions.
Dimensions
- Length: 26 inches
- Width: 15 inches
- Height: 24.5 inches (open), 6.5 inches (closed)
Notable Features
- Heat Plate: 12 by 15 inches
- Base Plate: Comes with a heat mat, with a slip-resistant back
- Auto Pressure: Presses items up to 2 inches thick with the perfect pressure
- 4 Presets: Save your own most-used settings
- Zero Effort Operation: Close the machine with ease. Lock the handle to start the timer
- Automatically Open: When the timer is finished the press opens on its own
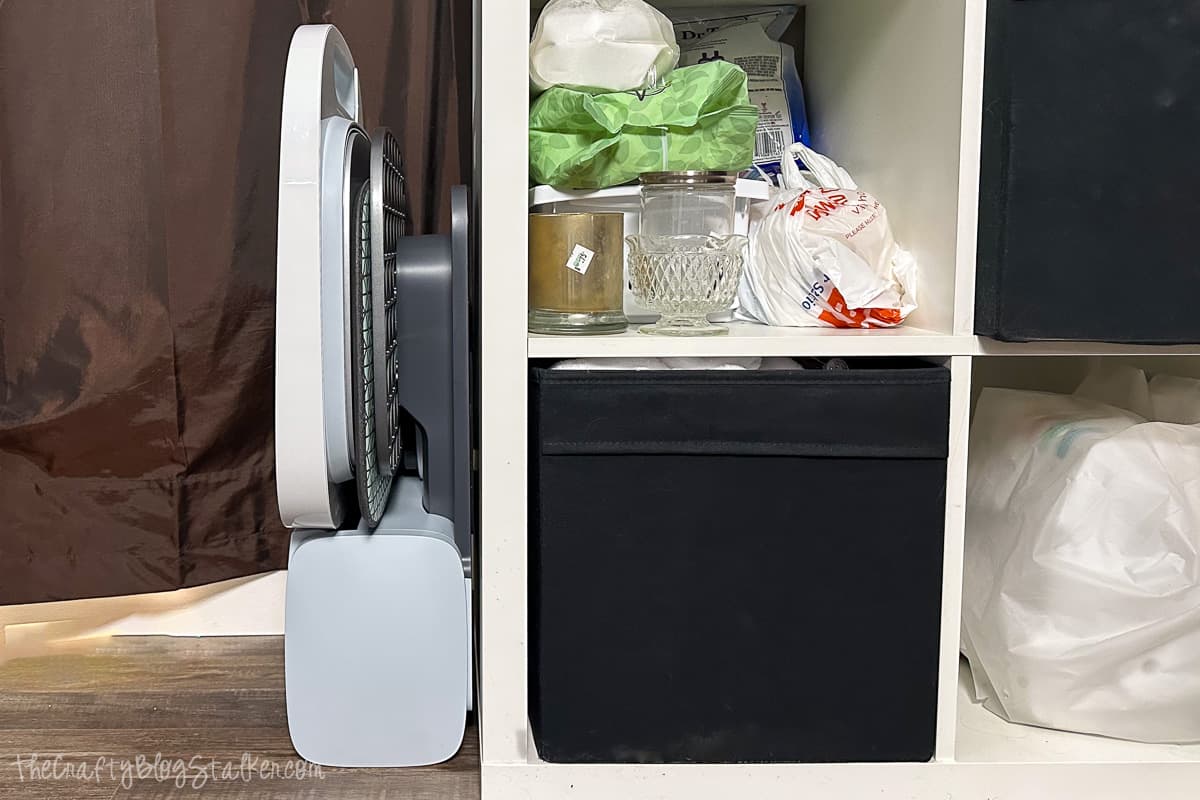
- Storage: Can tip on its base for easier storage
Storage is one of my favorite features of the Cricut Autopress.
Simply tilt the machine onto its base and it takes up much less space.
So you can store the machine behind a door, in a closet, or in any nook or cranny you have in your crafting space.
Here is the press next to one of my cubed shelves in my craft studio.
Setting Up the Cricut Autopress
The setup is simple and straightforward.
Turn the control pod upside down. While we're here, there is a switch to choose between Fahrenheit and Celsius.
Plug the cord into the pod, and connect the USB end to your computer.
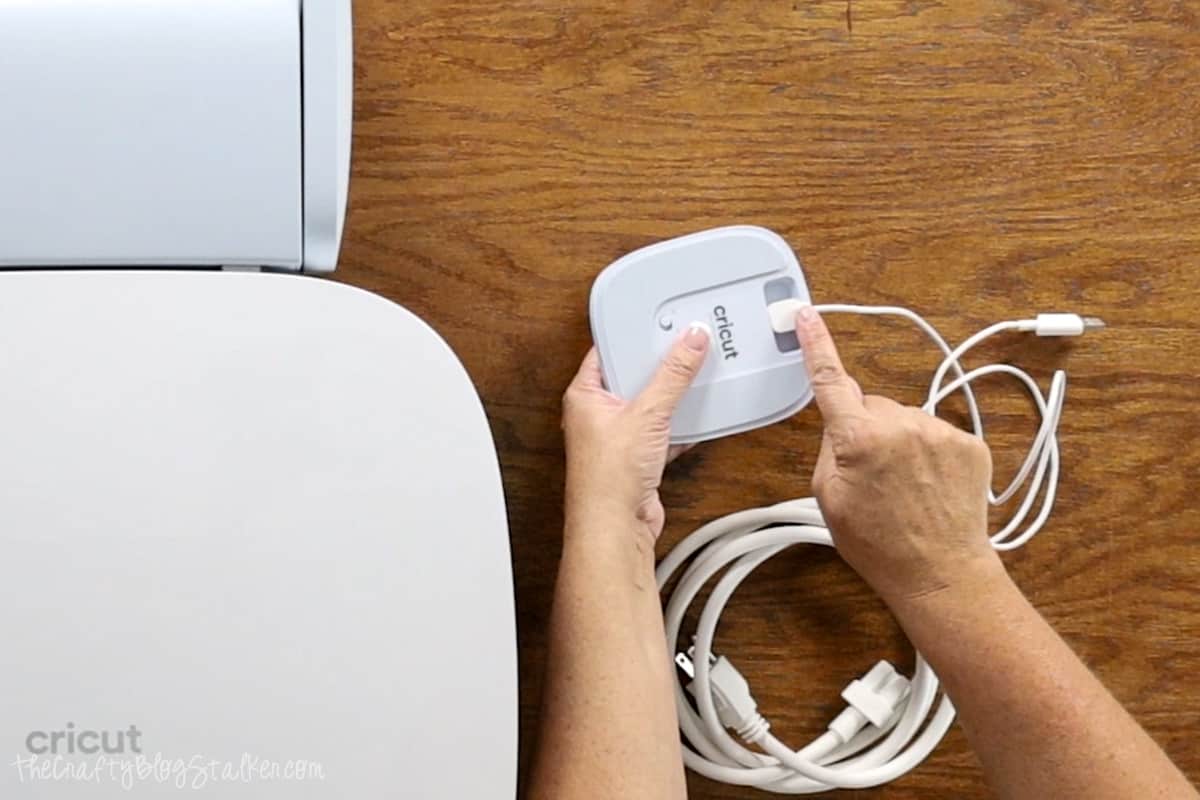
If you have an Apple laptop you will need an adapter, since a Mac computer doesn't have a USB port.
Open your internet browser and go to www.cricut.com/setup.
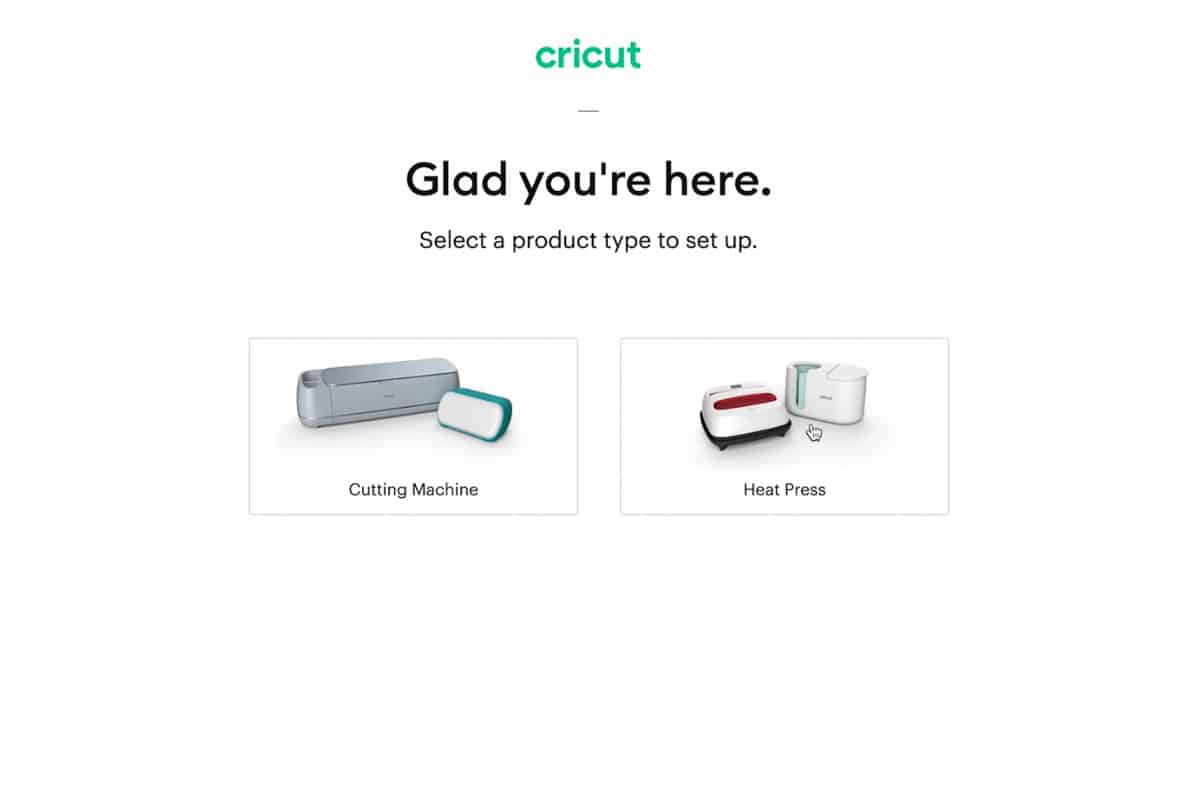
From here the website will walk you through every step as well.
Select Heat Press and the Cricut Autopress.
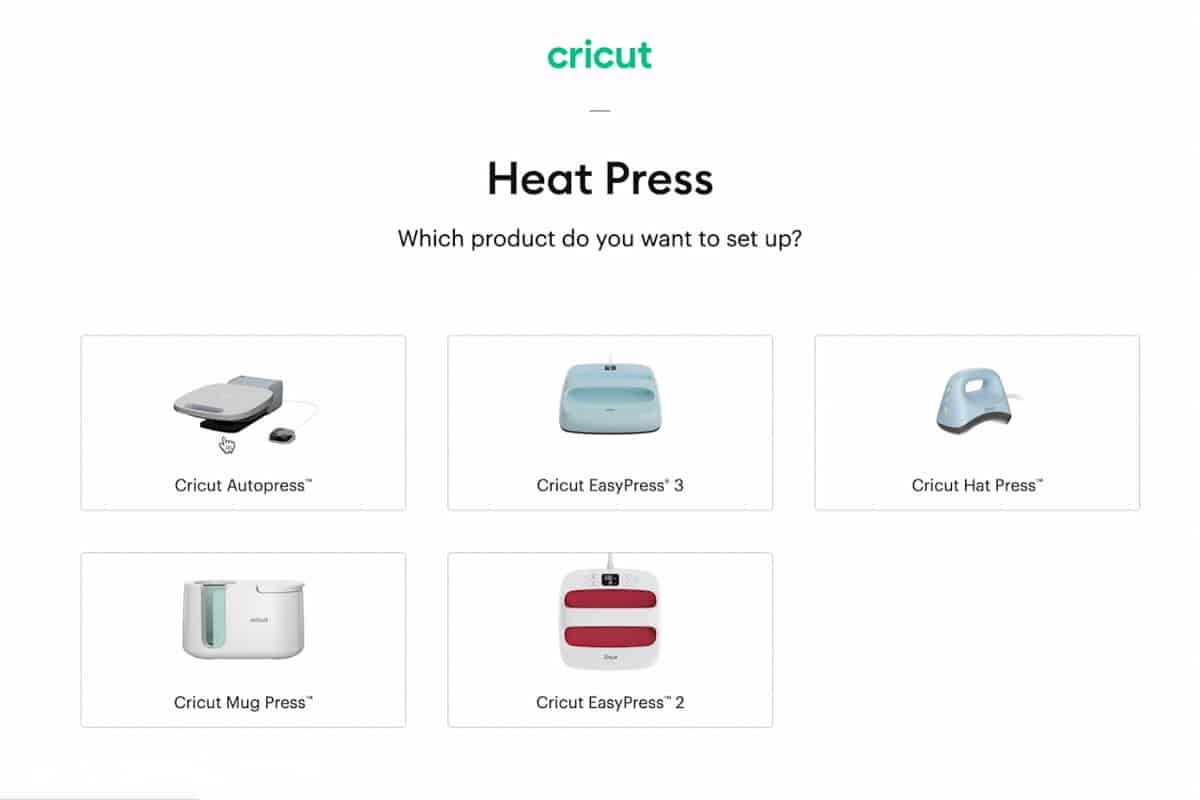
Setup will prompt you to download Cricut Design Space if you don't already have it.
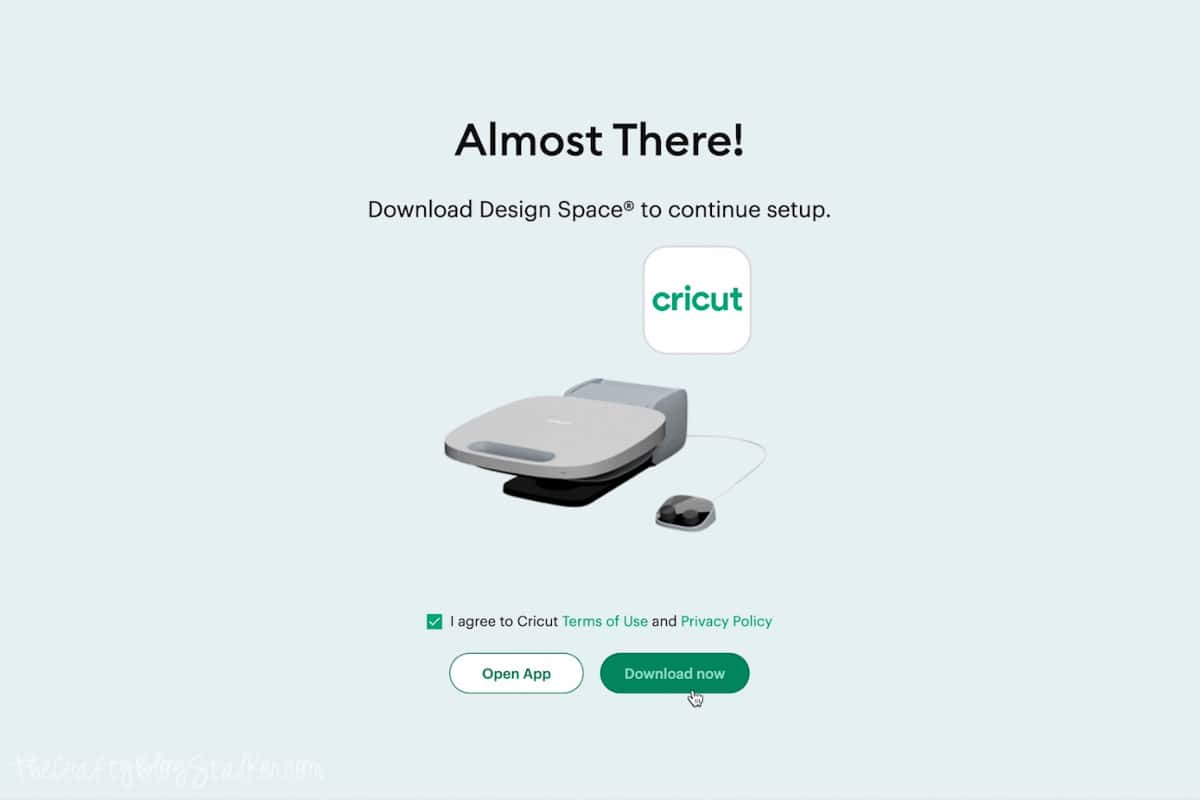
Agree to Cricut's Terms of Use and Privacy Policy and then click the button to activate your press.
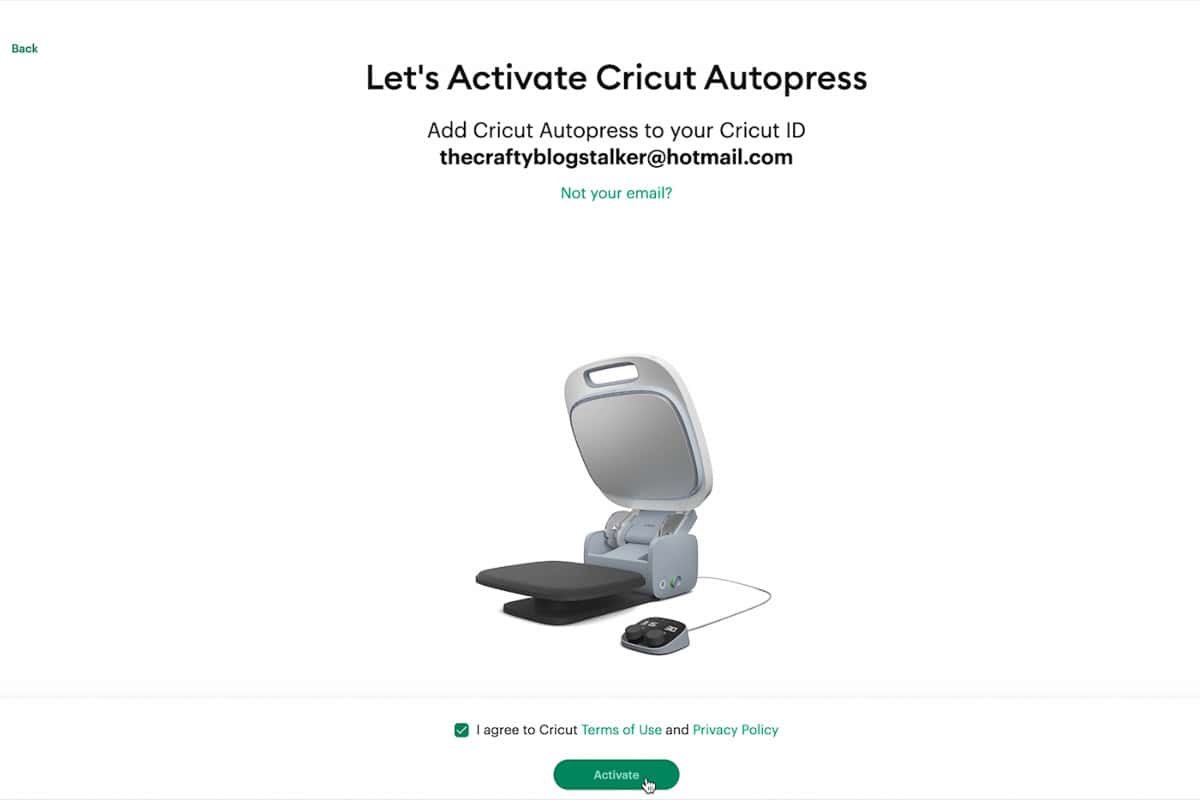
Once connected, you're ready to plug the main power cord into your machine and power outlet.
Heating Process
I wanted to see how quickly the Cricut Autopress would get to temperature, so I used the timer on my iPad.
Starting from completely cooled, it took 6 minutes and 11 seconds to heat to a temperature of 285 ºF.
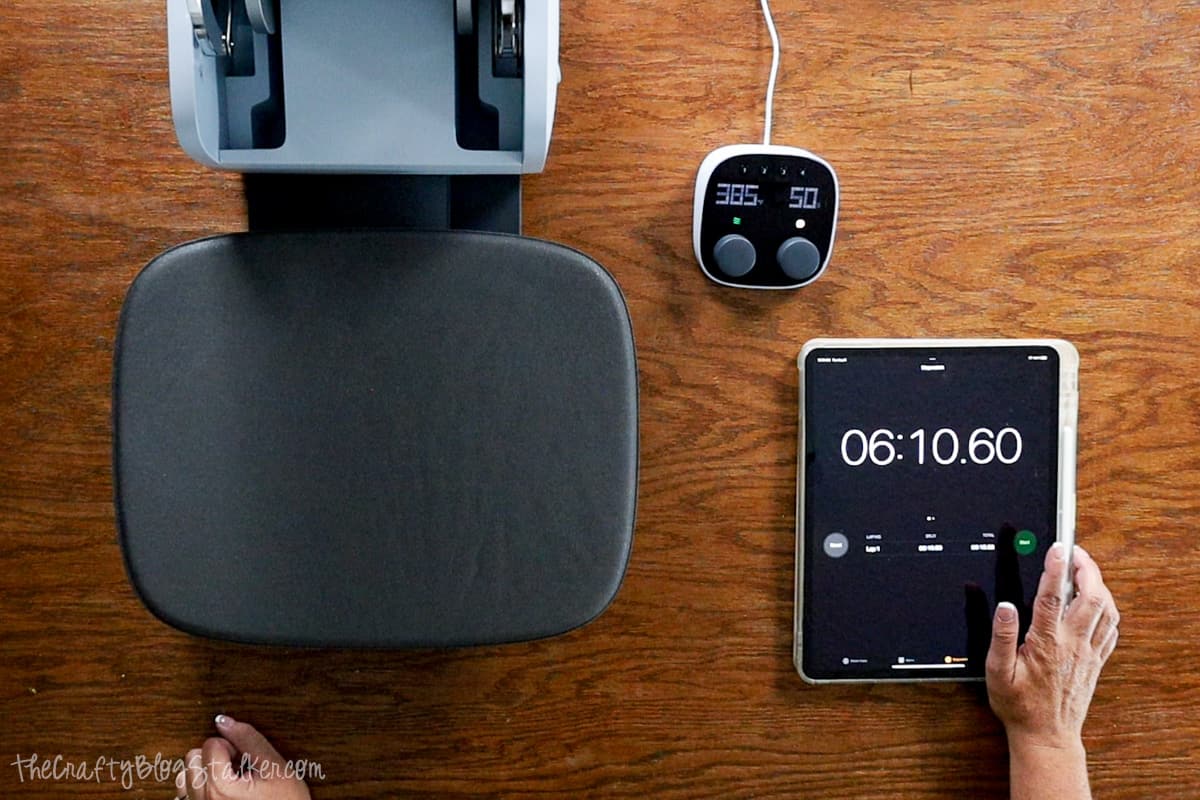
I am neither disappointed nor impressed with that time. I think that is a pretty average time.
For correct analysis, you would need to track the heat-up time of your current press to see if the autopress takes less time.
Projects with the Cricut Autopress
1. Infusible Ink Transfer on a Tote Bag
Before I began recording, I cut a design from Infusible Ink that reads "Hold On Let Me Overthink This". I then used my weeding tools to weed the design.
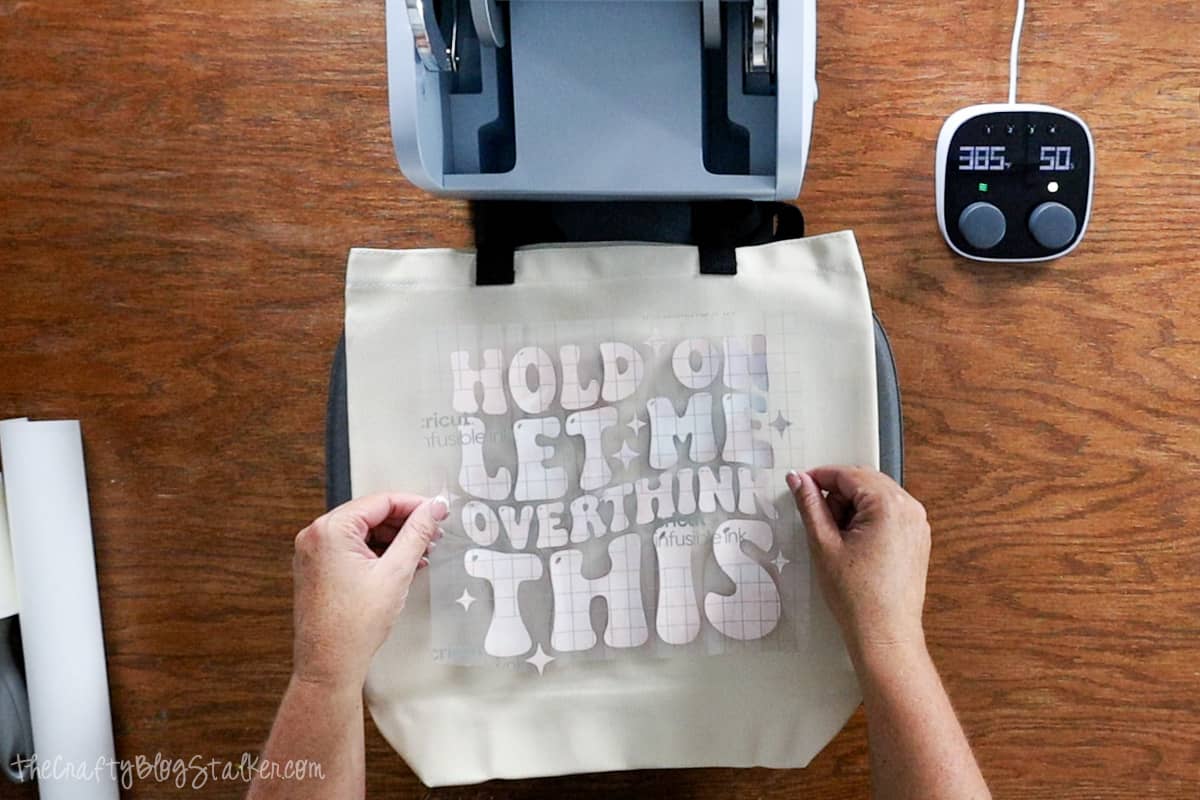
Using the Cricut Heat Guide, I set the temperature to 385º and 50 seconds using the dials.
You really can close the lid with just two fingers.
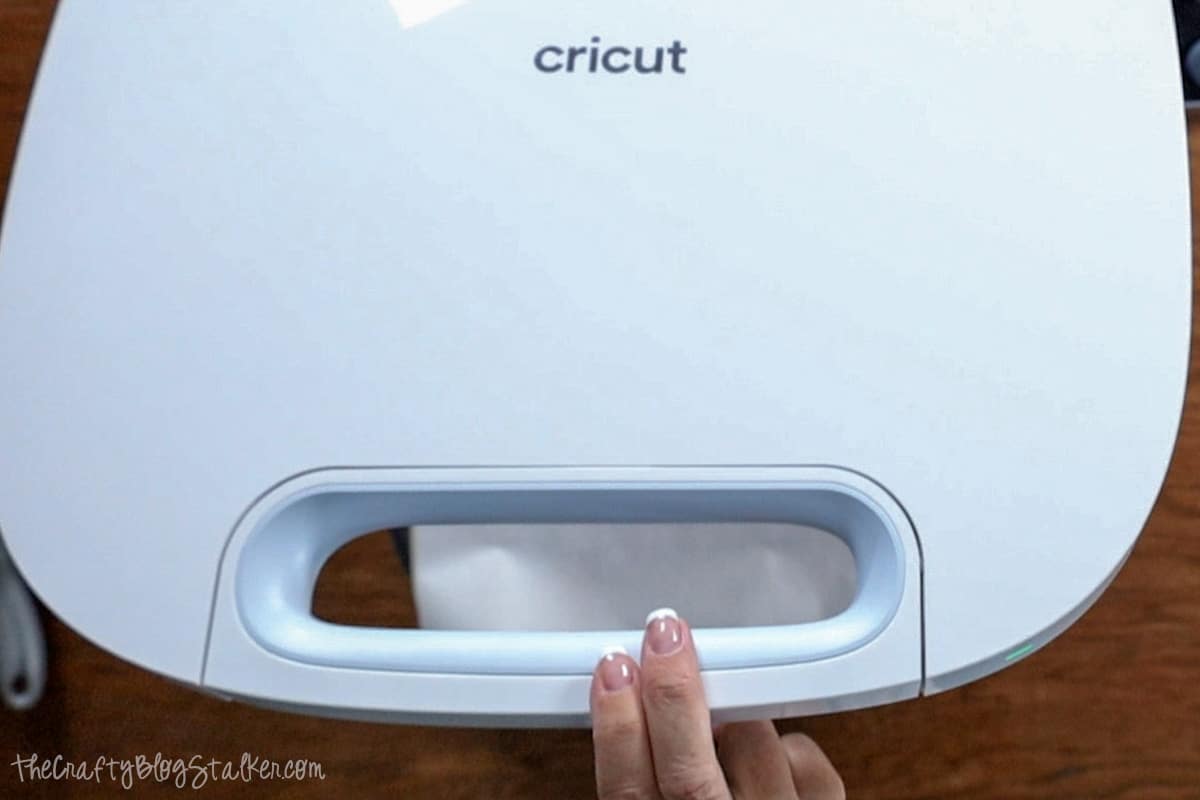
Once the lid is locked by pressing down on the handle, the timer starts automatically.
When the timer is up, the lid lifts on its own.
Infusible Ink is a cool peel, so once it was cool to the touch, I peeled back the Infusible Ink Transfer Sheet.
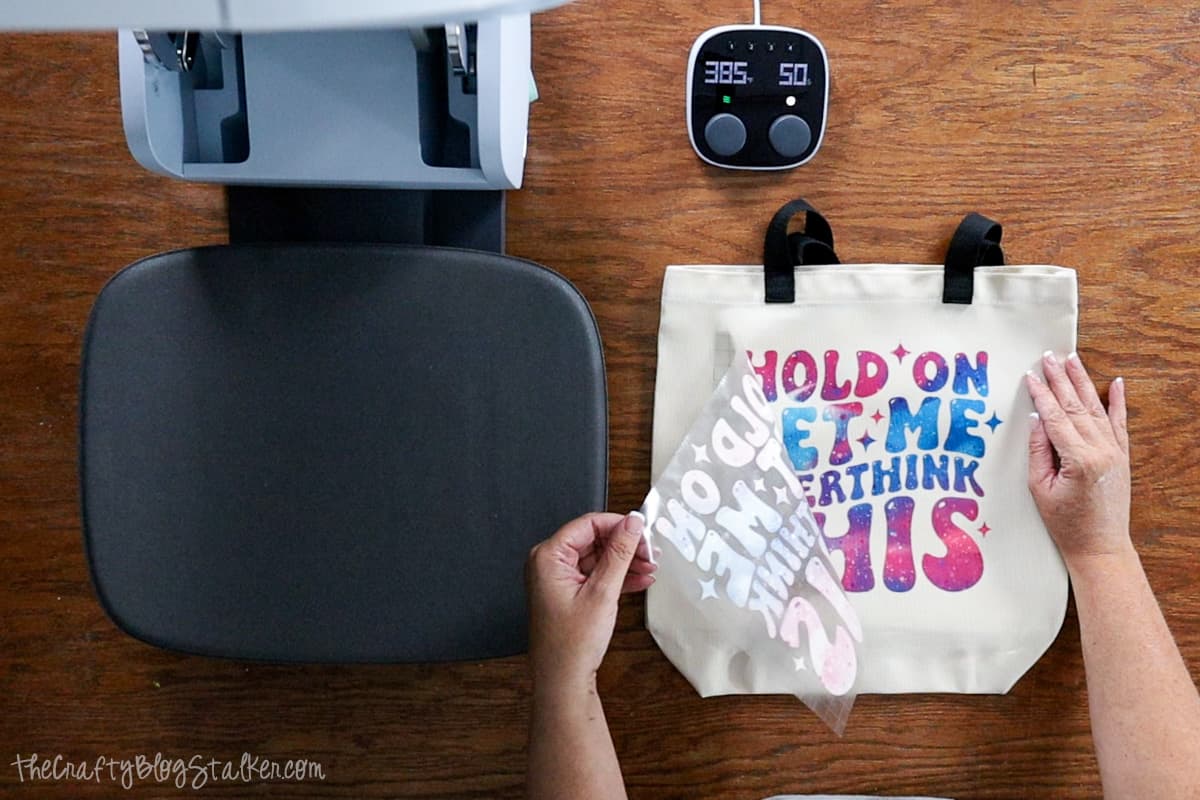
The result was an excellent final product without any ghosting or uneven pressed areas. Plus, I love my new tote bag!

I would feel confident in recommending the Cricut Autopress for flat sublimation projects.
2. Wood Frame Customization with Heat Transfer Vinyl
The process was slightly more challenging for the wood decor.
Before this video, I painted my wood sign and precut the "Bake It Till You Make It" design out of navy blue iron-on.
Again, I followed the Cricut Heat Guide instructions.
I set the temperature to 300º and pressed for 40 seconds.
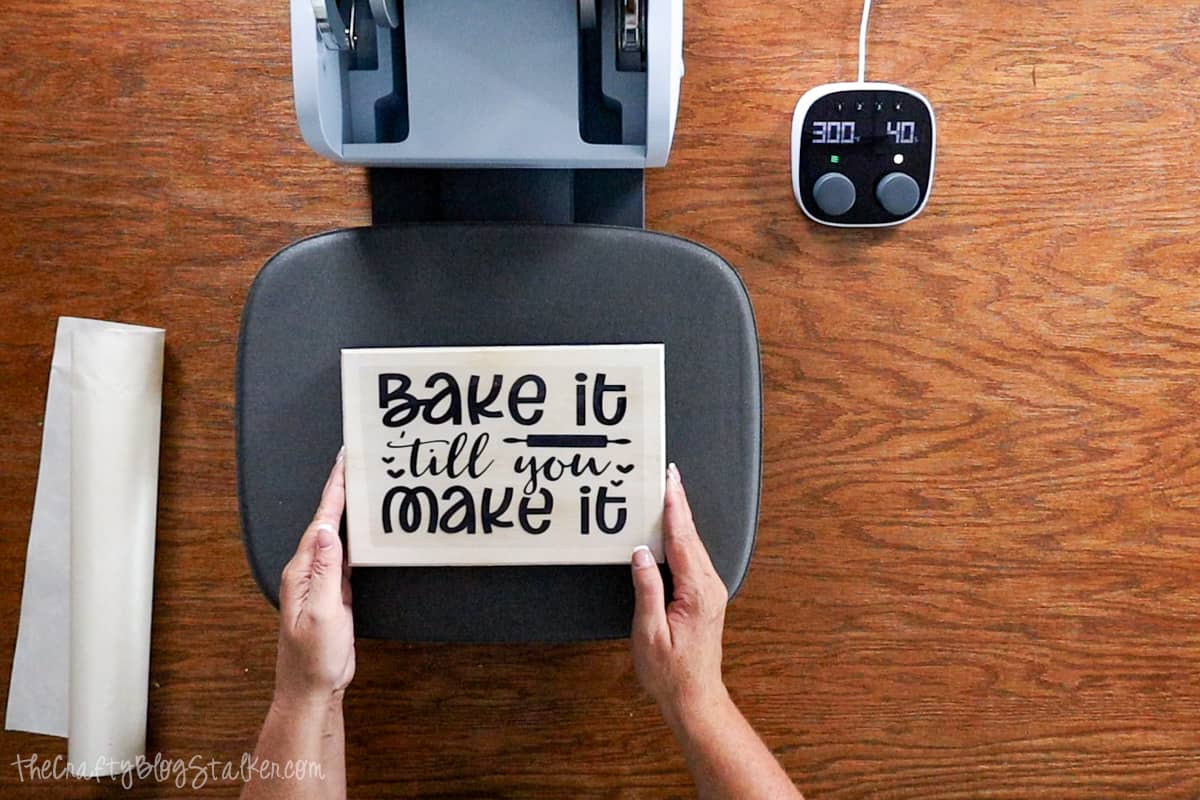
From the side view, you can see the thickness of the wood sign. It measured 1 ⅝ inches wide.
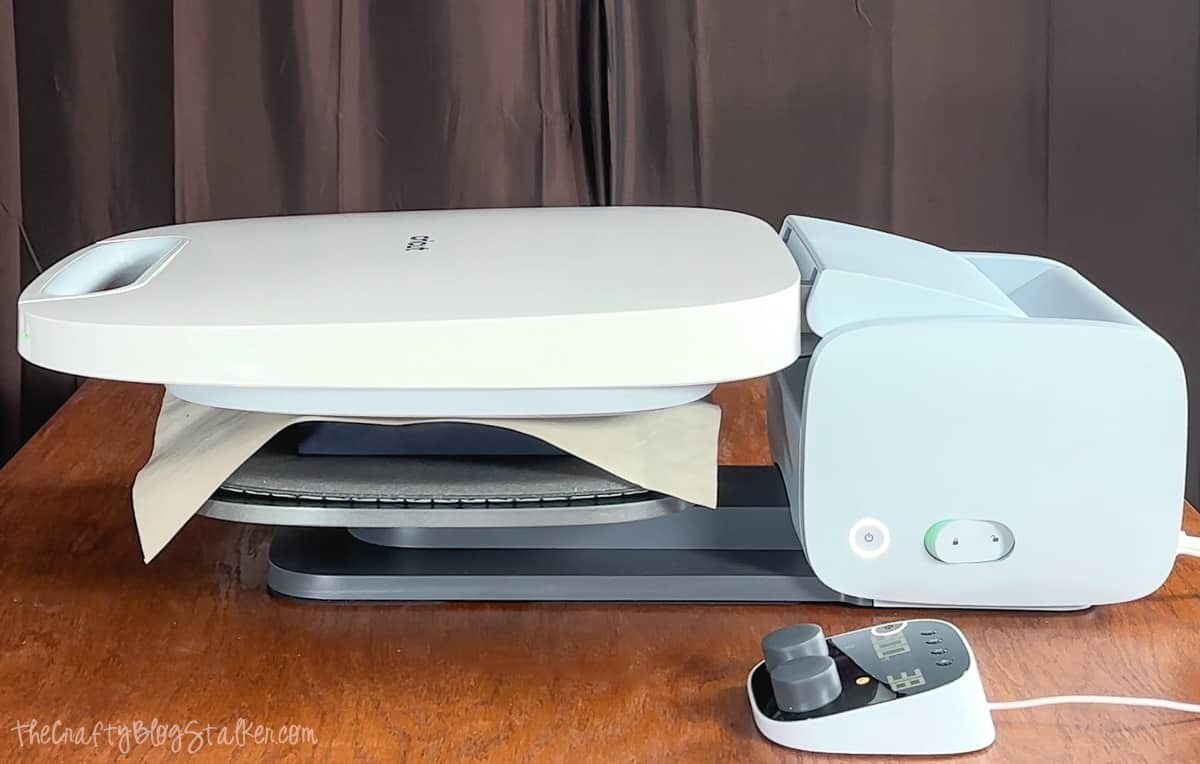
Once pressed, I let the item cool until the liner sheet was cool to the touch.
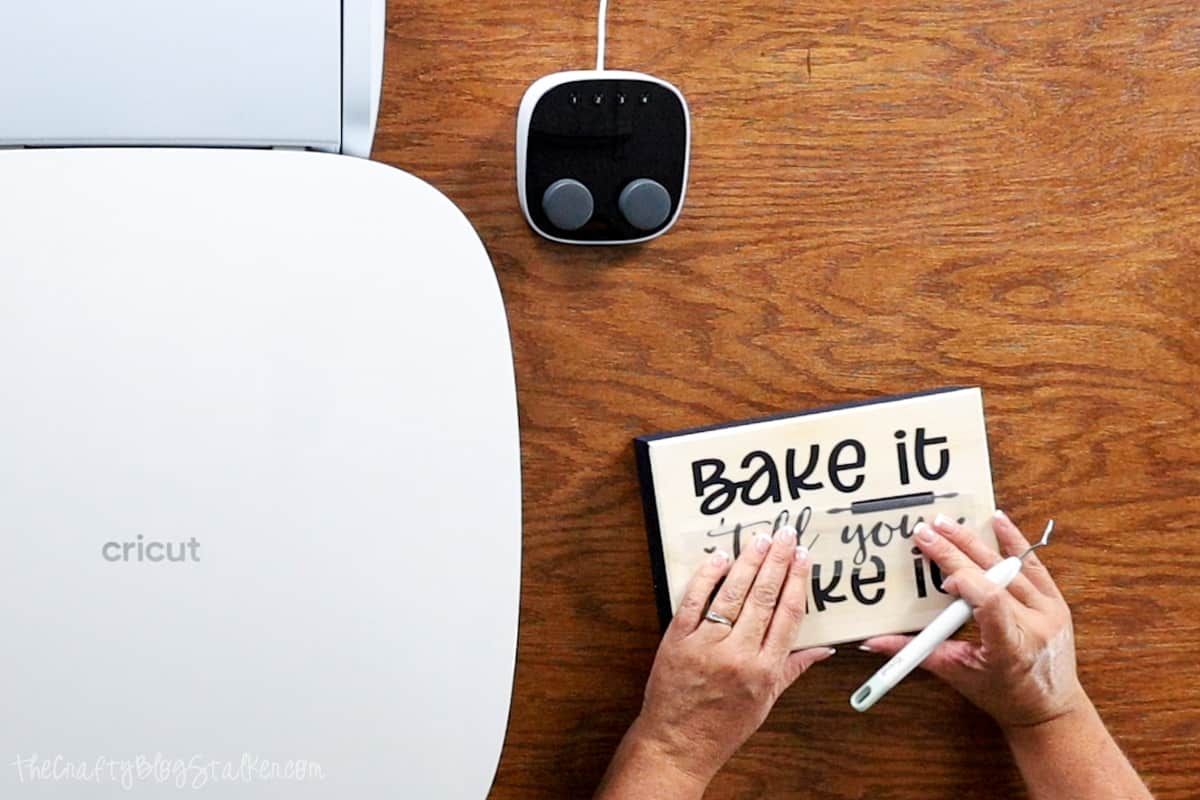
Peeling back the liner sheet was a bit tricky because the htv didn't completely stick to the wood. There were about 3 spots that didn't adhere.
I love to use heat transfer material on wood because it sticks so much better than vinyl, but it can be a little tricky since iron-on material is made for fabric, not wood.
I carefully removed that backing sheet, even over the areas that didn't stick, being careful not to stretch the iron-on material.
Once the liner sheet was removed, I repressed the sign with a Teflon sheet on top, and this time it came out perfectly.
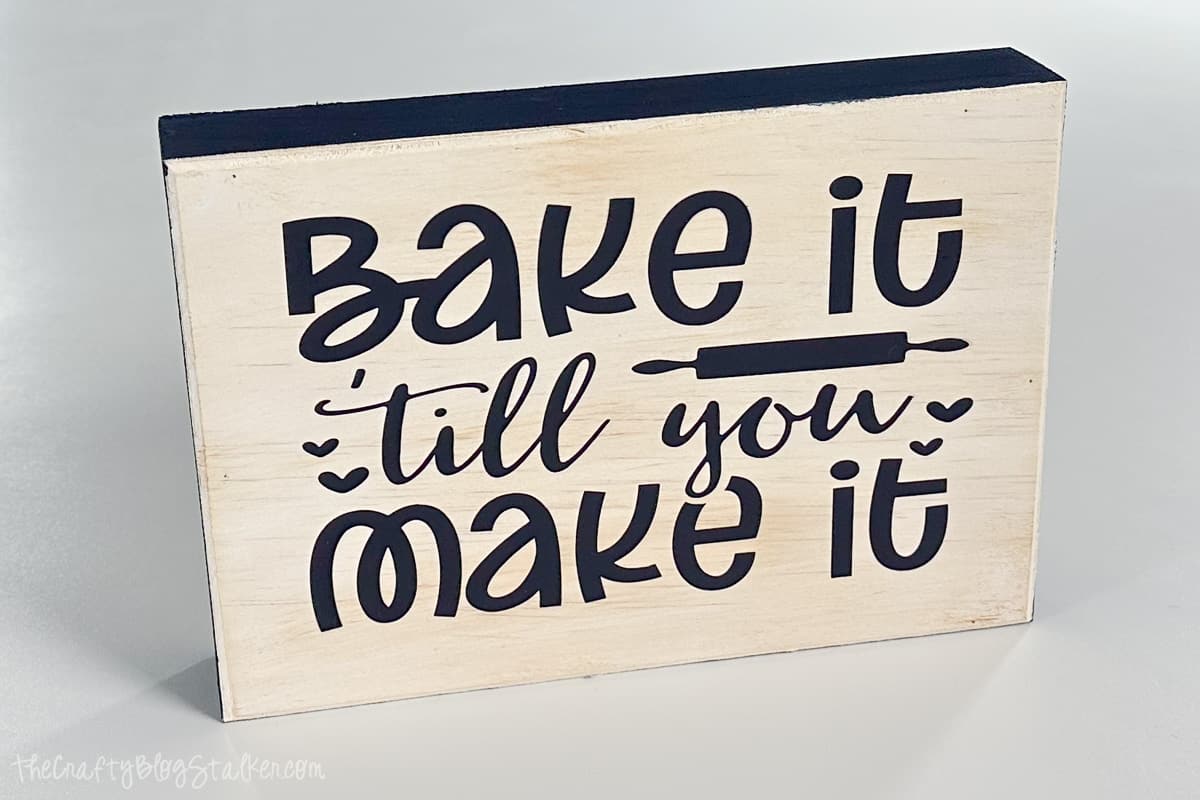
Even though I had a little hiccup with the material, I think the Cricut Autopress did a great job with my new kitchen sign.
Pros & Cons: Is the Cricut Autopress Right for You?
Pros
- High Quality Professional Heat Press: Sturdy steel construction
- Automatic Lid: Frees your hands to work on other tasks
- Versatility: Suitable for various materials, including heat transfer vinyl, Cricut Infusible Ink, and sublimation
- Ease of Use: Simple setup and intuitive operation
- Professional Use: Ideal for heavy-duty or professional crafting
- Space: Stores on its end to save space
Cons
- Weight: At 53 pounds, it may be difficult for some to move around
- Potential Issues with Certain Materials: some challenges with heat transfer vinyl on wood
Who is it for?
- Professional Crafters: If you sell crafts online or at craft fairs or make a lot for friends and family, the Cricut Auto Press could be an ideal addition.
- Cricut Enthusiasts: If you love everything Cricut offers, this machine might be a valuable addition to your collection.
Who is it NOT for?
- Some Crafters: If you don't craft a lot with materials like heat transfer vinyl, then commercial power might not be necessary.
- Satisfied Users of Other Presses: If you already have a press that you love, there might not be a reason to switch.
Conclusion
The Cricut Auto Press offers a robust set of features and functionality, making it a compelling choice for professional crafters or those who require a heavy-duty, versatile machine.
While it may not suit everyone's needs, its automatic lid and adaptability to various materials make it an attractive option for many.
Have questions about the Cricut Autopress or think I missed something? Please let me know in the comments section below, and I'll be glad to help!
Frequently Asked Questions
When pressing some thicker materials you do not necessarily need the mat. For example thick wood projects, the heat press mat doesn't do a lot. But it also doesn't hurt to have it there either.
That is really only a question you can answer. The Cricut Autopress features are very convenient and you don't have to babysit the machine while it is pressing. But if you won't use the press that much then the features are pointless.
Yes, a quality heat press is better than an iron. To get high-quality results with heat pressing you need even heat and pressure that is very difficult to achieve with an iron.
No, there is no pressure adjustment on the Cricut Autopress. It is automatically applied without a function to adjust.
Our Crafting Essentials:
- The Cricut Cutting Machine is easily our favorite crafting tool. We use it in so many of our tutorials!
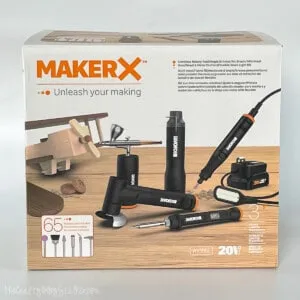
- These MakerX Crafting Tools are perfect for keeping in the craft room and are always ready when needed!
- This Fiskars Paper Trimmer is easy to use and cuts nicely without frayed edges.
- These Scotch Precision Scissors cut like a dream, and you get multiple pairs in a pack!




Liz Hodge
Can you tell me what is the color name of the Infusible ink sheet you used, please?
Katie Adams
Hi Liz, I used Cricut Infusible Ink Galatic Stars https://cricut.pxf.io/rQKLeR