This post may contain affiliate links. For more information, please see our disclosure policy.
The xTool M1 is an affordable laser machine and blade cutter. We unbox this new machine, set it up, make our first projects, and leave our honest reviews. This machine has been supplied by xTool.
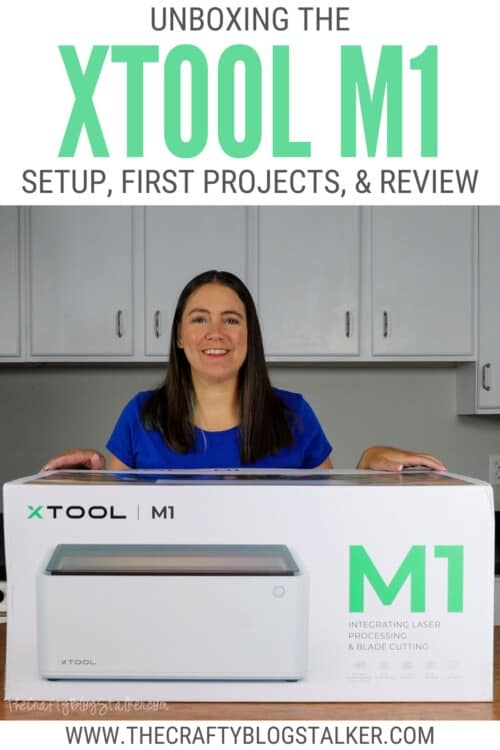
I love getting new craft tools to add to my craft room. It opens up the realms of possibility in what I can create, and I am so excited to share it with you!
Craft Video Tutorial:
Like videos? I have a video tutorial for you! Subscribe to my YouTube Channel so you don't miss any future videos!
The xTool M1 Laser Machine with Blade Cutting:
Before we get into the unboxing, I want to tell you a little bit about this machine.
The M1 is just one of many laser products made and sold by xTool.
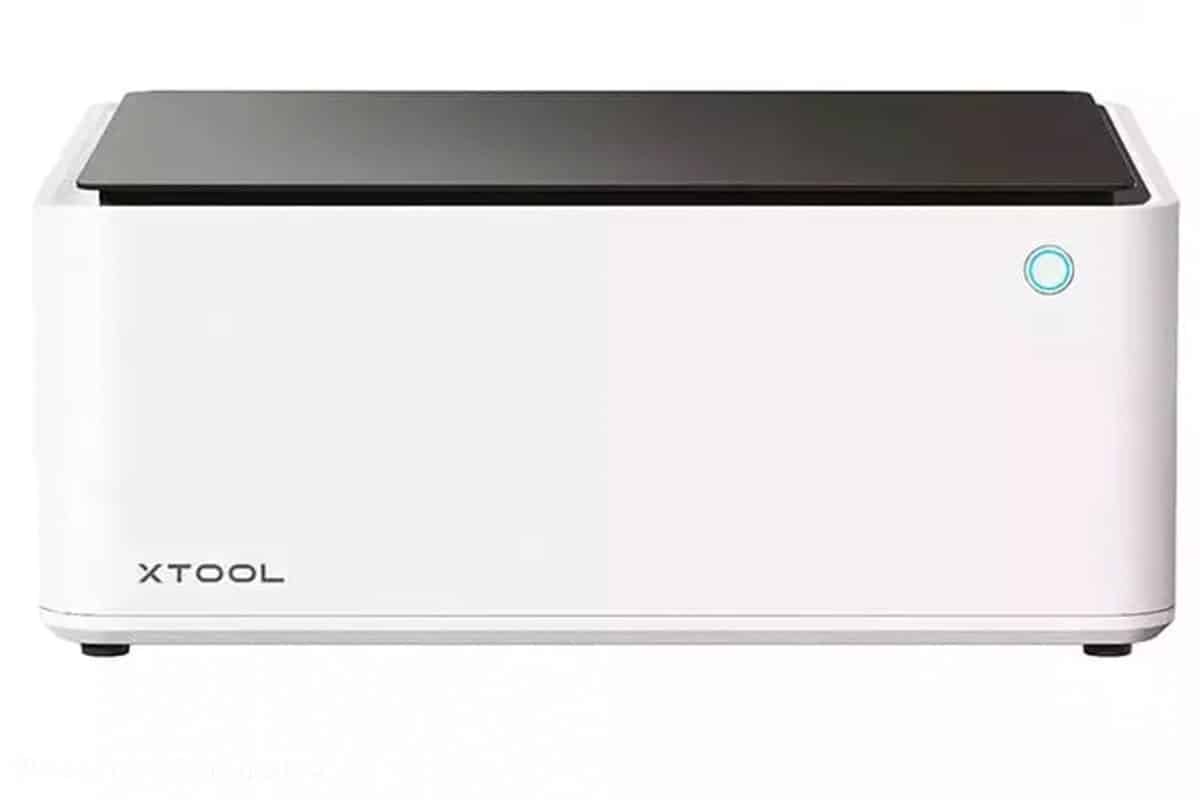
This machine has laser capabilities as well as blade cutting, making this machine multi-functional and perfect for hobby crafters, and those who wish to sell their creations for a profit.
The size of the M1 is 21.93 x 17.83 x 9.06 inches, which means this is considered a desktop machine.
This machine can be put away and brought out when needed, or I recommend finding a home where it is always accessible because you will be using it a lot!
Where to Buy the M1 xTool?
The easiest place to purchase is directly from xTool.com, but it can also be found on Amazon.
If looking for the best price, I suggest xTool.com. They regularly have sales and post them publicly on their website.
What does the xTool M1 do?
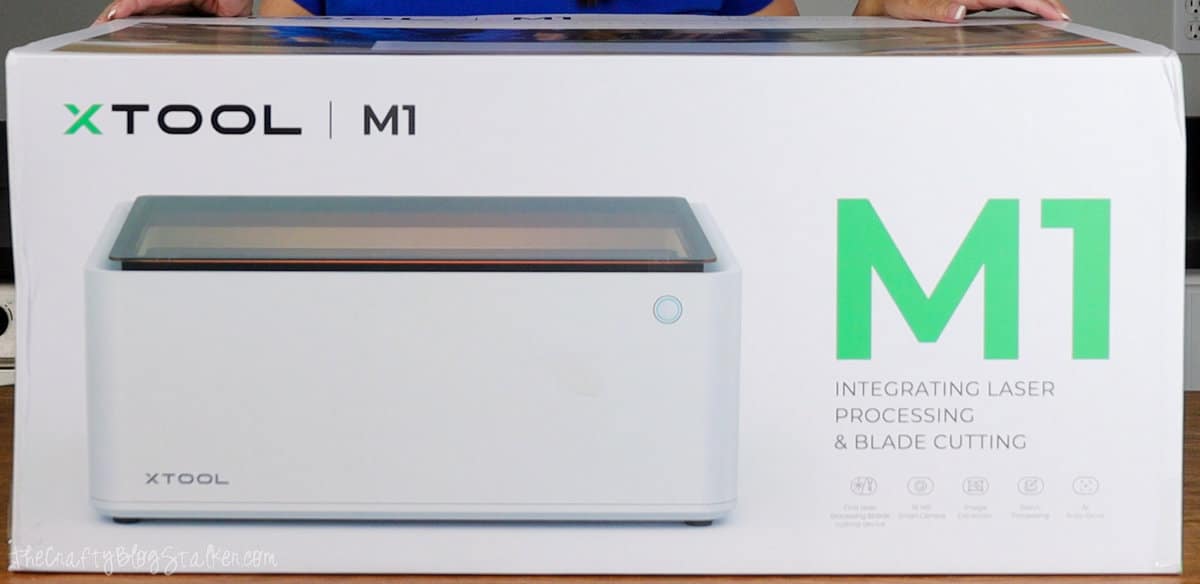
The M1 is the first hybrid laser and blade-cutting machine! Making it possible to do laser engraving, laser cutting, and blade cutting all with one machine.
This also means you can use a variety of materials.
- metal
- wood
- acrylic
- vinyl
- iron-on
- and so much more!
Unboxing the xTool M1 Laser Machine:
Let's get to the fun part, unboxing!
I'm not gonna lie, the box that is delivered to your door is large, but also very exciting!
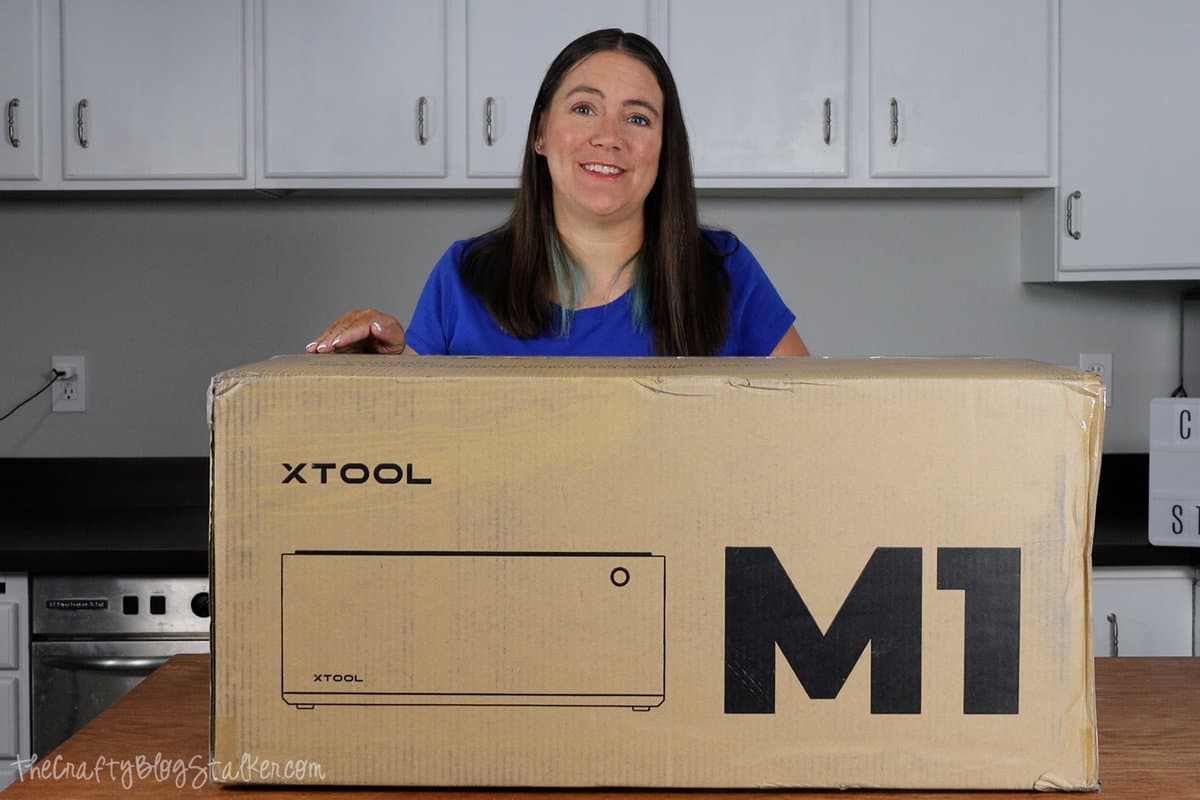
Inside the large cardboard is a branded xTool M1box.
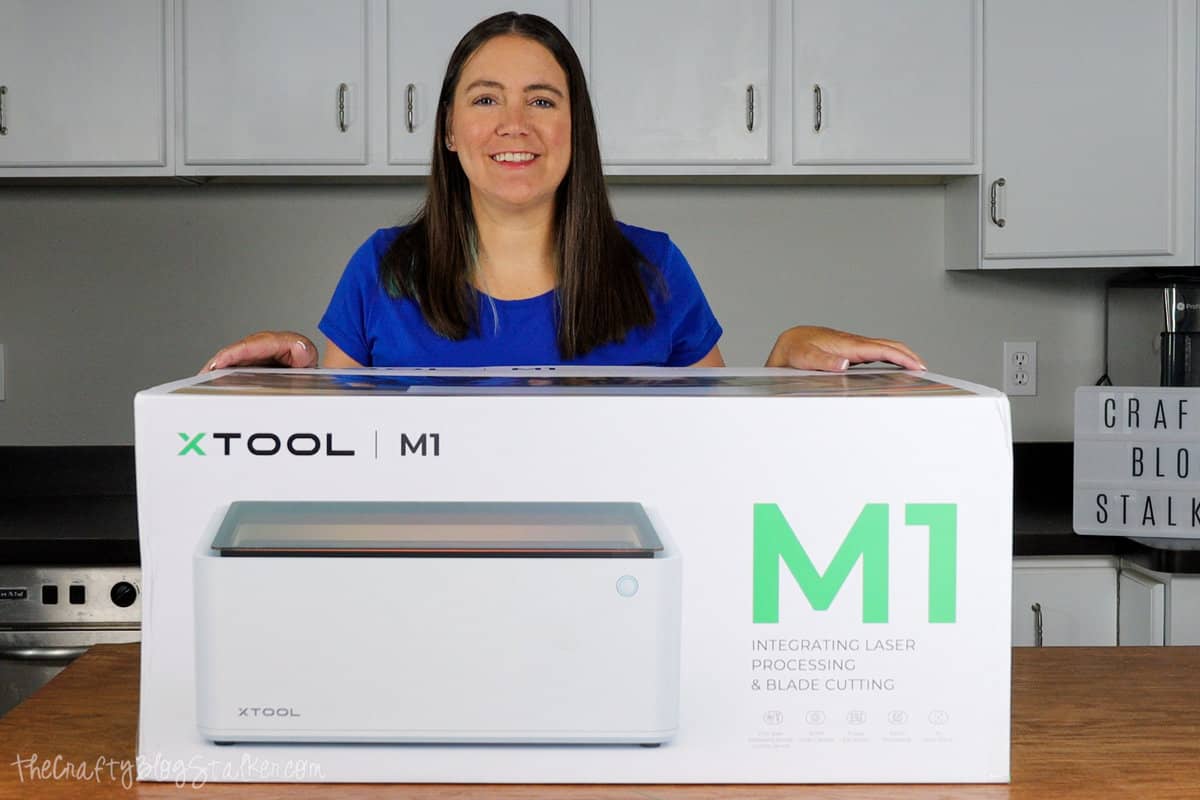
On the top of the box is a perforated tab that when pulled, opens up the M1 box.
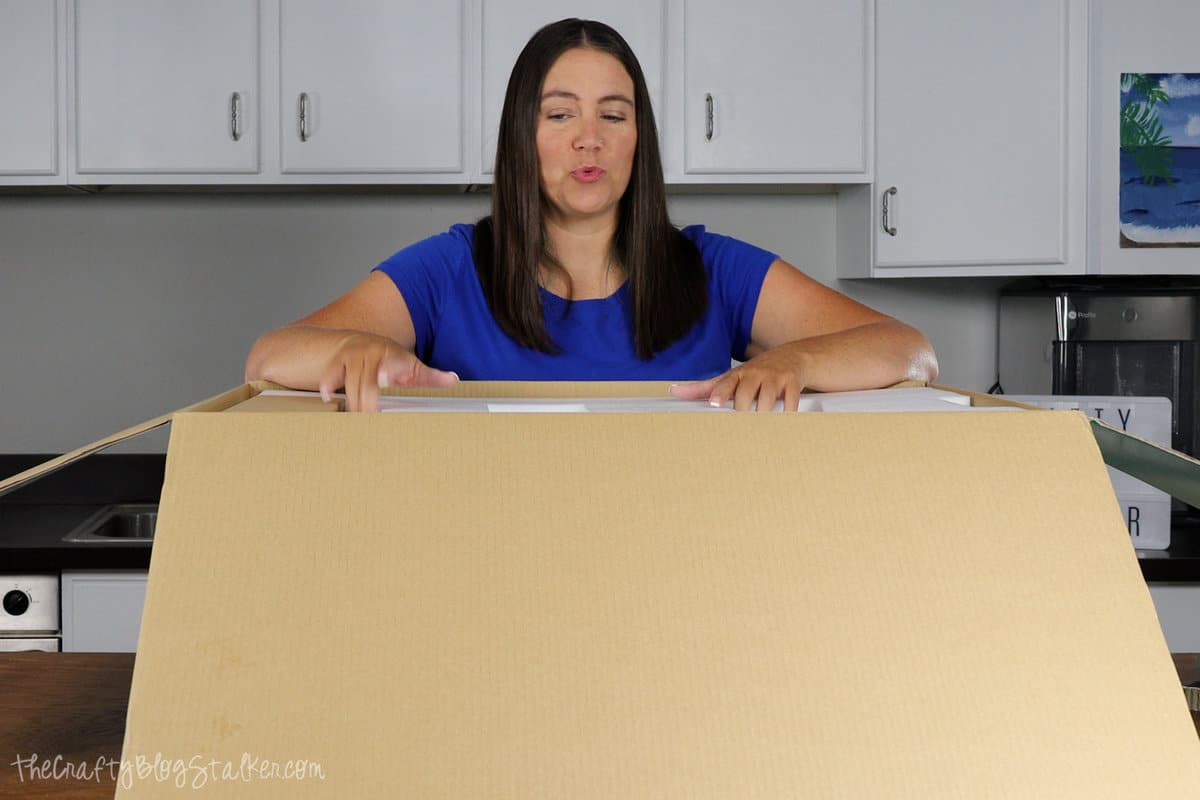
Everything inside the box is well-padded with styrofoam.
Even though the box had a slight dent on the side, everything inside was perfectly fine.
Once the machine is out of the box, remove all of the plastic wrappings. This is my favorite part. It is so satisfying!
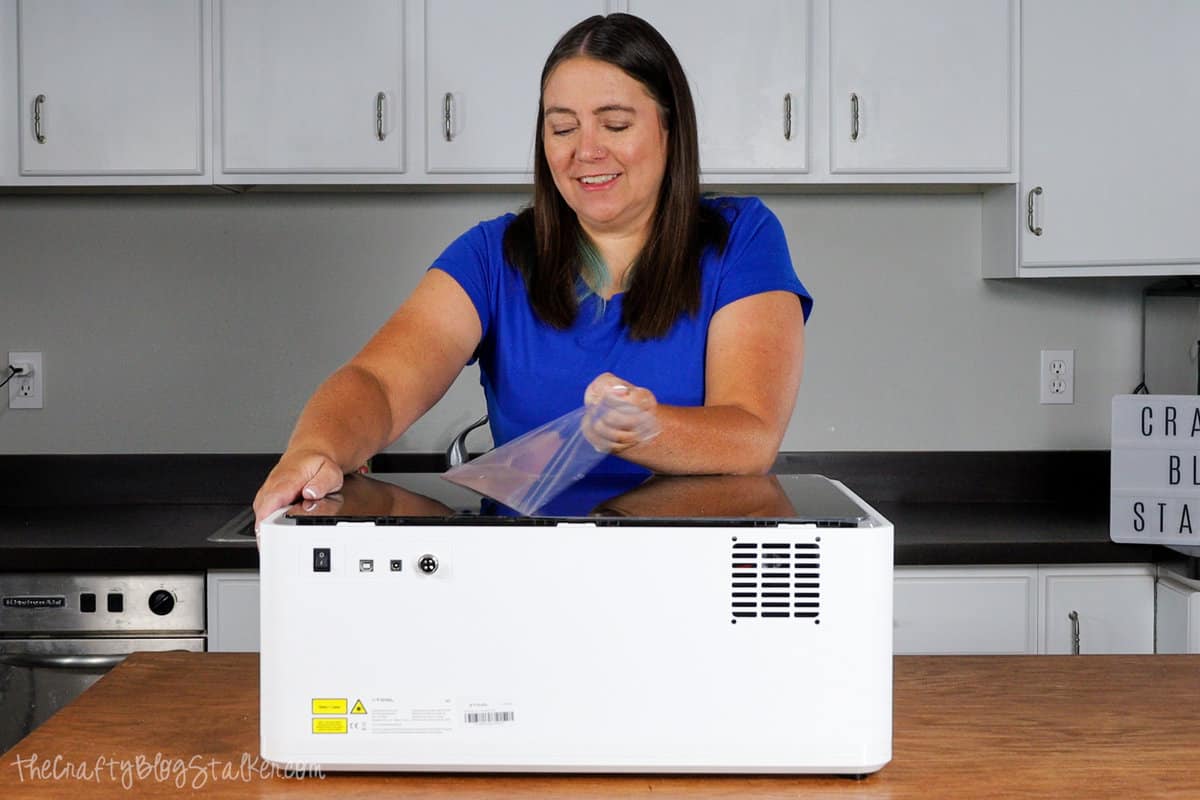
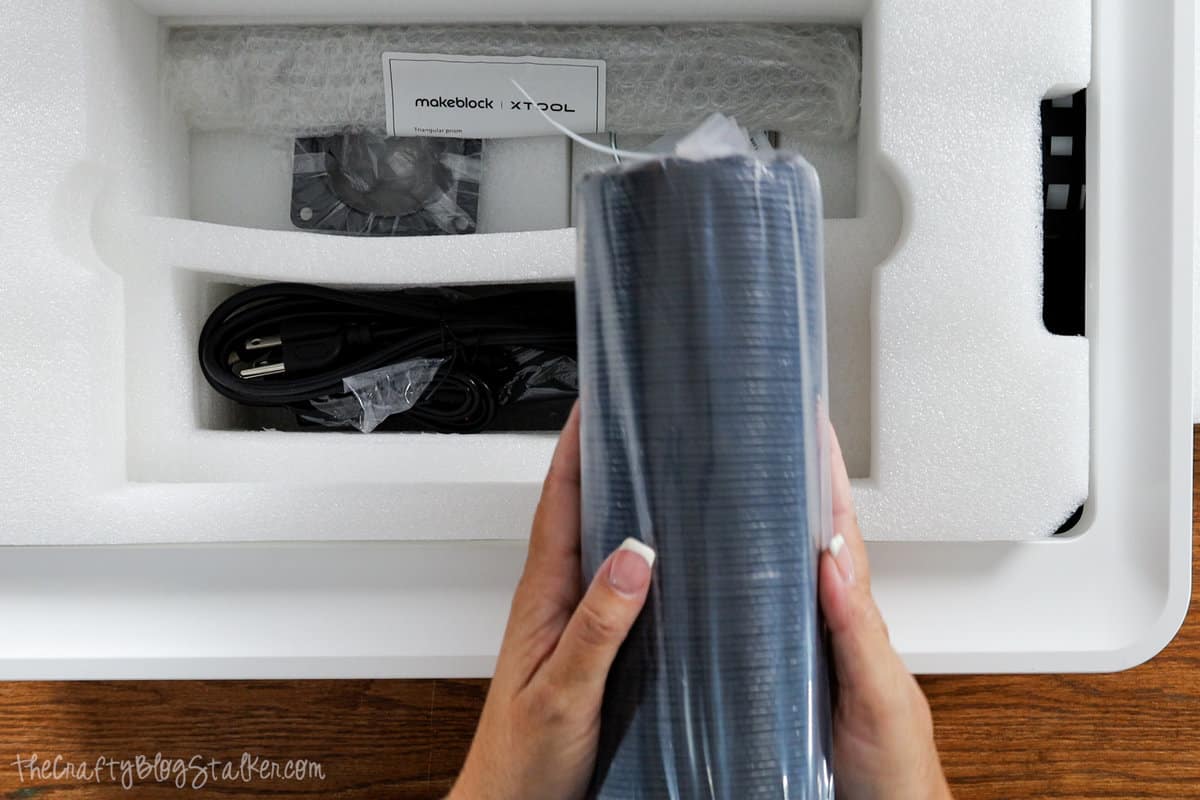
Packed inside the machine you will find the following pieces
- Basic Material Package
- Light-grip Cutting Mat (blue)
- Strong-grip Cutting Mat 9pink)
- Exhaust Pipe Kit
- 5 Replacement Blades
- 10 Triangular Prisms
- 2-Part Power Cord
- USB Cord
- M1 Manual
M1 Machine Setup:
The only assembly the machine needs is to connect the exhaust kit.
On the back of the machine is a vent with four screw holes in each corner of the vent.
Attach the plastic connector pieces using the 4 twist screws.
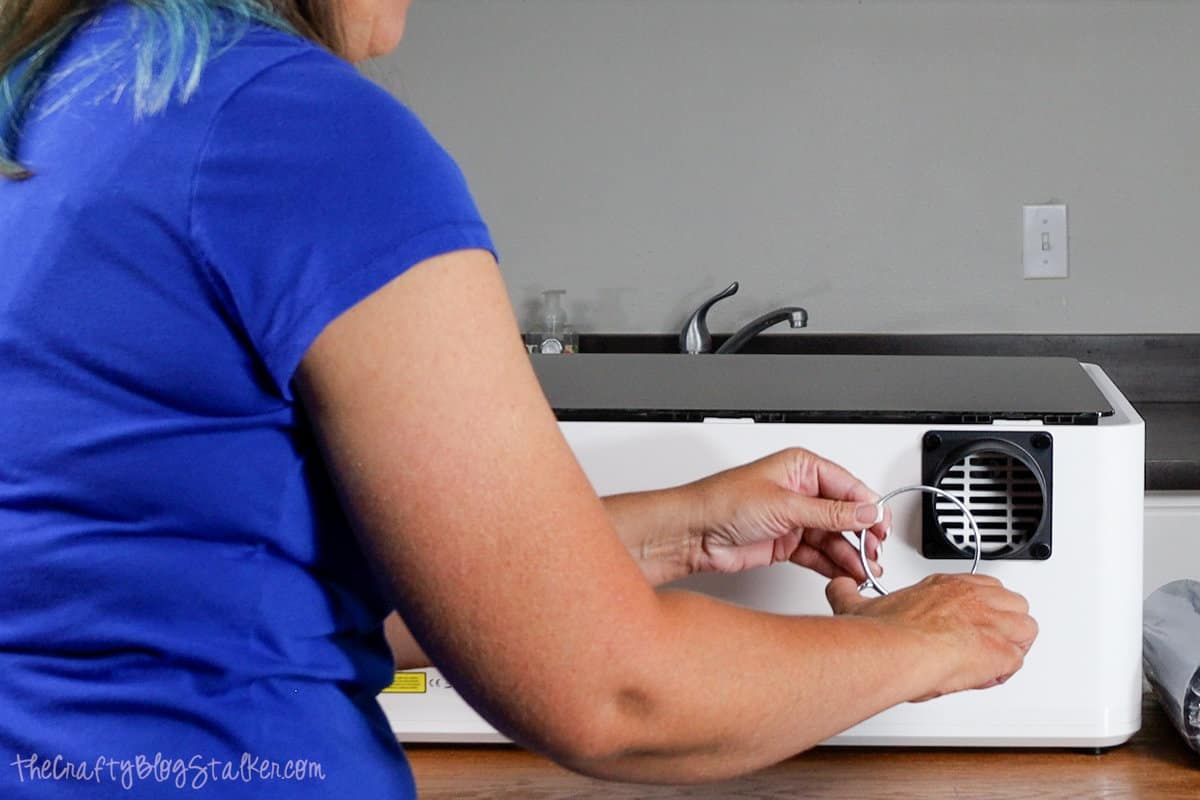
Squeeze the pipe clamp and put it over the plastic connector.
Place the exhaust tube onto the connector and move the clamp over the top of the pipe, securing it in place.
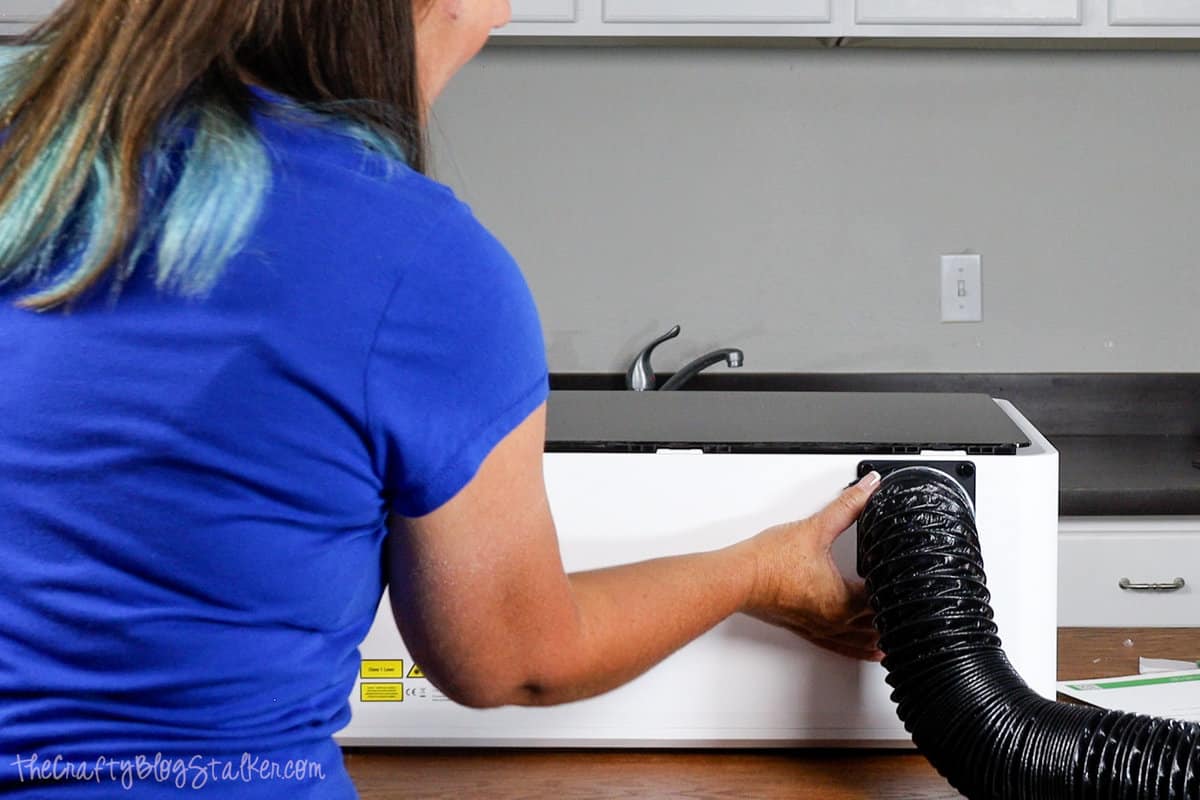
Run the exhaust pipe to a nearby window.
Ventilation is very important! Some materials produce toxic fumes when cut.
If you aren't near a window or door that leads outside, you can also purchase a Smoke Purifier. This will keep the air you breathe free of those nasty toxins.
Connect to xTool Creative Space:
The software program that operates the M1 is called xTool Creative Space.
To access the software, visit xTool.com, and select software from the menu across the top of the screen.
You can then select whether you have a PC or Mac and install the proper version.
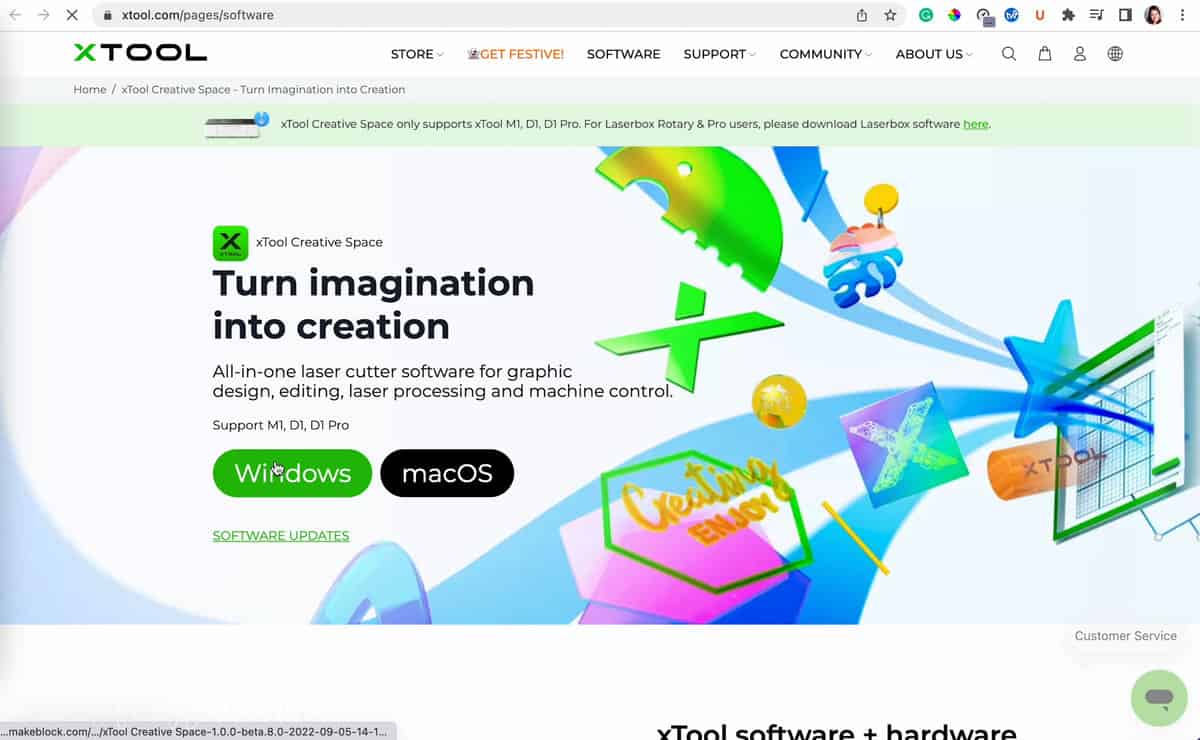
Make sure the machine is turned on, and the USB is connected from computer to machine.
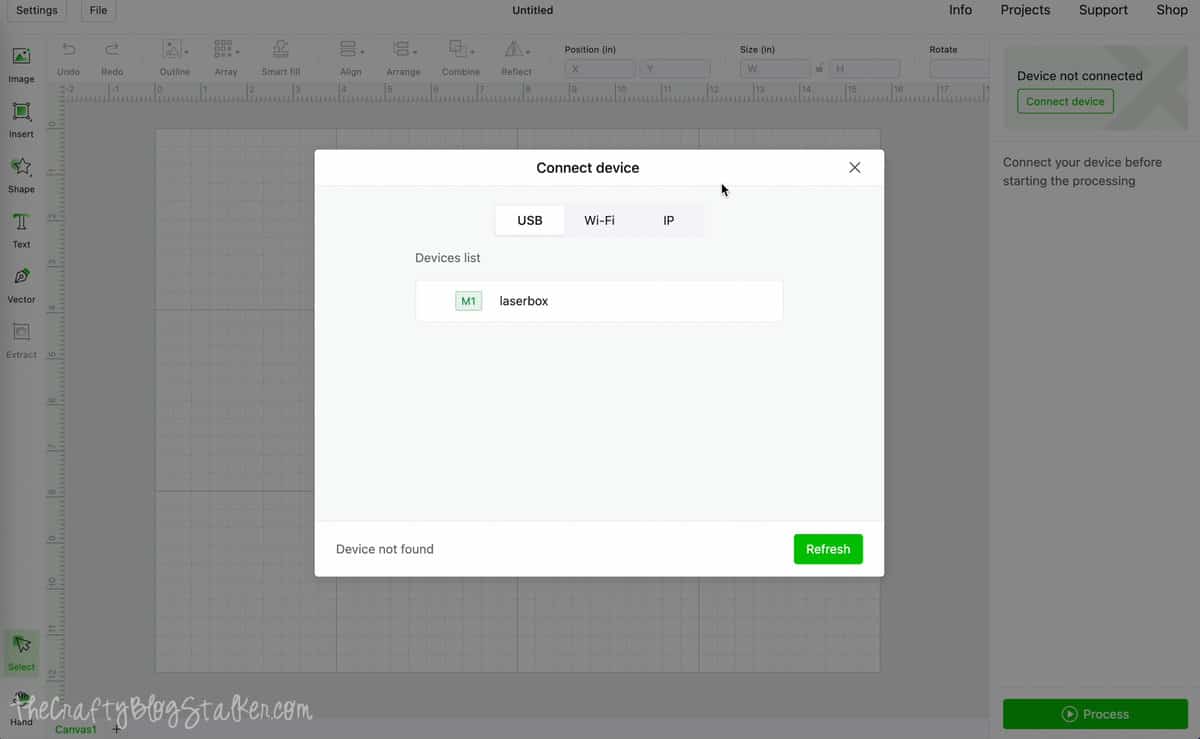
Once the program is installed and open, select the "Connect device" button.
I connected via USV and the "laserbox" was under the devices list.
Project #1: Laser on Wood
Now that we are all set up, let's attempt our first project! We are going to make a wood ornament using the 3mm Basswod from our sample materials.
Arrange several of the Triangular Prisms on the bottom of the machine.
When lasering wood, you'll need the ventilation space underneath. To lift the wood piece, arrange several Triangular Prisms on the bottom of the machine. Then Place the wood on top.
When the lid is closed, you instantly get a look at your cutting space on Creative Space.
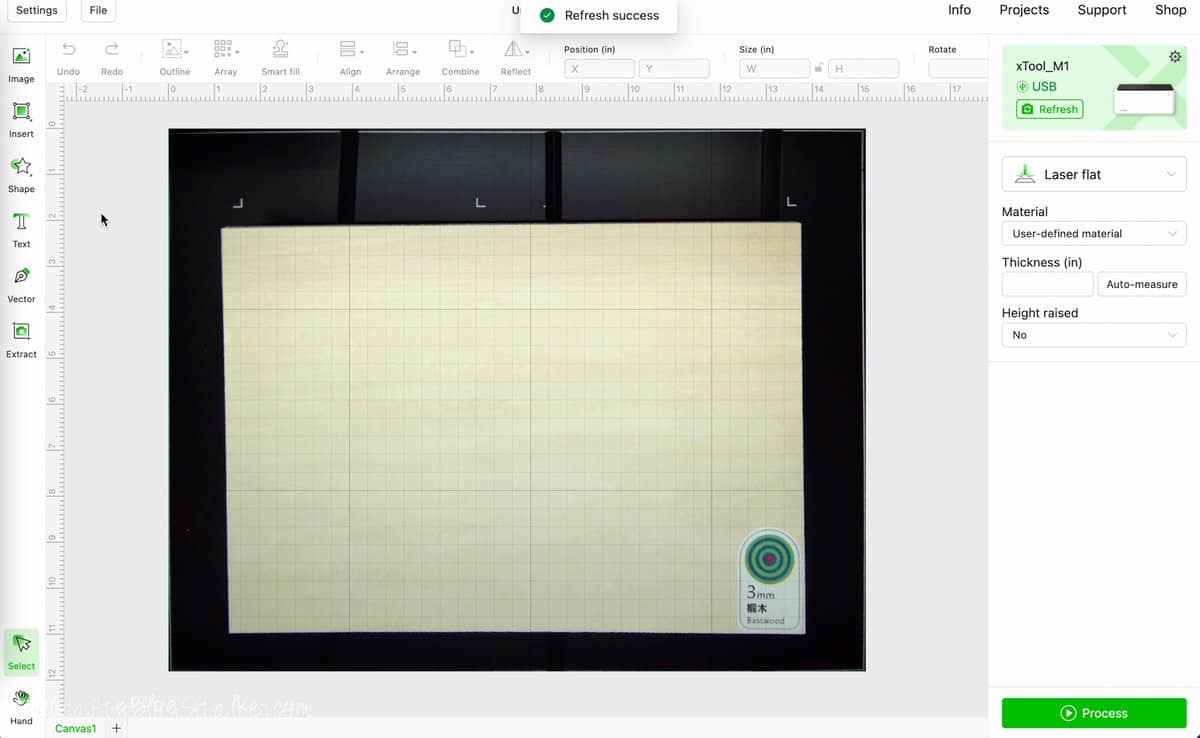
To add the SVG file, simply drag and drop the design into the cutting area.
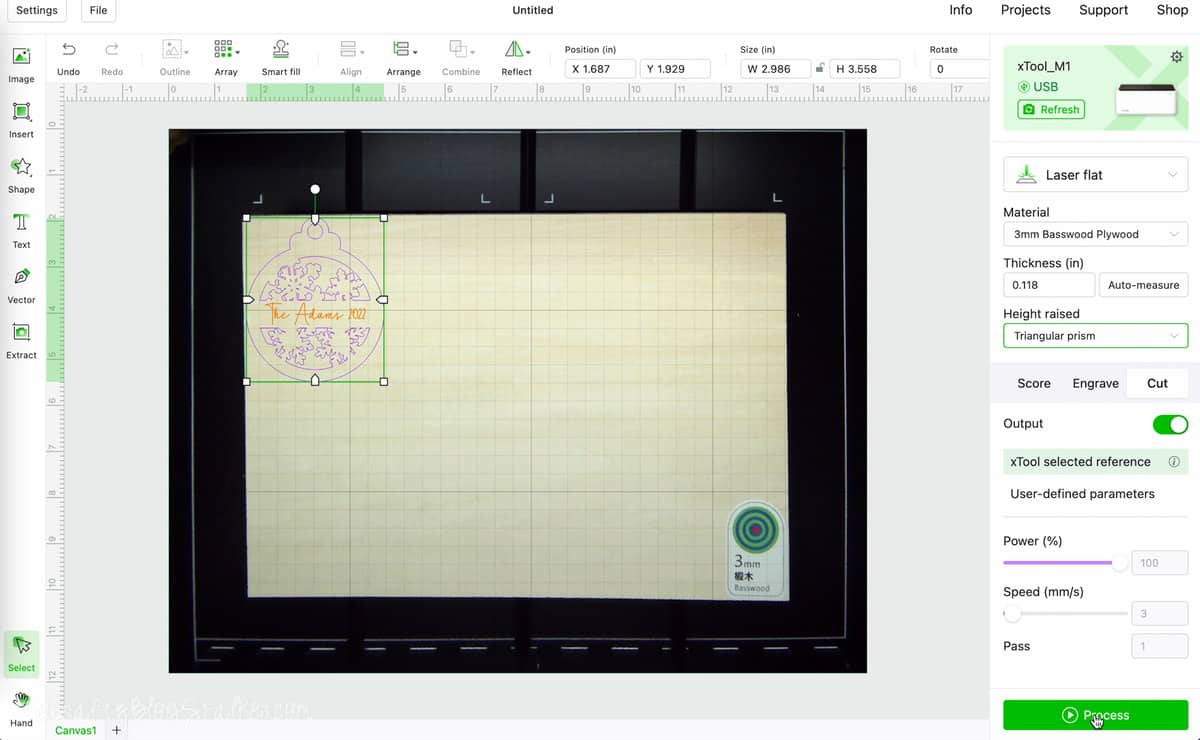
My file was already sized correctly, but if you need you can resize, and drag the design where you want it on the wood piece.
To cut, select "Laser flat", "3mm Basswood Plywood" and "Height raised with Triangular prism".
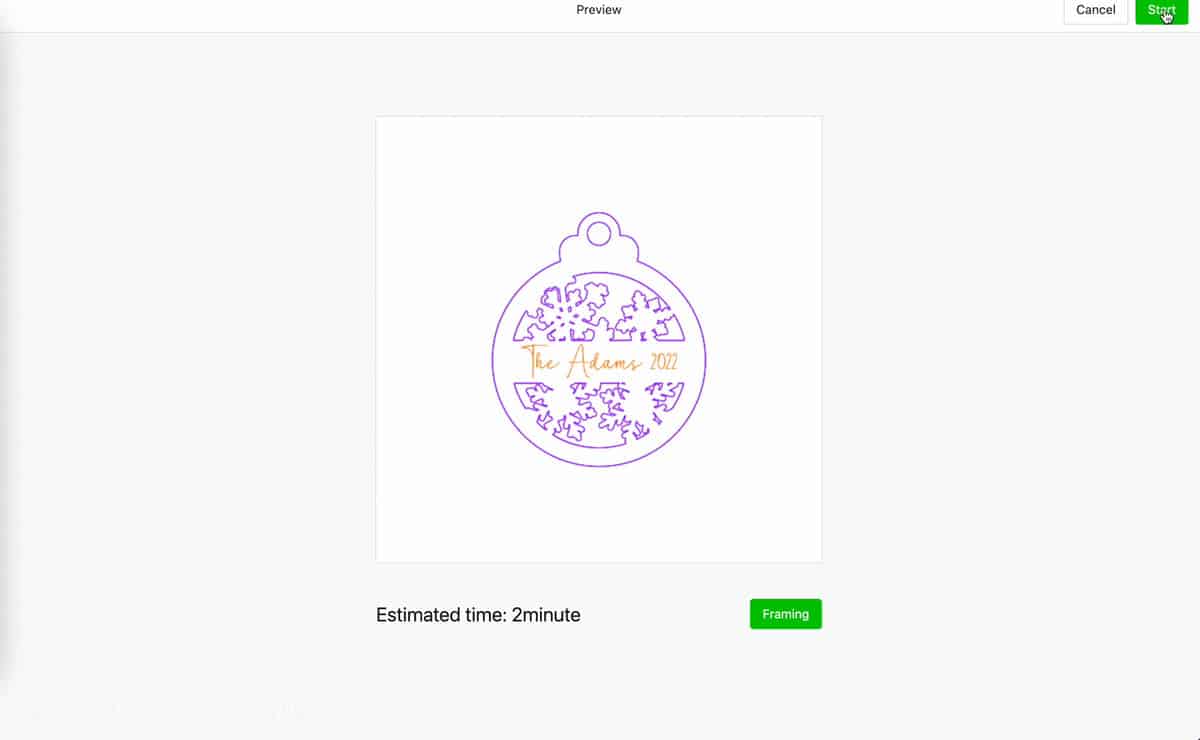
Select "Process", "Framing", and "Start", and then press the button on the front of the machine.
The estimated time was two minutes, but this doesn't seem right, so I will be keeping track of the time as well.
When finished, it actually took almost 10 minutes, so the estimation tool is definitely off.
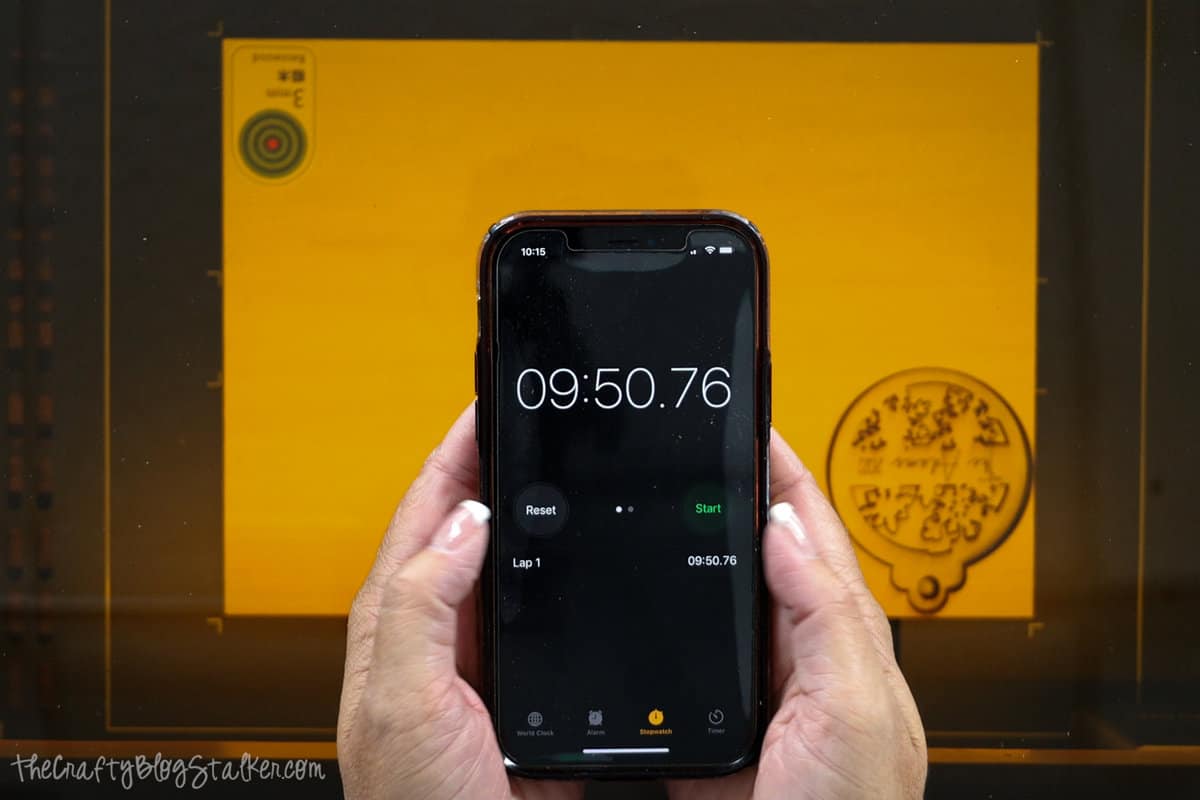
The first ornament cut was a little wonky. Since this was my very first ever cut with this machine, I decided to cut a second to see if the machine would correct itself the second time around.
The second cut was perfect.

Project #2: Laser Engrave on Metal
Next, we are going to engrave a dog tag. This dog tag was also a part of the sample materials.
I placed the dog tag flat on the bottom of the machine. No prisms are needed for engraving metal.
Closed the lid, and you can immediately see the dog tag in Creative Space.
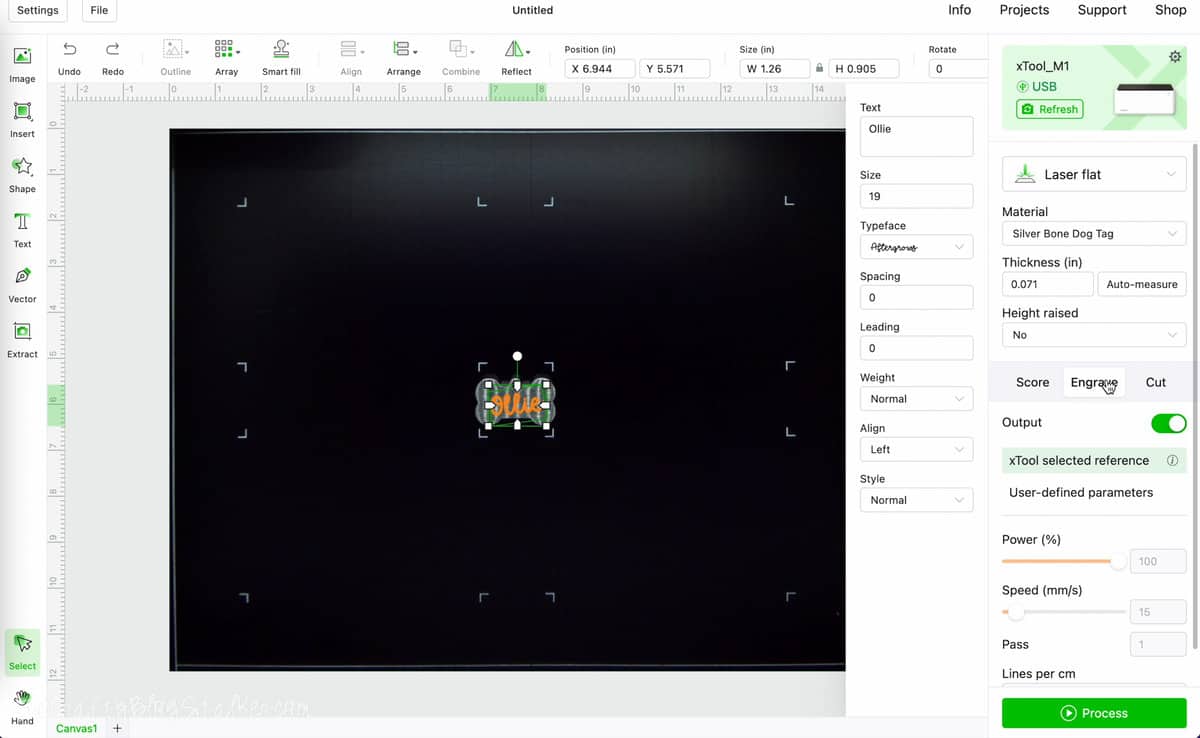
Here I designed directly in Creative Space.
Select "Font" then changed the text to read Ollie. Well, because that's my dog's name.
I then changed the font to something cute.
Highlighted the text and selected "Engrave" and made sure my text was centered on the dog tag.
Selected "Laser flat", and then "Silver Bone Dog Tag".
To begin the engraving, selected "Process", "Framing", and "Start", and pressed the button on the front of the machine.
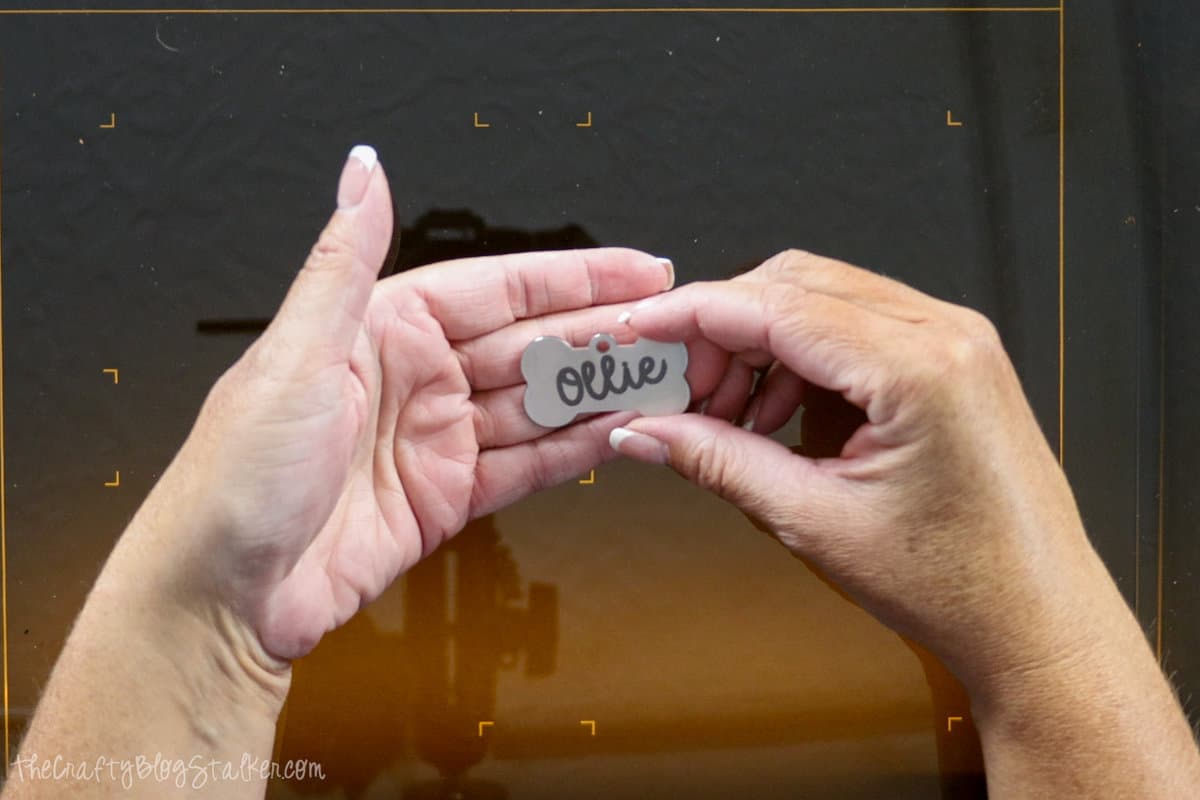
The dog tag turned out super cute!! I could even turn it over and engrave a phone number or address on the back.
Project #3: Blade Cutter on Vinyl
Before you use the blade cutter you will need to install a blade, but the blade can stay installed when using the laser. So you don't need to remove it again until you need to change the blade.
In the main housing, there is a gold metal blade housing. Pull to release it from the magnet holding it in place.
Remove the red, plastic topper from a blade (careful, they're sharp!), and drop the back end of the blade into the hole.
This is also magnetic so the blade should not fall out. Twist the blade housing so only the top little triangle part of the blade is out of the housing.
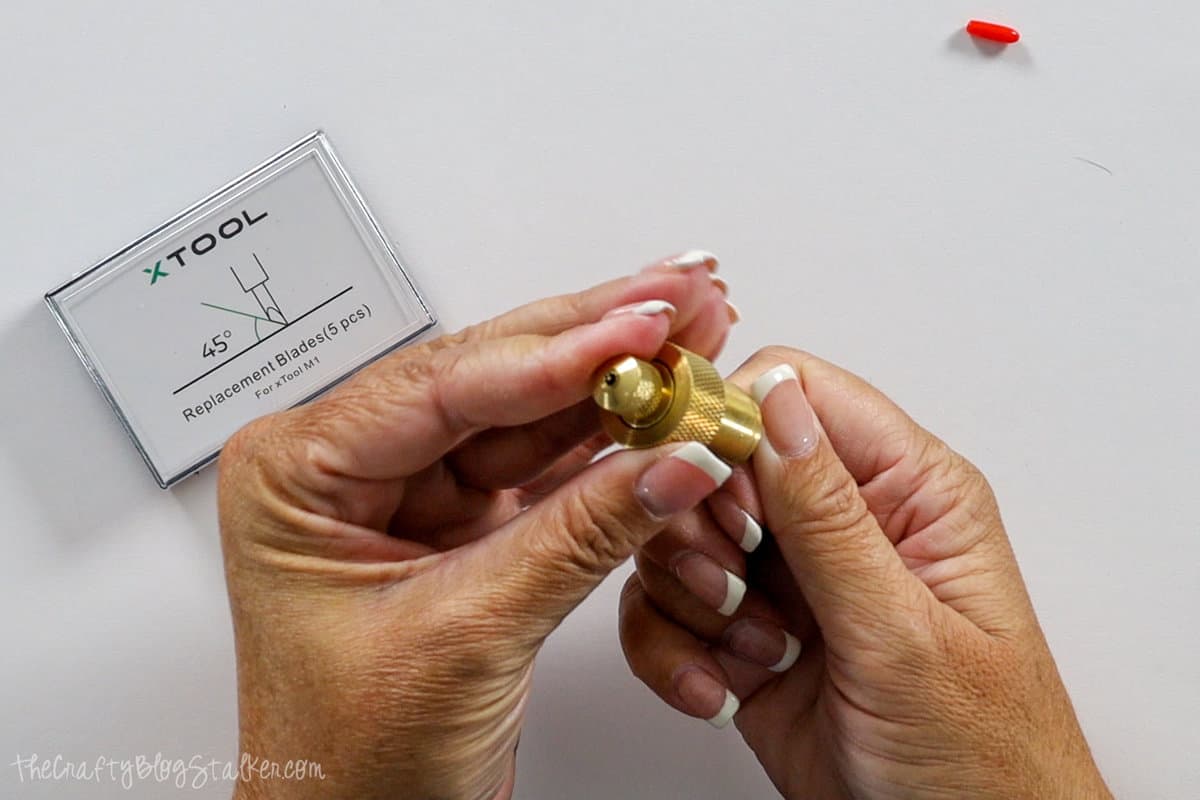
Then pop the blade housing back into the main housing of the machine.
The cutting mats are adhesive on both sides. Remove the cover to the back of the mat and place it on the bottom of the machine within the marked lines.
Peel back the top backing sheet and place your vinyl onto the mat, and close the lid.
Drag and drop your design into Creative Space.
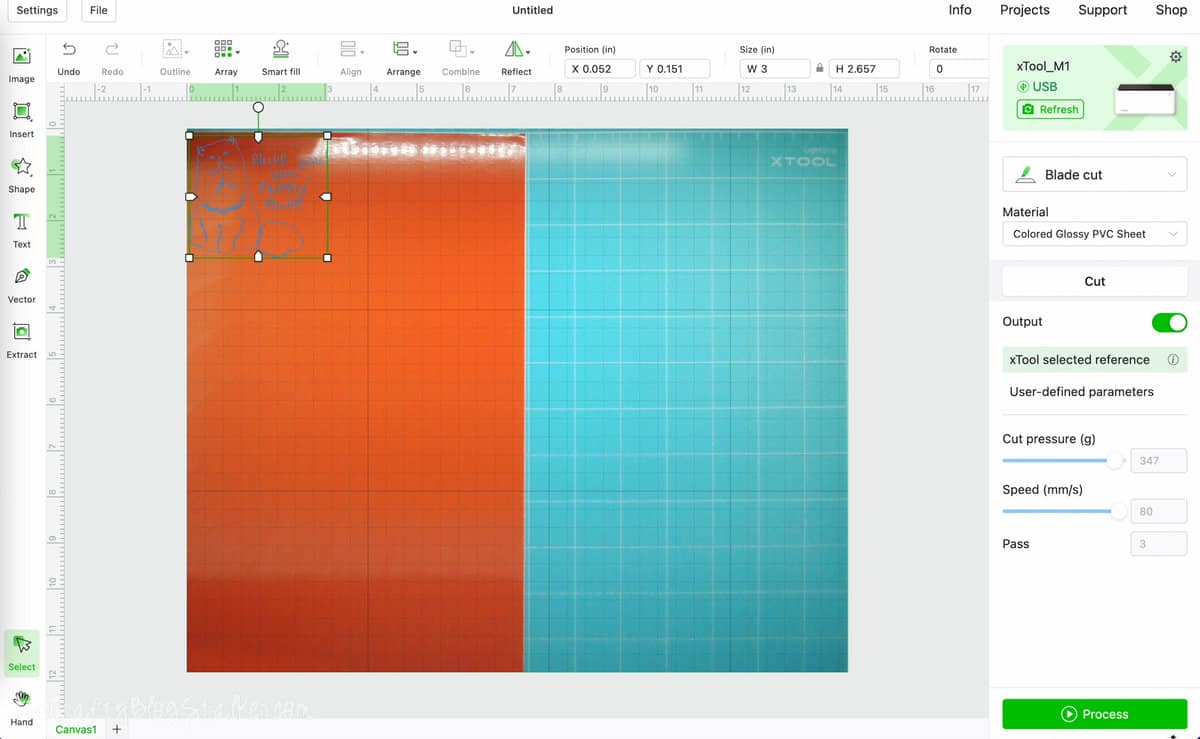
Size the design and place it where you want it on your vinyl piece.
Select "Blade cut", and for the material, I wasn't sure because there isn't a "Vinyl" selection, so I selected "colored Glossy PVC Sheet".
Then "Process", "Framing", "Start", and the front button.
I was a little disappointed with the first cut, the letters weren't cut very smoothly and the vinyl was kind of eaten up by the blade.
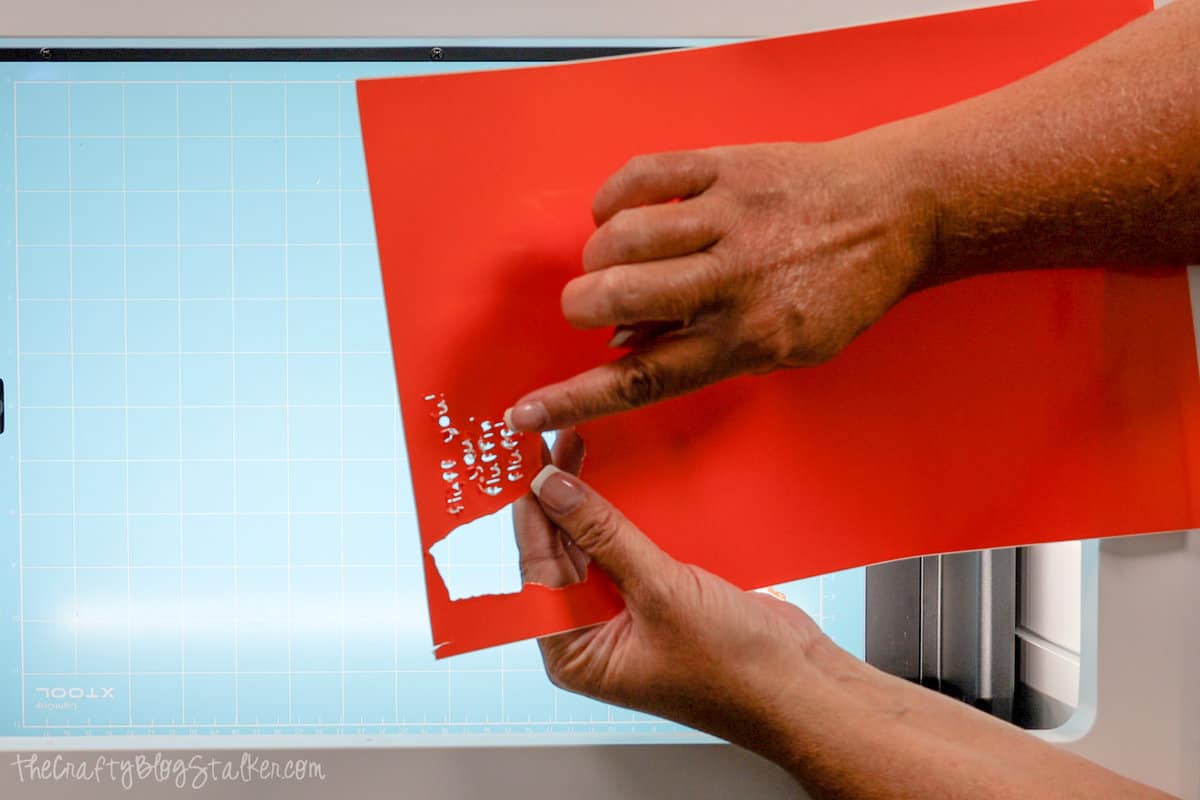
I decided to try a different cut.
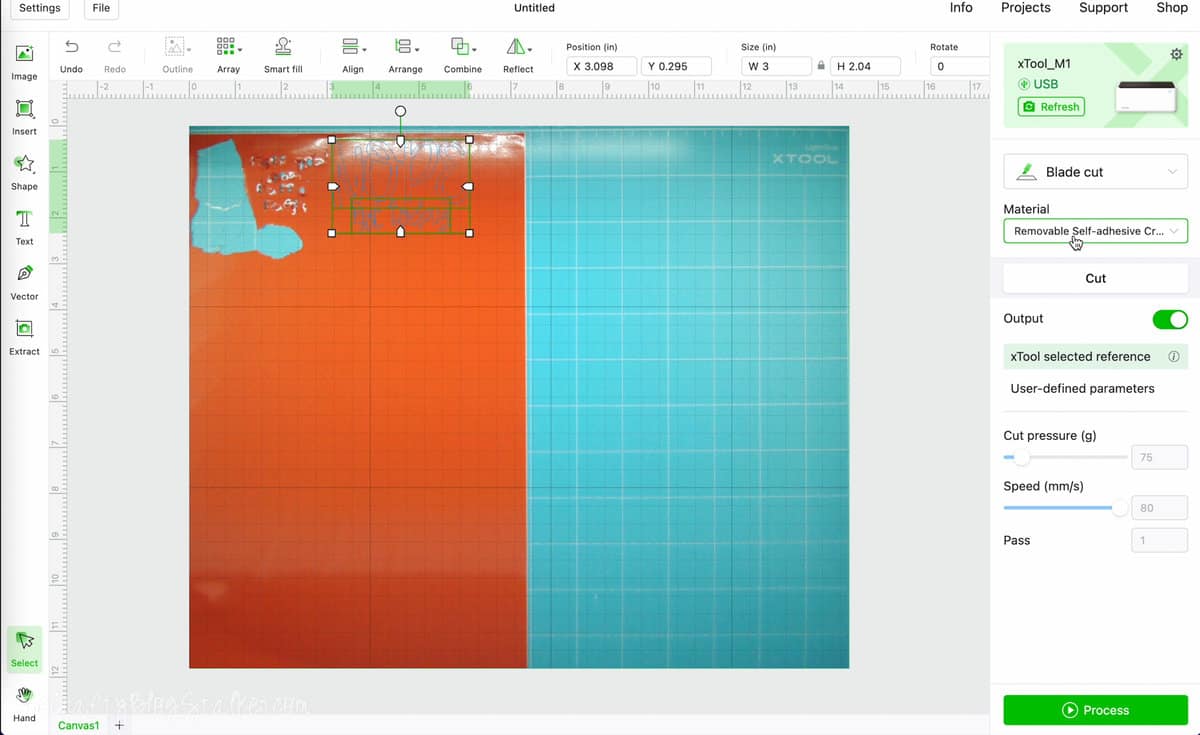
This time I chose "Removable Self-adhesive" as the material and it worked so much better. So the first cut was definitely my fault.
I weeded the design and placed it on my Tumbler.

My First Three Projects:
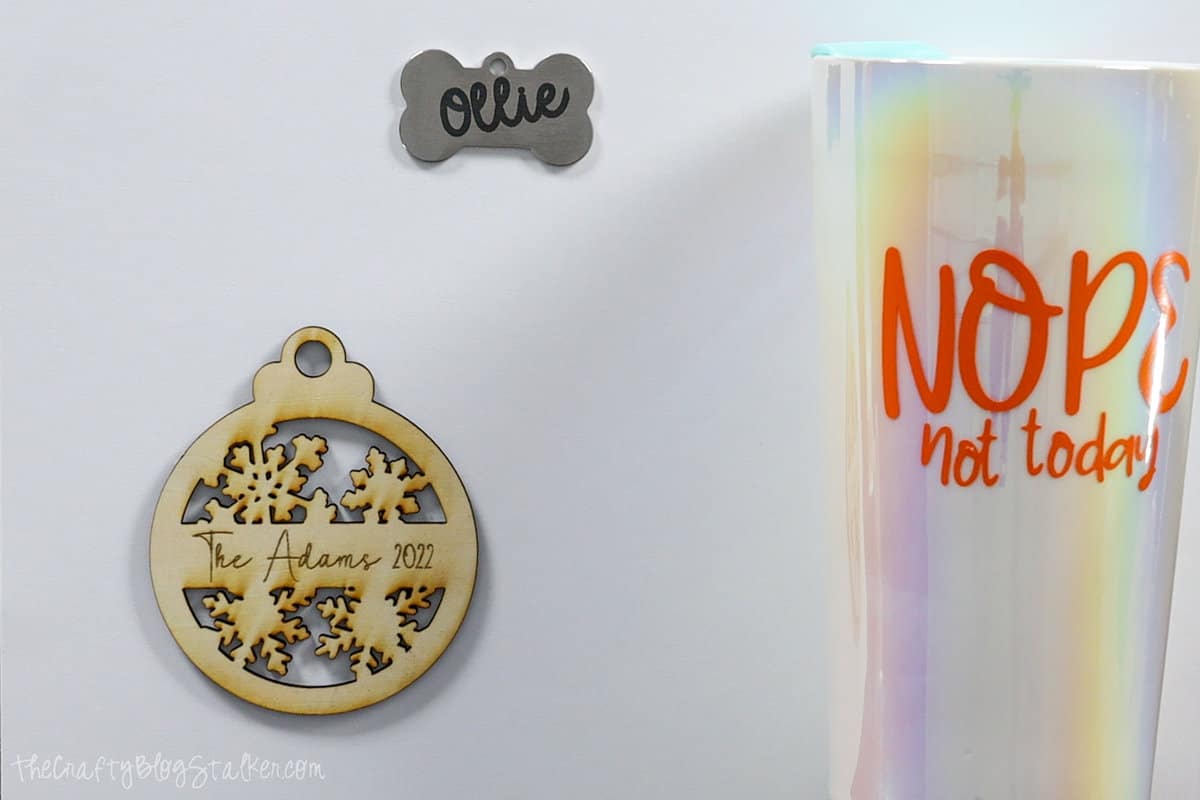
Overall, with my first three projects, I had amazing results.
I made these three projects within 2 hours of getting the M1 unboxed and running. And that is pretty Fantastic!
My Honest Review of the xTool M1:
I promised you my honest review so here goes. We'll start with the positives.
Positives:
- I love the multi-function of this machine with laser and blade compatibility, it really does it all.
- The price! Just for the laser feature alone, this is a great-priced machine, currently under $1,000. Other comparable laser machines are $4K+.
- xTool Creative Space is very intuitive, and if you are familiar with any other cutting software you will quickly adapt to using it.
- The size! You really can pull it out when you need it, and put it away when not in use.
- The M1 comes with sample materials so you have what you need to get started right away.
- Easy setup, no collaboration is needed, and includes everything needed to get the machine up and running.
Negatives:
- The cutting area is only about 12 x 15 inches. I wish it had a pass-through slot making larger materials possible to cut.
- It is a little slow, and the estimated time for projects is way off.
- I was not able to connect via Wi-fi.
- An app would also be great so I could use my iPad.
Would I recommend buying the xTool M1?
Absolutely yes! Overall it is a great machine and has some great features.
If you can afford to spend a couple hundred more dollars, I would recommend jumping to the M1 10W. That is the 10-watt machine. Everything is exactly the same as the original M1, just more power.






Leave a Reply