

Using the xTool M1 Laser, create a personalized business card holder. Engrave a leather holder for a unique touch. An easy DIY project for professional branding.

Welcome to our latest DIY project! Today, we'll show you how to personalize your business card holder using the powerful xTool M1 Laser.
An easy-to-follow tutorial where you'll learn how to make a simple project that reflects your unique brand.
Get ready to elevate your professional image with this fun and creative DIY project. Let's get started!
Craft Tutorial Video
If videos are your thing, you're in luck-I've got a full tutorial ready for you!
Subscribe to my YouTube channel and stay inspired with every new project.
Craft Supplies Needed:
Some supplies were gifted at no cost. When exact item are unavailable online, links may point to comparable products.
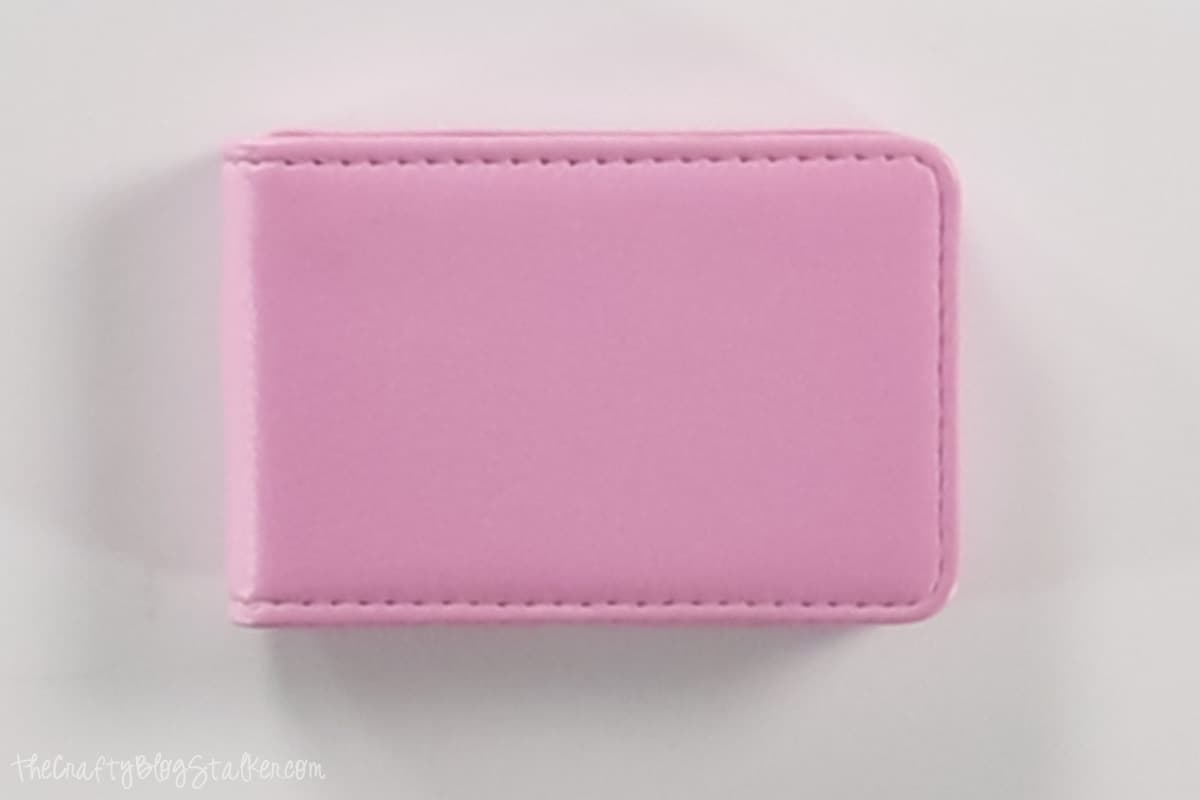
The business card holder I purchased came in a two-pack. There are many different colors to choose from to match your own preferences.
SVG Design:
For this tutorial, I am not sharing an SVG design.
As a business owner, I used my brand's logo design for my business card holder.
The best thing about this tutorial is you can recreate this unique idea with any SVG file. So feel free to personalize it with your own design.
Prep the xTool M1 Laser:
The business card holder I am using has a height of .75 inches and is thicker than the M1 laser can handle without modifications.
I need to take the bottom of the laser off, so need a new laser base.
A great option is a larger piece of wood. Since my one piece of wood isn't large enough to fit the entire base of the laser, I have also added a few squares to keep my laser machine level.
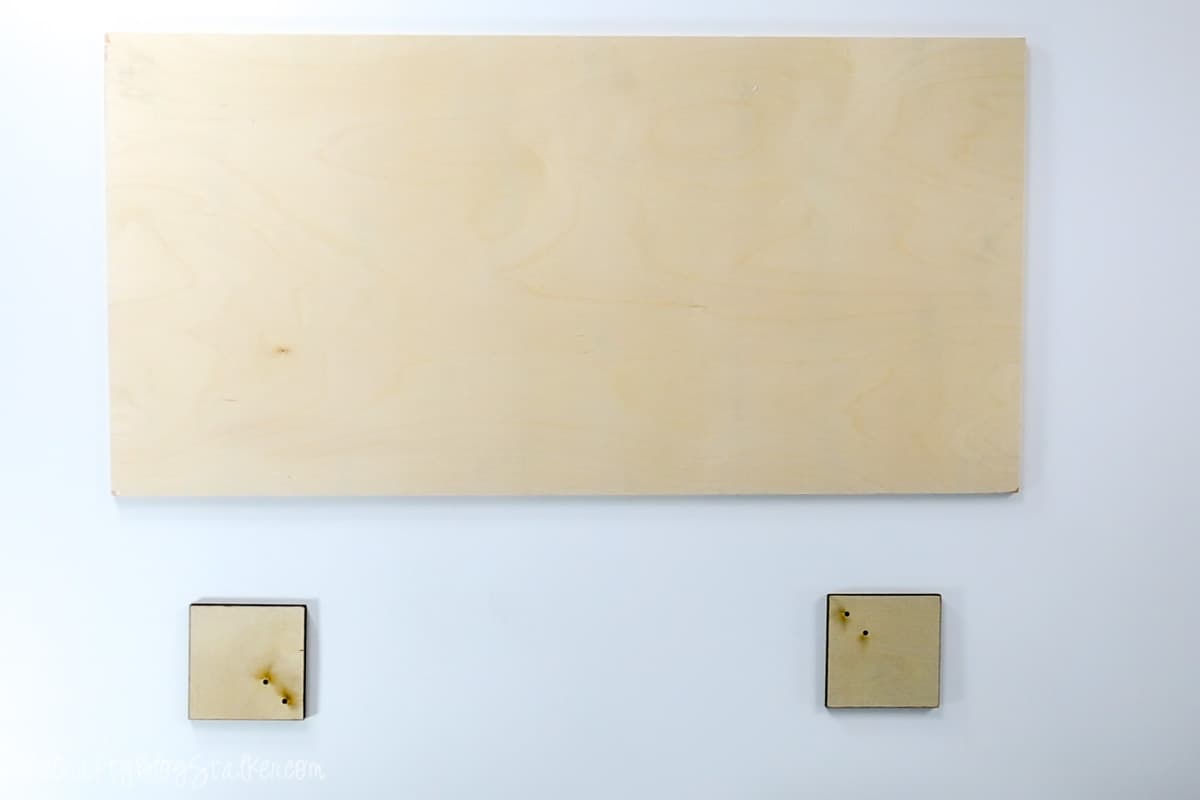
Place the laser on top of the wood pieces.
On the laser bed, there are a couple of small screws that can be removed so the laser floor can be lifted out.
I removed them once, but have never put them back in place so the laser bed is easier to remove and replace as needed.
By removing that bottom, the laser will have the space to engrave on my business card holder, and it won't need any additional risers.
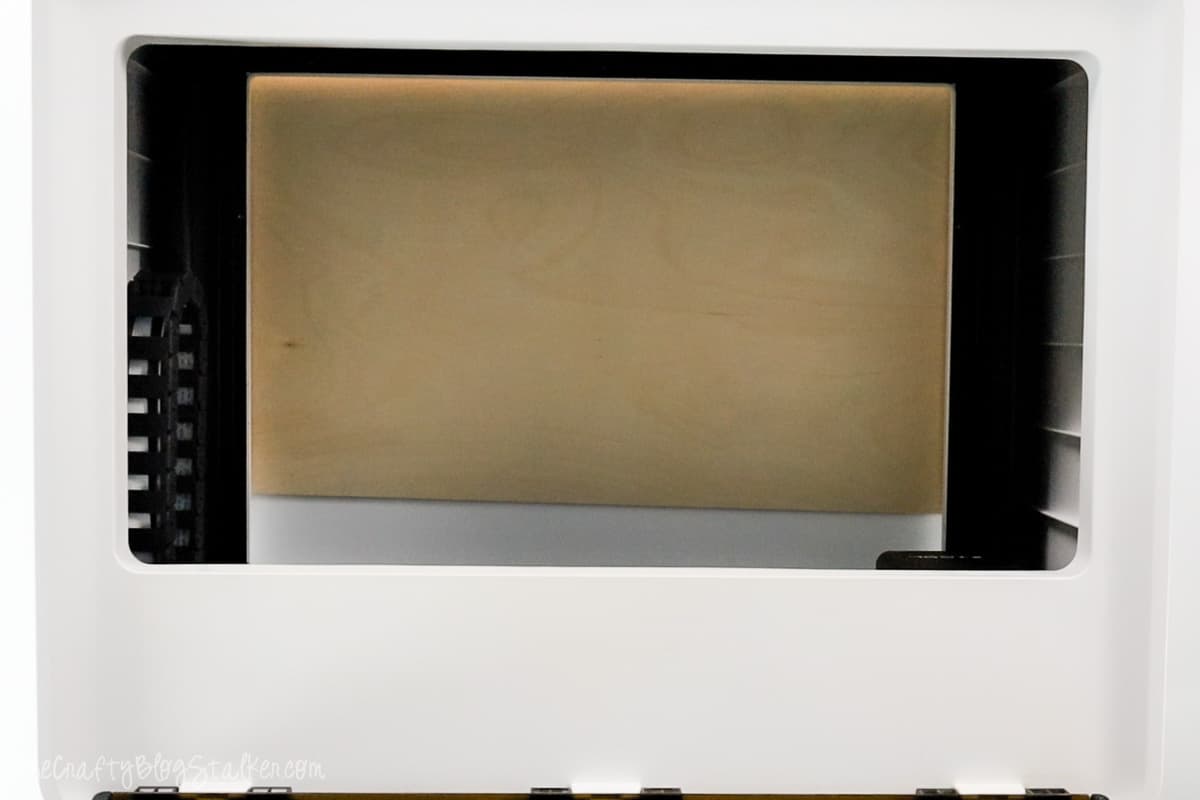
With the laser bed removed you can now see my piece of wood. This wood will become my new laser bed.
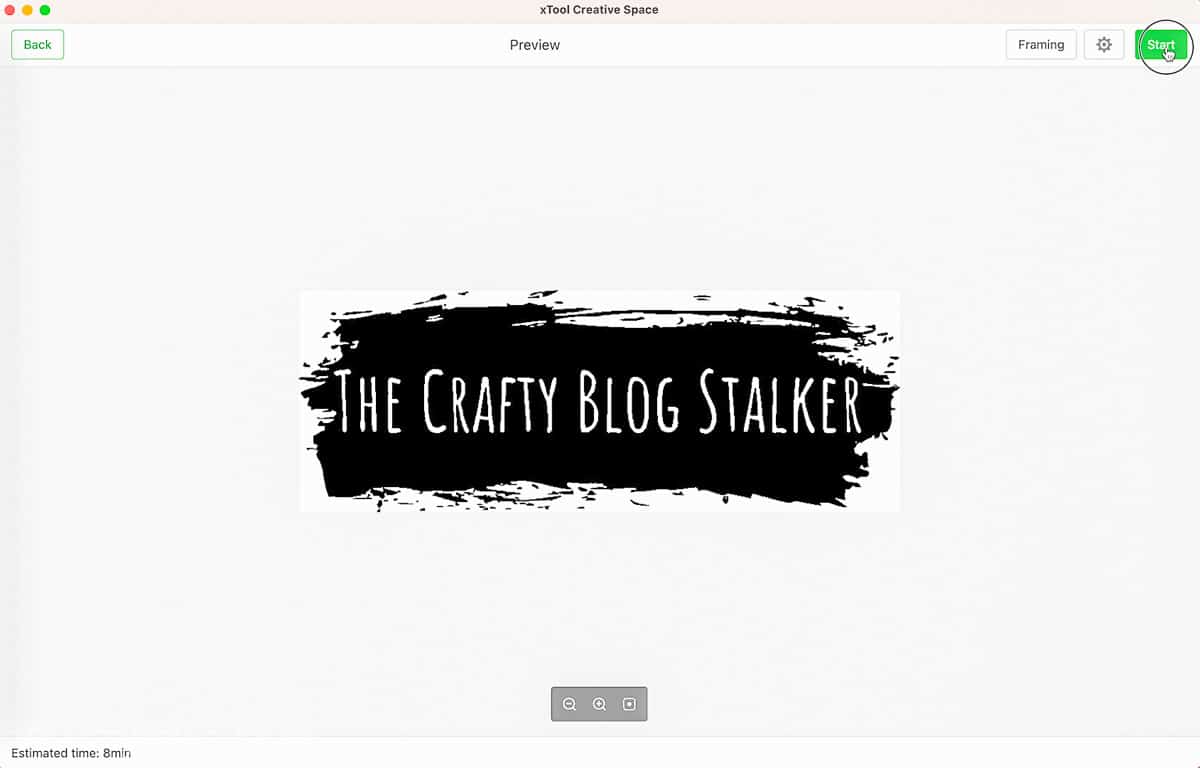
xTool Creative Space Instructions:
Open xTool Creative Space, and drag and drop your SVG file.
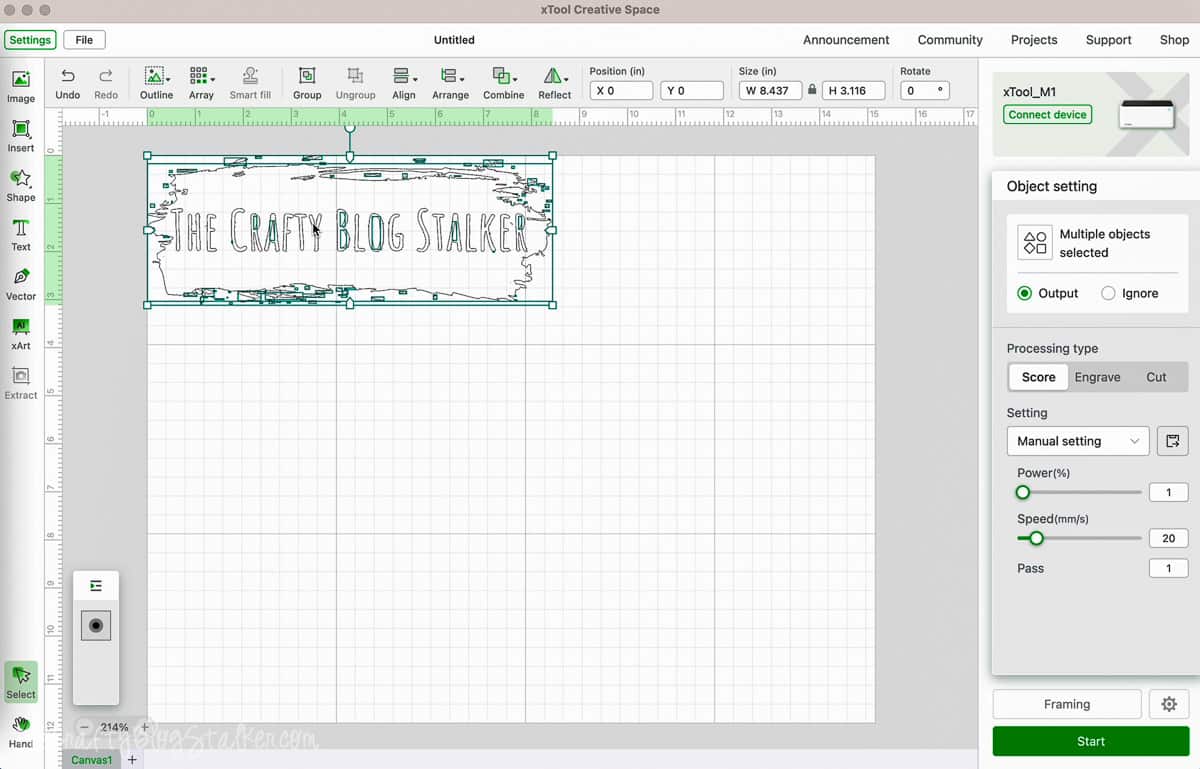
In the right side panel, select Engrave. You can see how that fills in the image and looks more like the design you want to engrave.
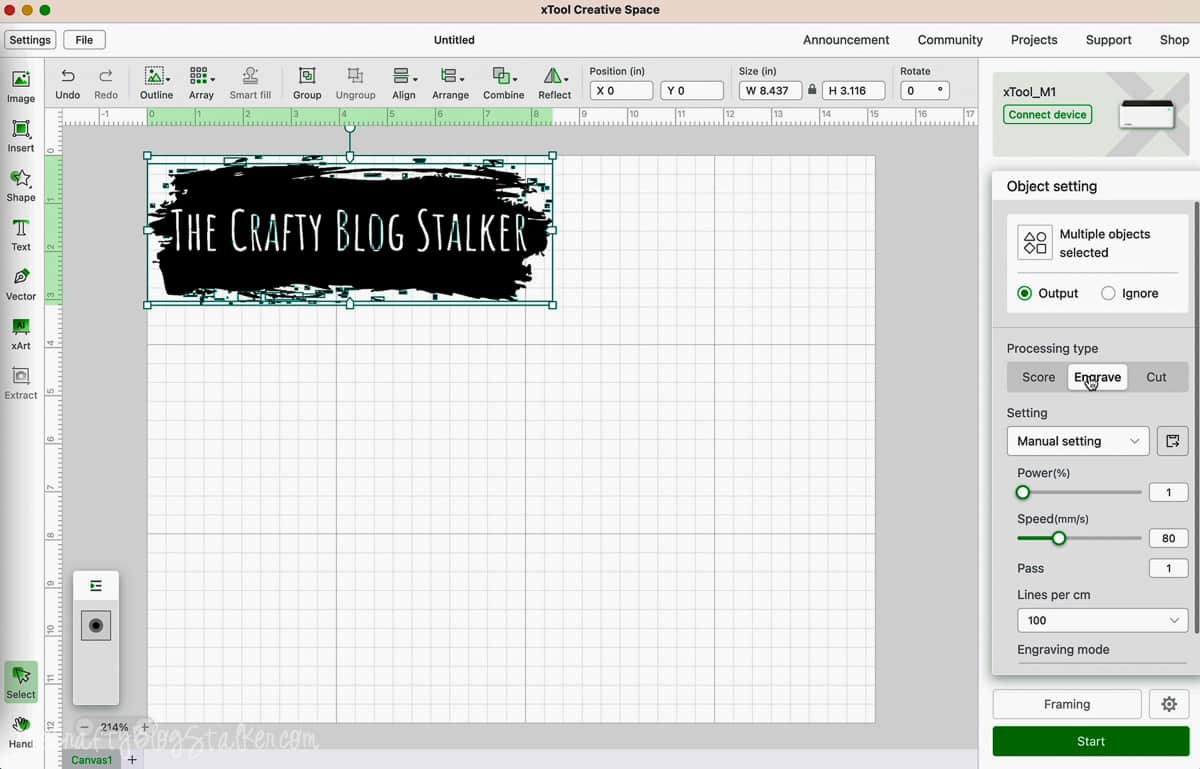
Change the Manual Settings to Power 30% and Speed to 40.

Testing:
Before we move any further, I want to tell you to test your settings before you place your actual product in the laser.
The business card holders I purchased came in a set of two, which was perfect because that gave me one to test on.
In an xTool Facebook Group, I researched settings others had used on PU Leather and found one with Power at 20% and Speed at 80. This is where I started.
With the second card holder, I tested different settings and you can see how the engraving gets darker.
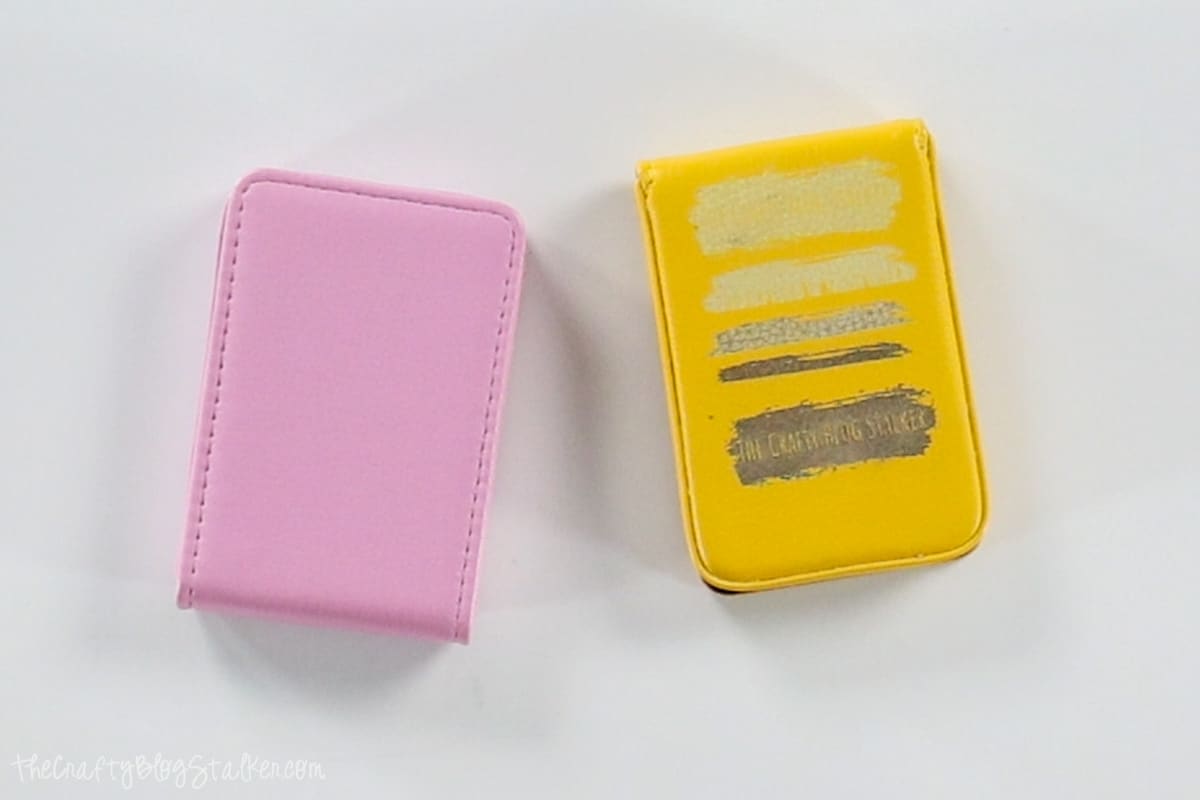
I raised the power with each test and lowered the speed until I got the look I wanted.
That is how I found my Manual Settings of Power to 30% and Speed to 40.
I always test, because I don't want to ruin my final project.
Back to xTool Creative Space:
Power on the laser and connect either through Bluetooth or a cable.
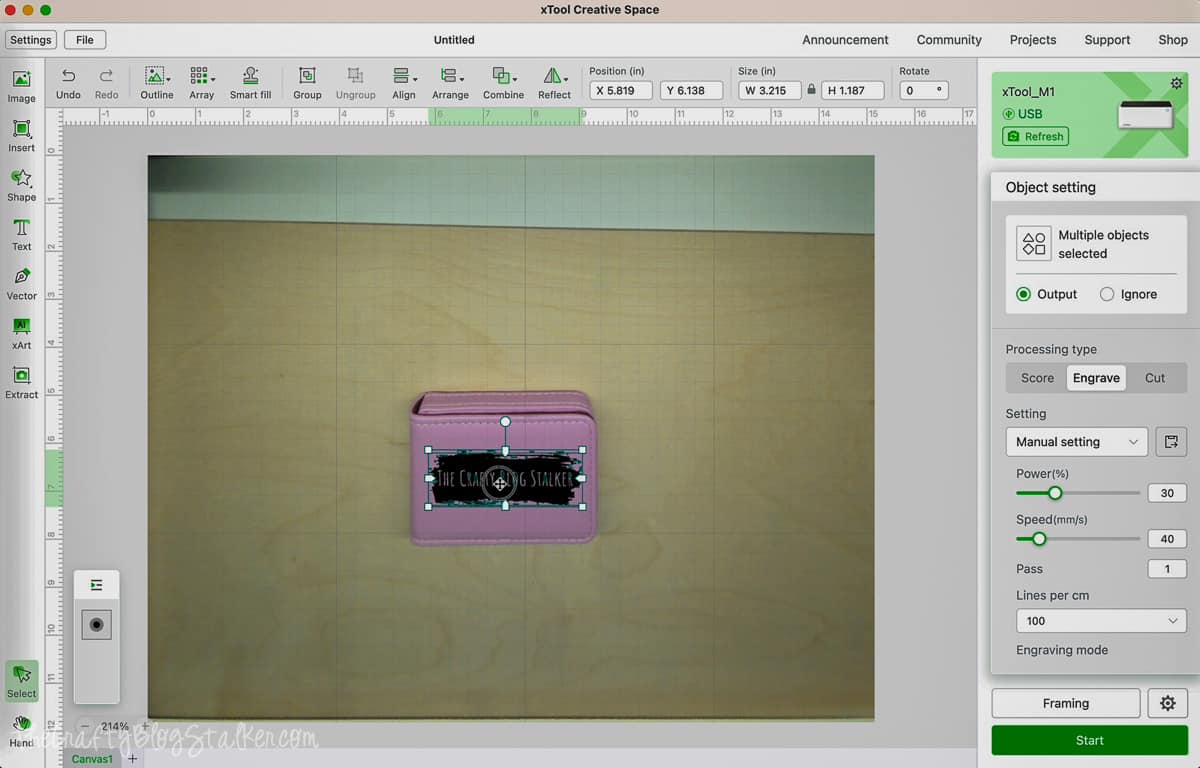
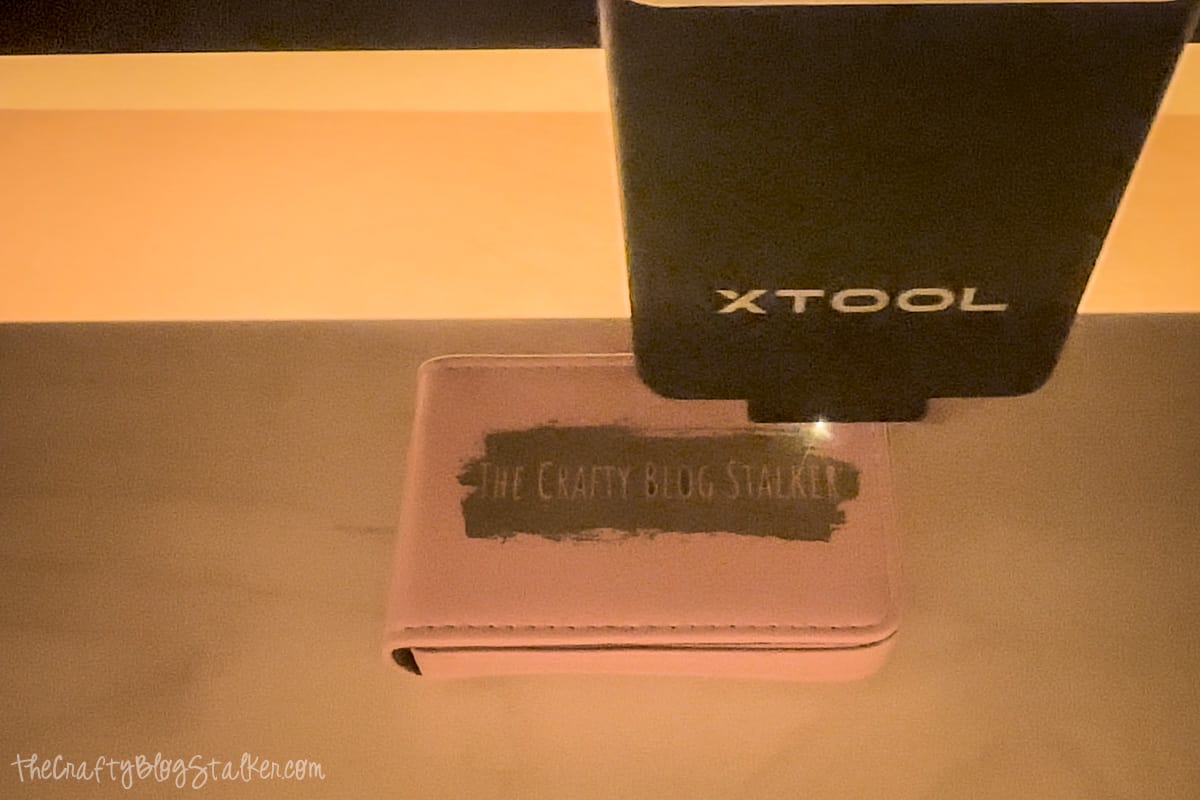
Place the business card holder in the laser machine and shut the lid to engage the camera.
Now you'll be able to see the camera view from Creative Space.
Drag and resize the design so it fits over the cardholder.
For the thickness, select the square icon with a ruler. This will auto-measure the material.
Remember, we removed the laser floor so it is best to let the machine measure and not just type in .75 inches, the thickness of the business card holder.
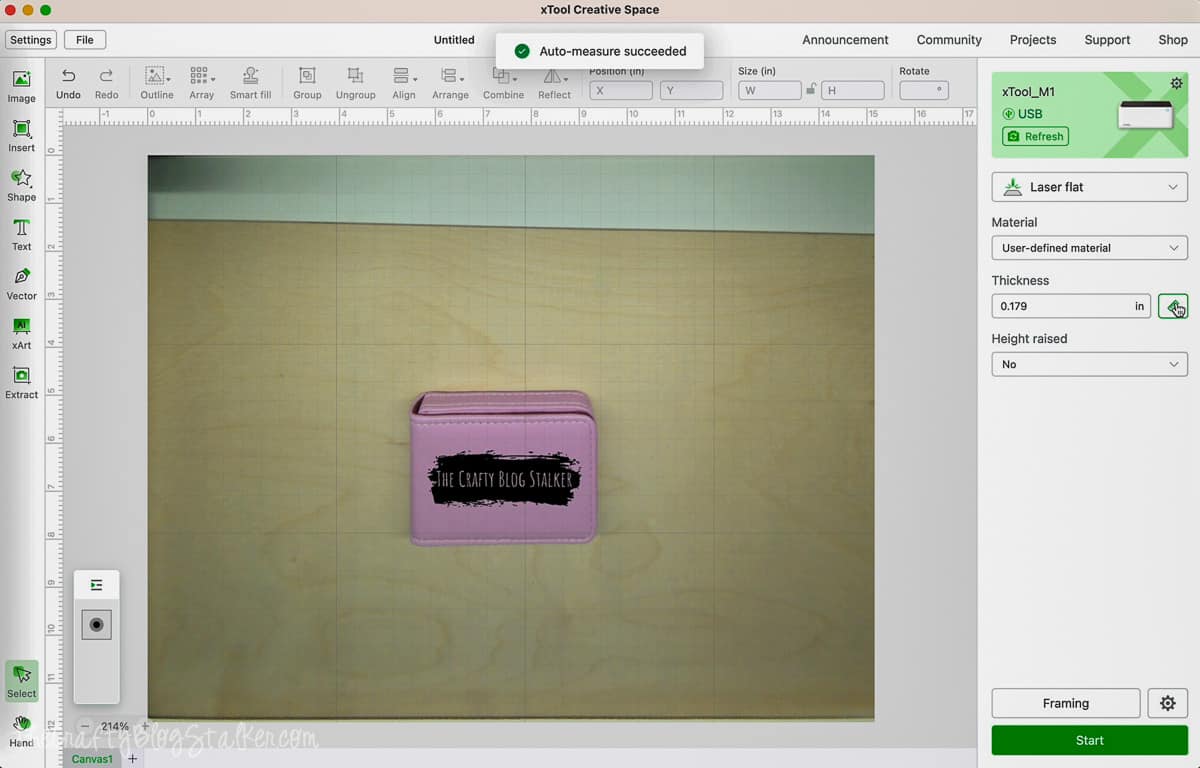
Select Framing, once processed make sure the design is still centered on the holder. If it isn't just drag the design so it is centered on the holder how you want it.
Select Start in Creative Space and hit the Start button on the front of the machine.
The design will start to be engraved. It is really fun to watch!
Your xTool M1 will beep when finished, and xTool Creative Space will also let you know.
Open the lid to remove your unique business card holder. I absolutely love how mine turned out!
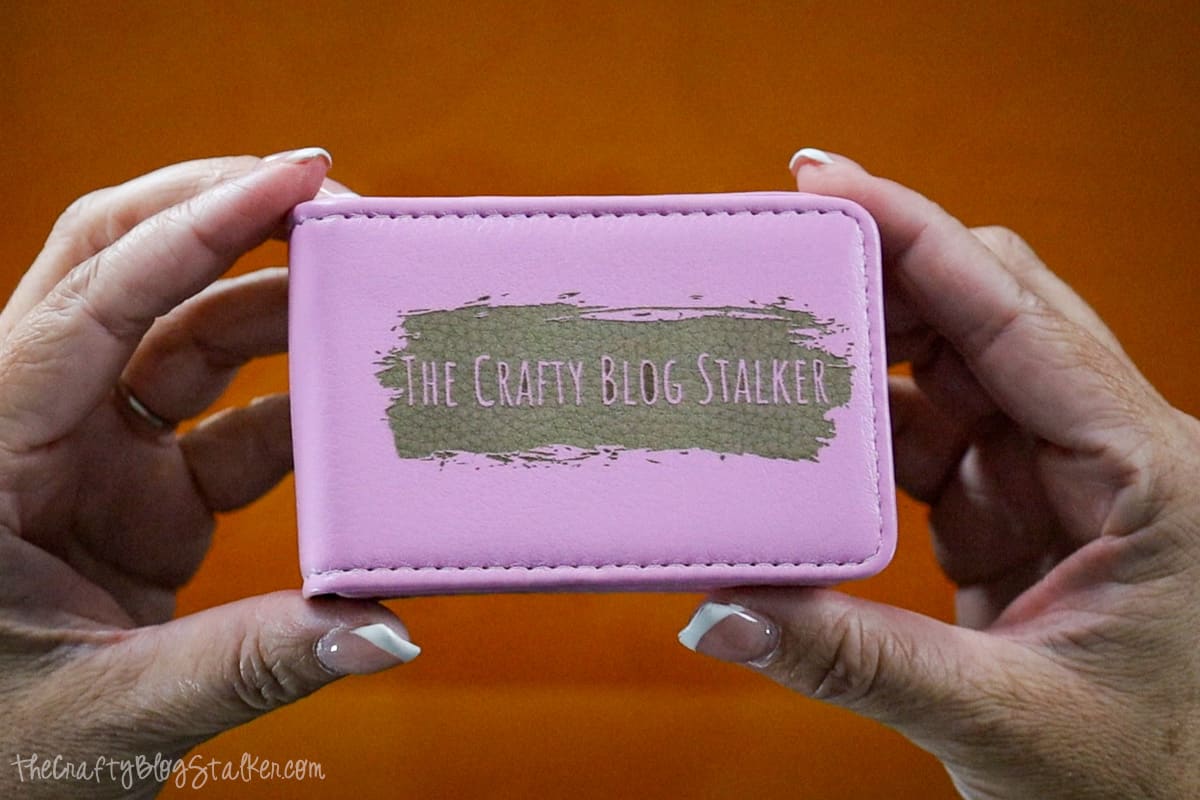
The inside of my letters is darker because those parts were each done instead of along the width of the design like the rest of the engraving.
Now I have a cute way to hold my new business cards without them getting bent in my purse!
Personalized business card holders make great gifts for friends and colleagues, or make one to hold your business cards!
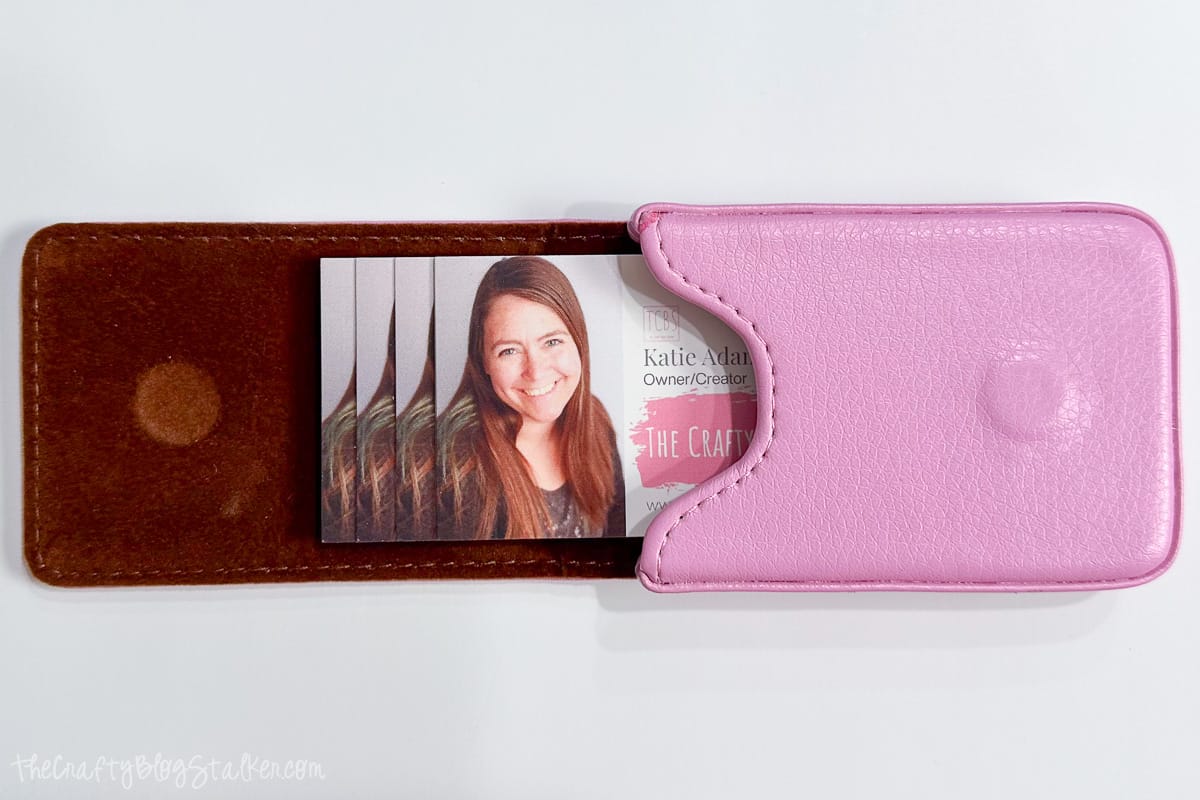
Another great way to use this business card holder is as a DIY card wallet. It holds a driver's license and credit cards perfectly.
Tips and Tricks:
- Always test Power and Speed settings to find the perfect look.
- Want to engrave something thicker than a business card holder? Raise the machine about the same thickness as the item you want to engrave. Then make sure to Auto-Measure the thickness in xTool Creative Space before engraving.
xTool M1 Laser:
To learn more about the xTool M1 laser, visit my unboxing post where I share all of the steps to getting set up and ready to cut.
Laser Essentials
- Are you new to laser machines? I highly recommend the xTool M1 Ultra! This machine is super easy to learn and helps you create beautiful projects!
- Are you more experienced with lasers and want more power? I love my OmTech 50W, but they have all types of machines up to 150W!
- Craft Closet is my favorite shop for laser materials. Their products are high-quality, and they have the lowest price I can find anywhere!
simona
i always keep some of these tins just in case i want to make something with them one day... a business card holder is a great idea i might just end up copying if you don't mind... 🙂
Lauren @ My Wonderfully Made
Now this is just adorable! Love the way you decorated the lid!
Lindy@Itsy Bitsy Paper
Isn't that just brilliant!! Love that idea. I have some of those I've saved for crafting so I might just have to do that. Thanks for the great idea.
Tina
What a great use for the altoids tin! My 6yr old grandson uses one and calls it his wallet, lol. I think I will use your idea and make his wallet more special.
Anita Stafford
This is just too cute! Your personalization is very nice!
Kara at Petals to Picots
What a cool idea!! A great way to upcycle too. Thanks for sharing at my party! Have a great weekend 🙂
Mindie Hilton
Very cute! Have fun at Snap.
Michele
That's a super cute interpretation of a card case and kept at least one tin out of a landfill. I'm impressed.
Sass - aka - Kathy
I love this. My poor business cards are all held together with a clip in my purse, and they get fuzzy, dirty edges. Gotta do something new and different. Thanks for this idea! And thanks for linking up!
Karima
What a great idea!
Megan
So cute! What an awesome idea! So easy and inexpensive, but still so cute.
Kadie
I am totally jealous that you were at SNAP!! Great idea for business card. Thanks for sharing with us at Link It Up Thursday.
The Stuff of Success
I love this idea. so cute.
Wendy Hayden, Farmer's Daughter-in-law
I've got a stack of altoids tins waiting for a project! Love this one, thanks!
DebbieDoesCreations
SO cute! I just got back from Bloggy Boot Camp. Hopefully I will be able to go to SNAP next year 🙂 I want to hear ALL about it girl 🙂 Thanks for sharing at Toot Your Horn Tuesday!
Rachel
This is a great idea! Maybe one day I'll need business cards. Thanks for sharing at Terrific Tuesdays. Rachel
Summer @ Summer Scraps
What a great idea! I think I need to copy you 🙂
Erika
It is a great idea to use these tins for business card holders, it also looks very cute the transformation you did... I liked this idea, thank you for sharing it with us.
Adnan Ahmed
i love your idea, i am adopting this methods for my own cards designing...!
it can help me a lot in creating new ideas 🙂
Beverly Bishop
My daughter is a new Tastefully Simple Consultant. She will love this for her business cards. Thanks.