This post may contain affiliate links. For more information, please see our disclosure policy.
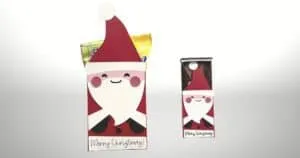
This festive holiday gift card holder is easy to make using the Cricut Maker or Explore machine. It makes the best gift for teachers, friends, and more.
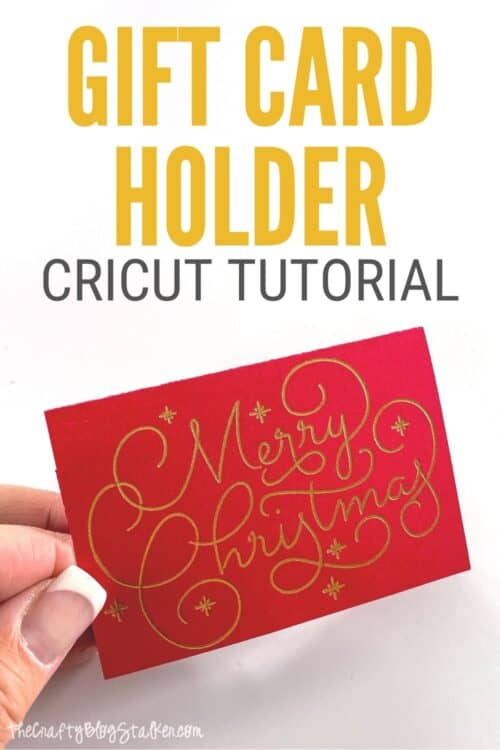
It is the holiday season!
I absolutely love this time of year, and I especially love giving heartfelt gifts, to family, friends, and coworkers.
But some people are just hard to shop for, and they get gift cards!
Gift cards are a great option. Get them to their favorite stores, and place them in cute gift card holders. Easy-peasy and your shopping is done.
Craft Tutorial Video:
Like videos? I have a video tutorial for you! Please subscribe to my YouTube Channel so you don't miss out on any future video tutorials!
Supplies You'll Need to Create this Project:
This post contains affiliate links.
- Cricut Maker or Explore
- Cricut Design Space Project Canvas
- StandardGrip Mat
- Scoring Wheel or Scoring Stylus
- Foil Transfer Kit
- Gold Foil Sheets
- Red Cardstock
- Bone Folder
- Adhesive
Cut the File in Cricut Design Space:
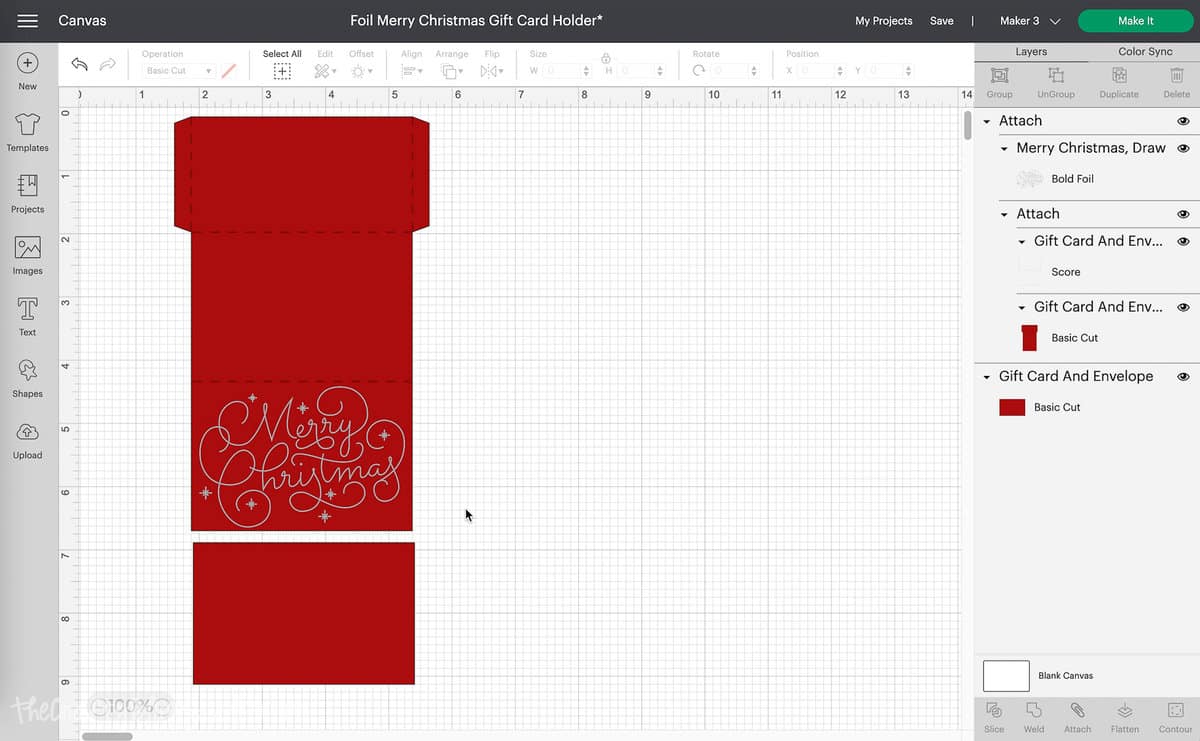
The file to make this gift card holder is completely ready to go on Cricut Design Space.
I have the file sized to fit a standard-size gift card.
The finished size for the holder is about 3.5 x 2.3 inches.
If this size works for you then you can go ahead and select Make It.
If you need to adjust the sizing, select Customize.
Scoring:
This design uses 3 different tips.
The first one we are going to use is for scoring. If you are using the Explore then you will use the Scoring Stylus.
If you are using a Maker you can use either the Scoring Stylus or the Scoring Wheel.
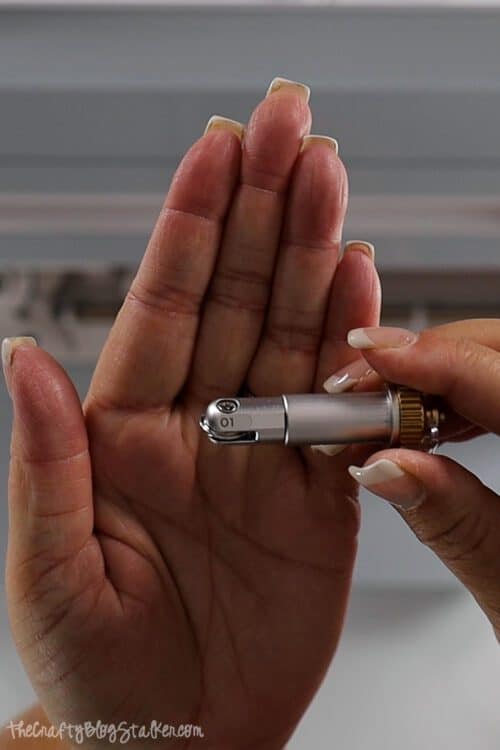
Once the tip is in place, load the mat holding your paper, and begin scoring.
Foiling:
Once you are done scoring it is time to add the foil.
Do not unload the mat.
Looking at the mat preview we can see where the foil is going to go.
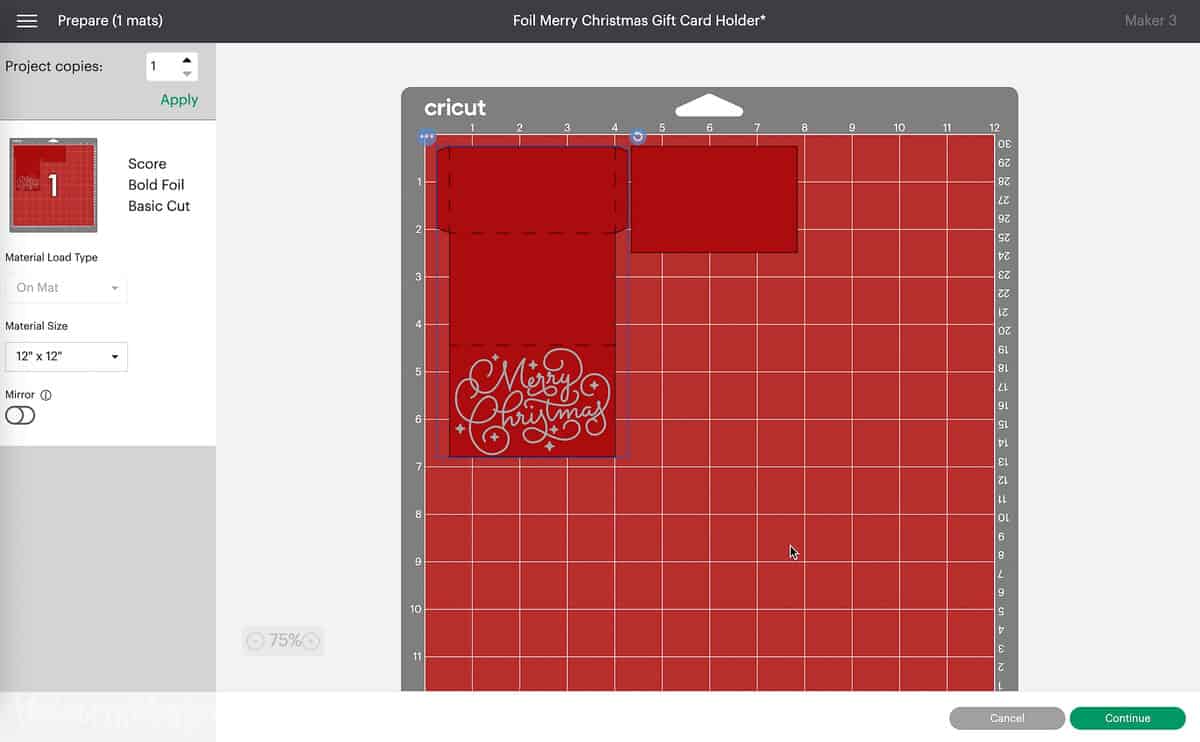
Lay a small piece of foil on the cardstock between 4 and seven inches. Then secure the foil with the tape strips that are included.
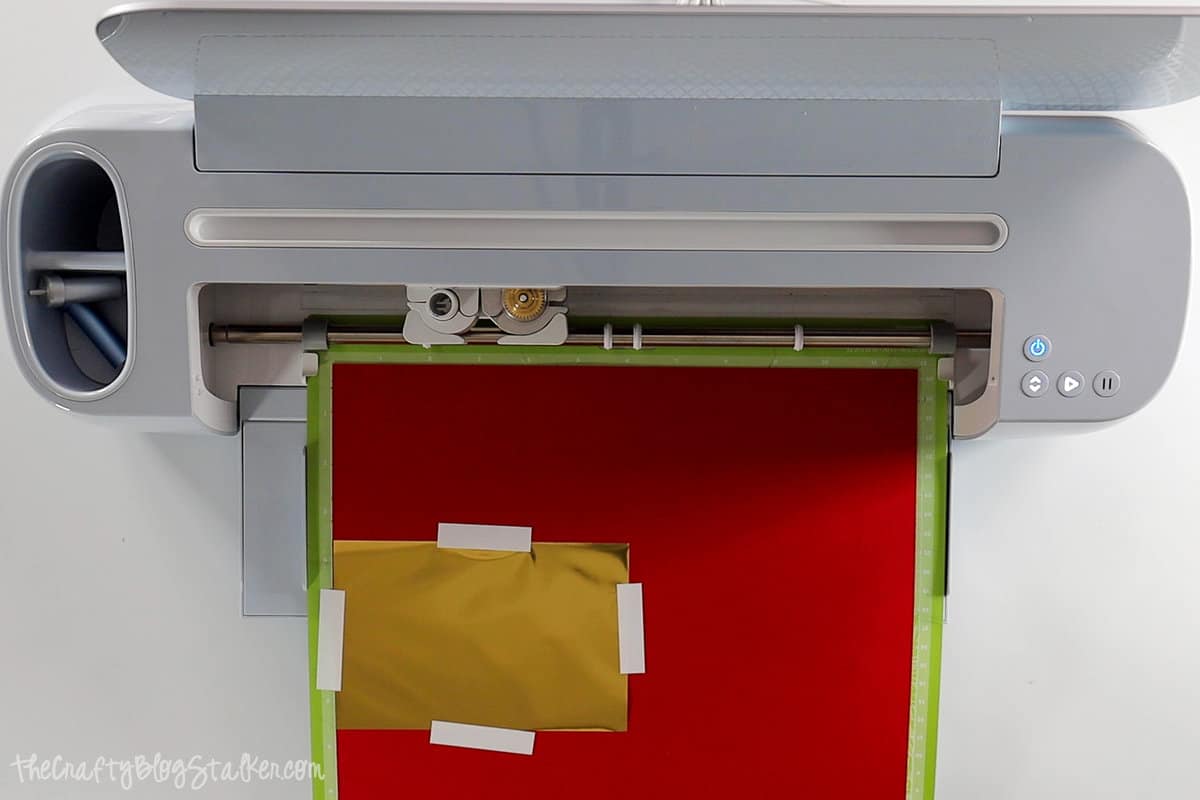
Change out the tip to the Foil Transfer Tip. I am using the bold tip.
You can tell the difference between the tips by how many stripes are on the tip. 1 for fine, 2 for medium, and three for bold.
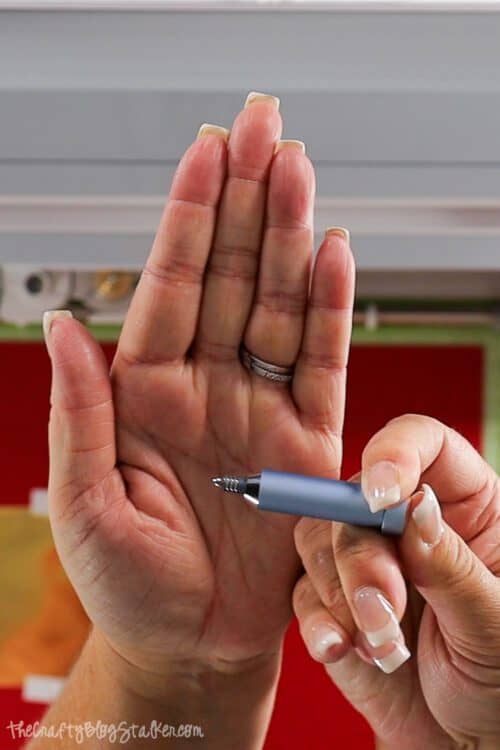
Place the foiling tip into the machine, and continue. This time foiling the design.
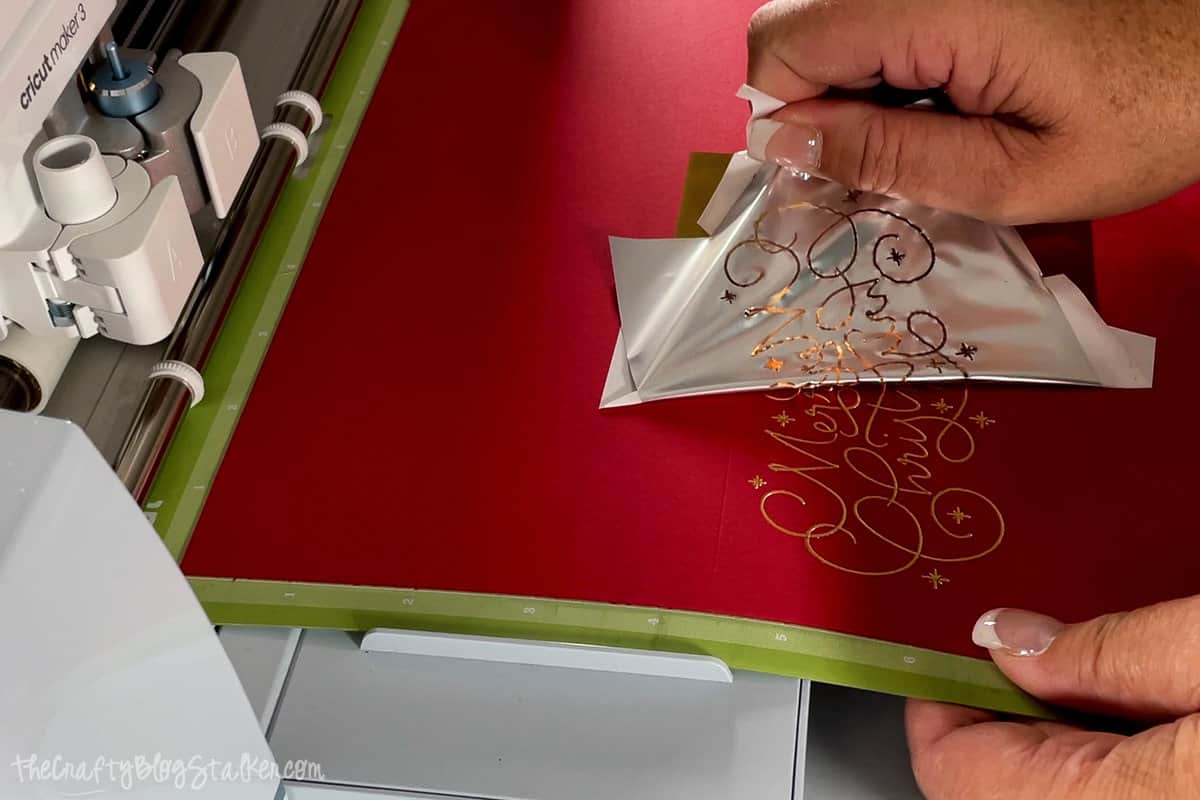
When the machine is done with the foiling, carefully remove the foil and tape without unloading the mat.
Cutting:
Last, it is time to cut.
Swap out the Foil Tip with the Fine Tip Blade, and continue to cut out the design.
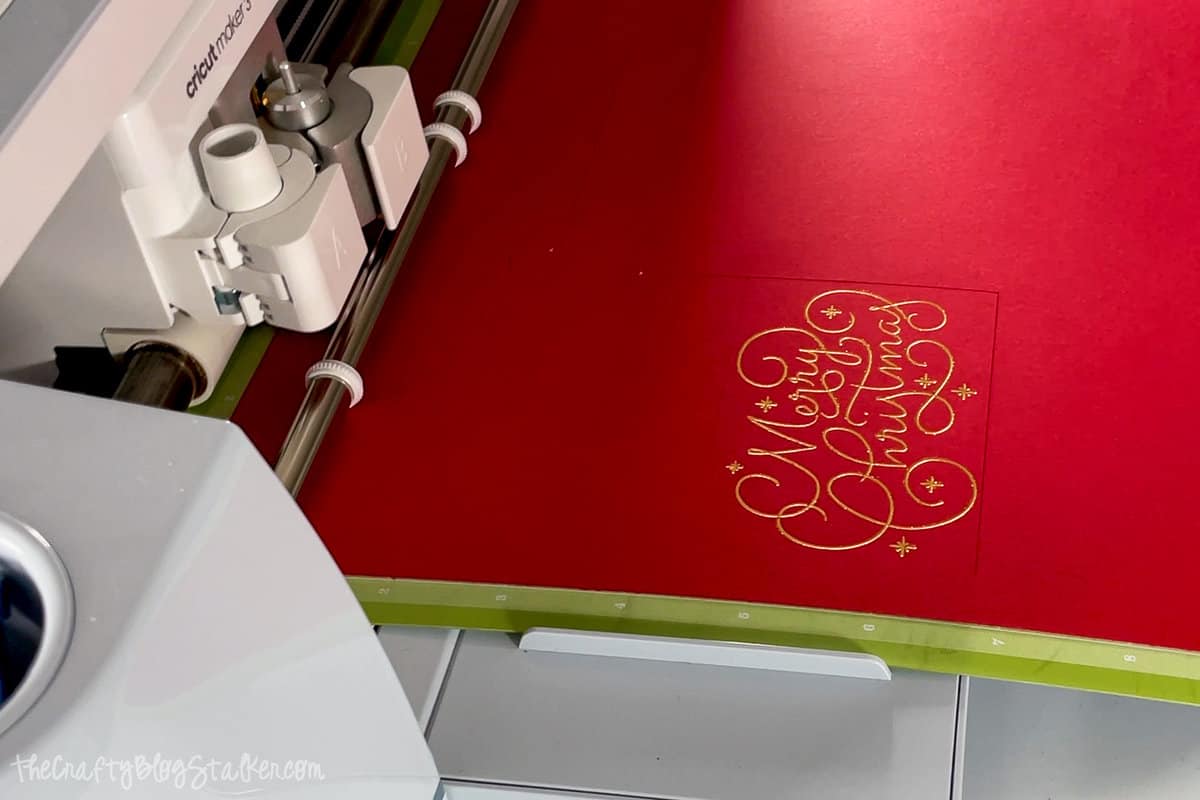
Once the machine is done cutting you can remove the mat.
Turn the mat over and peel it back from the paper to remove the pieces.
Assembly:
Use a bone folder to fold the paper at the score lines.
A bone folder helps you get nice crisp folds without wrinkling or bulges.
Add your adhesive to both of the tabs and fold them into the gift card holder.
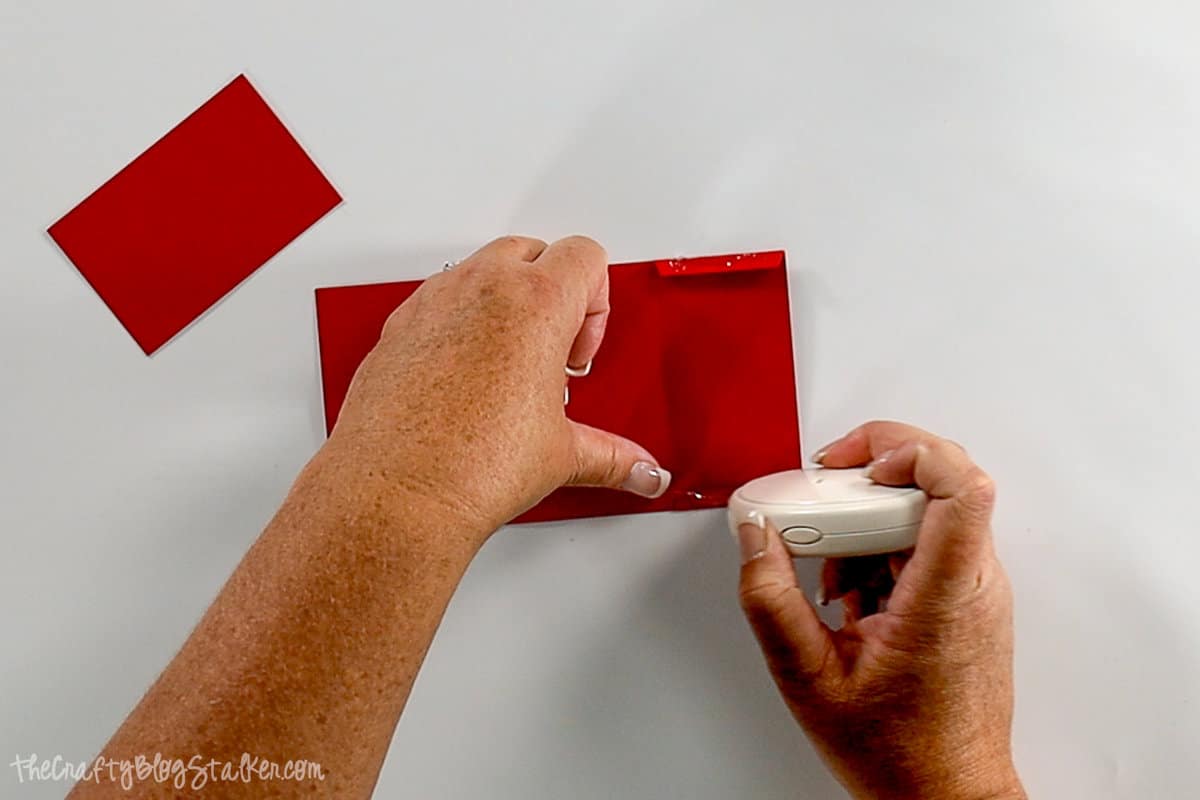
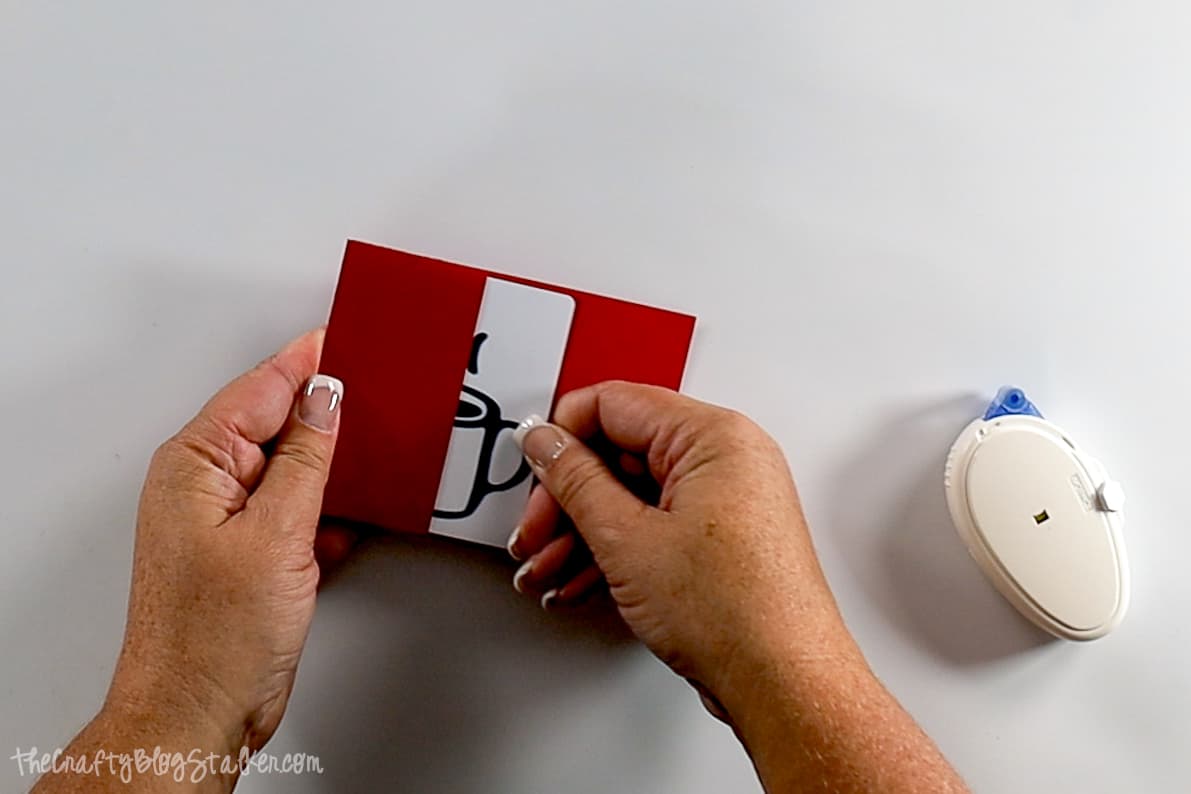
There is also a rectangular piece that you can stick the gift card to with a glue dot. The back would be a great place to write any message you would like to leave as well.
Slide the gift card into the holder and you are ready to give your gift!
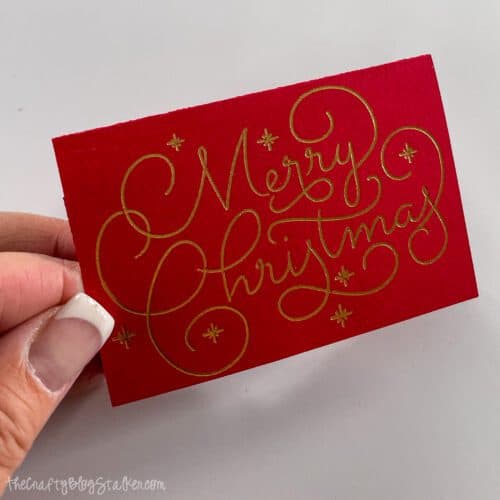
Isn't it so pretty? A gift card really is the greatest gift and the recipient will love it!
Our Crafting Essentials:
- The Cricut Cutting Machine is easily our favorite crafting tool. We use it in so many of our tutorials!
- These MakerX Crafting Tools are perfect for keeping in the craft room and are always ready when needed!
- This Fiskars Paper Trimmer is easy to use and cuts nicely without frayed edges.
- These Scotch Precision Scissors cut like a dream, and you get multiple pairs in a pack!



Joanna P-G
Great Idea!
Clairejustine oxox
Aww I need to makes some of these, great idea 🙂 thanks for sharing at creative Mondays...
Jennifer Dawn Oliver Shelton
These are so cute! The little red nose was a perfect touch.
Sarah Vanderkooy
This is so cute, a great way to wrap up a gift card. I love all the reindeer this season!
Shelly
This is adorable!
Veronica Roth
Hey, that's really cute! Well done Katie. 🙂