Learn how to make a Christmas Tree Advent Calendar with the Cricut Maker! The full Project is ready to cut in Cricut Design Space. Easy DIY Craft Tutorial Idea. This is a sponsored post on behalf of Cricut. All opinions are my own because I love giving you helpful tutorials!
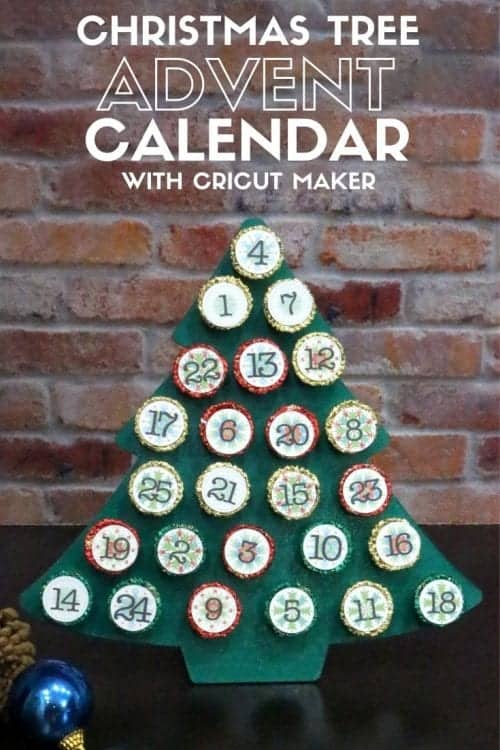
Don't you just love everything about the holidays? The decorations, the twinkle lights, the Christmas Trees, and the candy - YUM! Today's project is going to combine two of those things. We are going to make a Christmas Tree Advent Calendar.
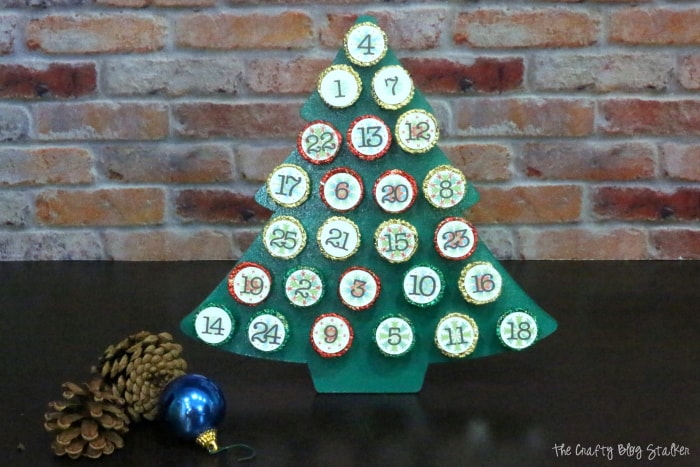
This advent calendar is made out of chipboard using the Cricut Maker. That means this project is sturdy enough to give as a handmade gift! Help your teachers, friends, and coworkers count down the days to Christmas with a delicious peanut butter cup every day! Now that is a gift that keeps on giving!
Christmas Tree Advent Calendar Video Tutorial
Like videos? I have a video tutorial for you! Please subscribe to my YouTube Channel so you don't miss out on any future video tutorials!
Supplies Used to Make a Christmas Tree Advent Calendar
Links may go to similar items when exact items can't be found online. Help me continue to provide free tutorials by shopping my affiliate links. Please review our Privacy Policy.
- Christmas Tree Advent Calendar - Cricut Design Space
- Cricut Maker
- Printer
- LightGrip Mat
- White Cardstock
- StrongGrip Mat
- Heavy Chipboard 2mm
- Knife Blade
- Masking Tape
- Brayer
- Spray Paint
- Hot Glue and Gun
- Rubber Cement (optional)
- Glue Dots
- Reeses Peanut Butter Cups
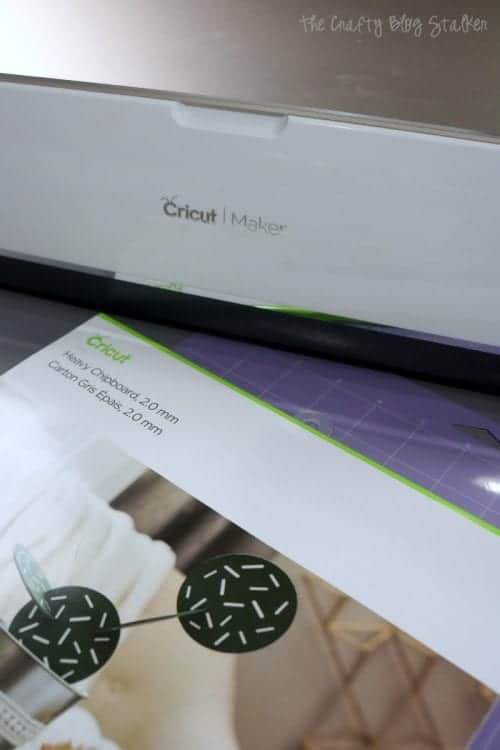
How to Make a Christmas Tree Advent Calendar with Cricut Maker
The file to make this Christmas Tree Advent Calendar is completely ready to go on Cricut Design Space! I have the file sized to fit 25 Reeses Peanut Butter Cups. Select Make It and you are good to go!
Print and Cut
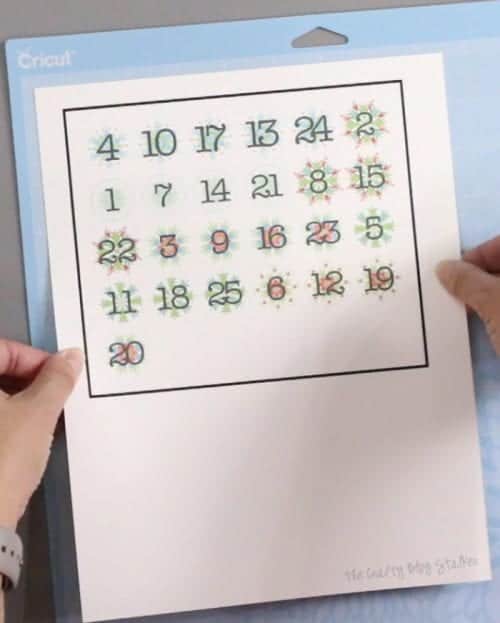
The first thing you will be prompted to do is print the numbers. Cricut Design Space will send it to your printer. Print the numbers onto a white sheet of cardstock.
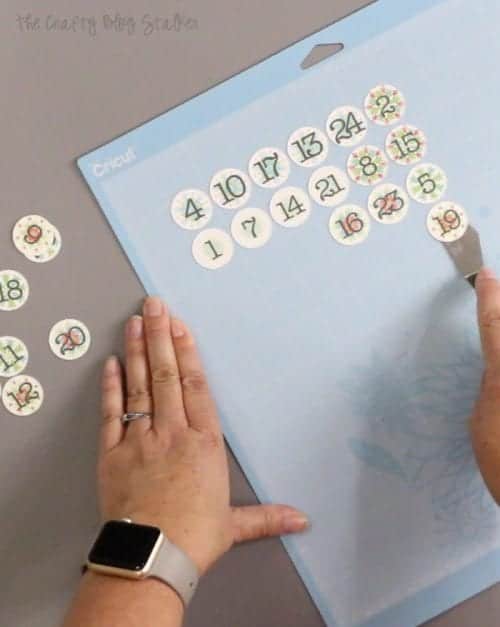
Lay the printed cardstock onto the left corner of the Light Grip Mat. Follow the prompts on Cricut Design Space and cut the numbers using the Fine Point Blade.
Carefully remove the numbers without touching the mat. I like the little spatula tool. It is my favorite!
Cut Chipboard Tree
The next mat to cut has the tree, but before you cut, cancel the entire cut and start over. You need to do this because you have to select a different material and blade. Don't worry, you don't need to print again.
In Cricut Design Space select Make It, then select the mat on the left side of the screen that has the tree cut out. Then you can select the chipboard as your material and the knife blade.
The Cricut Chipboard is a little bit smaller, it measures 11 x 11 inches. So if you aren't using Cricut brand chipboard you will need to trim it down to that size.
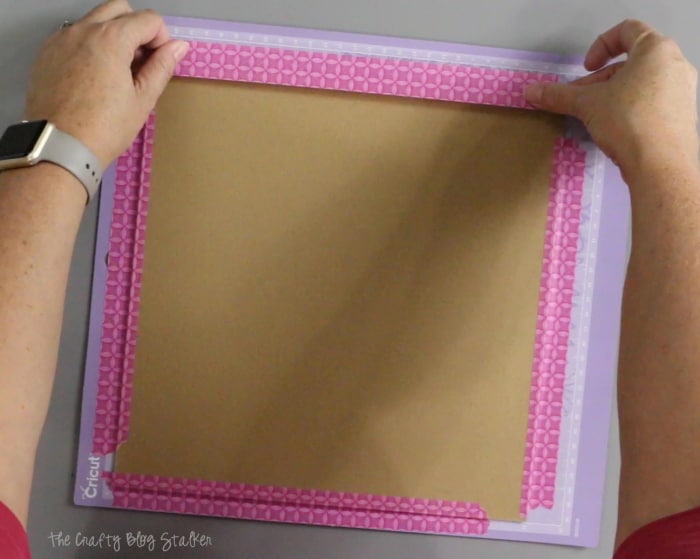
Lay the chipboard down onto the Strong Grip Mat, aligning with the upper left corner. Press into place using a brayer and then secure all four edges with masking tape. You don't want the chipboard to move at all while it is cutting so it is important it is securely bonded to the mat.
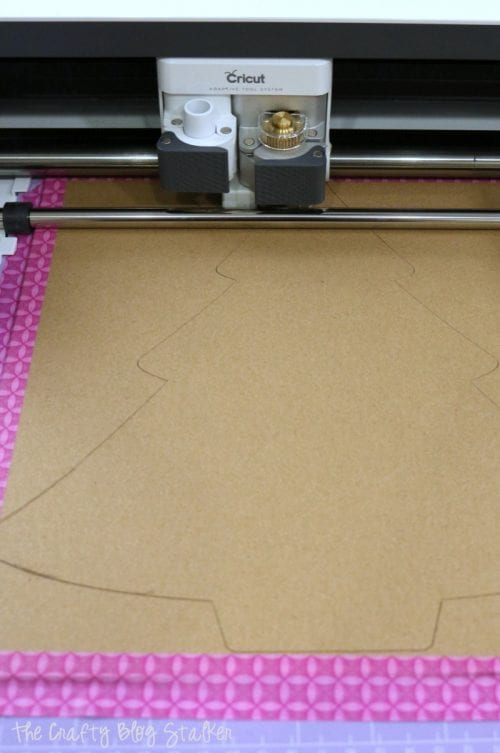
Slide all of the white star wheels down the rod until they are all together on the right side. Now you are ready to load and cut the tree.
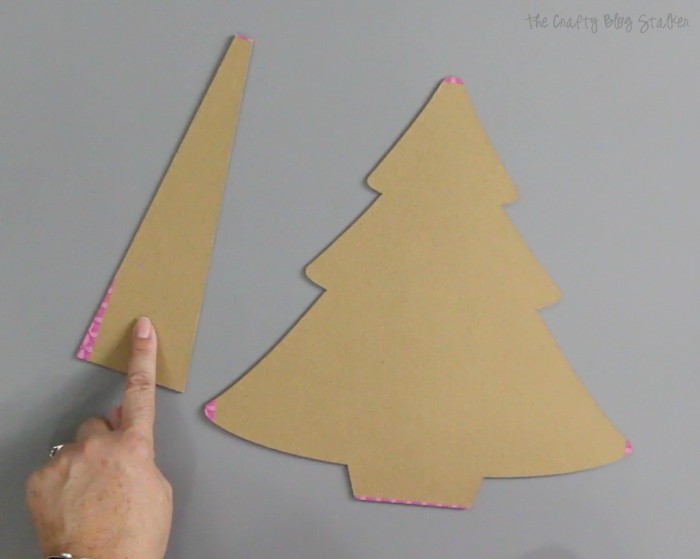
Don't forget, there is a second mat that has the back easel of the tree so it will stand up.
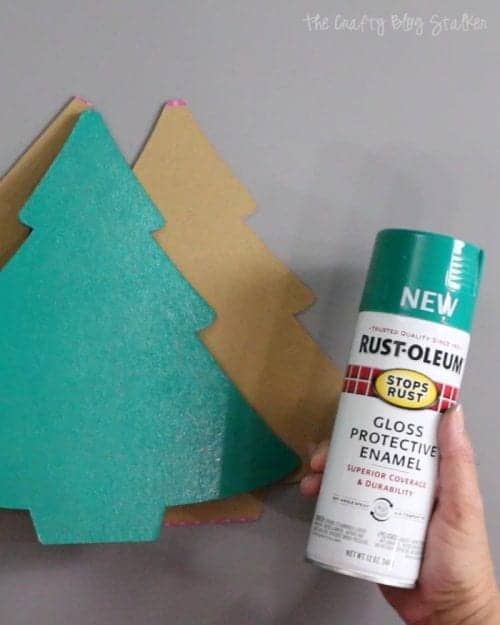
This is where you can get really creative in painting or decorating your tree. You could let the kids paint their own tree, or you could hand paint the tree with beautiful decorations if it is for a gift!
I went the easy route and pulled out a can of green spray paint.
Assembling the Christmas Tree Advent Calendar
To attach the easel on the back, create a score line using a ruler and a craft knife. About an inch from the top lightly cut. Don't cut all the way through, only enough so the top will bend over on itself.
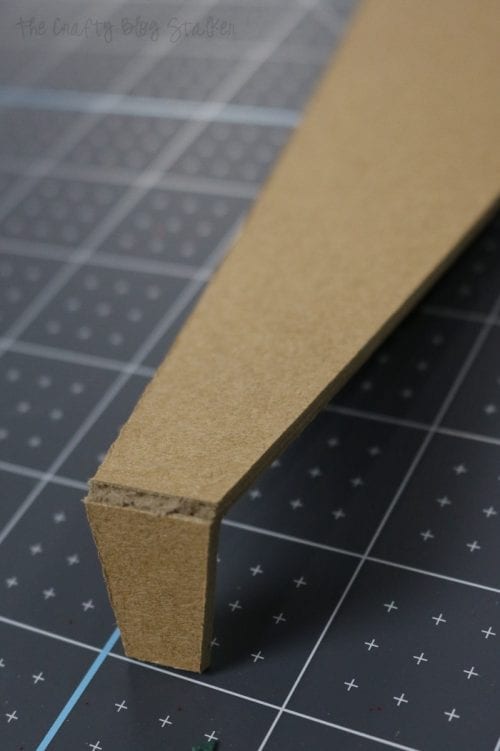
Reinforce the fold with a small piece of duck tape placed over the fold. This will stop the piece from falling off completely.
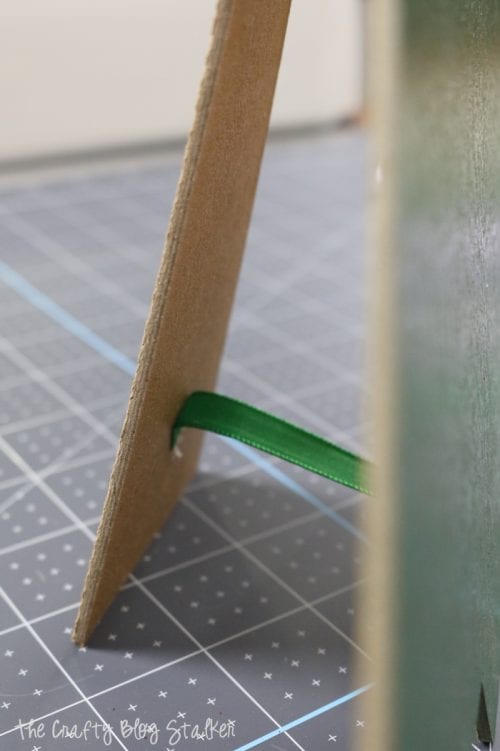
Take a small piece of ribbon about 4 to 5 inches long. Attach one end to the easel and the other to the backside of the tree. This will help the tree stand up and the easel stays sturdy.
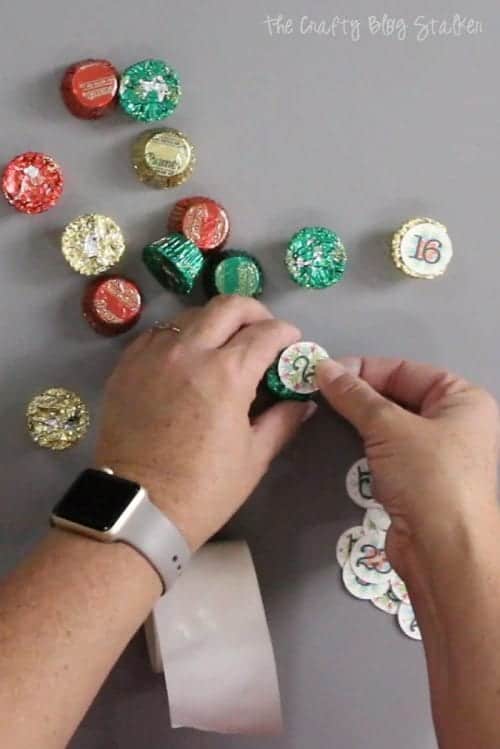
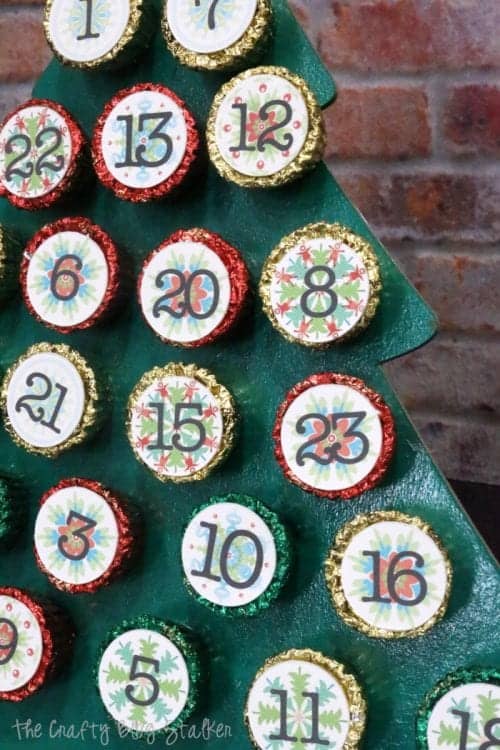
Adhere the number circles to the tops of the Reeses candies with glue dots.
To stick the candy to the tree you have a couple of options. I used rubber cement because the glue is removable which means I could use the Advent Calendars again next year if I want.
There is a warning label on the rubber cement that it is harmful if swallowed. In my opinion, the glue is on the outside of the packaged candy so I think it is fine. But if you have any concerns, you may want to use a glue dot instead.
Arrange the candies on the tree so you know how they will best fit before you start gluing. You can have the numbers in order or go random. I did it both ways.
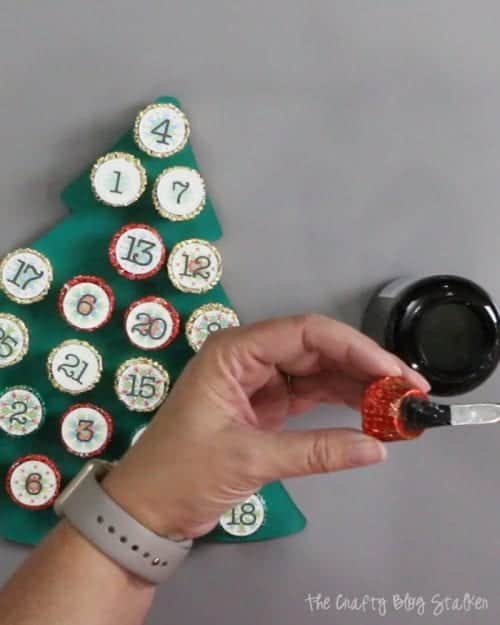
Once the glue is dry, you are finished! Proudly display your Christmas Tree Advent Calendar and let the countdown begin!
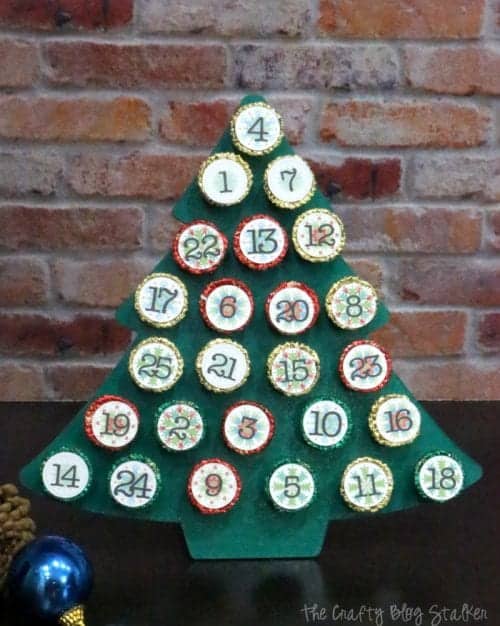
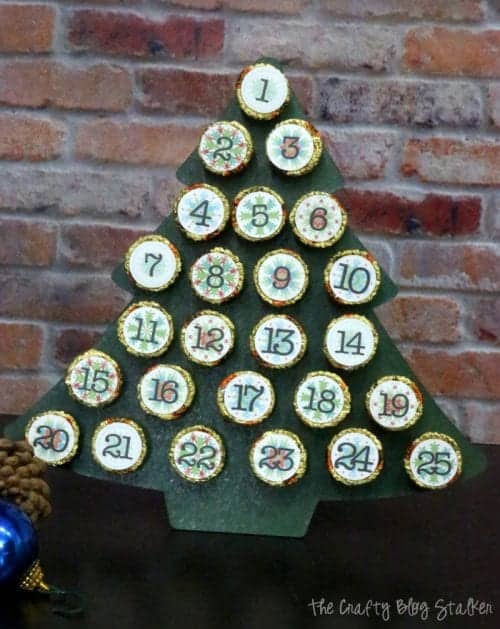
Here is the Christmas Tree Advent Calendar where the numbers are in order so you can see what it looks like both ways.
What do you love about the holidays?
Our Crafting Essentials:
- The Cricut Cutting Machine is easily our favorite crafting tool. We use it in so many of our tutorials!
- These MakerX Crafting Tools are perfect for keeping in the craft room and are always ready when needed!
- This Fiskars Paper Trimmer is easy to use and cuts nicely without frayed edges.
- These Scotch Precision Scissors cut like a dream, and you get multiple pairs in a pack!











Gwen
Oh my gosh! This is SO cute. My grandbabies are going to love it. Thank you for the great idea 🙂
Katie
Thank you, Gwen! I am so glad you enjoy the tutorial.
Tammy Peebles
there is no link for this for design space. This is super cute and i would like to try to make one
Katie
You can get to the project through this link: http://shrsl.com/1yl59