

Using a Cricut and a few basic materials, you can easily make a Christmas tree made of felt. Make a gift for friends and family or decorate your house.
♪ Oh Christmas Tree, Oh Christmas tree,
You are the tree most loved!
How often you give us delight
In brightly shining Christmas light!
Oh Christmas Tree, Oh Christmas tree,
You are the tree most loved! ♫
Christmas is most definitely my favorite time to decorate my home. I love pulling out decor from years past as I think of the memories that go with them, and I LOVE to create new decorations and create new memories.
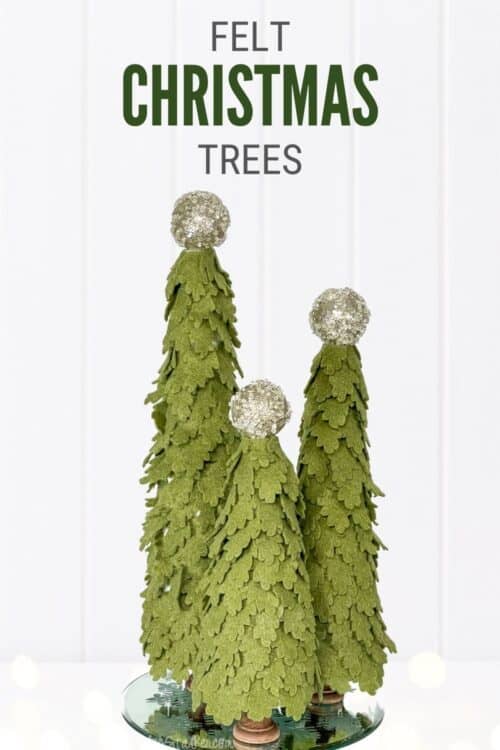
This year I am adding these beautiful and stylish DIY felt Christmas trees to my decor.
Craft Tutorial Video:
Like videos? I have a video tutorial for you! Please subscribe to my YouTube Channel so you don't miss out on any future video tutorials!
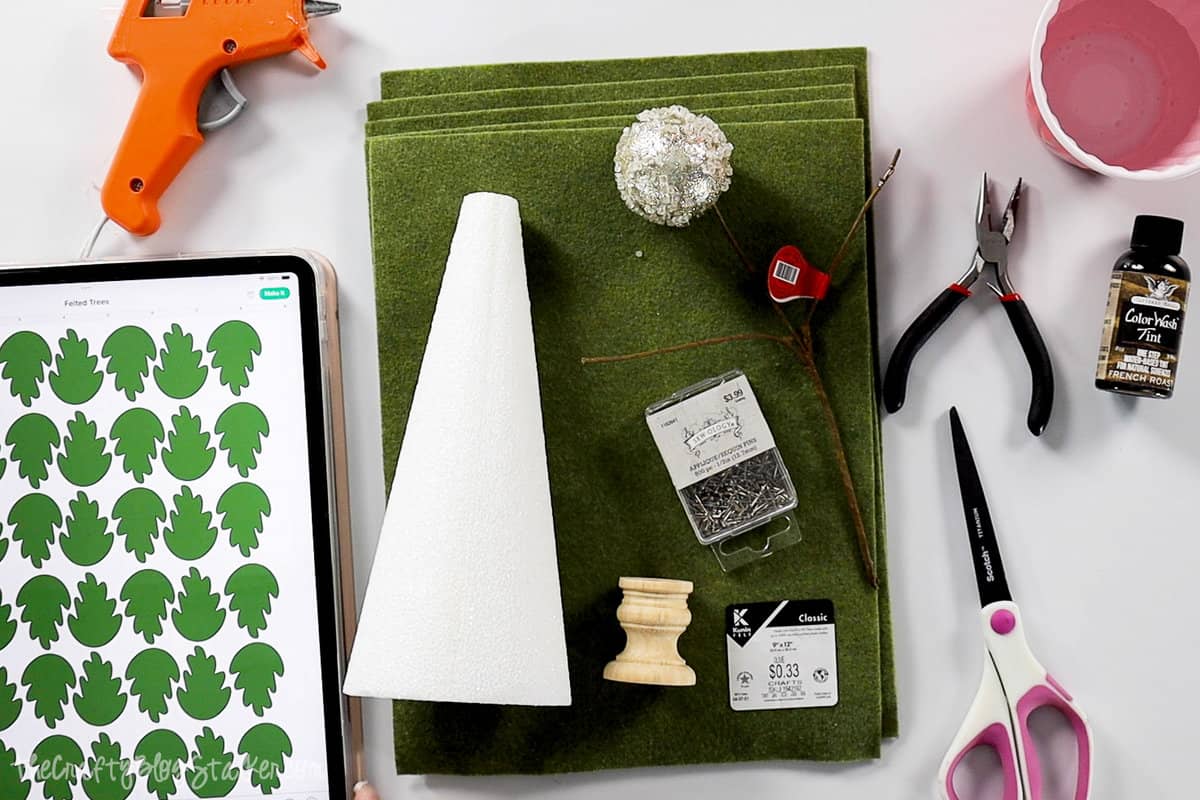
Craft Supplies You'll Need to Create this Project:
Some links may lead to similar items when the exact item is unavailable.
- Cricut Maker
- Felt Christmas Tree Branches Canvas in Cricut Design Space
- Rotary Blade and Housing
- FabricGrip Mat
- 1 Styrofoam 15 inch Cone
- 1 Styrofoam 12 inch Cone
- 1 Styrofoam 9 inch Cone
- 12 9x12 sheets of Felt
- 3 Wood Candlestick Bases (2-inch)
- Wood Stain
- 1 Holiday Floral Pick with 3 Balls
- Foam Hot Glue and Hot Glue Gun
- Sequin Pins
- Scissors
- Jewelry Pliers
For my instructions, I am going to be making a small felt tree, but all trees are made using the same steps.
Stain the Candlestick:
To stain the wood candlestick, pour about 1 tablespoon of stain wash into a plastic cup filled with 1 cup of water.
Let the candlestick soak for about 1 hour making sure it is completely submerged.
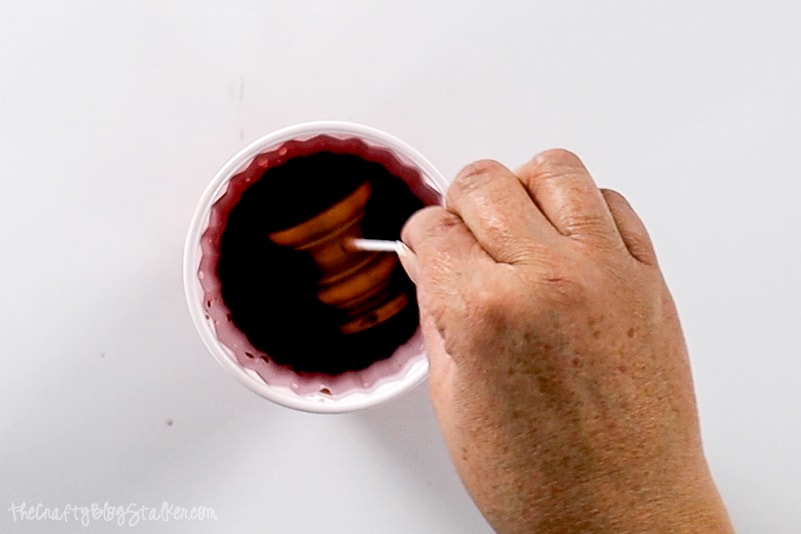
Once the desired color is achieved, remove the candlestick from the water wash, and set to dry completely. It will take a few hours to dry.
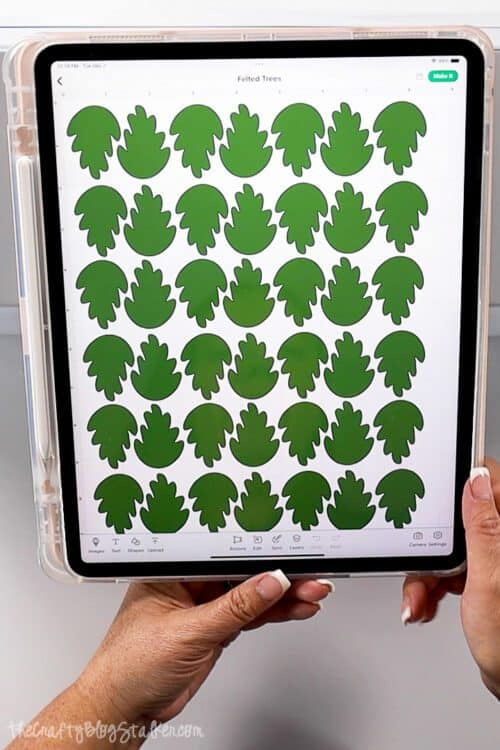
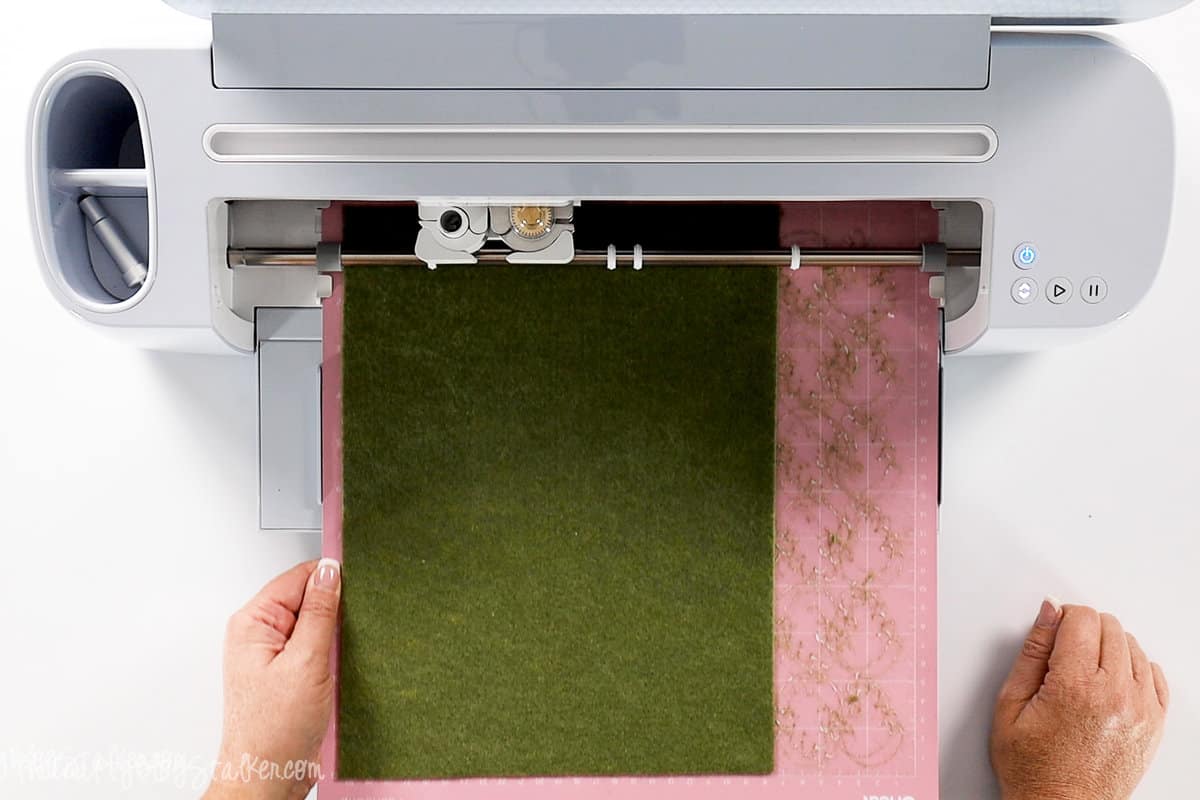
Cut the File in Cricut Design Space:
The file Christmas tree branches are completely ready to go on Cricut Design Space.
I have each branch measured to about 1.75 inches long and 42 to a sheet.
If this size works for you then you can select Make It.
If you need to adjust the sizing, select customize.
Each felt sheet will take about 30 minutes for the Cricut machine to cut. That may feel like a long time, but it is so much better than cutting 500 branches by hand.
This is an easy Christmas craft, but it is not something you can finish in under 30 minutes.
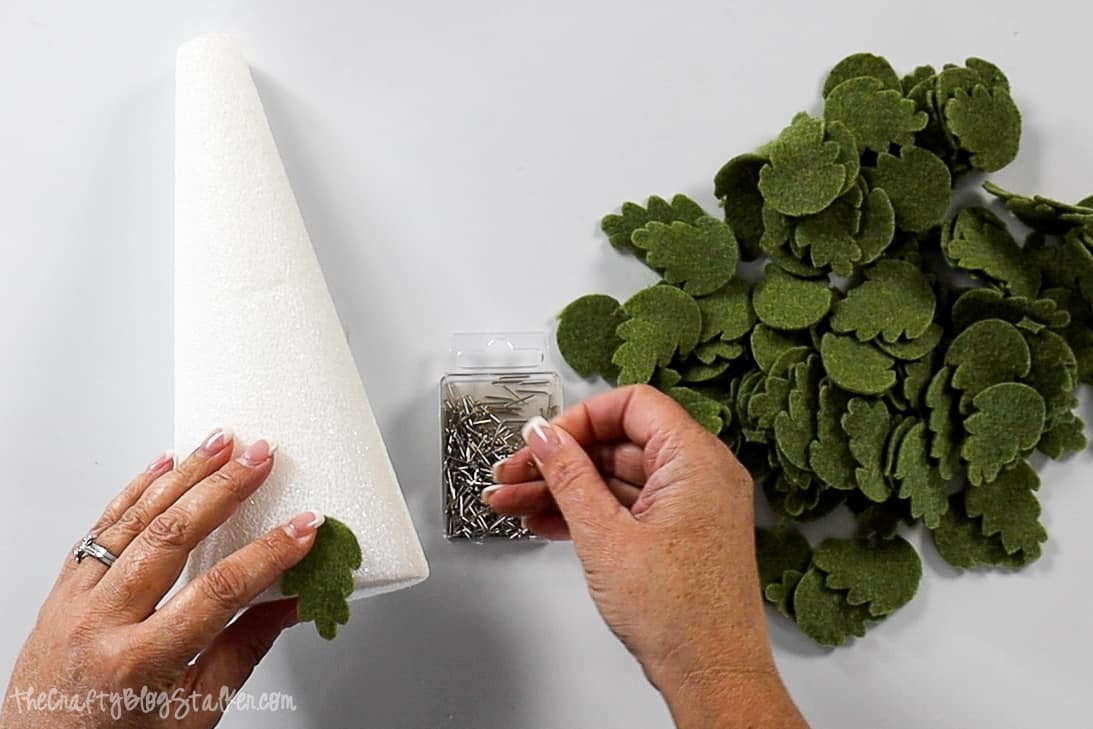
Attaching the Felt Branches:
Keep all of your sequin pins and felt branches close at hand.
We are going to start at the bottom and move up the cone.
Place the first felt branch so it hangs off the cone at the halfway point.
Grab a sequin pin and push it into the top part of the felt branch to hold it onto the styrofoam cone.
Place the felt branches all around the base turning the cone in the same direction.
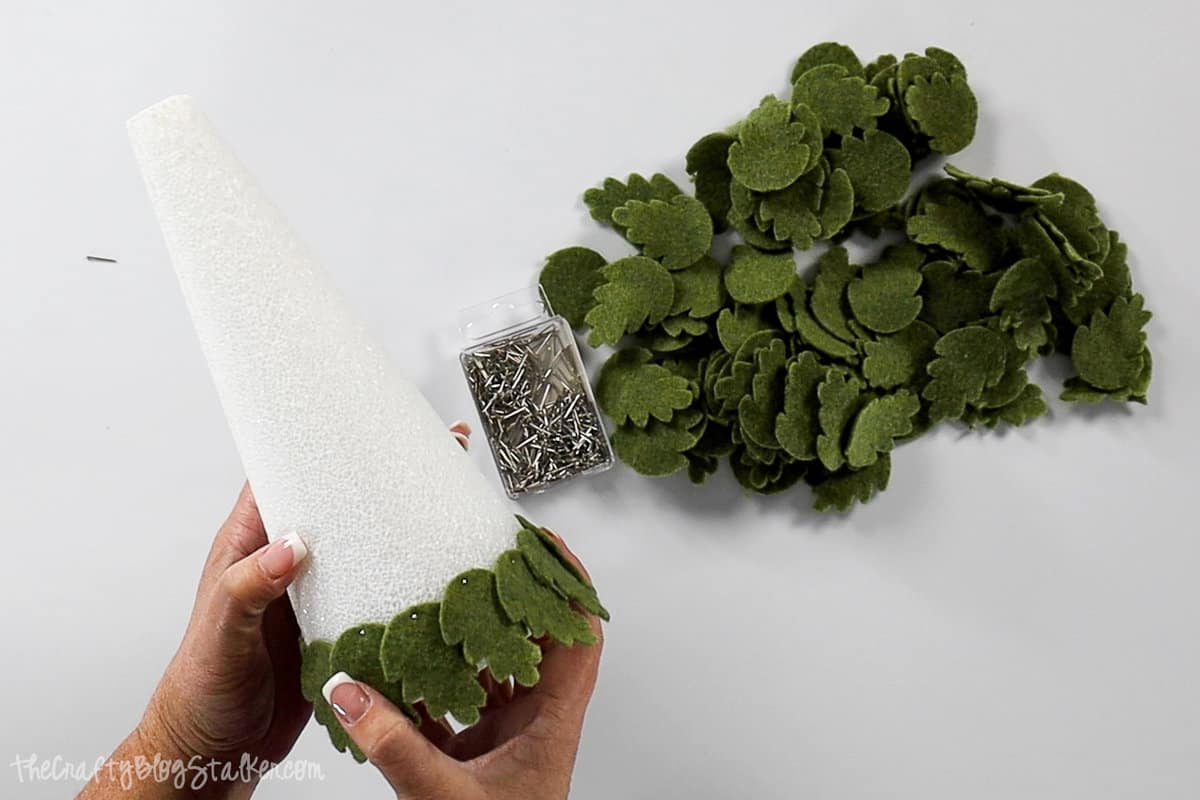
Move up to the next row of felt branches and again hang the felt branches about halfway over the leaves below.
Repeat until your cone is completely covered with felt piece branches.
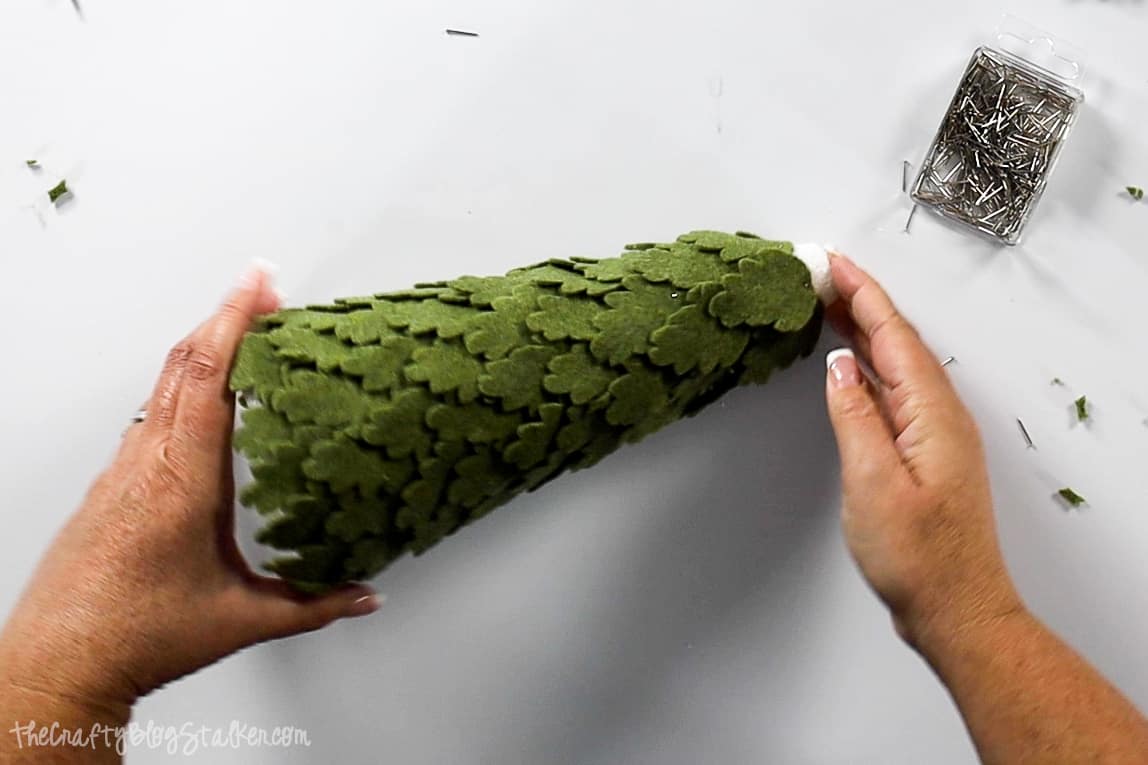
For the very top row, cut 5 or six branches in half, and glue them into place using the foam hot glue.
Adding the Candlestick Base:
Make sure that your candlestick base is completely dry before you attach it to your tree.
The more center the base is the more stable the tree will stand. So if it helps, draw an X on the base of the styrofoam cone.
Twist that candlestick base in place so it creates a bit of a groove in the styrofoam.
Apply a good amount of foam hot glue in that groove, and press the candlestick into that glue.
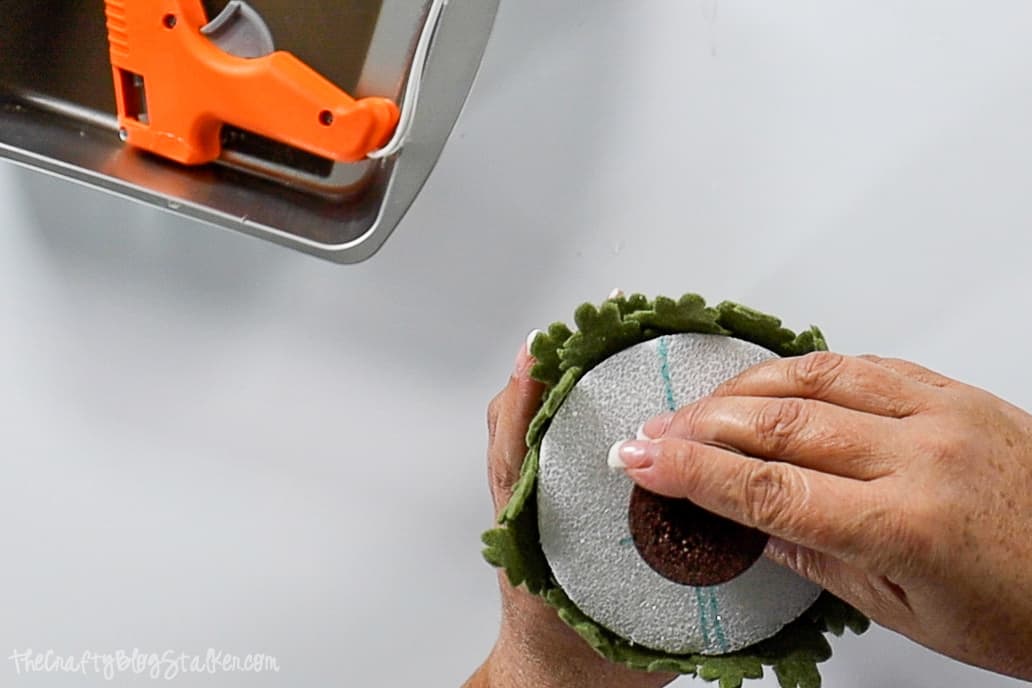
Before the glue dries, turn the tree over so it is resting on its base, and make sure the tree is standing straight on its new wood stump.
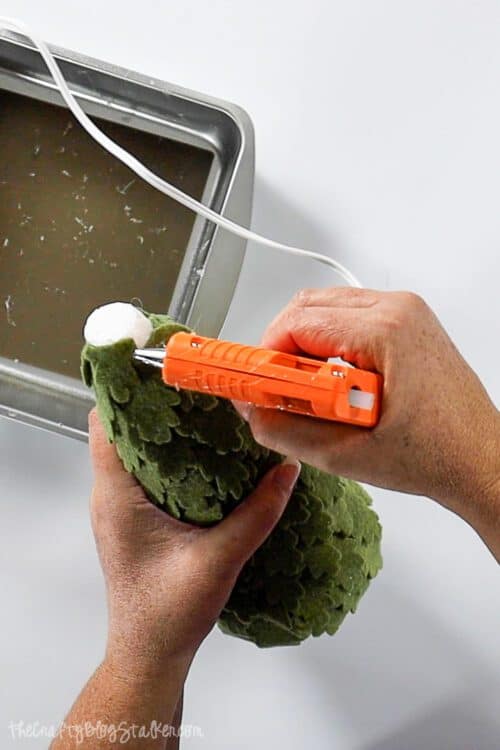
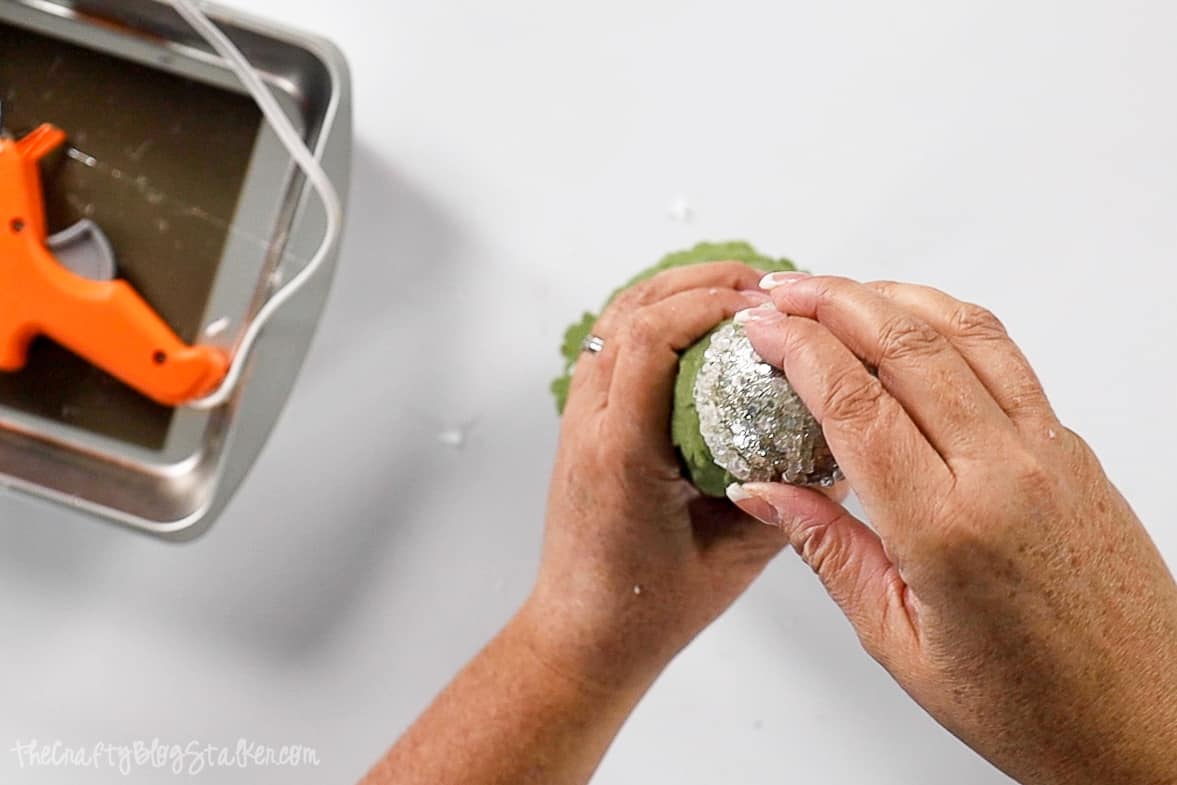
The Ball Topper:
Using a pair of jewelry pliers dig out the center of the top of the cone.
I did this so the ball would rest a bit more on the top of the tree instead of just sitting on top.
Use the wire cutter part of the pliers and cut off the ball from the floral pick. You want to have about 1-inch of wire sticking out from the ball.
Fill that little divet at the top of the cone with foam glue, and then push the ball into place with the wire sticking into the top of the tree.
Finished Trees:
The finished trees are so cute!
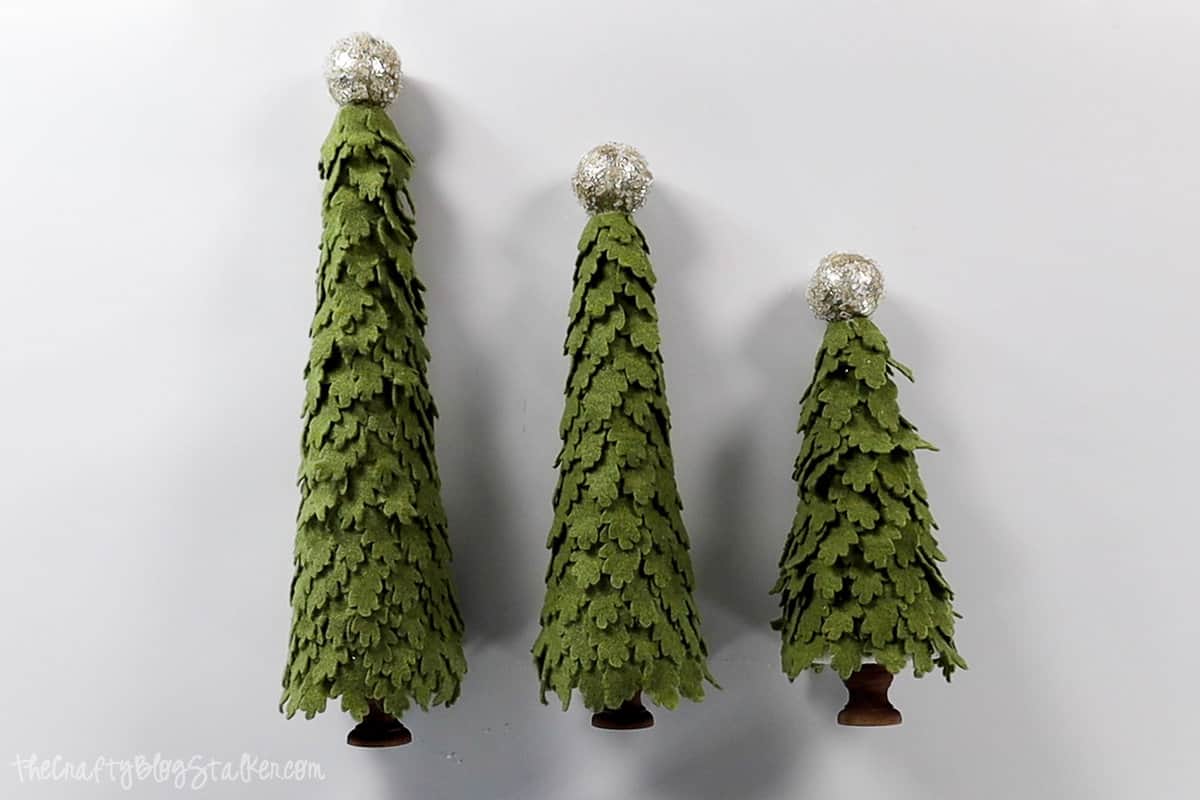
And they look even better when they are put on display.
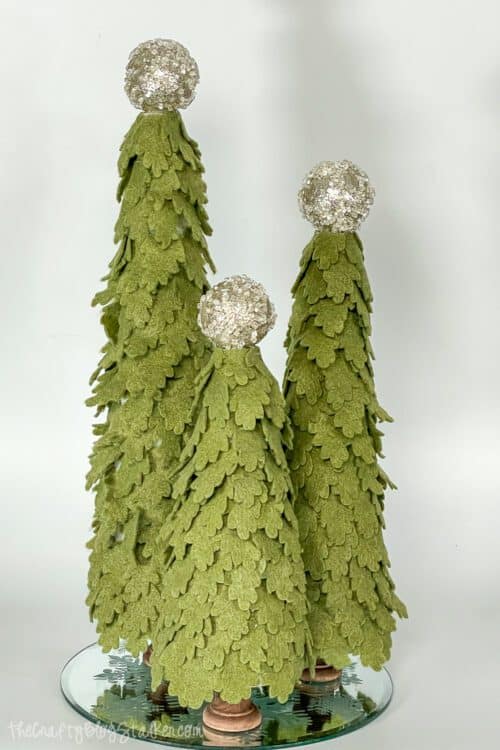
When finished you will have 3 super cute trees measuring 15, 12, and 9 inches.
Crafting Essentials
- The Cricut Cutting Machine is easily my favorite crafting tool. We use it in so many of our tutorials!
- These MakerX Crafting Tools are perfect for keeping in the craft room and are always ready when needed!
- This Fiskars Paper Trimmer is easy to use and cuts nicely without frayed edges.
- These Scotch Precision Scissors cut like a dream, and you get multiple pairs in a pack!
`Vickie@Vickie's Kitchen and Garden
Very pretty and a great tutorial! Thanks for sharing at the #HomeMattersParty
Cara
Found your blog on the link-up today! This Christmas craft is too cute! I will definitely have to try this out sometime. Happy Thanksgiving 🙂
Katie
Thank you Cara. It was fun to make too!
Diana Rambles
This is super cute!
Sherry
Great tutorial. The trees are absolutely gorgeous...Thanks for sharing them with us at Funtastic Friday.
Miranda @ Crafty Housewife
These are so much cuter than the felt christmas trees I saw in the store yesterday. This is a great tutorial.. I see some felted Christmas trees being crafted in my near future.
Lisa B.
Good Evening Katie!! I wanted to stop by and let you know that your post has been chosen as a Feature for the Welcome Home Wednesdays Link Party!! Stop by tomorrow morning and see your post linked up and don't forget to grab your "Featured Button". ~Lisa~
Laurie
My Christmas crafts this year seem to all center around Christmas Trees . . . maybe I can make some more, cause yours are adorable! Thank you for sharing with us at Brag About It! I love seeing the projects you share with us!
Have a great week!
~Laurie
Megin
Super cute, Katie! I like the Silver, too. I made something similar years ago with cardstock circles, I think. Seeing those push pins brought back the memory!
Thank you for sharing this week at Brag About It link party on VMG206 (Mondays at Midnight).
~ Megin of VMG206
jessica @ creative index
These are so cute!! I really love the silver ones!
Great job!
Katie
Thank you Jessica, I am so glad that you like them.
Janelle (JEM)
I love this idea too. I am happy to have found you!
JEM
Katie
Thank you Janelle. I am so glad that you like it.
Katie
This is so cute and clever, Katie! I love it:-)
Katie
Aki @ Minted Strawberry
So pretty! Thank you for the inspiration and for linking up to Friday Finds! 🙂
Antonella | White House Crafts
It turned out cute. Thank you for sharing at The Crafty Corner link party 🙂 I hope to see you again this Wednesday.
Katie
Thanks Antonella! I am so glad that you like me trees!
Lori
I wanted to watch the tutorial video but it isn't on your Youtube and it isn't linking here. Can you let me know where I can watch?
Katie
Hi Lori, here is the link to the video: https://youtu.be/gSjju_er8K8