

Master tassel making with this yarn tassel tree guide-ideal for cozy, crafted Christmas tree decor.
Oh, how I adore the cozy vibes of rustic style! It's like a warm hug for your home, especially around the holidays.
And let's be real, who doesn't love that farmhouse chic look? It's all the rage, and honestly, I'm here for it.
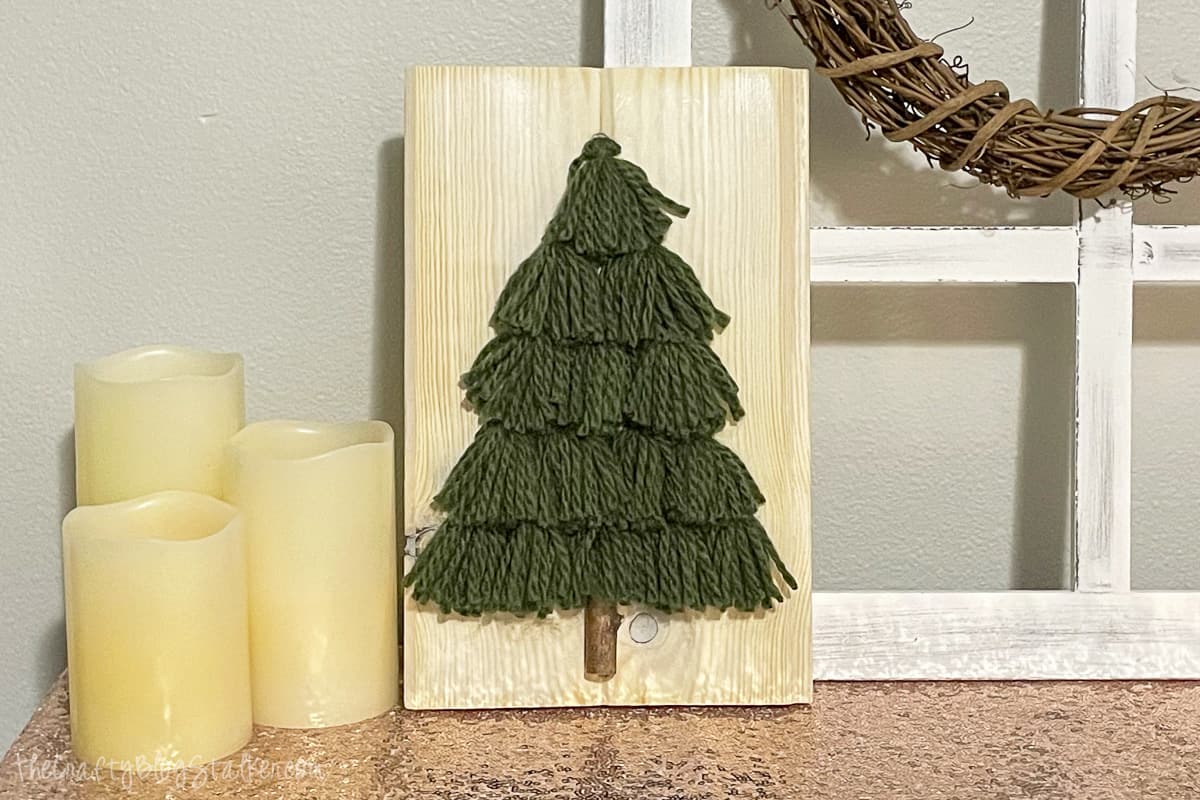
Today we're going to jump into a DIY project that's as charming as it is easy to make-a Tassel Christmas Tree Sign that's going to be the star of the Christmas season.
Ready to get crafty and add decorations to your holiday setup? Let's do this!
Craft Tutorial Video
If videos are your thing, you're in luck-I've got a full tutorial ready for you!
Subscribe to my YouTube channel and stay inspired with every new project.
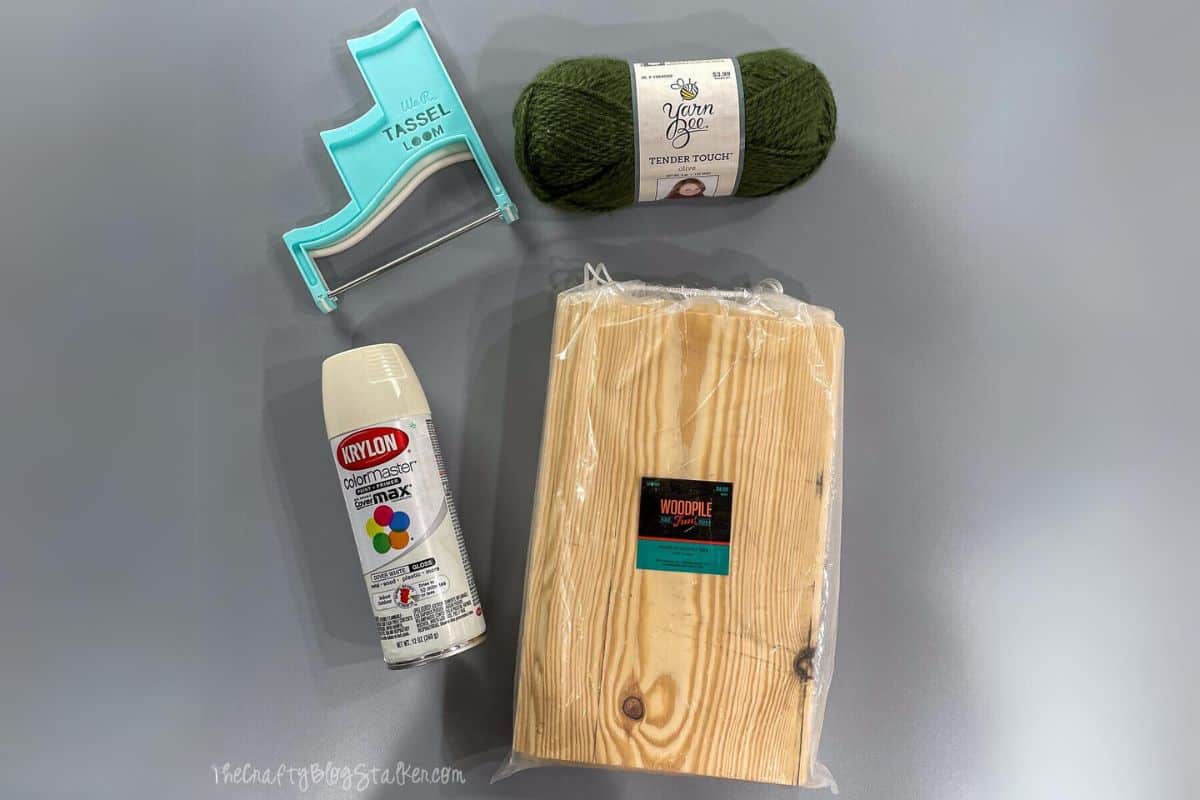
Supplies List:
Some links may lead to similar items when the exact item is unavailable.
- Scrap Wood
- Green Yarn
- 2-inch wood Stick Piece
- Tassel Loom
- Ivory Spray Paint
- Sanding Block
- Scissors
- Hot Glue Gun and Glue Sticks
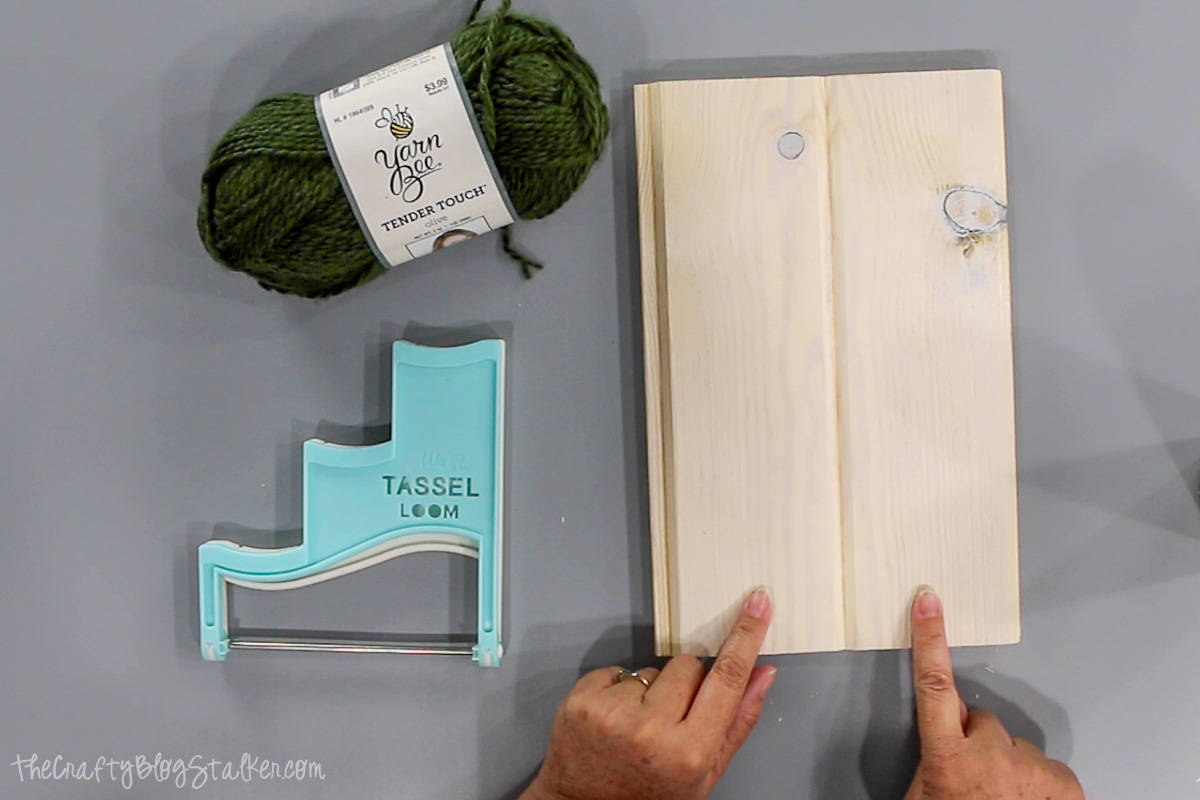
Prepping the Wood Sign:
The wood piece I used is a scrap from wood flooring pieces, but really any wood slab or sign would work.
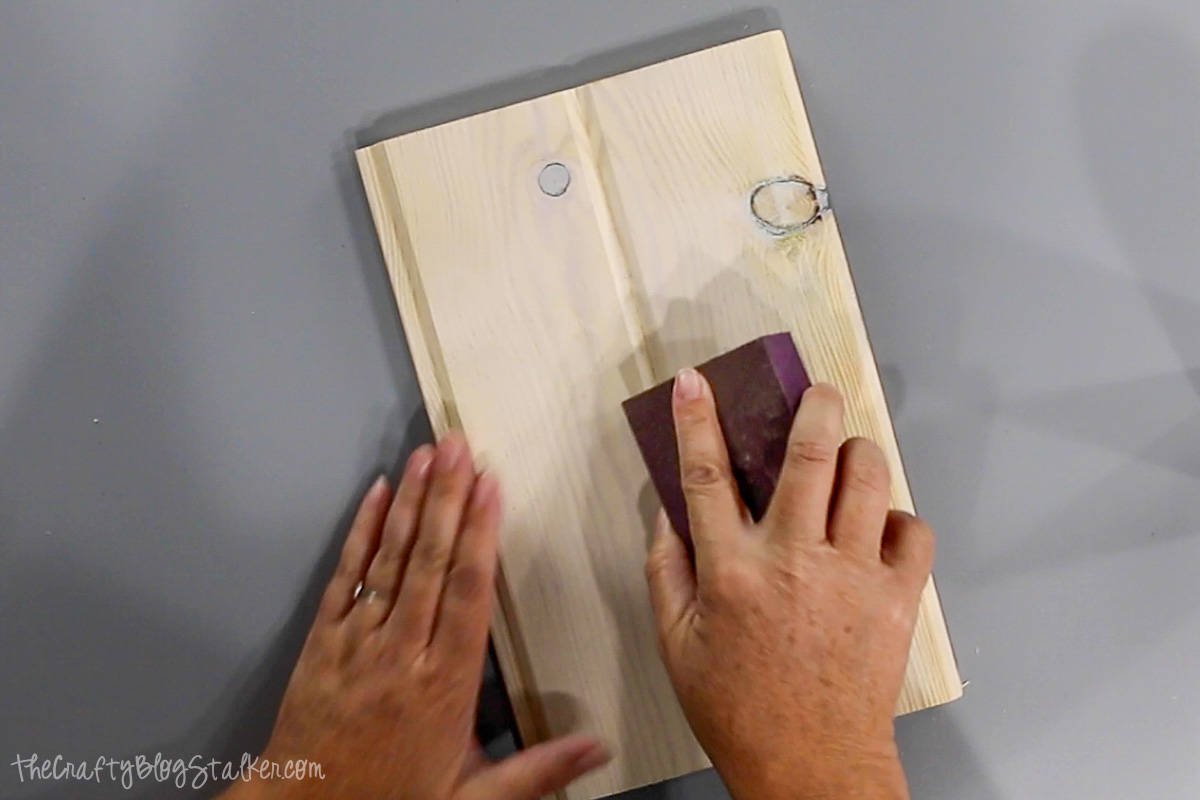
Paint the wood with a couple light coats of cream-colored spray paint. You want to still be able to see the grain of the wood underneath the paint.
Once dry, use the block sander to sand away some of the paint.
You want this to be uneven to give it an aged look.
Sand hard in some areas and completely skip other areas.
The wood is now ready to go. Set it aside until we are ready to glue the tassels into place.
Making the Yarn Tassels:
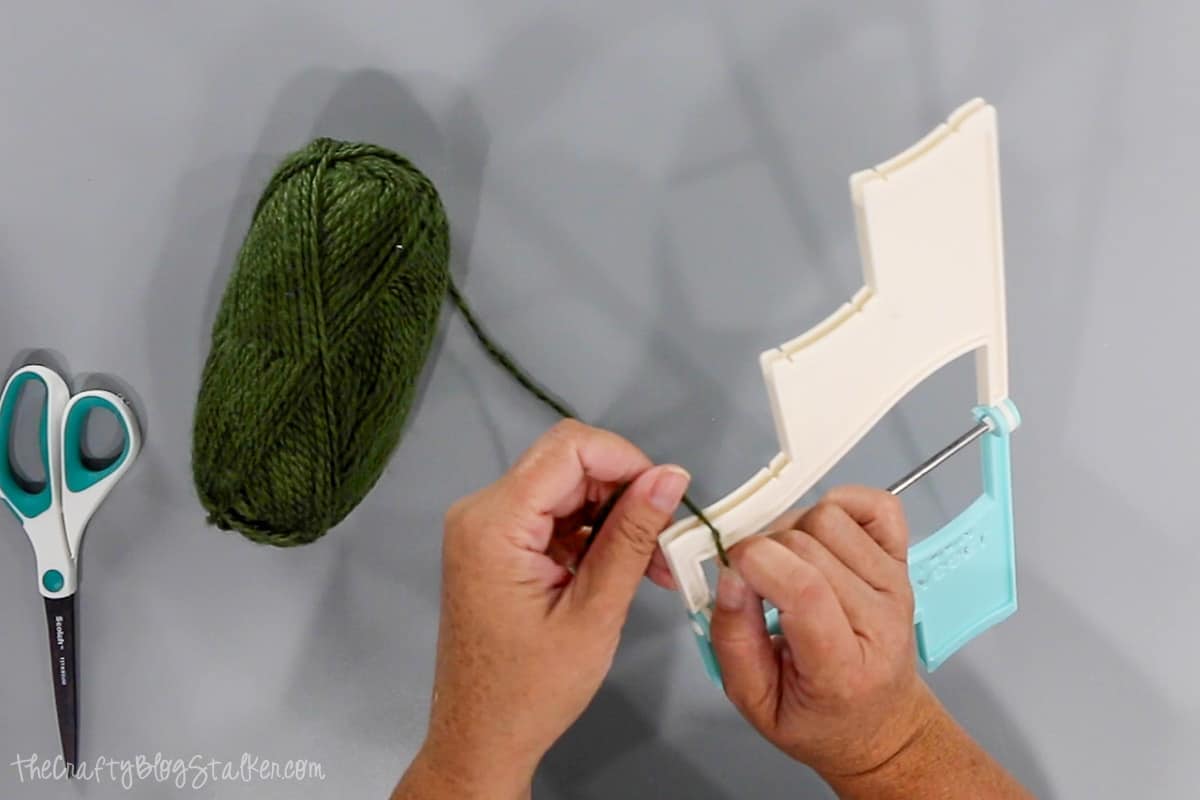
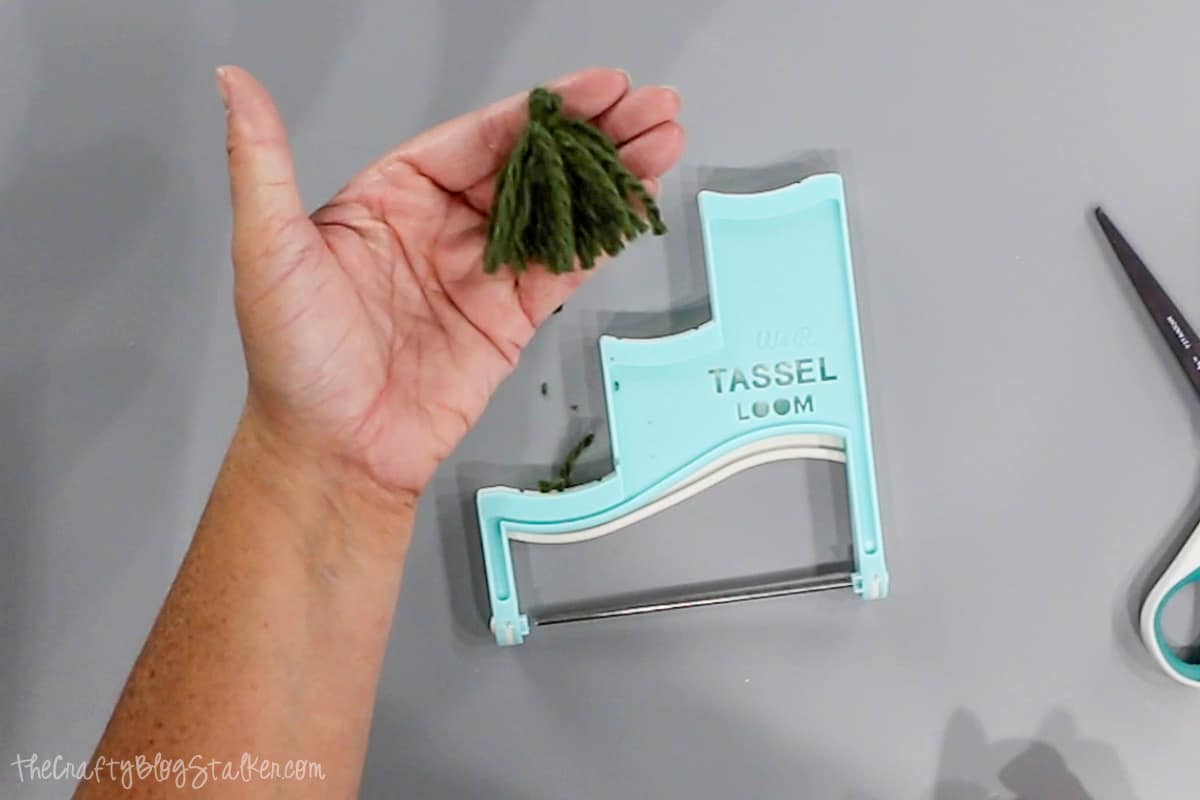
To make the tassels we are going to be using the Tassel Loom by We R Memory Keepers.
This tassel maker is great because it makes 3 different sizes of tassels. 2 inch, 4 inch, and 6 inches. We are going to make 2-inch tassels.
Open the loom and start by placing the yarn in the starting notch of the 2-inch tassel section of the loom.
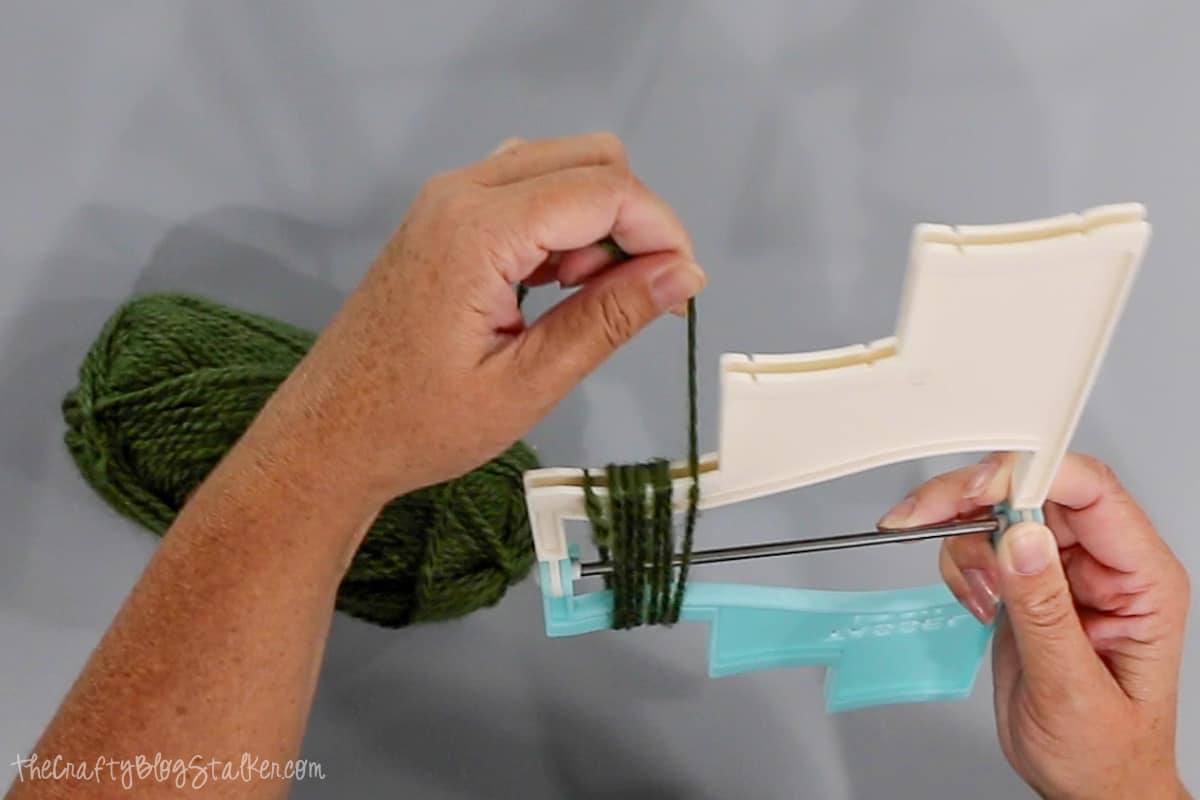
Wrap the yarn 5 times around the loom and finish by placing the last loop through the ending notch on the loom.
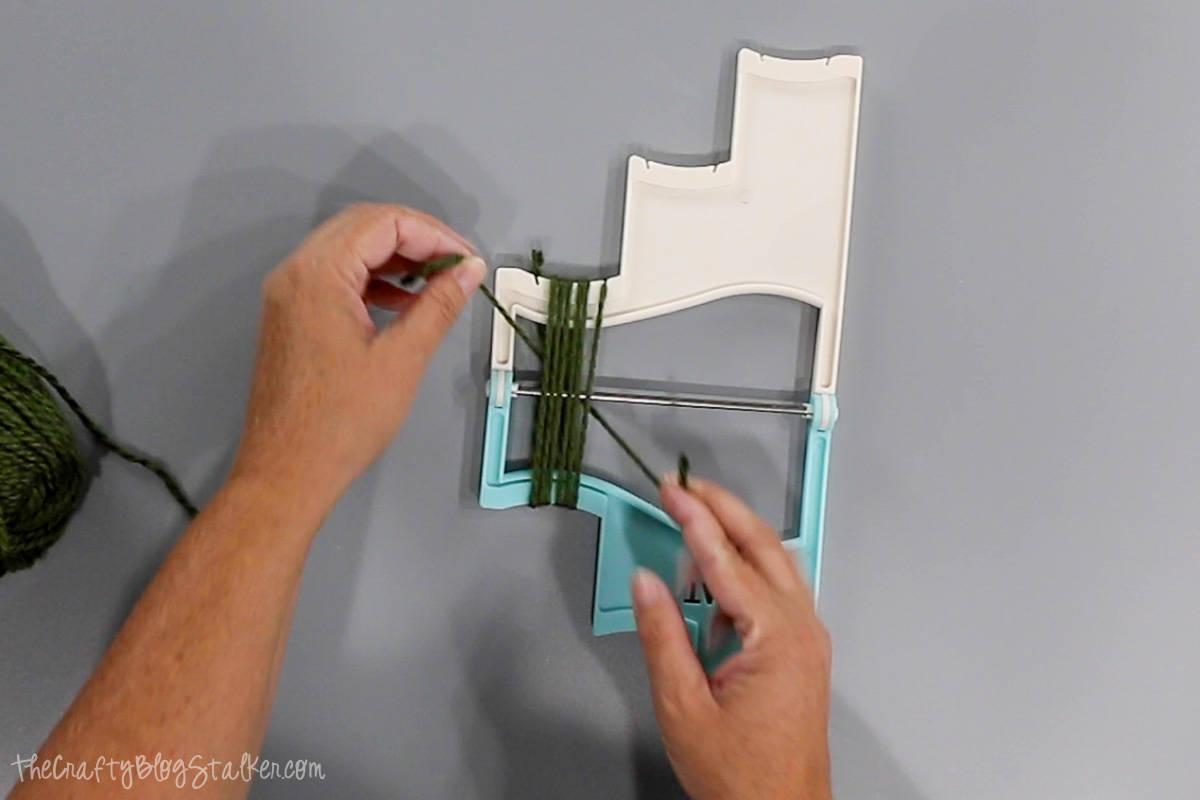
Cut a piece of yarn about 5 inches long and place it behind the loops of yarn. Pull one end over the top of the metal rod and one underneath. Tie a knot.
Fold the loom in half on its hinges.
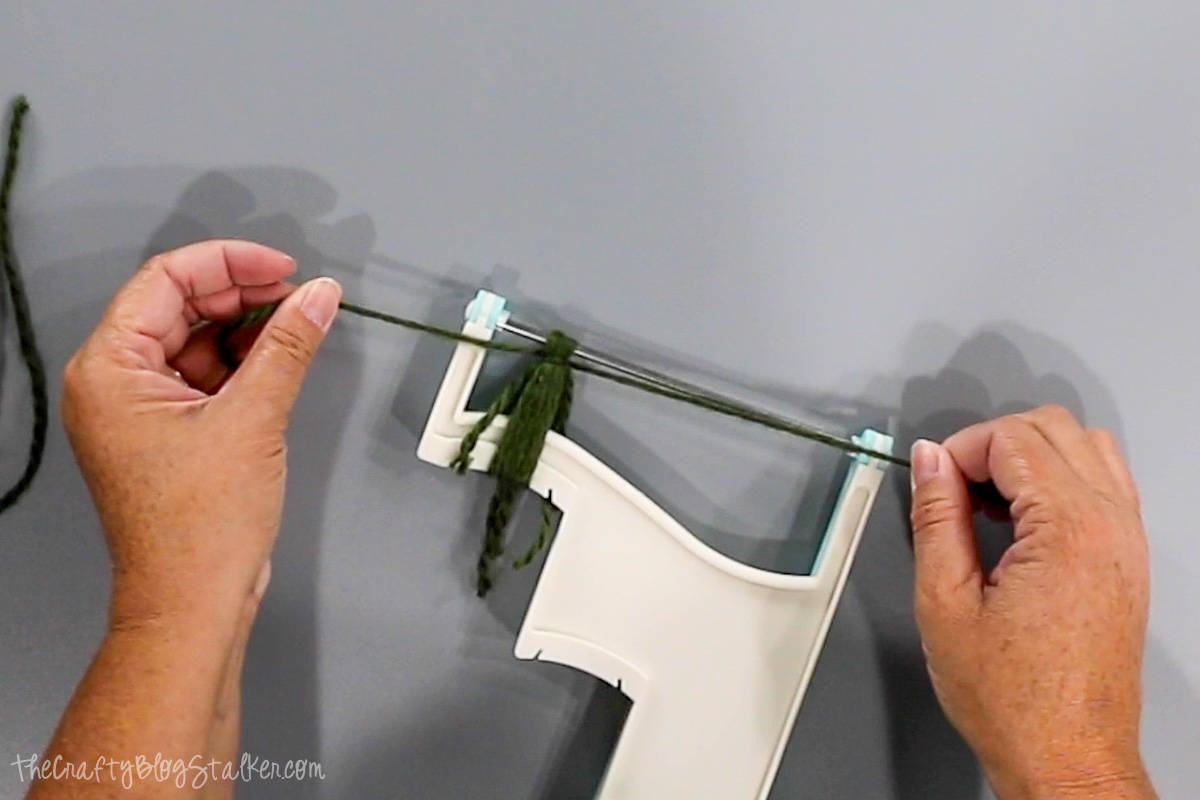
Cut another length of yarn about 8 inches.
Wrap the small piece of yarn twice around the threads right under the metal rod and tie a double knot.
Slide the scissors into the grooves of the loom and cut the yarn loops.
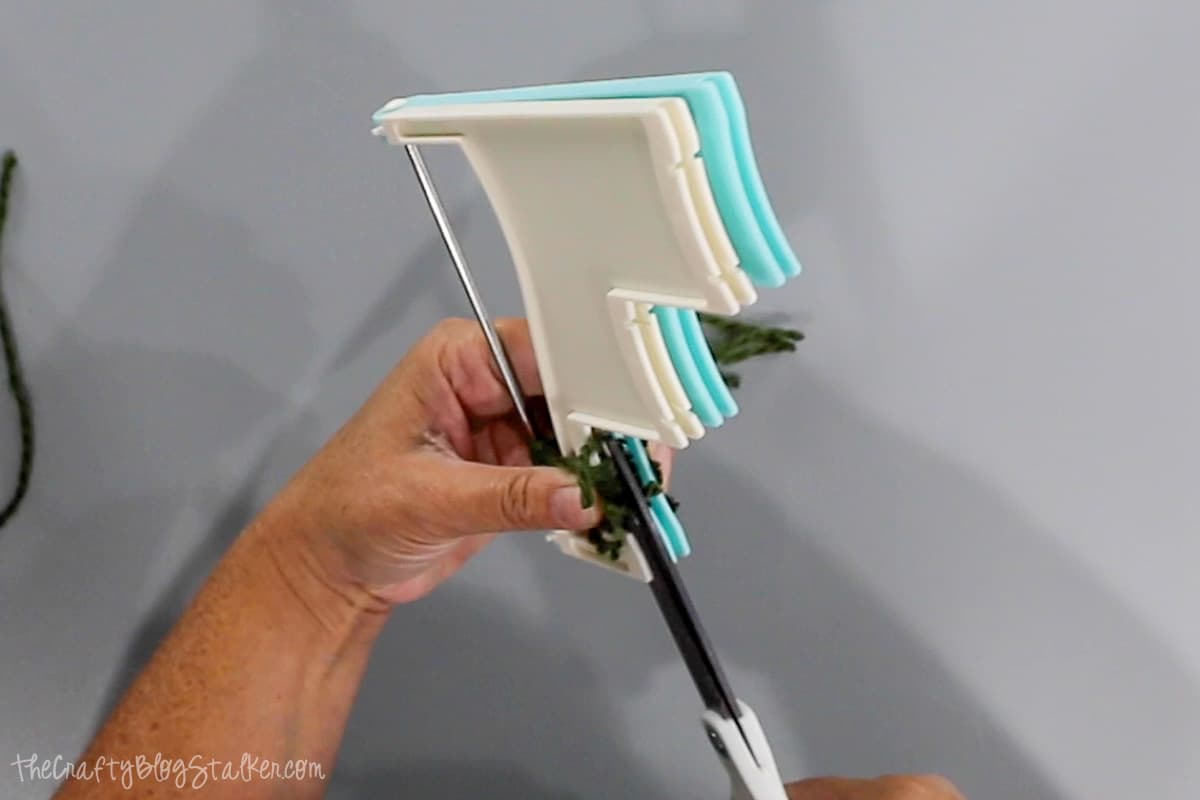
Slide the tassel off of the metal rod and trim the tassel to even up the ends.
The total number of tassels you will need is 15.
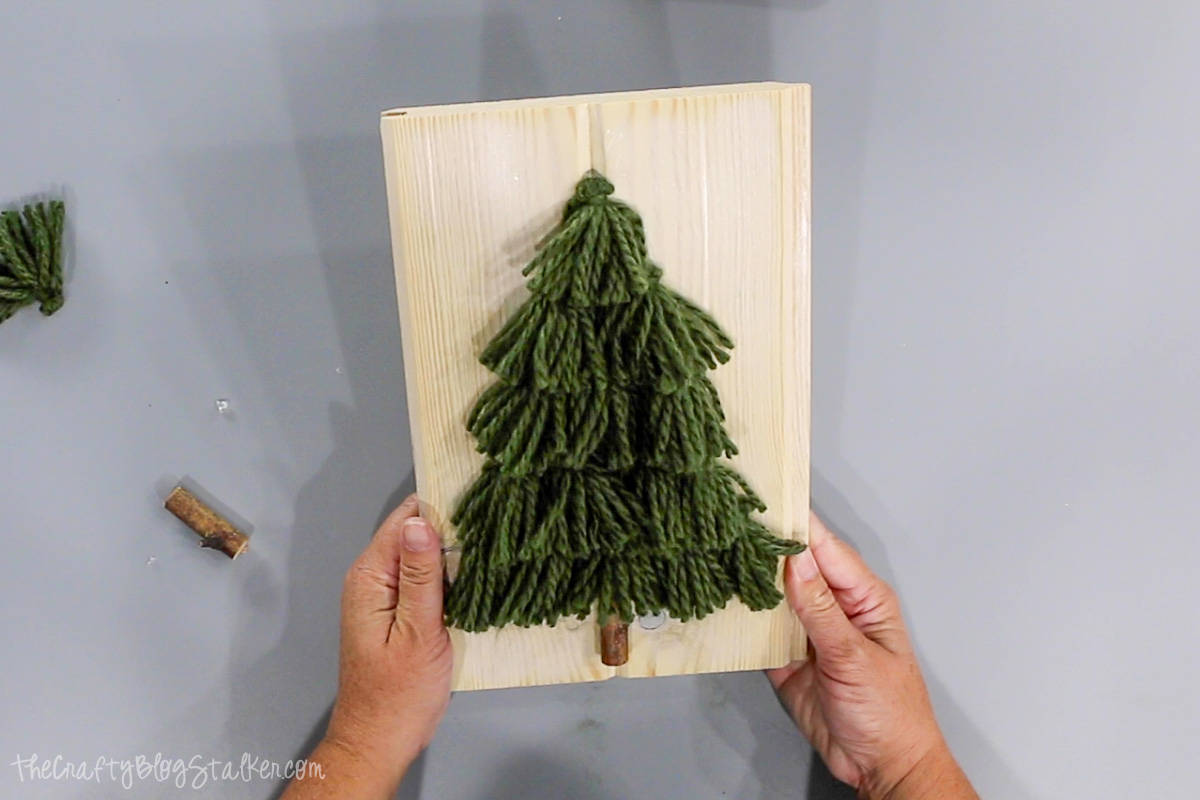
Assembling the Christmas Tree Sign:
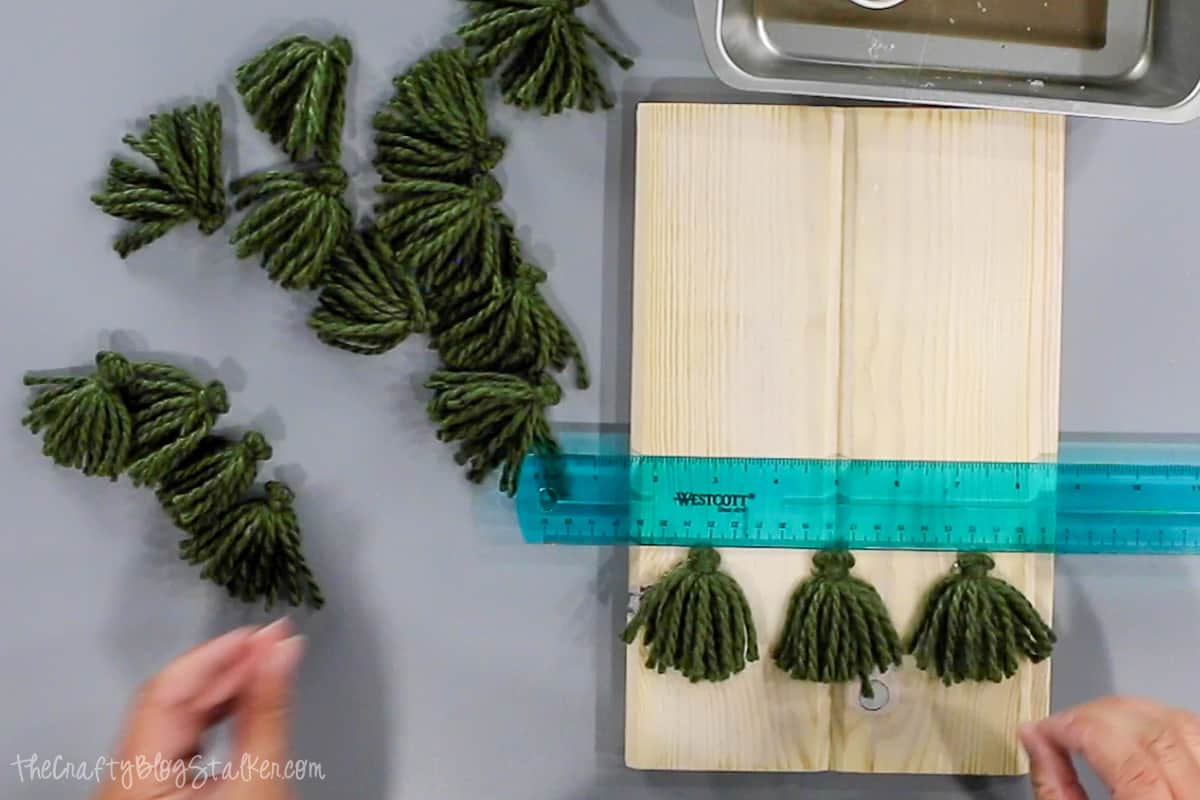
Measure your wood sign and find the center vertical line.
With 2-inch tassels, the tree will be about 8 inches tall because each layer of tassels is going to slightly overlap. Plus about 1.5 inches for the trunk.
My wood sign measures 7 x 11 inches and I started the bottom row of tassels about 4 inches from the bottom of the sign.
Start by gluing the bottom row into place with hot glue.
Place a dab of hot glue on the back of the tassel where the knot is and press it into place on the sign.
I glued the very center tassel first, then out outer tassels, then the two in the middle.
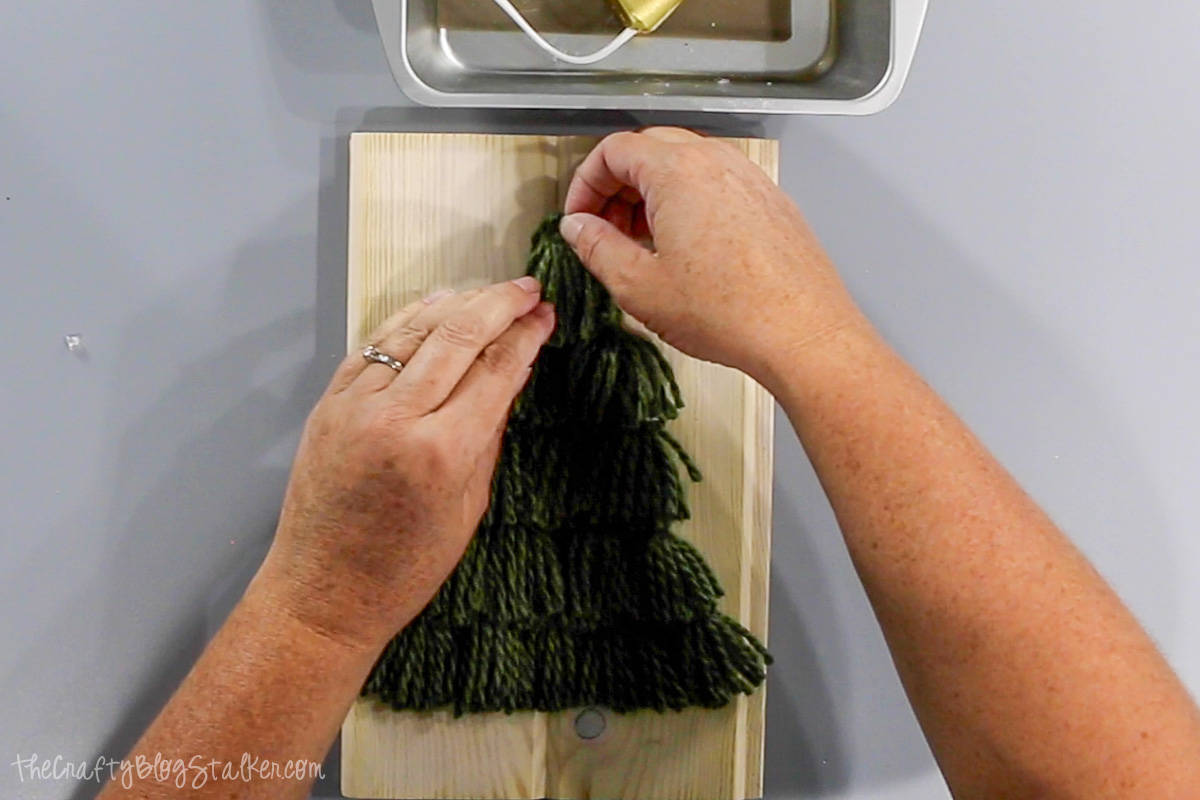
The bottom row has 5 tassels, then 4, 3, 2, and 1. Offset the tassels with the row below and barely cover the top of the tassel.
Keep repeating with each row of tassels to the top of the tree.
Once all of the tassels are glued into place, glue the wood stick into the center of the bottom row of tassels so it sticks out and looks like a tree trunk.

Fluff up and mess the yarn tassels around a little bit with your fingers and your Yarn Christmas Tree Sign is complete!
Crafting Essentials
- The Cricut Cutting Machine is easily my favorite crafting tool. We use it in so many of our tutorials!
- These MakerX Crafting Tools are perfect for keeping in the craft room and are always ready when needed!
- This Fiskars Paper Trimmer is easy to use and cuts nicely without frayed edges.
- These Scotch Precision Scissors cut like a dream, and you get multiple pairs in a pack!
Beth
This is a super unique project, Katie! Thanks for joining in the Creative Crafts Christmas FUN!
Laura Walters
This is absolutely darling and perfect for the holiday season! Thanks so much for sharing!
Katie
Thank you Laura! ❤️
Linda
I love your yarn tree. I plan to make one or try to anyway. Thank you!!!!
Kim
I love this tree made 2 and put gift cards under the tree as an added gift, they loved it received a decoration with a surprise under the tree. Thanks for a great idea
Katie Adams
You are welcome! I am so glad they liked it! ❤️