Make a festive Snowflake Keepsake Ornament for your Christmas tree this year. An easy DIY craft tutorial idea that also makes a great Christmas gift!
Christmas is my favorite time of year. What I love most are all of the traditions. Every year all of the women on my side of the family do a Handmade Christmas Ornament Exchange.
There is a total of 8 woman which includes the sisters, sisters-in-law, and my mom. So we all make 8 of the same ornament and then exchange with each other. So every year we get 8 newly handmade ornaments. These are easily my favorite ornaments and it so fun to pull the ones out from years past and hang them on the tree.
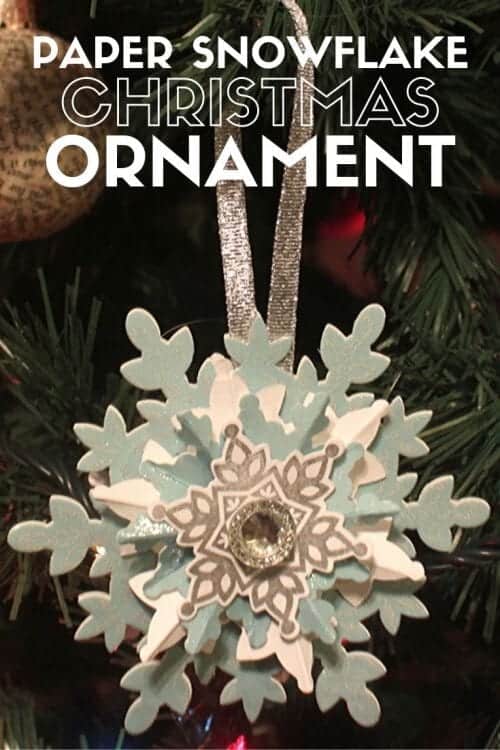
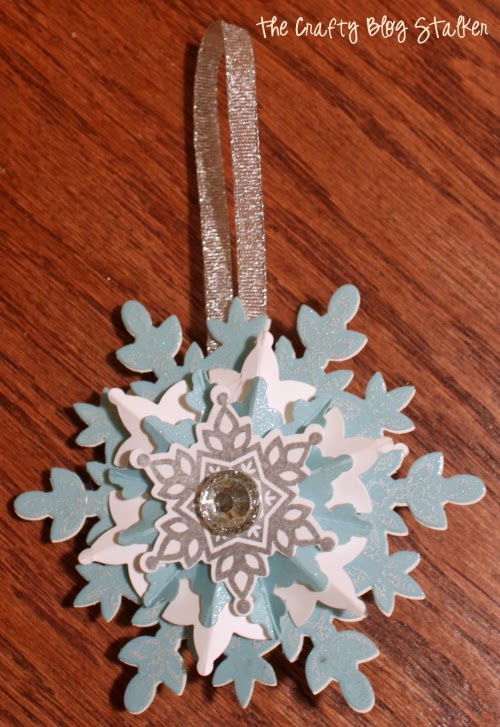
This year I made this beautiful Snowflake Ornament. Let me show you how I made it.
Supplies Used to Make Snowflake Christmas Ornament
Most of the supplies used in this project have been discontinued. Most of the links below are too similar items.
Paper Snowflake Christmas Ornament Instructions
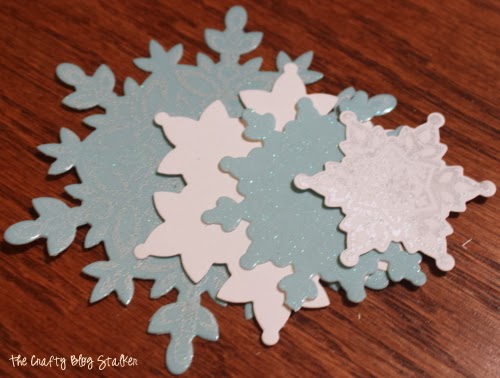
There a total of 8 layers to this ornament so you will need 2 of each of the four layers. I pre-stamped the top layer (white cardstock with a silver stamped snowflake) and the bottom layer (blue glitter paper with a white stamped snowflake).
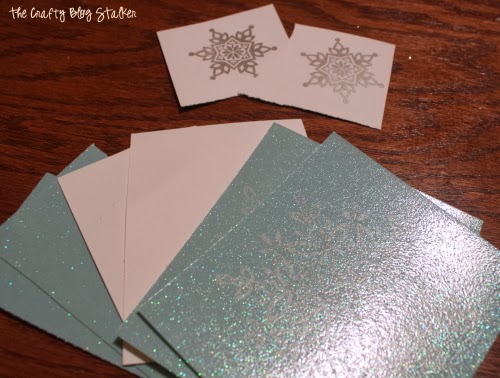
The great thing about these sets is that the framelit matches the stamp perfectly so you can stamp and then cut out the matching shape with your Big Shot. That is what I did here with the large snowflake.
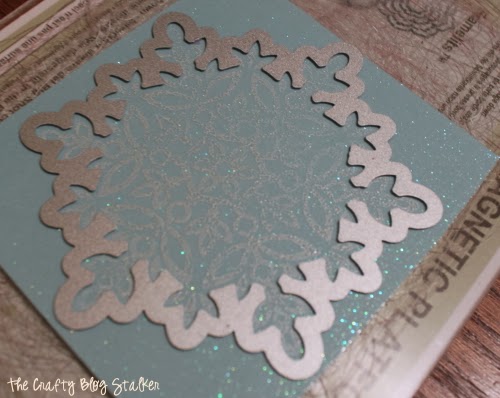
Isn't that awesome! Framelits are totally my favorite dies to use with my Big Shot.
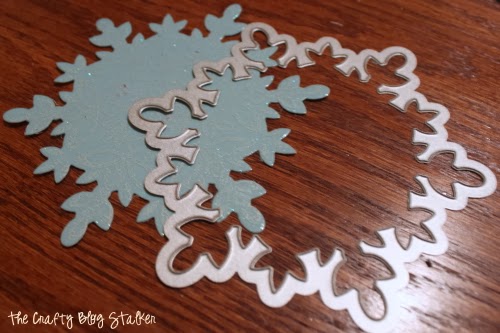
I cut out 4 different sizes of snowflakes but did 2 of each size to make my total 8 layers.
I wanted to add some dimension to the ornament so I accordion folded the two middle layers. To do that I used my Simply Scored to create score lines so I could easily fold the paper.
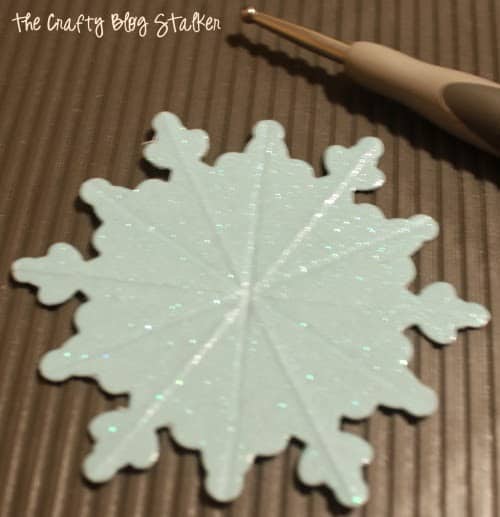
Fold the snowflake in half on one of the score lines and with a hole punch, punch a circle out of the center. Then continue accordion folding all the way around the ornament so you have peaks and valleys on the snowflake.
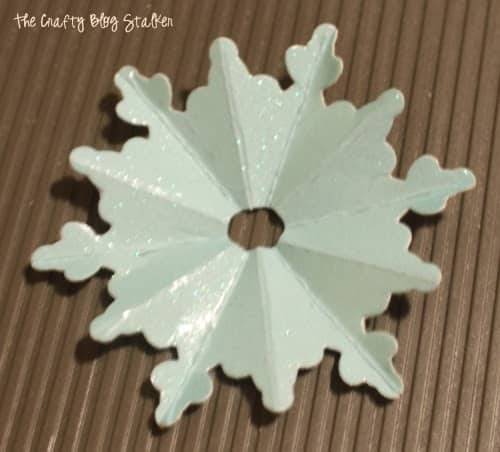
I did this to the two center layers.
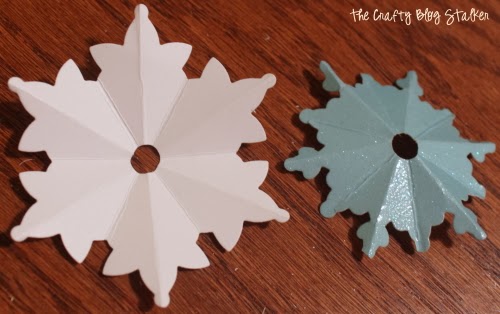
You then want to put a dab of hot glue in the hole of the snowflake and squish it together to create a rosette type snowflake.
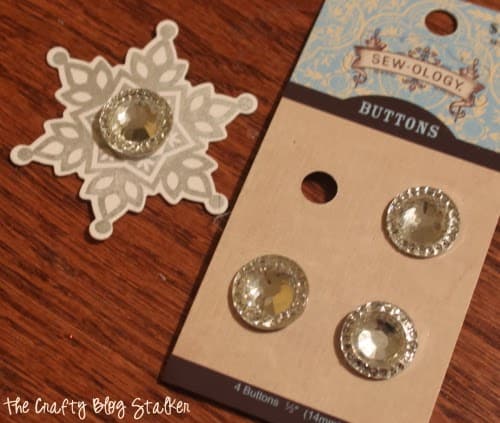
For the center of the ornament I wanted to add some sparkle, so I found these really cute sparkle buttons that I thought were perfect. I cut the buttonhole loop off of the back of the button and hot glued it to the center of the top layer snowflake.
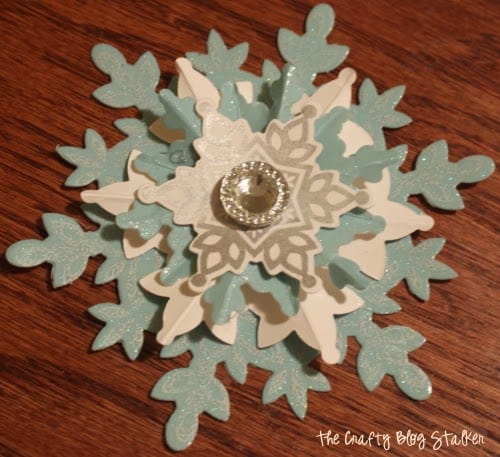
The easiest way to assemble is to work on 1 half at a time and hot glue the layers together. 1 half will look like this.
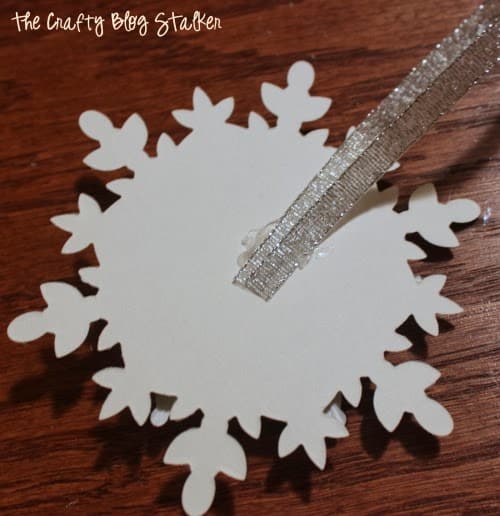
I took some silver ribbon, folded it in half and hot glued the ends to the backside of 1 of the halves.
On the back of the other half, I used some Tombo Multi Adhesive Glue and made sure to get it all the way up to each of the points.
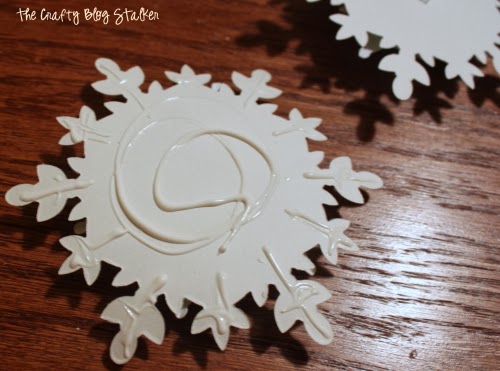
Put the two halves together and line everything up and there you have it. So cute!
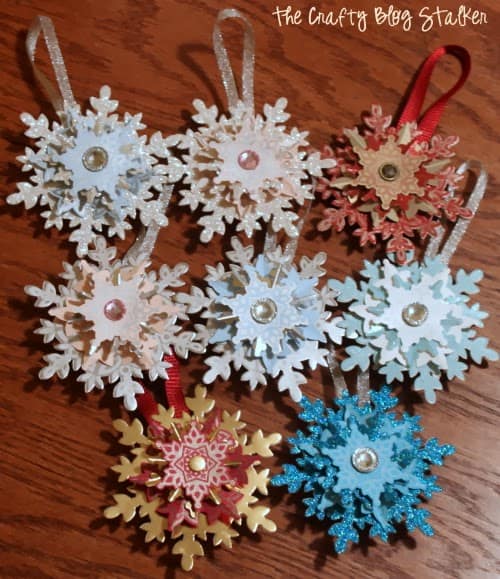
I made 8 but all the same way but I switched up some of the colors and papers that I used for different effects. I love them all and can't decide which one I want to keep for me. Which one would you pick?
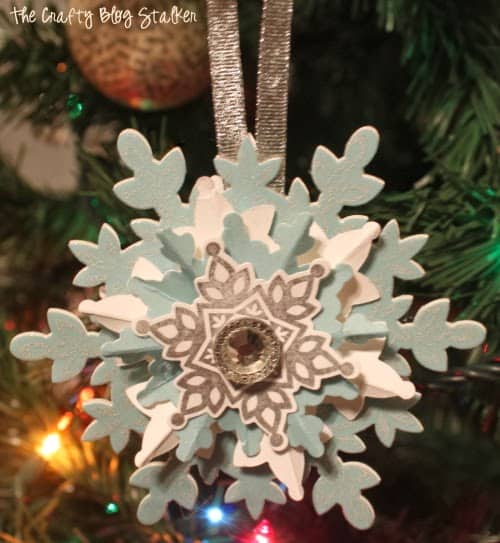
I love how the glitter paper and gem button sparkle with all of the lights on the tree. I hope my family likes them!
Have you ever made handmade Christmas Ornaments? Share and leave a comment below!
Our Crafting Essentials:
- The Cricut Cutting Machine is easily our favorite crafting tool. We use it in so many of our tutorials!
- These MakerX Crafting Tools are perfect for keeping in the craft room and are always ready when needed!
- This Fiskars Paper Trimmer is easy to use and cuts nicely without frayed edges.
- These Scotch Precision Scissors cut like a dream, and you get multiple pairs in a pack!




Crochet Hooks
awesome! I would totally love these on my tree 🙂
Rebecca Hope
WOW this is so beautiful. I love those snowflakes
Angela Paris
What a great project! This is so very beautiful!
I'm stopping by from #WhimsyWednesdays and your ornament caught my eye right away - it's so beautiful!
Ang
Juggling Act Mama
Deanna McCool
These are so beautiful!!! Thank you for sharing. 🙂 My daughter loves paper crafts and I'll be sure to share this with her when she comes home from school!
Deanna @ sewmccool.com
Kristina V
These are wonderful! I love snowflakes... I might be giving this project a try with some the Big Shot snowflake dies I already have.
Kayla
This is so cool! I love the 3D effect 🙂
Christie
These are so beautiful! Wonderfully done!
Linda Kilsdonk
Katie, your snowflake ornaments are adorable. Just having moved and feeling frustrated about it, as soon as I unearth all my Big Shot dies, I am making at least one of them. Thanks for sharing them with us! Merry Christmas!
Robin
these are absolutely beautiful! Thanks so much for inspiring us at Twirl and Take a Bow! xo
Kimberly
Super cute! Pinned and tweeted. Lou Lou Girls
Aliza B
These turned out so nicely. I love snowflakes and have quite a few on our tree already. These would make a nice addition.
Katie
I am so glad that you like them Aliza.