

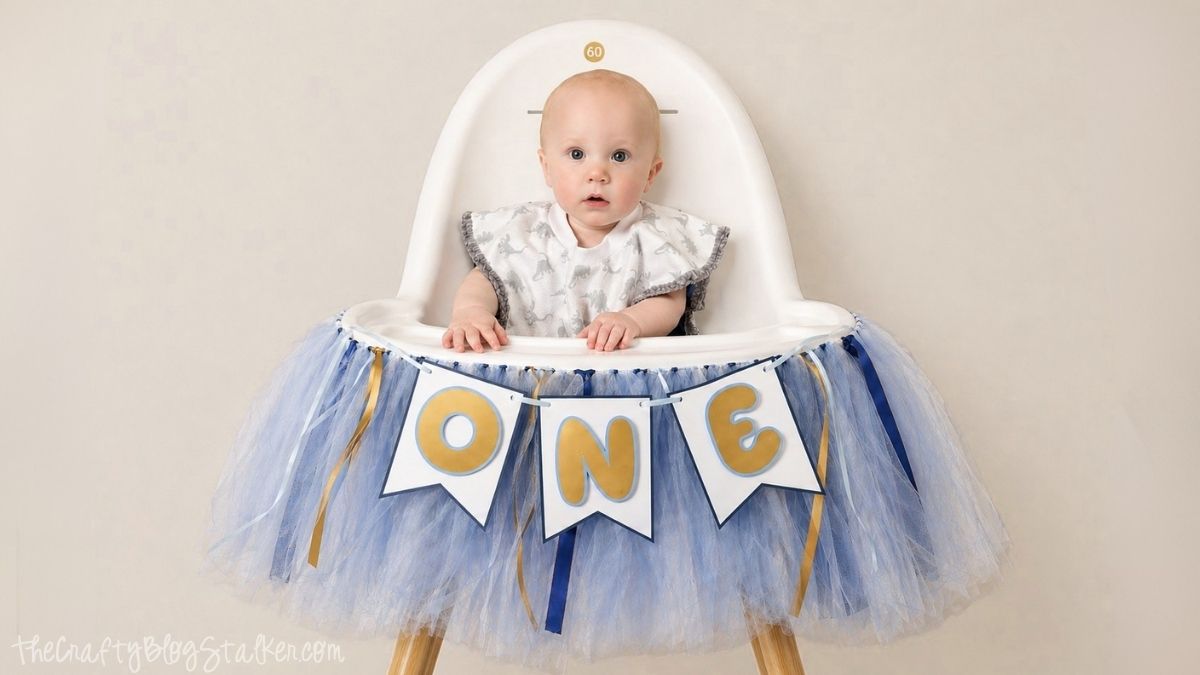
Make a high chair banner first birthday with this free SVG. It's a simple DIY that adds a cute, personalized touch to your baby's big day.
We just celebrated my grandson's first birthday, and I still can't believe he's already one.
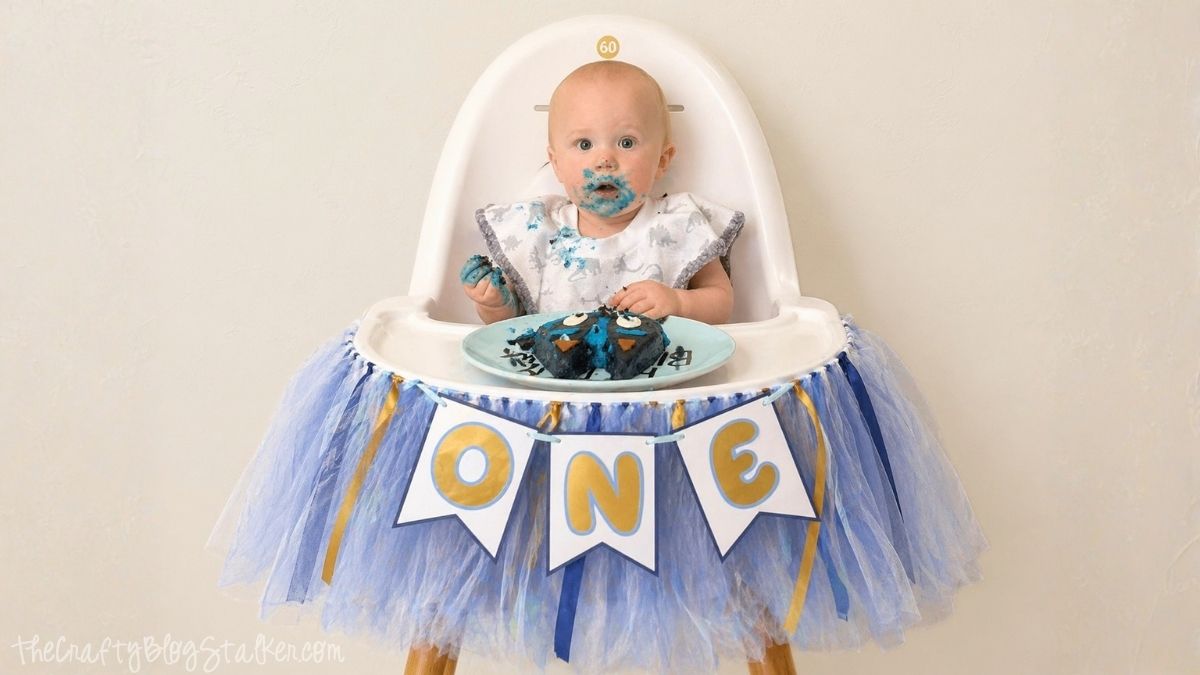
For the party, I made this Bluey-themed birthday high chair banner, and it turned out so cute.
It turned out to be one of my favorite decorations because it made the high chair feel like the center of the celebration.
If you're planning a first birthday, this is such a fun way to create your own high-chair decorations for the big day without overcomplicating things.
Jump to:
Skill Level: Beginner
Total Time: 1 hour
Craft Tutorial Video
If videos are your thing, you're in luck-I've got a full tutorial ready for you!
Subscribe to my YouTube channel and stay inspired with every new project.
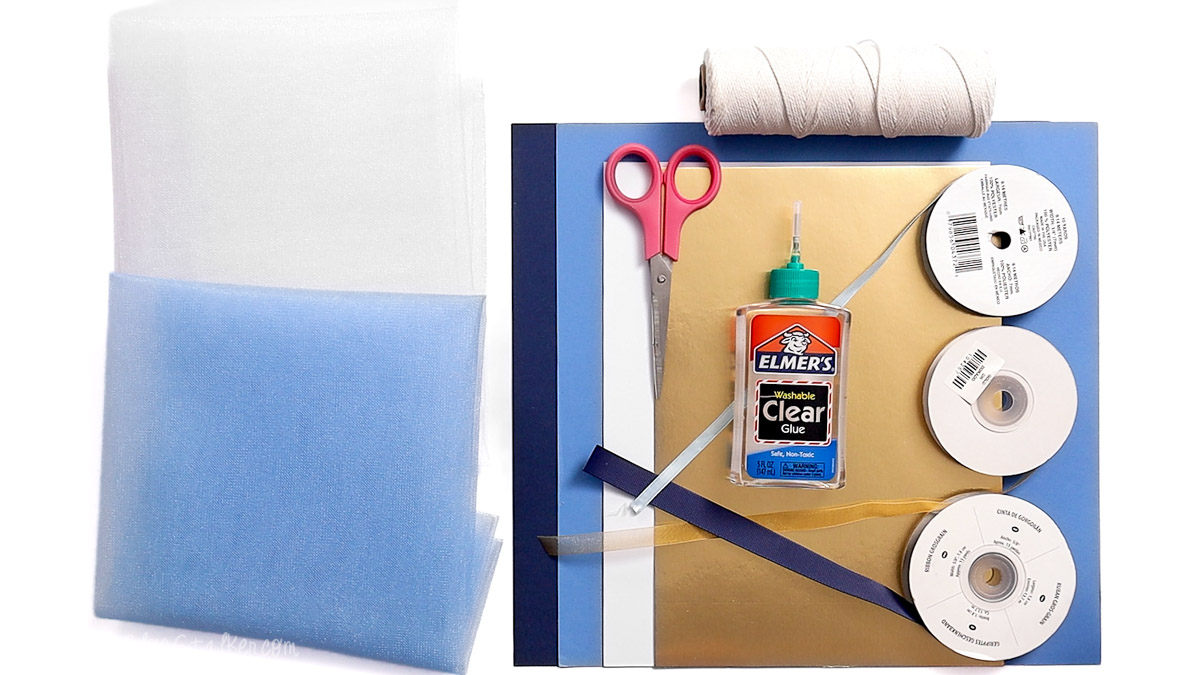
Supply List
- Cricut Cutting Machine
- One Birthday High Chair Banner SVG
- StandardGrip Mat
- Fine Point Blade
- Cardstock (white, light blue, dark blue)
- Gold Foil Cardstock
- 2 yards Tulle (white, light blue, dark blue)
- 3mm Cord
- Coordinating Ribbon
- Hole Punch
- Tape
- Glue
- Adhesive Foam Dots
- Scissors
- Command Strips (for hanging)
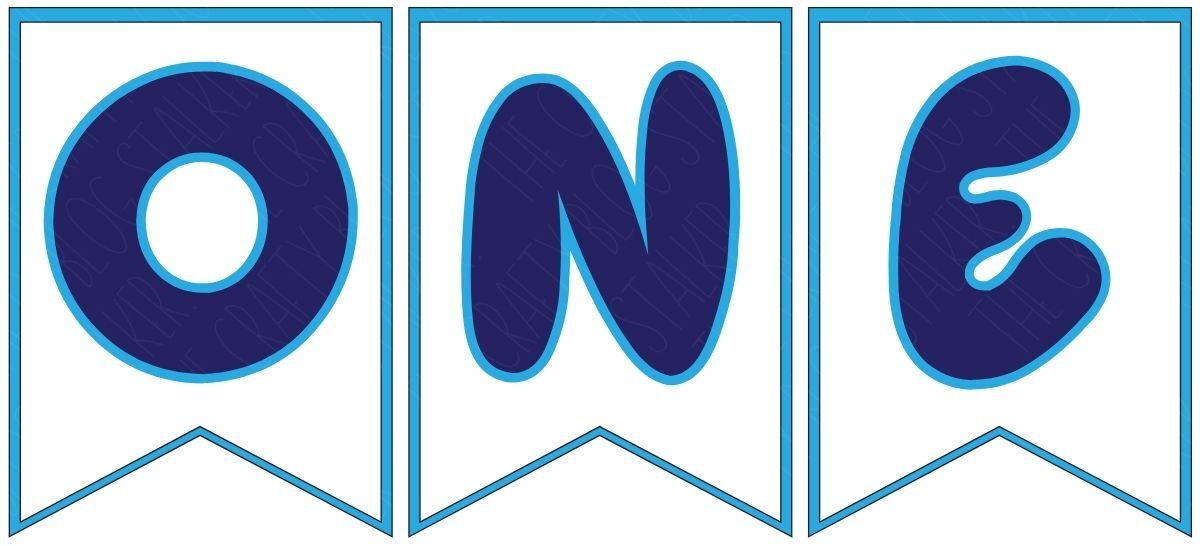
The bluey-style font used to create this banner is called Heyam, and it is available for free download.
Grab the Free SVG
Download the One Banner SVG to get started.
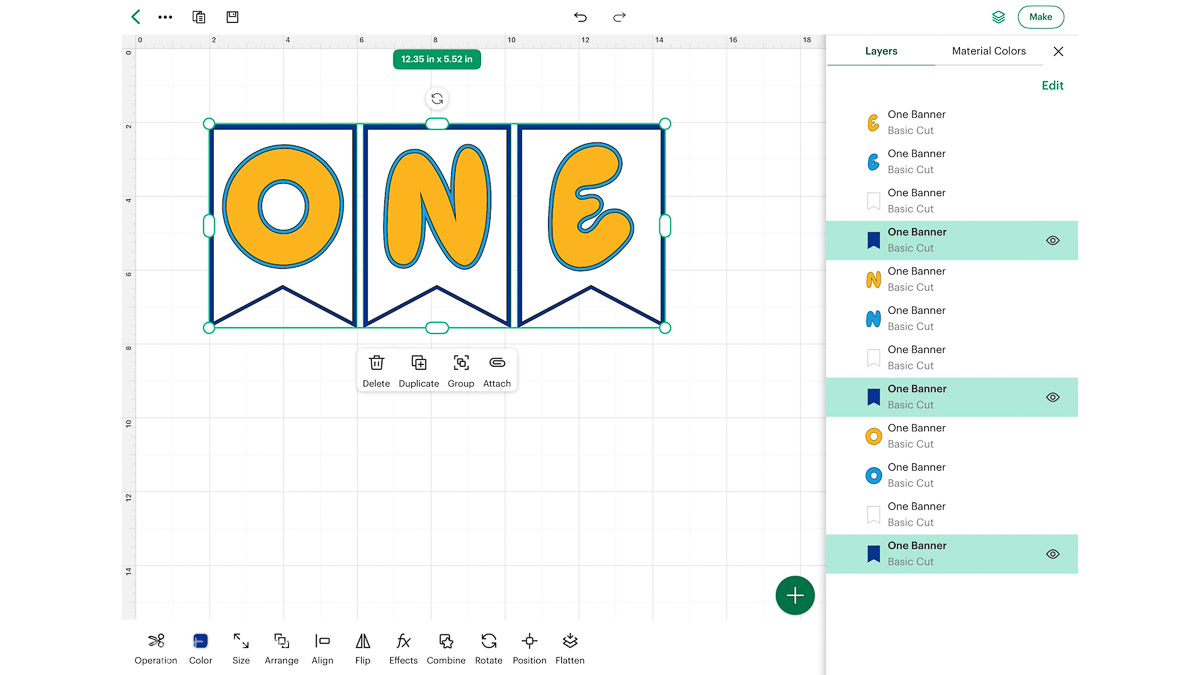
Cricut Design Space
For this project, I used Cricut Design Space. If you've ever wondered how to make a birthday banner on Cricut, this is a great beginner-friendly place to start.
Upload the SVG and add it to your canvas.
The design is already sized for a banner, so you don't need to adjust anything unless you want to customize colors or tweak the layout.
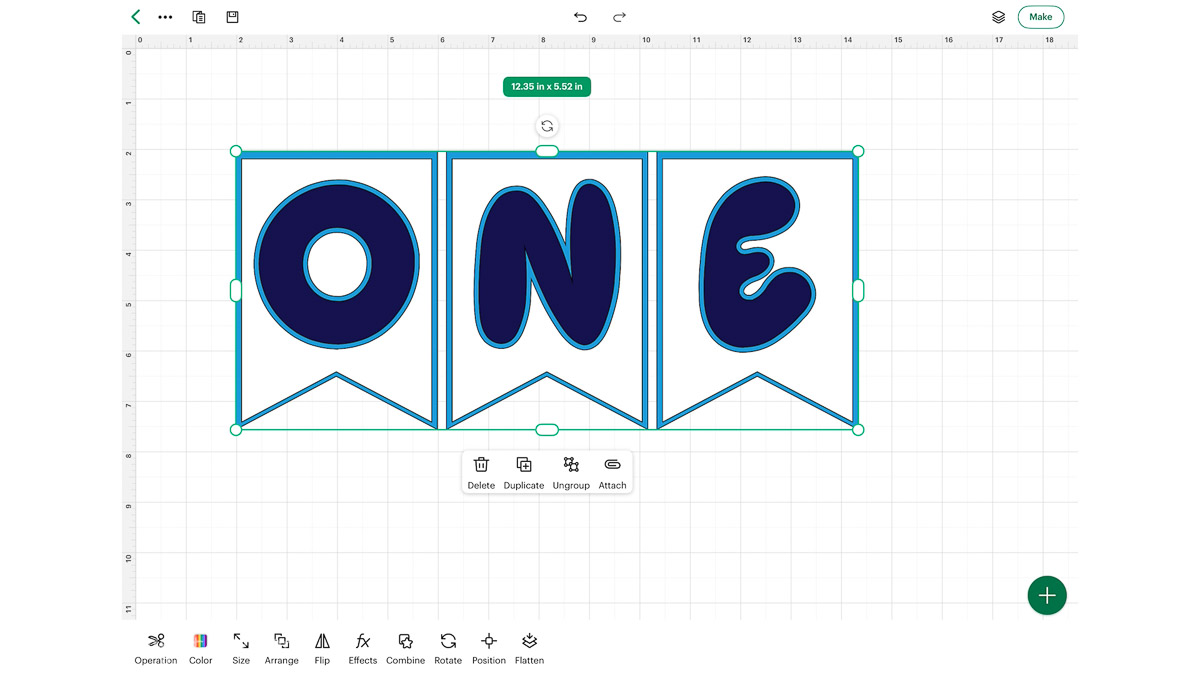
This happy birthday banner design is layered, making it easy to work with, even if you're new to Cricut banners.
I did change some color layers to better match the finished project, but this is completely optional.
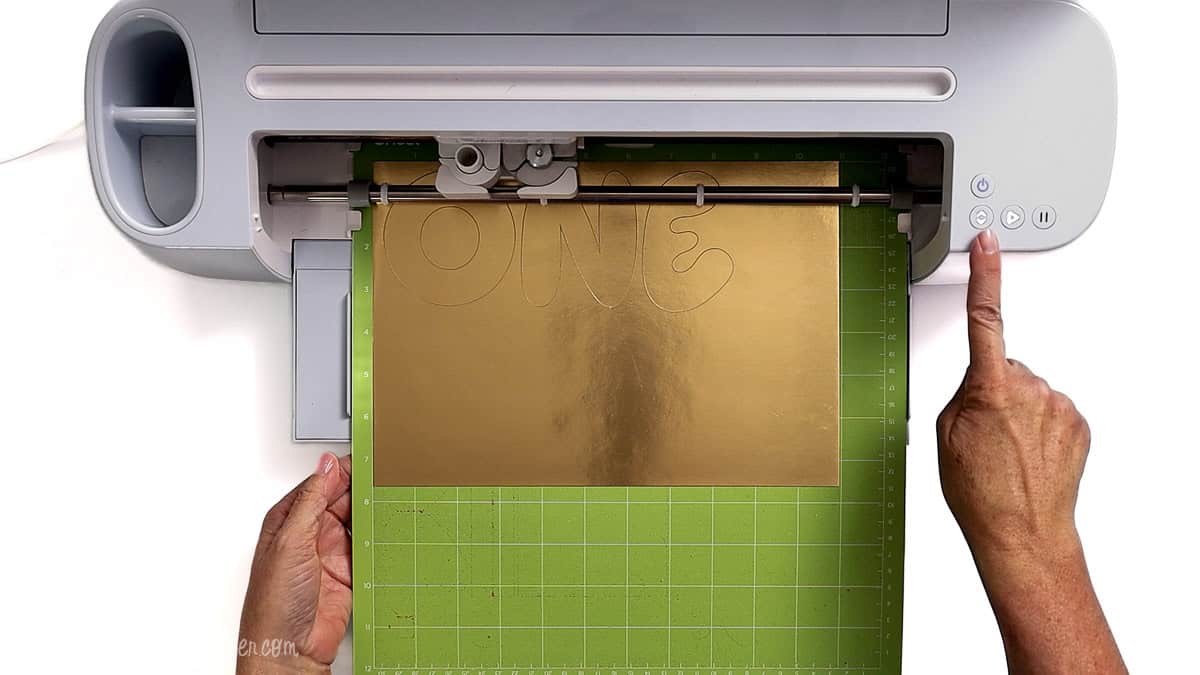
Once everything looks right:
- Click Make
- Check your mats on the preview screen
- Select cardstock and increase pressure slightly for clean cuts
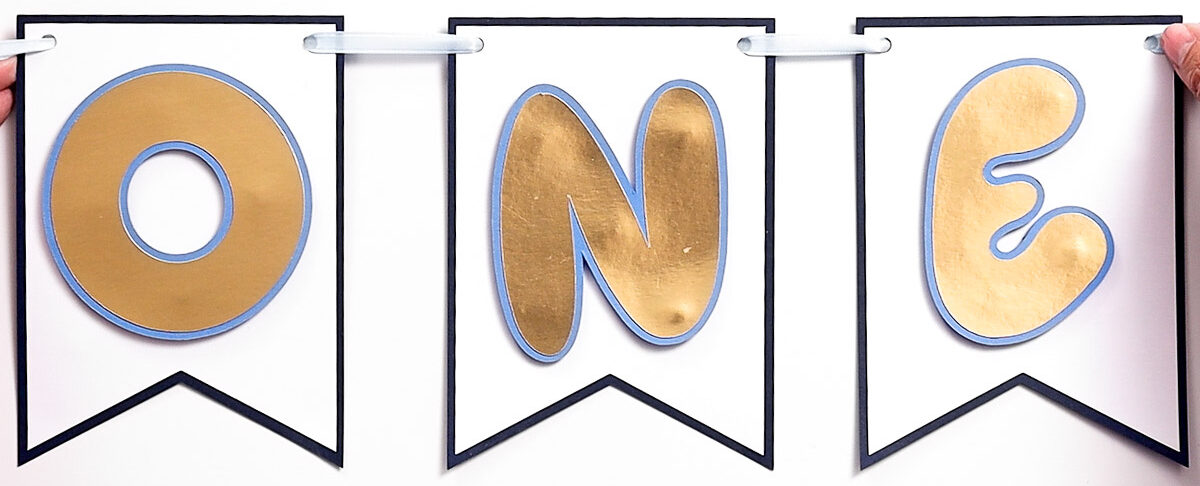
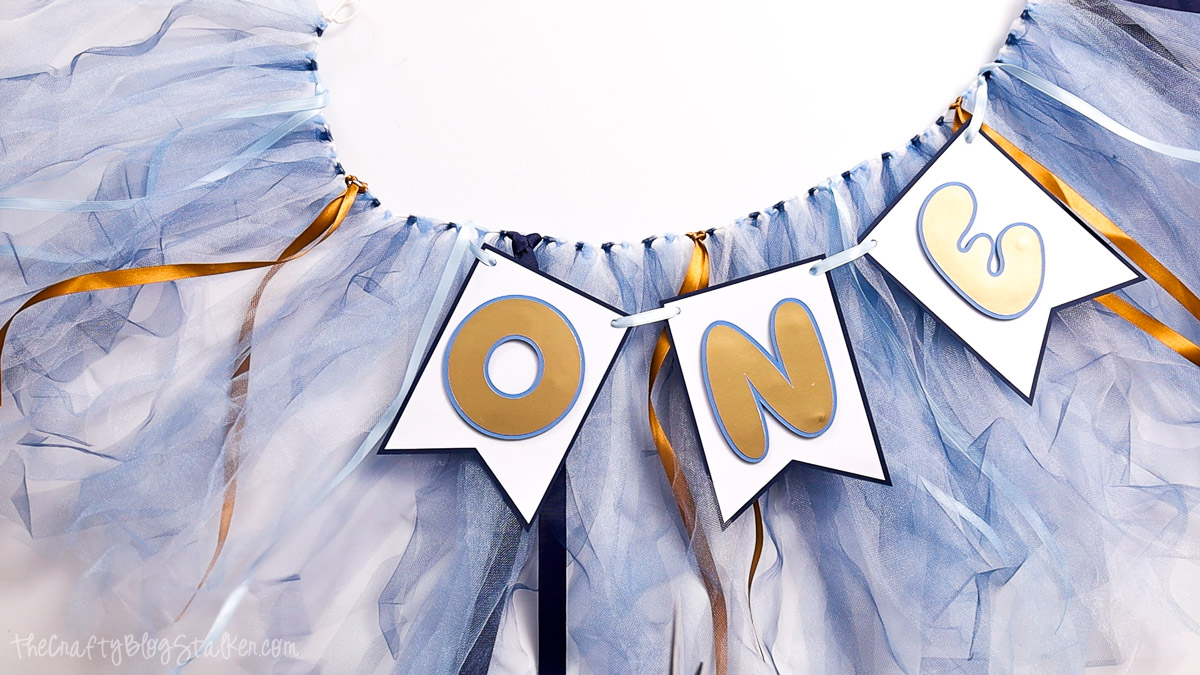
Assemble One Banner
After cutting, lay out all your pieces to see how they fit together.
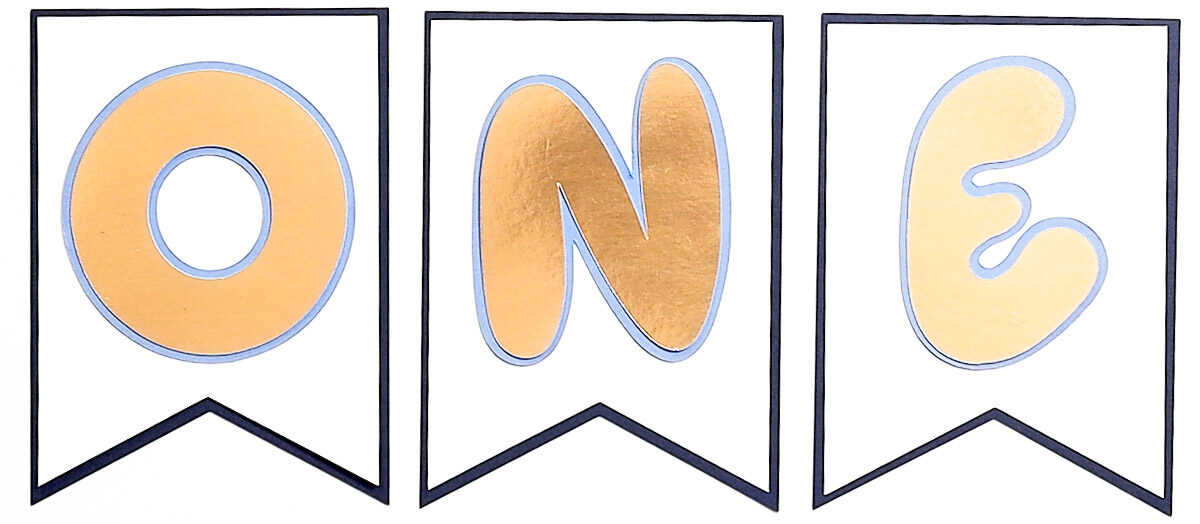
- Glue the white pennant pieces onto the darker base layer
- Attach the gold letters to the light blue backing
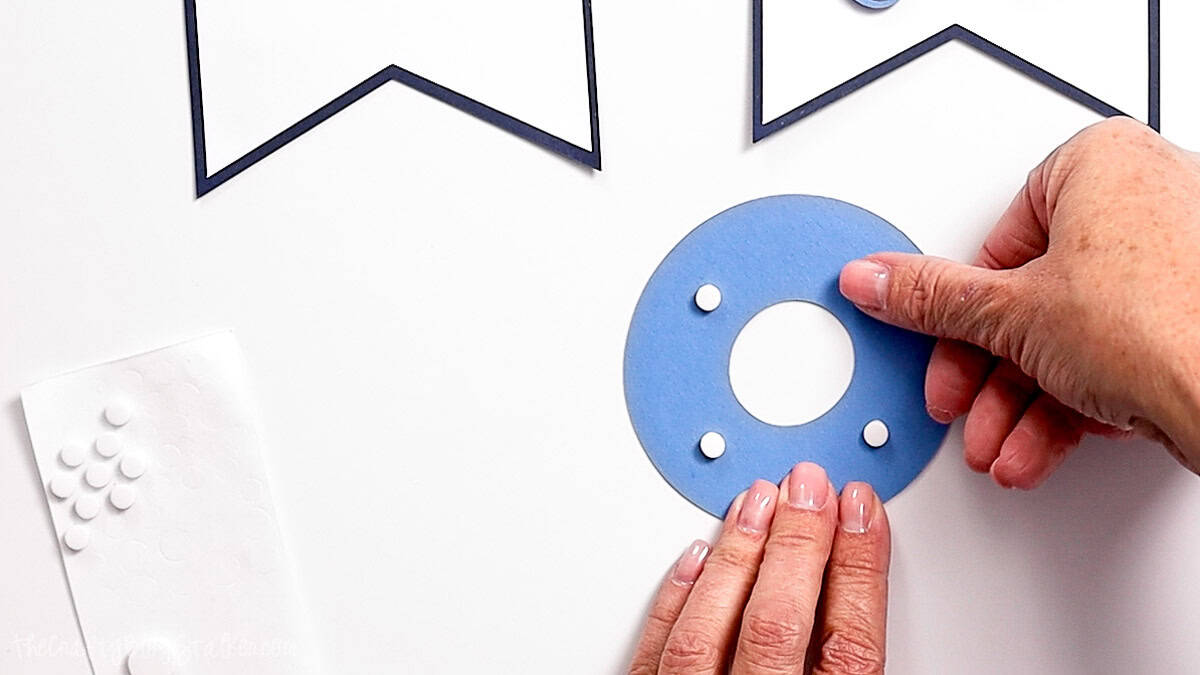
- Add foam dots to the back of the letters to give them a little dimension
This layered look really makes the banner stand out, especially in photos.
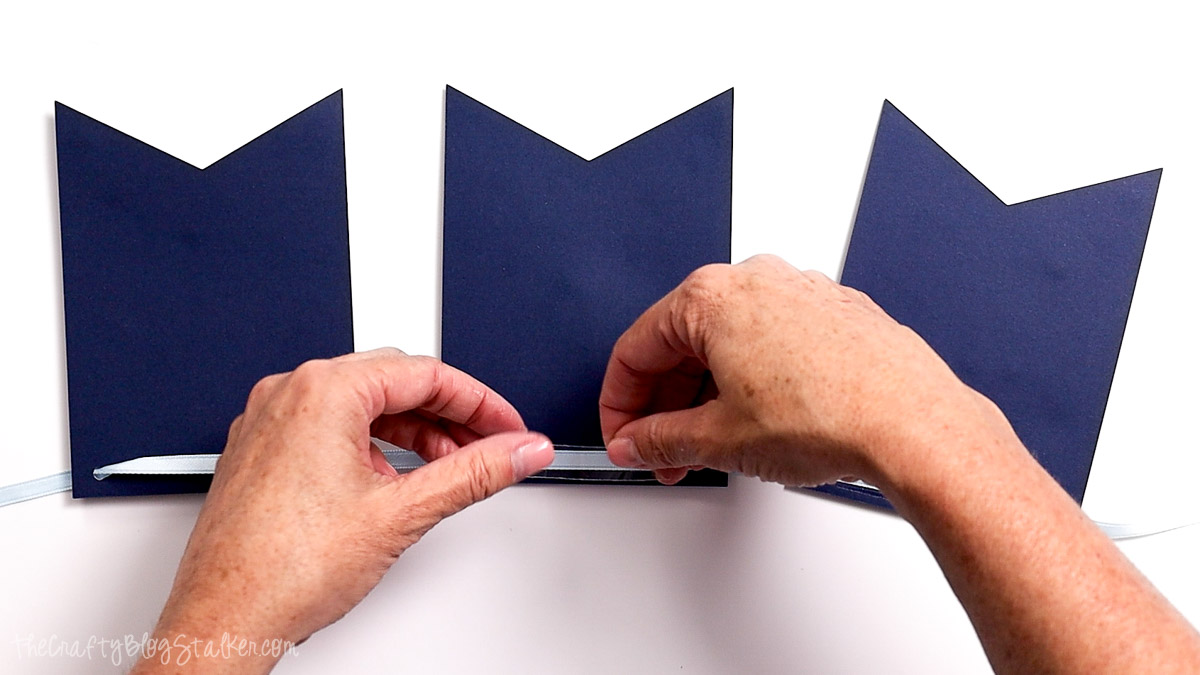
Once assembled, punch holes in the top corners and thread your ribbon through each pennant.
Flip the banner over and tape the ribbon in place to keep everything evenly spaced.
Cutting the Tulle
The tulle is what gives this DIY crib banner that full, fluffy look underneath the paper banner.
I used about 1¾ yards total, but the exact amount can vary depending on how full you want it.
To cut:
- Fold your tulle into manageable sections
- Cut into strips about 1 inch wide
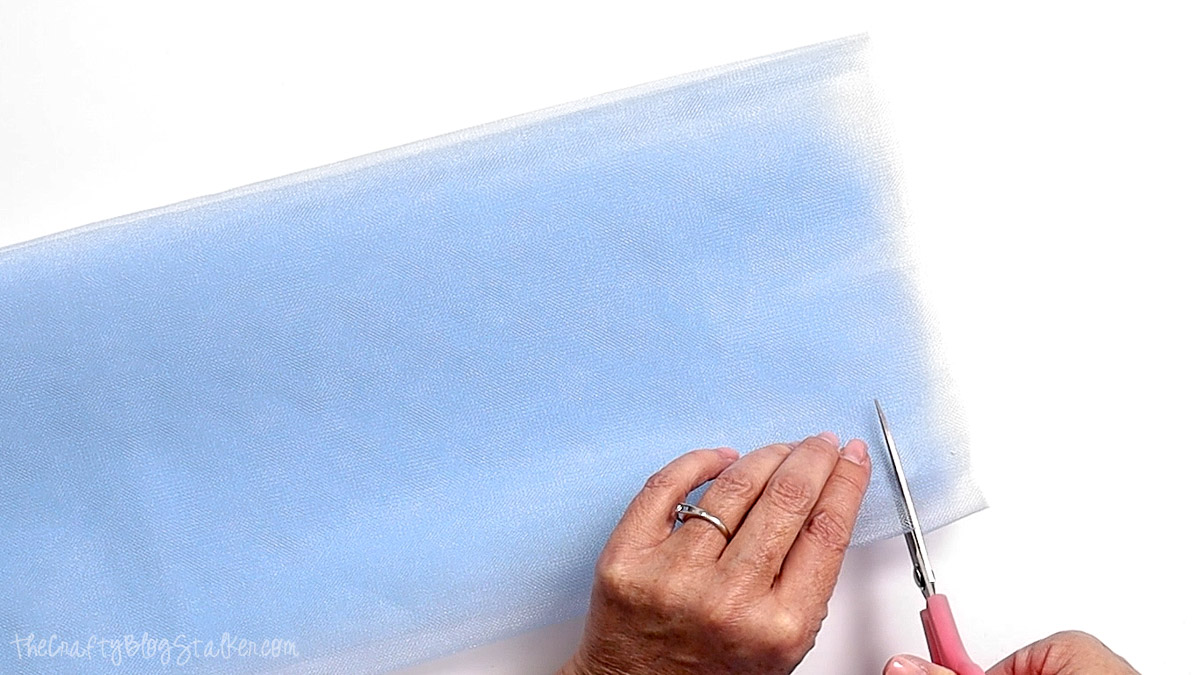
Don't worry about perfect strips-this part is very forgiving and still looks great even if it's not exact.
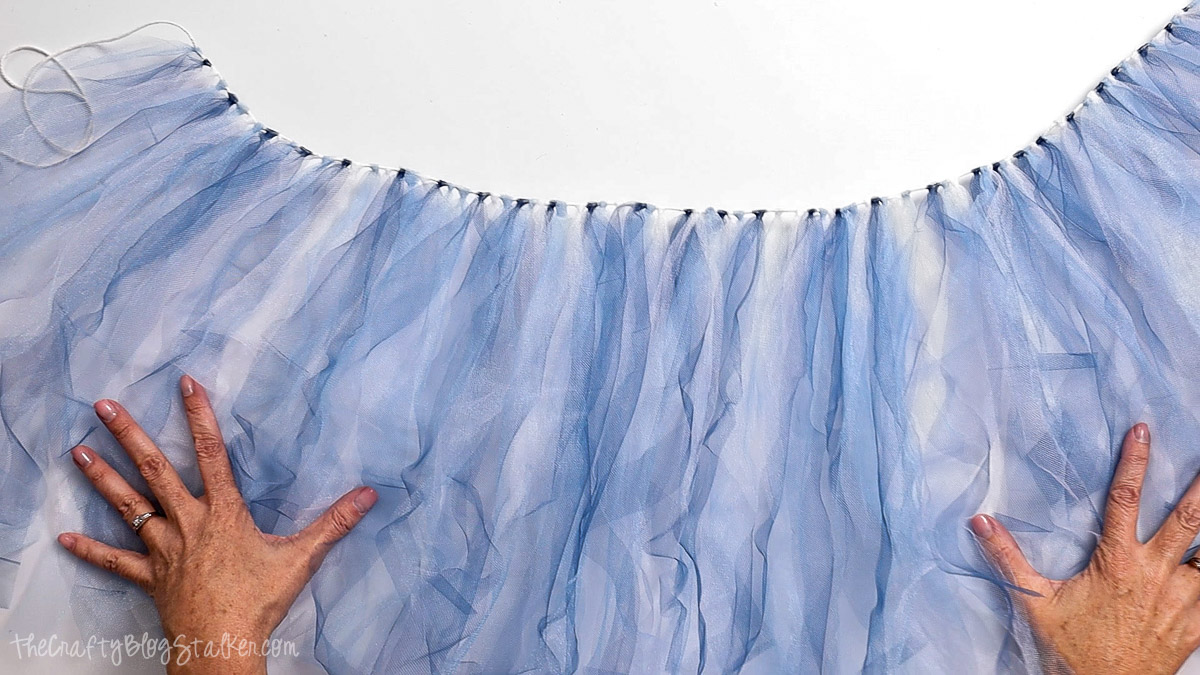
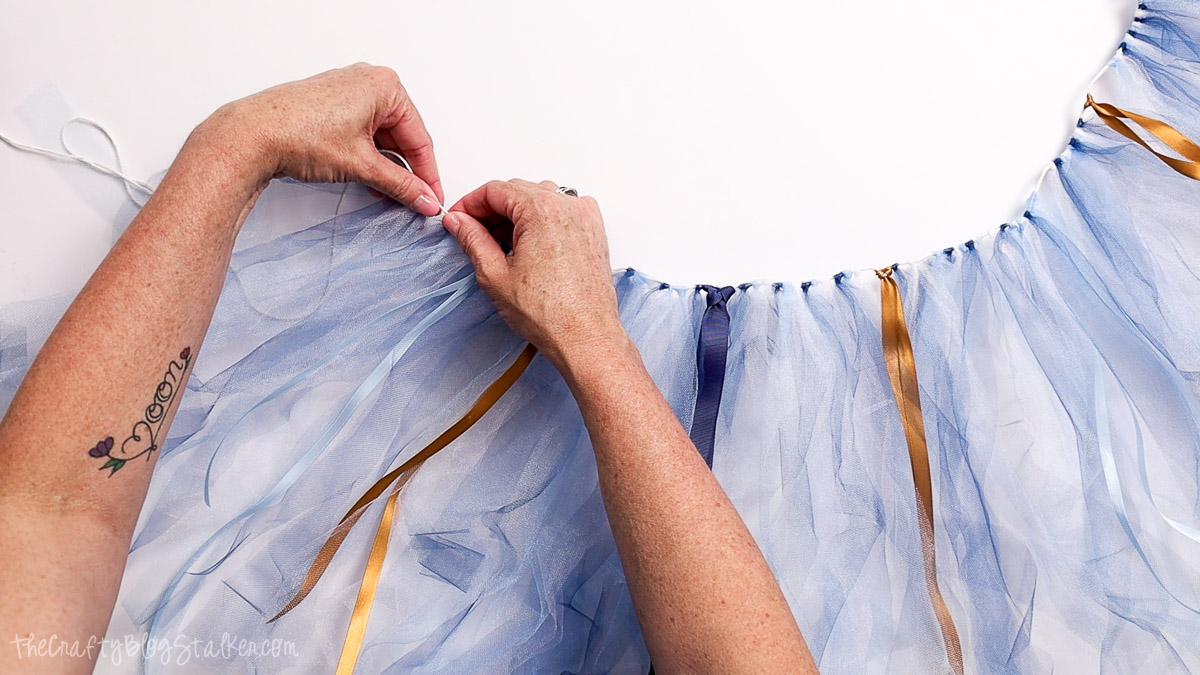
Assembling the Tulle Banner
Cut a piece of cord about 30 inches long.
To attach the tulle:
- Fold a strip in half
- Place it under the cord
- Pull the ends through the loop and tighten

Repeat until your banner reaches about 20 inches wide.
You can mix colors randomly or create a pattern-both look great.
I also added a few ribbon strips for extra texture and to tie in the gold lettering.
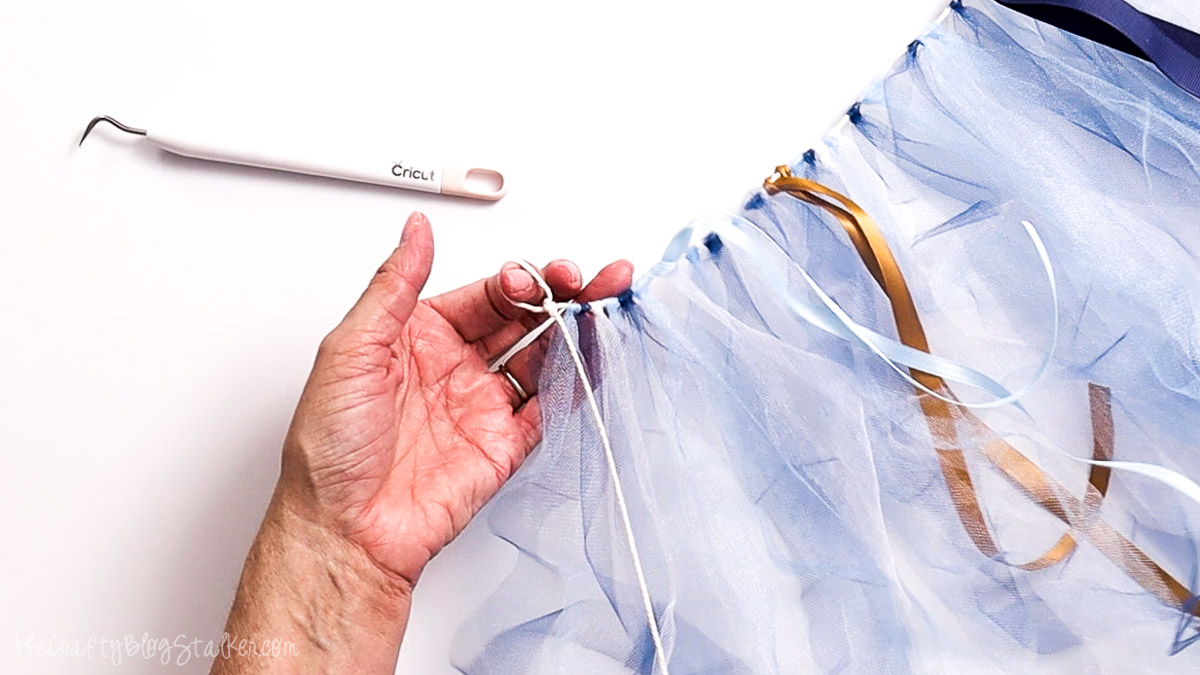
To hang the banner on the high chair, I will use small command hooks, so I need to create loops on each end of the cord.
I wrapped the cord around a weeding tool, tied a knot, and trimmed the extra.
When I slid the tool out, it left a nice, even loop. Then I repeated the same steps on the other end of the banner.
Put It All Together
To finish your high chair banner first birthday project:
- Tie the paper banner to the tulle banner using the ribbon ends
- Find the center of both pieces so everything lines up nicely
Final Thoughts
This project is such a fun way to create custom decorations that feel personal and special.
The combination of layered paper and soft tulle makes it stand out, and it's one of those Cricut banners that looks way more complicated than it actually is.
And seeing it hanging on the high chair? Definitely worth it-especially with a messy cake face to go with it. 😊
More Birthday Cricut Ideas
Looking for more Cricut birthday ideas? Here are a few fun projects to try next.


Hi, I'm Katie!
I'm so glad you're here. Want to make something fabulous? I'm here to help!