This post may contain affiliate links. For more information, please see our disclosure policy.
Craft a memorable birthday wish with a Cricut. Our quick and easy tutorial shows you how to make a personalized card that adds a special touch to someone's day.
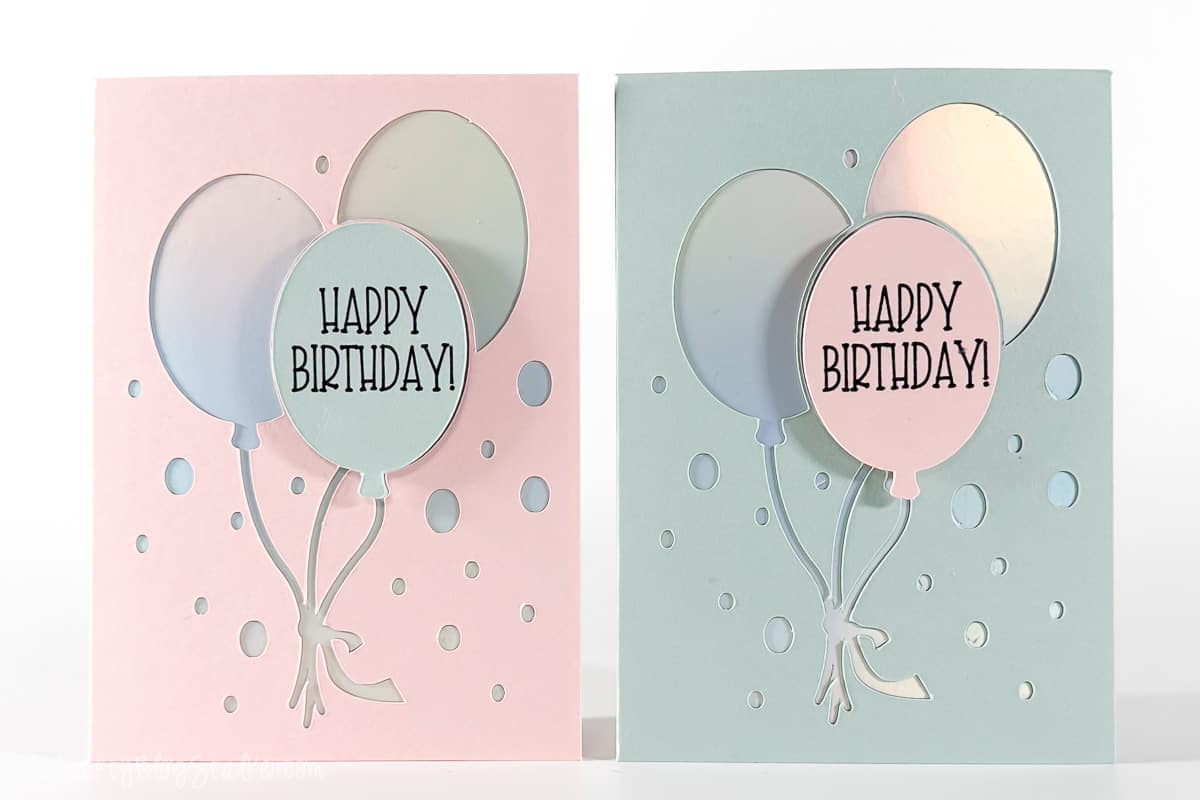
Welcome to this DIY tutorial on how to make a happy birthday card using your Cricut machine!
Handmade cards add that extra bit of love and thoughtfulness to any special occasion. And let's be honest, who wouldn't appreciate a custom-made card on their birthday?
So, if you're looking to go beyond the generic store-bought and want to make your own cards, you're in the right place.
Let's get started and craft these easy birthday cards!

AD: Shop Cricut.com
Craft Video Tutorial:
Like videos? I have a video tutorial for you! Subscribe to my YouTube Channel so you don't miss any future videos!
Supply List:
Some links may be to similar items when exact items couldn't be found online.
- Cricut Design Space Project
- Cricut Joy
- Cricut Joy Card Mat
- Cutaway Cards
- Joy Pen
- Weeding Tools
- Adhesive Foam Dots
- Scissors
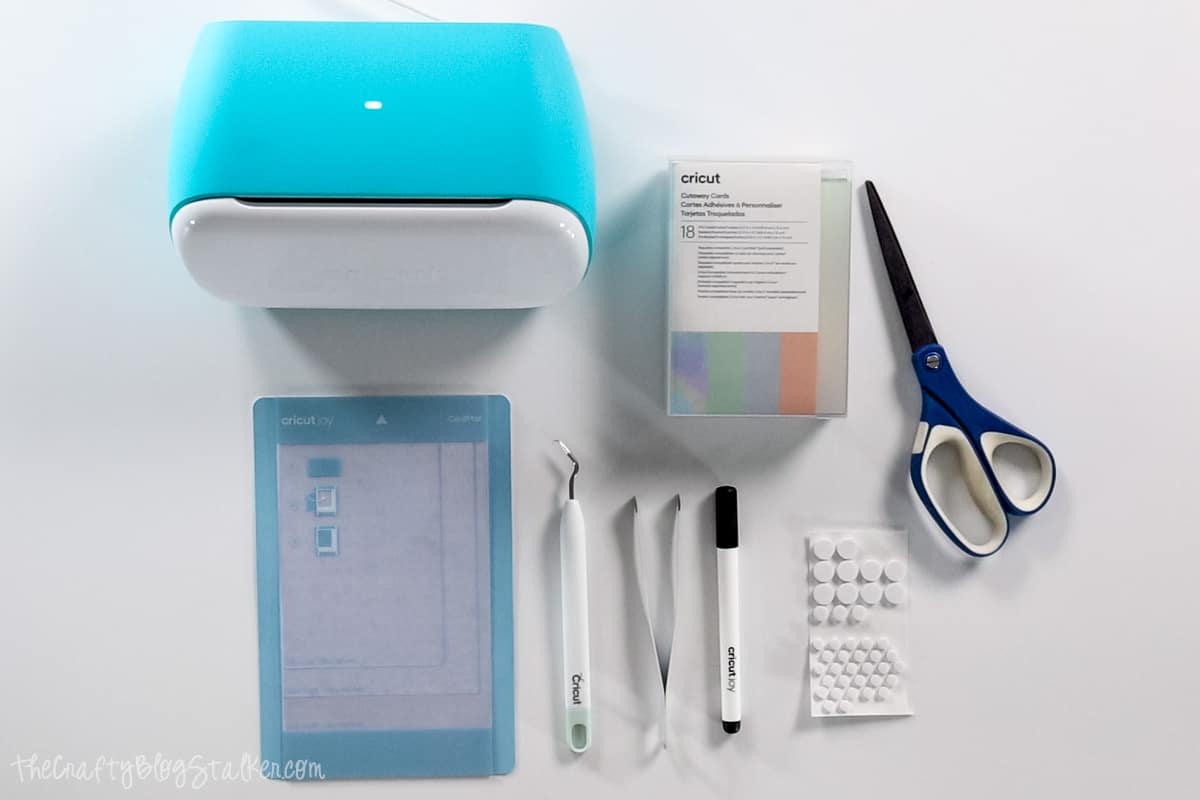
This card design is intended to be used with the Cricut Cutaway Cards, not the Insert Cards. To use Insert Cards you will need to add the corner cuts in the design.
I have used the Cricut Joy but this can made with any Cricut Machine and a Card Mat.
Prepping the Cutaway Cards:
When making this card it is best to make two or more, because we are going to swap pieces from cards to give you some color coordination.
Also, make sure that you are using the Cutaway Cards. Cricut also has Insert Cards but the assembly of those cards is different and doesn't work with this design unless you modify it.
For this tutorial, I am going to use one green card, one pink card, and two of the backers.
To begin, open the pink card and remove the adhesive backing sheet.
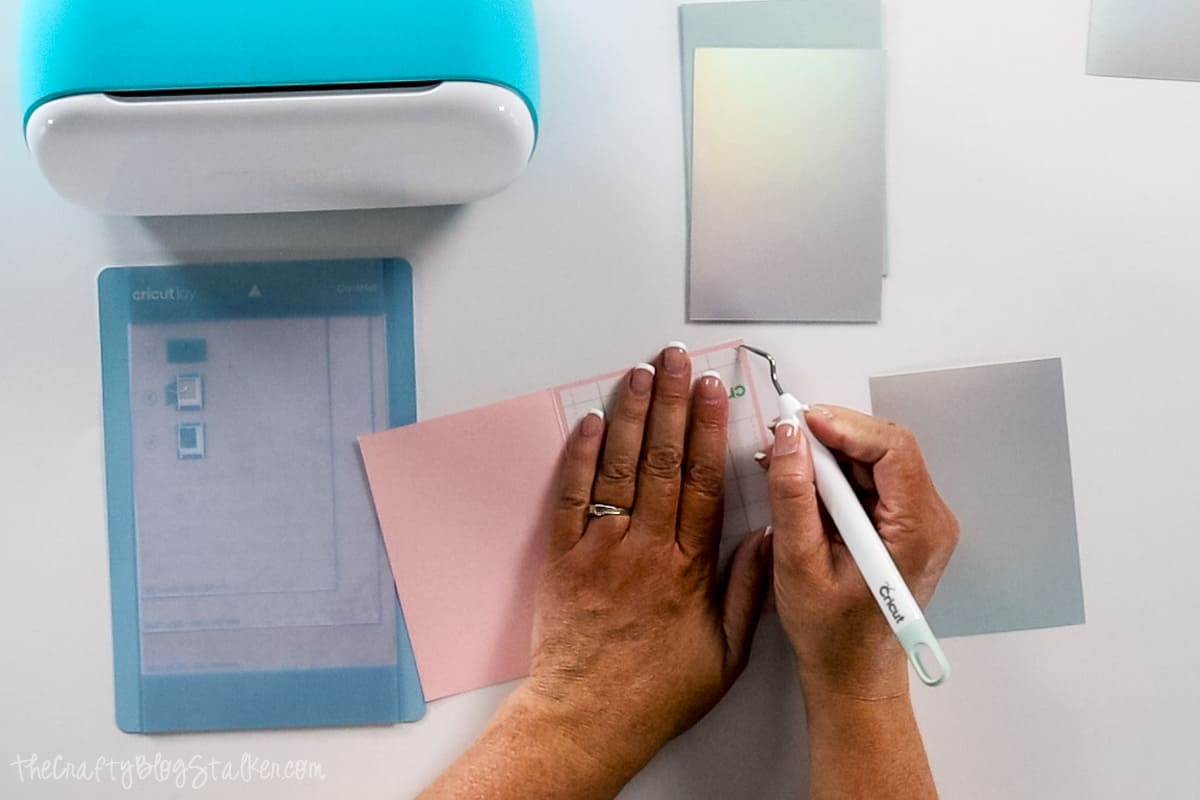
The card insert goes onto the adhesive face down so you will see the white backside.
Butt the backer card in the fold of the card check spacing on the top and bottom before placing the card into the adhesive.
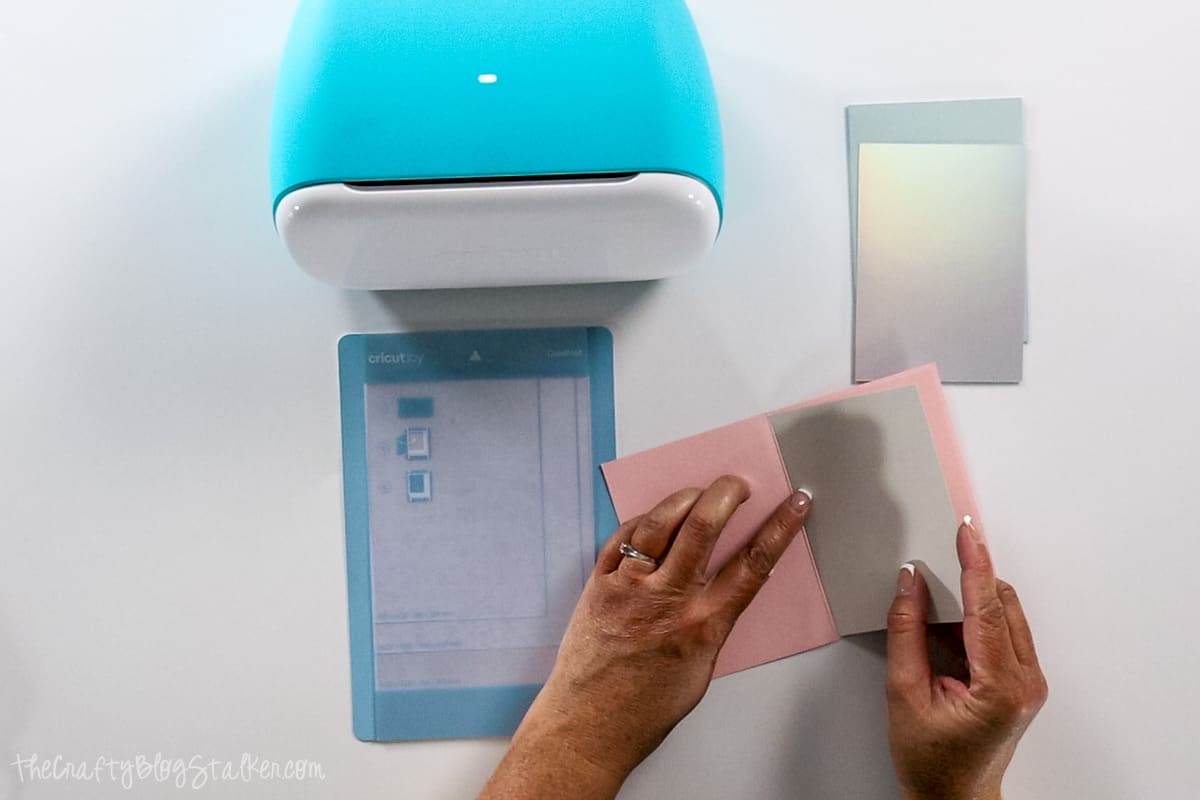
Rube over the backer card with your fingers to press it into the adhesive.
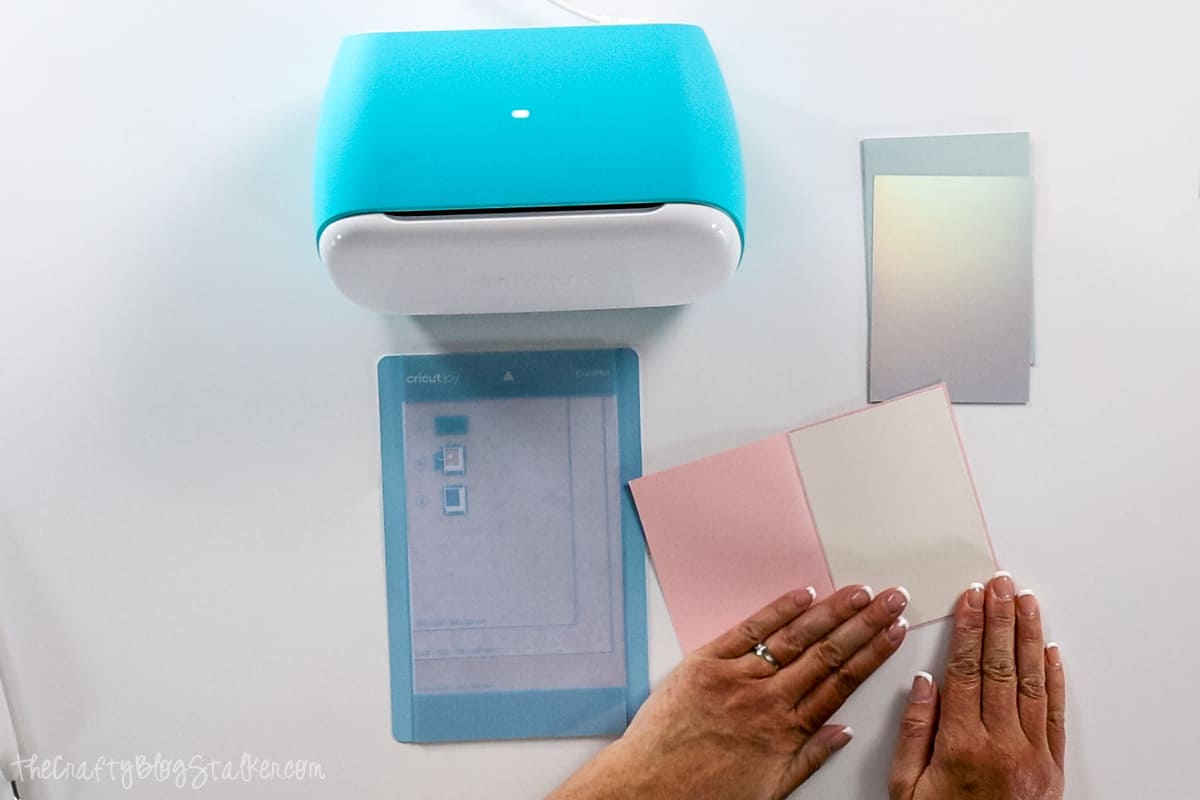
Repeat the same steps for the second card.
This file is sized perfectly for the R10-sized card. That is the cards that measure 3.5 x 4.9 inches.
If you are using a different-sized Cutaway Card, size the design .5 inches smaller than the height of the card.
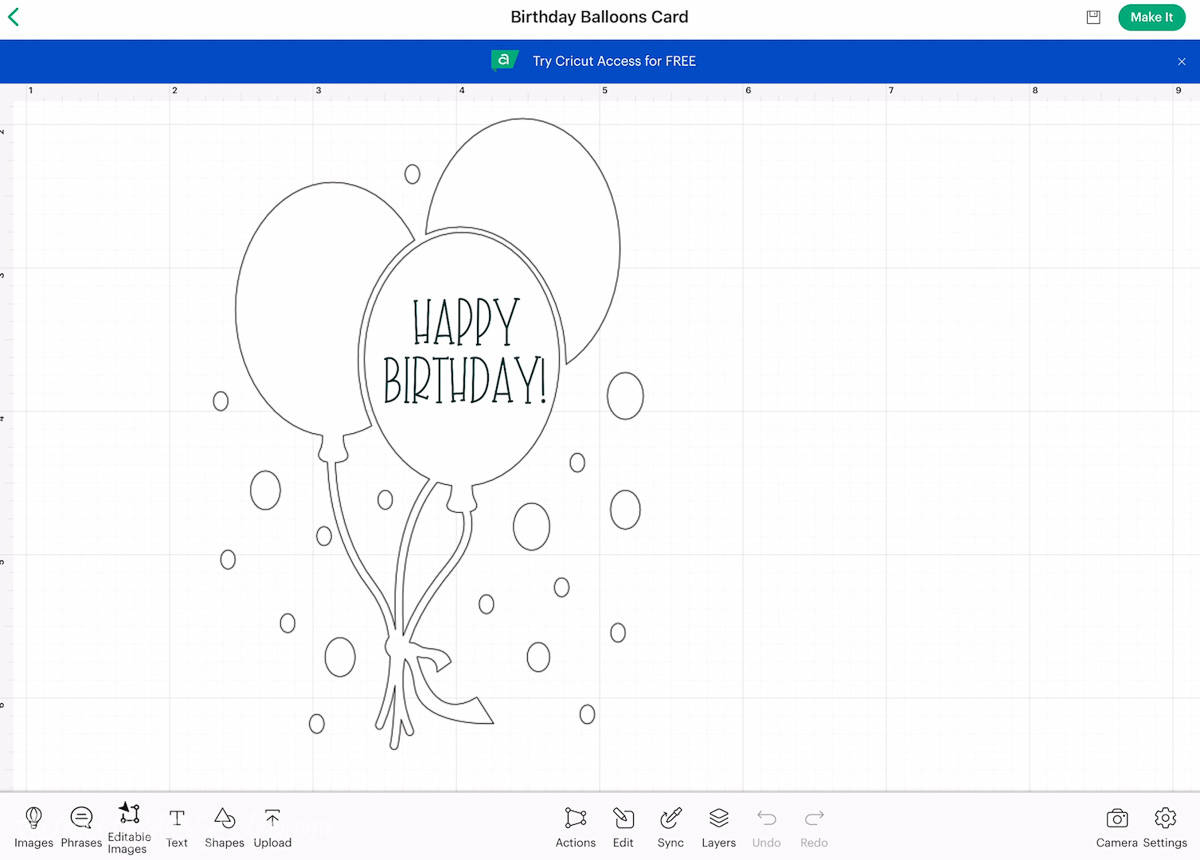
Select Make It and On Card Mat.
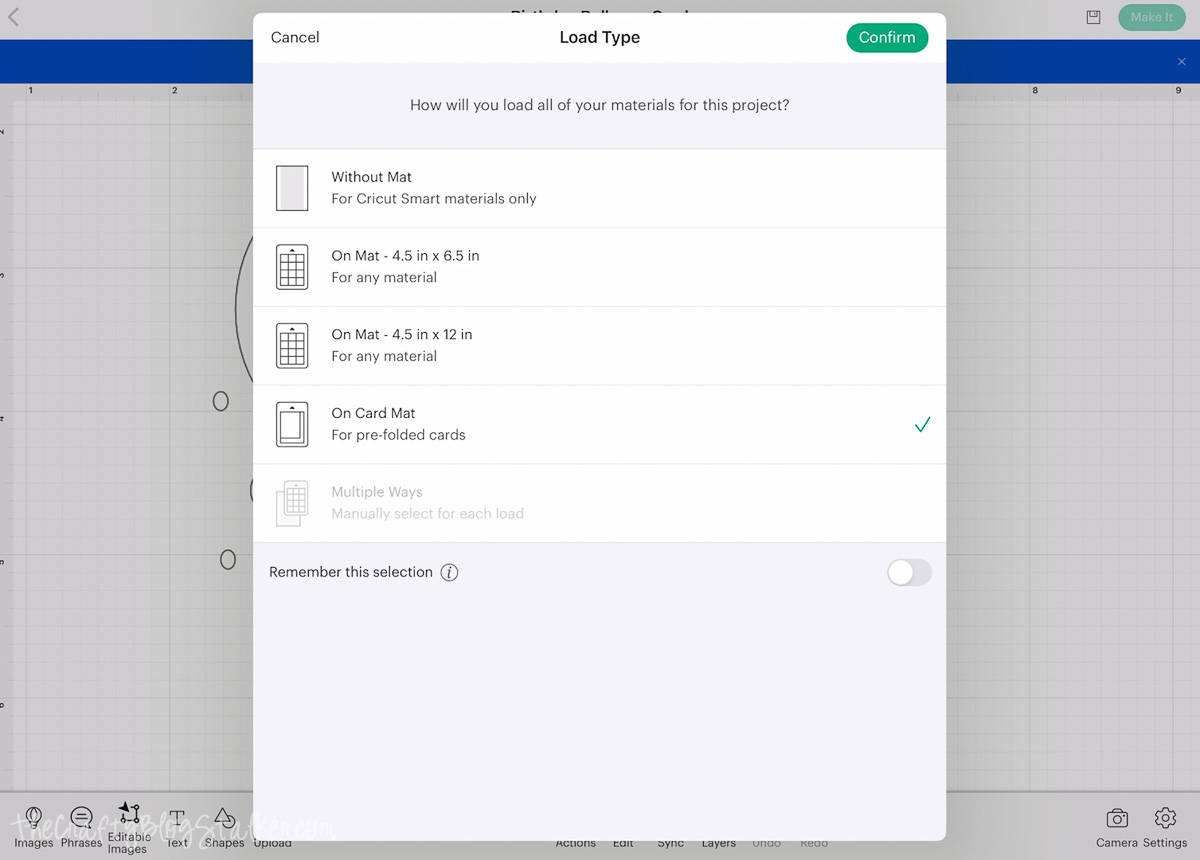
The next screen is the mat preview where you can select your material size. This is the size of the front of the card.
Make sure that the design is centered on the card. You can simply click on the design and drag it to move.
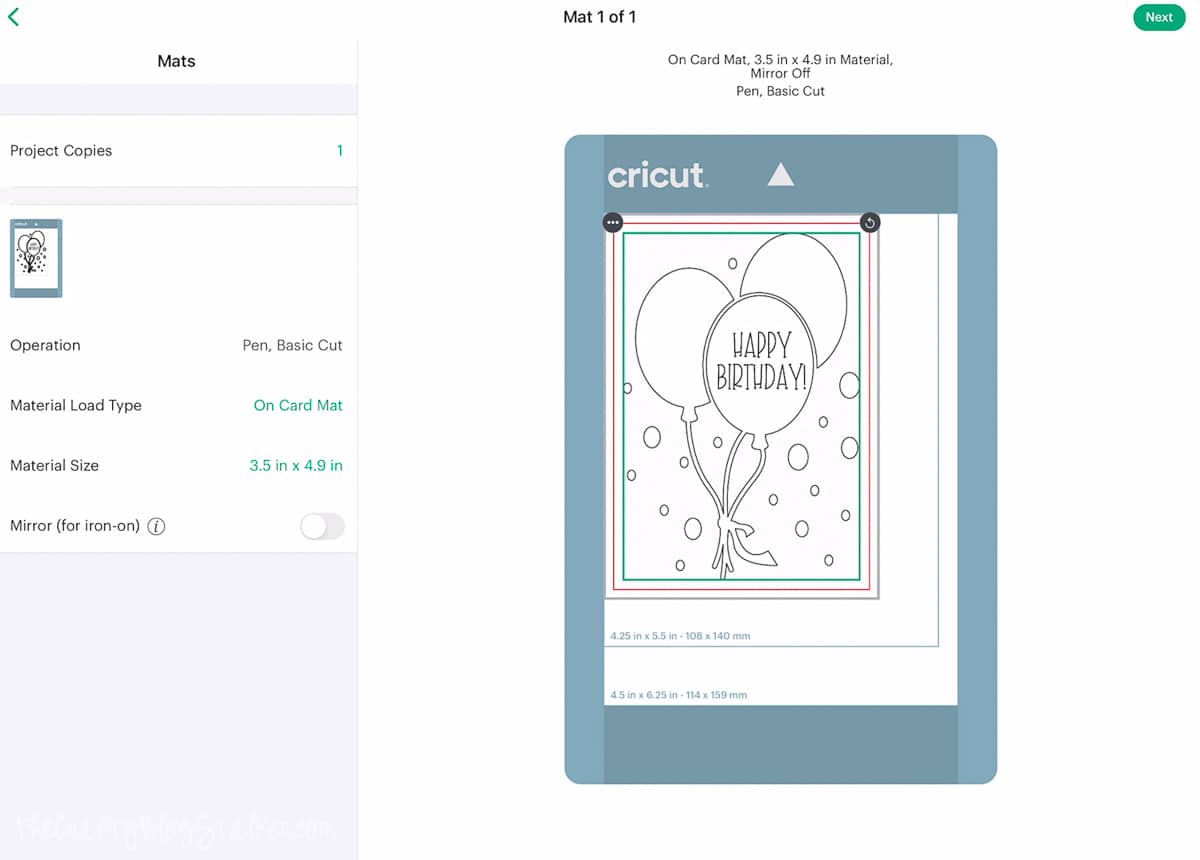
Select Next, and the next screen is where you choose your material type. You will need to search for Cutaway Cards because it isn't one of the preselected options.
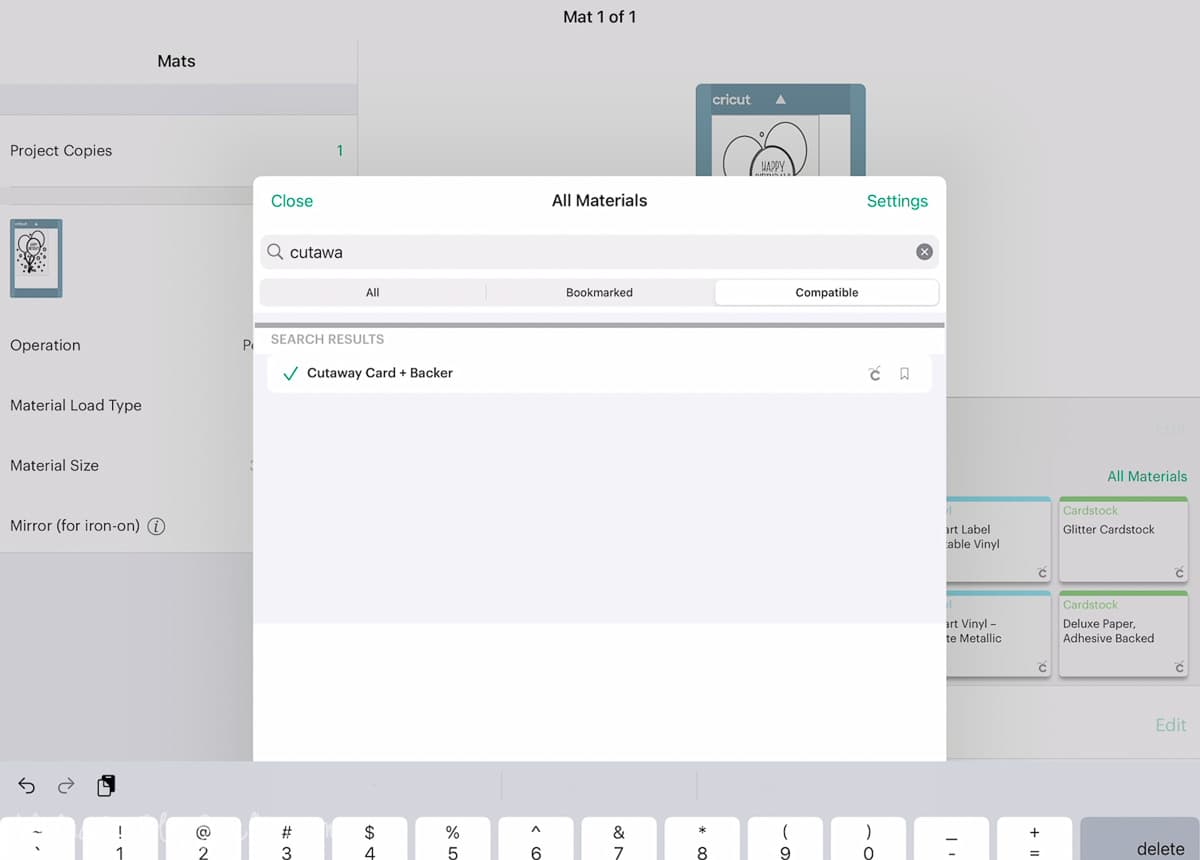
Cutting the Card:
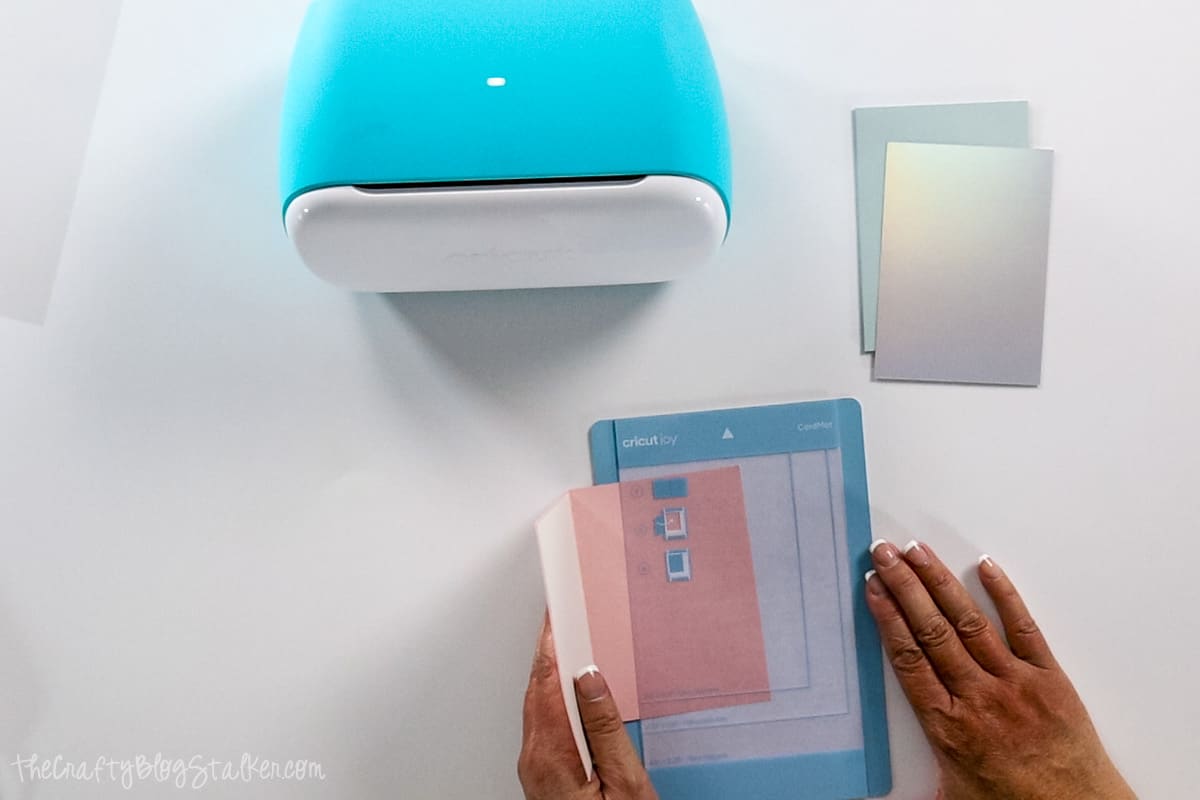
Remove the protective sheet from the Card Mat.
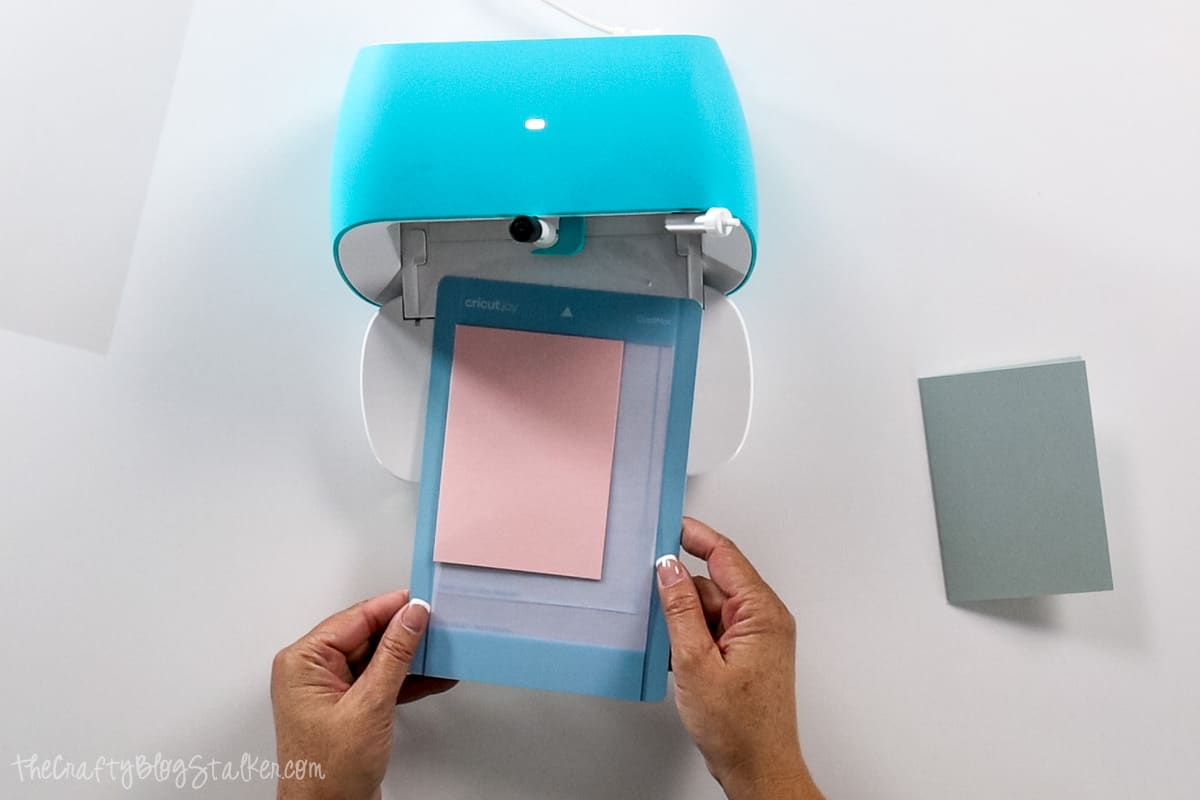
Insert the back of the card through the slit on the mat, and fold the card over onto the front of the mat. Make sure the front of the card with the backer is the side you will be butting.
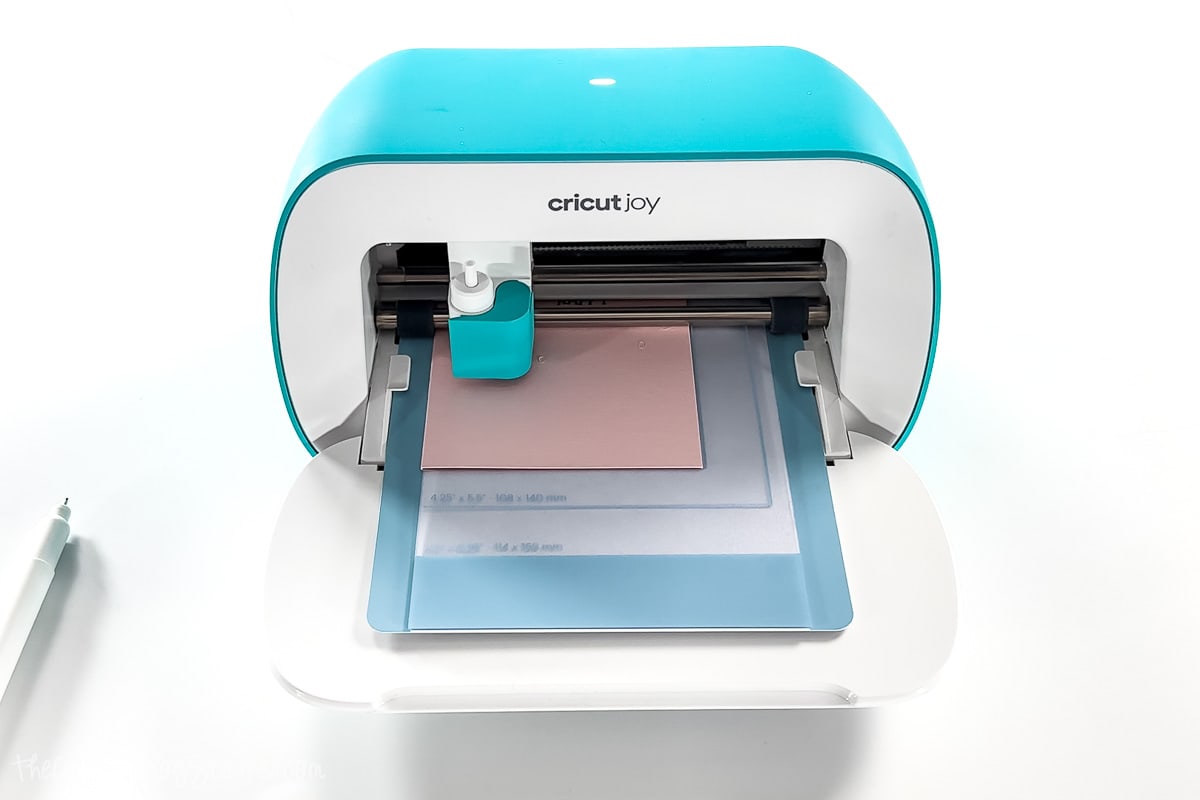
Open the clamp, insert the Joy Pen, and then close the clamp.
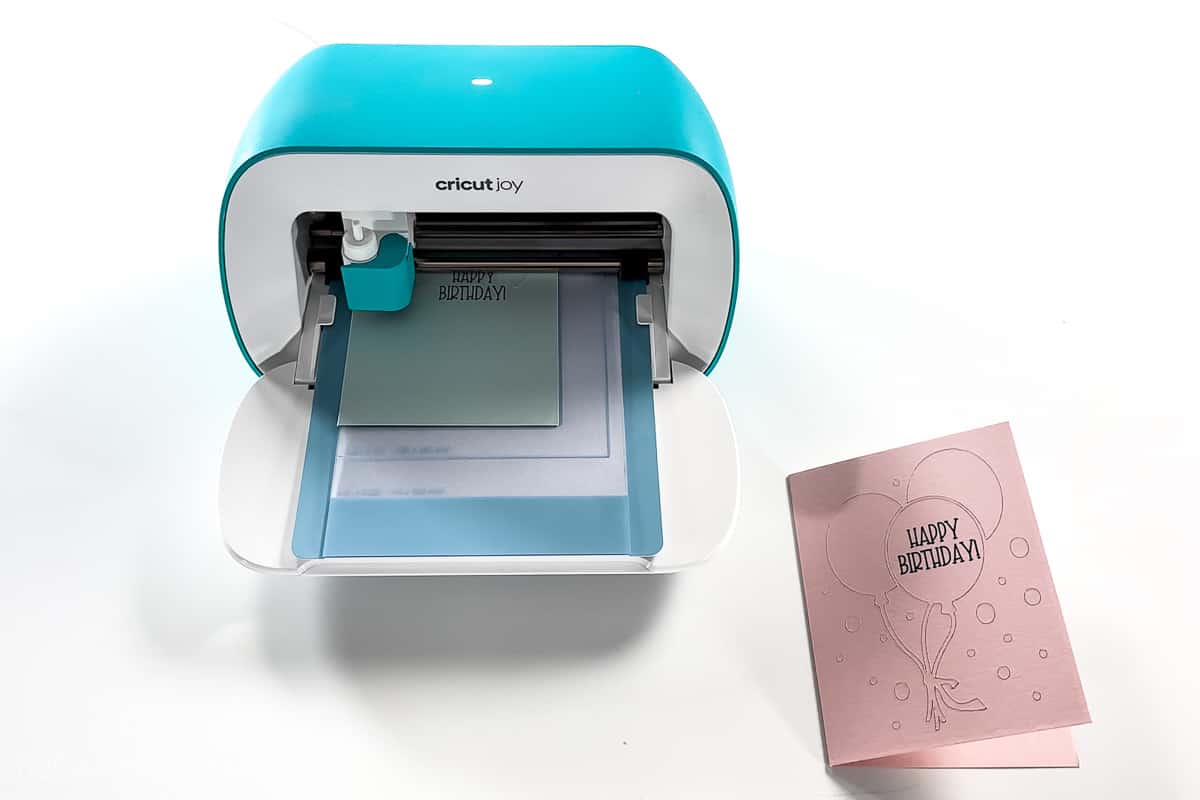
Load the Card Mat into the Cricut Joy.
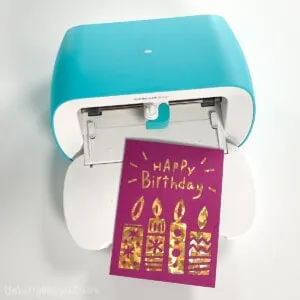
Select Go in the Cricut Design Space App, and the Joy will begin writing the text 'Happy Birthday'.
When prompted, remove the pen from the clamp, replace it with the cutting blade, and select Go in the app.
When the Joy is finished cutting, unload the mat.
To remove the card, turn the mat face down and pull up from the top corner. This will help you remove the card without the paper curling.
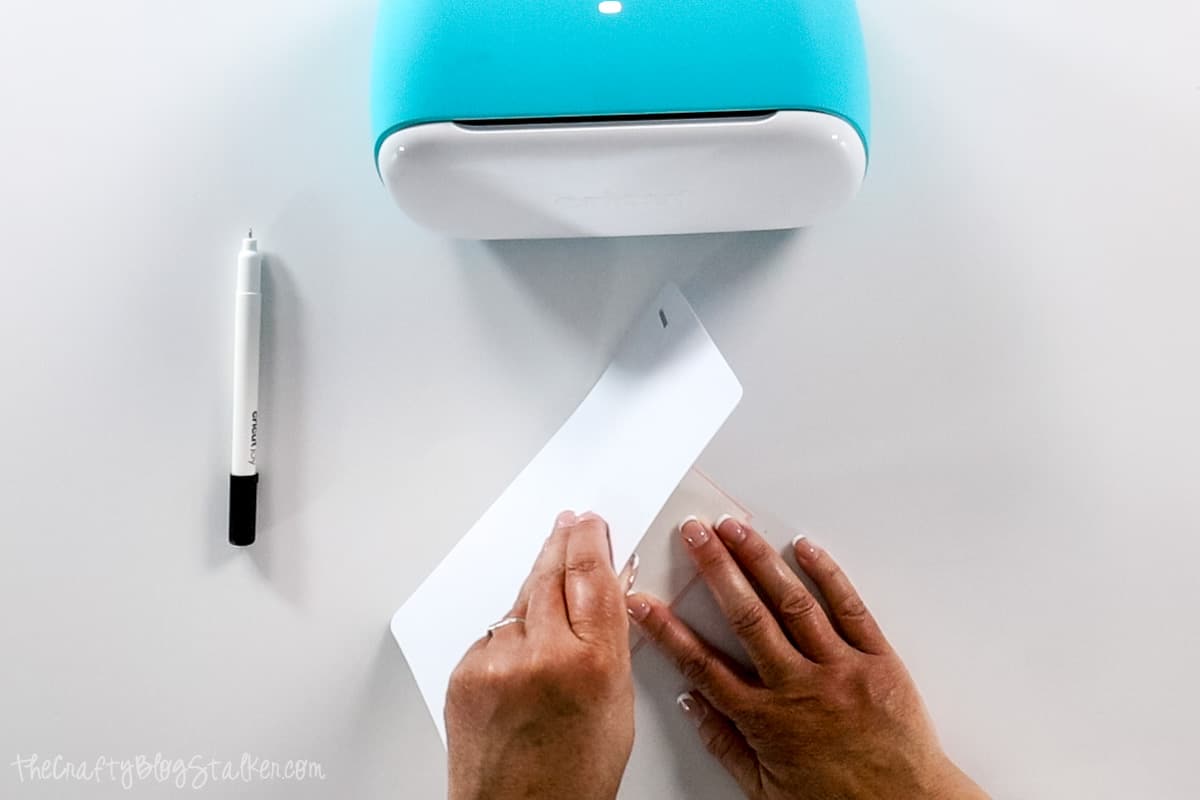
Repeat the process for the second card.
Finishing the Cards:
Next comes the weeding. My favorite tools for weeding Cutaway Cards are the Tweezers and the Hook Weeder.
Be careful with the Hook Weeder because you don't want to scratch the foil backer.
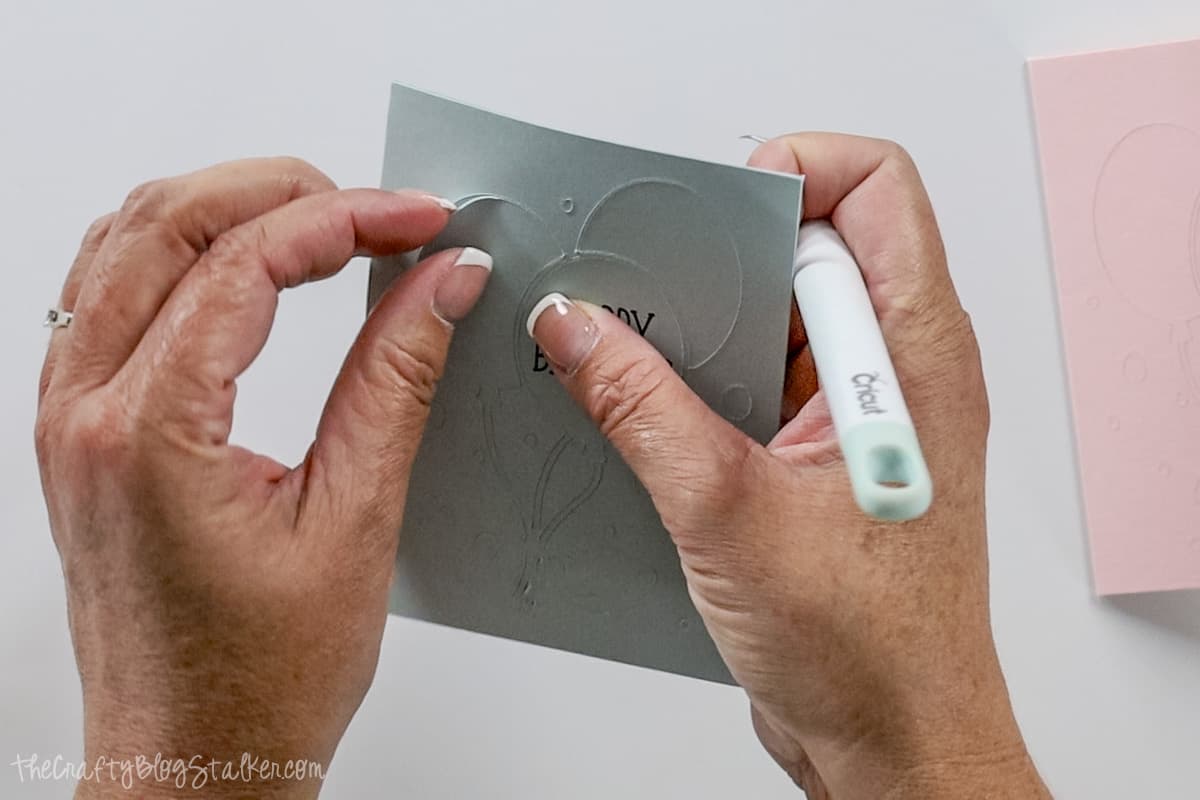
With the larger pieces, you can carefully bend the card without creasing to get the pieces to pop out of place.
Start with the balloon on the left, this will then remove all of the balloons because they are attached. We are going to be using the balloon with text on it so try not to bend it when removing it.
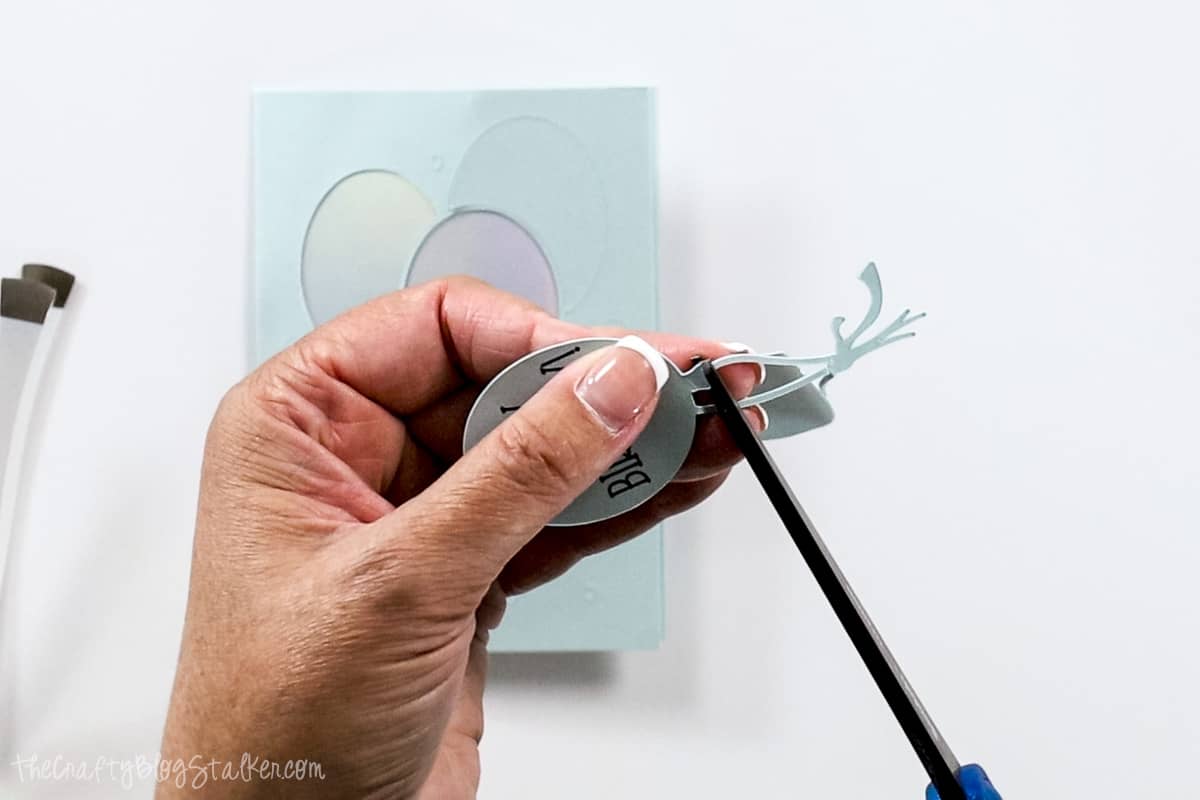
After the balloons have been removed, take a pair of scissors and carefully trim off the strings from the main balloon.
Set the balloon aside and continue weeding all of the confetti dots.
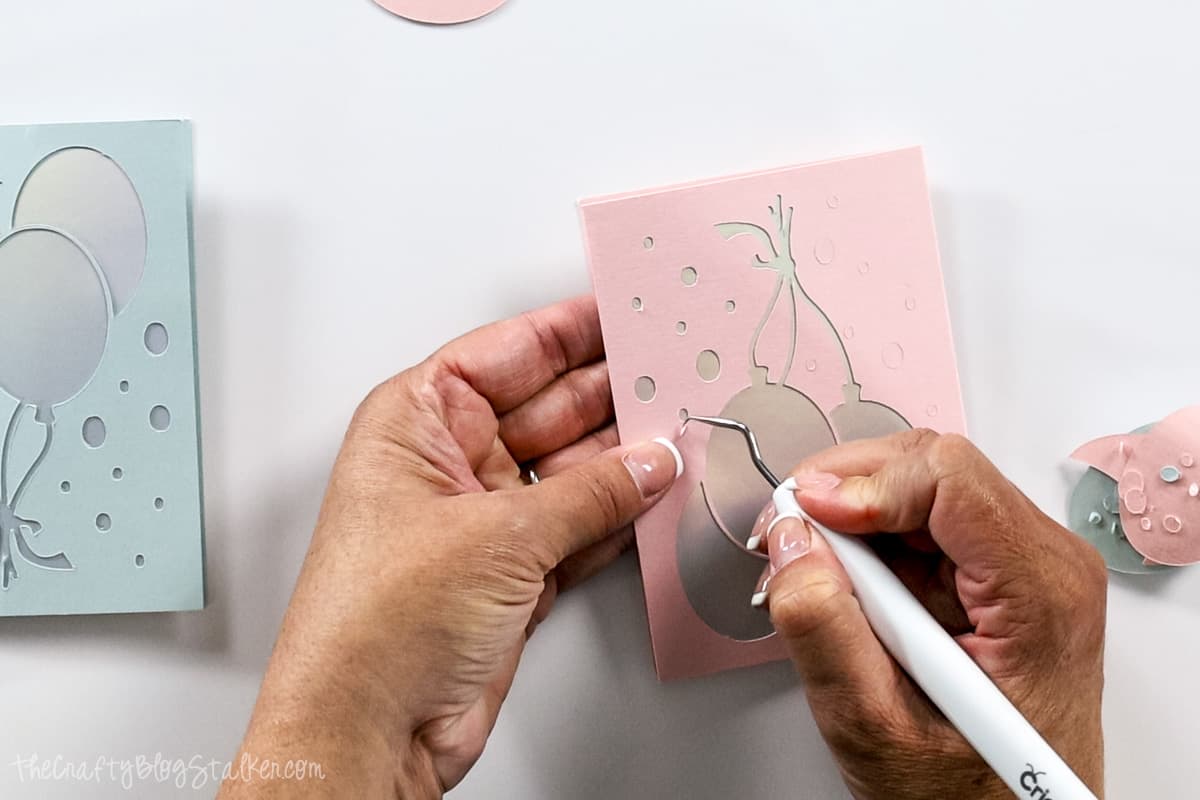
Repeat weeding for the second card, and remember to save that front balloon and trim off the strings.
Take the green balloon and apply two adhesive foam dots to the back.
Place the green balloon on the pink card over the balloon cut-out.
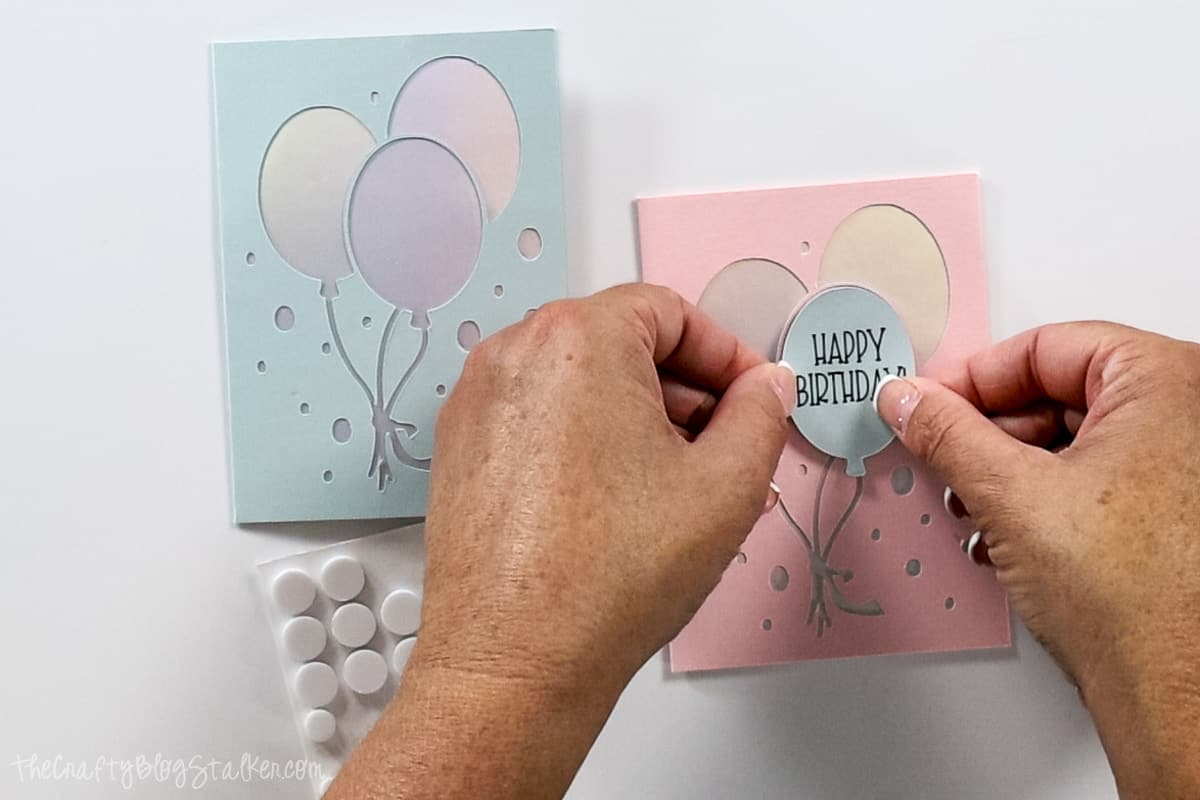
Repeat on the second card.
Now you have two handmade birthday cards that are different colors! Aren't they so cute?
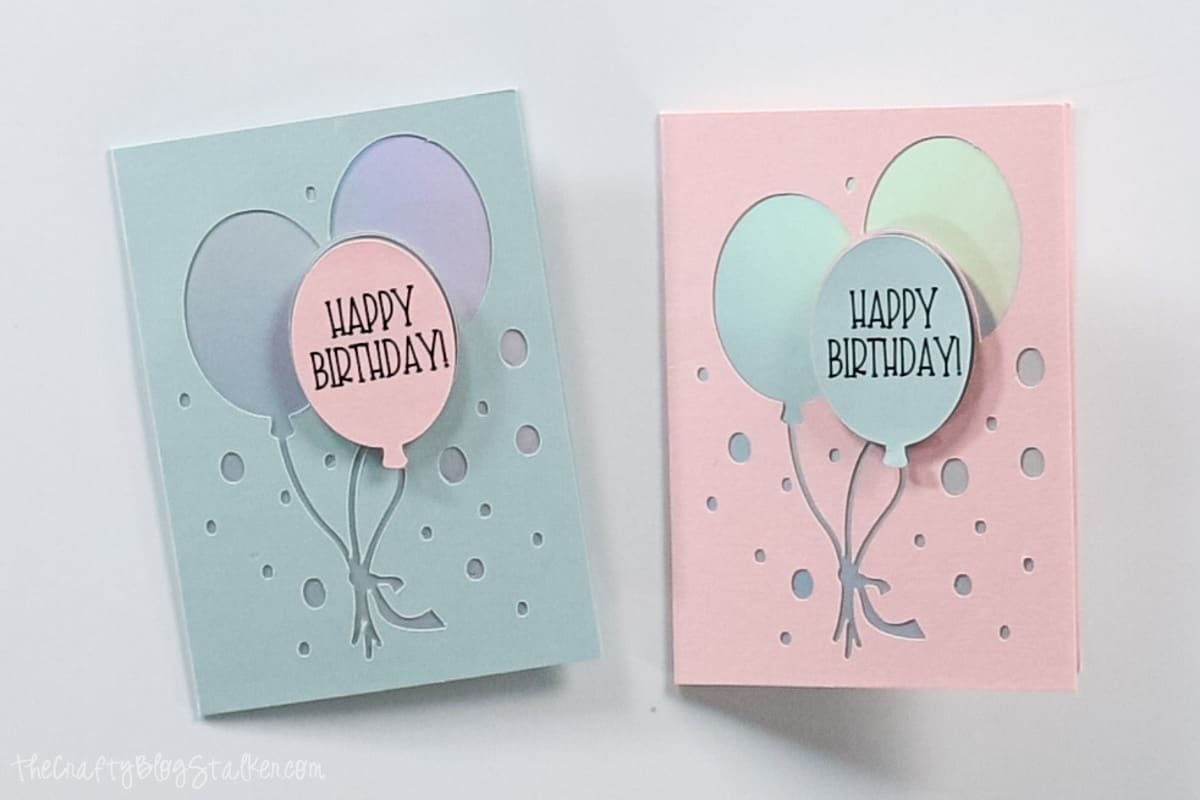
I love making two Cricut Joy cards at a time because you know you are going to need another one next month!
Our Crafting Essentials:
- The Cricut Cutting Machine is easily our favorite crafting tool. We use it in so many of our tutorials!
- These MakerX Crafting Tools are perfect for keeping in the craft room and are always ready when needed!
- This Fiskars Paper Trimmer is easy to use and cuts nicely without frayed edges.
- These Scotch Precision Scissors cut like a dream, and you get multiple pairs in a pack!


Ann @ Suburban Prairie Homemaker
LOVE it! What a great way to use those shapes!
Morgan Williams
turned out cute! love the colors & shapes 🙂 {found your post through take a look tuesday}
DebbieDoesCreations
Love it! I love the birthday card swap...genius! Thanks so much for sharing at Toot Your Horn Tuesday 🙂
The German Girl
I LOVE IT! you did such an amazing job and I cant wait to copy this cute idea. Thank you so much for sharing.
Elise@growcreative
That is a beautiful card! Thanks for sharing how you made it too!
Erin
I love the patter and the paper you used! Gotta love that Stampin' Up! Paper. 🙂
Erin
takingtimetocreate.blogspot.com
Michelle
Gorgeous card, love the papers!
Crystal
I love your card, thanks for the inspiration! I'm your newest follower and would love for you to come say hi sometime.
Crystal
apumpkinandaprincess.com
Rachel
So pretty!! I love making cards, but I rarely make time to do it anymore. Thanks for linking up to Terrific Tuesdays.
Rachel
Connie
A card swap, I love that idea and think I may steal it! Your card turned out great and I may steal that idea too :). I'm following you now and want to invite you to Wow Us Wednesday at Family Home and Life.
Jackie
This card is sooo cute!! My daughter loves doing cards, and so I'm always on the lookout for new ideas. 🙂
Diana - FreeStyleMama
Pretty!
Elizabeth
Very pretty! Love this card 🙂
Di
Consider it pinned! Thanks for sharing. di @ musings
Leslie Germain
Hi Katie. I love your card. I need to try this - probably will be on a scrap layout. Glad I found you. Leslie
Mary Beth
Such a pretty card ~ thanks for linking up to Project Inspire{d} ~ pinning!
Hugs, Mary Beth
Claire Justine
Great cards, love the colours and the patterns 🙂 Thanks for sharing with us at Creative Mondays...
Sue Boyer
This is beautiful. I love the combinations. I used to do stamping but haven't done it lately.
Mel Lockcuff
That card is really pretty; I love the colors. And the label with that label punch. Thanks so much for linking up to Inspire Me Wednesday! Featuring you in this week's issue.:)
Heather SettingforFour
I featured your pretty DIY Card today! Love it!! Shared and pinned it too!
QUratulain
Hi, I would like to share your DIY card projects on one of the forums. Can I have your permission to do that? Link to your blog will be provided as source. Cheers - Annie
Katie
Yes Annie. That would be just fine. Thank you!
Jayshree Bhagta
Awww that is so creative.. I love the design...Very nice colors and elements.