

Create a sweet summer gift with our handmade watermelon treat bag! Grab the free SVG file for easy crafting, perfect for birthdays, picnics, and pool parties.
Get ready to add a splash of summer fun to your gift-giving with this adorable handmade watermelon treat bag!
This DIY project is a delightful way to surprise your friends and family, perfect for birthdays, picnics, pool parties, and more.
Using reusable plastic gift bags and our free SVG file, you can easily create a charming gift bag that's sure to bring a smile to anyone's face.
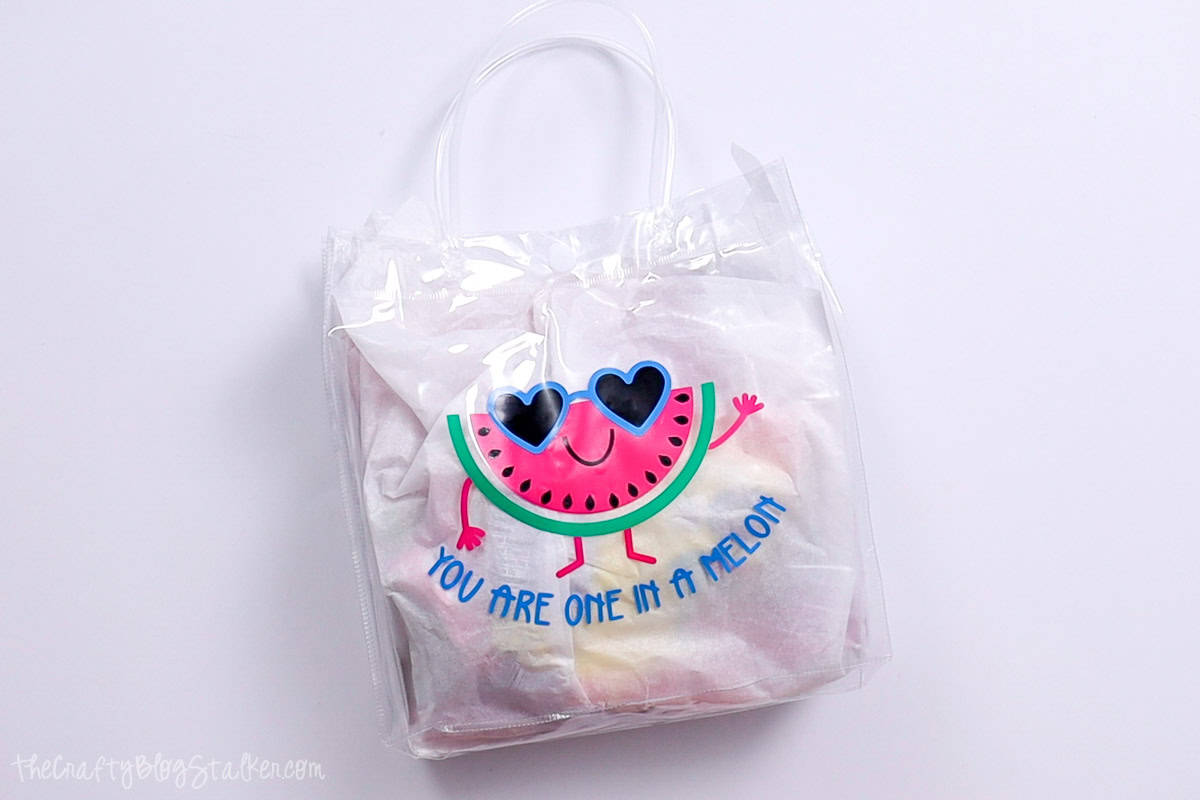
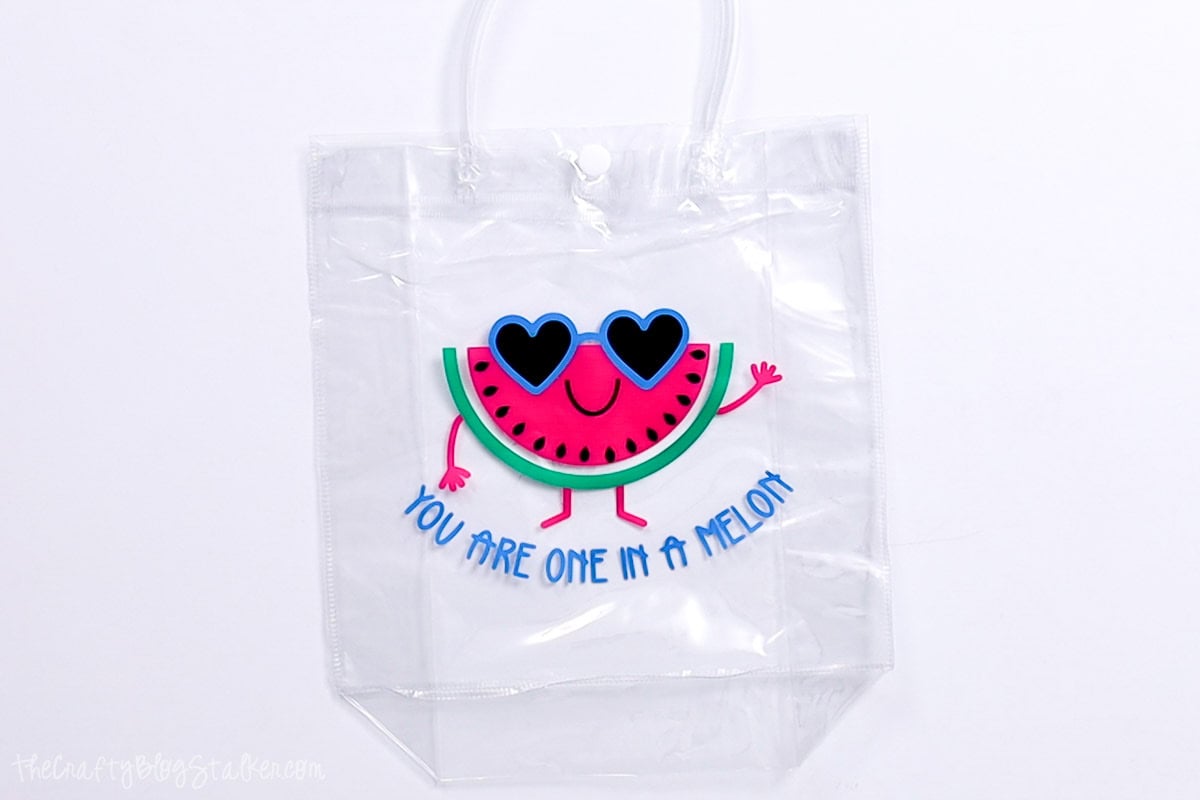
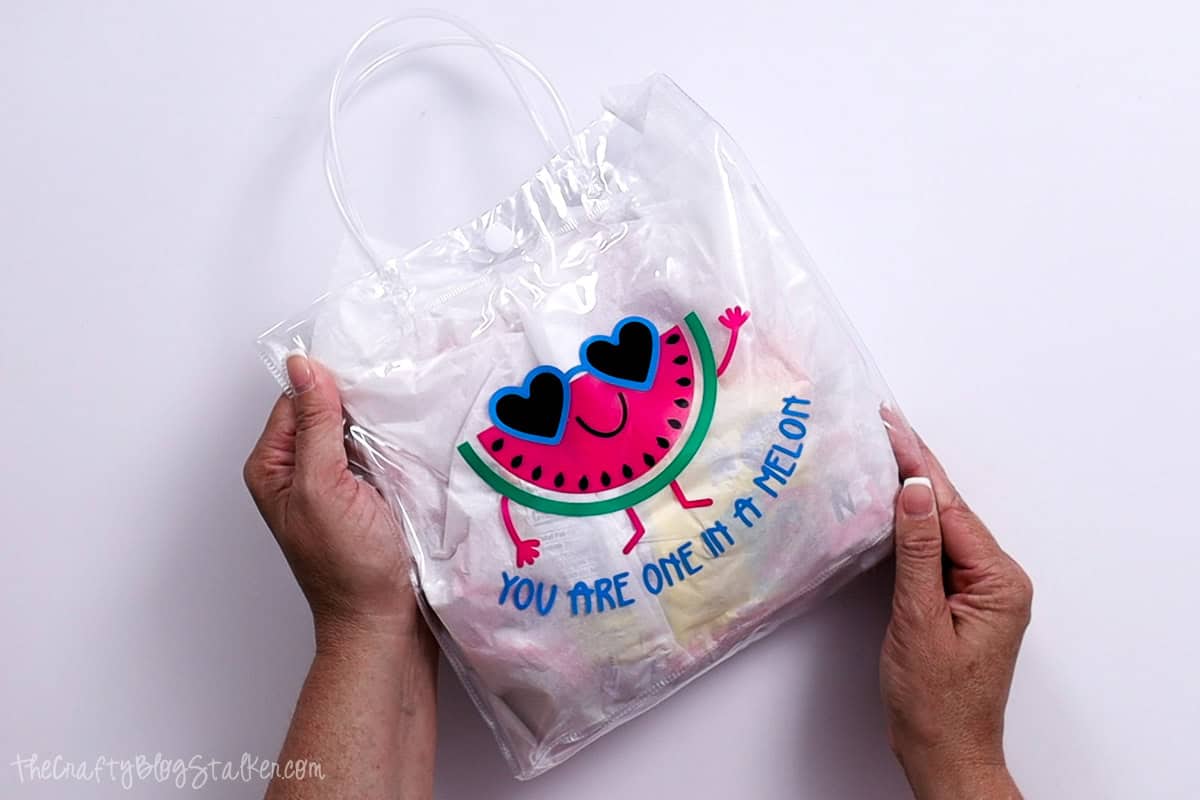
This cute bag, featuring a cheerful watermelon with heart-shaped sunglasses, is easy to make and adds a personal touch to your gifts.
Jump to:
Craft Tutorial Video
If videos are your thing, you're in luck-I've got a full tutorial ready for you!
Subscribe to my YouTube channel and stay inspired with every new project.
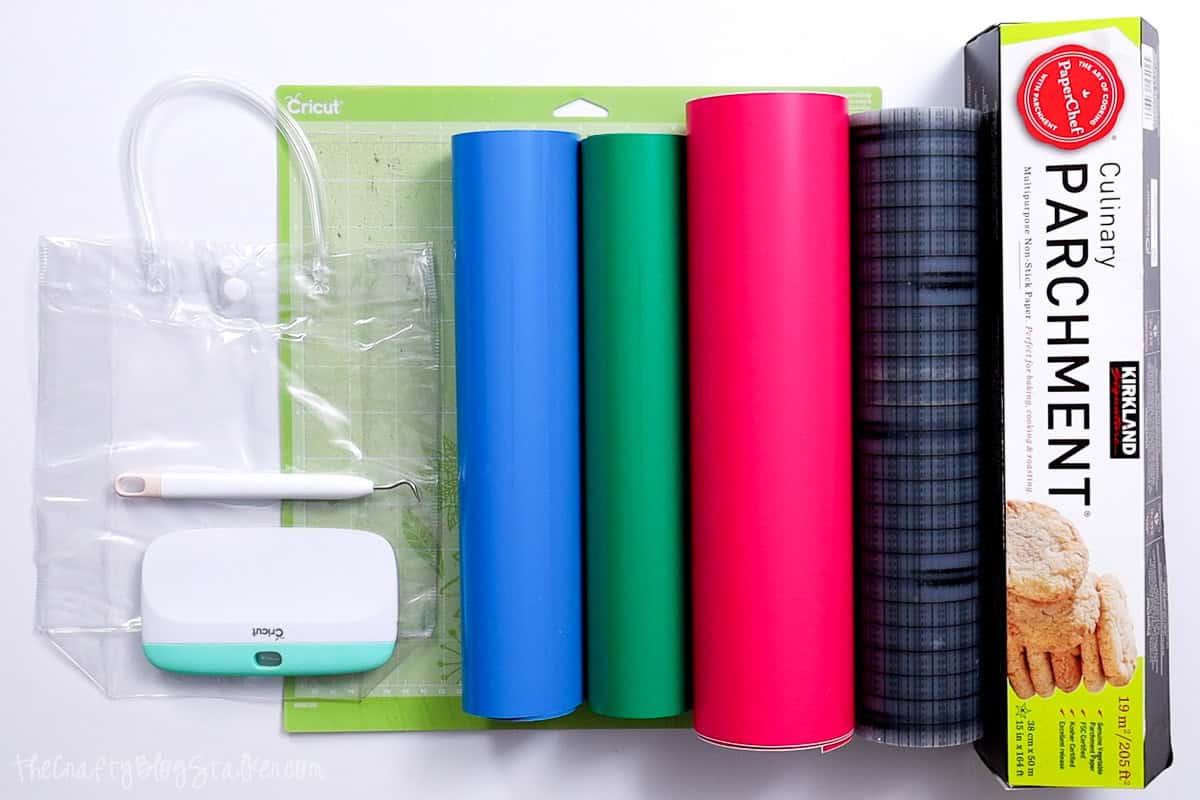
Supply List:
Some supplies were gifted at no cost. When exact item are unavailable online, links may point to comparable products.
- Plastic Gift Bags
- Cricut Cutting Machine
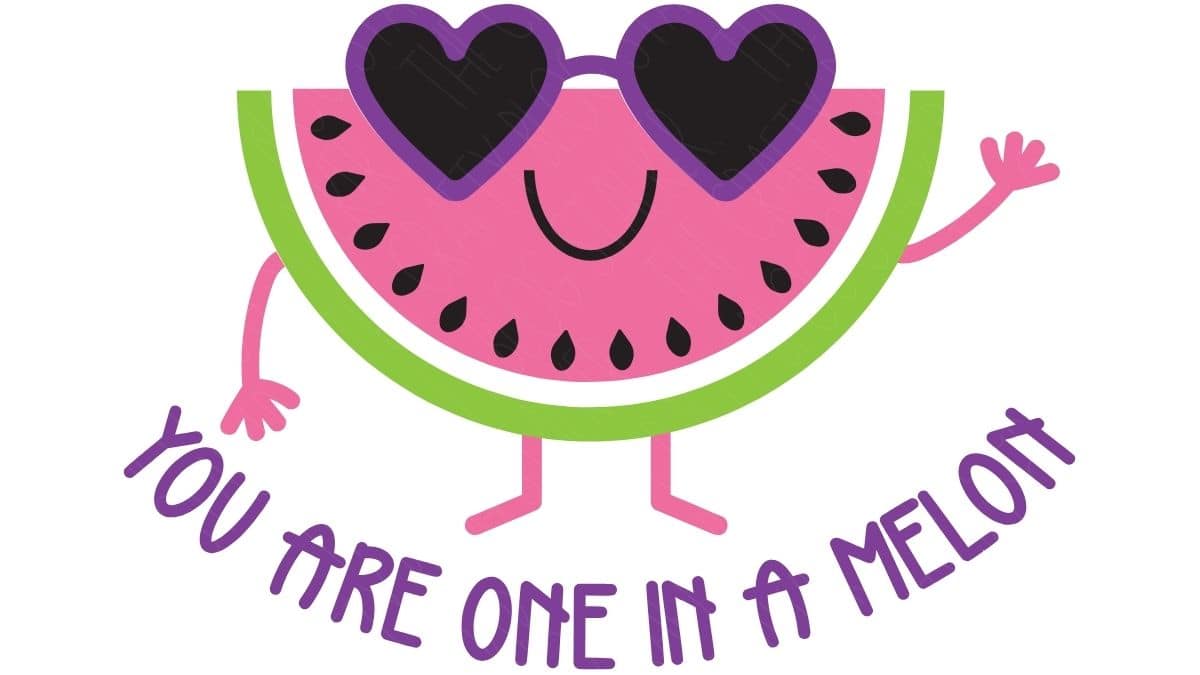
- One In A Melon Free SVG
- Vinyl - Pink, Blue, Green, and Black
- Weeding Tools
- Scraper Tool
- Transfer Tape
- Parchment Paper
Grab the Free SVG:
This digital media is for Personal Use Only - You cannot redistribute.
Cricut Design Space:
For the following steps, I'll be using Cricut Design Space.
If you use Silhouette Studio or a different design software, your steps may be different than mine.
To start, upload the SVG into Cricut Design Space and add it to your Canvas.
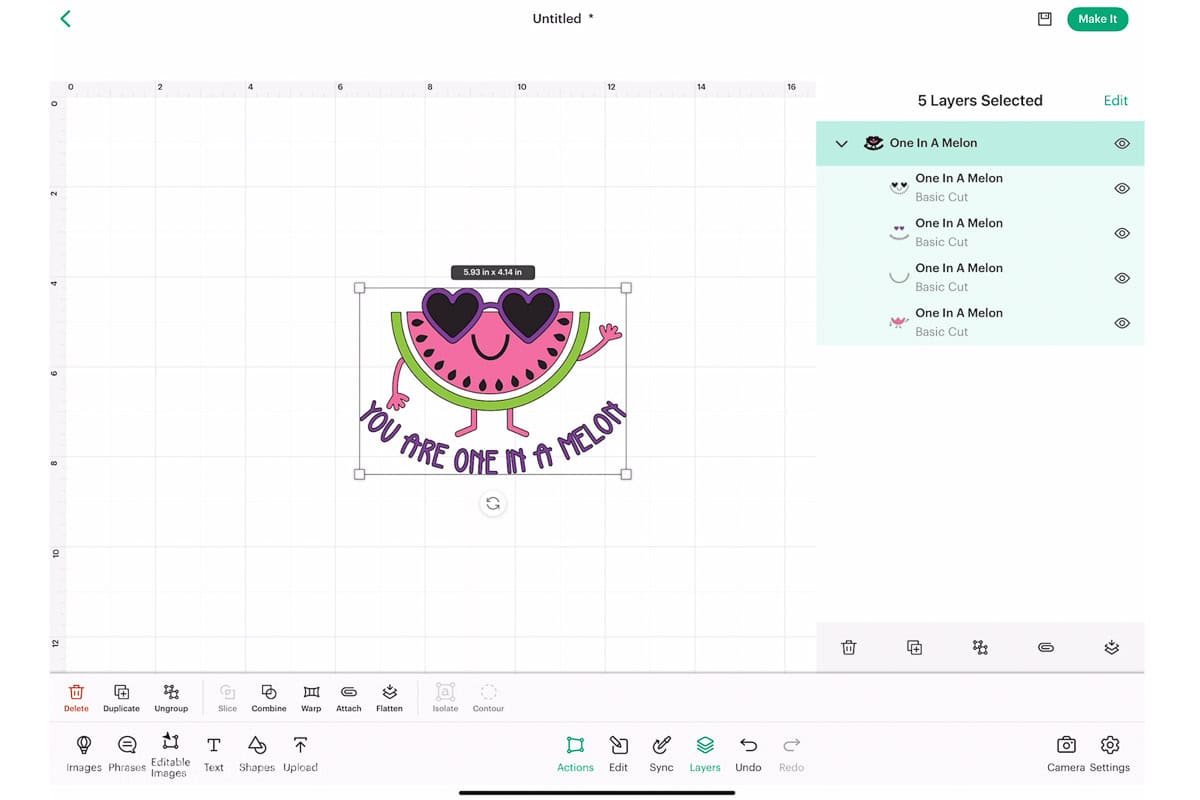
The design is ready to cut as soon as uploaded but can be resized. Just make sure that all layers are resized so they still fit together.
Click on Make and the next screen is the matt preview to see the different layers.
Click next and select the material cutting, I am using Smart Vinyl.
Cut the Design on a Cricut:
Follow the prompts in Cricut Design Space to know the color of the vinyl to load into the machine next.
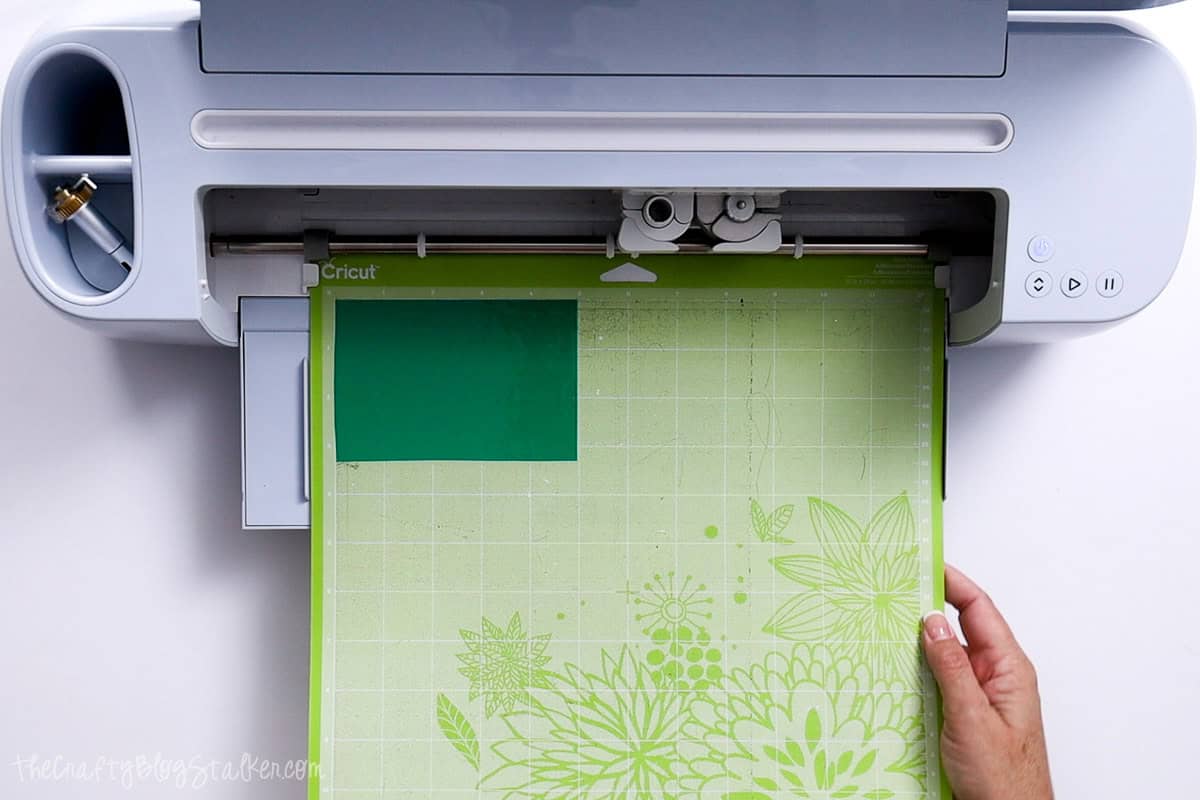
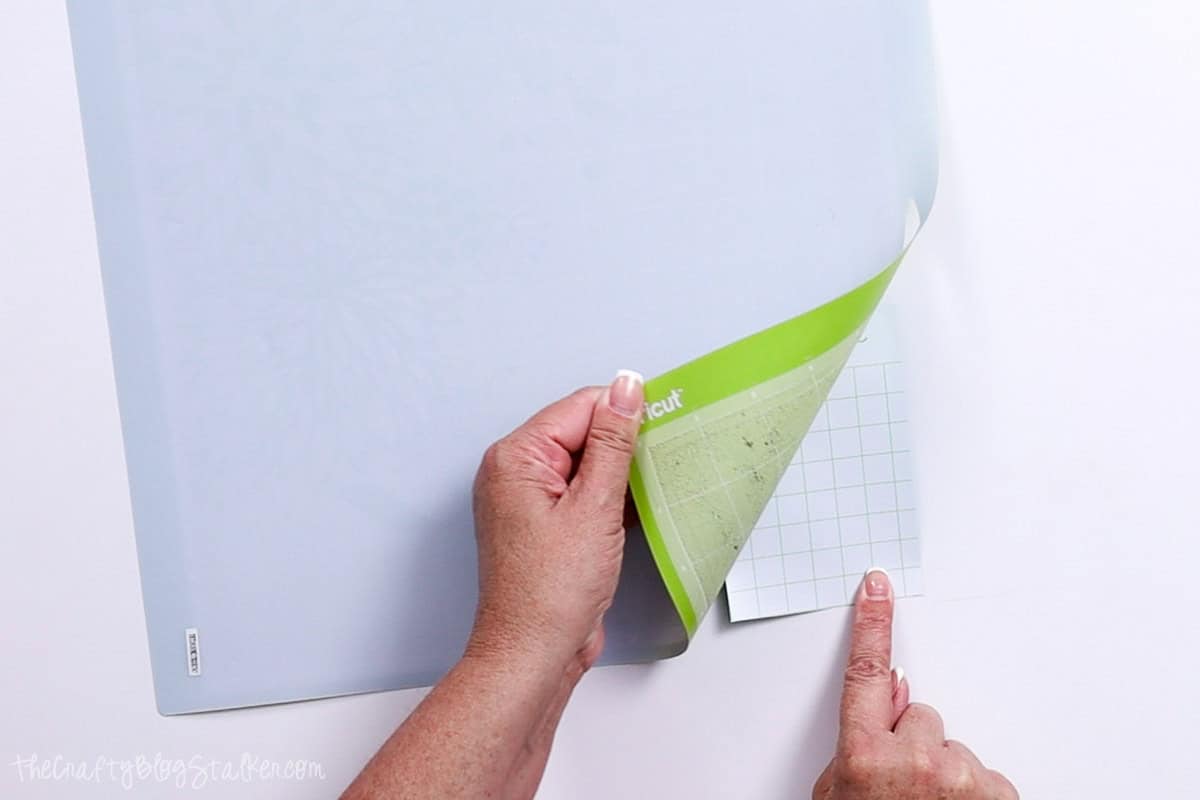
When removing the vinyl from the mat, turn the mat over and remove the mat from the material instead of the other way around.
Weed all cut layers of vinyl.
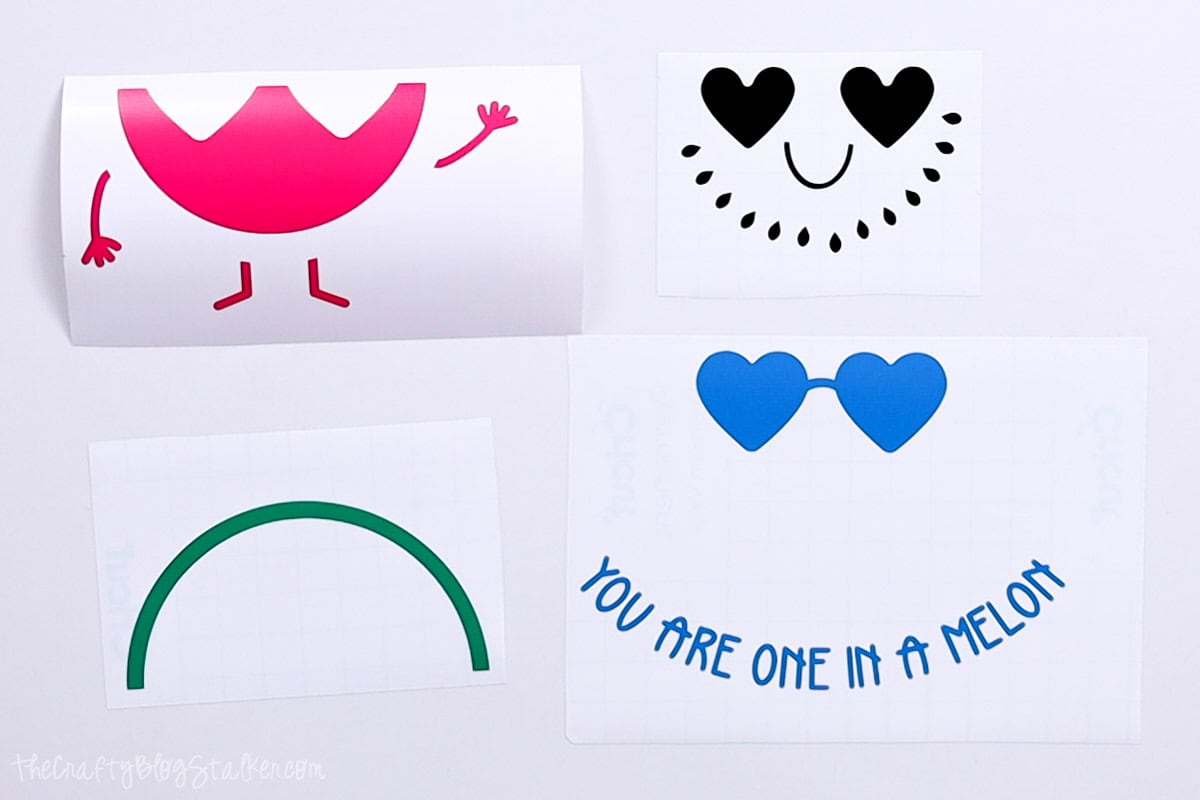
Layer Vinyl:
Cut a piece of parchment paper the size of the finished design, and cut a piece of transfer tape the same size.
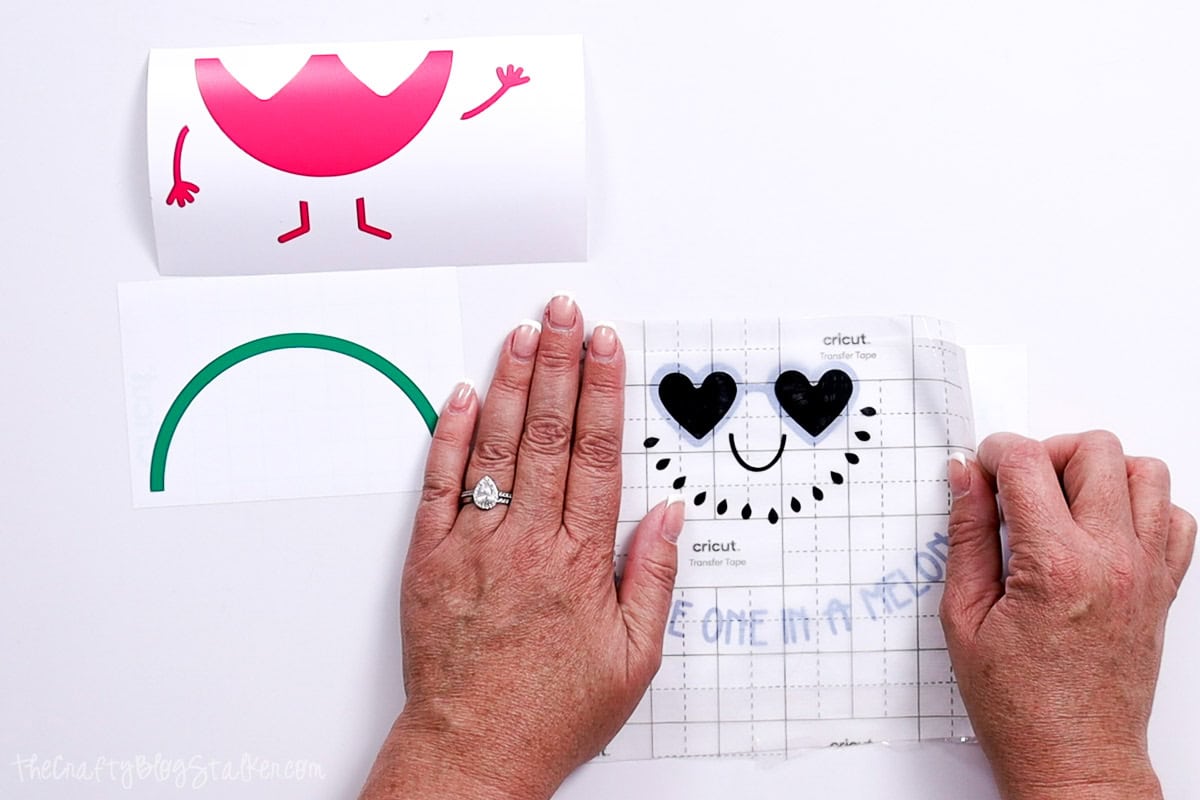
When layering vinyl, start with the top layer and move to the bottom. With this design, black is the top layer.
Place the transfer tape over the top layer, and go over it with a scraper tool.
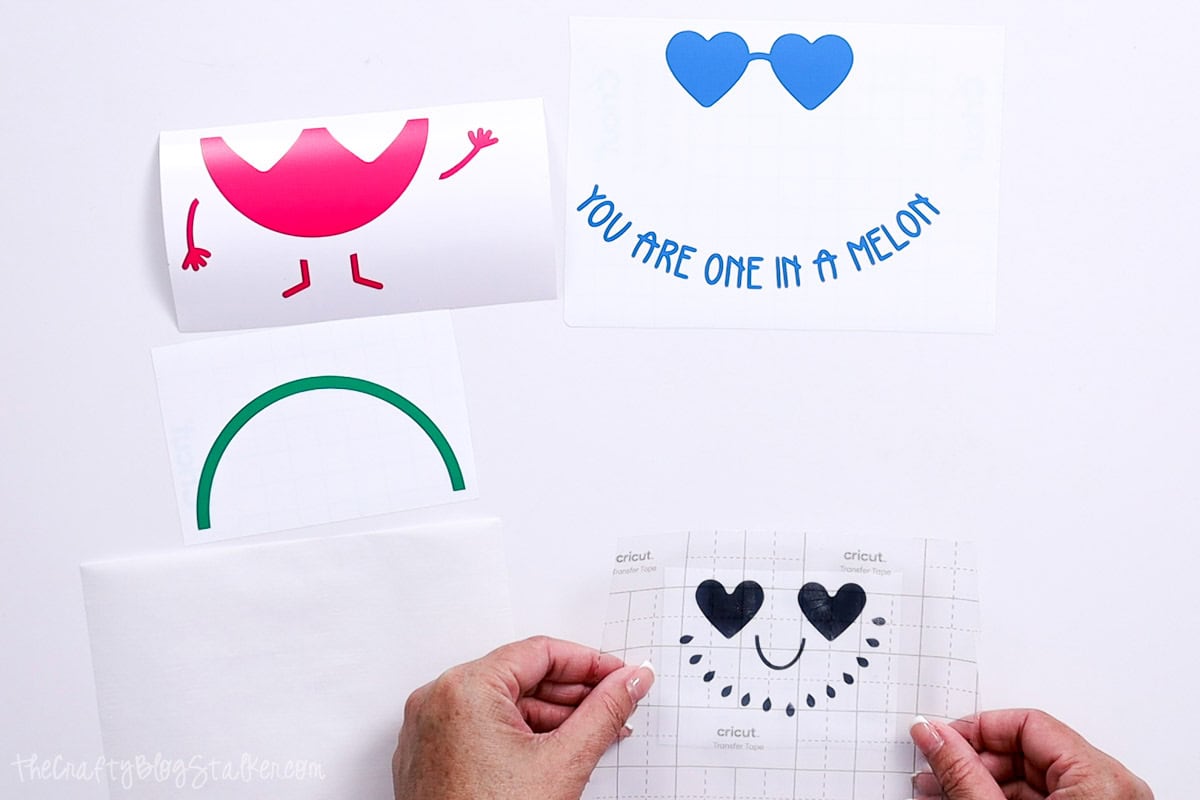
Remove the backing tape to the vinyl layer, and place the parchment paper square behind the vinyl just a bit below the top of the tape.
The parchment paper makes it so the design doesn't stick before you have the design centered.
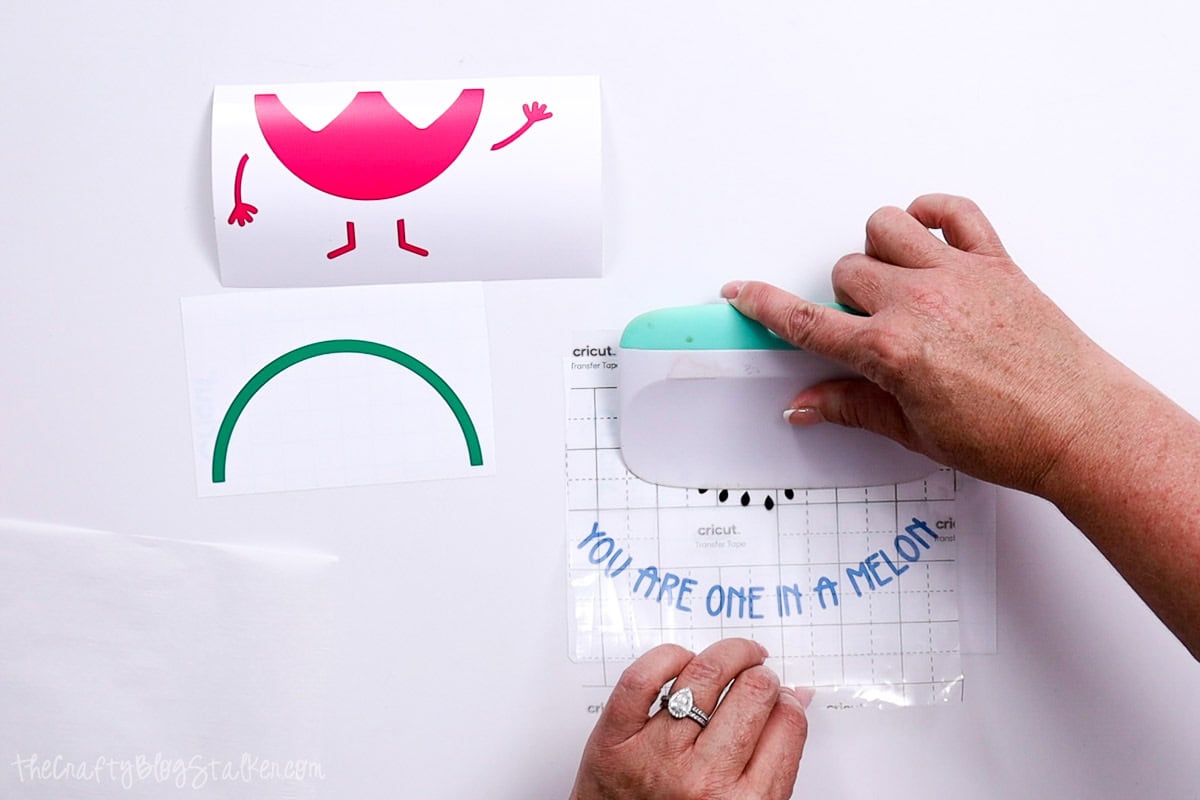
Center the top layer over the second layer of the design.
Find that centered placement, and press the top of the exposed transfer tape down.
Lift up the transfer tape, remove the parchment paper, and roll the top layer down with a scraper tool.
Repeat the same steps for the next two layers.
Remove the backing paper from the design and place the parchment paper behind the design.
Move the design until the correct placement is found.

Press the exposed area of the transfer tape down, lift the transfer tape to remove the parchment paper, and then press down the transfer tape on top.
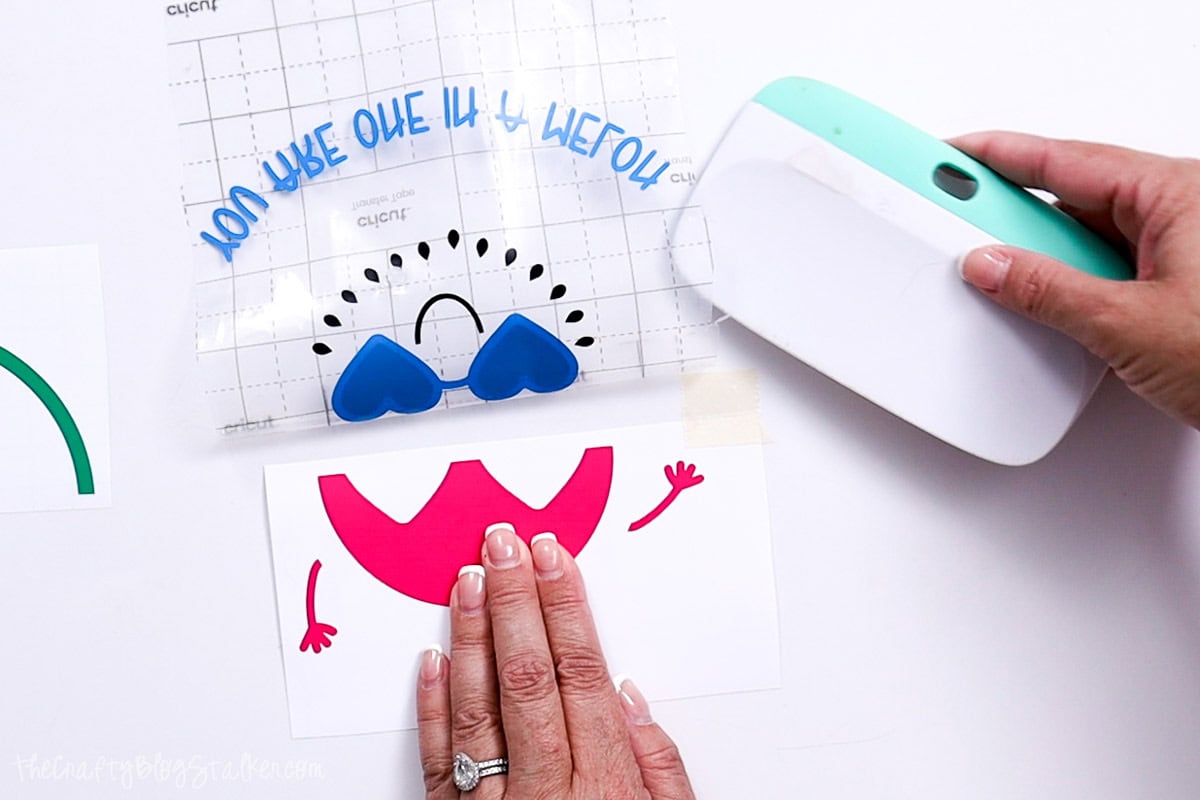
Repeat again to adhere the design to the final fourth layer.
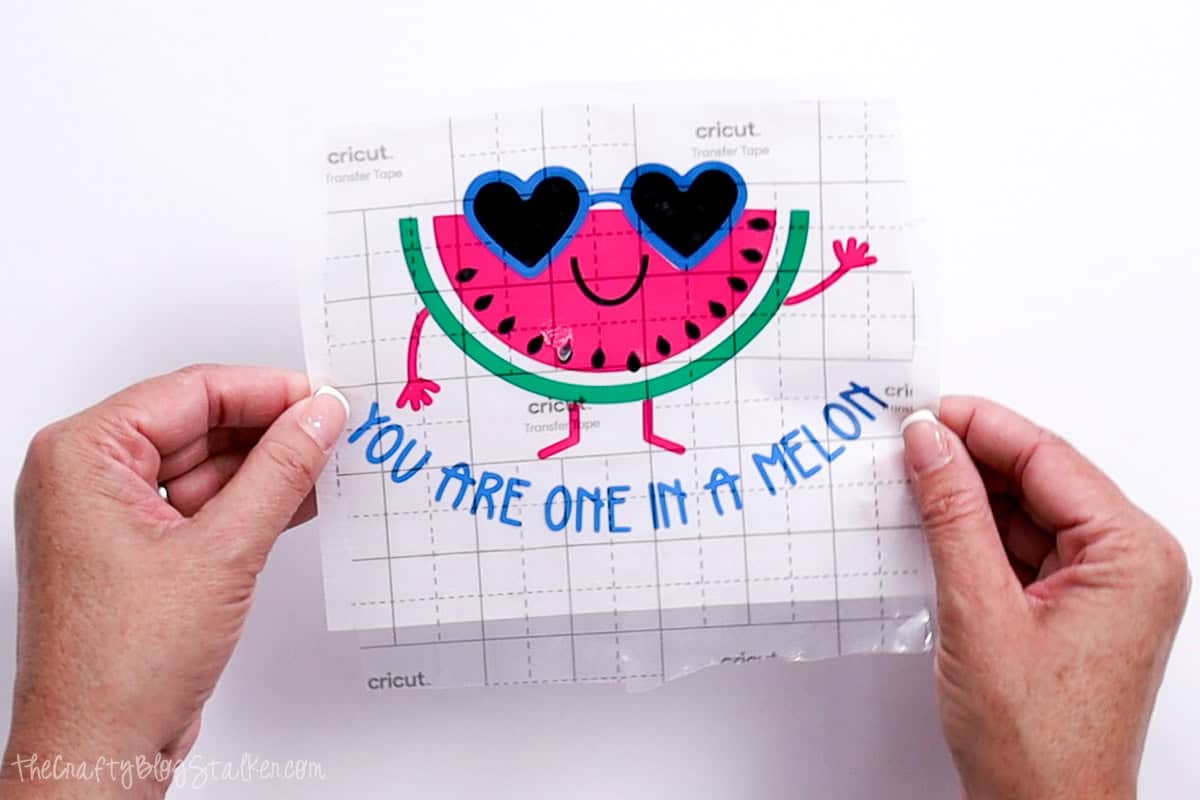
Here is the layered design.
Add Design to Gift Bag:
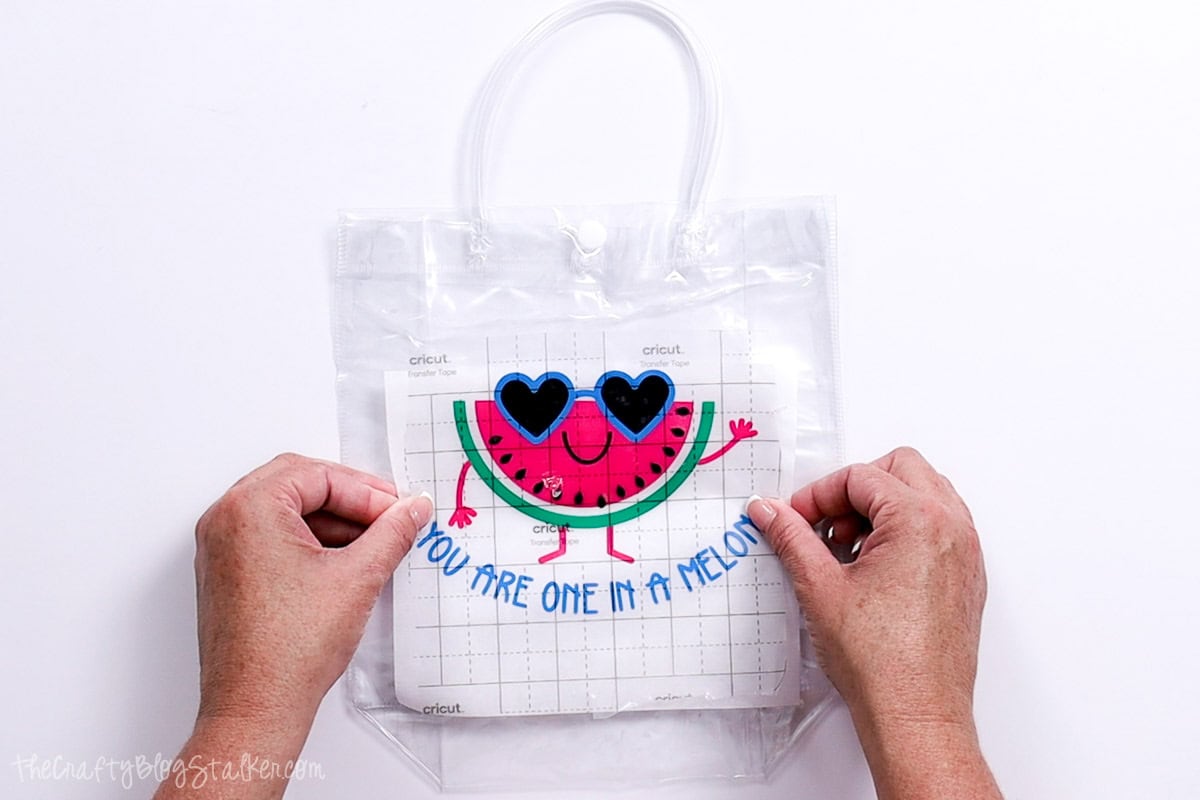
Keep the parchment paper behind the layered design while trying to find the best placement on the plastic gift bag.
Press down the exposed strip of transfer tape to the gift bag, lift the transfer tape, remove the parchment paper, and then roll the design onto the bag with a scraper tool.
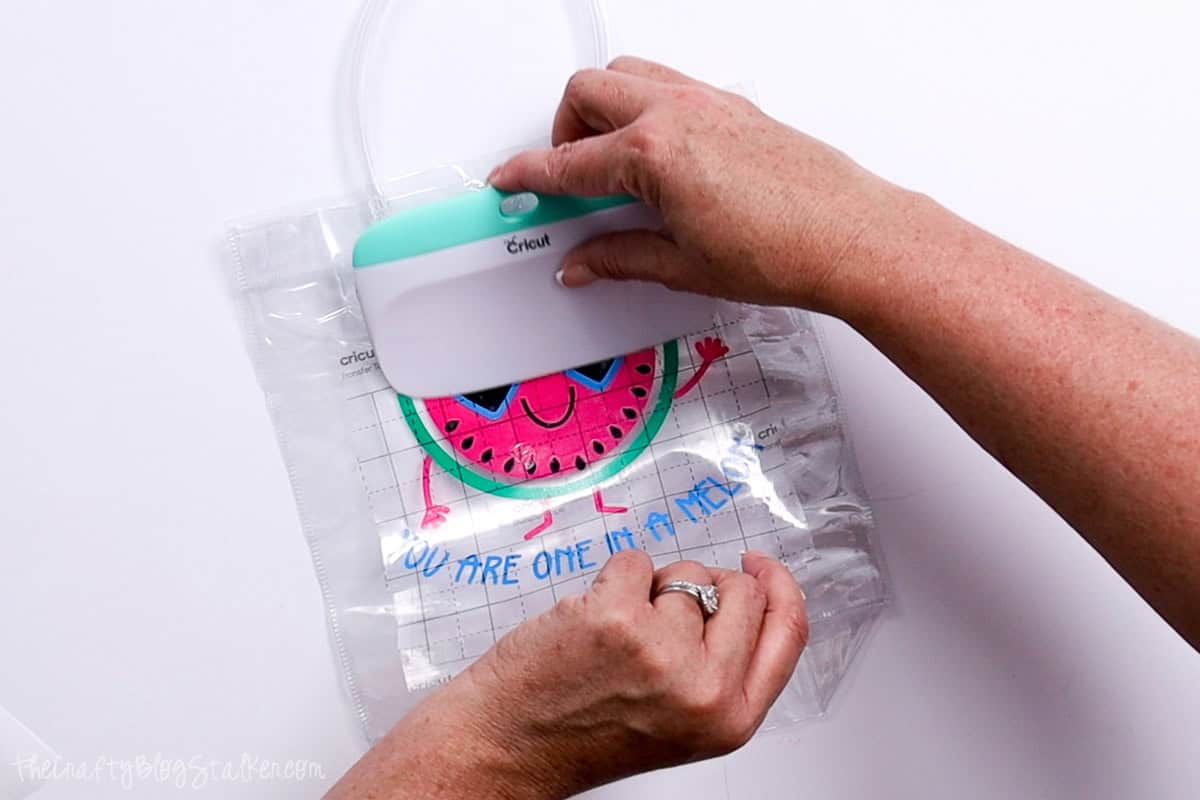
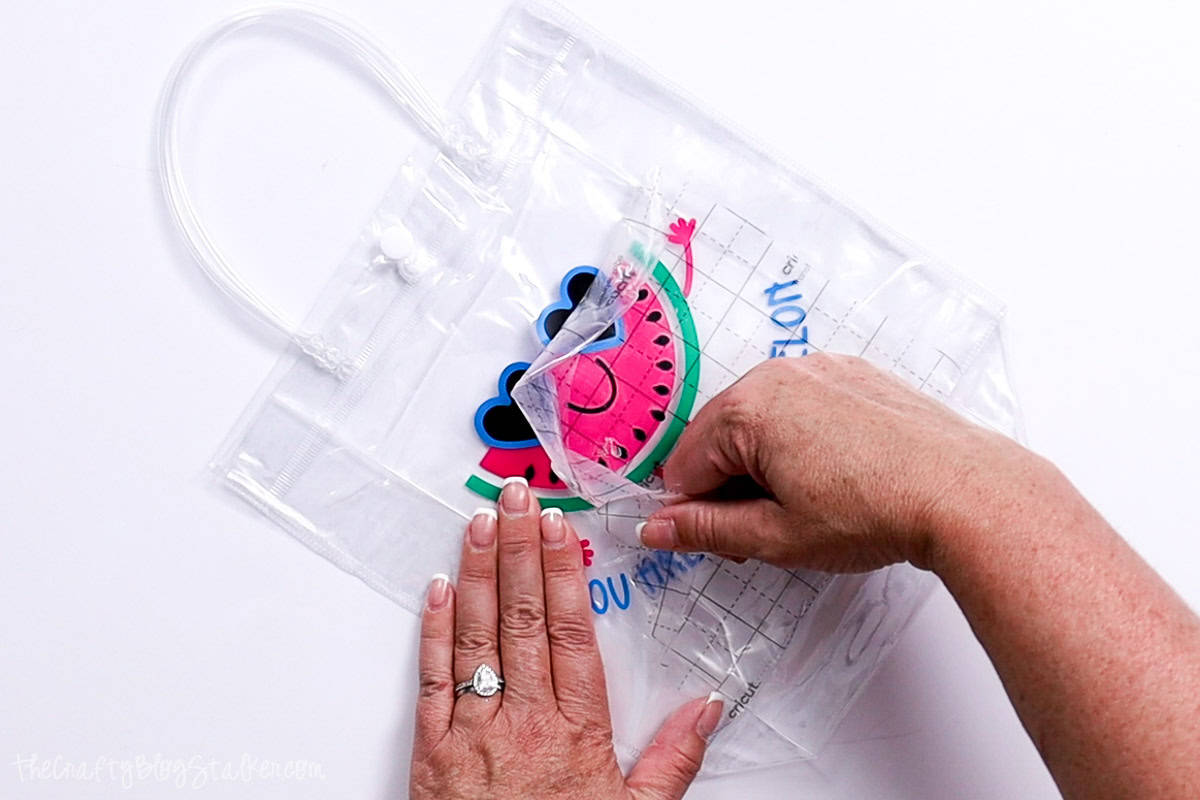
Press the design into the page and then peel back the transfer tape.
Since the bag and the transfer tape are both plastic, the transfer tape is a little trickier to remove, but it will come up.
Fill the Gift Bag:
Next comes the fun part of filling the bag!
I went to my local Dollar Tree and purchased all the watermelon snacks and some white tissue paper.
Line the gift bag with a couple of sheets of tissue paper, and then fill it with all the goodies.
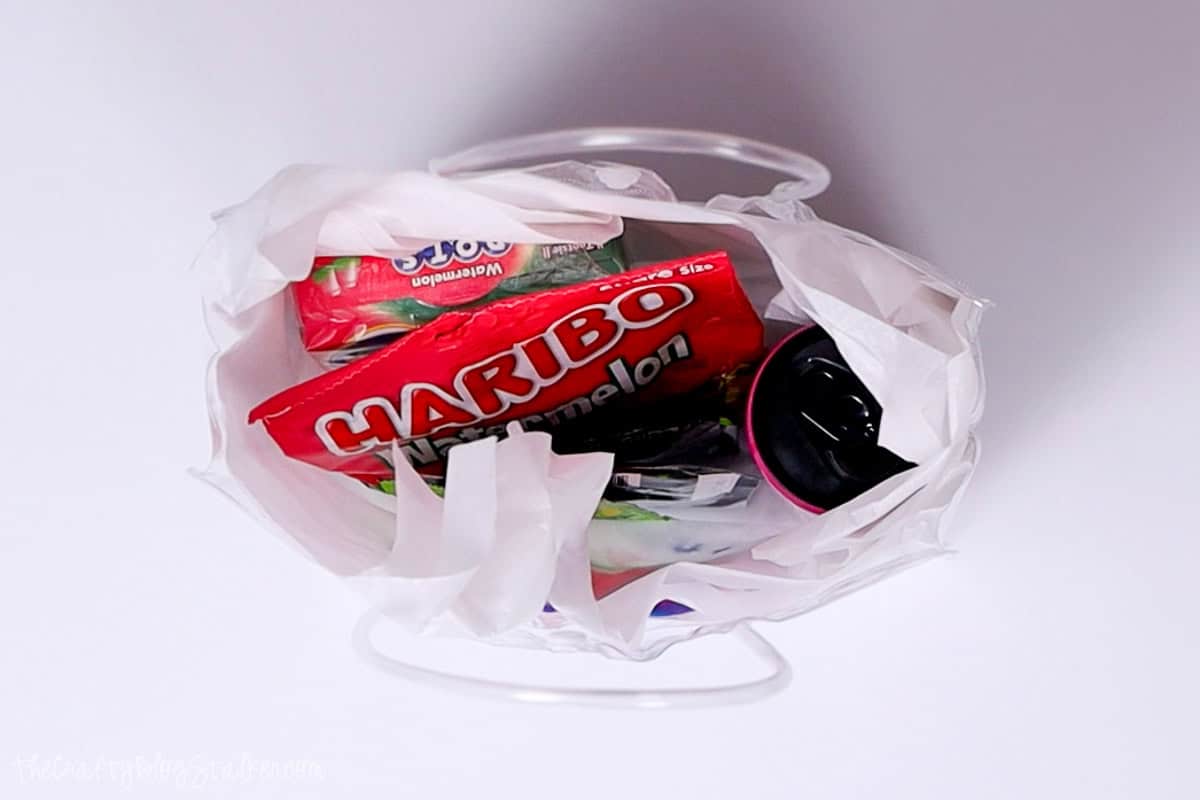
Now the gift is ready to gift, and it is so cute!
Variations:
This cute gift bag could be used for so many different celebrations!
- Birthday
- Beach Day
- Party Favor Bags
- Picnic Lunch
- Thank You Gift
Of course, any small gift would work in this cute gift bag. The watermelon-themed treats just worked for my gift-giving needs.
Any of these Funny SVG cut files would work great on a gift bag! 😂
Crafting Essentials
- The Cricut Cutting Machine is easily my favorite crafting tool. We use it in so many of our tutorials!
- These MakerX Crafting Tools are perfect for keeping in the craft room and are always ready when needed!
- This Fiskars Paper Trimmer is easy to use and cuts nicely without frayed edges.
- These Scotch Precision Scissors cut like a dream, and you get multiple pairs in a pack!
Suzy Myers
Love this project!! Great for parties!
suzy
Anna-Marie Field
Hi Katie,Thank you!!!This is a great idea as a table present for my next party!!!Very nice!!!Have a happy week!!!
Love
AMarie
Lindsey Paris
... one in a MELON.... HA! That's my favorite part!
Paula@SweetPea
Such a cute project! The recipients are going to love this!
Sarah Westover McKenna
Ok, now I am craving sour patch kid watermelons like CRAZY!!!! 🙂 Fun project!
Summer Rumsey
This turned out so cute Katie!
Amanda
Super cute! I love this idea.
Amanda
Debbie Chapman
I love that you made the bag too! And I totally love the one in a melon saying! So clever!
Debbie @ One Little Project
Cathy C
Love it! Saw your post over @ Someday Crafts
Margaret Christensen
Very cute! I love watermelon stuff- perfect for summer. I'm pinning for later. Thanks.
Z
Love it, I think its a little difficult for me, but I'l try! Pinned it.
Helen Gash
I LOVE this! Pinned, and following you on Bloglovin'. Thank You so much for linking up with the Friday follow along.
Cathy Compeau
I love the stuff you post! Way cute!
I would love for you to share and link up at my weekly TGIF Link Party if you haven't already this week. Your favorite posts, most popular, recent or new! The party is open every Thursday night and closes Wednesday's at midnight. Followed by (Not SO) Wordless Wednesday! I would be honored if you join us! Have a wonderful week!
Hugs, Cathy
Summer
Oh this is so cute - I just love Watermelon themed ideas for the summertime!
Bobbie
Such a cute idea! Thanks so much for sharing on the Creative Exchange Link Party. I featured you this week:
Cheri
A very cool treat bag..I love the watermelon gummies!