This post may contain affiliate links. For more information, please see our disclosure policy.
Craft your own DIY Harry Potter wands with paper, hot glue, and school glue. Follow our step-by-step instructions for magical DIY creations! If you make a purchase using any affiliate links below, we may earn a commission.
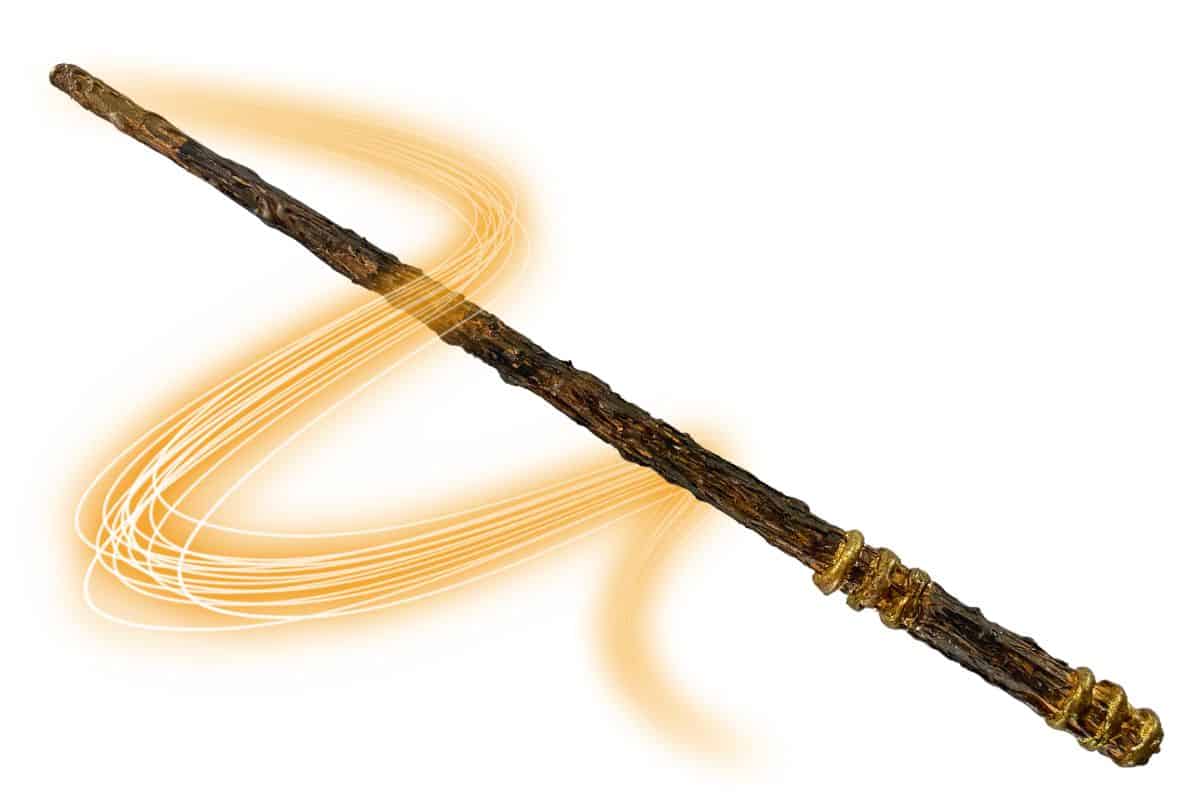
Attention all Harry Potter fans! If you and/or your kids are as obsessed with the magical world as we are, then you're in for a treat!
In today's blog post, I'll be sharing an exciting DIY project, creating our very own Harry Potter magic wands.
Craft Video Tutorial:
Like videos? I have a video tutorial for you! Subscribe to my YouTube Channel so you don't miss any future videos!
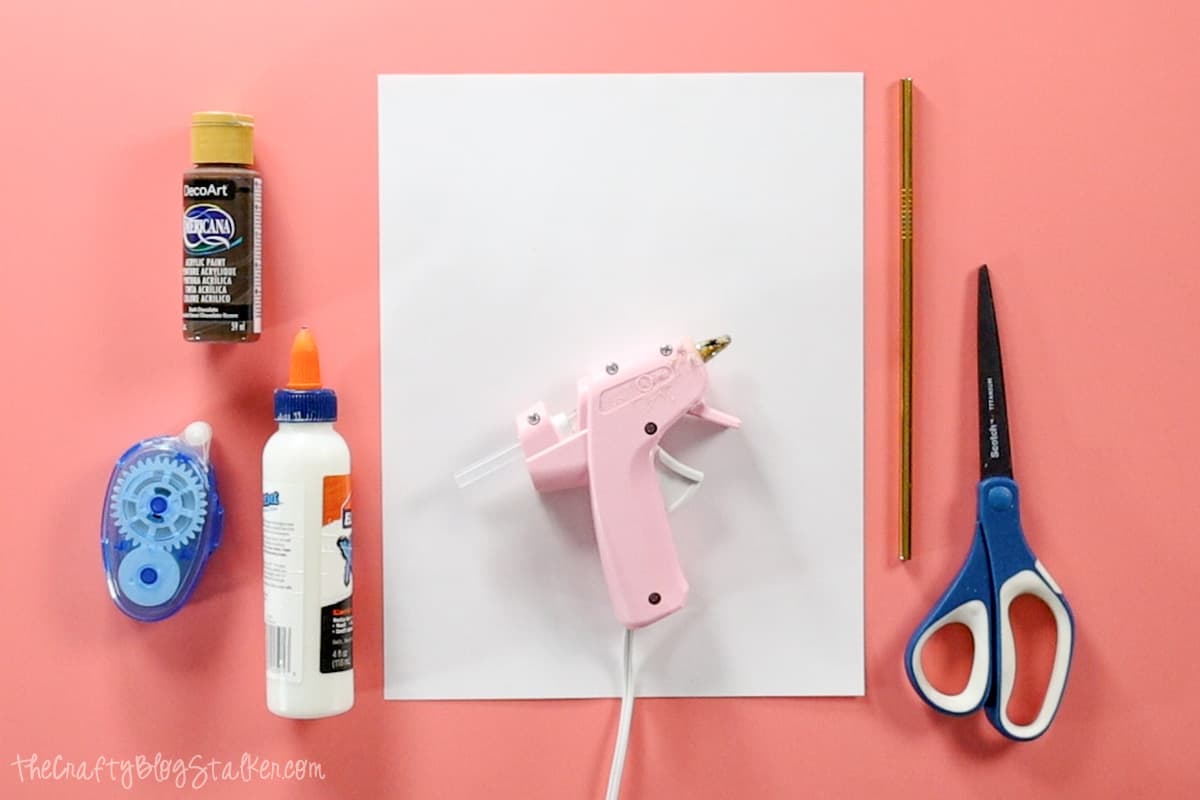
Supplies You'll Need to Make This Craft:
- Printer Paper
- Double Sided Adhesive
- Metal Straw
- School Glue
- Scissors
- Mason Jar
- Hot Glue Gun
- Acrylic Paint
- Glue Eraser
Rolling a Paper Wand:
Making the wands can be a little tricky so I made them and then let my wizards paint them however they wanted.
Start with an 8.5x11-inch sheet of printer paper.
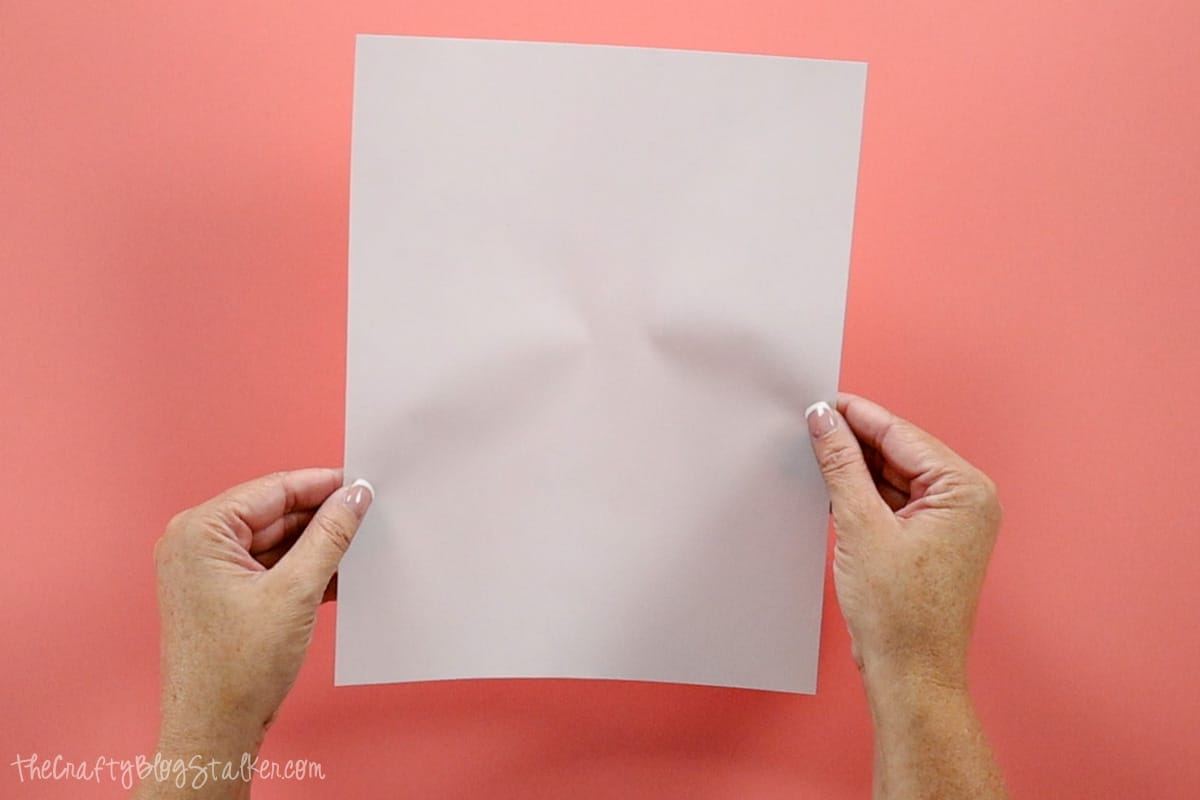
Run the sheet over the edge of a table to give the paper a bit of curl to it.
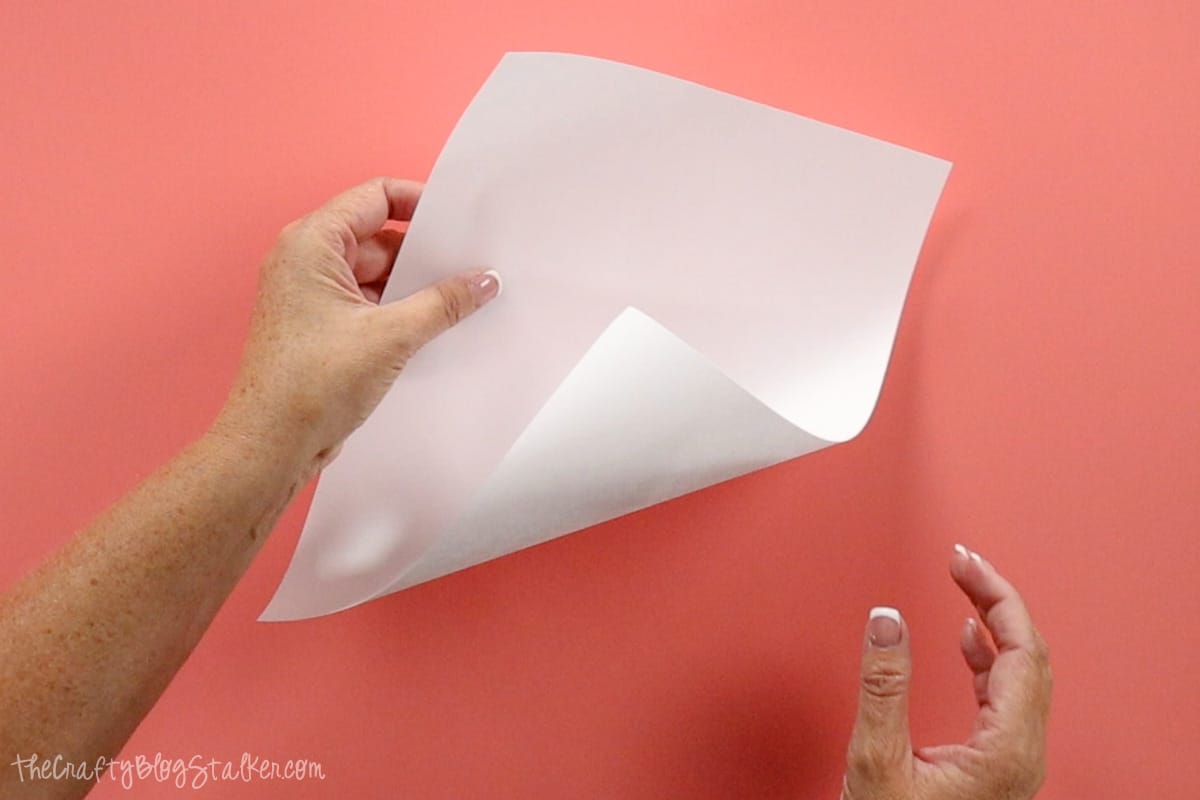
Run a diagonal strip of double-sided adhesive from corner to corner.
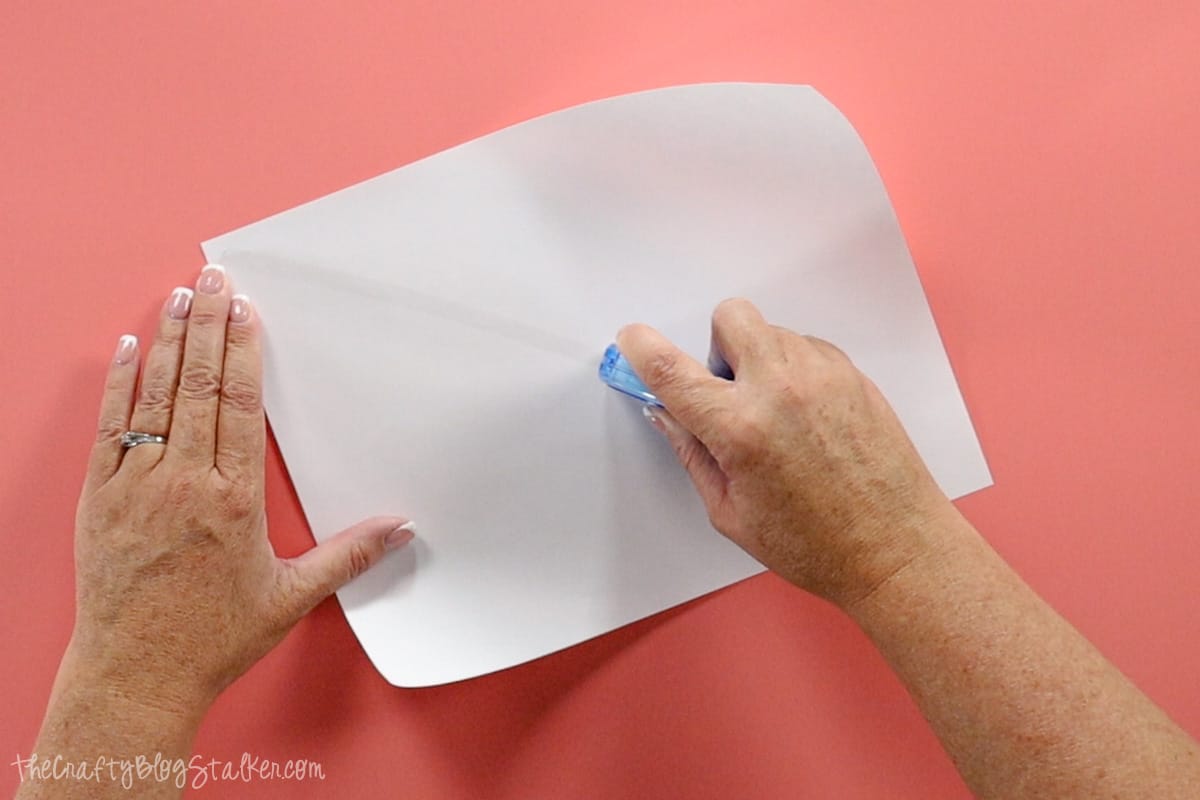
Following the curve of the paper, begin wrapping the paper around a metal straw.
Start the rolling in an opposite corner then where the adhesive is.
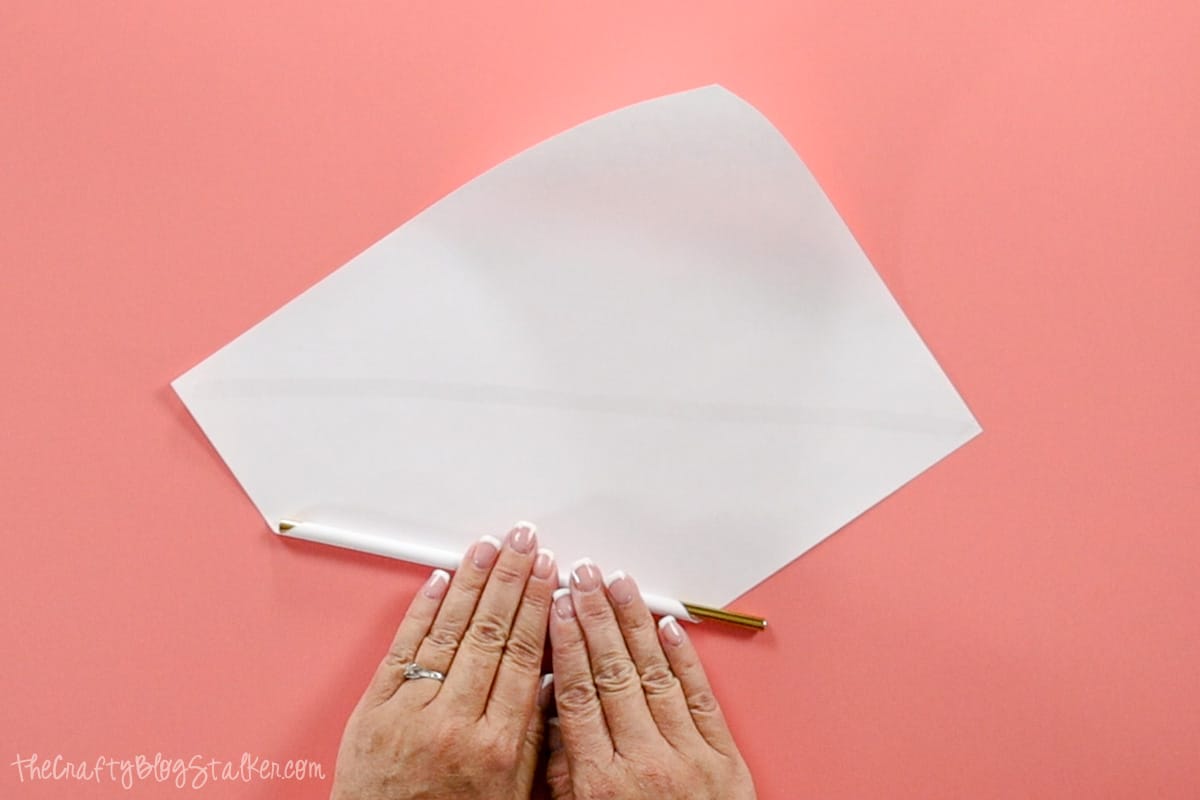
Remove the straw and tighten the rolled paper making one end smaller than the other.
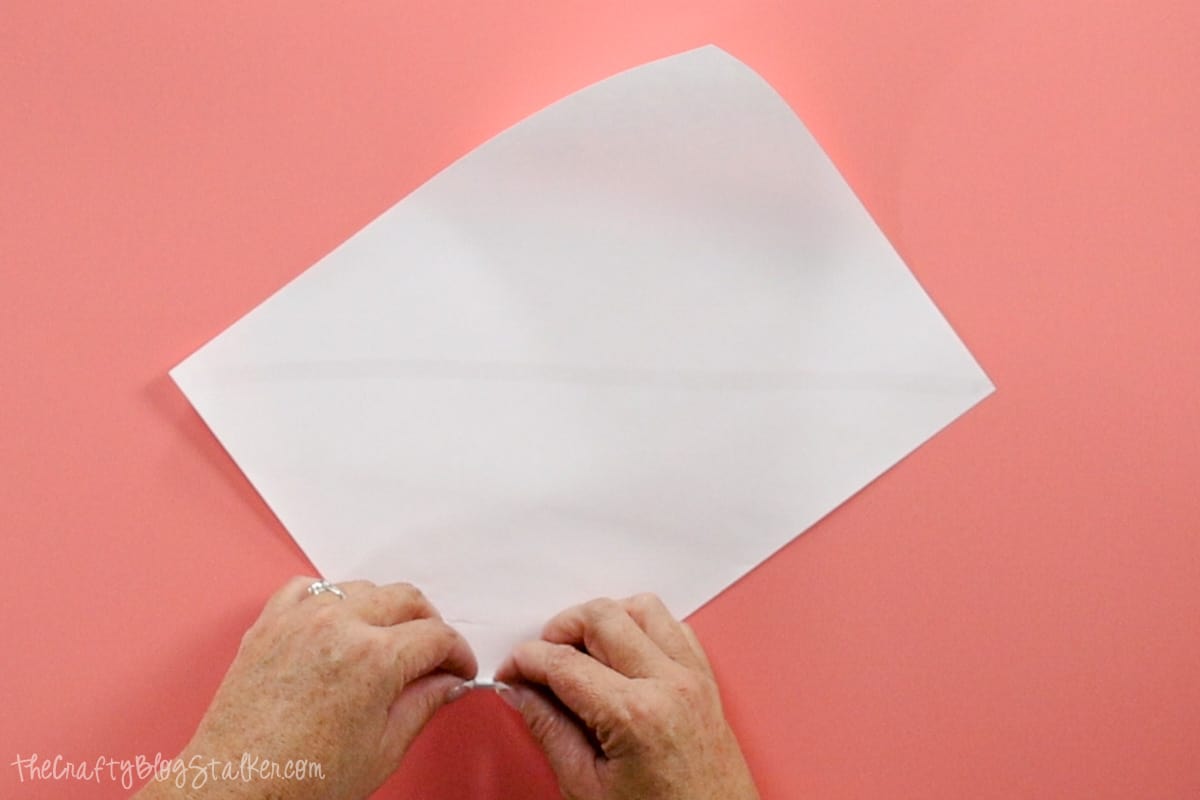
Continue rolling until you get just slightly past the adhesive so the rolled paper sticks to itself.
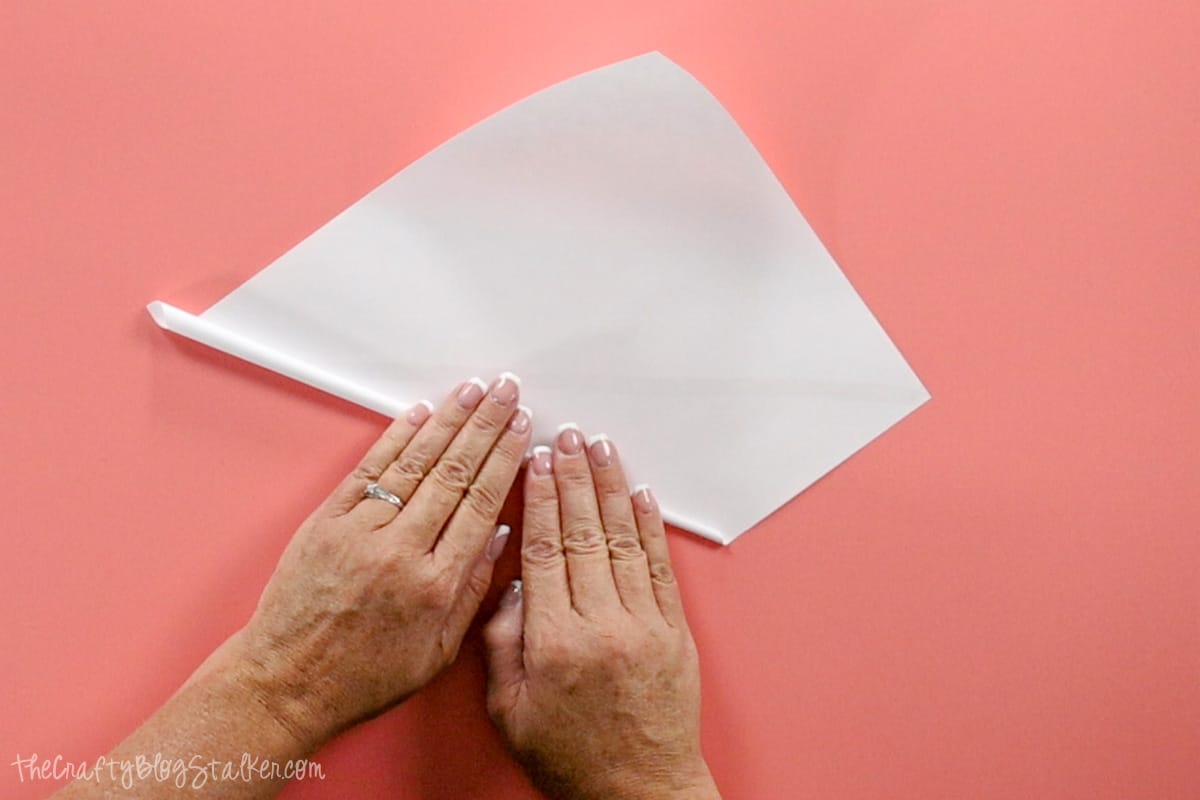
Apply more double-sided adhesive along the rest of the exposed edges.
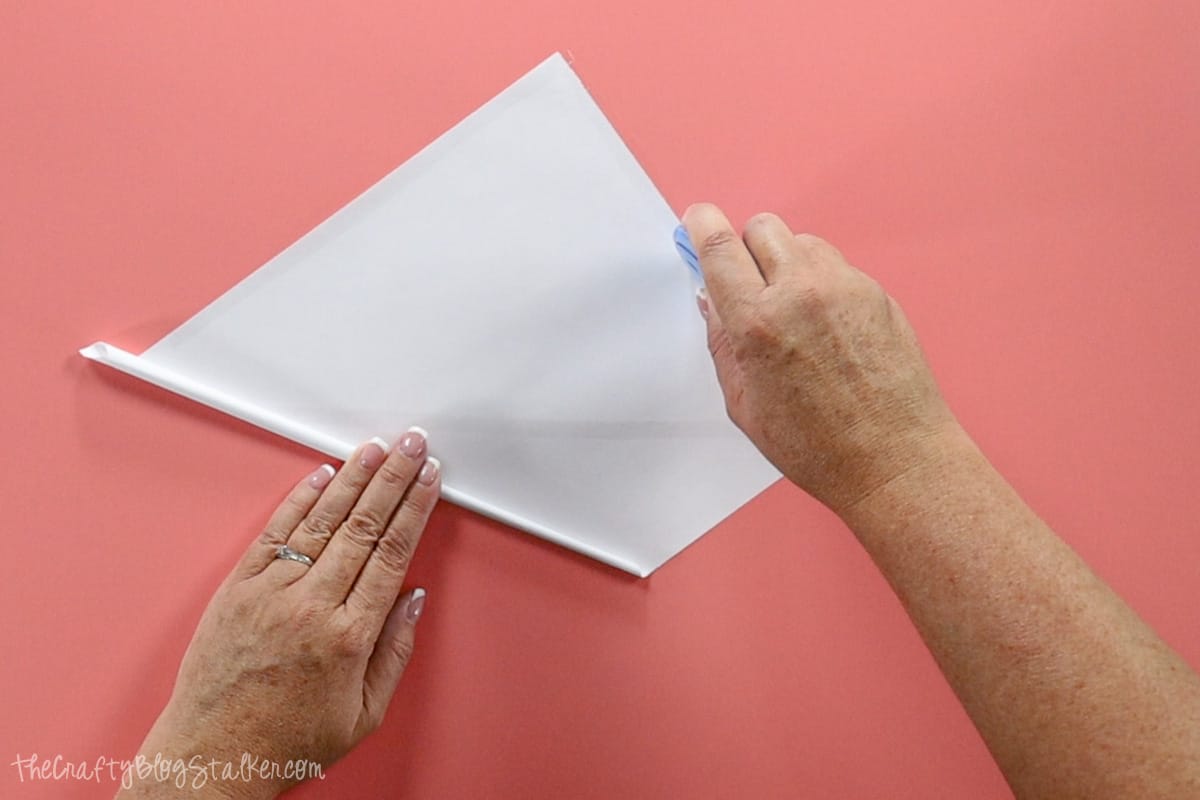
Finish rolling the paper. The glued edges will keep the rolled paper together.
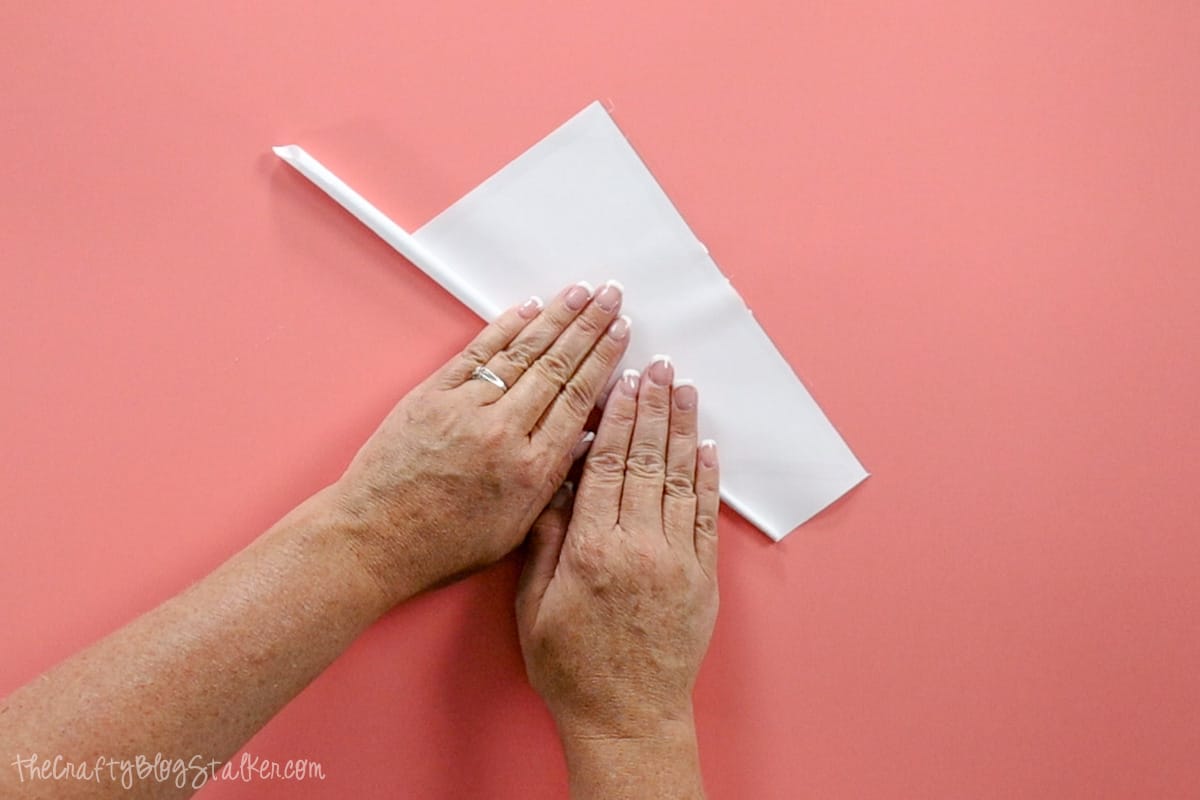
With a pair of scissors, trim both ends of the wand to even them up.
Apply School Glue:
To sturdy up that paper wand, apply a coat or two of school Glue.
Apply a bead of glue to the length of the wand.
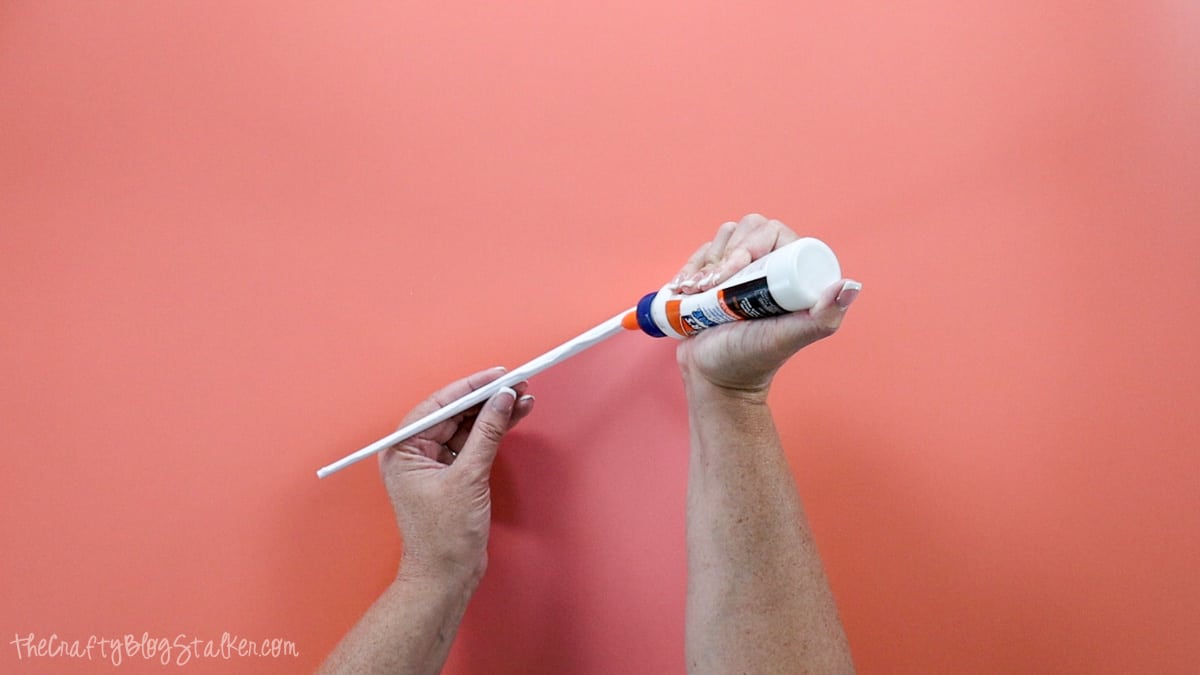
Then use your fingers to rub the glue into the paper.
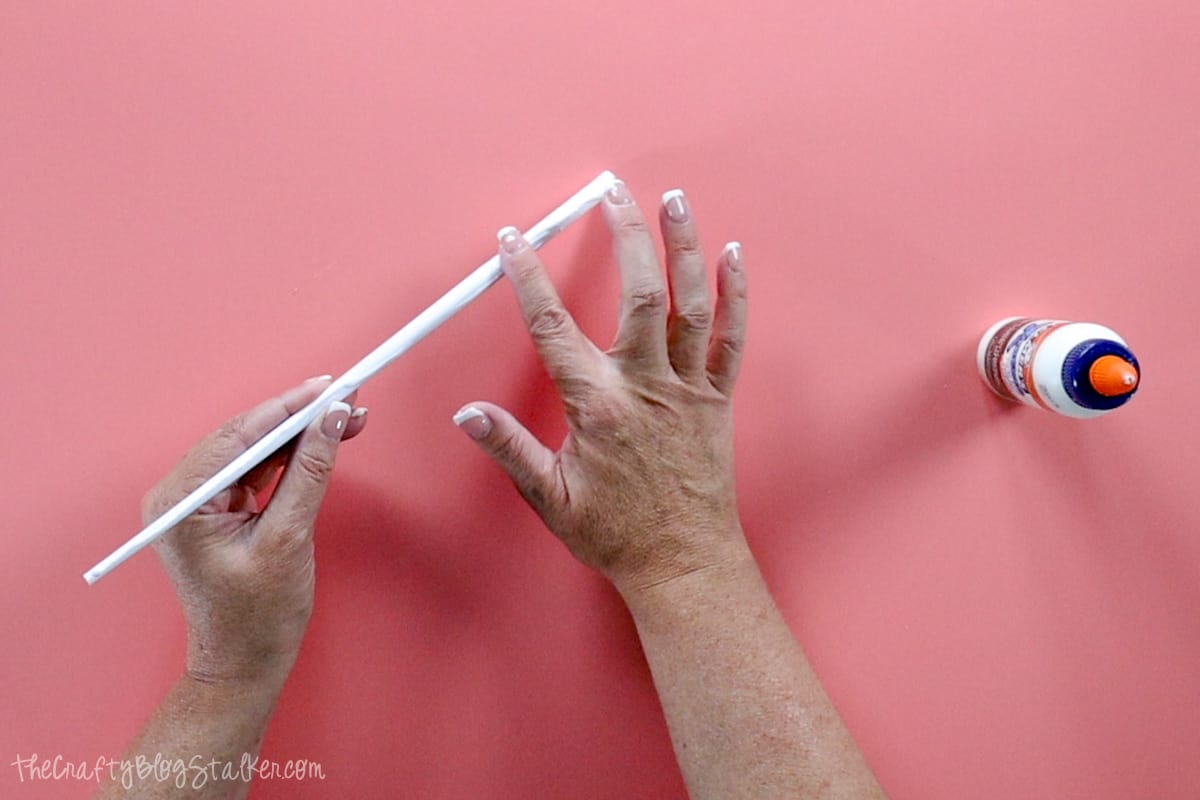
I found the easiest way to let it dry is to place it upright in a mason jar.
Let dry for 10-15 minutes and then add a second coat.
Add Hot Glue:
Next, fill the hollow paper tube with hot glue.
You won't be able to fill the entire thing but you should be able to fill the handle and the tip, and that is where the wand is likely to get the most abuse.
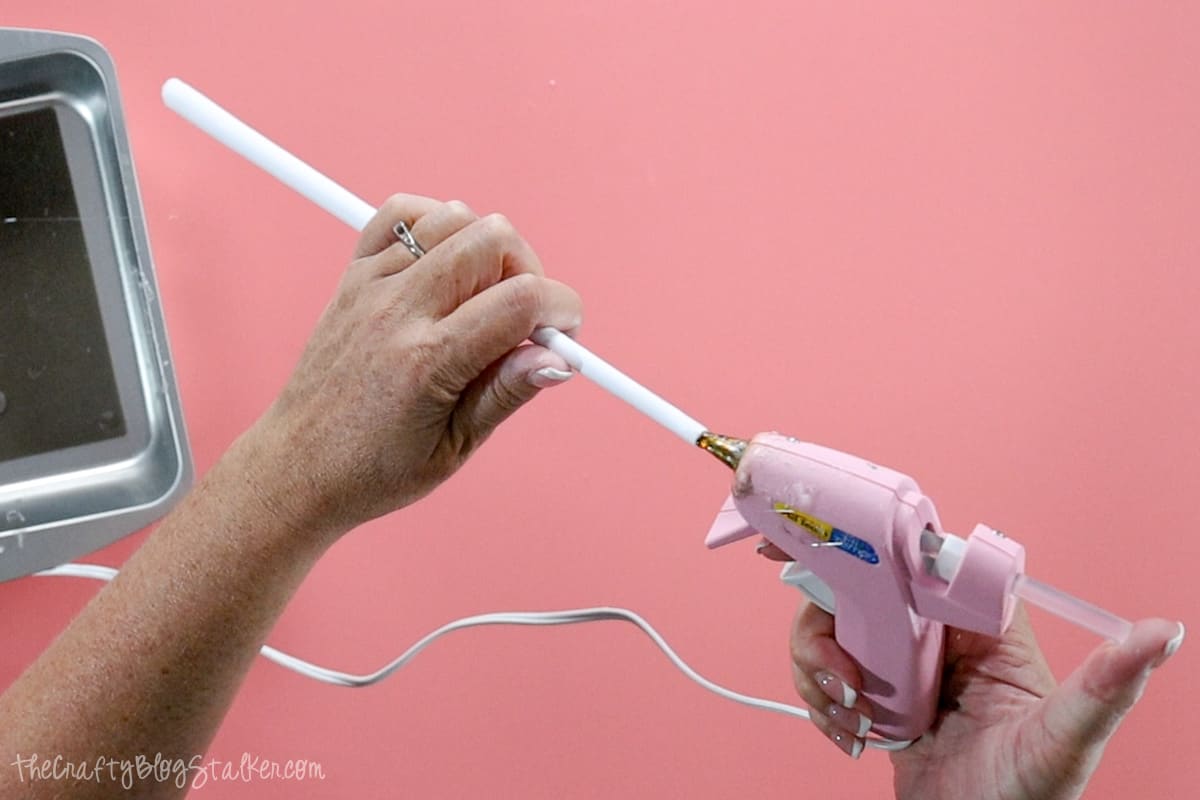
Only fill one end at a time, and let it dry before you do the other end. Otherwise, it will stick to the mason jar
Then use hot glue to give the wand some design and texture.
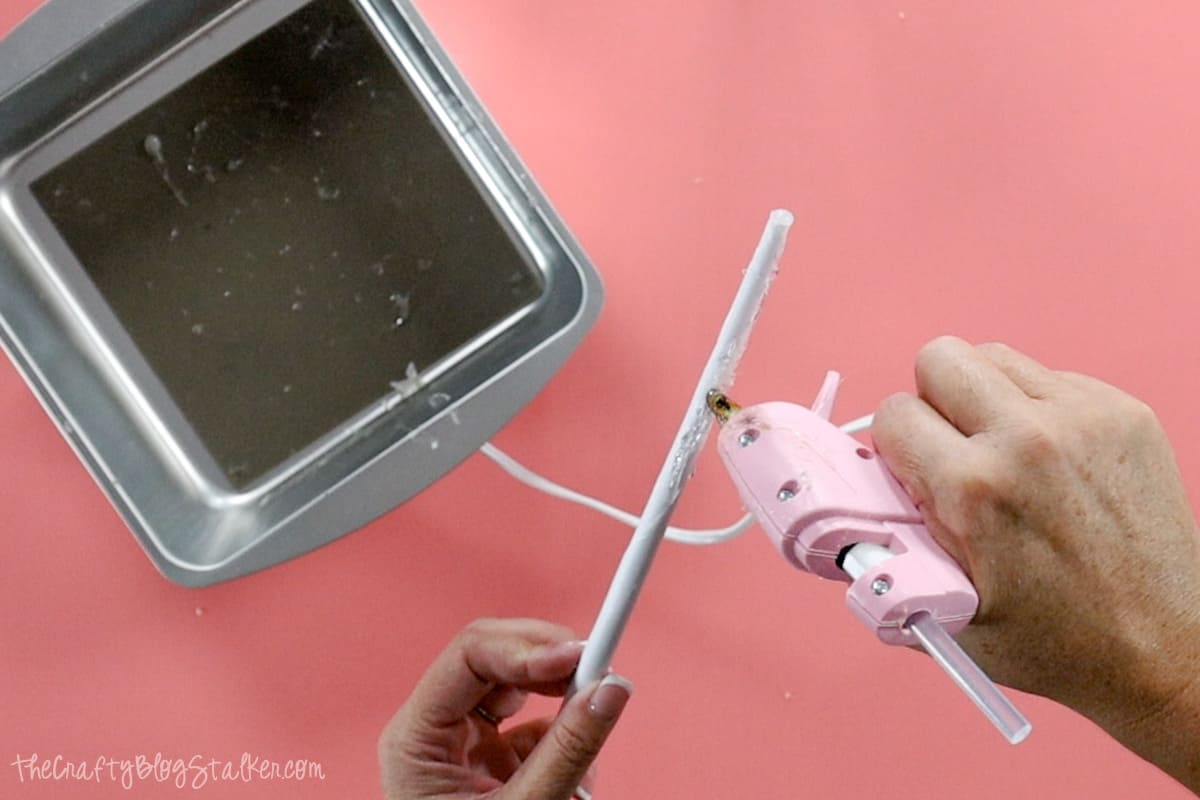
I even added some extra detail around the handle.
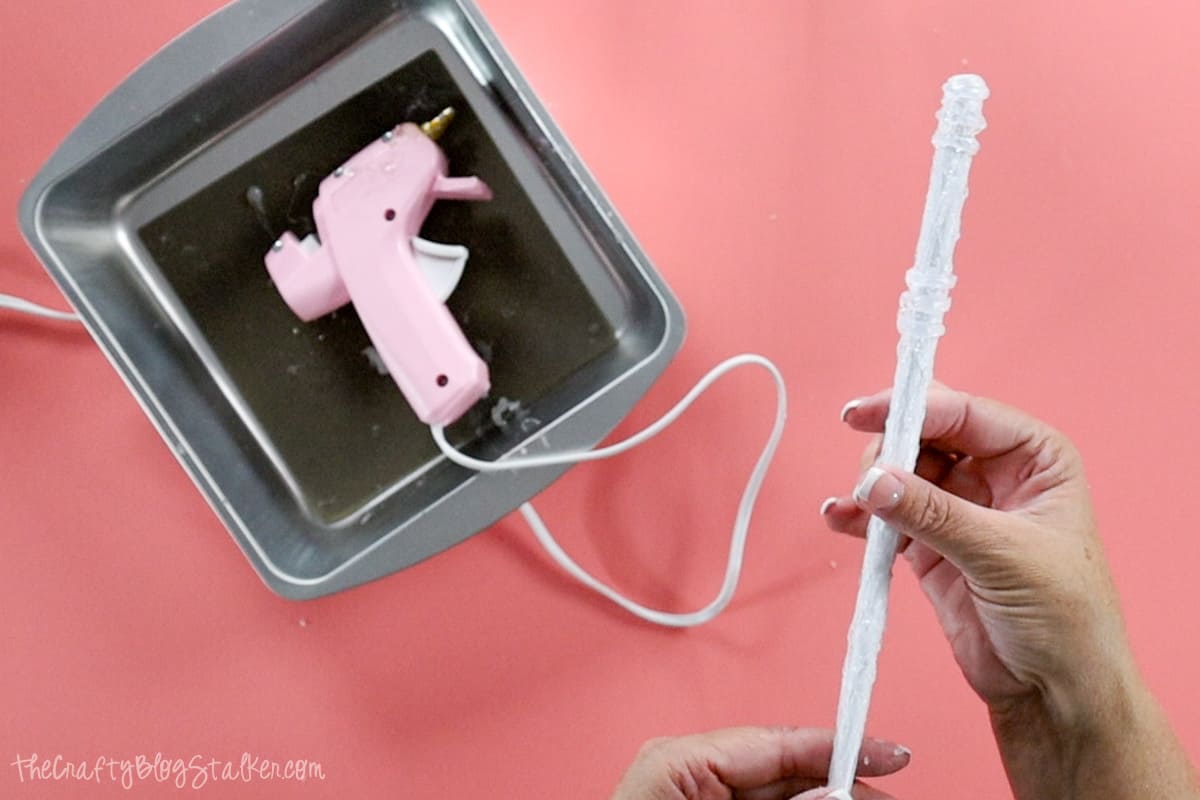
Paint and Personalize:
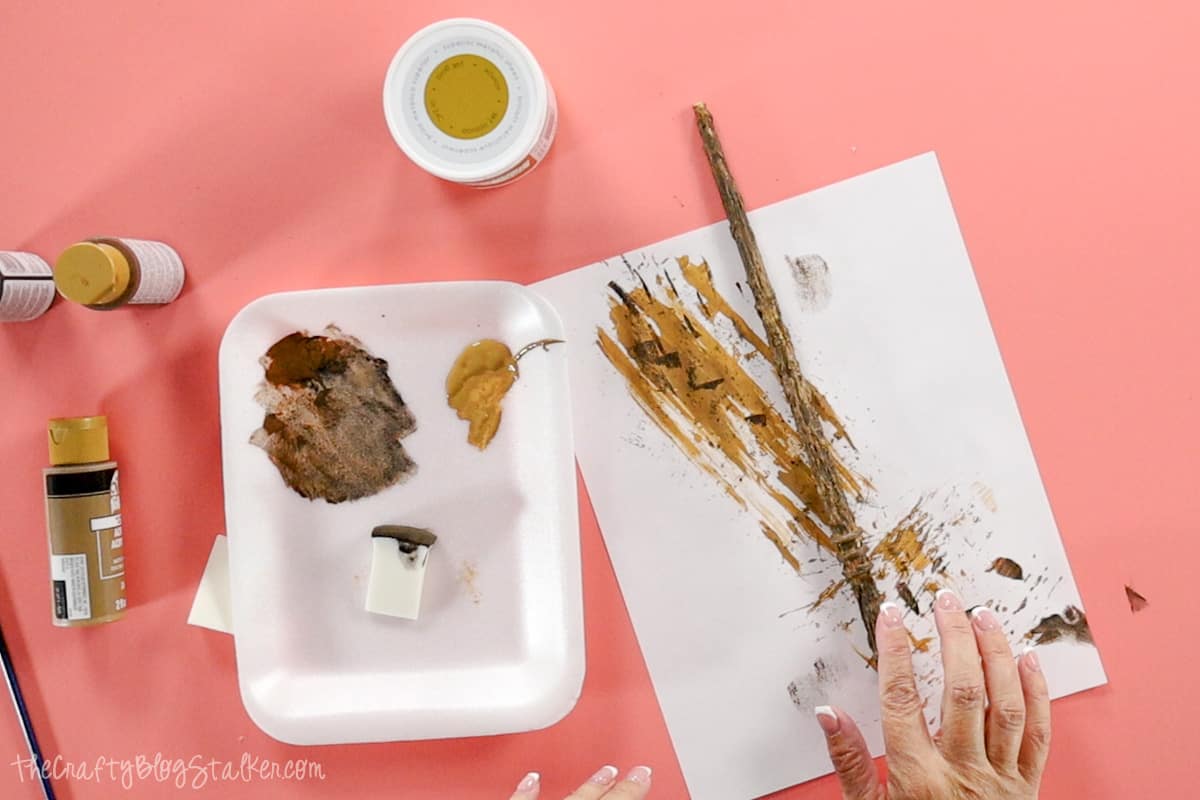
This is when I let the little witches and wizards take over and paint their wands however they wanted.
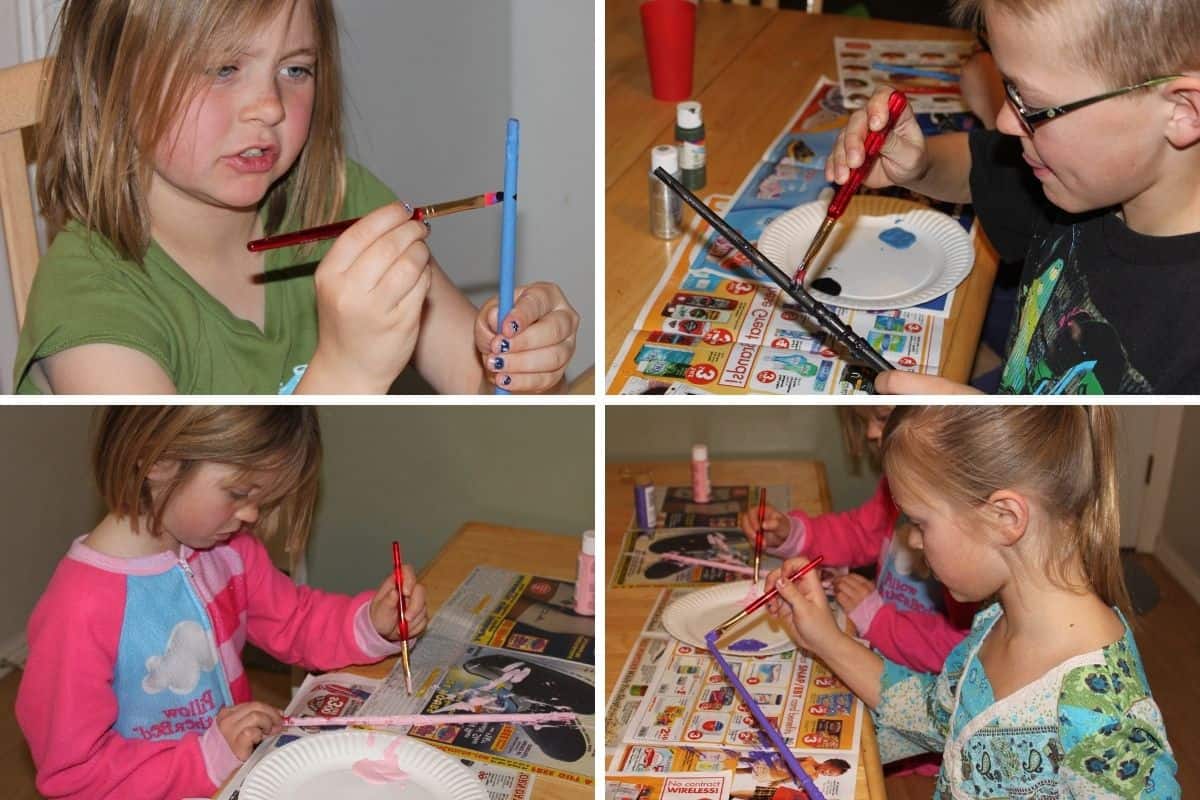
I wanted my wand to look like old wood, so I layered my paint. The base color was a light brown and the second color was a dark brown that I sponged on.
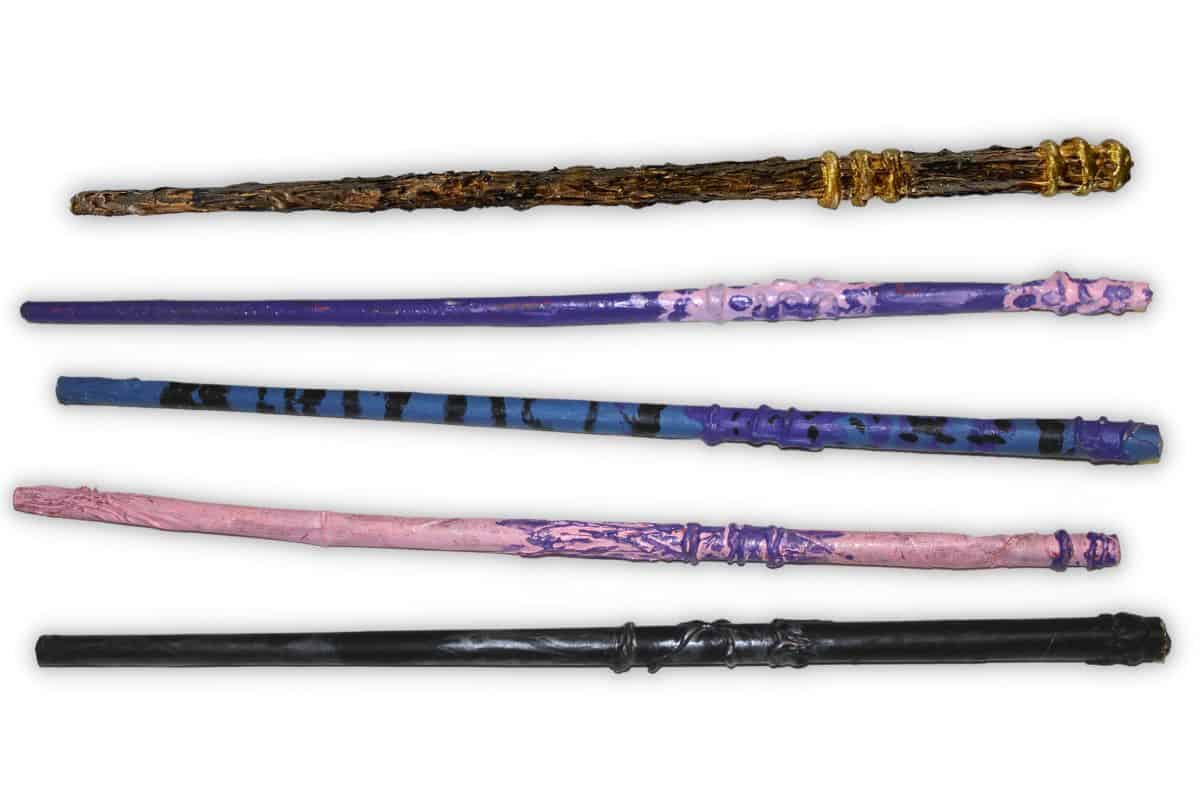
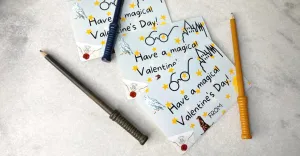
We had so much fun making our magic wands, and they all turned out fantastic!
Now we just need to learn some magic spells!
Frequently Asked Questions:
Yes, you can use a chopstick to make a magic wand. They are much more durable but keep in mind they can also inflict more harm on little kids.
Our Crafting Essentials:
- The Cricut Cutting Machine is easily our favorite crafting tool. We use it in so many of our tutorials!
- These MakerX Crafting Tools are perfect for keeping in the craft room and are always ready when needed!
- This Fiskars Paper Trimmer is easy to use and cuts nicely without frayed edges.
- These Scotch Precision Scissors cut like a dream, and you get multiple pairs in a pack!


artclubblog.com
Wonderful idea. We're also big Harry Potter fans and found ourselves making wands as well. My daughter even made me a spell book with really useful spells like "Clean your room!" Your wands look great.
Lilac @learnersinbloom
What a fun idea! My kids would love to make these..
Tamika Rybinski
great idea, my daughter would love this!
Tamika
DebbieDoesCreations
My son is in Kindergarten. I think he will get into Harry Potter soon. I've heard it is wonderful. These are so cute. Thanks so much for sharing at Toot Your Horn Tuesday 🙂
Terry
This is such an awesome project that the kiddos can do almost on their own and what a great end result - magic wands. Thanks for sharing at our party this week.
Melanie @ bear rabbit bear
Neat! Glad to have you at Things I've Done Thursday!
Rachel
What a fun project for the kiddos. Our spring break is next week, I'll have to keep this in mind. Thanks for linking up to Terrific Tuesdays.
Rachel