

Craft your own chic stackable bracelets using metal chain and loom bands, and flaunt your unique sense of style!
Stretch bracelets are very popular and my girls and I have been making a lot of them. Recently, I made a tutorial on how to make an Easy Stretch Bracelet.
While these bracelets are cute, I wanted to step them up a bit.
That is how I created these DIY Stackable Bracelets.
Jump to:
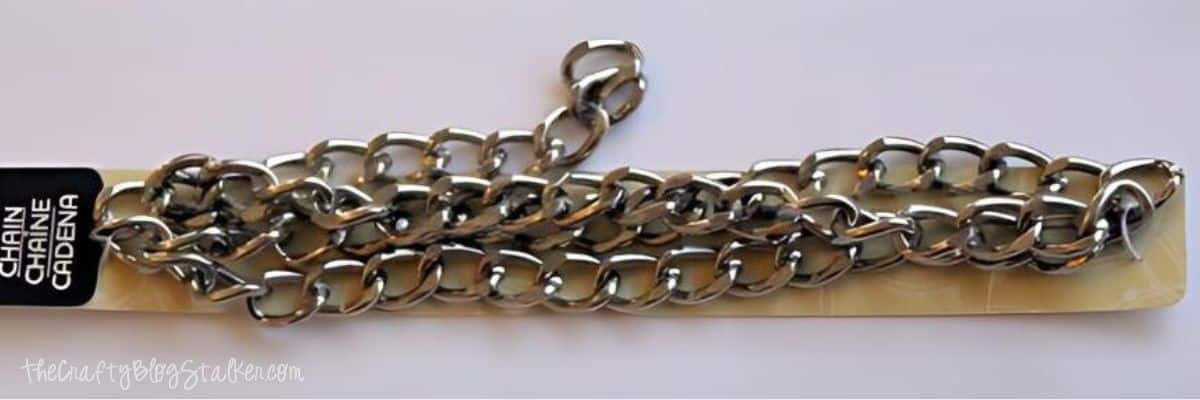
Supply List:
Some links may lead to similar items when the exact item is unavailable.
Bracelet 1 Instructions:
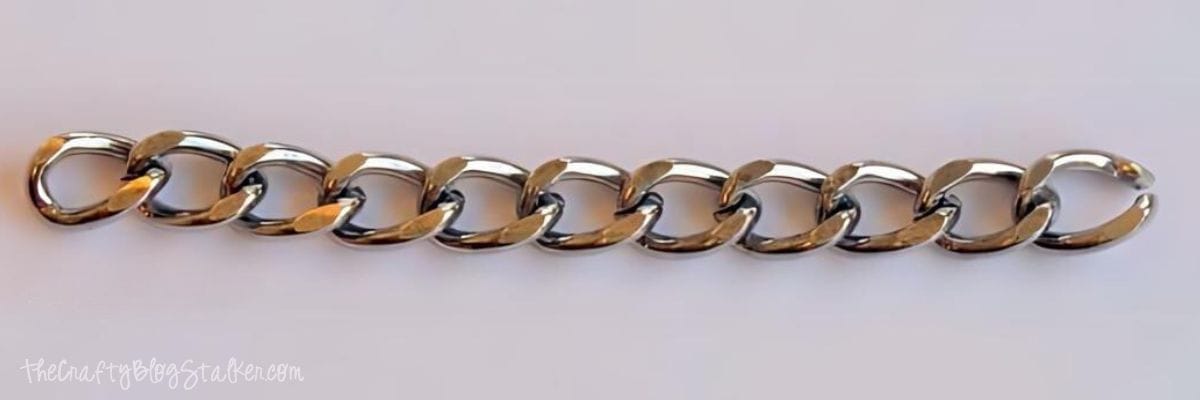
Measure the circumference of the wrist, divide by two and that is the length of chain needed.
For my 8mm chain, that worked out to about 11 links.
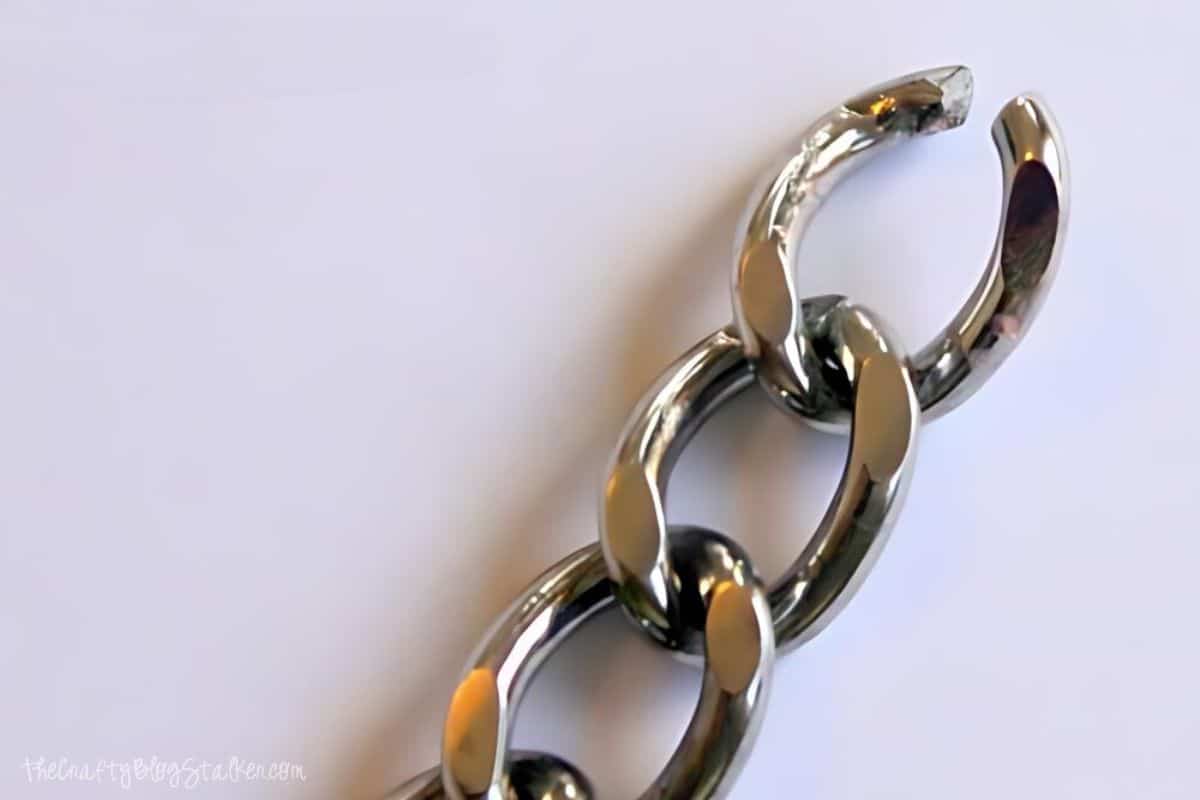
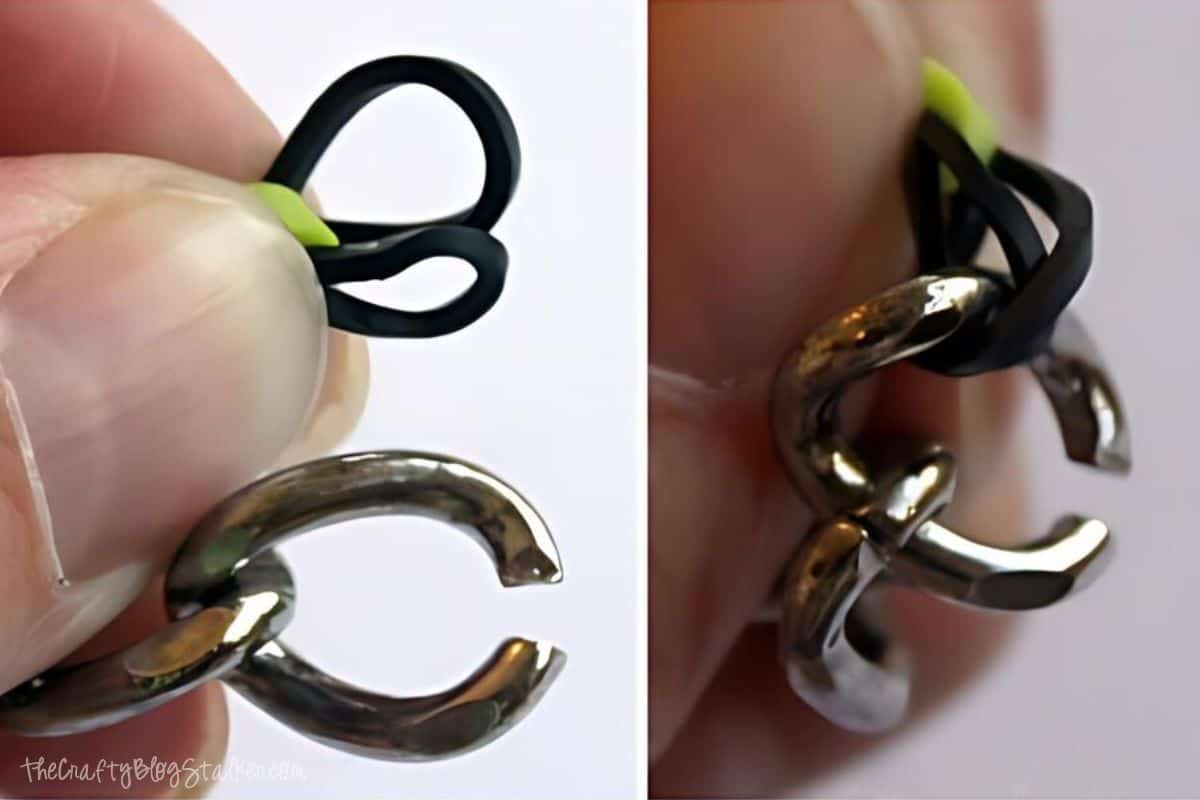
Use two pairs of jewelry pliers to open the link, and remove the length needed from the rest of the chain.
Clamp each side of the link with a pair of pliers in each hand, and the twist the wrists in opposite directions to open the link.
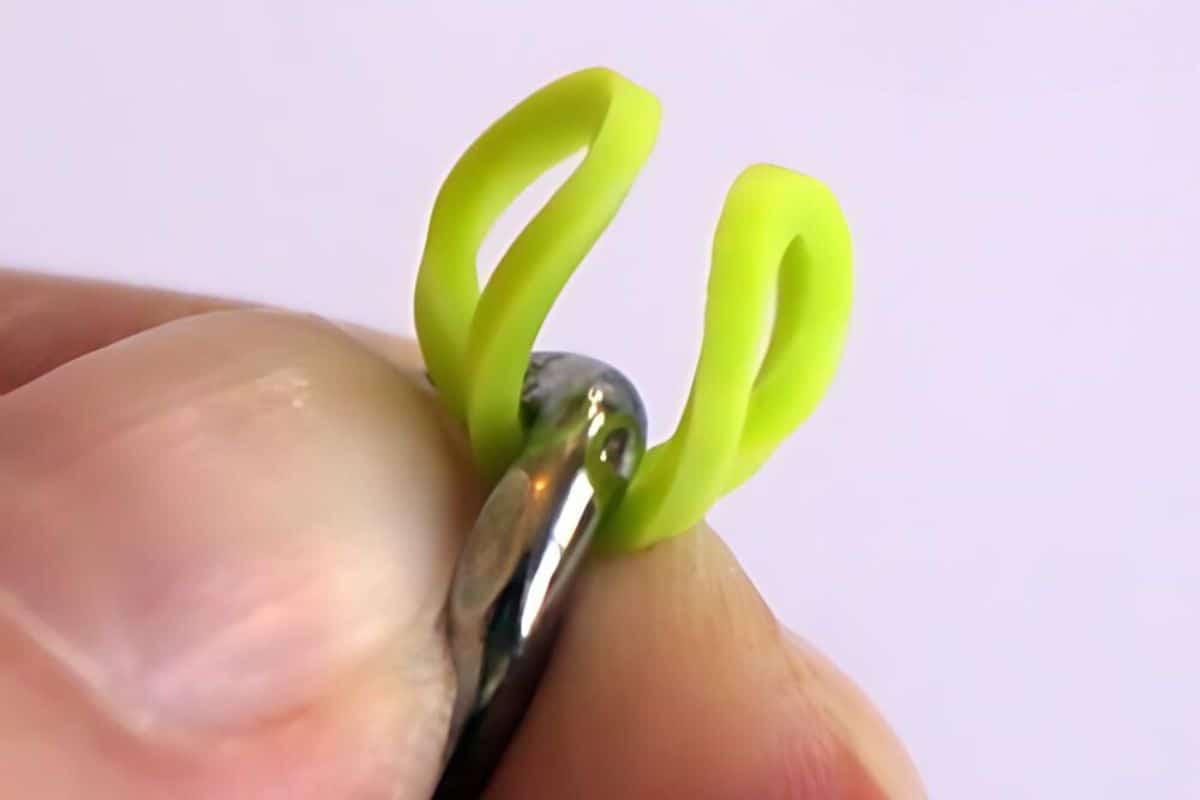
In the opening of the link, insert the jelly rubber hair band.
Close the link the same way it was opened, with two pairs of pliers holding each side of the link and twisting the wrists to close the link.
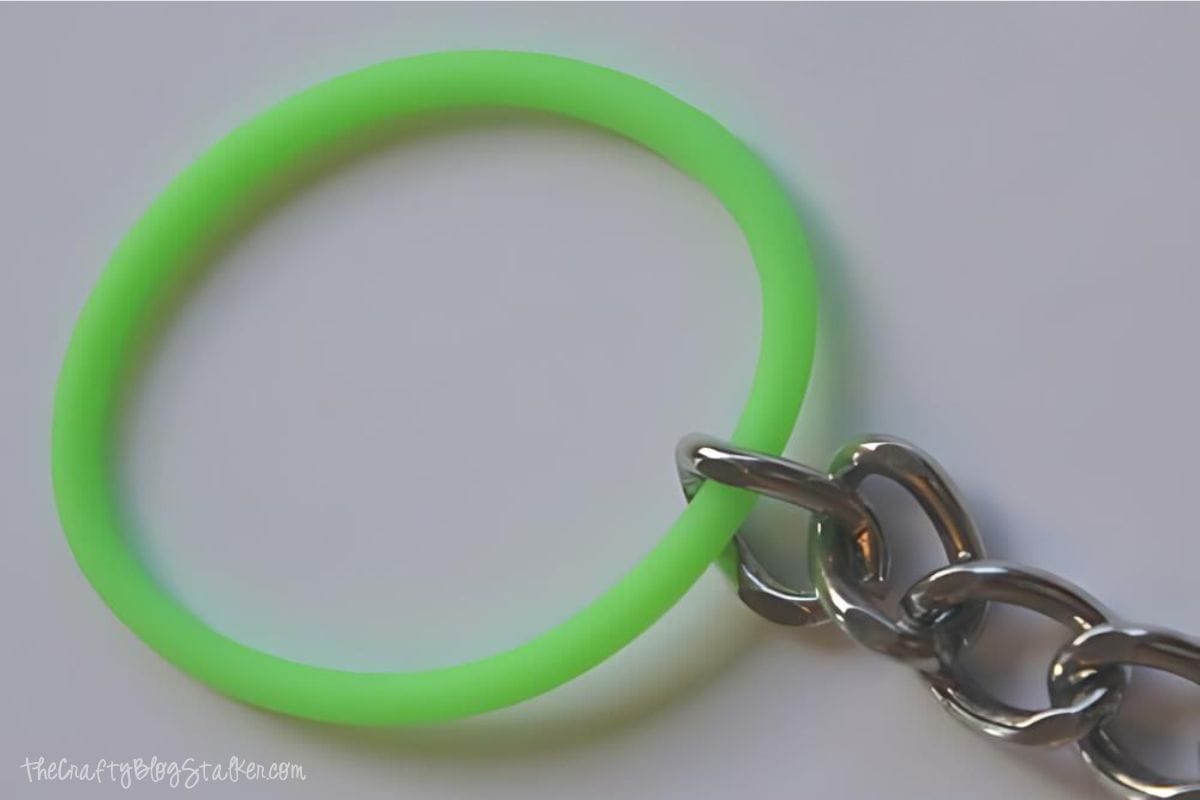
Open the first link in the length of chain, and attach it to the hair band by closing the chain link.
When this bracelet was finished, I forgot to take a picture because I immediately had an idea for another bracelet.
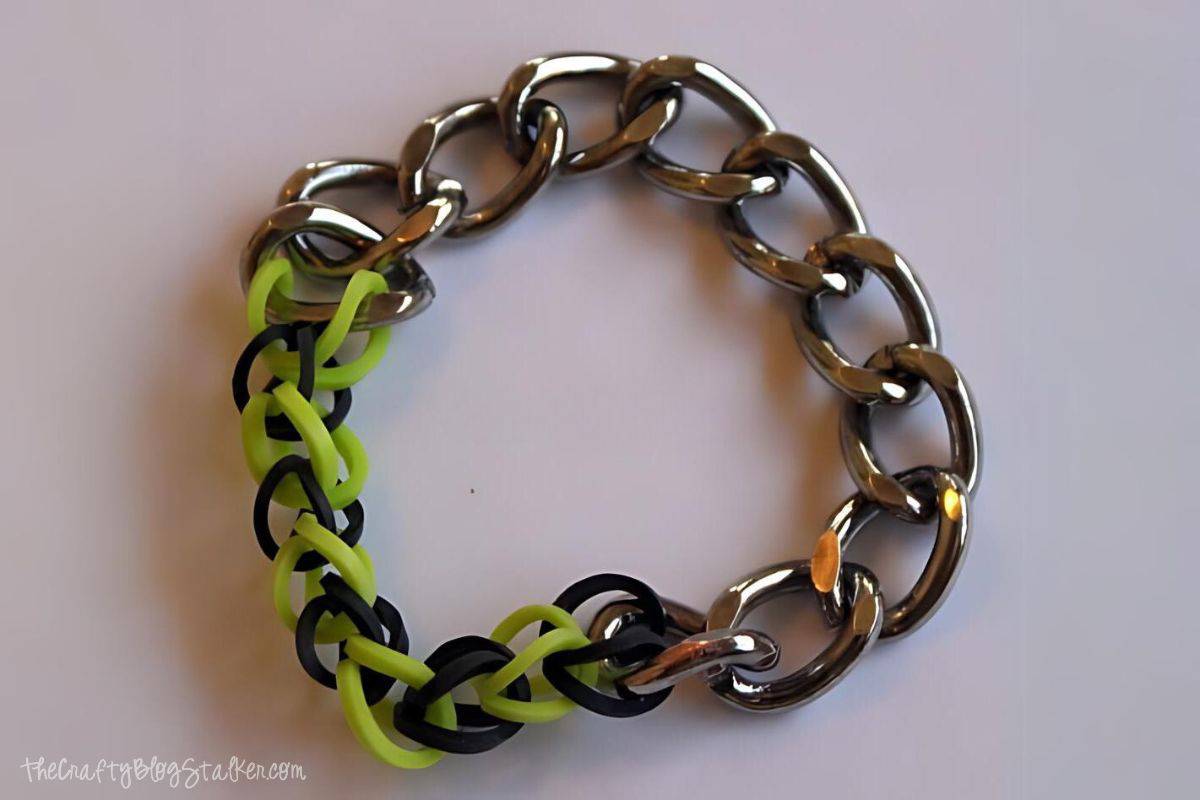
Bracelet 2 Instructions:
Take another length of chain, the same as the first.
Start on the end of the chain that does not have the open link.
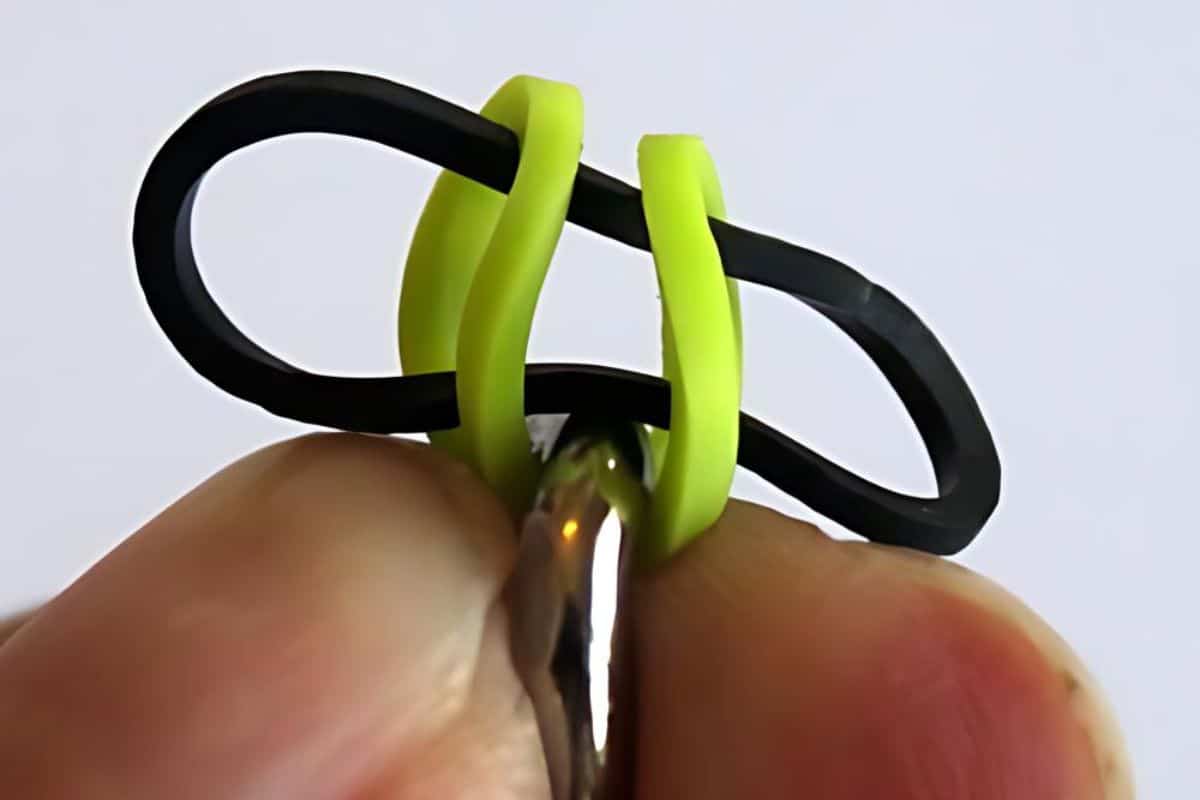
Grab a loom band, flatten so the band is more of a flat oval than a circle, and insert through the closed link at the end of the length of chain.
Push each side of the loom band up.
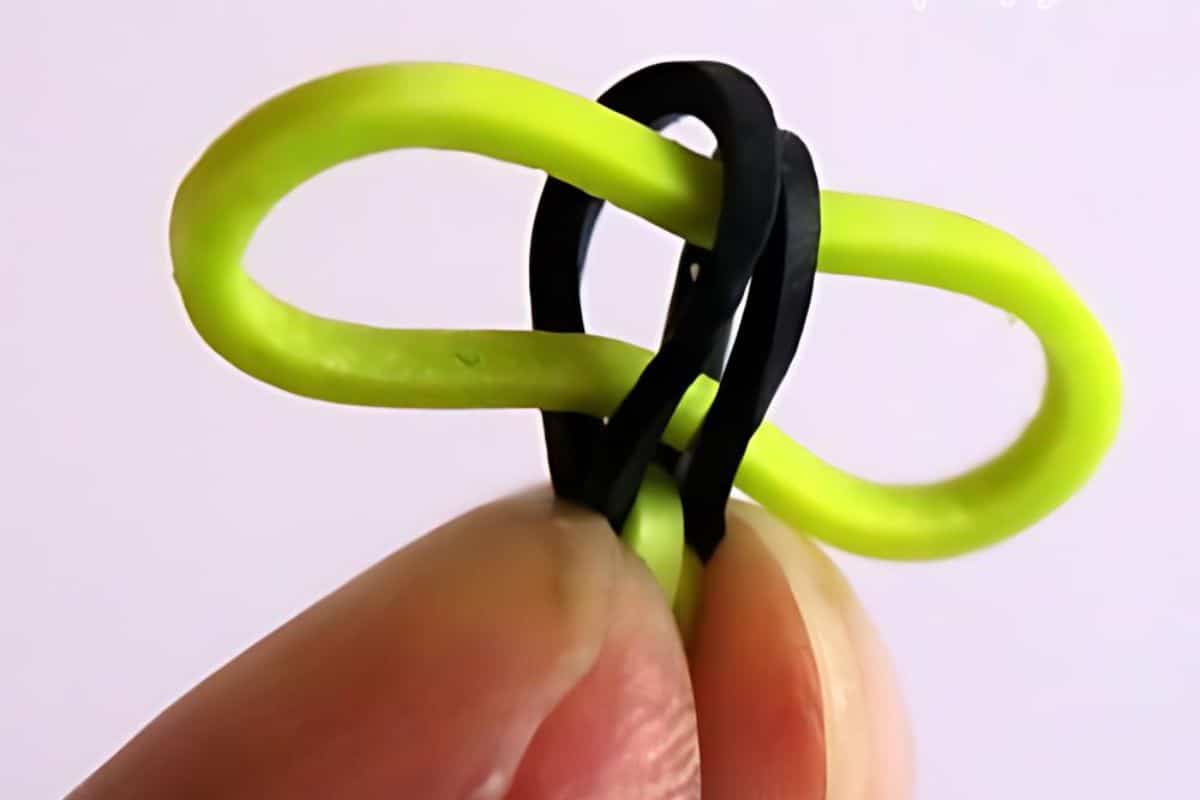
Insert another band through the two loops of the previous mini band.
Repeat with another mini band through the two loops of the previous mini band.
Keep repeating this with alternating colors until the length of the entire bracelet, chain included, is to the desired length.
Place the last looped loom band in the open link at the end of that chain, and close the link using the same method as above.
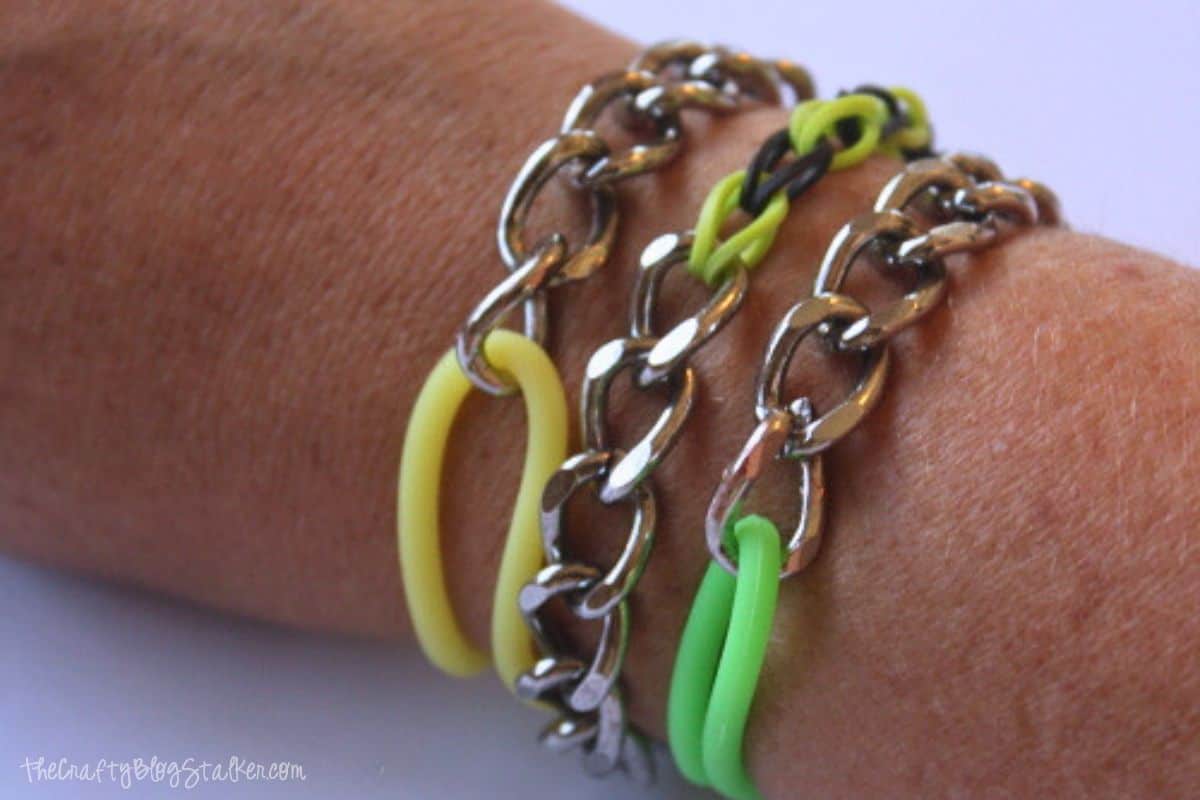
I love the look of this bracelet with the metal and rubber chains. It looks so cool!
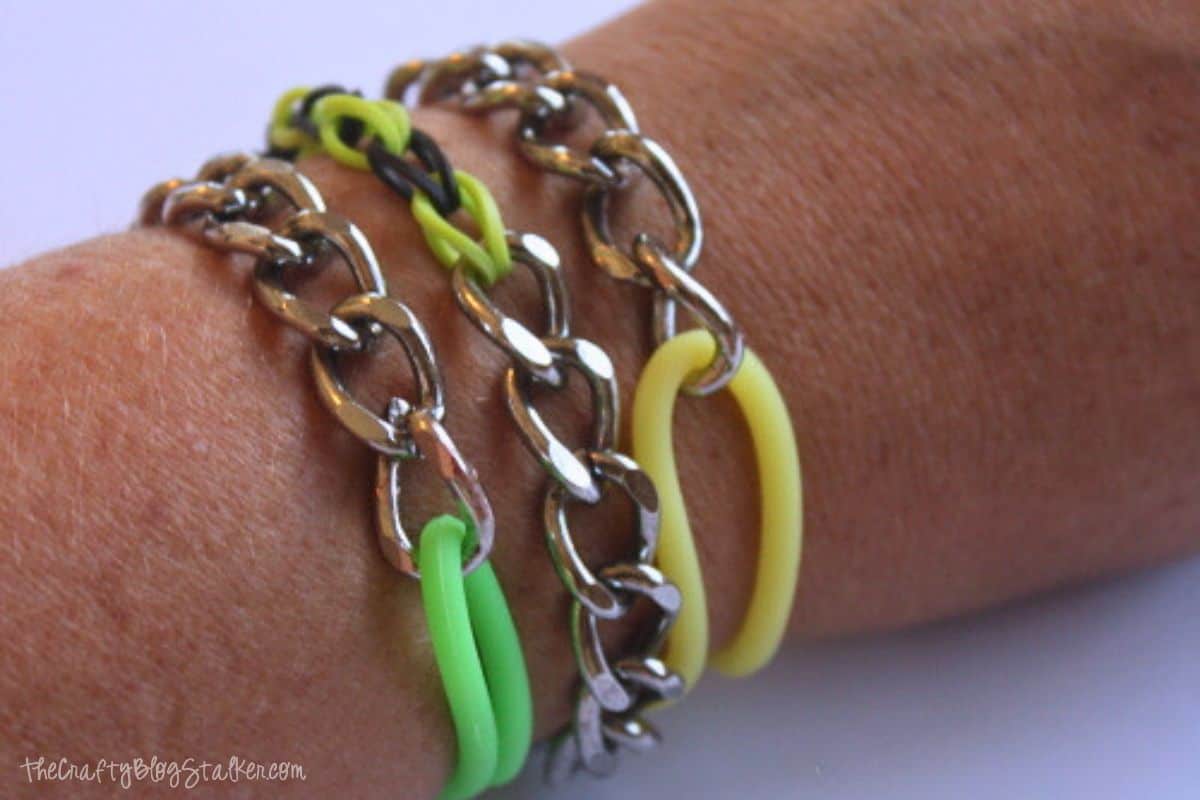
Stack the bracelets together and they look awesome!
My bracelet stack includes two bracelets with the rubber hair bands and one with the mini bands.
Variations:
There are many different ways you could make this bracelet your own!
- Chain - use any color of chain. I think this would really be cool with colorful chain or even plastic chain for a lighter weight bracelet.
- Loom Bands - choose from a ton of different color loom bands. Make one with your favorite colors!
- Fishtail - try a different pattern of loom bands. This fishtail pattern is a fun pattern after you have mastered the chain pattern.
See this original Easy Stretch Bracelet on my website!
Final Thoughts:
This was a really fun bracelet to make, and I love how easy it was to make.
You will definitely want two pairs of jewelry pliers to help open and close chain links, but this is a great way to teach the basics of jewelry making.
A great project for kids, teens, and adults too!
Jewelry Making Essentials
- Jewelry Pliers are essential for jewelry making.
- Good-quality Jump Rings are a necessity in a variety of sizes and metals.
- A Non-slip Bead Mat keeps your beads, findings, and tools in front of you without rolling away!
- The more you DIY Jewelry, the more little beads and things you will accumulate. Keep them organized with Plastic Organizer Containers.
Lisa
I love this. Im actually wearing one of those rubber band bracelets right now that some kid made me. I would love to redo it with the chain look. I think the chain gives it a more mature dressy look. Thanks for sharing!
Alyssabeths Vintage
So... funny, colorful and easy ! Love it
Sami
These are really cute. My daughters are really into the stretchy bracelets and even have a loom. I think they would love to make these. I like the gold chains, it makes them look much more fancy.
Thanks
Cindy Eikenberg
Hi Katie! These are great and wonderful tutorial! I think these would make great little gifts, too. Thank you so much for sharing at Best of the Weekend and pinning! Hope you have a happy Tuesday and a wonderful week!
Carmody
I love mixing two different materials together to make something special. This is a really cool bracelet.
Shelly
OK Now this is tooo stinkin cute! Genius! My son has been making these bracelets like crazy lately! Now I can put an adult twist to it!! Have you came over and shared these on DIY Sunday Showcase yet?? I'd like to pin this to our board!!!
Shelly
minettesmaze.blogspot.com
Alicia
Love this! Found you on Tutorial Tuesday- my daughter would love one of these, I think I found our next project!
Alicia
Linda
Oh, my goodness, no, you are not a complete failure. How can anyone be that ... particularly with such a lovely bracelet for show and tell? Thanks so much. I love it and am pinning it, too. Linda
Marti
I love these! You can make them in any color to match your outfit! Pinned
Debi and Charly @ Adorned From Above
These bracelets are so cute. Thanks so much for sharing with Adorned From Above's Link Party.
Have a great week.
Debi and Charly
Rebecca @ My Girlish Whims
Thanks so much for linking up to Your Whims Wednesday, I featured this on my blog tonight! Come stop by and grab a featured button!
Wanda
I loved your bracelets. I made some using the pony tail holders but I twisted them so they were in an "infinity" symbol. Love the way they turned out. Thanks for your tutorial.
Shanice
This is soo cute!
Pauline Molinari
I love these bracelets! So cute and crafty! Thanks for sharing on the Monday Funday Party!