
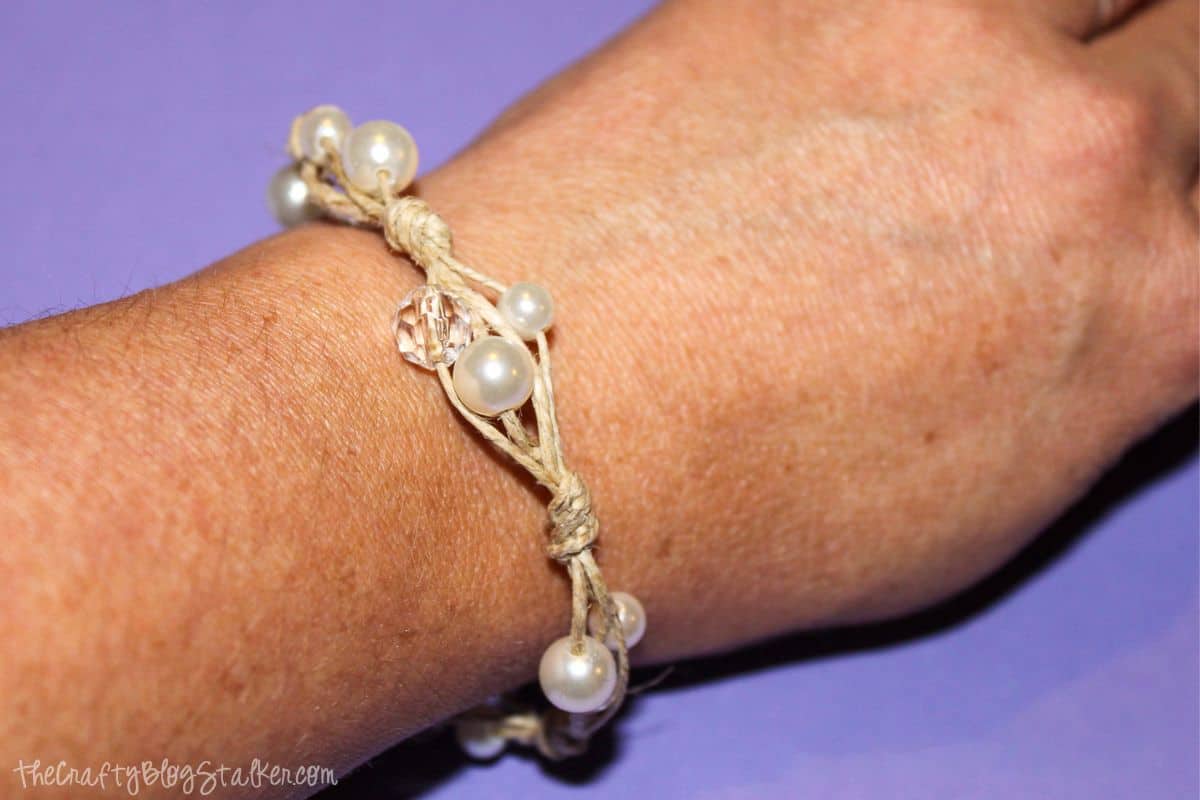
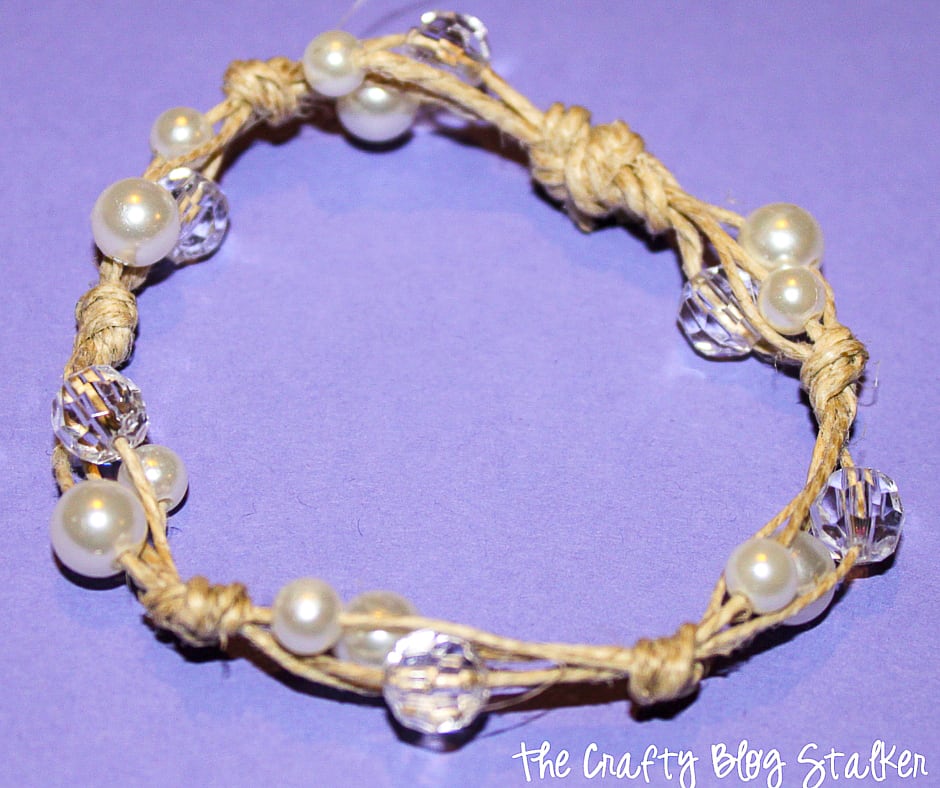
Learn how to make a pearl bracelet for a loved one or a friend. You won't need a professional jewelry-making kit or even a needle and thread.
Making handmade jewelry is so fun!
I love wearing something I made, especially when I get compliments on them.
Craft Tutorial Video:
Like videos? I have a video tutorial for you!Please subscribe to my YouTube Channel so you don't miss out on any future video tutorials!
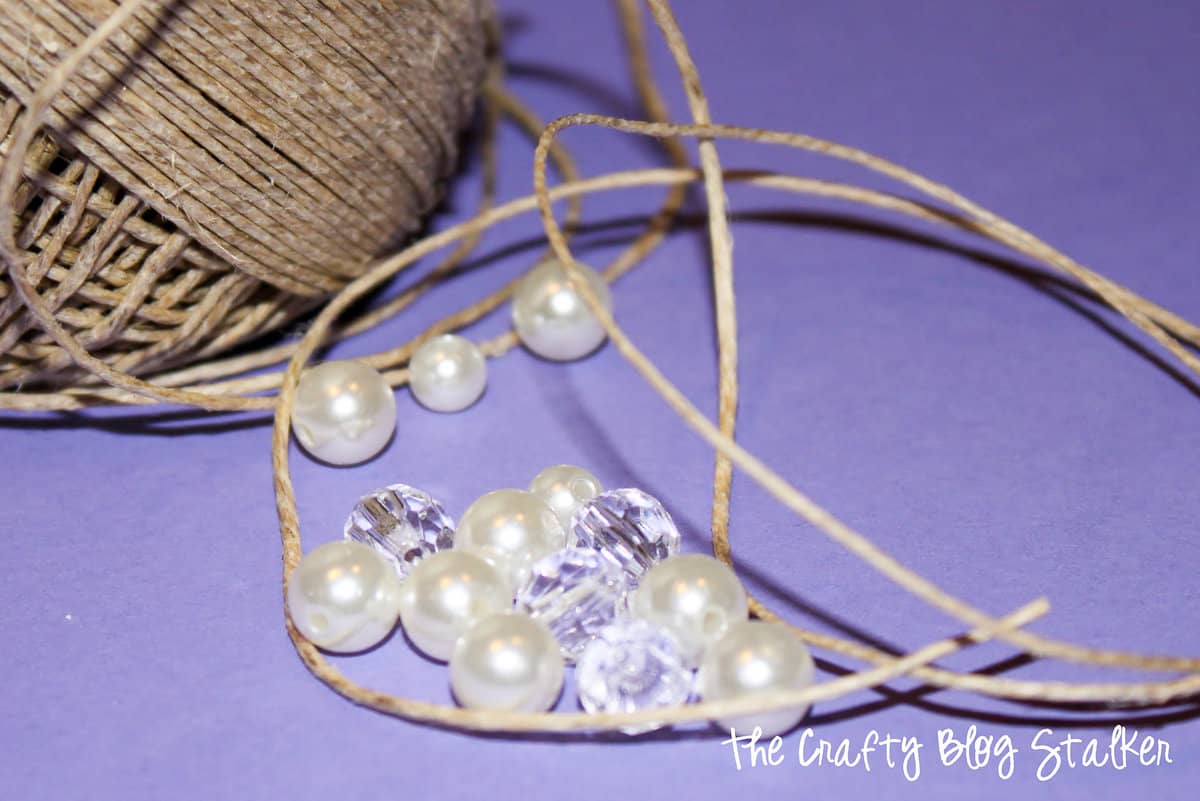
Supplies You'll Need to Create this Project:
Some links may lead to similar items when the exact item is unavailable.
Pearl Bracelet Tutorial:
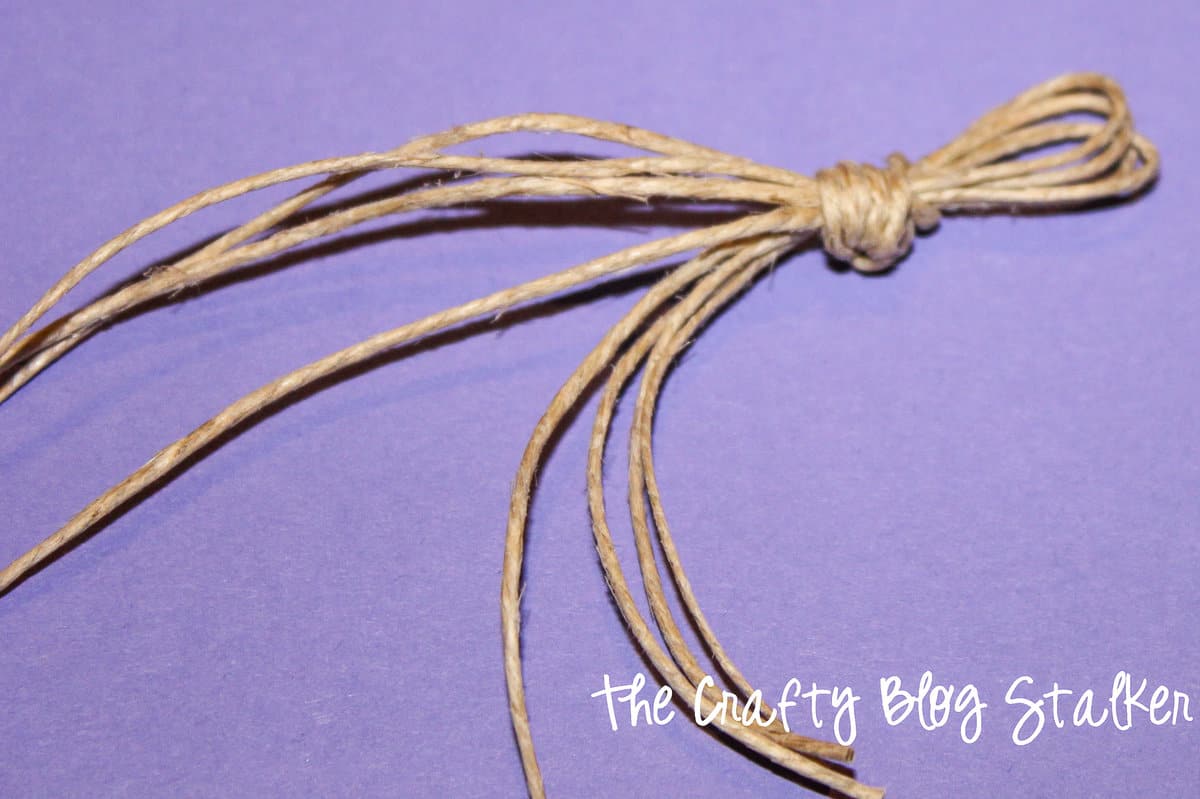
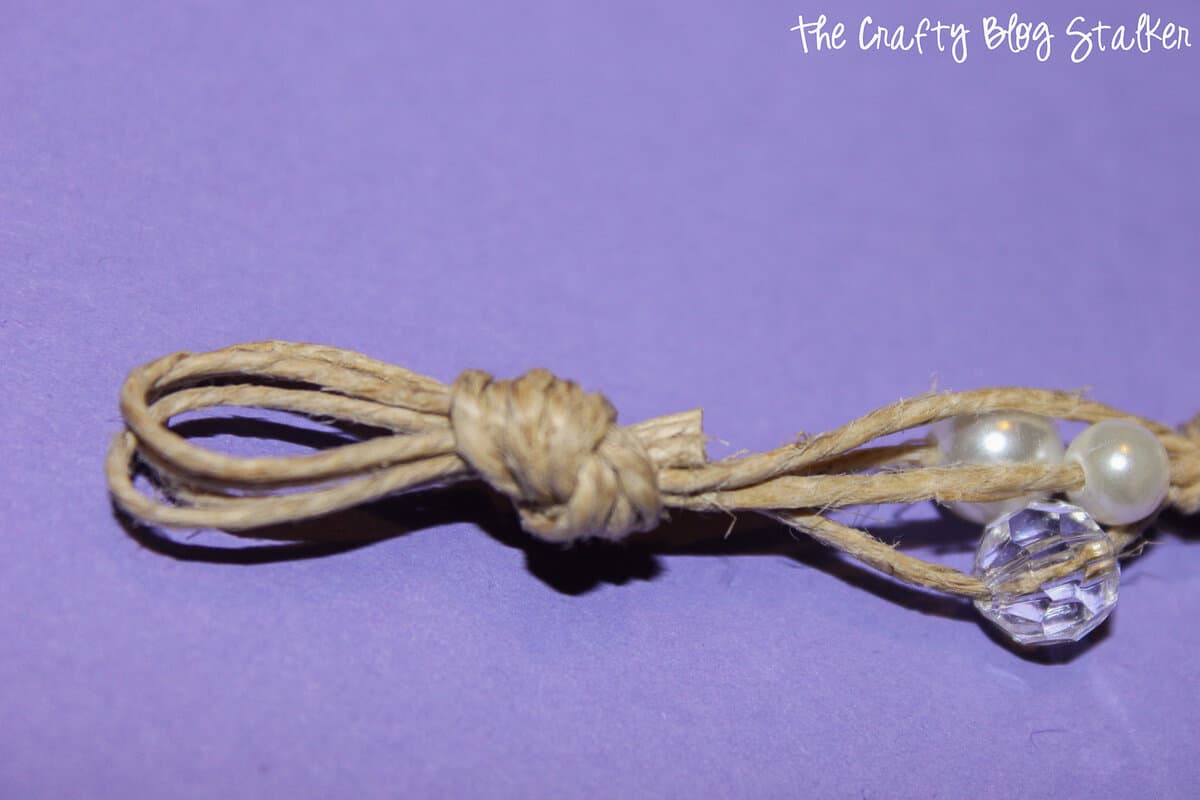
Start with 4 strands of twine about 14 inches long each.
Tie the four strands together with a knot leaving a small loop in the end.
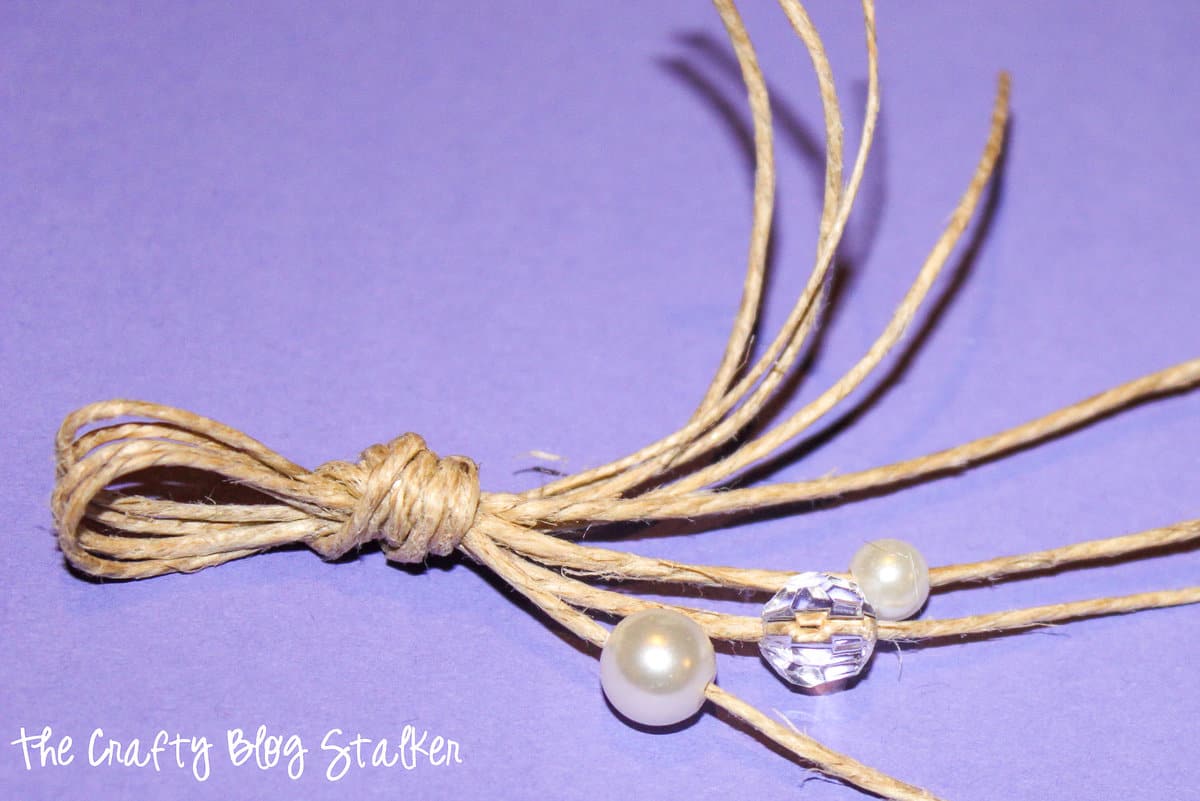
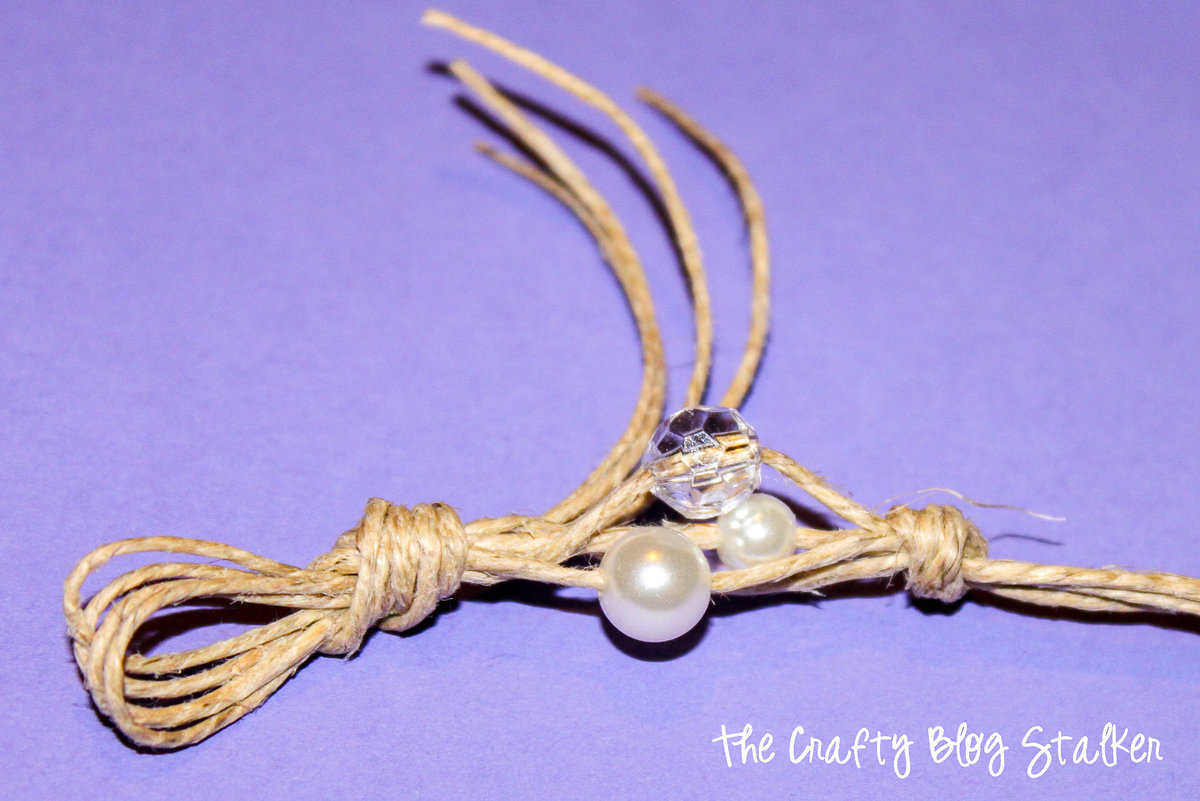
String three different beads on two of the strands of twine.
There are four strands of twine, but we will always be leaving one strand free of beads.
Tie a knot using all four strands of twine, after the beads.
At this point, you can trim off the extra strands from the beginning knot of the bracelet.
Make sure not to cut off the twine strands for making the bracelet.
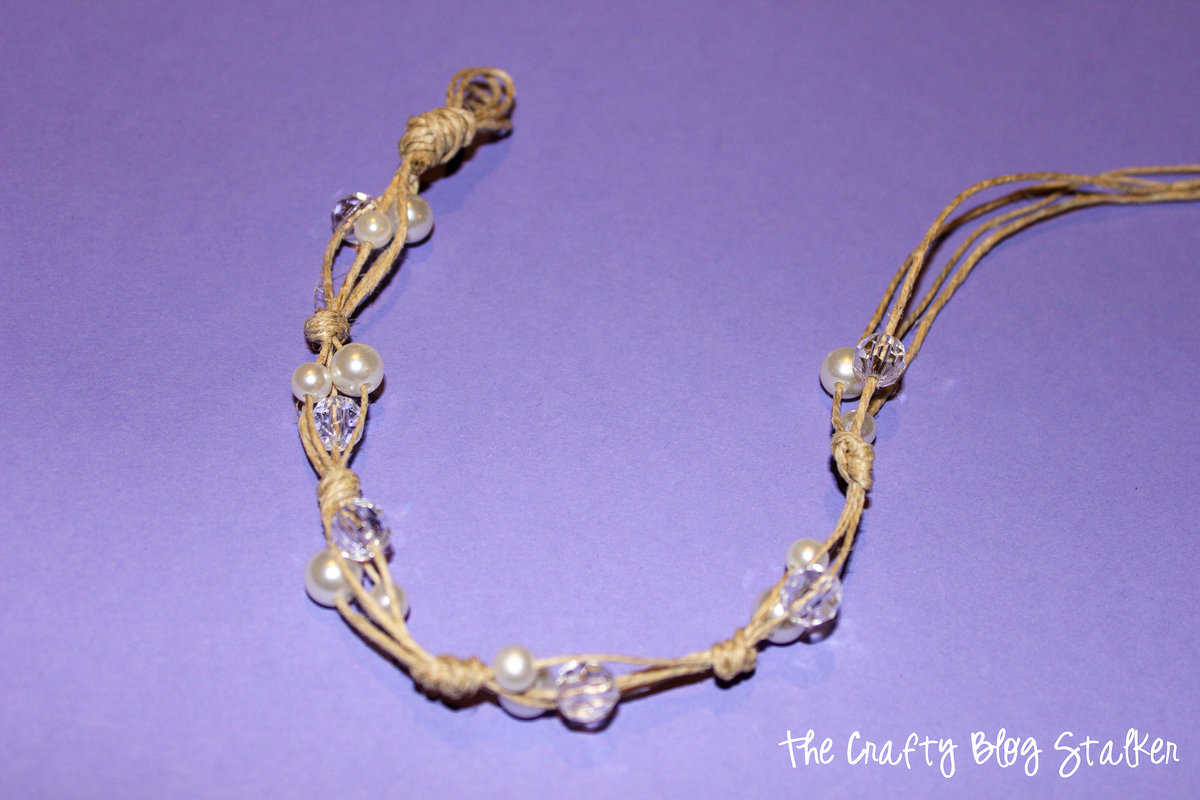
Continue adding 3 random beads and tying knots until you are at the length of your bracelet that works for you.
For me, it was about 6-inches.
This could also easily be made longer for a necklace but you would need to start with longer strands of twine.
Untie the beginning knot.
We are going to tie the ends of the bracelet together.
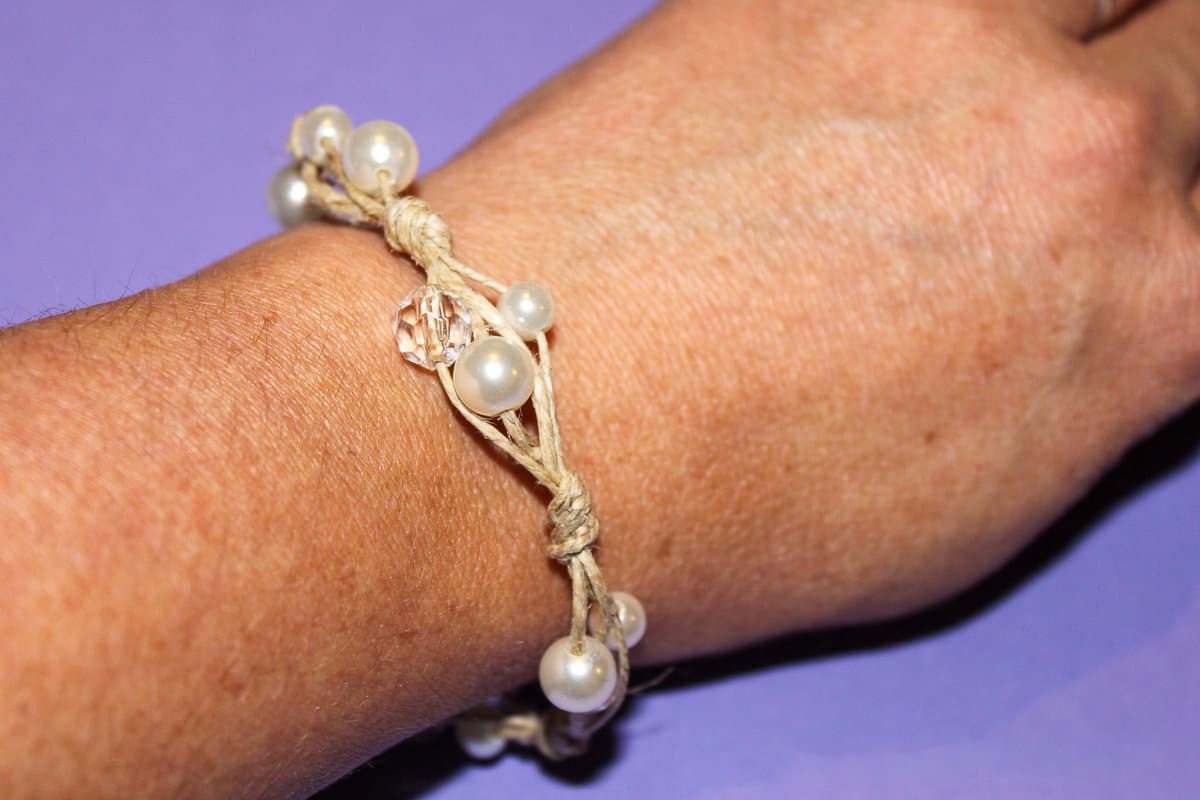
This is not a bracelet with a clasp that can be unclasped to put on and removed so make sure the length is good so it can slide on and off over your wrist.
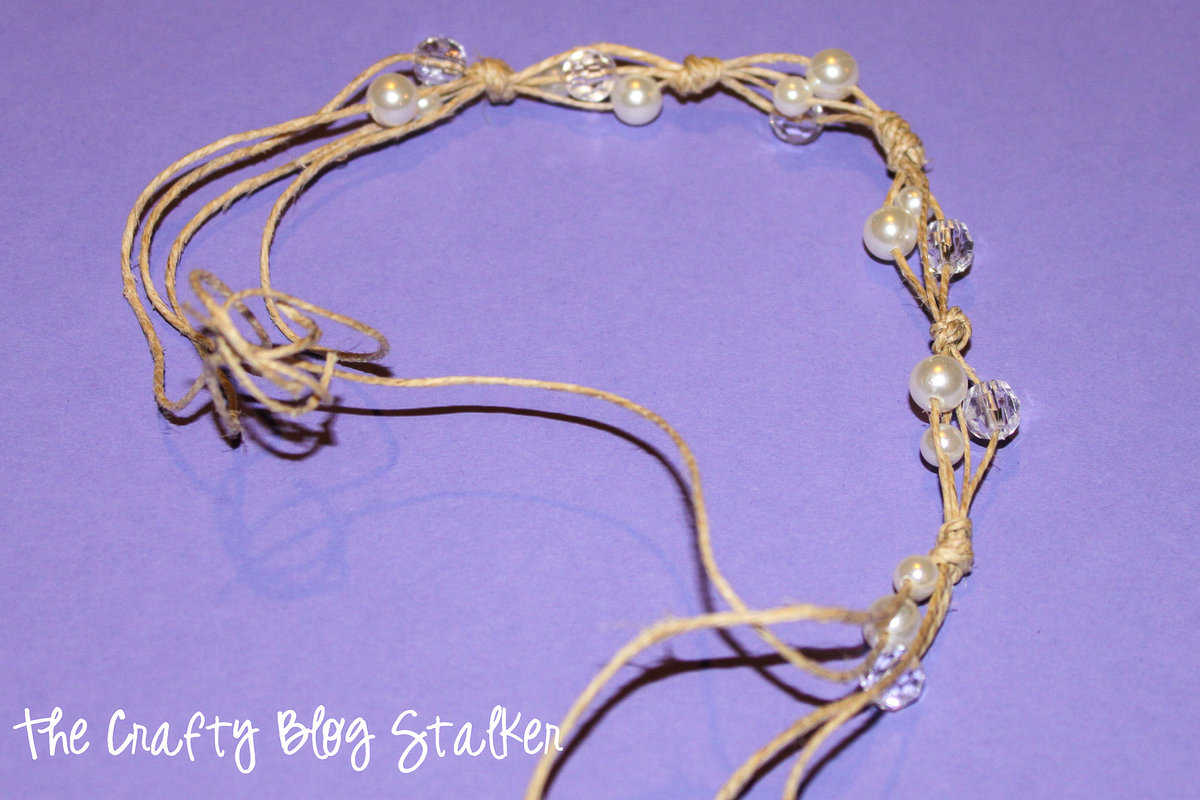
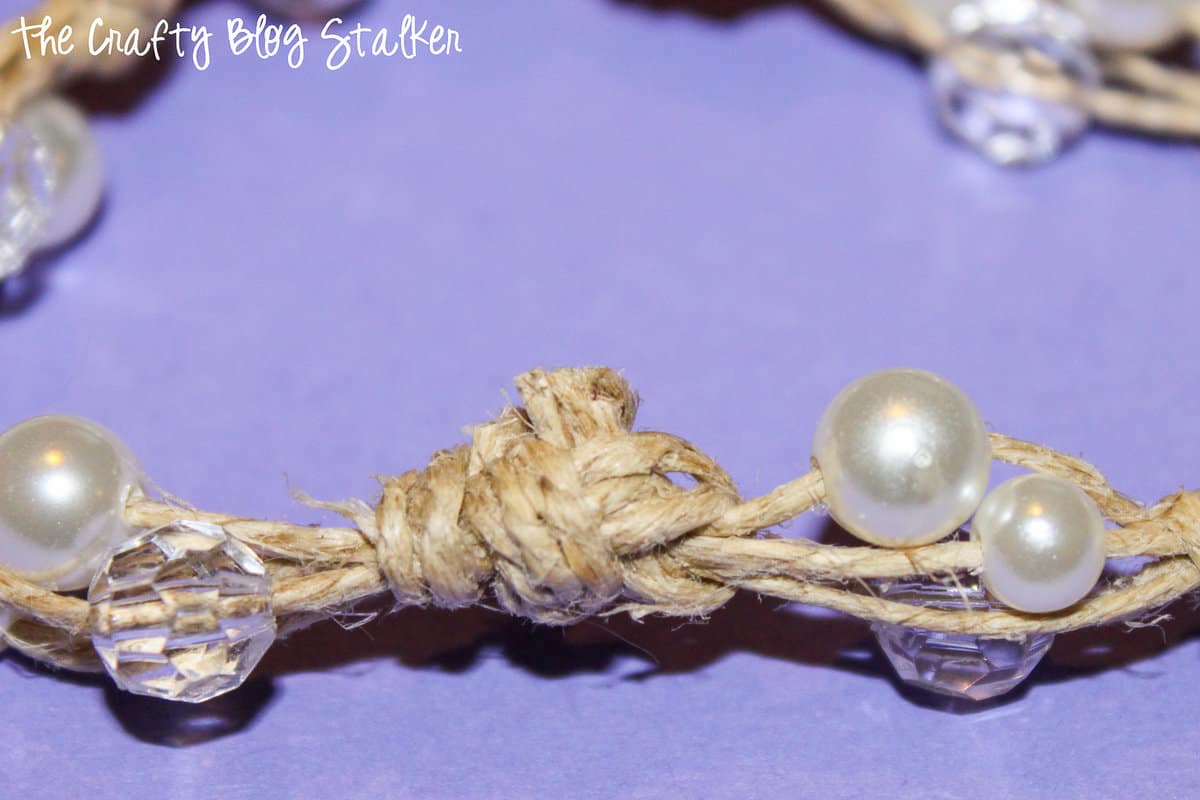
Tie a right over left knot at both ends of the bracelet, and then tie a knot connecting the two.
That makes this connection knot actually three knots.
Make sure the final knot is good and tight by pulling on both sides of the bracelet near that final knot.
Trim the excess twine as close to the final knot as you can.
This boho DIY Pearl Bracelet will look so cute with any outfit you have!
Jewelry Making Essentials
- Jewelry Pliers are essential for jewelry making.
- Good-quality Jump Rings are a necessity in a variety of sizes and metals.
- A Non-slip Bead Mat keeps your beads, findings, and tools in front of you without rolling away!
- The more you DIY Jewelry, the more little beads and things you will accumulate. Keep them organized with Plastic Organizer Containers.
Susan Audrey
This is really neato! I like the mix of natural and elegant elements a lot.
Natasha
This is beautiful
Natasha
Maggie
this is so perfect for a teen to keep busy in the upcoming holiday.
have a great crafting week!
Maggie
Less Is More
I love the bracelet tutorial. You make is look so easy. Classy!
Cook Clean Craft
I never would have thought that twine could look so elegant! What a lovely bracelet!
Jamie
This is beautiful. I'm your newest follower. Just added your linky to my linky page. Hope you stop by Monday for my linky. Jamie
Michelle@Crazy In Iowa
Just found your link on Southern Lovely. Your bracelet is so cute, I love the combination of sparkle and twine.
Heather
I love this bracelet! Your tutorial looks easy to follow and I can't wait to try it and hopefully have one of my very own!
Chris
Hi there, what a lovely bracelet. It will make a lovely stocking stuffer for one lucky young lady. Thanks for sharing. I have recently found your blog and am now following you, and will visit often. Please stop by my blog and perhaps you would like to follow me also. Have a wonderful day. Hugs, Chris
Anonymous
Love it! You've inspired me to make one of my own, thanks for the great photos.
fromgentogen
This looks so pretty --- I can't believe how quick and easy it is!
Blessings, Becky
Lindsay
I love when tutorials are easy to follow, and this is perfect! What a very well step-by-step way to make one yourself! And not to mention it is very cute! Thank you for sharing this @ Show & Share! Happy to have you there!
Melanie @ bear rabbit bear
This is a great tutorial! Thanks for linking to Things I've Done Thursday! Merry Christmas!
Melanie
Vicky@One Orange Giraffe
Your bracelet is beautiful! So simple and elegant. Thanks for sharing.
Vicky
1orangegiraffe.blogspot.com
Rachel
This is so pretty! I love the combination of the pearls and twine. Rachel
Sara @ My Merry Messy Life
This is just gorgeous, I really want to make one now! And I can't believe it only took you 10 mins plus taking pictures! Excellent photo tutorial as well. Thanks for sharing at Hookin On Hump Day!
Rebecca @ Herons Crafts
This is beautiful! rustic but elegant! perfect! Thanks for the tutorial. Have a great day!
I Gotta Try That
This is beautiful. I love that it's dressy and casual at the same time. I appreciate you sharing on "I Gotta Try That"
Marcie
Debbie
This is great! Thanks for sharing! I followed the party from Hey, Mommy Chocolate Milk.
Anonymous
How do you get it on and off your wrist? Did I miss something on the tutorial?
Katie Adams
I made it just big enough that it would slide on and off.
Libby vignes
What a simply beautiful bracelet. Can't wait to make one for my grand daughter's birthday, thanks a lot
Beverly
What size beads n twine did you use anything special
Katie
I'm sorry but I am not quite sure. I used what I had on hand and it was no longer in it's original package. The biggest thing is to make sure the twine will fit through the hole in the bead, and then you can use whatever size bead you would like.
Elena
Esta molt be rustic i elegant a la vegada.
Katie
Thank you Elena!
Angie Long
Hi. I love this Boho, Beachy style bracelet. I got through the whole tutorial & you lost me when it was time to tie it together. I untied the beginning end but got lost after that. I think I made my knots too close to my beads. I'll try it again.
Katie Adams
I am so glad that you love it, Angie! Sorry, the end was confusing. It can be hard to explain how to do it. I guess that means I need to make a video!
Helen J Roberts
Love the simplicity of this craft. Even the grandkids can have fun making one for Mom and Mimi. Thank you for sharing.
Katie Adams
Thank you Helen! Any mom would be proud to wear it!