

Master seed bead earring making with 3 simple tutorials. Ideal for beginners to create and personalize your jewelry!
Today we jump into the art of creating stunning seed bead earrings with three different designs.
Whether you're new to beading or looking to add new skills to your repertoire, these step-by-step guides are designed to help you create beautiful, personalized earrings.
Perfect for those who love to add a handmade touch to their jewelry collection.
Craft Tutorial Video
If videos are your thing, you're in luck-I've got a full tutorial ready for you!
Subscribe to my YouTube channel and stay inspired with every new project.
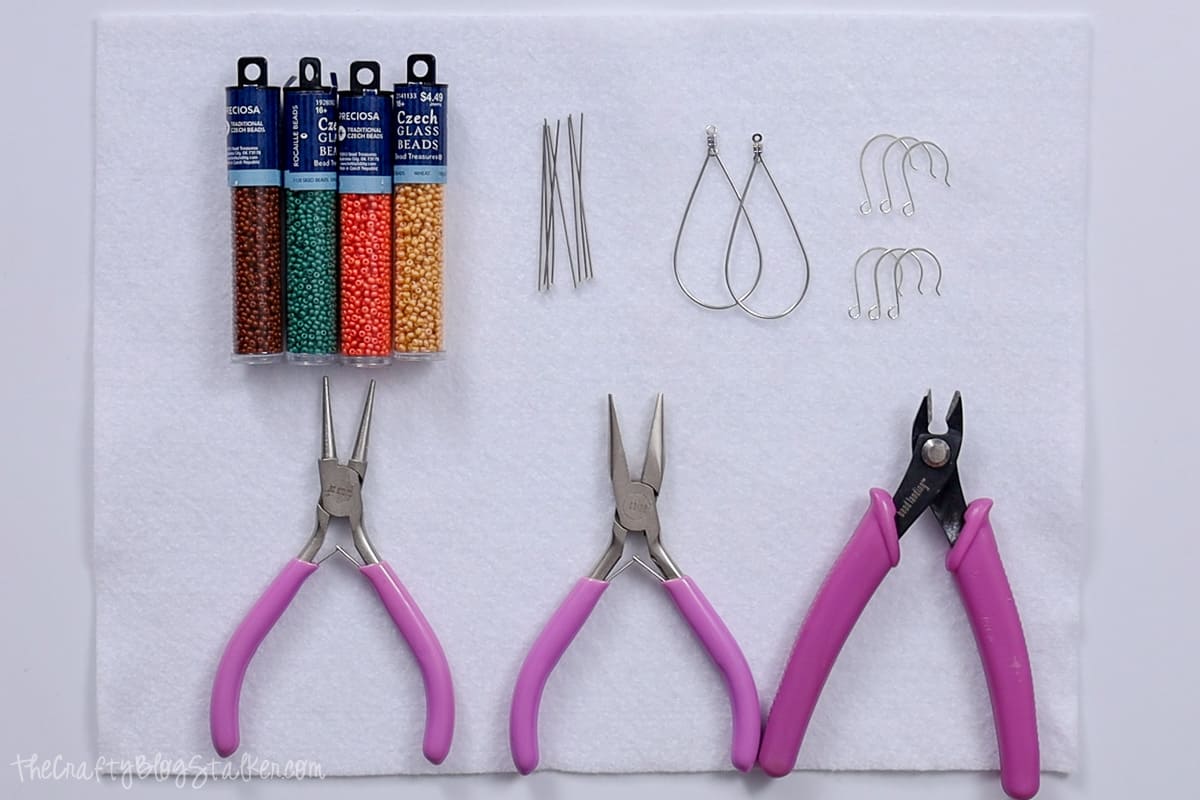
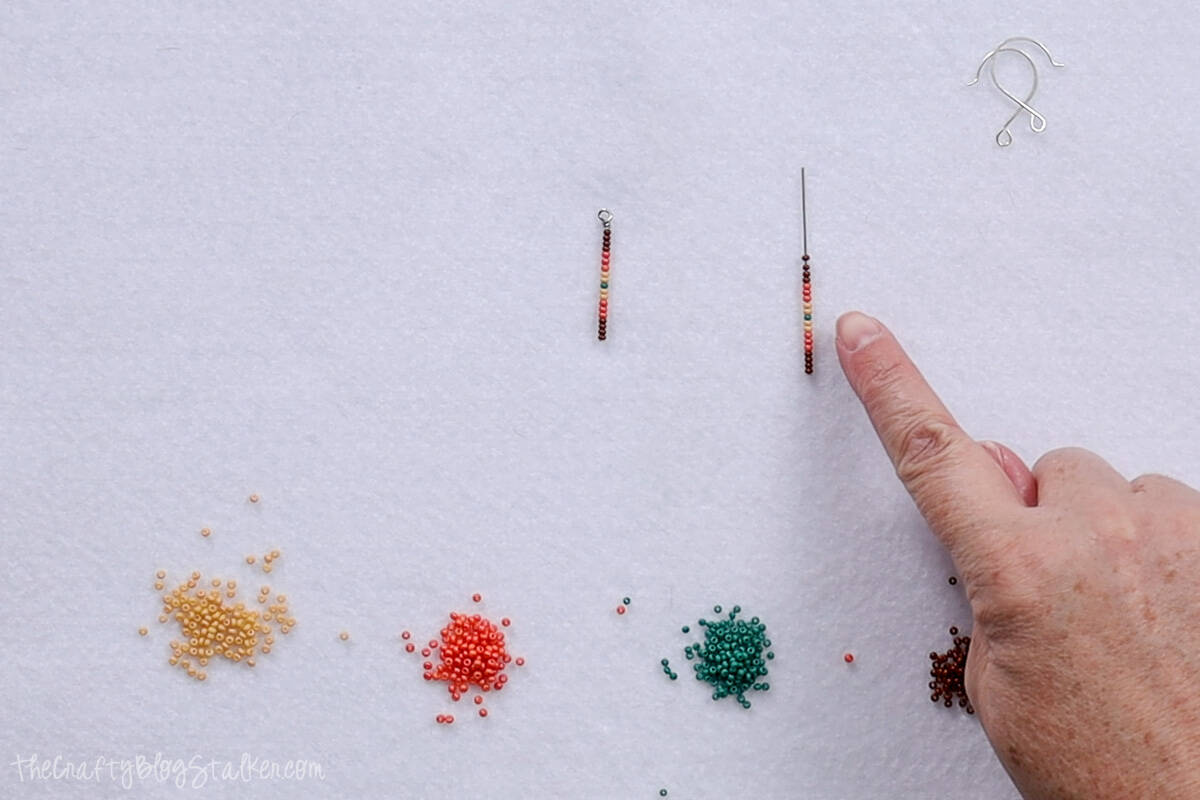
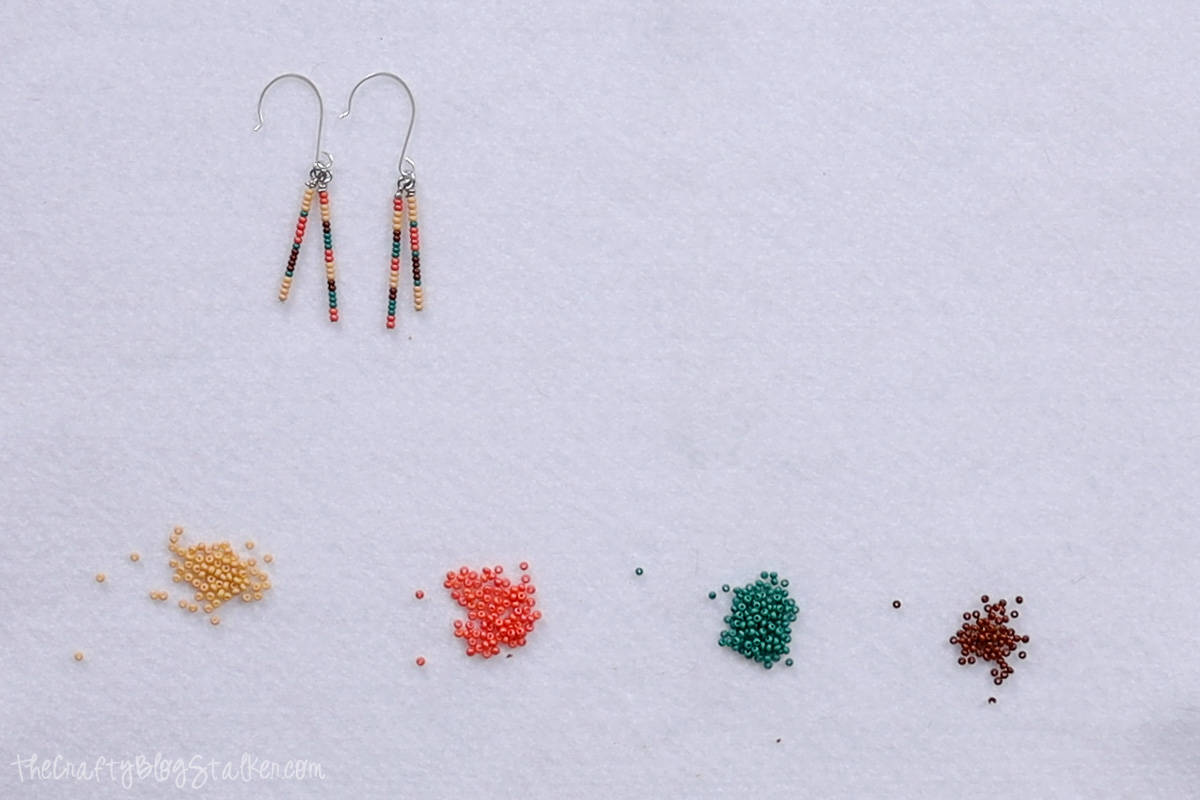
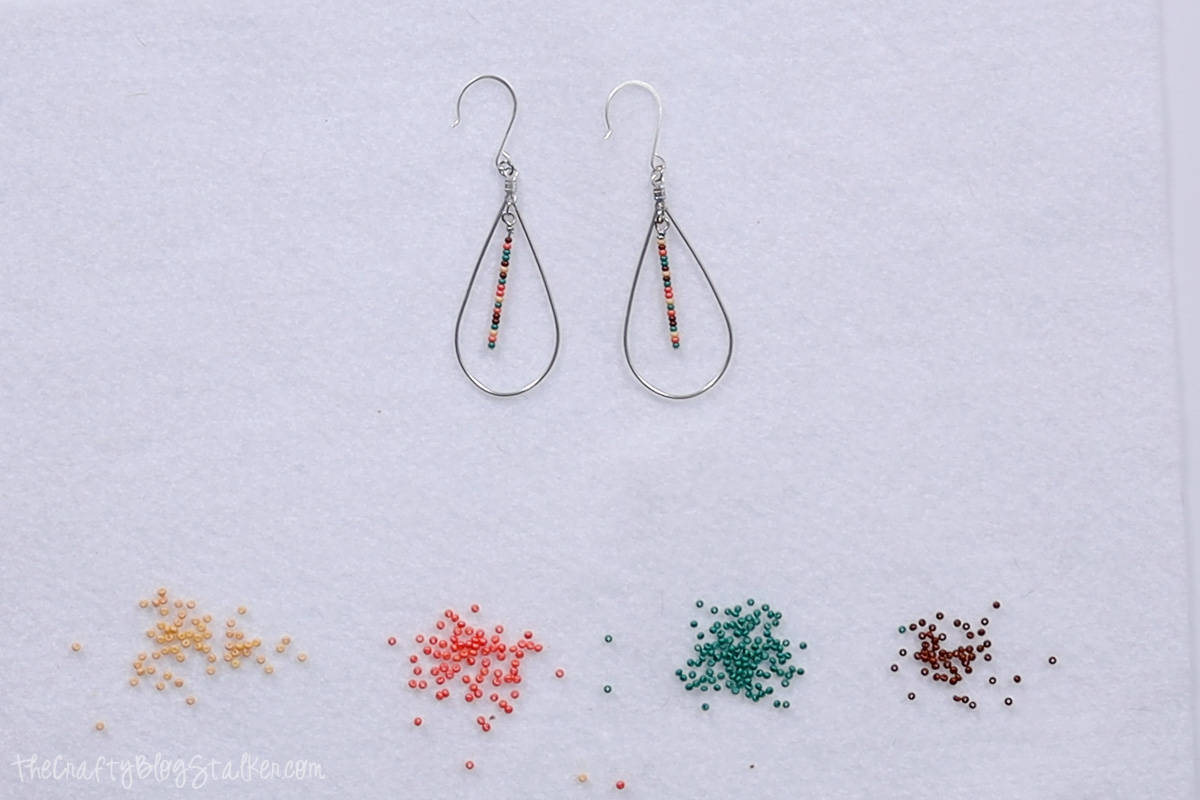
I am using 11/0-sized seed beads in 4 different colors. These same designs would work for any size of seed beads, you may just need more less beads depending on the size that you use.
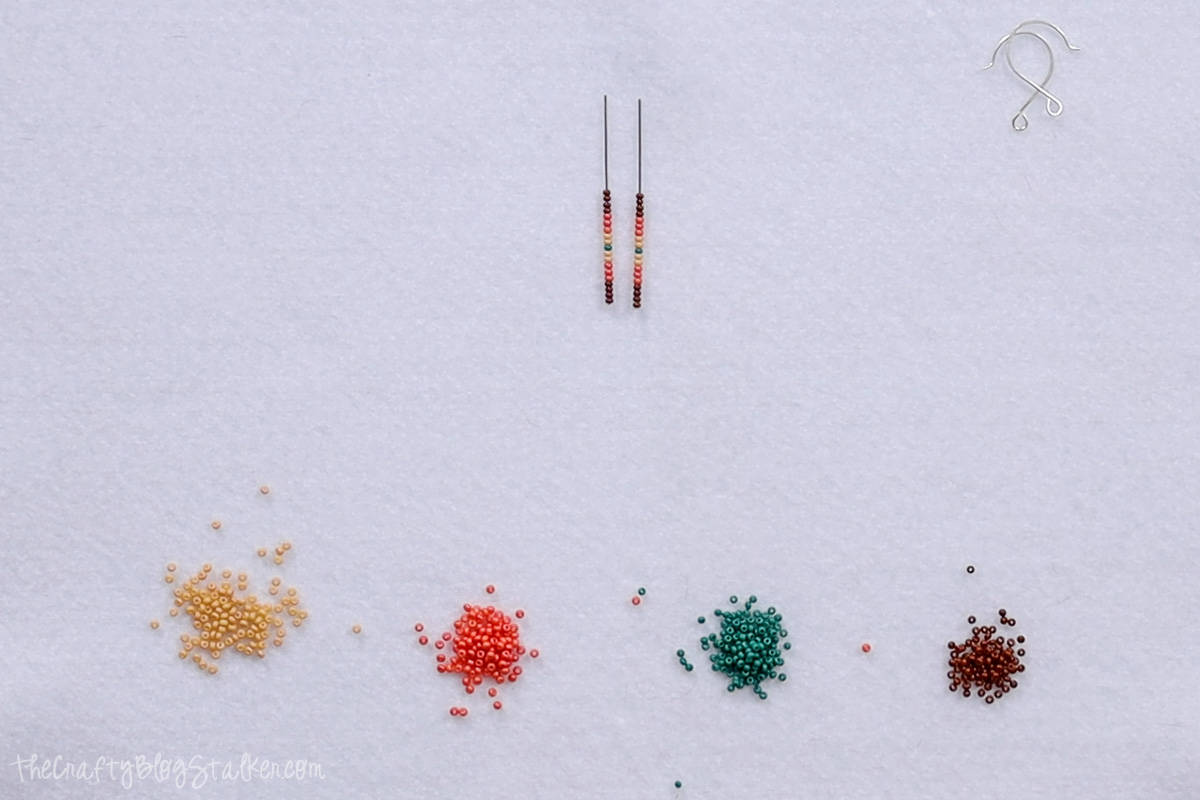
Preparation:
When beading, I like to keep my beads on a piece of felt. This helps the beads to not roll around all over the place.
To start, pour a small pile of beads for each of the 4 colors.

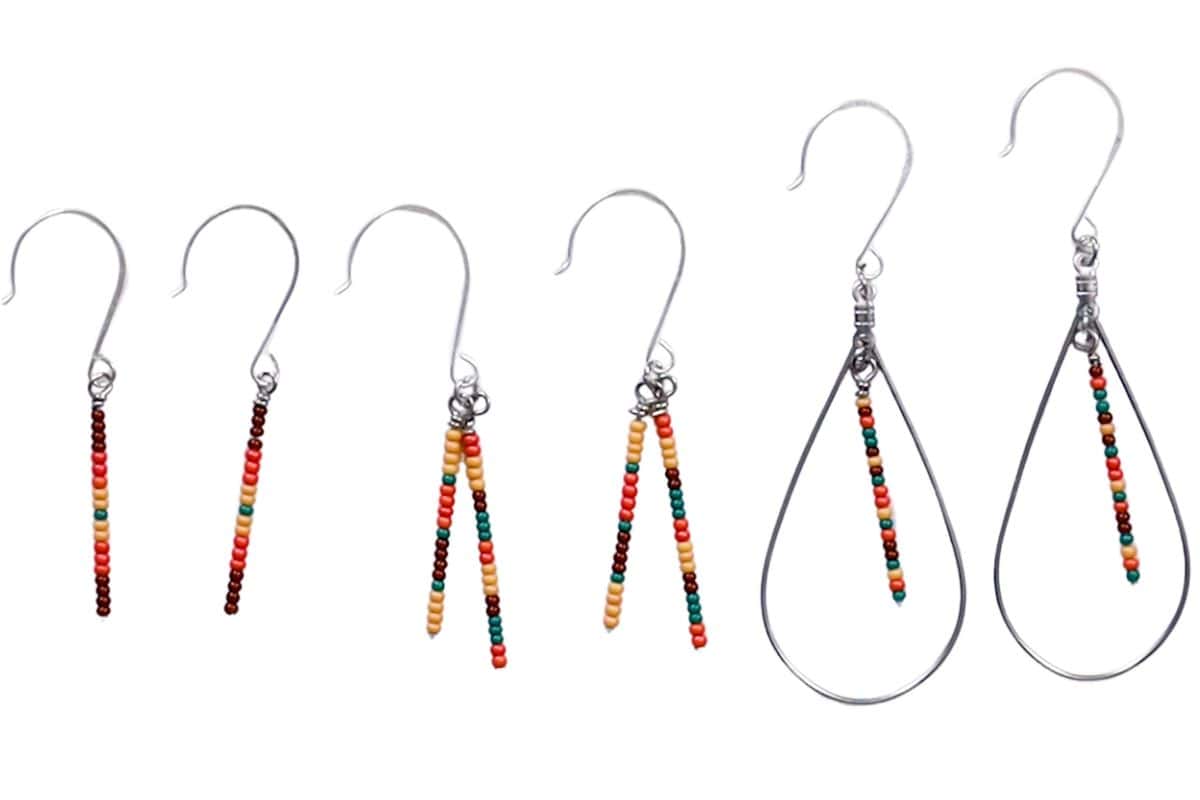
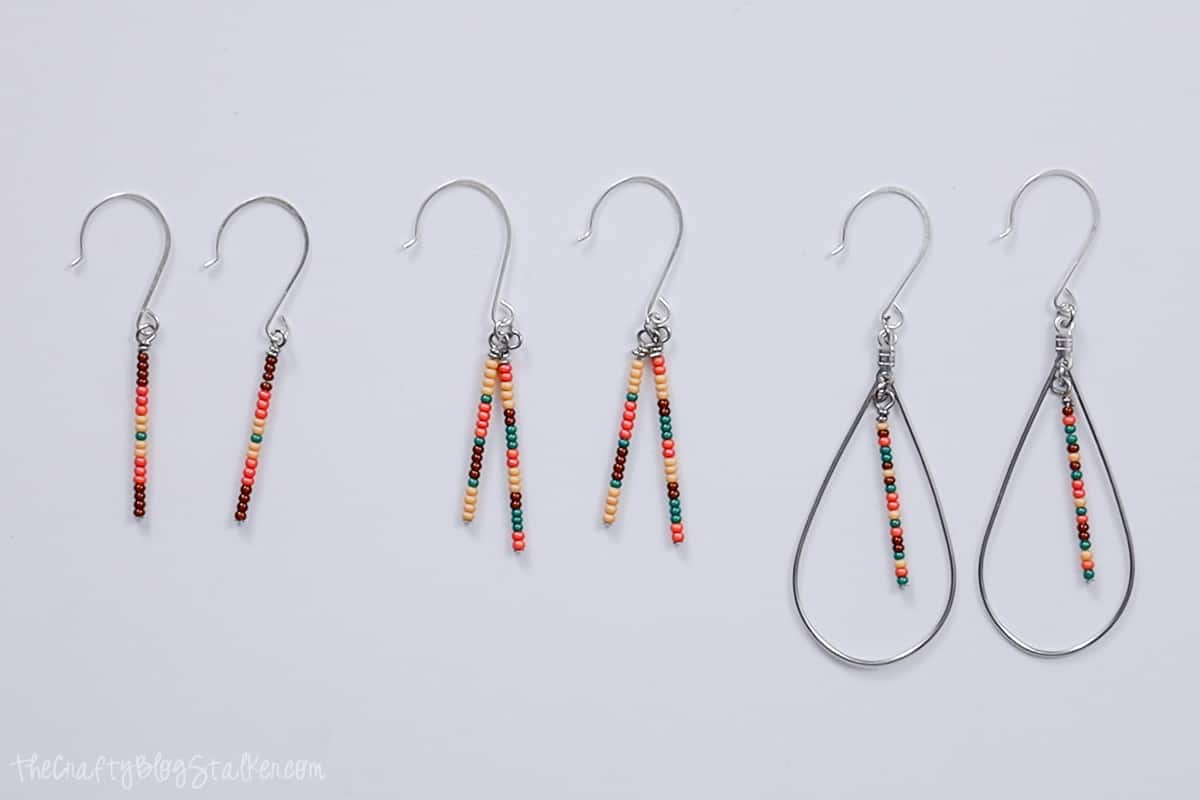
Single Strand Earrings:
For the single strand, I am using a specific pattern.
4 brown, 3 orange, 2 yellow, 1 turquoise, 2 yellow, 3 orange, and 4 brown.
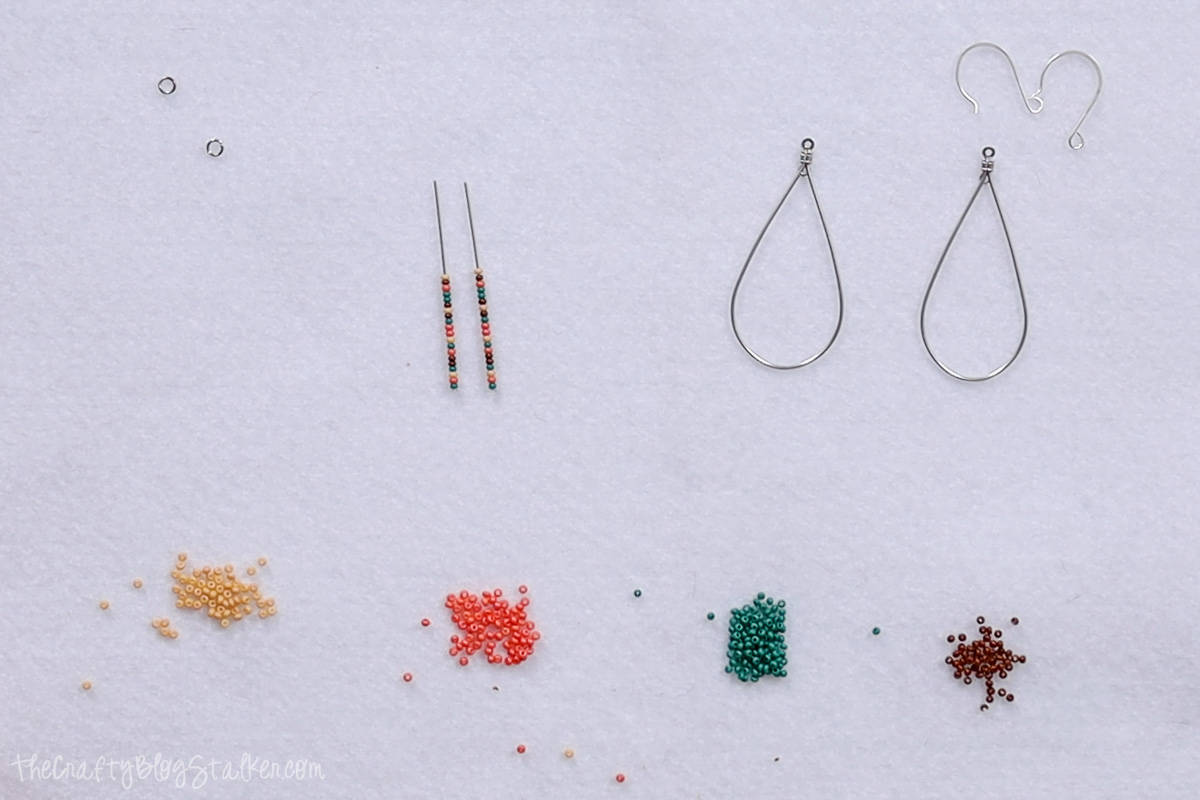
String the beads onto 2 head pins, using the same pattern for each.
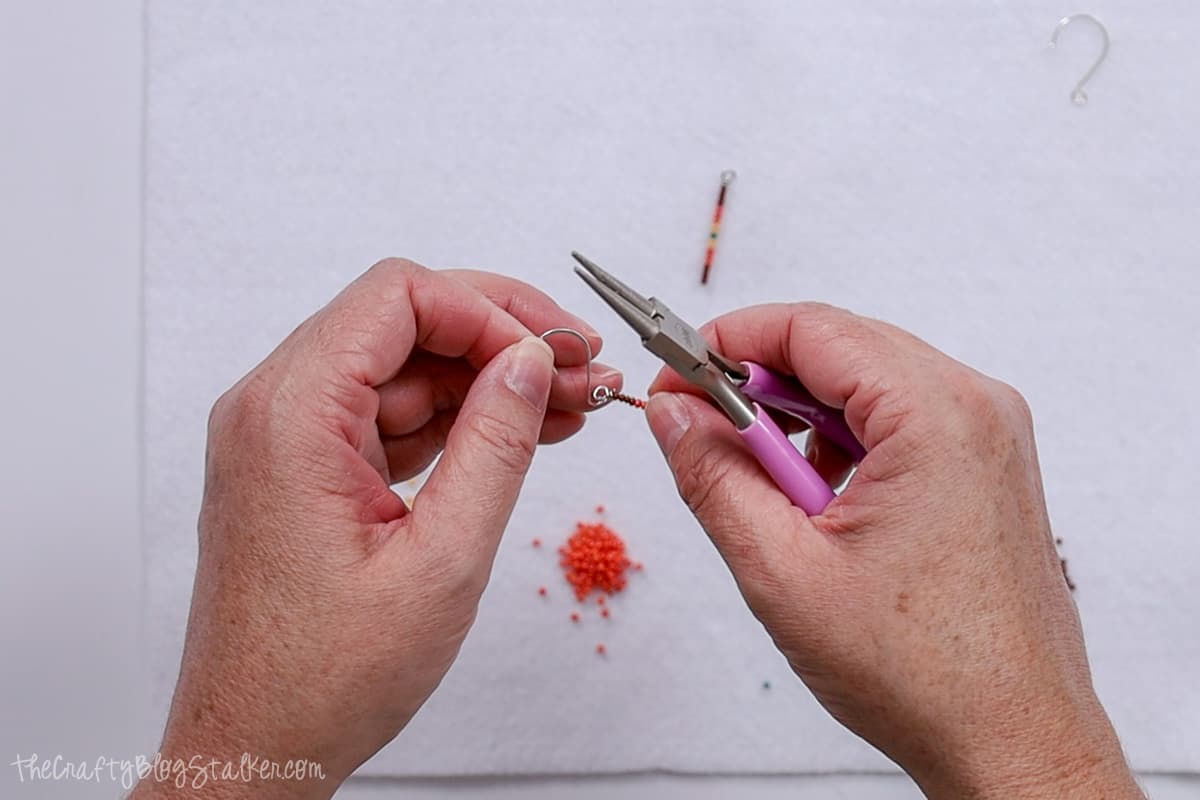
Wire Wrapped Loop:
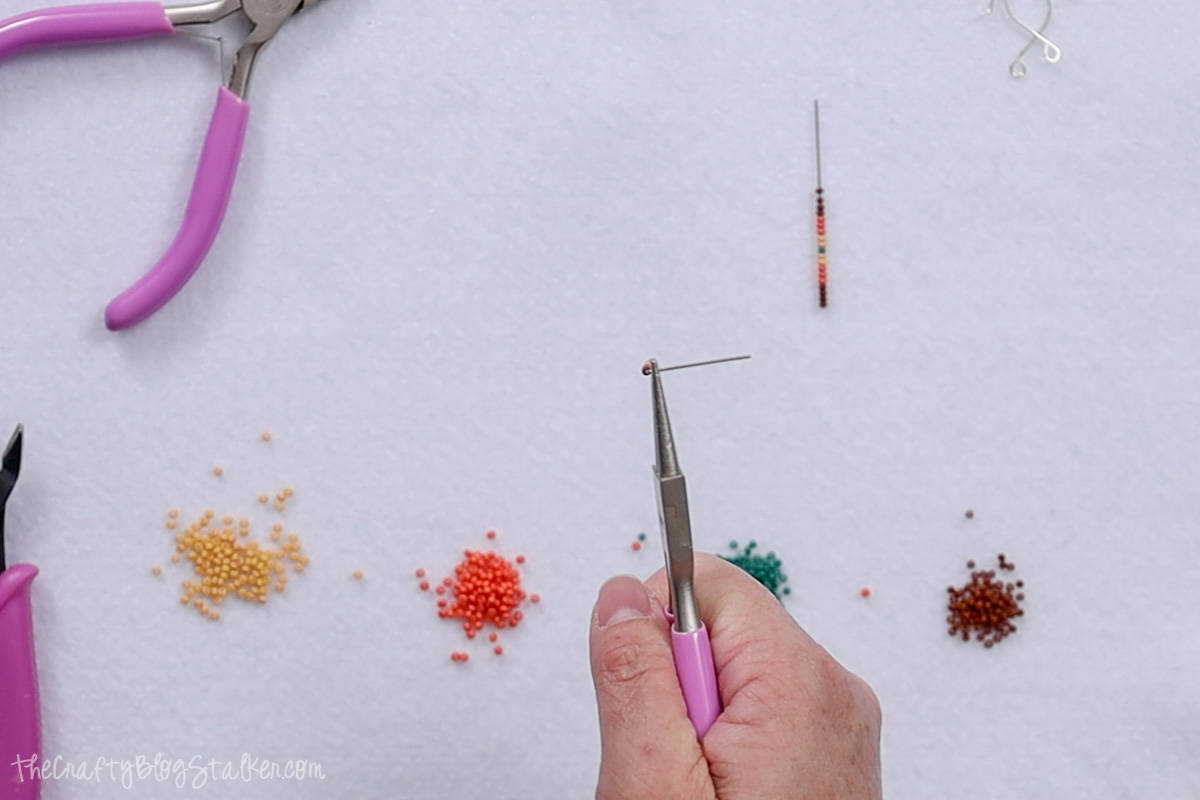
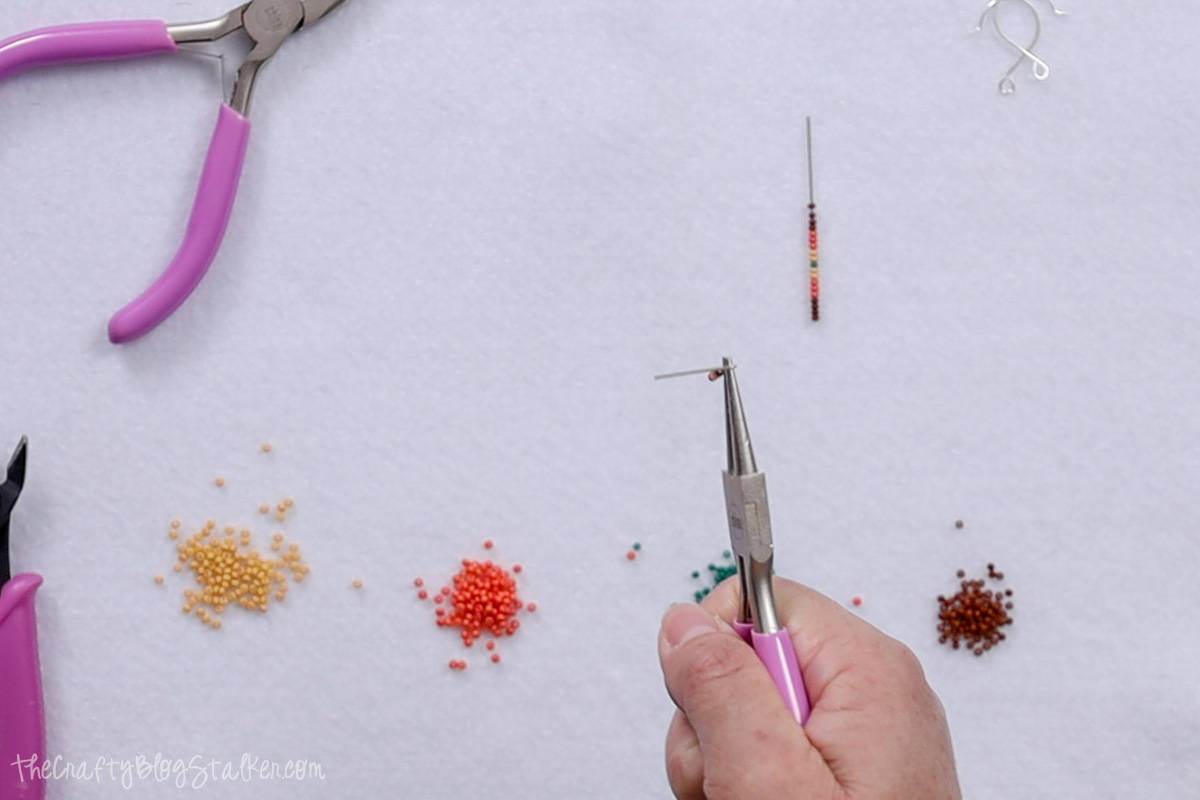
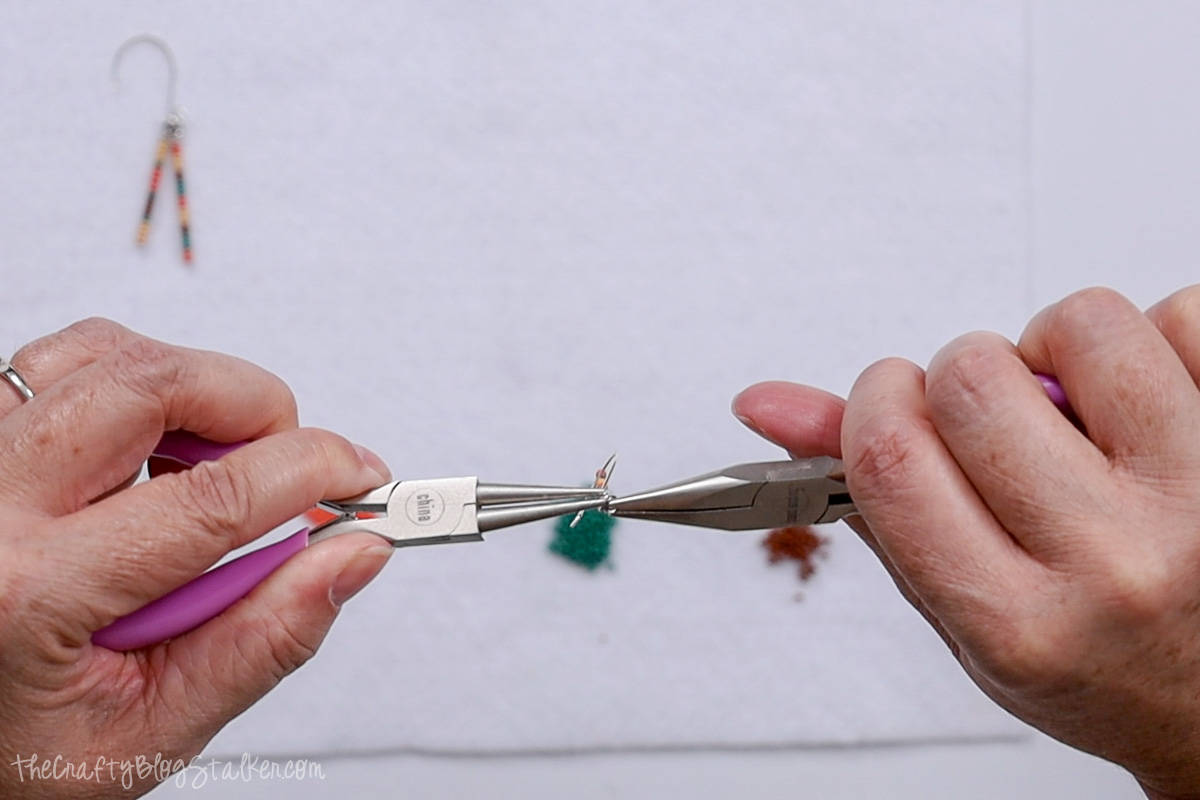
To create the loop at the top of the headpin, we are going to use two pairs of jewelry pliers; round nose, and chain nose pliers.
You will notice that the cone on the round nose pliers gets larger as it goes up. We want to keep our loop pretty small, so we are going to wrap around the smallest part of the pliers.
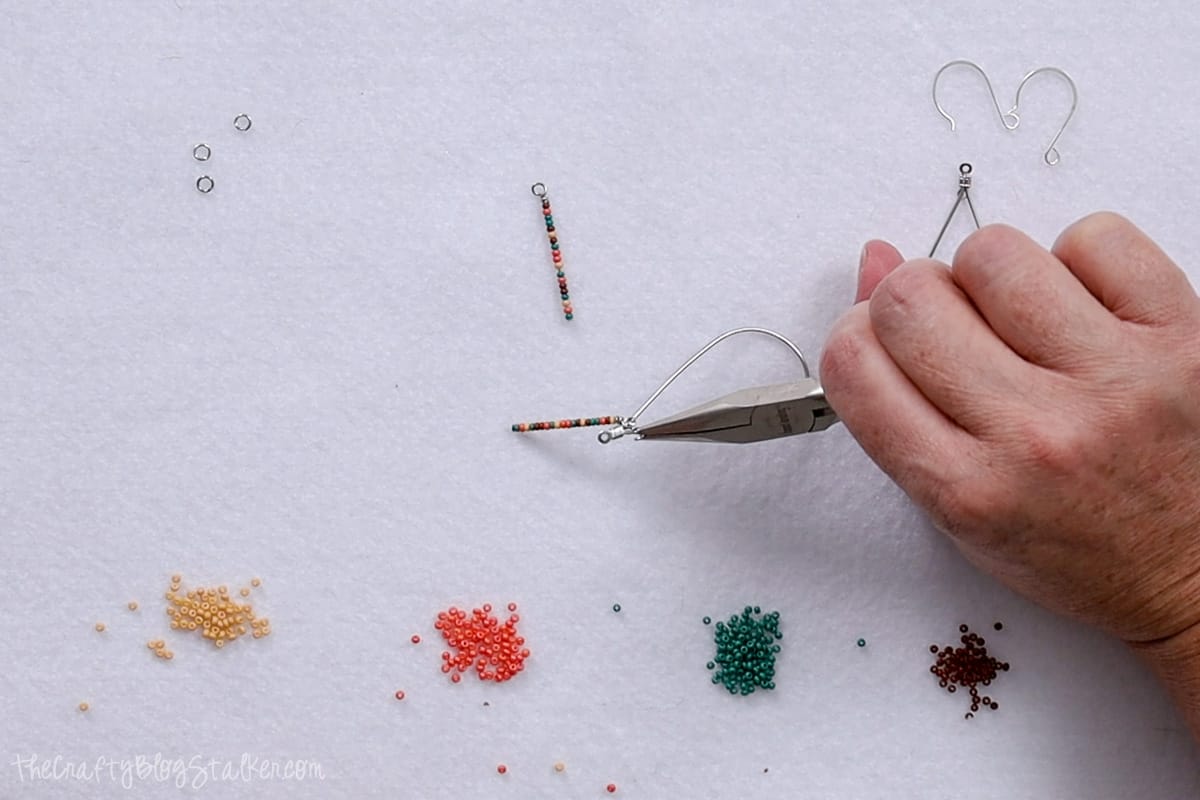
Grab the headpin, just above the beads, with the small end of the round nose pliers.
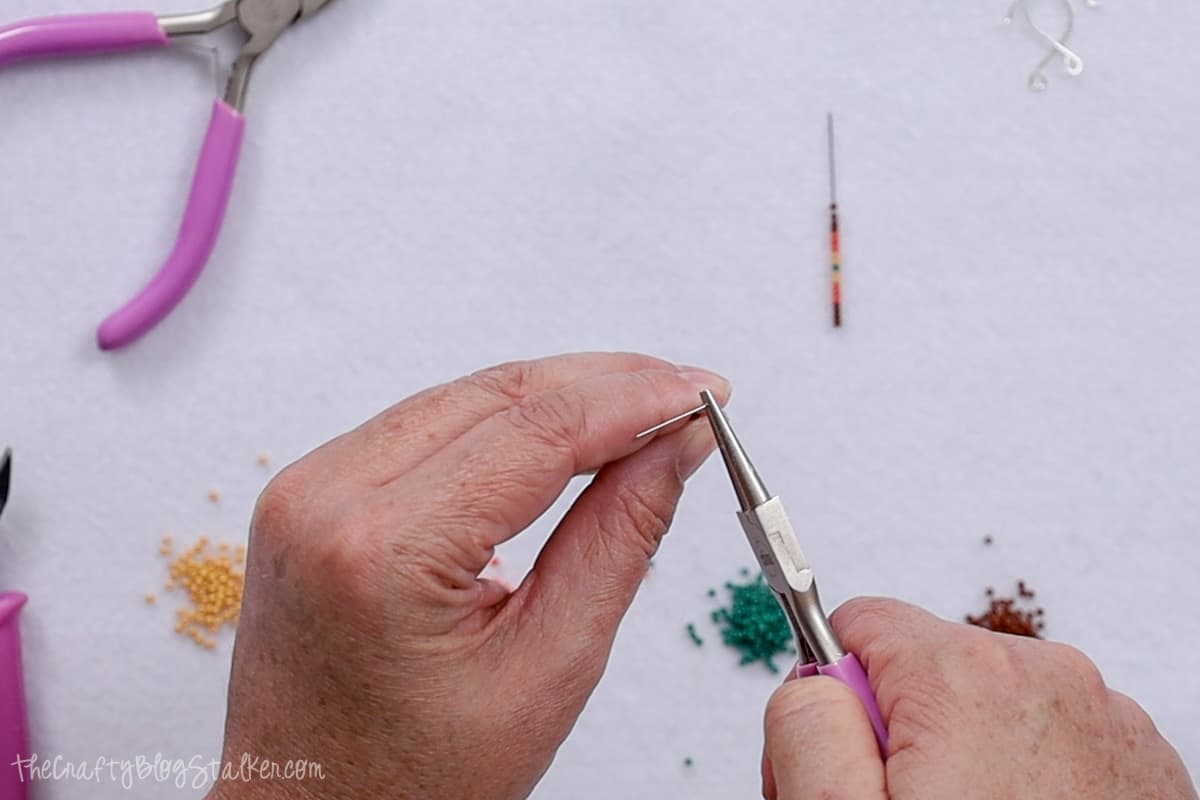
Bend the headpin 90 degrees.
Grab the headpin with your fingers and pull it up and over the top cone of the pliers so the headpin is now pointed in the opposite direction.
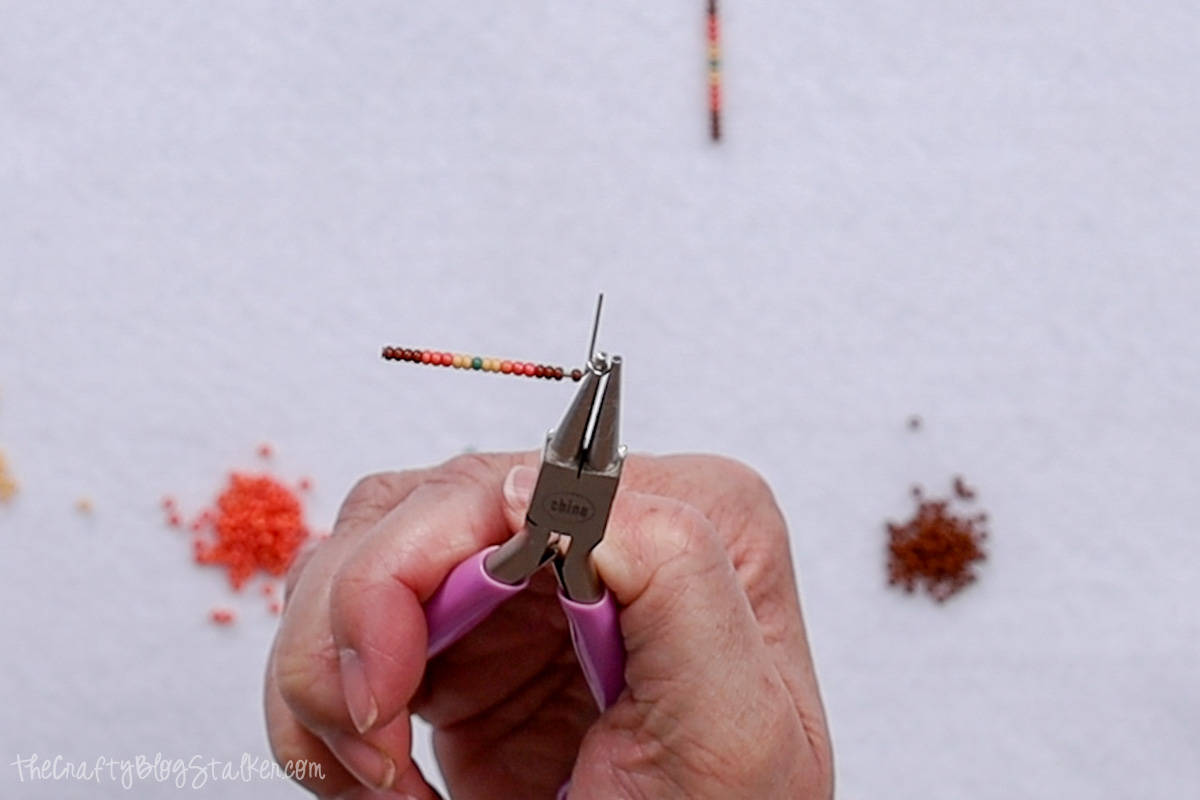
Pull the pliers out from the headpin, and reinsert them so the curve in the headpin is around the bottom cone of the pliers.
Grab the end of the headpin with the chain nose pliers, and wrap it tightly around the bottom cone so the wire is going in the opposite direction.
Again, grab the end of the headpin with the chain nose pliers, and this time wrap it around the headpin right under the loop.
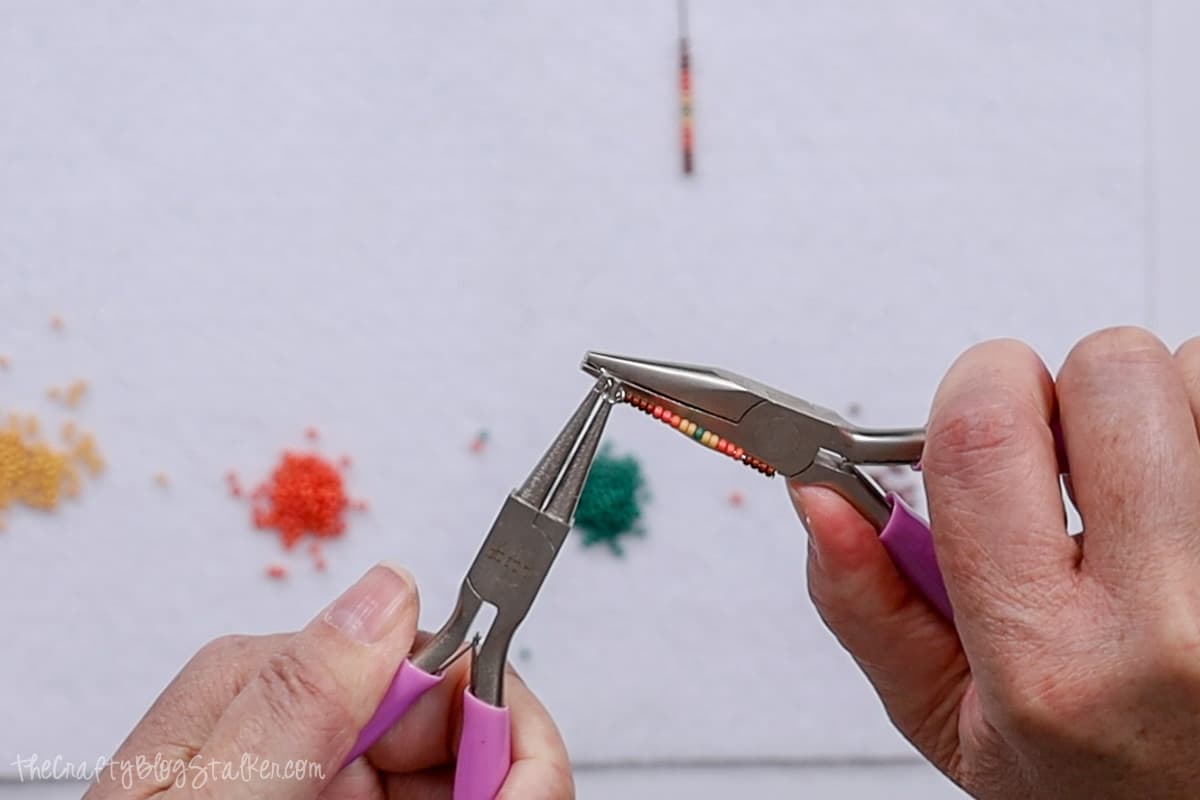
Wrap the wire around 2 to 3 times. If there is any wire still sticking out, cut it off with the wire cutters.

Repeat with the other strand so both headpins have the loop on the end.
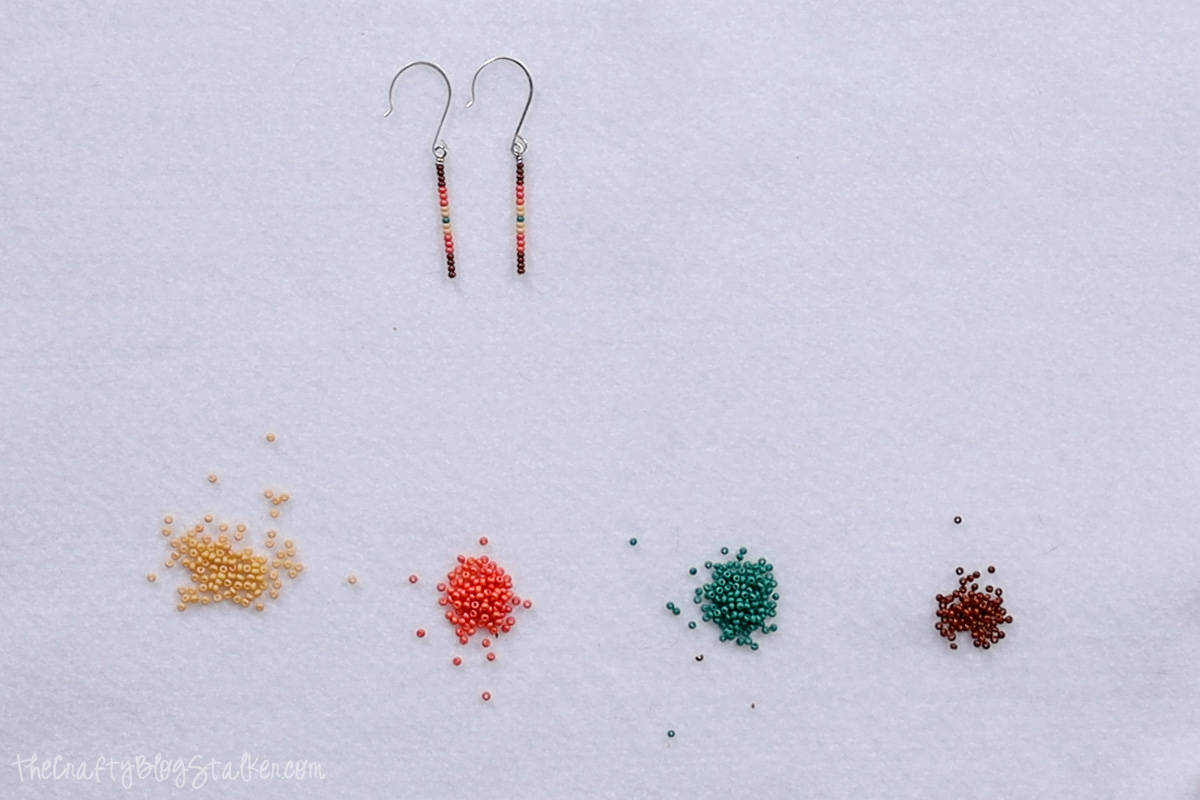
Attach Earring Hooks:
Open the loop at the base of the earring hook.
Make sure to twist them open, not pull them open. By twisting the loop they will keep their shape.
Place the headpin loop over the end of the loop to attach the single strand.
Then twist the loop to close it back up, making sure there isn't a gap for the headpin to slip off of.
Repeat with the other earring hook and headpin strand, so you have a complete pair.
Double Strand Earrings:
This time we are going to strand 4 headpins with two matching patterns.
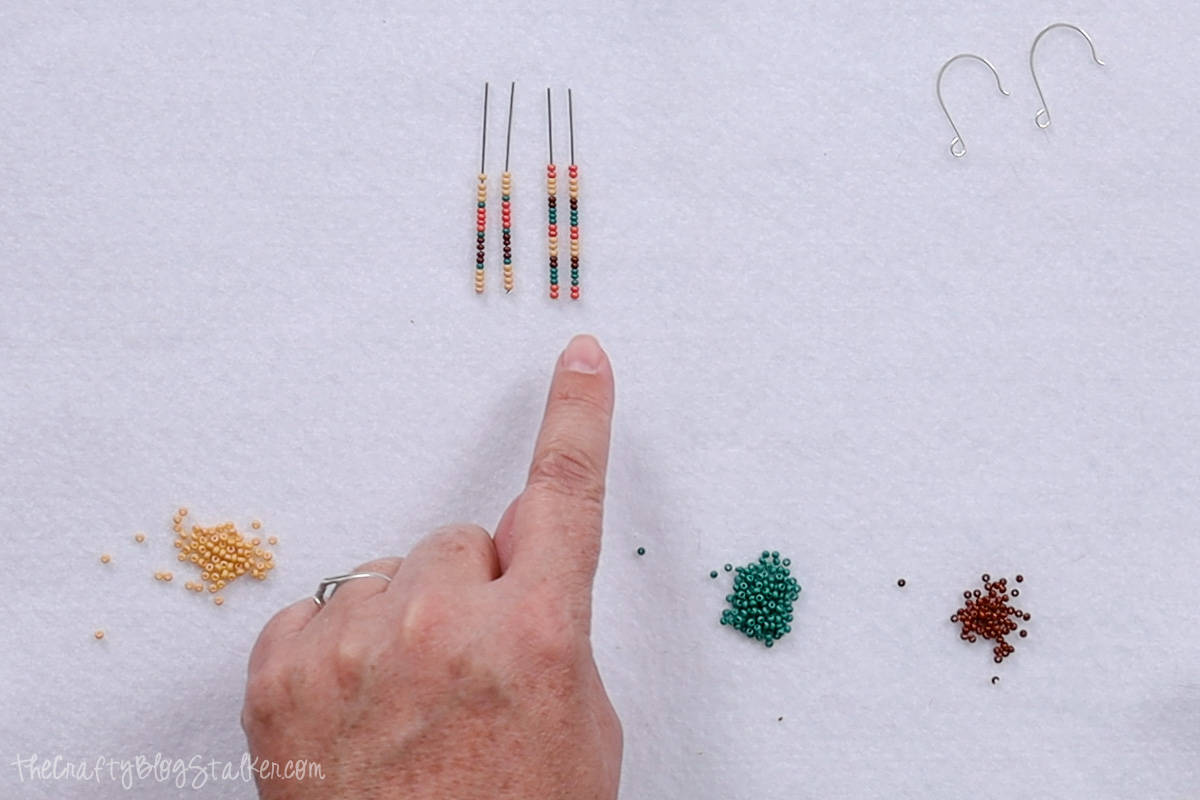
Follow the same instructions above to give each headpin a loop at the top of the strand of beads.
This time, we are going to use 5mm jump rings to attach the headpins to the earring hooks.
Open the jump ring by twisting it open.
Place the earring hook and two headpins onto the jump ring, and twist to close the ring.
Repeat for the second earring and now you have a complete set. Look how cute!
Teardrop Beaded Earrings:
String two headpins with seed beads with a matching pattern.
Follow the same instructions above to give each headpin a loop at the top of the strand of beads.
Open a jump ring by twisting it open.
Place the jump ring through the inner hole on the teardrop hoop, and then a headpin strand.
Twist the jump ring closed.
This jump ring is a little tricky to close, so be patient with yourself, but it can be done.
Twist pen the loop at the base of the earring hook.
Place the loop at the top of the teardrop over the end of the loop.
Twist the loop closed, and your third pair of earrings are done.
Which DIY seed bead earrings are your favorite?
Jewelry Making Essentials
- Jewelry Pliers are essential for jewelry making.
- Good-quality Jump Rings are a necessity in a variety of sizes and metals.
- A Non-slip Bead Mat keeps your beads, findings, and tools in front of you without rolling away!
- The more you DIY Jewelry, the more little beads and things you will accumulate. Keep them organized with Plastic Organizer Containers.