

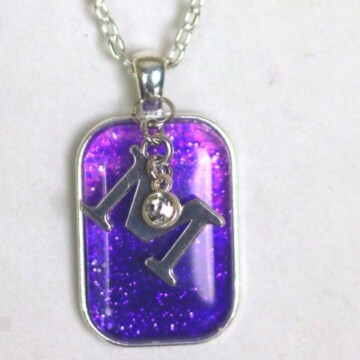
Custom jewelry deserves a custom jewelry card. A simple DIY craft tutorial idea. A necklace card is great when selling jewelry or giving it away as a gift.
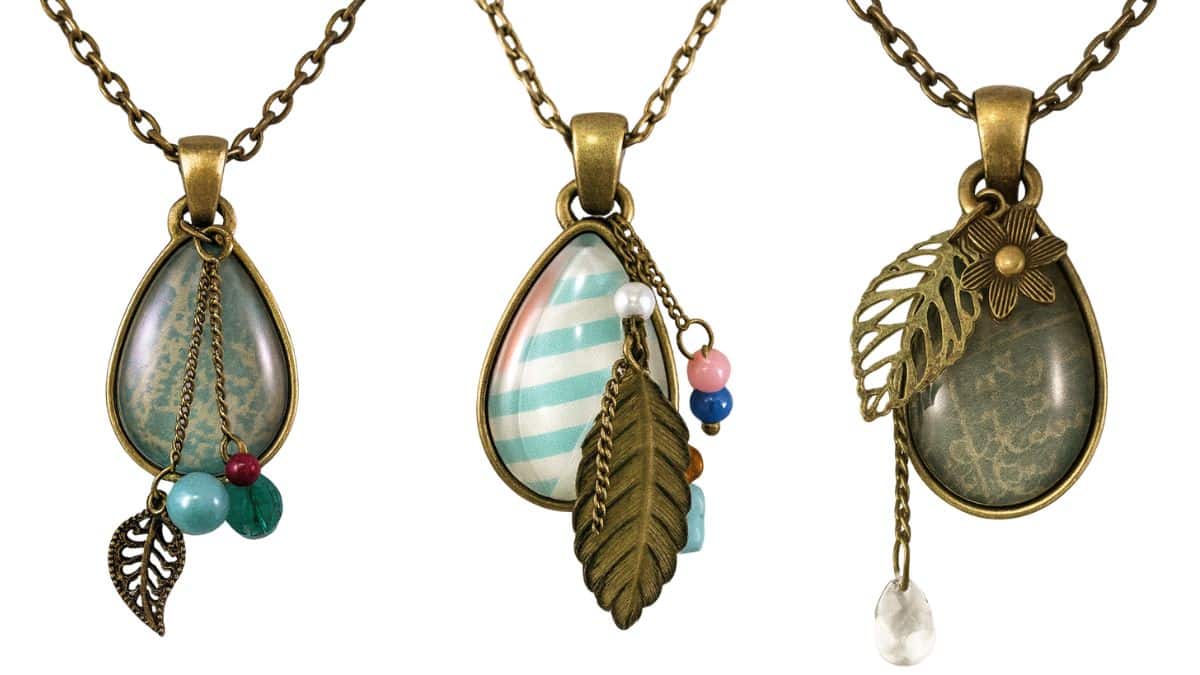
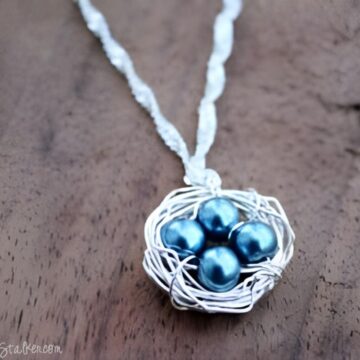
Last week, I shared a tutorial for DIY Jewelry Pendant Necklaces. They turned out beautifully, and I am very proud of them.
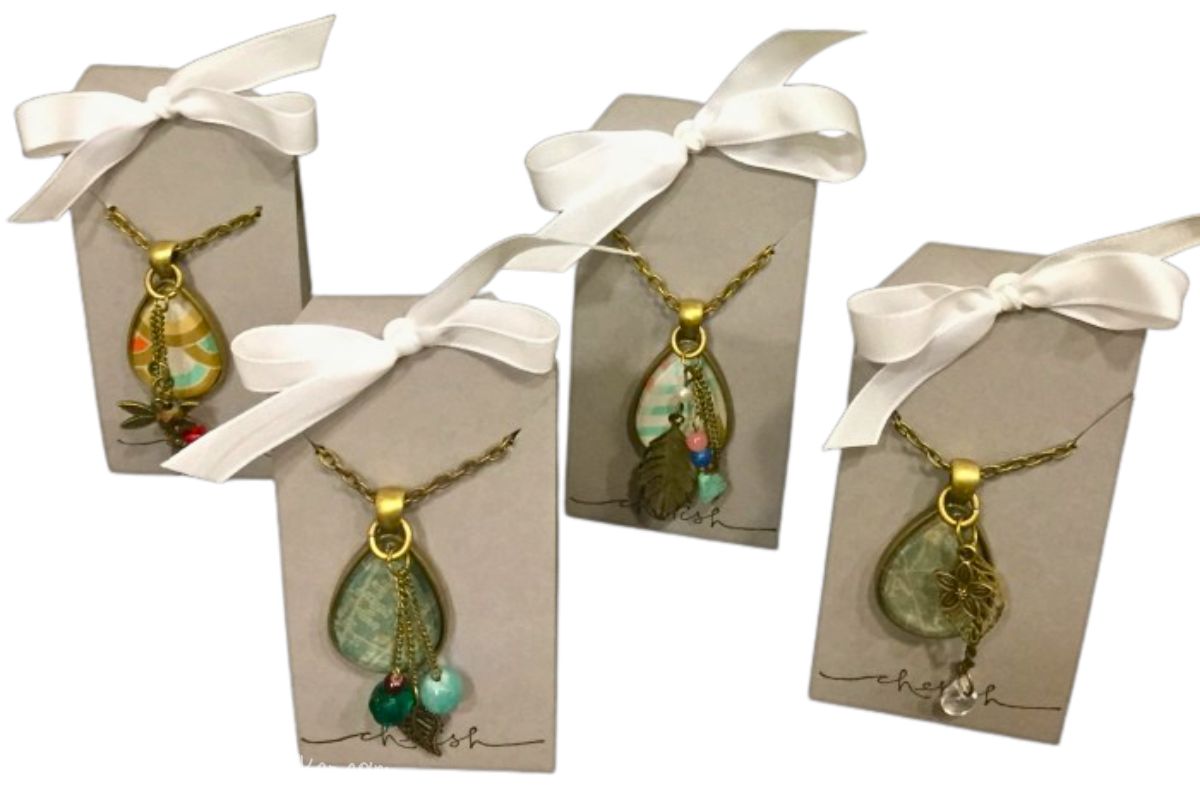
Since these were made as gifts for some blogger friends, I knew I needed to add that extra detail and create a necklace card for them.
The necklace card is simple but shows you went the extra mile to make the gift look more unique.
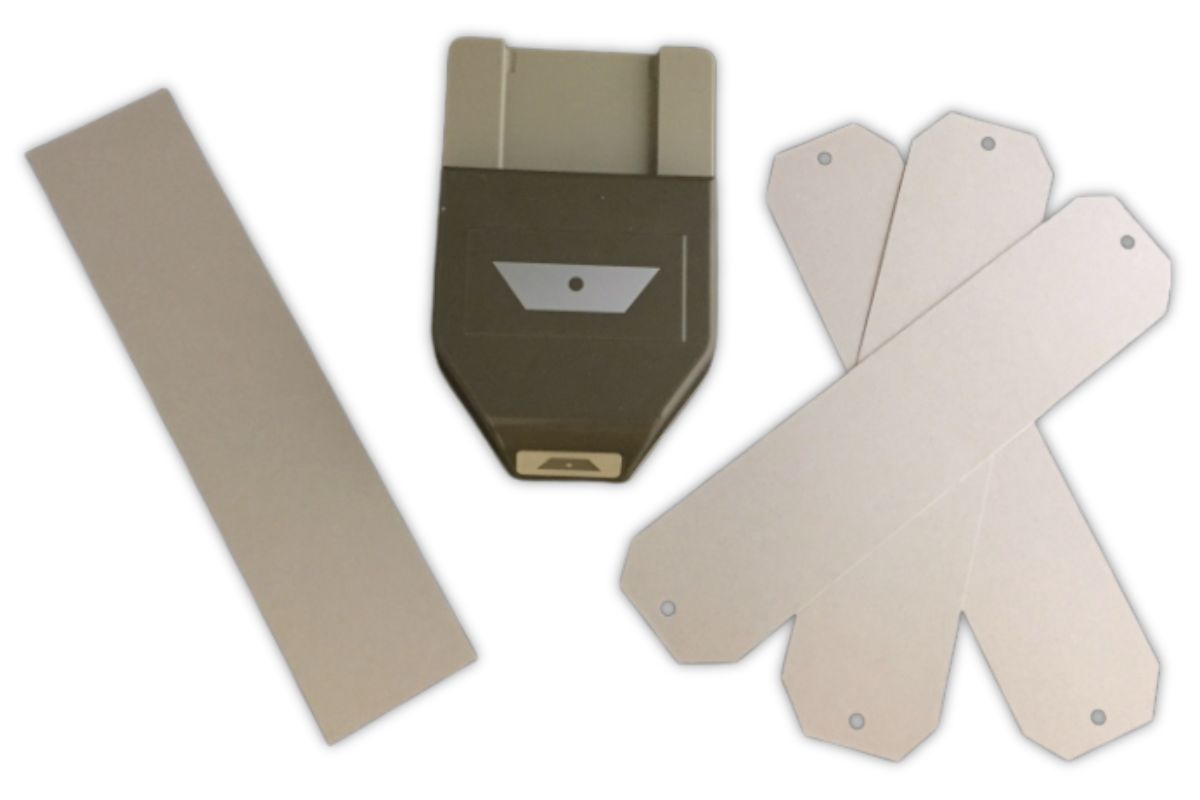
Supply List
Some links may lead to similar items when the exact item is unavailable.
Instructions
Begin by cutting a strip of gray cardstock to 2 x 8 ½ inches.
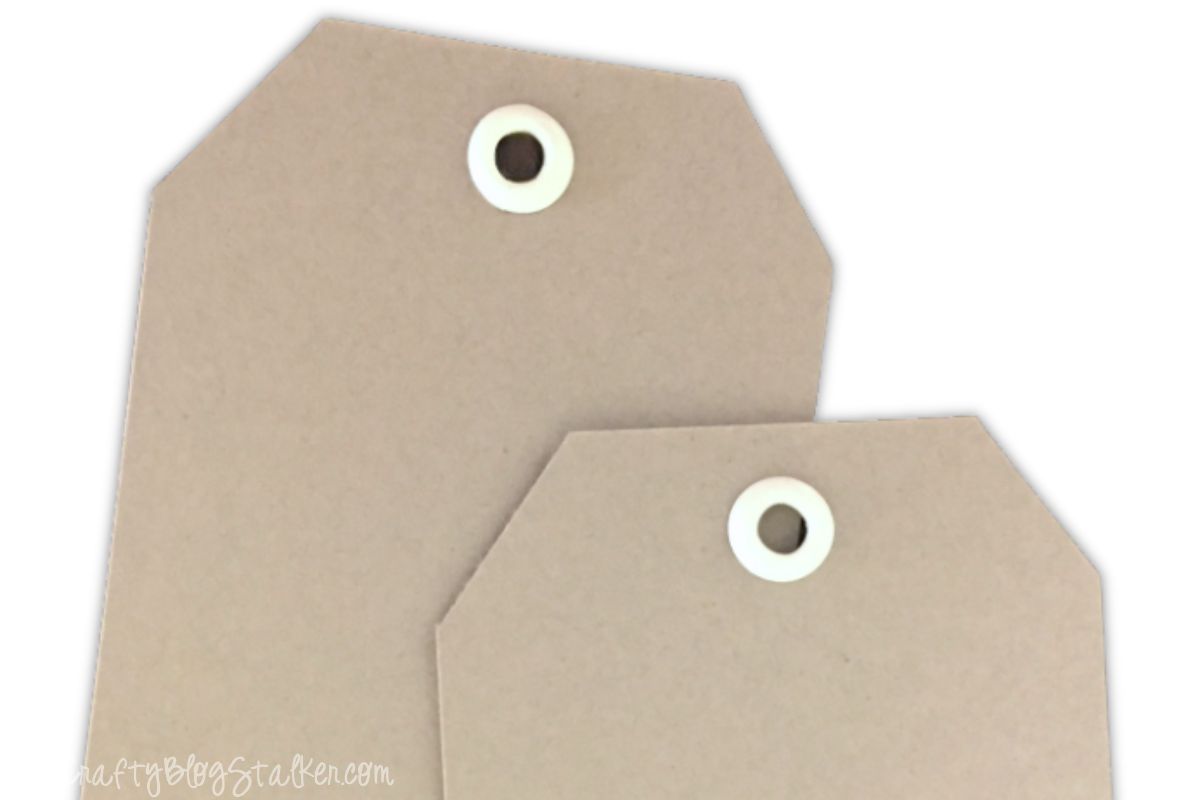
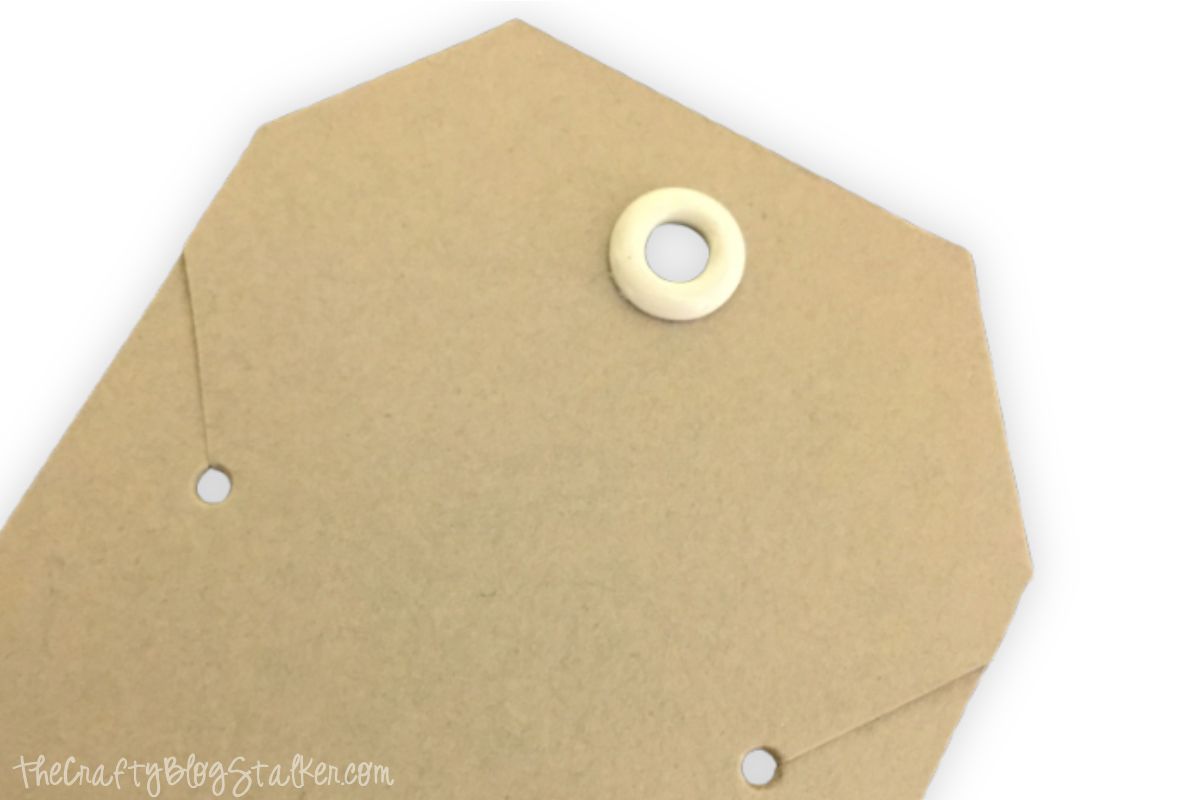
Use the Craft Tag Punch and punch both ends of the strip.
Add white eyelets to the hole on both ends of the strip.
It has been forever since I used eyelets, and I forgot how fun they are and the finished look they provide.
Fold the strip in half.
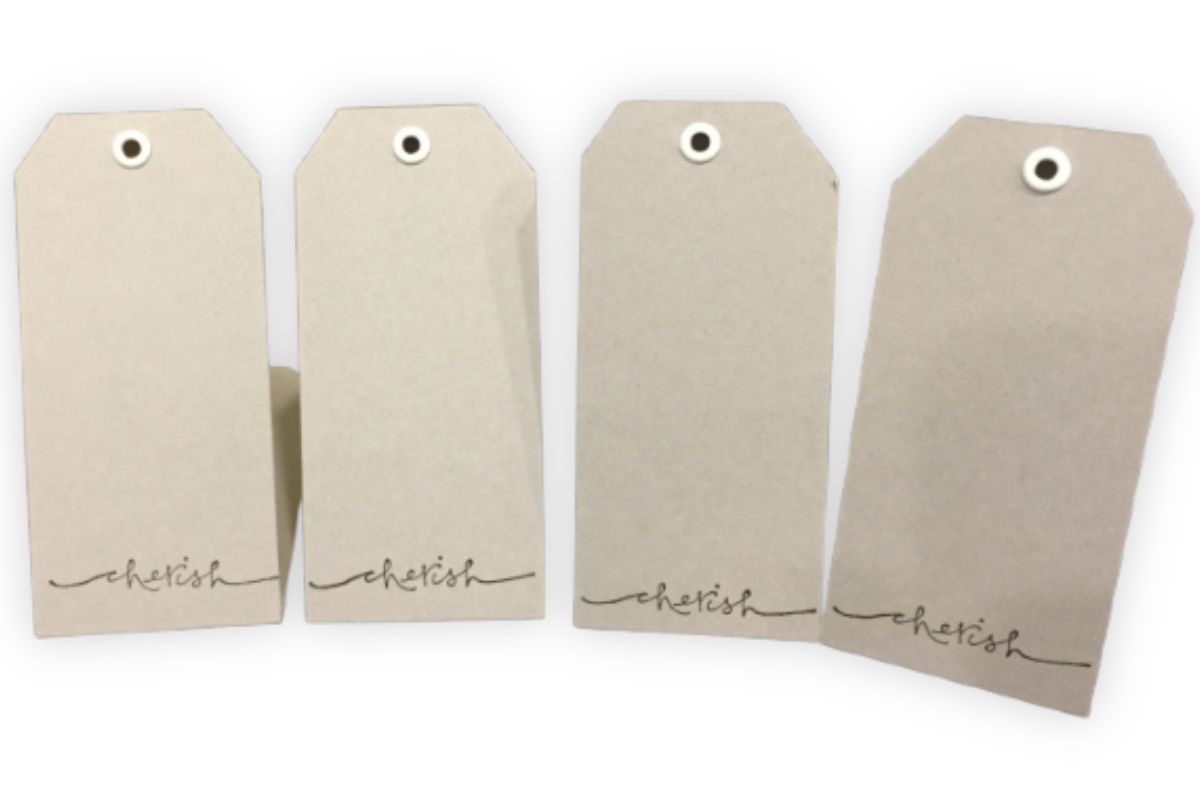
Stamp the sentiment on the bottom front of the card.
This is an optional step, but I love that attention to detail.
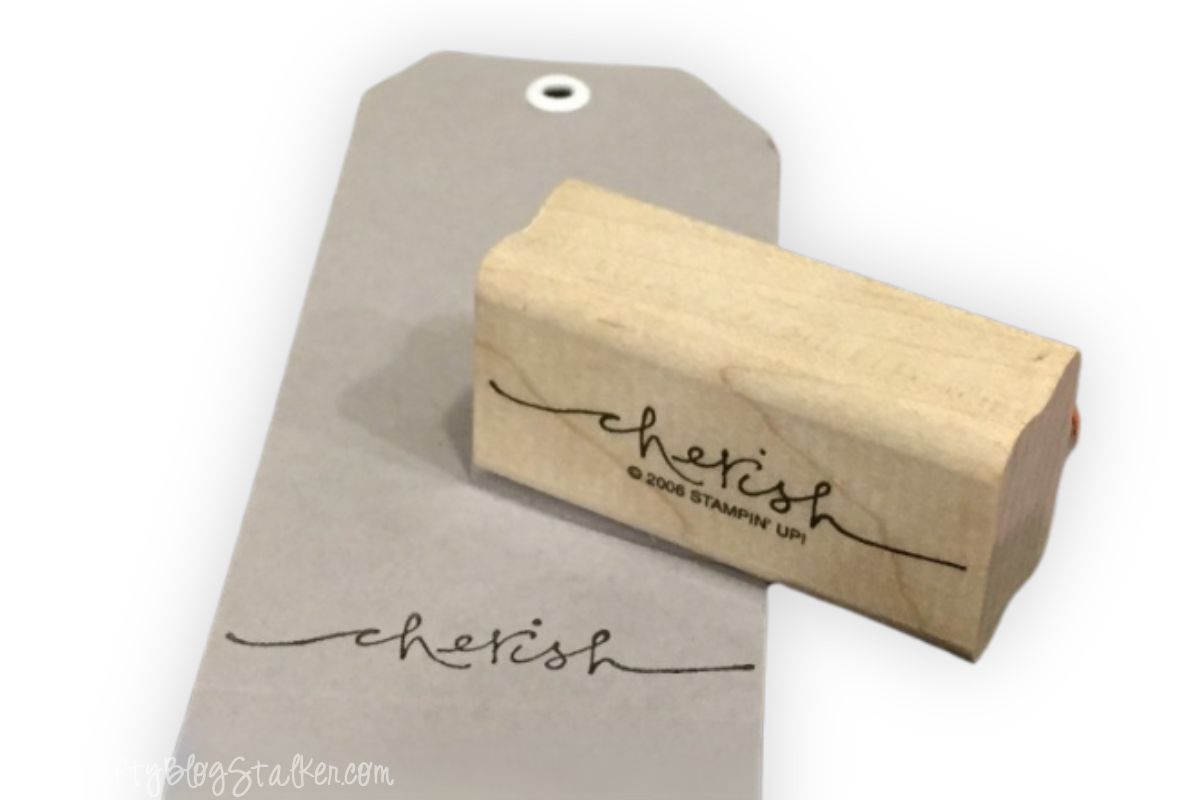
Here are the necklace cards so far.
The next step is to cut slits in the card so there is a place for the chain to hang from.
For the template, use another strip punched by the Tag Topper Punch and trace the angled edges with a pencil, and then carefully cut the slits with a pair of scissors.
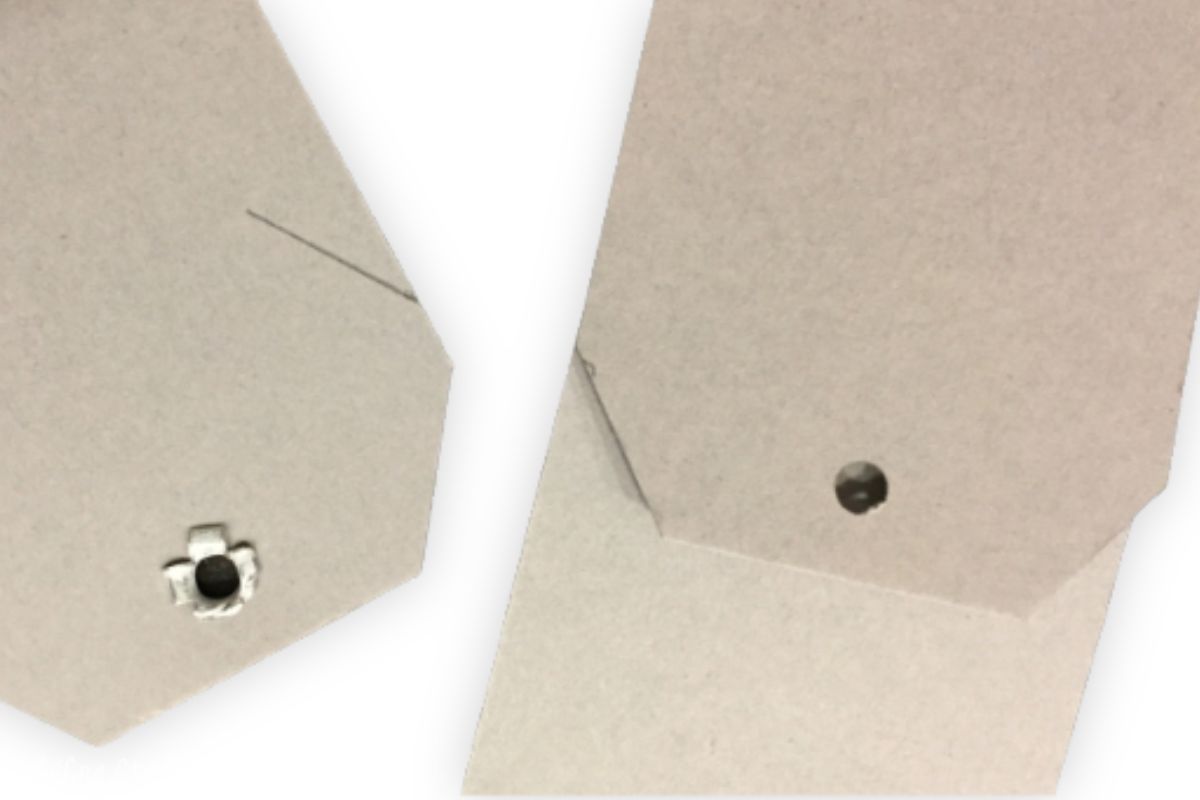
Take the smallest hole on your eyelet setter tool and punch two small circles at the end of each slit. This will hold the chain in place without wrinkling the card.
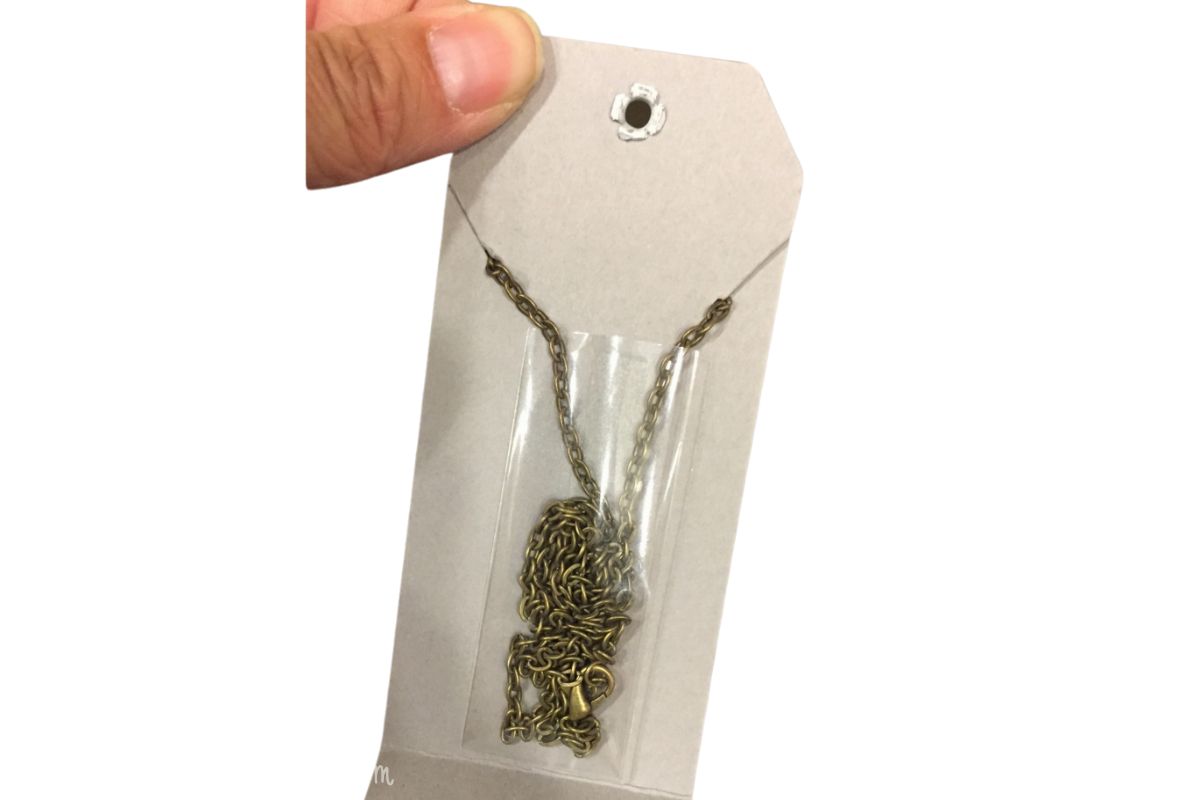
For the inside of the card, I needed something to hold the chain and prevent it from getting tangled.
I had some thin cellophane bags for stacking treats like M&Ms or Skittles and thought these would work perfectly!
I cut the bag to about 2 inches long and glued it to the inside of the necklace card.
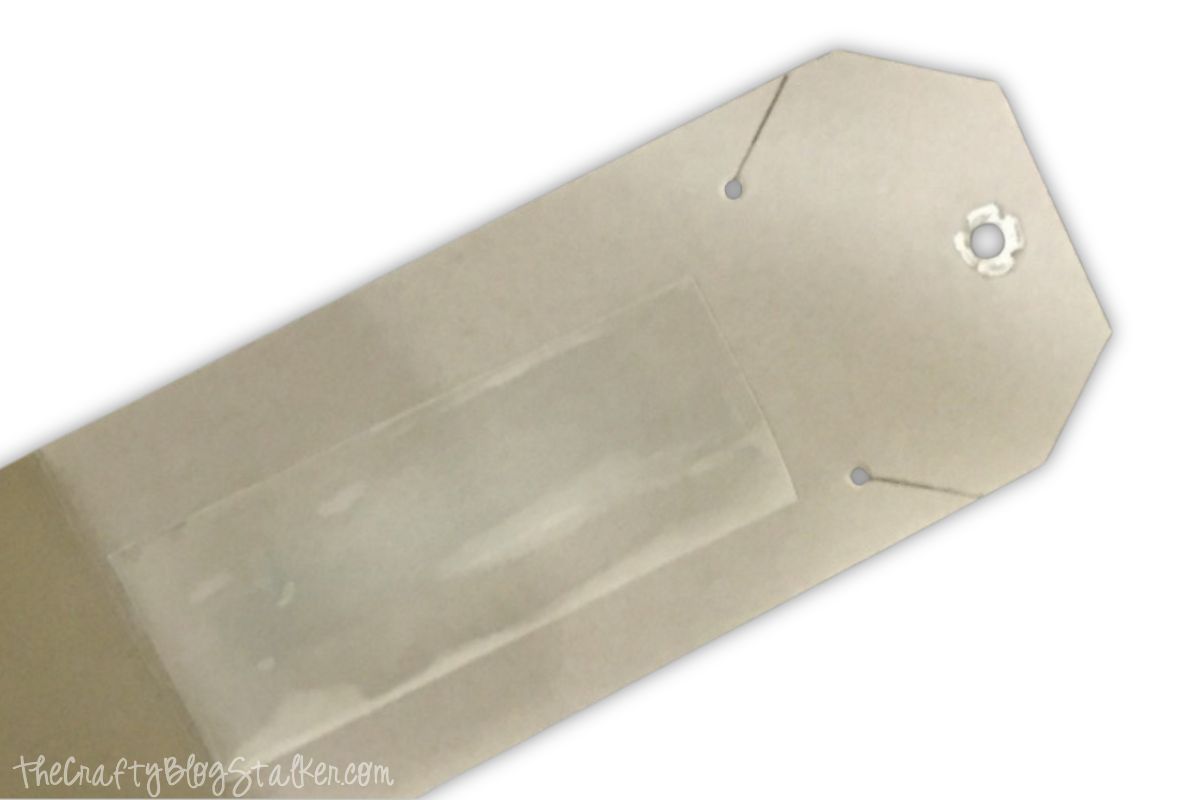
You can see how well it holds the chain.
Tie a piece of white ribbon around the card's front and back. This beautiful gift is now ready to be given.
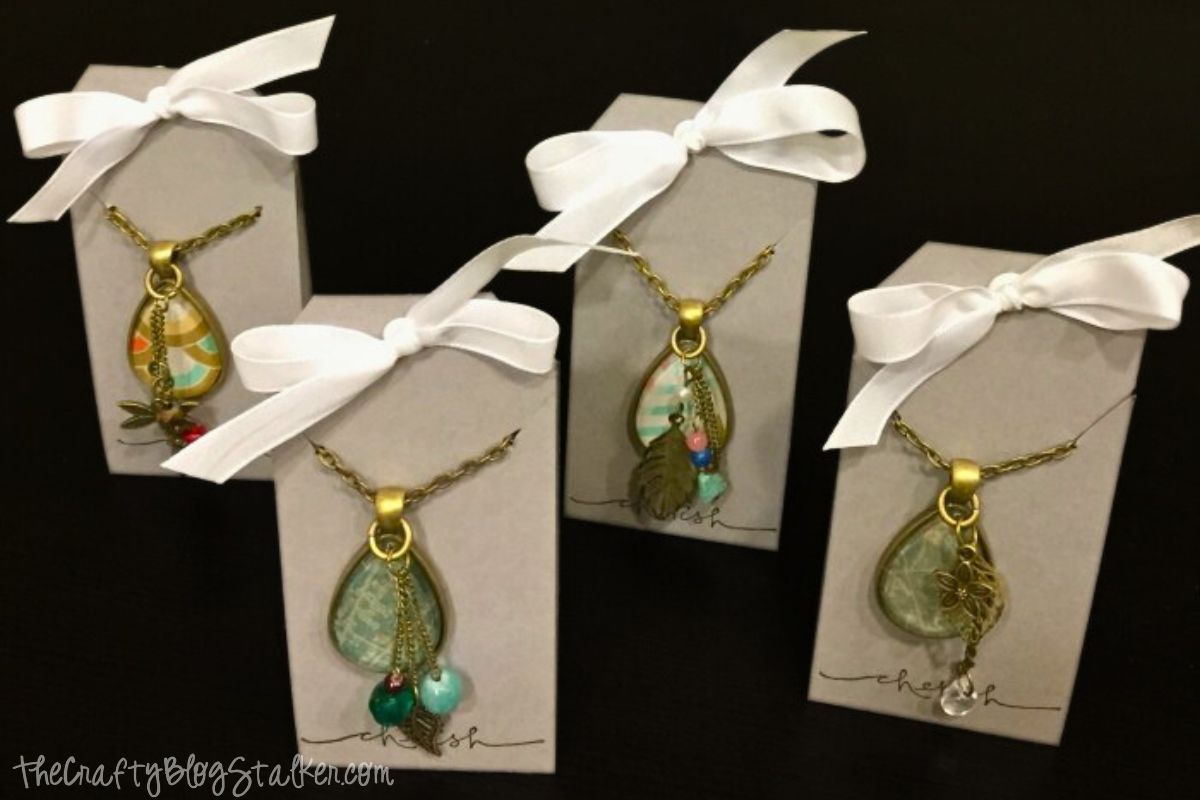
These jewelry cards would work for many types of necklaces, whether DIY jewelry or store-bought.
More DIY Necklace Ideas
Now that we've made necklace display cards, we should make some necklaces!
Here are a few fun ideas.

Rebekah @ Naturally Blessed Mama
These are so cute!
Linda
This is a great tutorial that I'll have to try for necklaces and earrings. Thanks for sharing. Visiting from Create w/Joy.
Create With Joy
What a fabulous project you shared Katie - congrats - you are one of our featured guests at this week's Inspire Me Monday party #178 - look forward to seeing you again! 🙂
Cathy Kennedy
I don't make jewelry, but I like this idea. I shared it on Twitter and with a FB friend who does make jewelry. 😀
Julia Garner
Nice Post!! The necklace is simply glamorous.
Debbie
love this. Simple but gives that extra bit of personalized touch. Thanks for sharing.
Jackie
Ok - now i''m super inspired to make the necklaces and necklace cards. Thank you.
Katie
Jackie - if you do, I would love to see them!
brenda
How is the ribbon attached - I'm not seeing it going around the top. Just wondering what is keeping it in the punched hole area.
Katie
One end of the ribbon goes through the back eyelet hole and then back over the top. Then both ends of the ribbon are threaded through the front eyelet hole and tied in a bow. Does that make sense?
lisa cusick
Love this tutorial! what type of glue did you use?
Katie
Thank you, Lisa! I actually didn't use glue in this tutorial. The two ends of the card are tied together with a ribbon to keep it shut!
Lisa
I love this!!! So simple and versatile. i put this with a crochet necklace I mace for a last minute Christmas gift. Nice work... 🙂 😉
Katie
Thank you Lisa, I am so glad that you were able to put it to good use!
Karen
Thanks for the directions for the necklace card. It will be very helpful. I make necklaces and the chains get all tangled together, when I take them to my shows.
Katie
You are welcome Karen. I am so glad that you like my tutorial!
Valerie Redding
I'm confused about the little bag on the back. You found them with Skittles and M&M's?
Katie
Valerie, I am sorry I confused you. I did not find them with Skittles and M&M's but they are cellophane bags that you can stack Skittles and M&M's in. Here is a link to them on Amazon -> http://amzn.to/1KevXwY
Michelle Marttila - Happy Heart Made
Great idea…thank you! 🙂
Katie
You are so welcome Michelle, I am glad that you liked the tutorial.
Danita Carr
Love this idea! Thanks for sharing! #SmallVictories
Katie
You are so welcome Danita, thanks for stopping by.
Linda
Lovely project. I like how you share the tutorial. Thanks so much for sharing at DI&DI.
Katie
Thank you so much Linda. Thanks for stopping by!
Jennifer Abel
That is a great tutorial. Thanks you for sharing on #overthemoon
Katie
Thanks for stopping by Jennifer!
Marie
This is so cool! What an easy and great idea to give a necklace! Thanks for sharing at Merry Monday this week! Now, I need to go check out those pendants!
Katie
Thank you Marie, I am so glad you like them. They do go very well with the pendant necklaces, don't they.
Victoria @DazzleWhileFrazzled
Great idea! Much better than putting a necklace in a box and helping it looks presentable upon opening it. Thank you for linking up with Funtastic Friday!
Katie
Thank you, Victoria! I agree. I totally believe that the packaging is part of the gift.
Zhi
Can you provide a link where to get the cherish stamp you used? I have been looking for it but couldn't find it at the Stampin Up website, Thanks!
Katie
I'm sorry, Zhi. But the stamp set is no longer available. Stampin' up! products are only available to purchase for 6-12 months and then they retire.
Denise/DIY Crush
Totally cute!! Great idea too! Thank you so much for sharing at my craft party on Thursday! Would love to see your newest posts this week, which starts at 7pm EST.
gigi
Oooh! Thank you for the step by step tutorial! Perfect! Love it!
Katie
You are so welcome Gigi. Thanks for stopping by!
ChIqui
Hello! What is the number that you used?
ChIqui
I mean for eyelet
Katie
Great question Chiqui. Any size eyelet will work, I used the 3/16 size.
Adelle
What glue did you use to glue on the cellophane bags on back
Katie
Great question Adelle! I used some double-sided tape to adhere the bag. It works great!
Kippi
I would have never thought of this. These are really lovely to display necklaces.
Katie
Thank you Kippi. They are fun to make and a great way to gift handmade jewelry!
Yonga
Thanks for the great post and interesting ideas.
Andrea
What is the thickness of the cardstock
Katie
The Cardstock I used is 50lb.