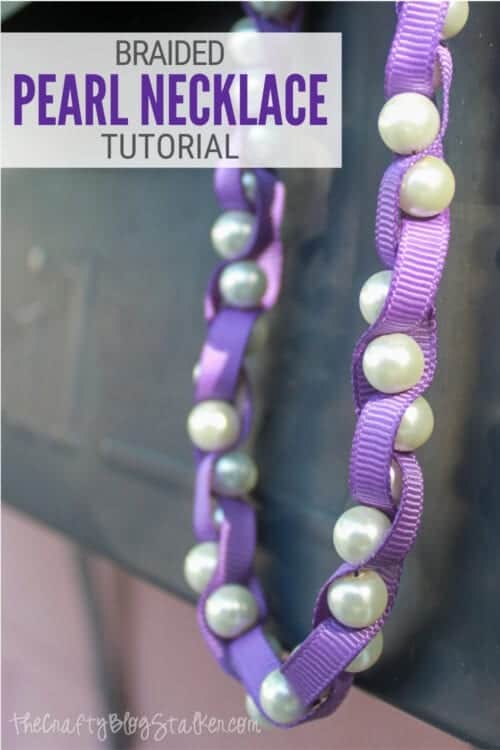
Make a beautiful pearl necklace to wear yourself or give as a gift! Below is the Braided Pearl Necklace with Ribbon Tutorial.
This project came from a picture I found on Pinterest. It was originally linked back to a store, but it was no longer available.
The necklace was so beautiful and I really wanted one so I was determined to figure out how to make it, and here is the step-by-step tutorial so you can make one too!
More Handmade Necklace Tutorials:
Jewelry is fun to make and wear to show off your personal style. We have several DIY jewelry tutorials we want to share with you! Like this Handmade Pendant Necklace, this Mama Bird Nest Necklace, and How To Replace a Broken Necklace Clasp.
Be sure to look around the blog for more handmade necklace tutorials!
Supplies You'll Need to Create this Project:
This post contains affiliate links.
Necklace Tutorial:
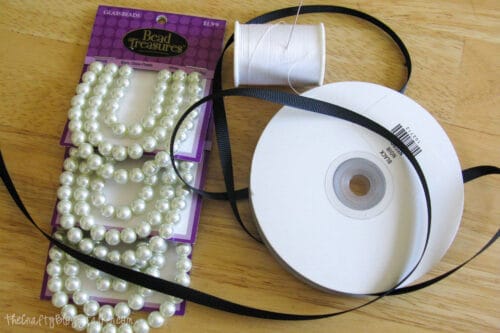
Begin with two strands of Ribbon. Each strand I used measured about 2.5 - 3 feet because I wanted to make sure I had enough.
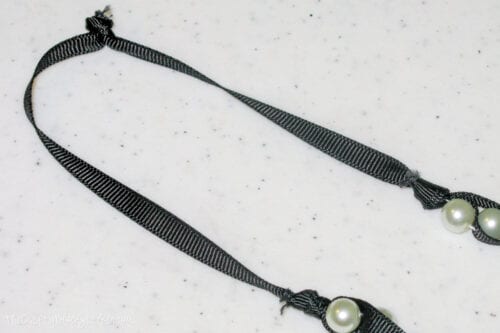
With the two pieces together, tie a knot about 5-6 inches in from one end. Then tie the thread into that knot. The thread is what we are going to string the pearl beads on, not the ribbon.
Thread one bead then pull the needle and thread through ribbon A, put on another bead, and put the needle and thread through ribbon B. Keep alternating making sure not to twist the ribbon.
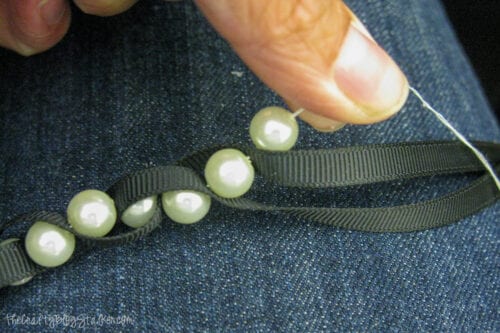
The necklace will awkward in the beginning but it gets easier as you figure out the braiding technique. The key is for each ribbon to pass over 2 beads but you want them to alternate so there is a ribbon between each bead.
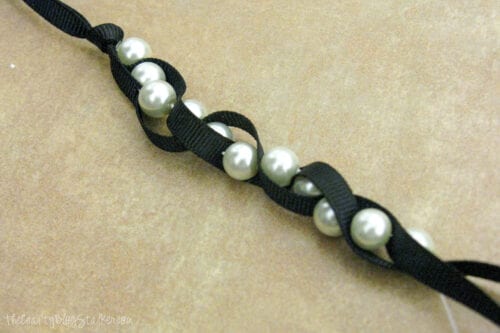
After you thread the last pearl, put the 2 ribbon strands together and tie a knot tight against that last pearl.
Trim Ribbon B close to the knot so you are left with only one long ribbon, Ribbon A. Trim Ribbon B off at the starting end as well so you have 2 single ribbon ends to tie together.
With the two loose ends, decide how long you want your necklace to be and tie another knot and trim the ends.
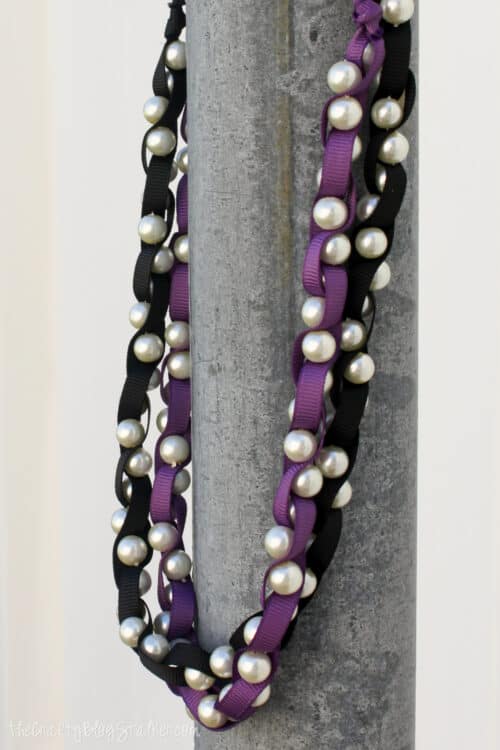
I made one purple and one black pearl necklace and I love them both. I have worn them many times.
If you love this necklace tutorial, please give it a five-star review and help me share it on Facebook and Pinterest!
Our Jewelry Making Essentials List:
- Jewelry Pliers are a necessity and a different tool is needed for different tasks.
- Good quality Jump Rings are a necessity in many different sizes and metals.
- A Non-slip Bead Mat keeps your beads, findings, and tools in front of you without rolling away!
- The more you DIY Jewelry, the more little beads and things you will accumulate. Keep them organized with Plastic Organizer Containers.


The Tootsie Wootsie
That came out sooo nice! Very pretty necklace love it!- Thank you for linking up your T-shirt 🙂
Lara
Oh I love this! They look really nice paired together as well. So easy! I have to add this to the loooong list of little projects I want to do! 🙂 Added you on Pinterest too!
Valerie@Occasionally Crafty
I love it- especially together! I'll be featuring this on my blog tomorrow for Three Things Thursday- hope you'll stop by, check it out, and grab a featured button if you like!
Valerie- http://www.occasionallycrafty.blogspot.com
EvA. . .
very cute! I love it!
Justine
Found this on pinterest, and I love it! great tute!
Anonymous
Hi there! I'm super excited about this necklace, but I think I need more explicit instructions or a picture of another step. My mom and I both tried, but can't seem to thread the pearl through without twisting the ribbon. Any help would be great! Thanks!
Vickie S
So cute and so easy. Would be nice to make up a bunch on some rainy or snowy day, and keep them on hand for a last-minute gift.
Jill @Two Yellow Birds Decor
So pretty!! I love it! I am a new follower! I found you at Show and Share.
Jill
twoyellowbirdsdecor.blogspot.com
Would love if you stopped by and said Hi:)
Rachel
That necklace looks really cute! And really easy to make! Thanks for sharing 🙂
Have a great day!
kevin kirkwood
You made my day! Fantastic!
Amber M
Adorable! That is so easy but so lovely. Thank you for sharing.
Michelles Tasty Creations
This is so cool! I'm pinning this. Thanks for sharing at Creative Thursday each week:)
Rachel
This is so pretty! I have some pearls and tons of ribbon. I HAVE to try this. How long did it take you to make?
Rachel
adventuresofadiymom.blogspot.com
Katie Adams
Once I figured it out and I knew what I was doing one necklace took about an hour.
I am so glad you like it, it was really fun to make!
Real Shooppee
Extremely eye-catching hues of the ribbon Pearl Necklace. Simply beautiful.
Pam Jackson
Love it and I will have to make one...thanks for sharing.
Mary guidry
Thanks for sharing. Have a great day.
Edye
What a pretty necklace! Love the purple one 🙂
Blessings,
Edye
Katie
Thanks Edye! They are a lot of fun to make!
Laurie
Such a pretty idea! Thanks so much for sharing your projects with us this week at Brag About It! Pinned to share.
~Laurie
Katie
Thanks Laurie, I am so glad that you like this necklace. Thanks for sharing!
Katie Facey
Did you do anything to finish off the ends of Ribbon B that you trimmed off? I am worried that over time it would fray? I have a no-fray glue type product that would prevent that but it is hard when it dries and I think that rubbing against my neck/chest would irritating? Thanks.
Katie Adams
I did not do anything with the ribbon ends, but you could burn the end if you would like.
Margie
Is there a video showing which direction to sew through each ribbon? I'm sure it will be obvious once I figure it out, but I'm not there yet. Thanks.
Katie Adams
I am sorry, but this tutorial does not have a video to go along with it.