

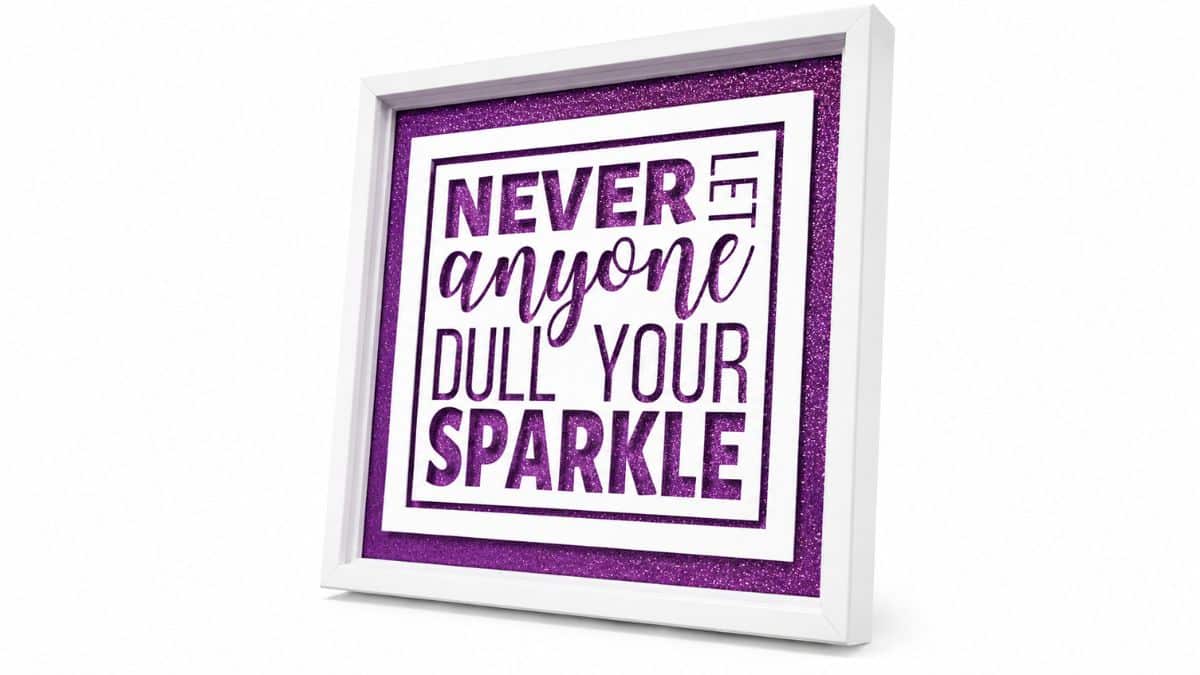
Create beautiful Cricut decor with this DIY glitter saying project. A simple way to add sparkle and personality to your home.
Sometimes the smallest decor pieces end up making the biggest impact.
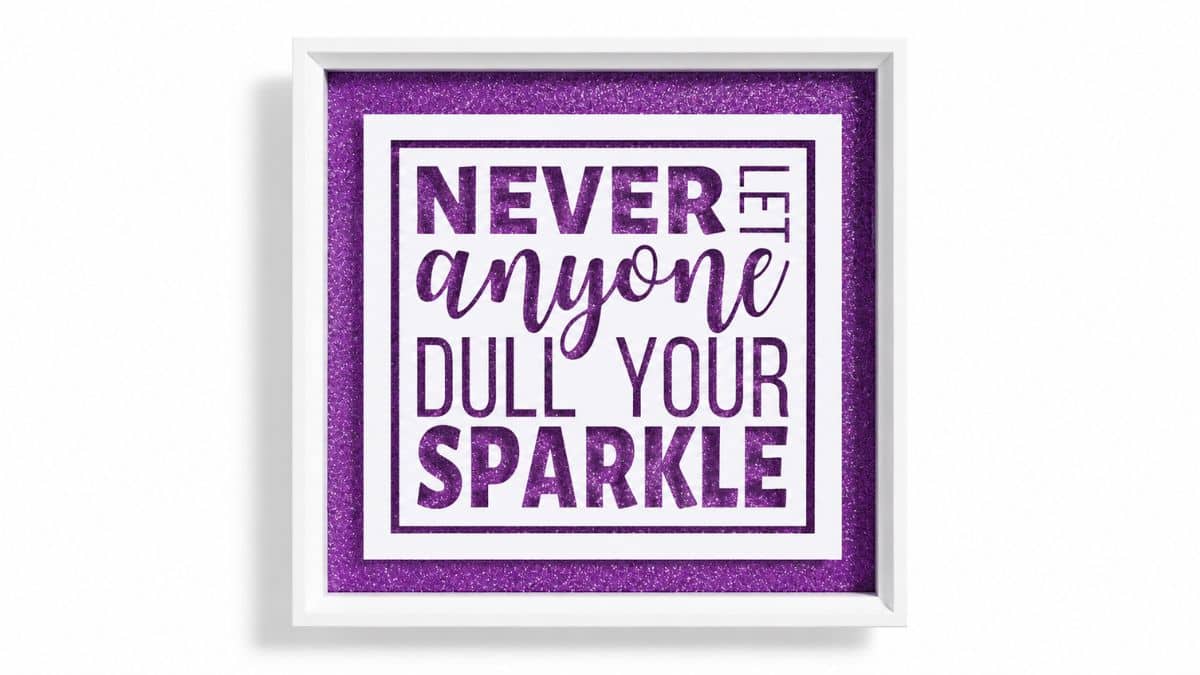
This glitter quote sign combines a meaningful saying with a little sparkle to create a custom piece that feels personal and fun.
It works beautifully in a bedroom, bathroom, craft room, office, or anywhere that could use a little encouragement.
If you enjoy easy Cricut projects with professional-looking results, this is a great project to add to your list.
Jump to:
Skill Level: Beginner
Total Time: 30 minutes
Craft Tutorial Video
If videos are your thing, you're in luck-I've got a full tutorial ready for you!
Subscribe to my YouTube channel and stay inspired with every new project.
Supply List
- Cricut Cutting Machine
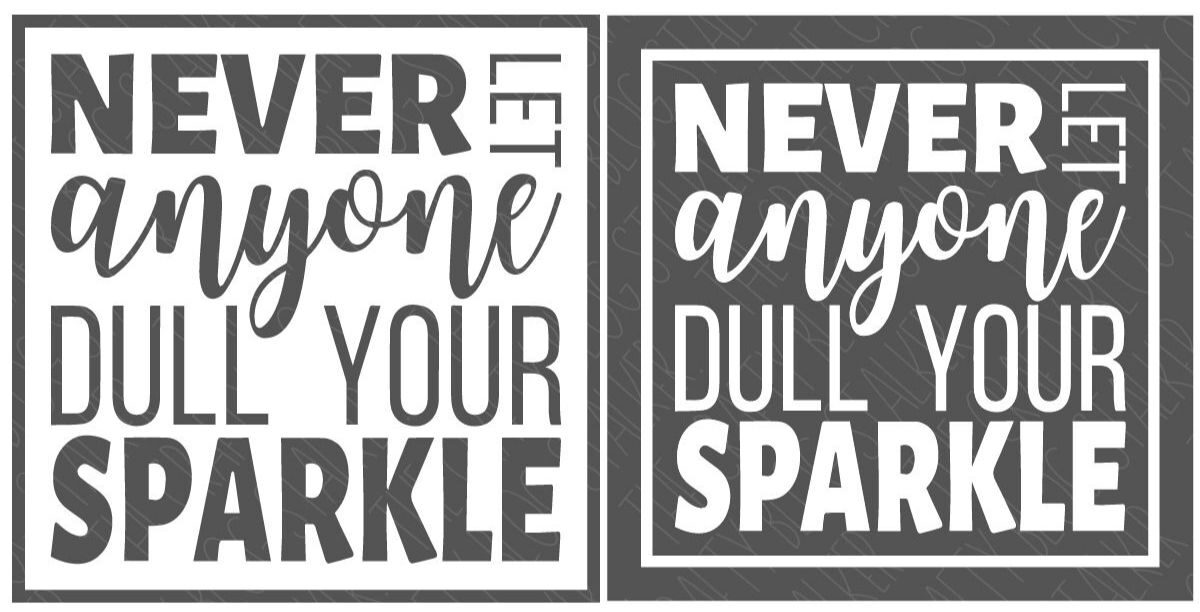
- Sparkle SVG
- White Vinyl
- Transfer Tape
- StandardGrip Mat
- Weeding Tool
- Scraper Tool
- 12 x 12 inch Shadow Frame
- Glitter Paper
Grab the SVG
Download the Sparkle SVG file to get started with this project.
Prepare the Design in Cricut Design Space
Begin by uploading the SVG file into Cricut Design Space and adding it to your canvas.
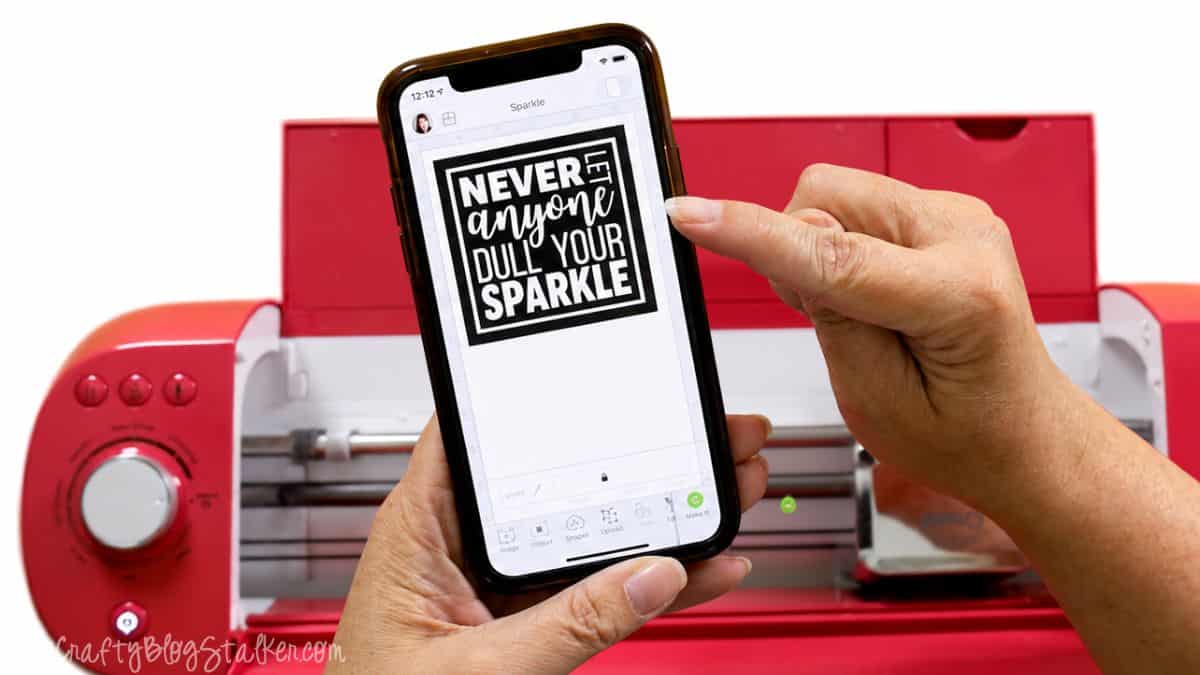
The shadow frame used for this project measures 12 x 12 inches. To fit properly inside the frame, resize the design to approximately 10 inches wide. If you are using a different frame size, simply adjust the design dimensions to fit your project.
Before cutting, double-check the size and placement of the design on your canvas. This is also a great time to experiment with different fonts or sizing if you want to create your own version of the project.
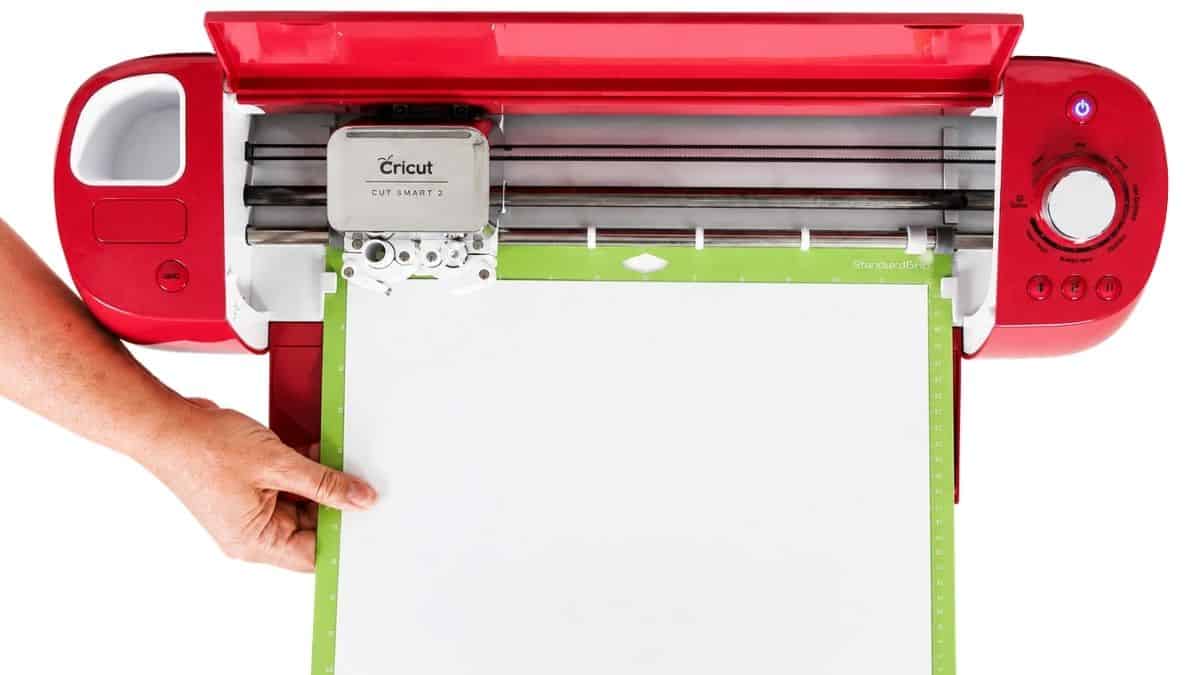
Once everything looks correct, click Make and follow the prompts in Cricut Design Space to cut the design.
A Cricut Maker, Explore, or Joy Xtra can all complete this project as long as the design fits within the machine's cutting area.
Weed the Vinyl Design
After the Cricut machine finishes cutting, carefully remove the vinyl from the mat.
Use a weeding tool to remove all of the excess vinyl surrounding the design. Take your time around smaller letters and detailed areas to avoid accidentally pulling up part of the quote.
Once the excess vinyl is removed, the design is ready to transfer.
Apply the Vinyl Saying to the Frame
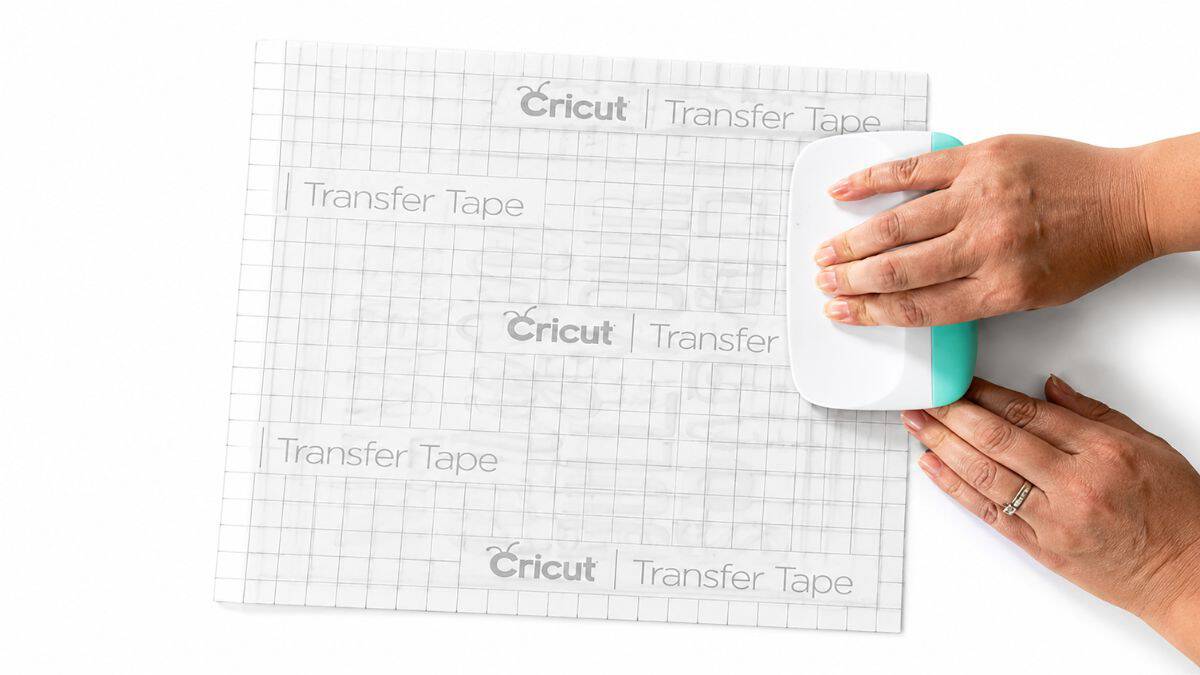
Cut a piece of transfer tape slightly larger than the vinyl design. Place the transfer tape over the vinyl, then use a scraper to firmly burnish the surface.
Slowly peel the paper backing away from the vinyl. As you pull it back, check that the vinyl is lifting with the transfer tape.
If any part of the design stays behind, press it again with the scraper and try peeling more slowly.
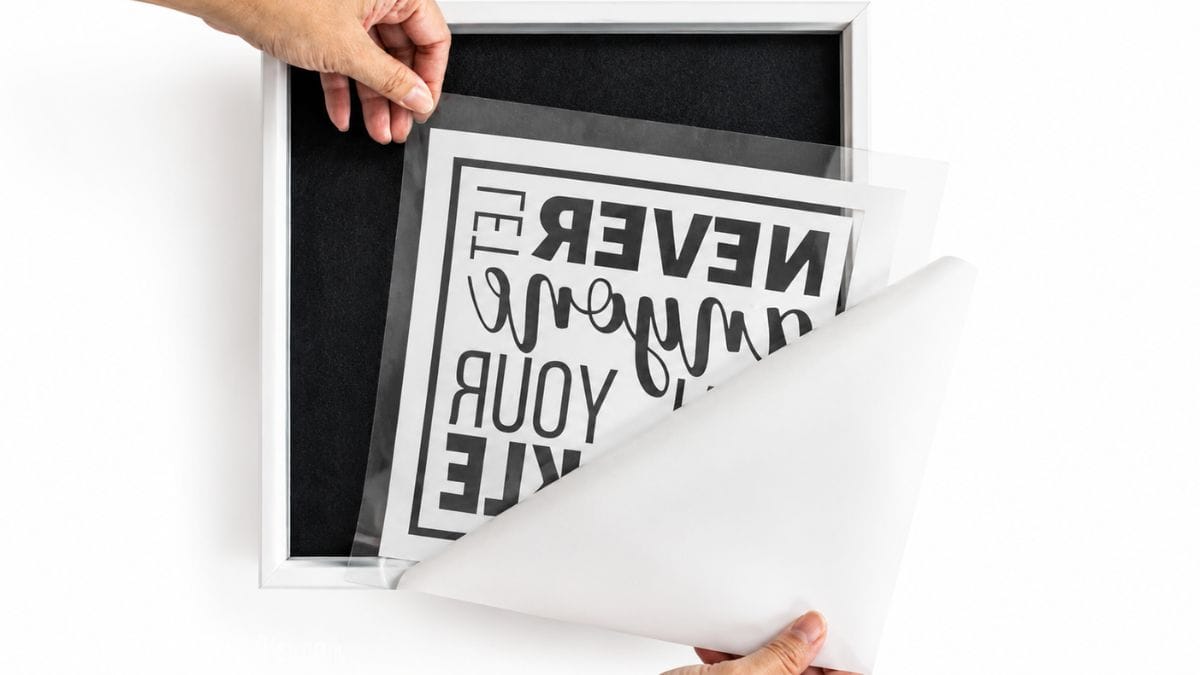
Before placing the design onto the glass, clean the glass surface and remove any fingerprints or dust. This helps the vinyl adhere properly and prevents debris from becoming trapped underneath the design.
Carefully center the quote on the glass and press it into place. Use the scraper tool again to smooth the vinyl onto the surface.
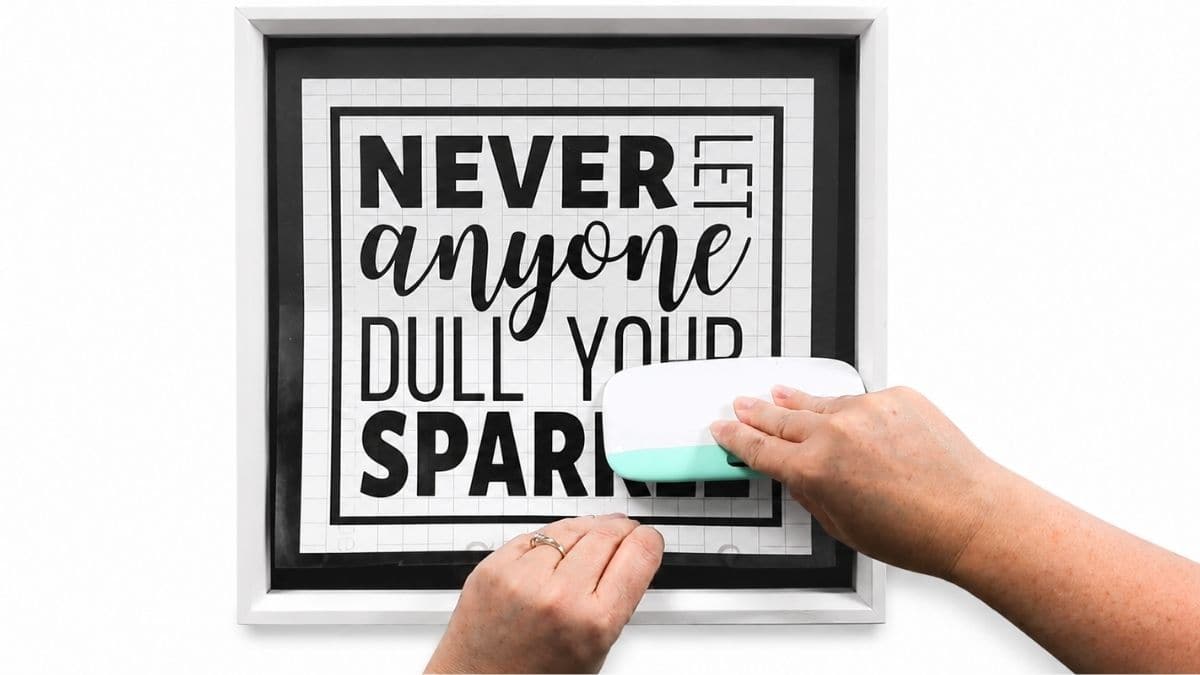
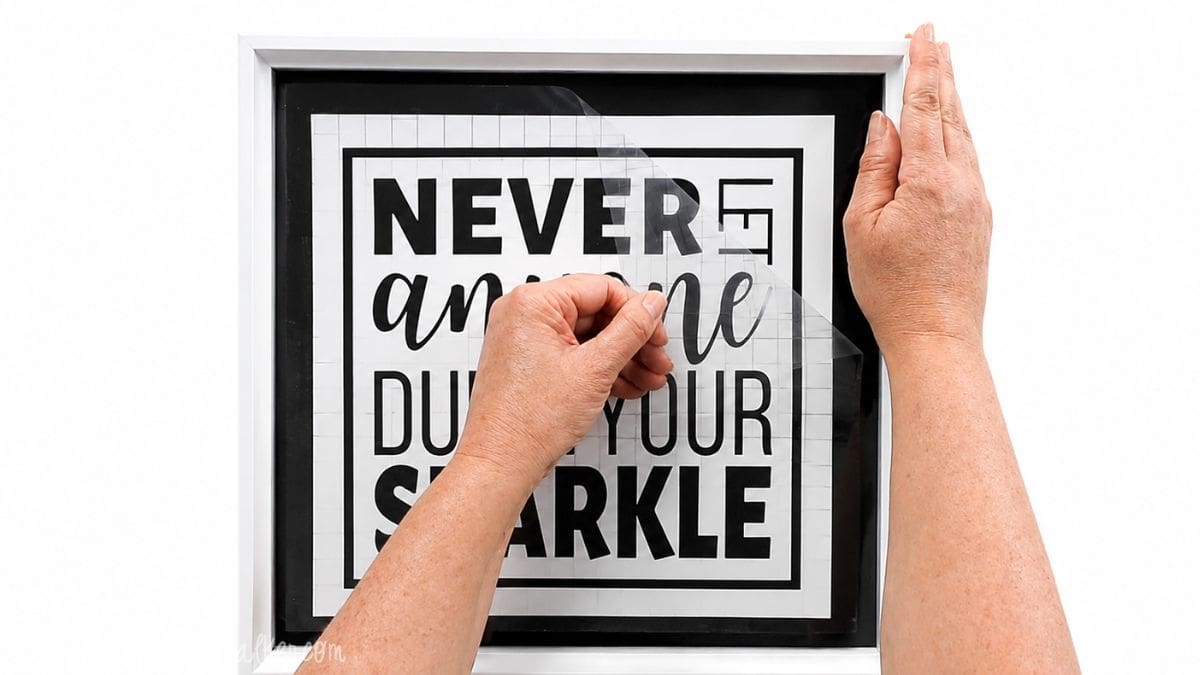
Slowly remove the transfer tape while making sure the vinyl remains attached to the glass. If any section begins lifting with the transfer tape, press it back down and continue removing the tape slowly.
If you notice any air bubbles, use the scraper tool to gently push them toward the nearest edge of the design.
Finish the Shadow Box
Once the vinyl quote is applied, remove the back of the shadow frame.
Place a sheet of glitter paper behind the glass and secure it inside the frame. The glitter creates a beautiful background that makes the quote stand out while adding extra sparkle.
Replace the back panel and secure it according to the frame manufacturer's instructions.
That's it! In less than an hour, you have a custom Cricut decor piece that looks beautiful when displayed on a shelf, hung on a wall, or placed on a desk.
Display Ideas
This sign works well in almost any room of the house. Display it in a bathroom for a little daily inspiration, place it in a craft room to encourage creativity, or use it as part of a gallery wall.
You can also customize the quote, vinyl color, glitter background, or frame style to match your existing home decor.
Why You'll Love This Project
One of my favorite things about Cricut decor projects is how easy they are to personalize. A simple quote can completely change the feeling of a room and make your home decor feel more meaningful.
This project is also a great introduction for beginners learning to work with vinyl. It uses basic Cricut Design Space skills, simple application techniques, and very few supplies.
The finished sign also makes thoughtful handmade gifts for birthdays, housewarmings, graduations, teachers, or friends who need a little encouragement.
More Cricut Decor Ideas
Looking for another easy Cricut project? Here are a few more creative decor ideas to make with your Cricut machine.


Hi, I'm Katie!
I'm so glad you're here. Want to make something fabulous? I'm here to help!