

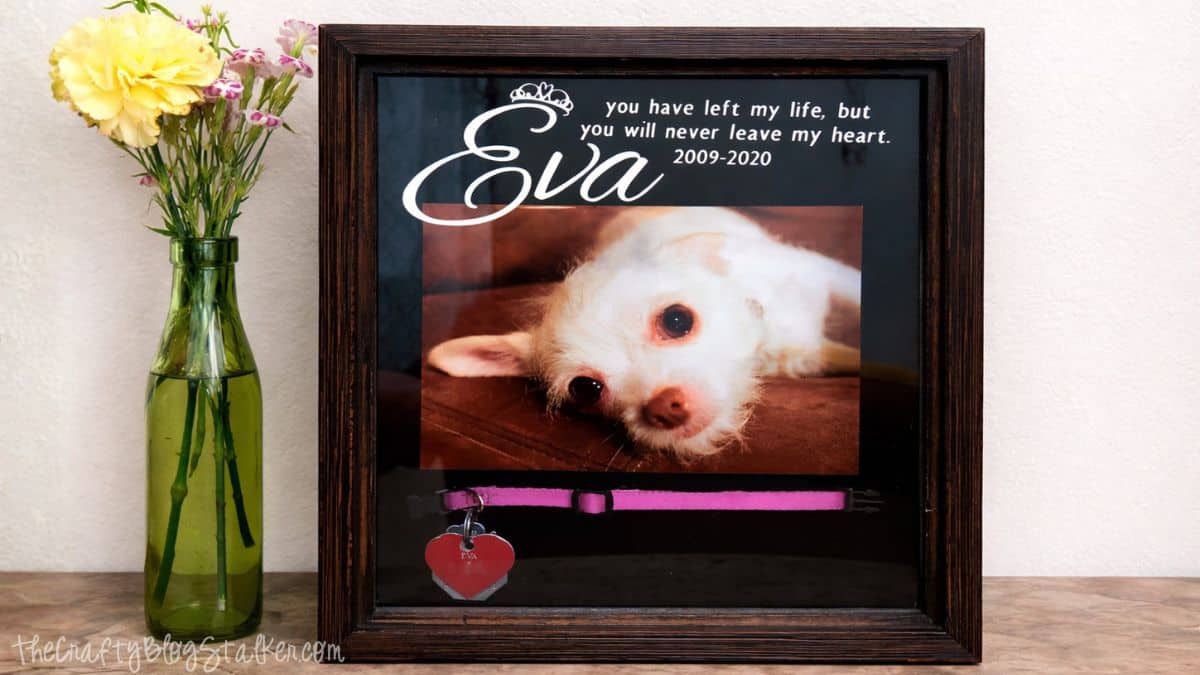
This pet memorial shadow box tutorial shows how to create a heartfelt tribute with photos and keepsakes for a pet who will always be part of your family.
Creating this shadow box was one of the hardest projects I've ever made, but it has also become one of the most meaningful.
Losing a pet leaves a quiet space behind, and this gave me a gentle way to pause, remember, and keep those memories close.
This project is for anyone who has loved a pet deeply and wants a simple, thoughtful way to honor them. You don't need advanced crafting skills or a lot of supplies, just a few meaningful items and a little time.
Making this pet memorial shadow box helped me process the loss of our sweet Eva. Now I have a place where her memory lives, and that brings me a lot of comfort.
Jump to:
Skill Level: Beginner
Total Time: 30 minutes
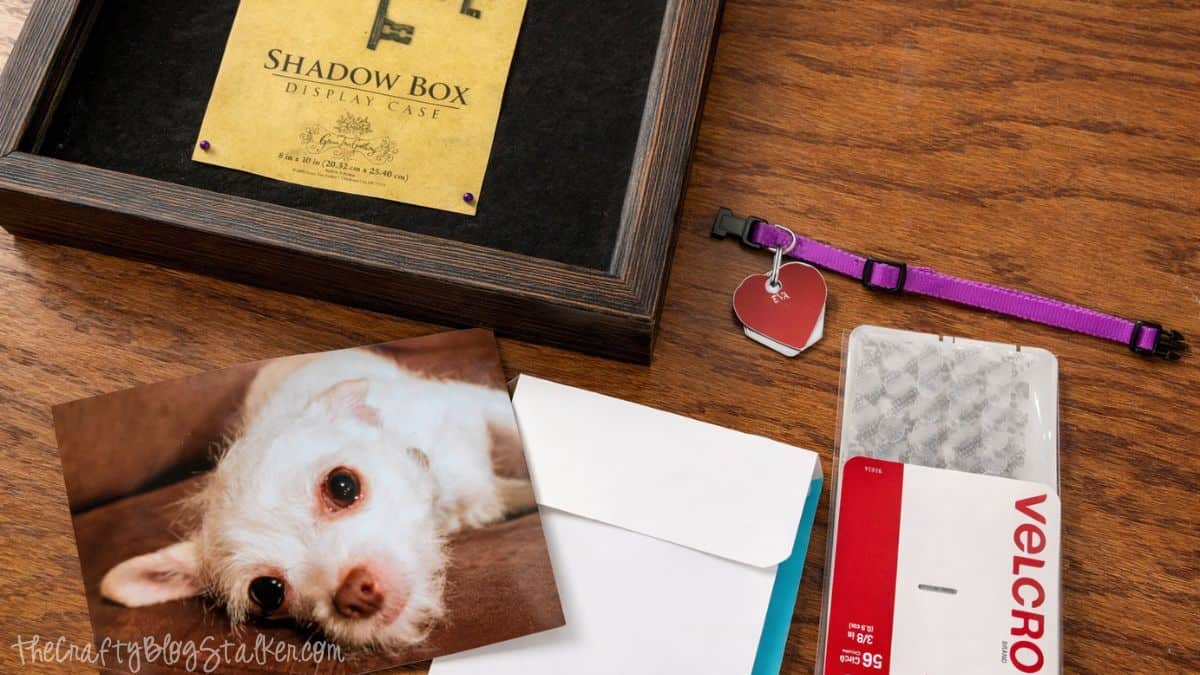
Supply List
Some links may lead to similar items when the exact item is unavailable.
- 10" x 10" Shadow Box Frame
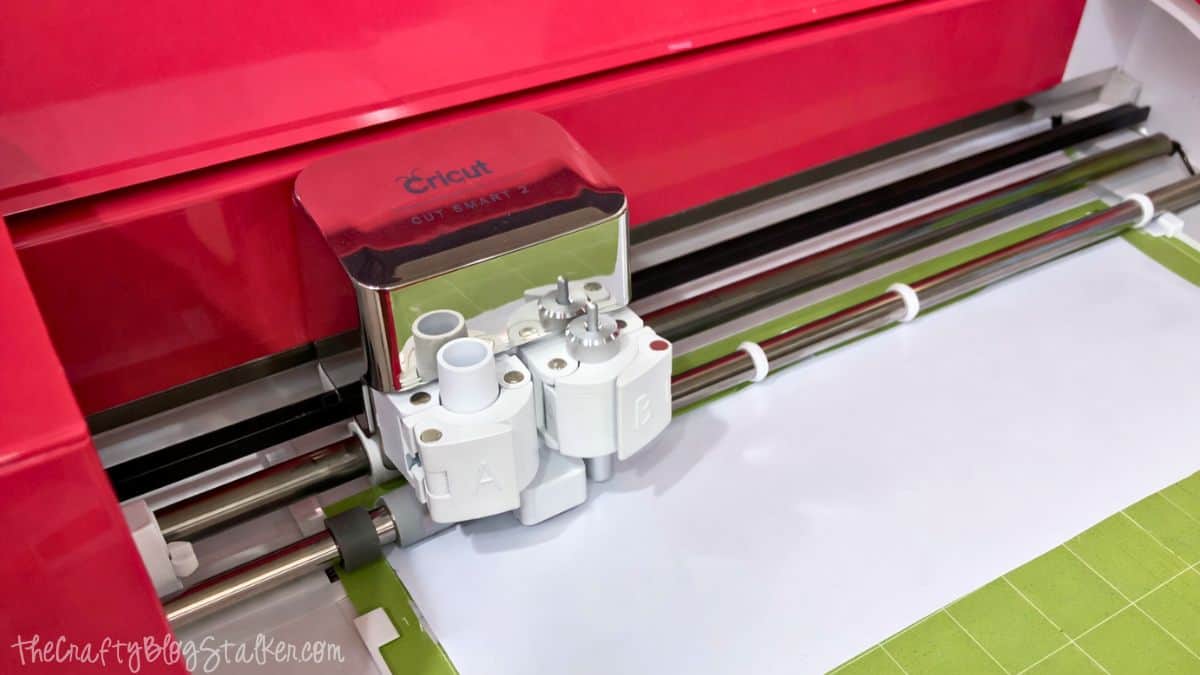
- Cricut Cutting Machine
- White Vinyl
- Transfer Tape
- 5" x 7" Printed Photograph
- Velcro Dots
- Sewing Pins
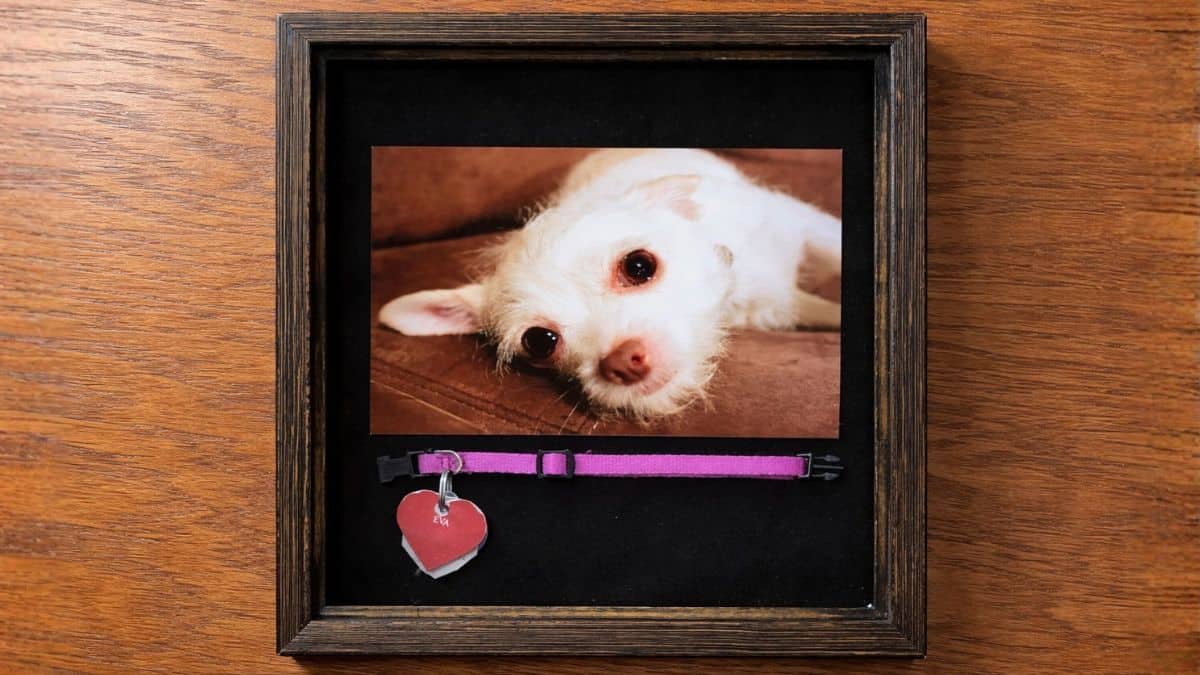
Plan the Layout
Start by removing the back of the shadow box frame.
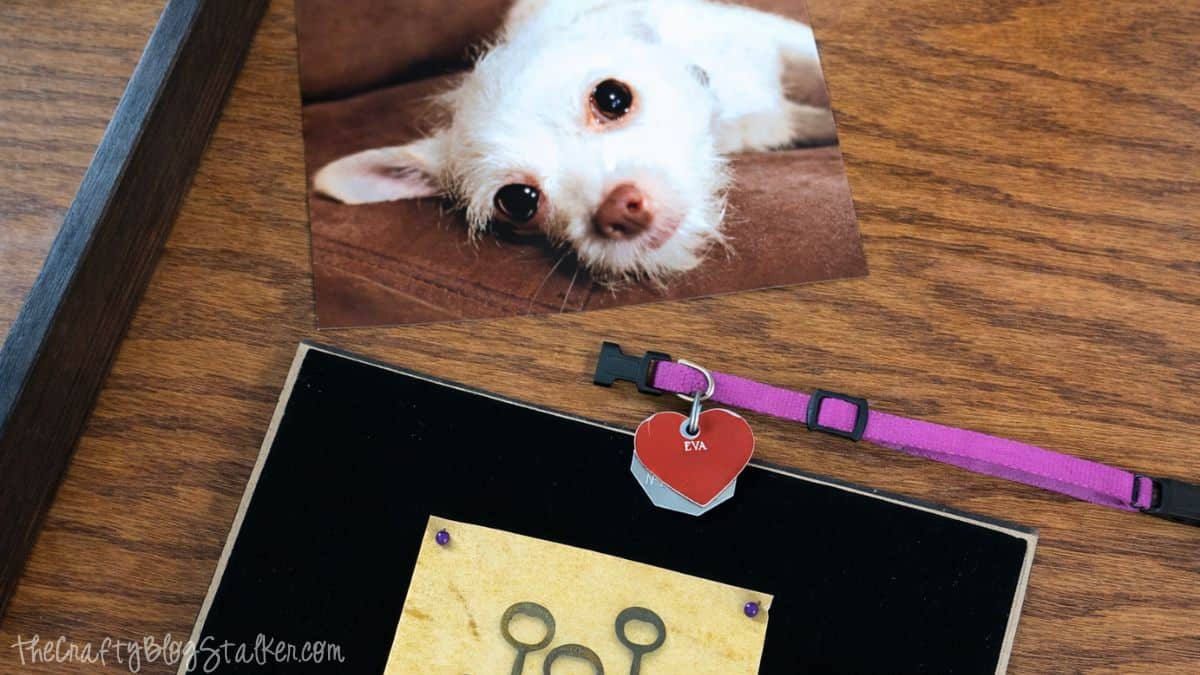
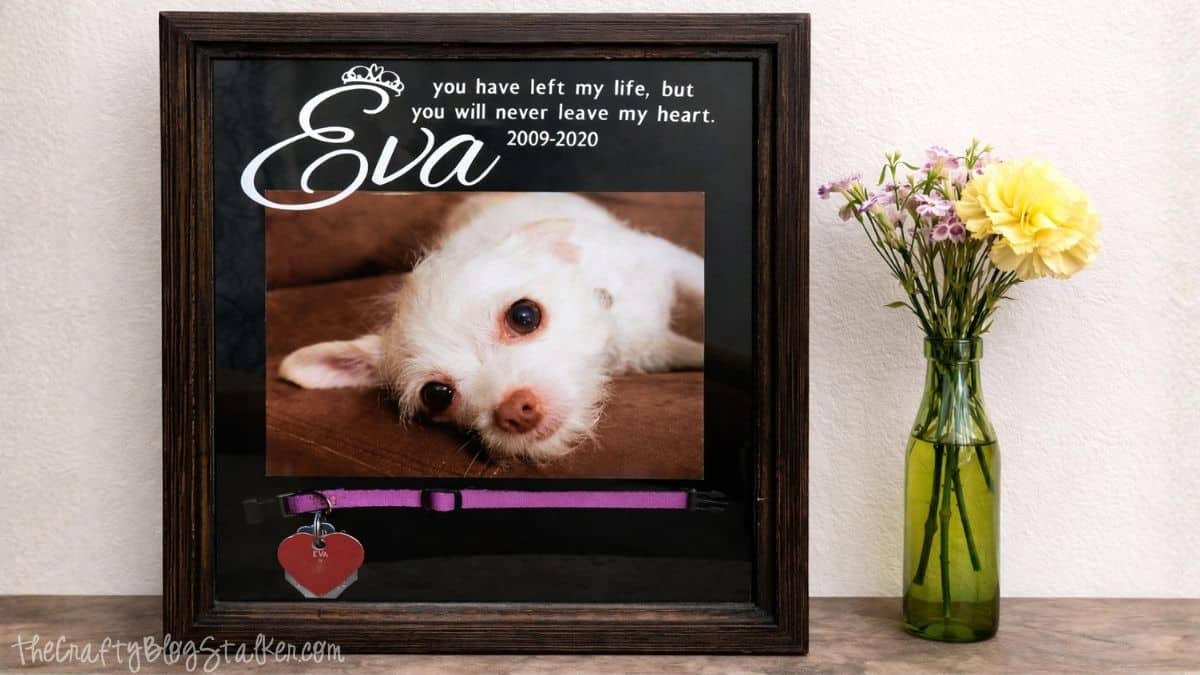
My frame already had a black velvet backing, which worked perfectly. If your frame doesn't include a fabric backer, you can easily add one using felt or fabric cut to size.
Before attaching anything, lay out all your items and experiment with placement. Take your time here.
For my frame, I placed the collar stretched across the bottom, the photo above it, and left space at the top for the vinyl decal.
Once you find a layout that feels right, you're ready to secure everything.
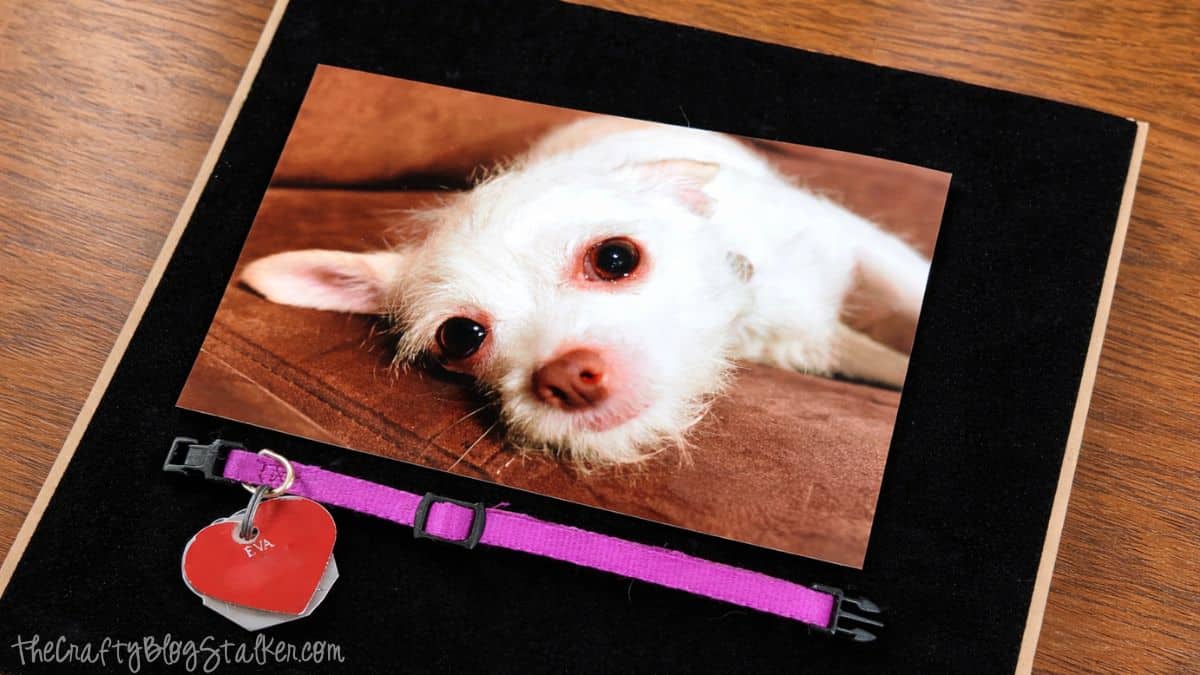
Attach the Photo and Keepsake
To attach the photo, use Velcro dots on the back of the picture.
Each side of the Velcro has adhesive, so it holds the photo securely while still allowing you to remove or adjust it later if needed.
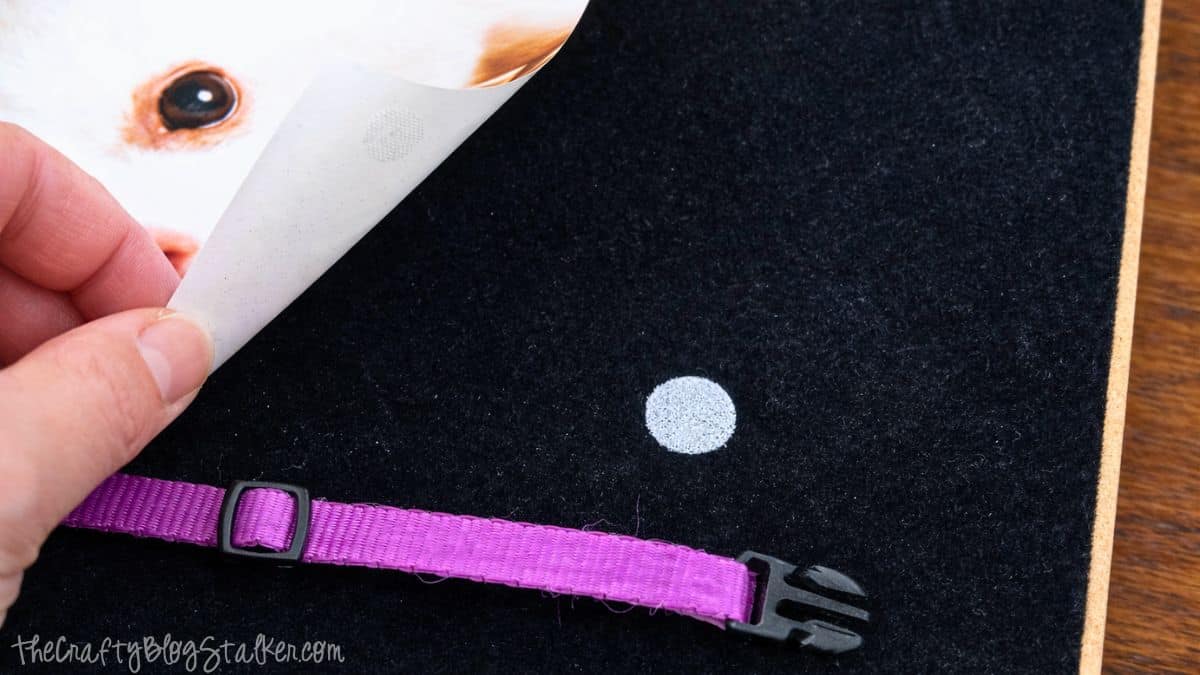
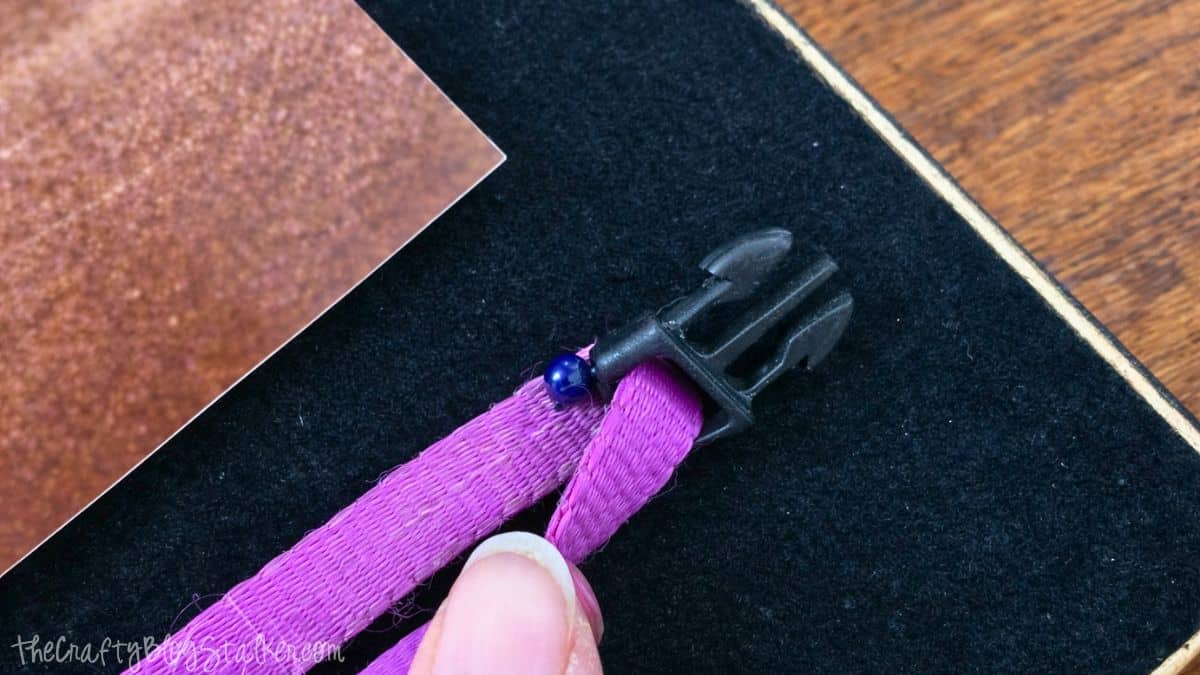
To secure the collar, use sewing pins pushed into the velvet backing at a slight angle.
I used three pins to hold the collar in place. If your pet's collar is heavier or thicker, you may want to add a few extra pins for support.
Make sure everything feels secure before moving on.
Reassemble the Frame
Place the backing back into the shadow box frame and secure it using the tabs or fasteners that came with your frame.
Before adding the vinyl decal, clean both sides of the glass using glass cleaner and a lint-free cloth.
This helps the vinyl adhere smoothly and keeps fingerprints from being trapped inside the frame.
Set the frame aside while you prepare the vinyl design.
Create the Cricut Vinyl Decal
I created my vinyl design in Cricut Design Space, but you can use any design software that works with your cutting machine.
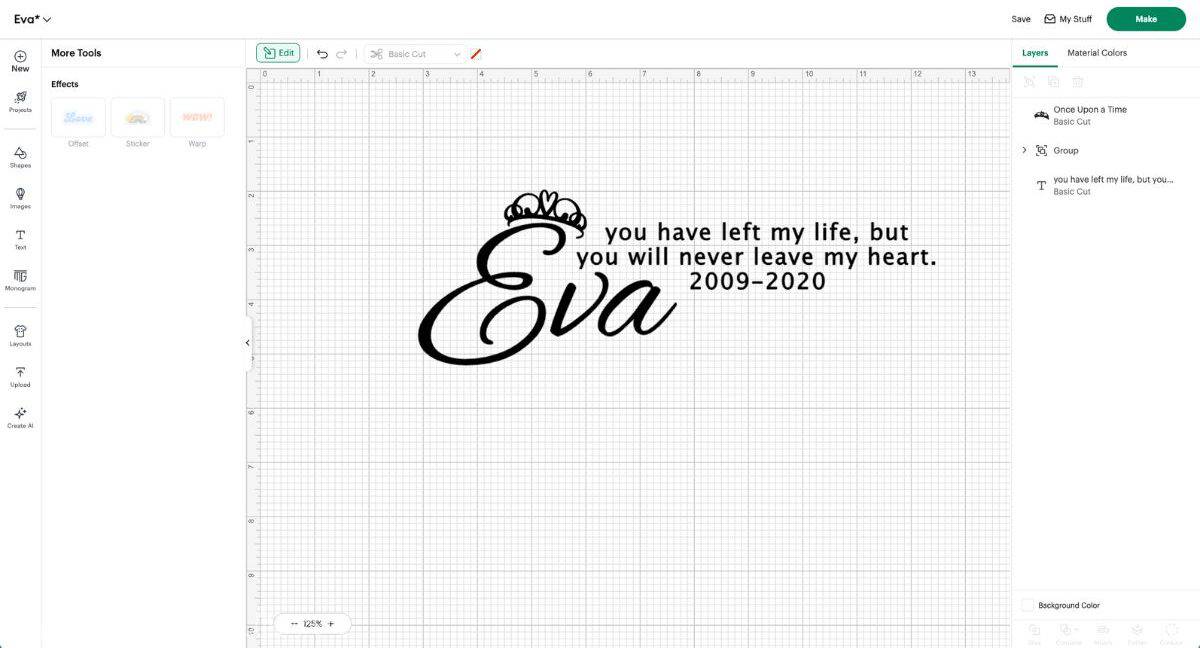
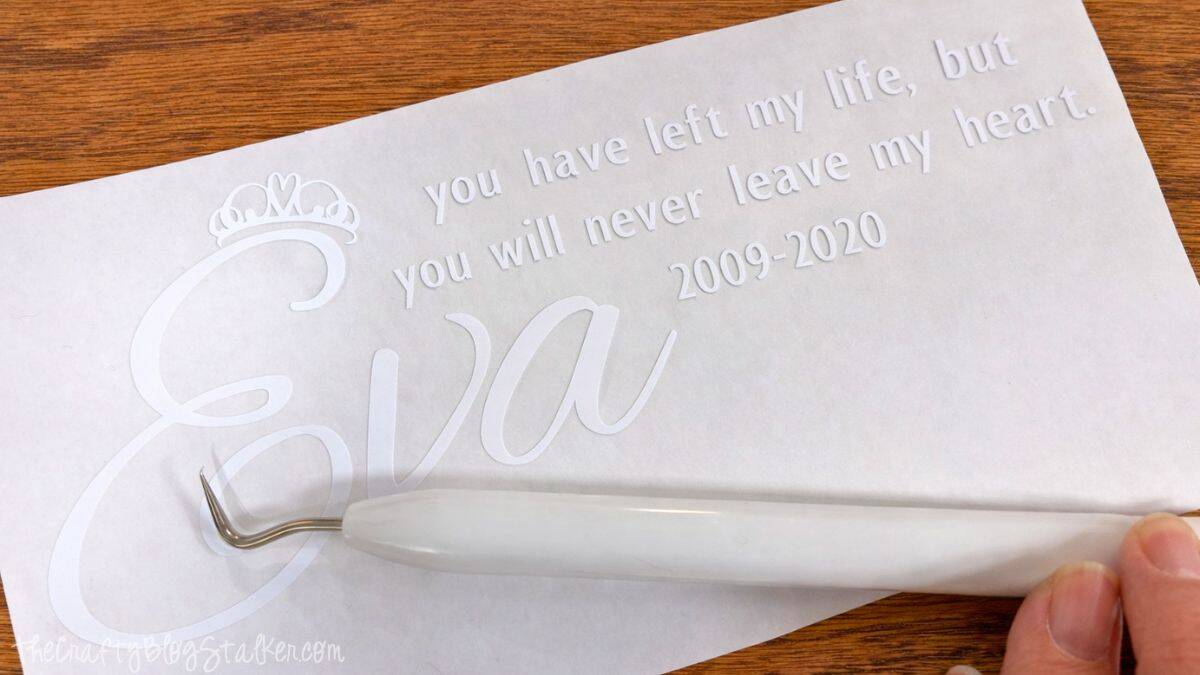
The fonts I used are Alex Brush and Lucida Grande. These are not Cricut fonts, so you'll need to download them separately if you want the same look.
The small crown graphic can be found in Cricut Images.
Cut the design from white vinyl, then carefully weed the excess vinyl, including the centers of the letters and the small details in the crown.
Apply transfer tape over the vinyl design and smooth it down so it lifts cleanly from the backing sheet.
Apply the Decal
Center the vinyl design near the top of the glass and gently press it into place.
Slowly peel back the transfer tape, making sure the vinyl letters stick to the glass. If a letter lifts, press it back down and continue peeling carefully.
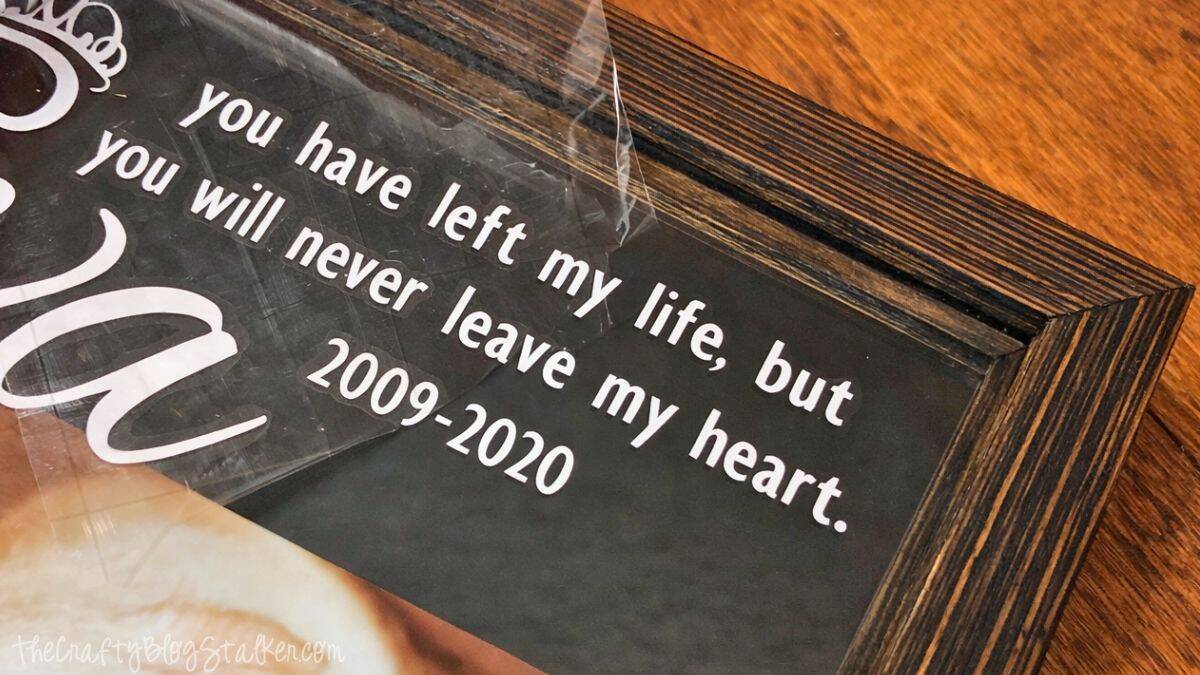
Once the transfer tape is removed, give the decal a final press to ensure it adheres well.
This shadow box already means so much to me. It's a small piece of decor, but it holds a lot of love and memories.
Having it displayed in our home has helped ease some of the pain of losing Eva, and I'm grateful to have a place dedicated to remembering her.
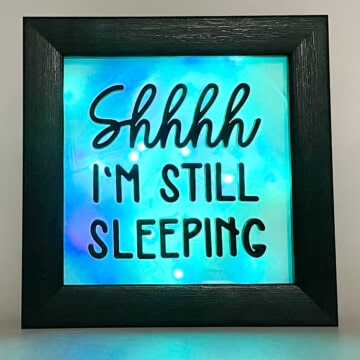
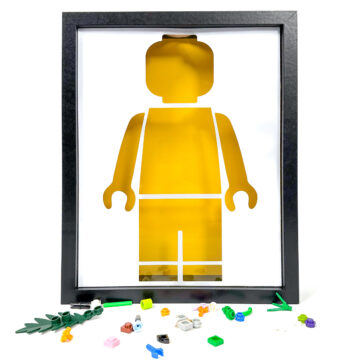
More Shadow Box Frame Ideas
I love creating meaningful home decor with shadowbox frames. If you're looking for more ideas, here are a few other projects you might enjoy.


Hi, I'm Katie!
I'm so glad you're here. Want to make something fabulous? I'm here to help!
Louie
Thank you for sharing! I just lost my little rat dog and want to make this memorial box to remember him.
Katie Adams
I am so sorry for your loss. ❤️
Sandra
Thank you for instructions for my dogs memorial. We are in shock as we were walking our little Sadie and a big 50 pound dog running down the street jumped a snowbank and attacked and killed her. She was still on her leash on the sidewalk. We are traumatized . I hope making this memory box will honor her amazing life. I plan to add a small bottle with her ashes. Thank you.
Katie Adams
Sandra, my heart is broken for you. I truly am sorry. ❤️