



This post is sponsored by HTVRONT. All opinions expressed are my own.
Create beautiful custom wood signs with heat transfer vinyl and the HTVRONT Auto Press 2 for a durable, professional-looking finish.
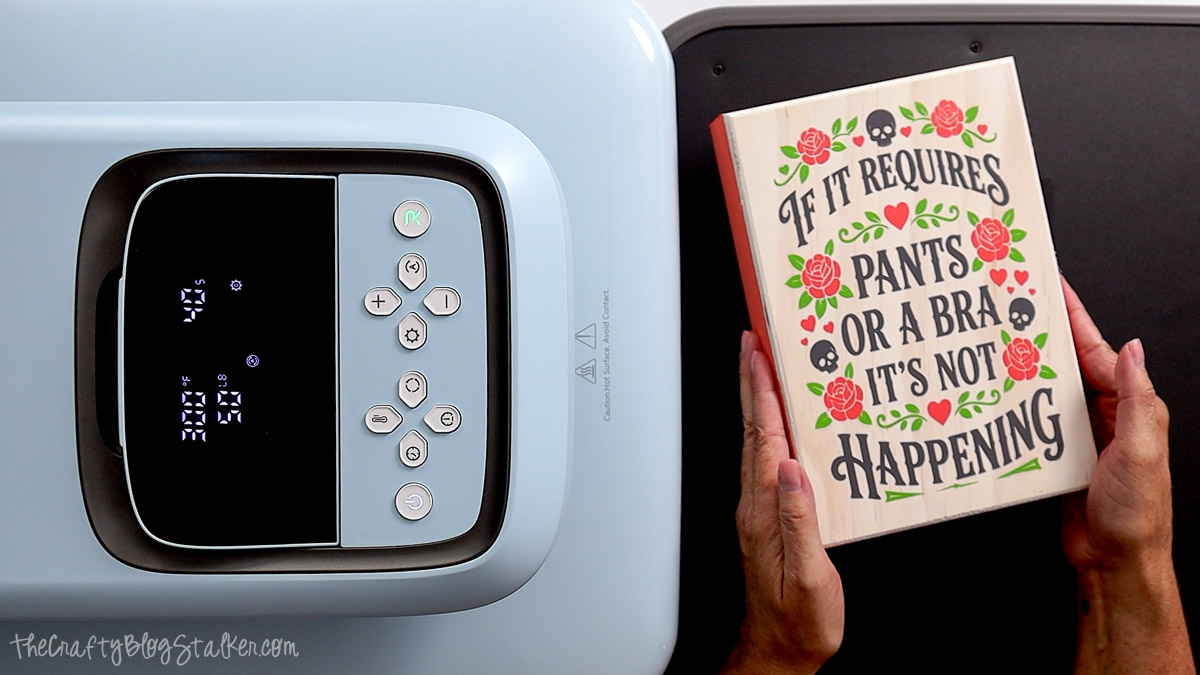
If you've only used heat transfer vinyl on fabric, you're in for a fun surprise.
It works beautifully on wood and creates a finish that looks almost painted on without worrying about brush strokes or messy stencils.
I love how easy this technique is, and the layered design gives the sign so much dimension with very little extra work.
Whether you're making home décor, a personalized gift, or adding another project to your collection of Cricut creations, this tutorial will walk you through every step.
Jump to:
Skill Level: Beginner
Estimated Cost: $15 - $30
Total Time: 1 hour 30 minutes
Craft Tutorial Video
If videos are your thing, you're in luck-I've got a full tutorial ready for you!
Subscribe to my YouTube channel and stay inspired with every new project.
Supply List
- HTVRONT Auto Press 2
- Cutting Machine
- Pants or a Bra Free SVG
- Heat Transfer Vinyl in 3 Colors
- Weeding Tools
- Wood Sign Blank
- Masking Tape
- Acrylic Paint in 2 Colors
- Sponge
- Paper Towel
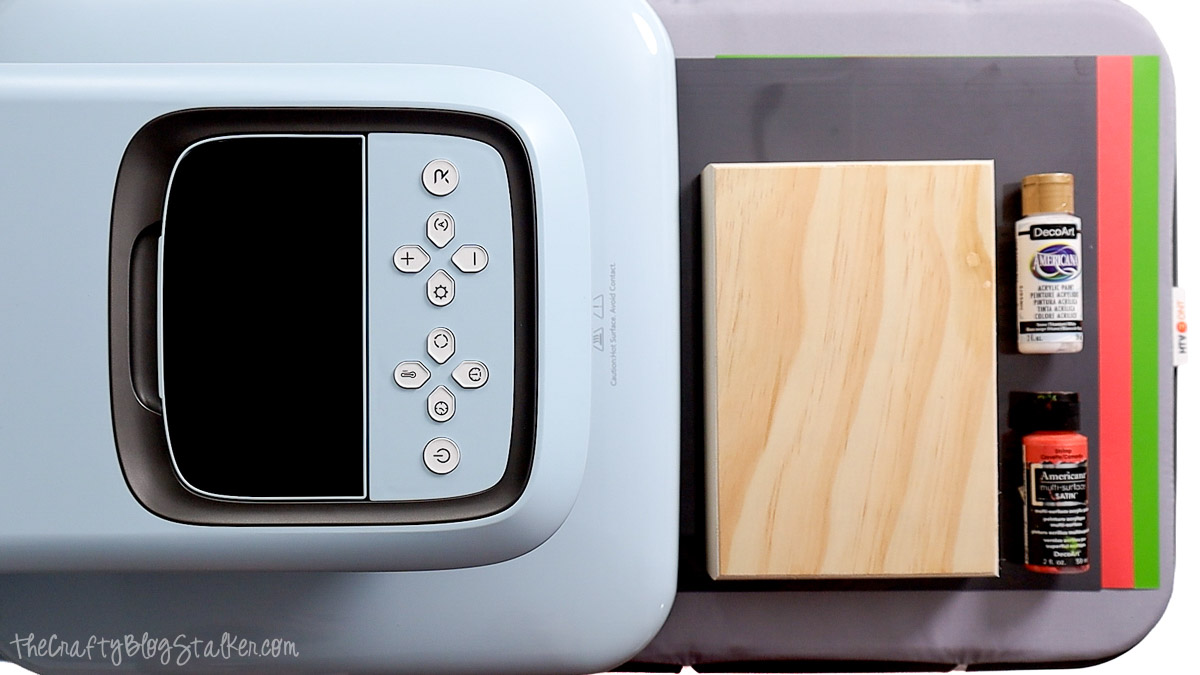
If you're thinking about adding the HTVRONT Auto Press 2 to your craft room, you can save with my exclusive coupon code.
Coupon Code: Katie10 for $50 OFF the HTVRONT Auto Heat Press 2
I'll be using this machine throughout this tutorial, and it has quickly become one of my favorite heat presses for wood projects, shirts, tote bags, and so much more.
I love that it delivers consistent heat and pressure, which takes the guesswork out of pressing and helps produce reliable results every time.
Grab the Free SVG
This SVG was designed specifically for this project and includes two versions of the design. One version is slightly taller, which is the version I used for my sign.

Why You'll Love This Project
One of my favorite things about using HTV on wood is that it gives you the look of painted artwork without the hassle of stencils or hand lettering. The finished design has crisp edges, vibrant color, and holds up beautifully.
This project is also beginner friendly. Once you see how well it works, you'll start looking at all kinds of wood projects in a whole new way.
How to Make a Layered HTV Wood Sign
Prepare and Paint the Sign
I like to start by painting the sign first so it has plenty of time to dry while I'm cutting and weeding the design. Working this way keeps the project moving and helps avoid unnecessary waiting later.
For this sign, I wanted a soft whitewashed finish that still allowed the natural wood grain to show through.
If your wood blank feels rough, give it a light sanding before painting. A smooth surface helps the paint go on more evenly and gives the heat transfer vinyl a better surface to adhere to.
To make my own whitewash paint, I mixed a little water into white acrylic paint until it reached a thin, milky consistency. Using a sponge, I applied the paint generously to the front of the sign and then wiped away the excess with a paper towel.
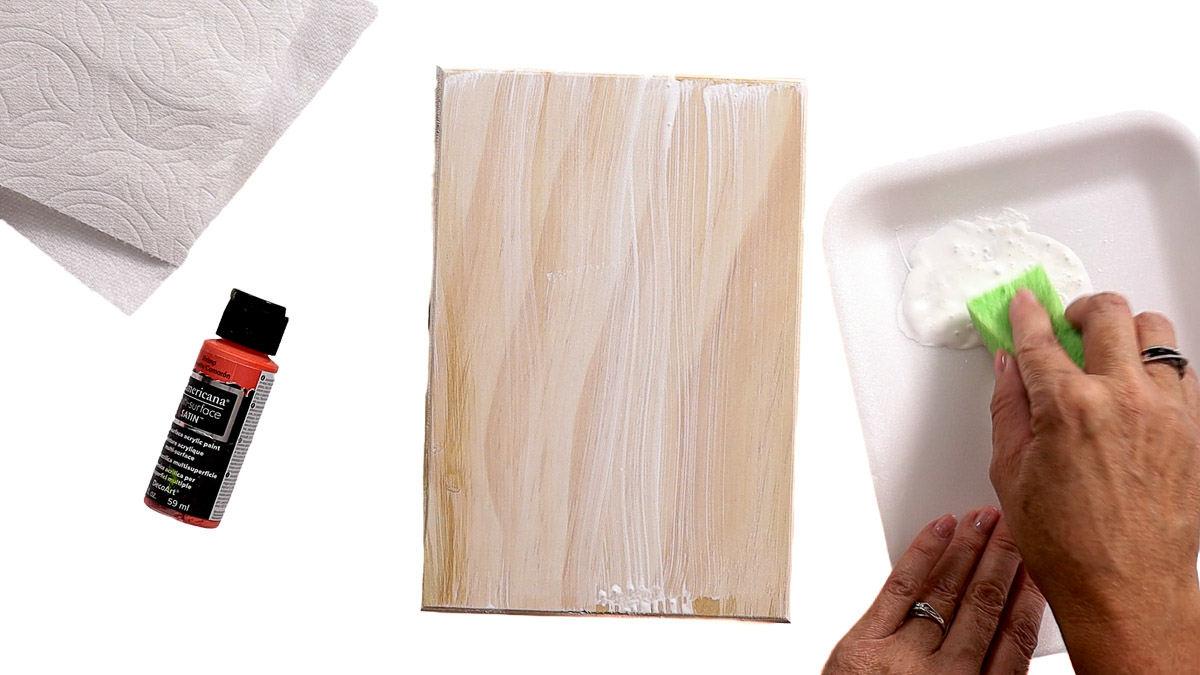
I repeated this process several times until I was happy with the amount of coverage. The nice thing about whitewashing is that it's very forgiving, so you can build the color a little at a time.
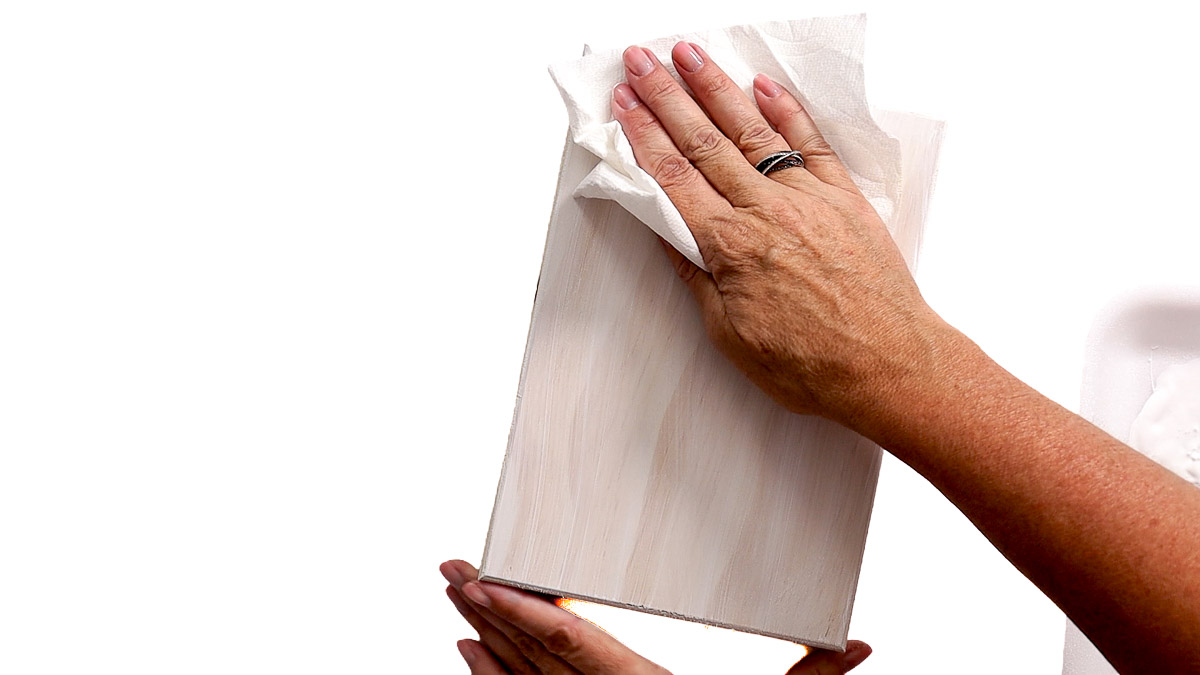
Before painting the edges, I wrapped masking tape around the front of the sign to protect the whitewashed finish.
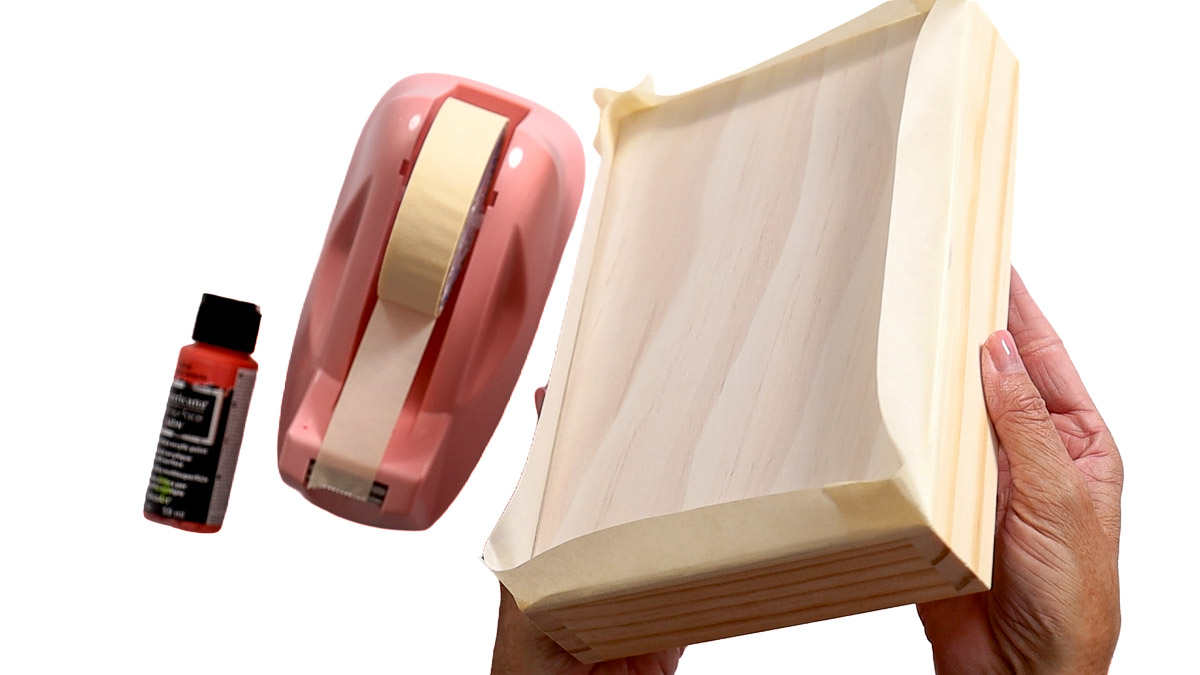
I used the same whitewashing technique on the sides, but with a coral acrylic paint that matched one of the vinyl colors in my design.
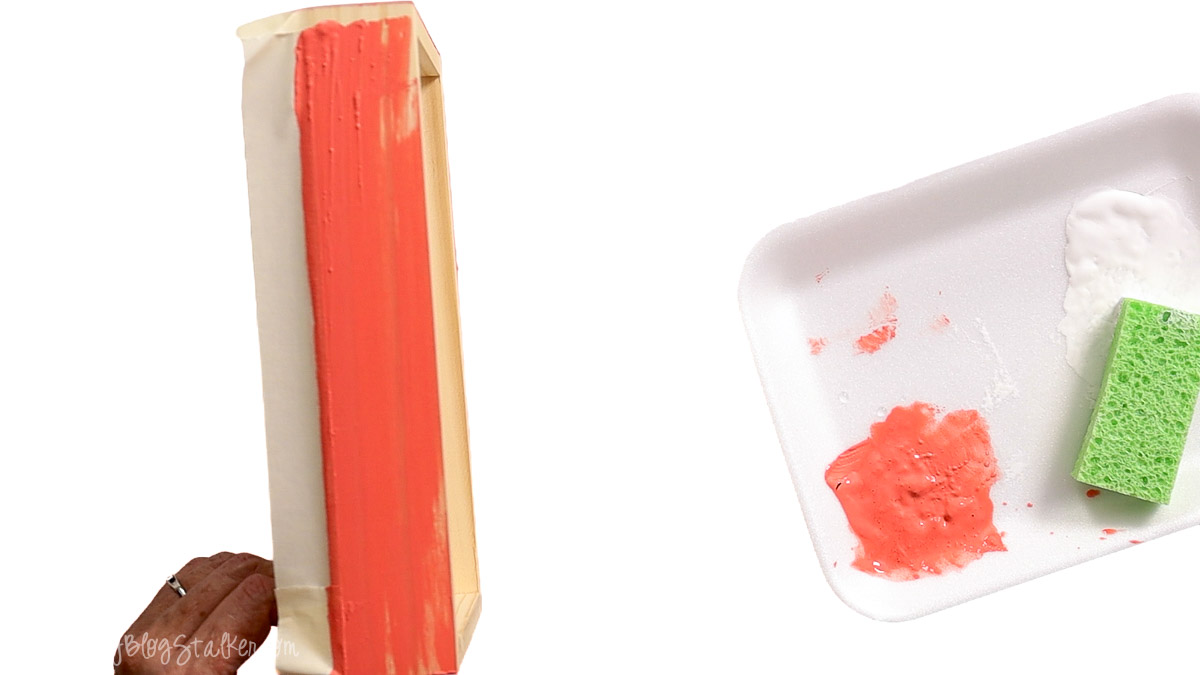
Looking back, I would have added just a little more water to the coral paint because it went on slightly thicker than I intended.
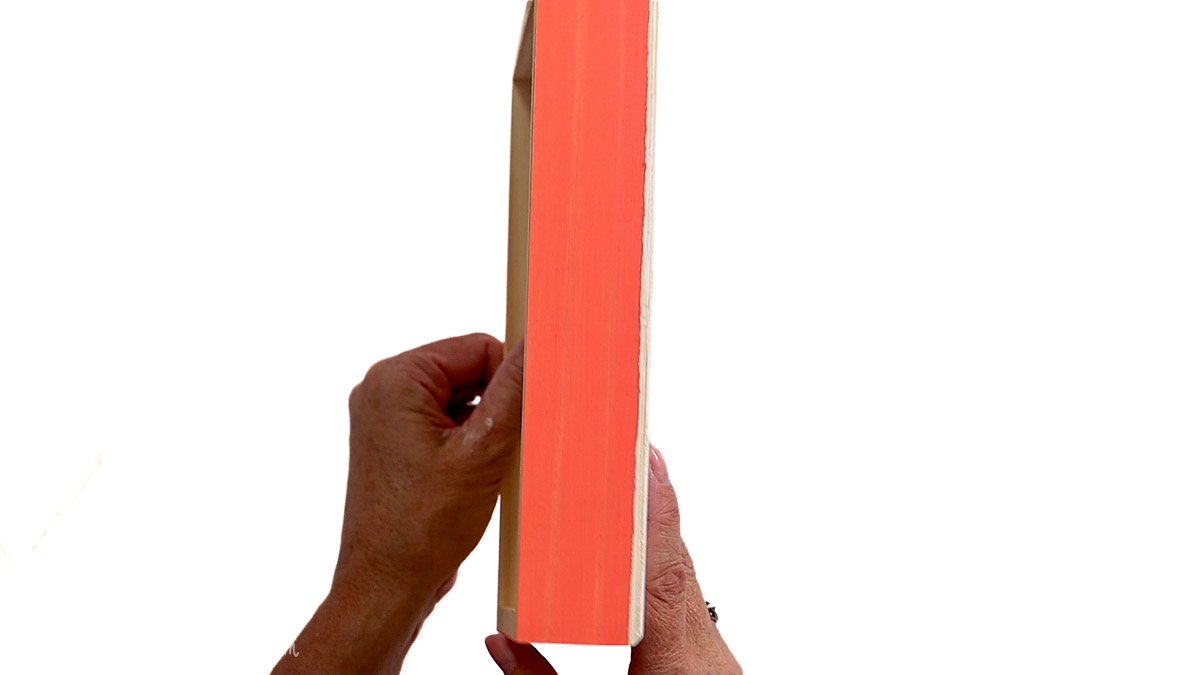
Even so, I really like how it turned out. Once the paint was completely dry, I carefully removed the masking tape, and the crisp edges gave the sign a nice finished look.
Before You Cut Your Design
Before opening your cutting software, measure the front of your sign so you know exactly how large to make the design. Taking a minute to size everything first helps ensure the finished project looks balanced and centered.
If you're using a Cricut, simply resize the SVG to fit your sign before cutting. If you use a Silhouette machine instead, the SVG can be imported into Silhouette Studio Designer Edition just as easily.
Size and Cut the Design
Upload the SVG into your cutting software and resize it to fit your sign. I like to leave a small border around the edges so the finished design has a little breathing room instead of filling the entire surface.
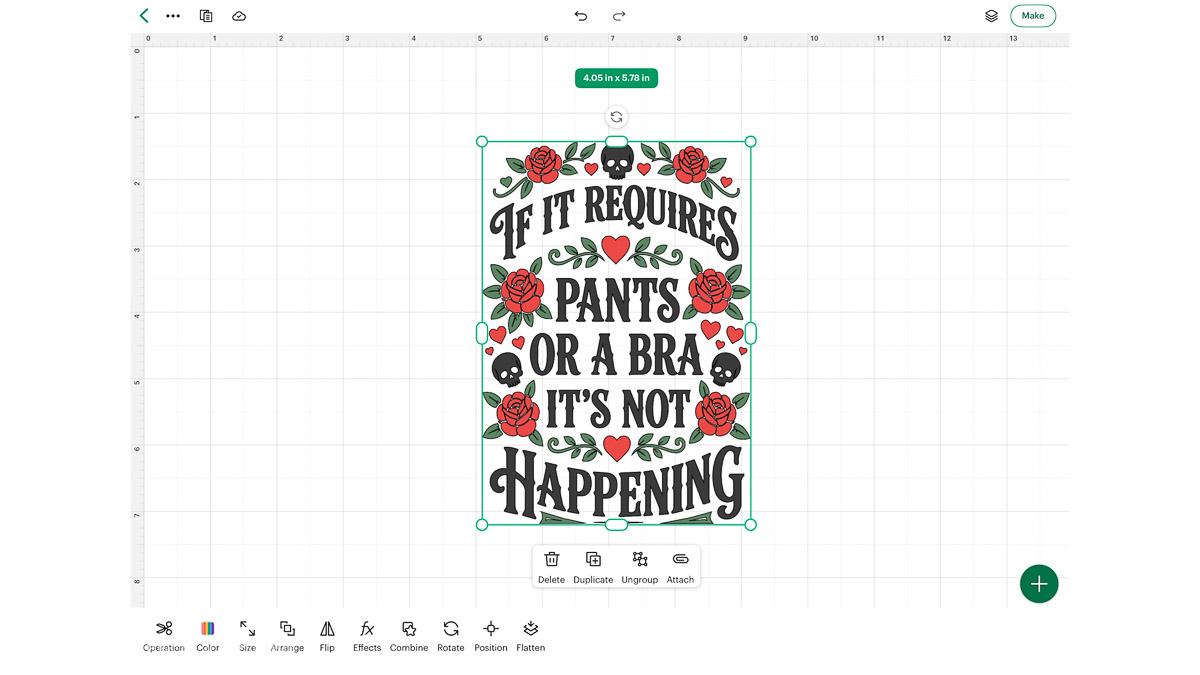
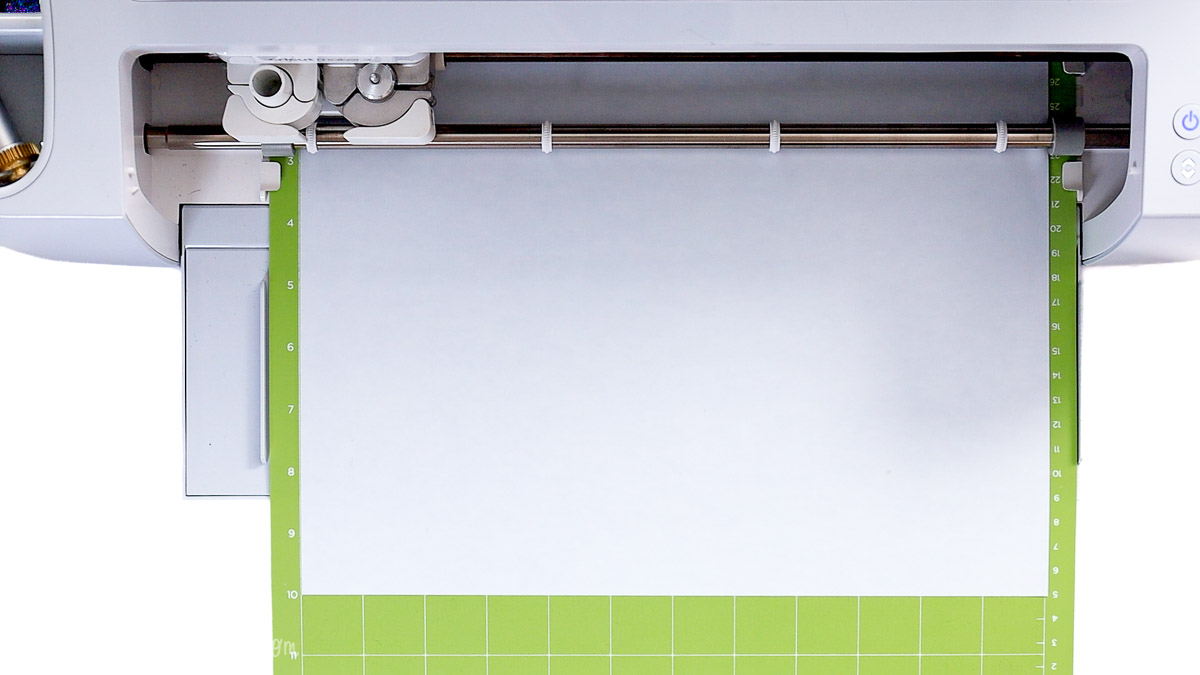
This design uses three layers of heat transfer vinyl, so cut each color separately. Be sure to place the material shiny side down on the cutting mat and remember to mirror every layer before cutting.
Since the design is cut from the back of the material, forgetting to mirror it will leave you with a backwards design.
Weed the Design
Heat transfer vinyl is one of my favorite materials to weed because the design stays attached to the clear carrier sheet. Simply lift one corner of the excess vinyl and slowly peel it away from the design.
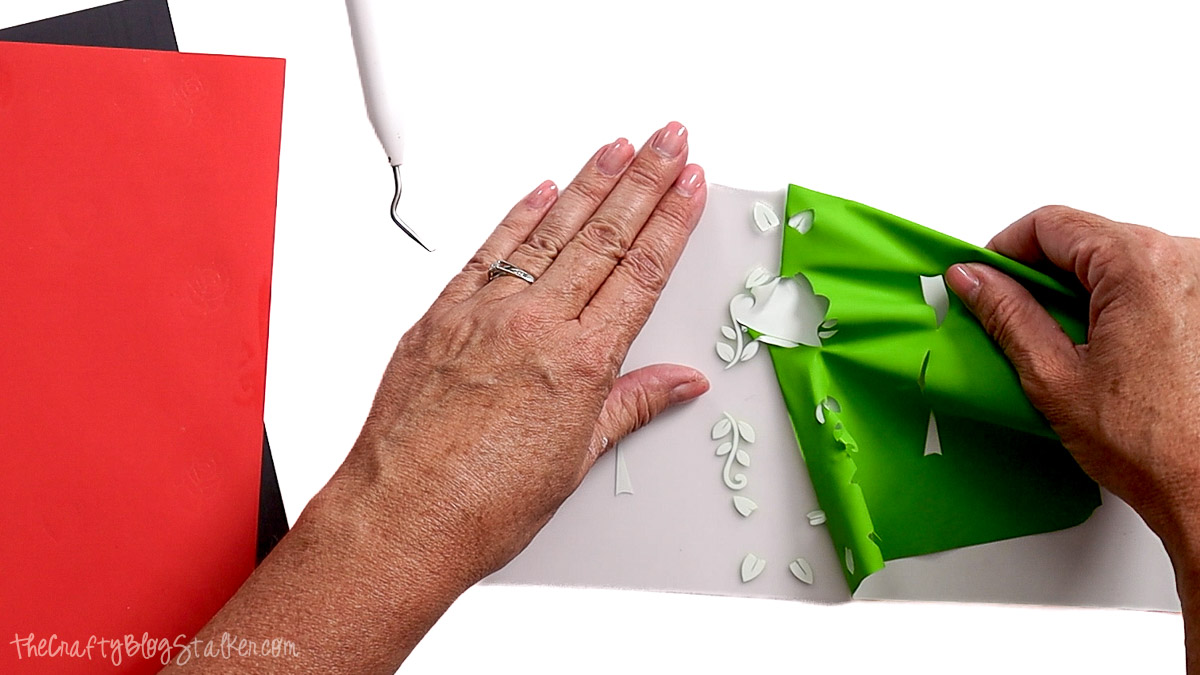
Take your time removing the small centers from the letters and any tiny pieces inside the flowers or leaves.
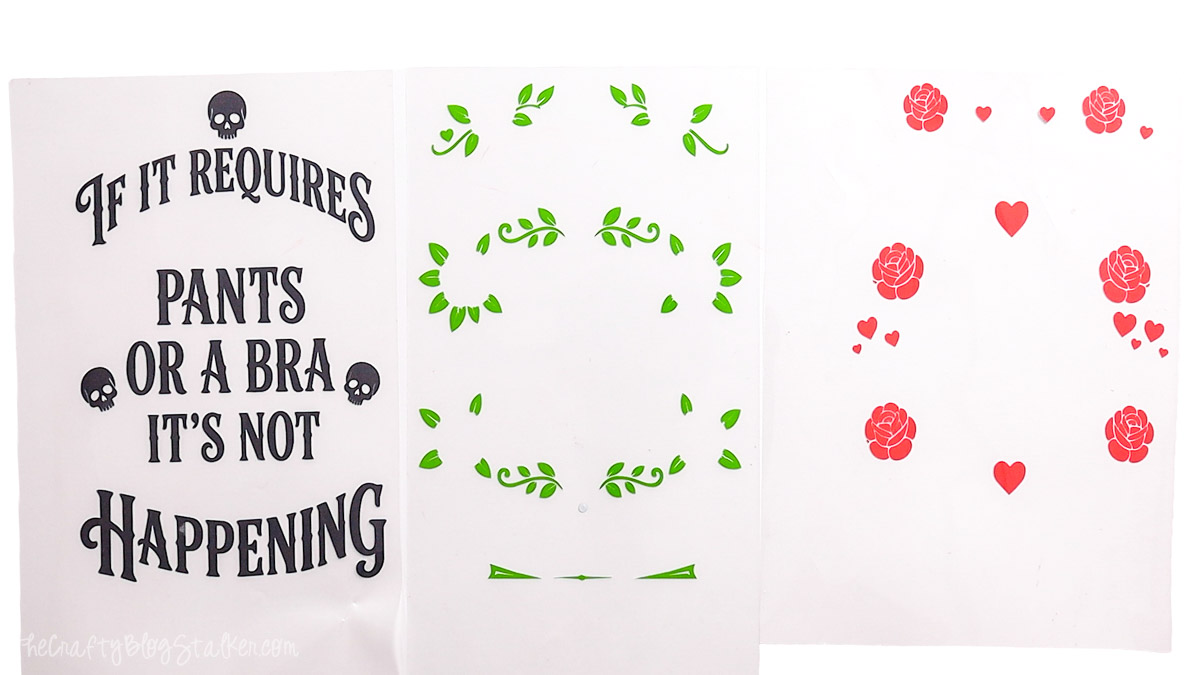
When you're finished, flip the carrier sheet over and look at the design from the front. It's an easy way to catch any little pieces you may have missed before moving on.
Repeat the process until all three layers have been weeded and are ready to press.
Setup the HTVRONT Auto Press 2
The HTVRONT Auto Press 2 makes this project incredibly simple, and if you're thinking about adding one to your craft room, don't forget to use my coupon code above to save on your purchase.
One feature I really appreciate is the large, easy-to-read tilt screen. No matter where the machine is sitting on my worktable, I can quickly check the temperature, pressure, and press time without leaning over the machine.
I always recommend checking the manufacturer's instructions for your material whenever possible, but wood is rarely included on those charts. For this project, I used a temperature of 300°F for 40 seconds with the lightest pressure setting of 50 pounds.
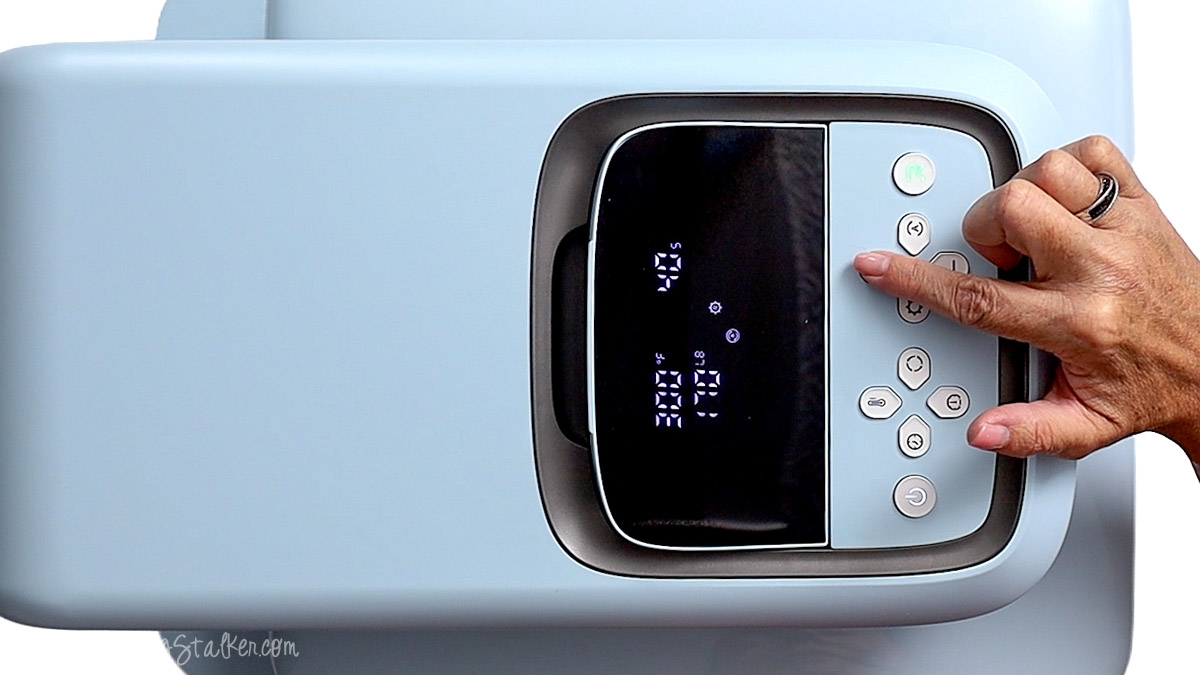
Unlike many heat presses that only let you adjust the temperature and time, the Auto Press 2 also allows you to adjust the pressure. Using lighter pressure is ideal for this project because it gives the HTV plenty of heat without putting unnecessary force on the wood.
Another feature I love is the automatic pressing mode. Once the tray is pushed completely into the machine, the press lowers on its own, starts the timer, and automatically lifts when the press time is finished.
That means I don't have to stand there watching the countdown, which is especially helpful when working with multiple layers.
The 15 x 15-inch heat plate provides plenty of room for larger projects like t-shirts, tote bags, and signs. It can also accommodate thicker projects up to 1.77 inches tall.
My wood sign is about 1.5 inches thick, so I removed the press mat before pressing. Since the mat is designed to cushion soft materials like fabric, it isn't needed when pressing directly onto wood.
Apply the HTV
Once the HTVRONT Auto Press 2 reaches the correct temperature, it will beep and the indicator light will turn green, letting you know it's ready to use.
Before applying the first layer of heat transfer vinyl, preheat the wood sign for 5 seconds. This quick step helps remove any moisture trapped in the wood, giving the HTV a better surface to bond to and improving the finished result.
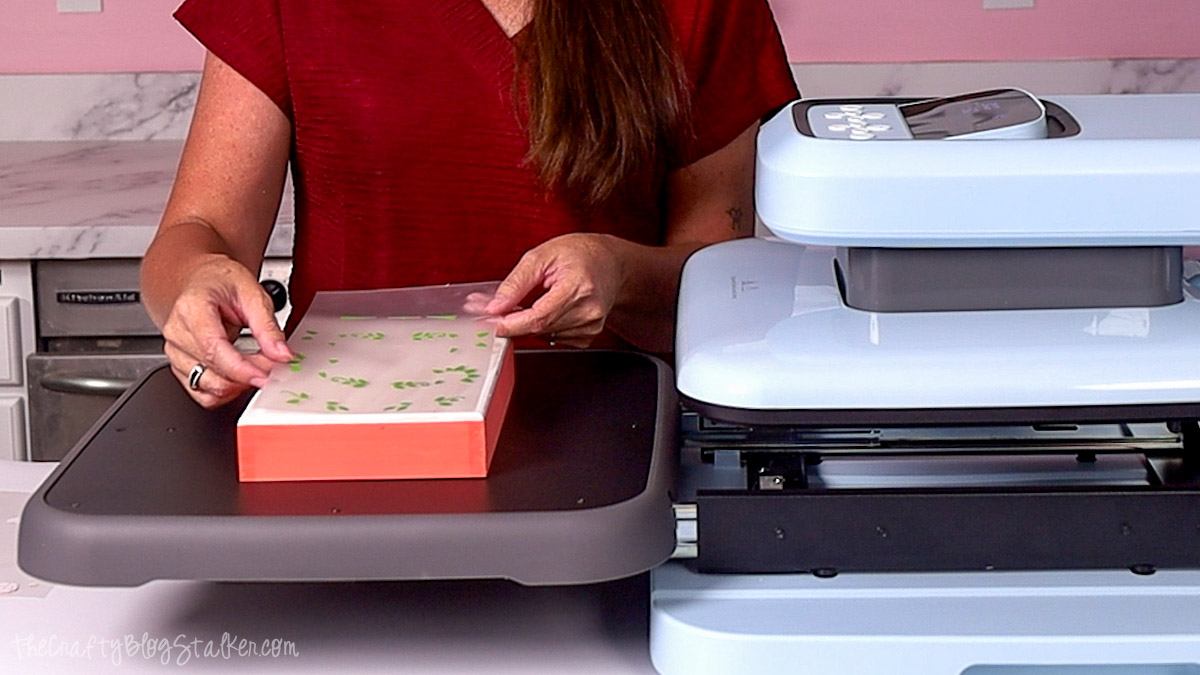
I started with the green layer because it's the largest part of the design. Once that layer is centered, it's much easier to line up the remaining layers.
If you want perfectly even spacing, use a ruler to double-check the placement before pressing.
Slide the tray all the way into the machine, and the press will automatically lower and begin the timer. When the press time is complete, it will lift on its own.
It can be tempting to peel the carrier sheet right away, but this project works best with a cool peel. I know waiting tests your patience, but it's worth it! Let the carrier sheet cool completely before slowly peeling it back.
If any of the HTV starts to lift, simply lay the carrier sheet back down and press it again for a few more seconds.
Once the green layer was finished, I repeated the same process with the coral layer, carefully centering it around the leaves.
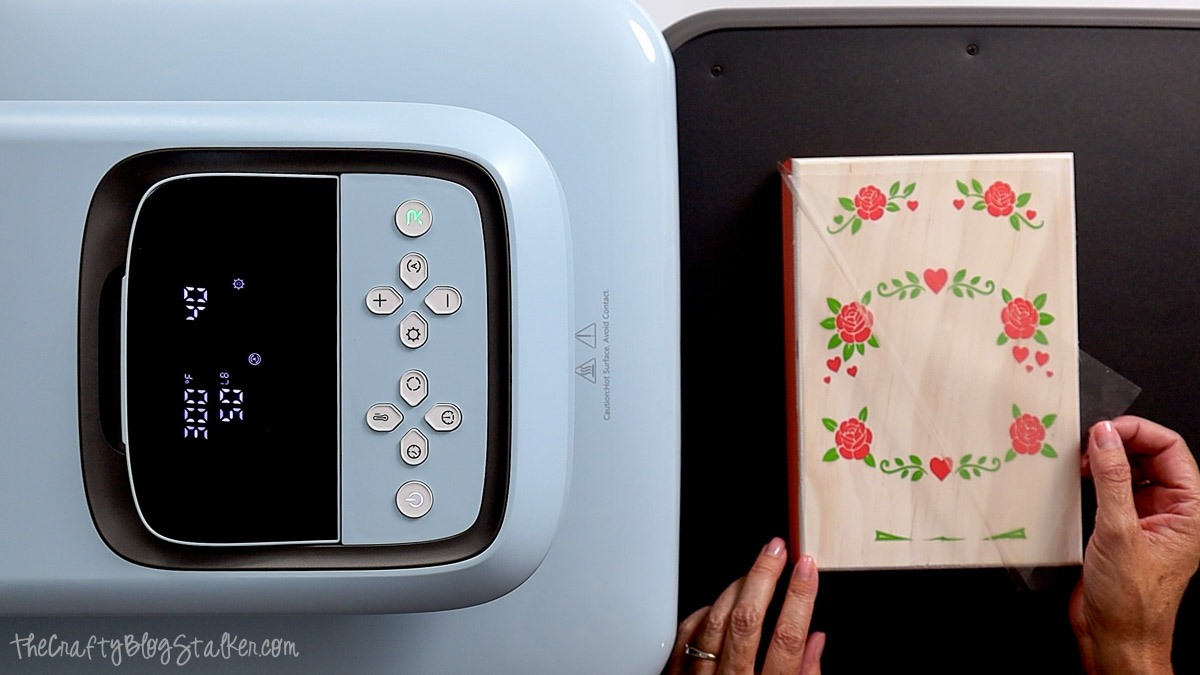
Finally, I applied the text layer, allowing the carrier sheet to cool completely after each press before peeling it away.
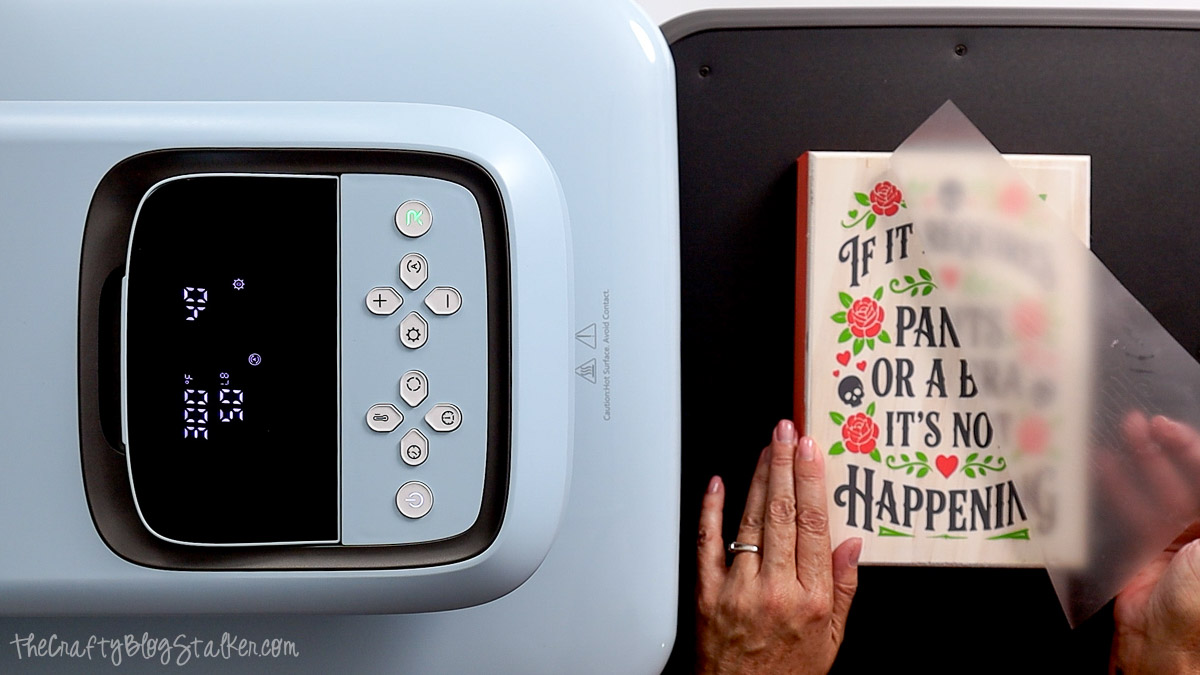
I absolutely love how this sign turned out! The layered design really pops against the whitewashed background, and the finished project looks like it was professionally made.
It's one of those projects that makes me smile every time I walk past it. 😊

I used the HTVRont Auto Press 2 for this project because the automatic pressing feature makes layered HTV projects so simple.
If you're ready to add one to your craft room, be sure to use my coupon code Katie10 to save $50 on your HTVRONT Auto Press 2!
Tips for Success
Take a few extra minutes to prepare your wood blank before you begin. A smooth, clean surface gives the HTV the best chance to adhere well and creates a more professional-looking finish.
Always remember to mirror your design before cutting and place the vinyl shiny side down on the cutting mat. It's one of the easiest mistakes to make, but it's also one of the easiest to avoid.
Don't skip the quick preheat before applying the first layer. Removing moisture from the wood helps improve adhesion and can prevent lifting around small details.
Finally, be patient during the cool peel. Letting the carrier sheet cool completely helps each layer stay securely attached to the wood and gives you the crispest results.
Frequently Asked Questions
You can, but I prefer heat transfer vinyl for this type of project. It creates a finish that looks more like paint and is less likely to peel over time because it's bonded to the surface with heat.
No. Once the HTV has been properly applied, it is durable enough for most indoor decorative signs without adding a sealer.
Smooth, unfinished wood works best because it allows the heat transfer vinyl to make good contact with the surface. If your wood is rough, lightly sand it before painting and pressing.
Need help with this project?
Click a button below to ask AI what's the difference between permanent vinyl and HTV.
More HTV Projects
If you're ready for another fun project, check out some of my other HTV tutorials for even more inspiration.



Hi, I'm Katie!
I'm so glad you're here. Want to make something fabulous? I'm here to help!